A stand mixer is amazing in a small kitchen—until it eats your whole counter. I’ve lived with one in tiny apartments for years, so these are my favorite ways to keep it easy to grab without letting it take over the room.
Build a Pull-Out “Baking Stage” Shelf
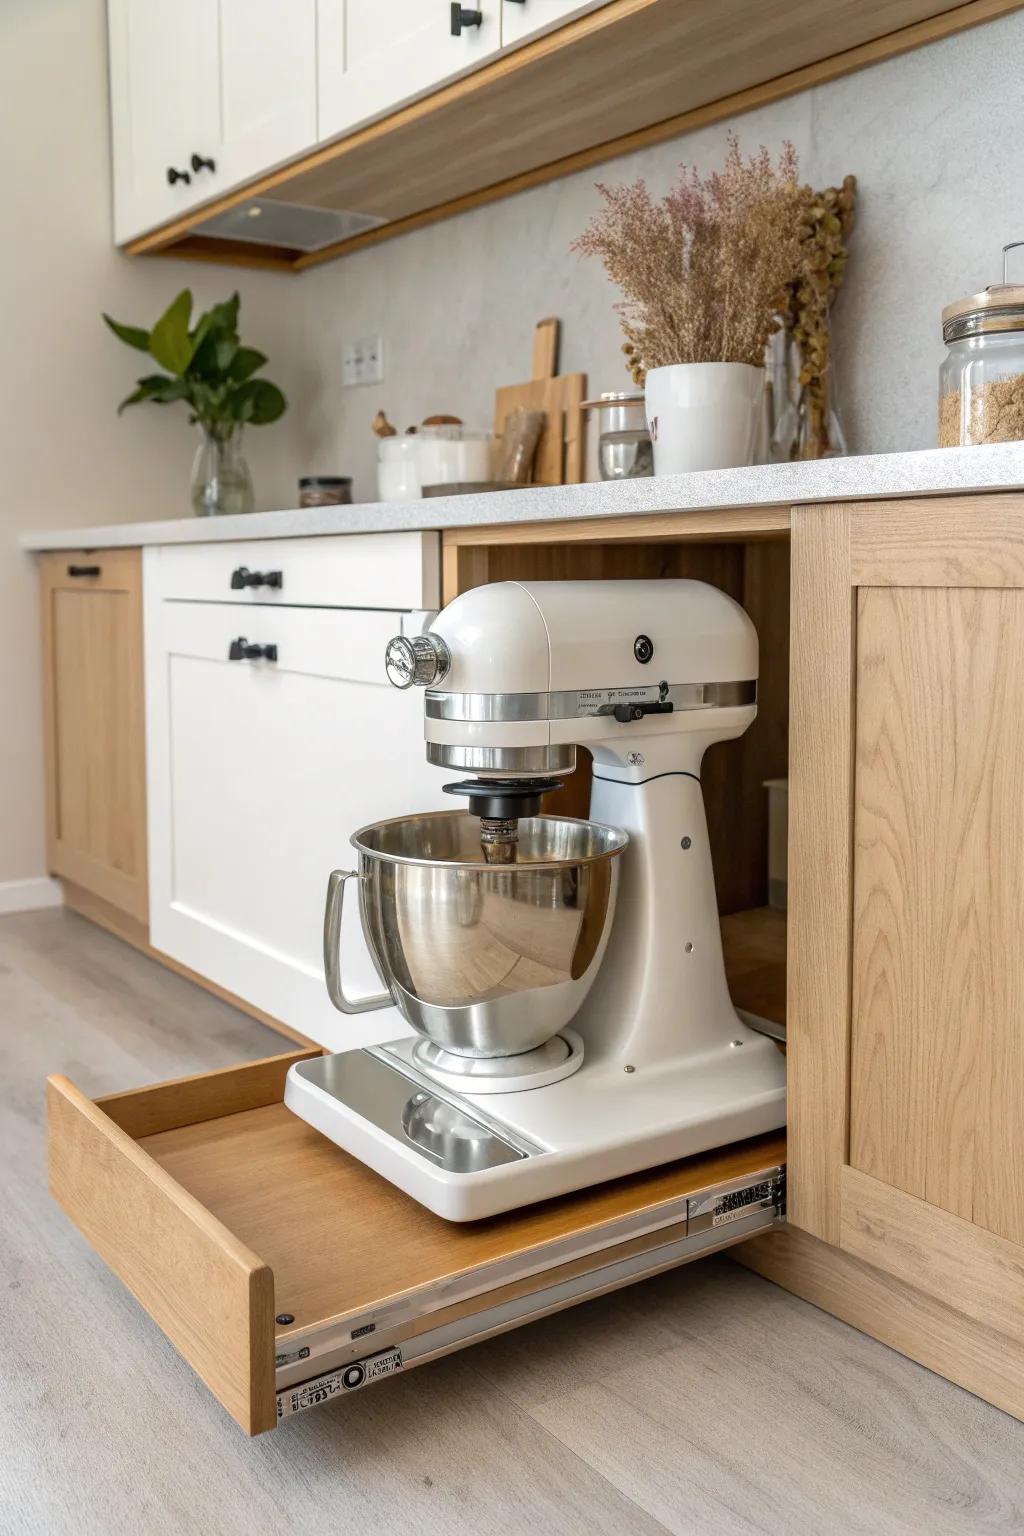
My favorite wow-factor setup is a strong pull-out shelf that becomes a little baking workstation, with the stand mixer living on it and room beside it for a bowl or scale. I tried this in a tight galley kitchen, and it honestly made the space feel custom and super smart.
May just do the trick:
- Heavy-Duty Drawer Slides: Install robust slides rated for high weight to ensure your heavy stand mixer glides out smoothly and safely.
- Pre-Made Pull-Out Cabinet Organizer: Skip the custom carpentry and insert a ready-to-use sliding wood shelf into your existing lower cabinet space.
- Adhesive Appliance Sliders: Stick these onto the base of your mixer to easily maneuver it around your new pull-out workspace.
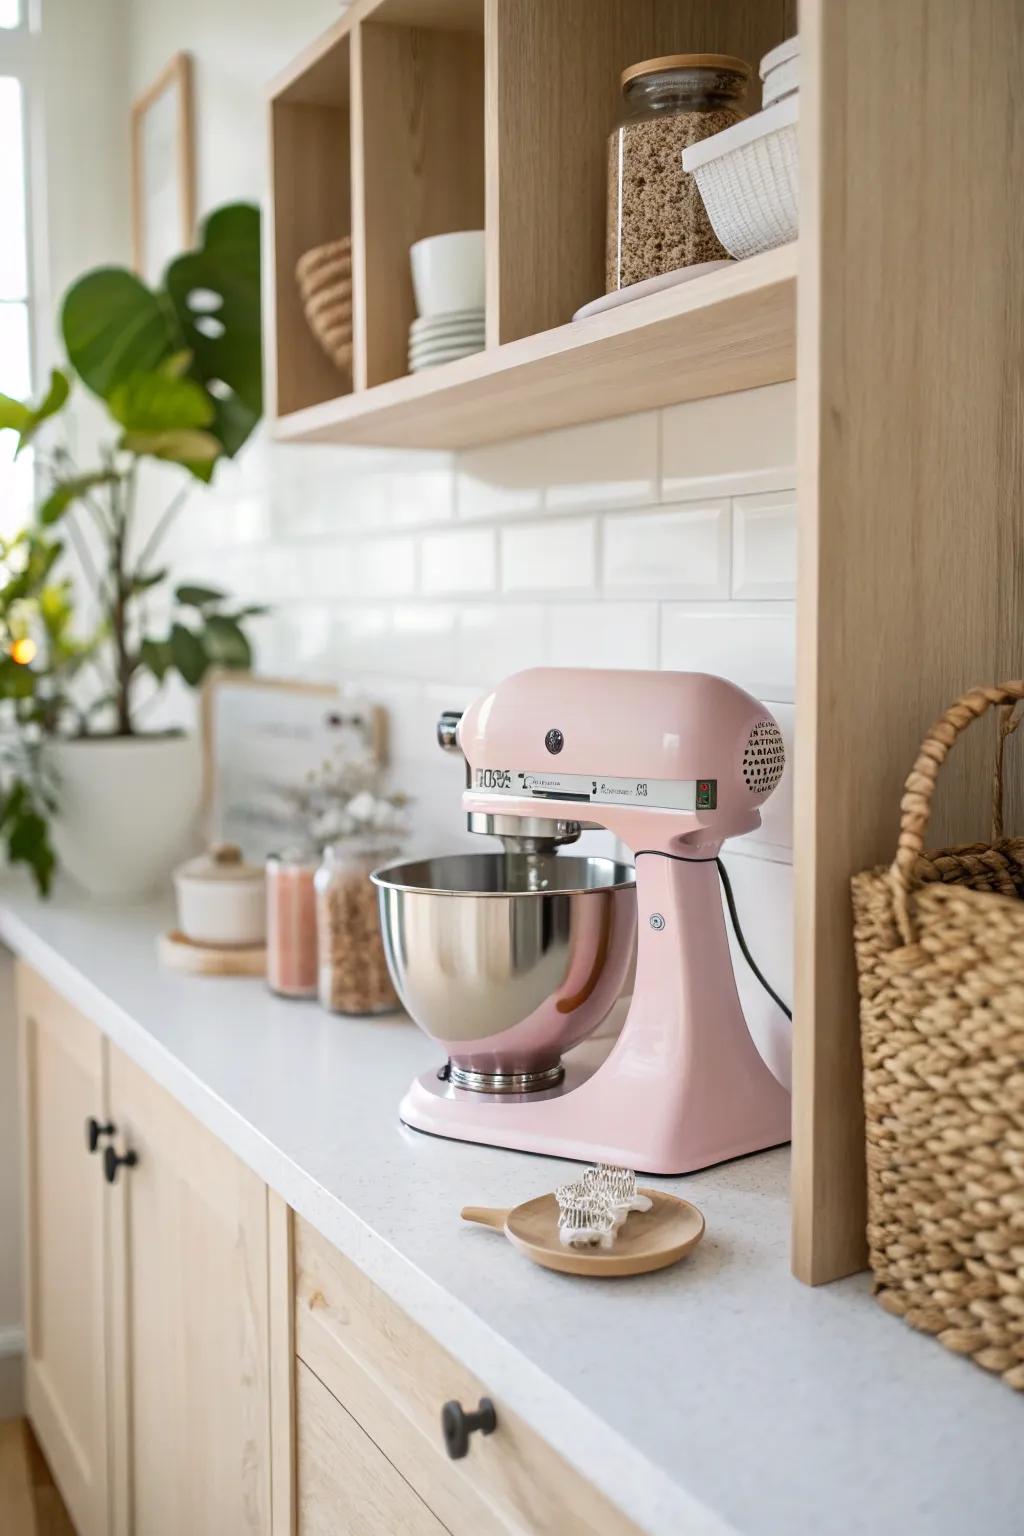
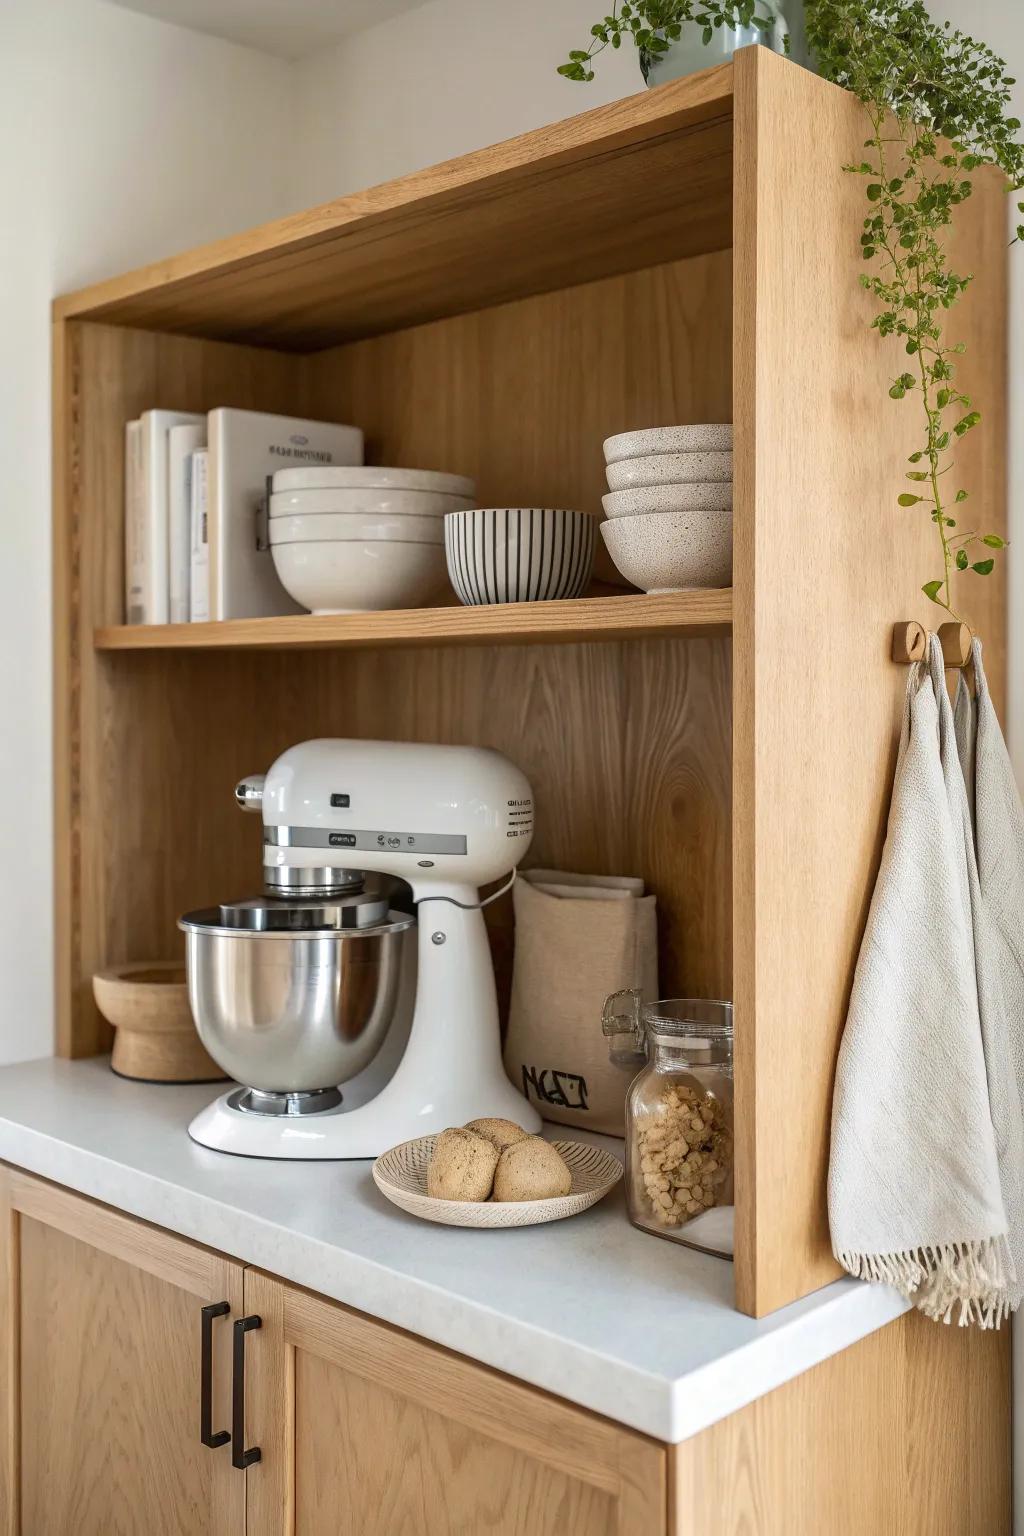
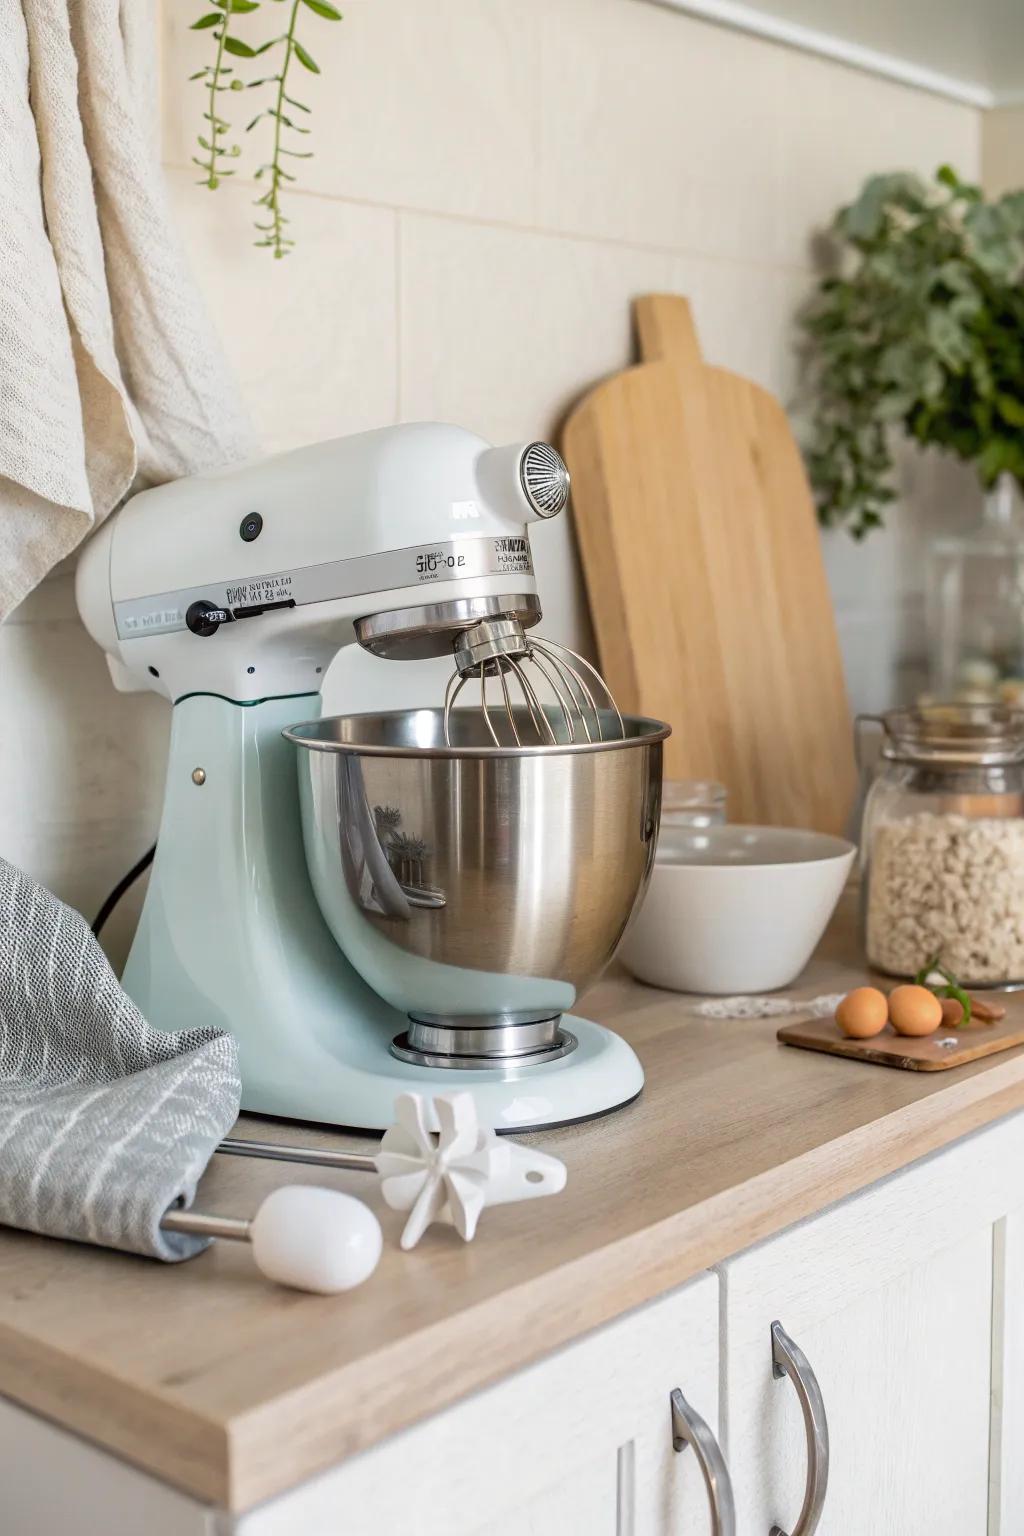
Keep It on the Counter (But Styled)
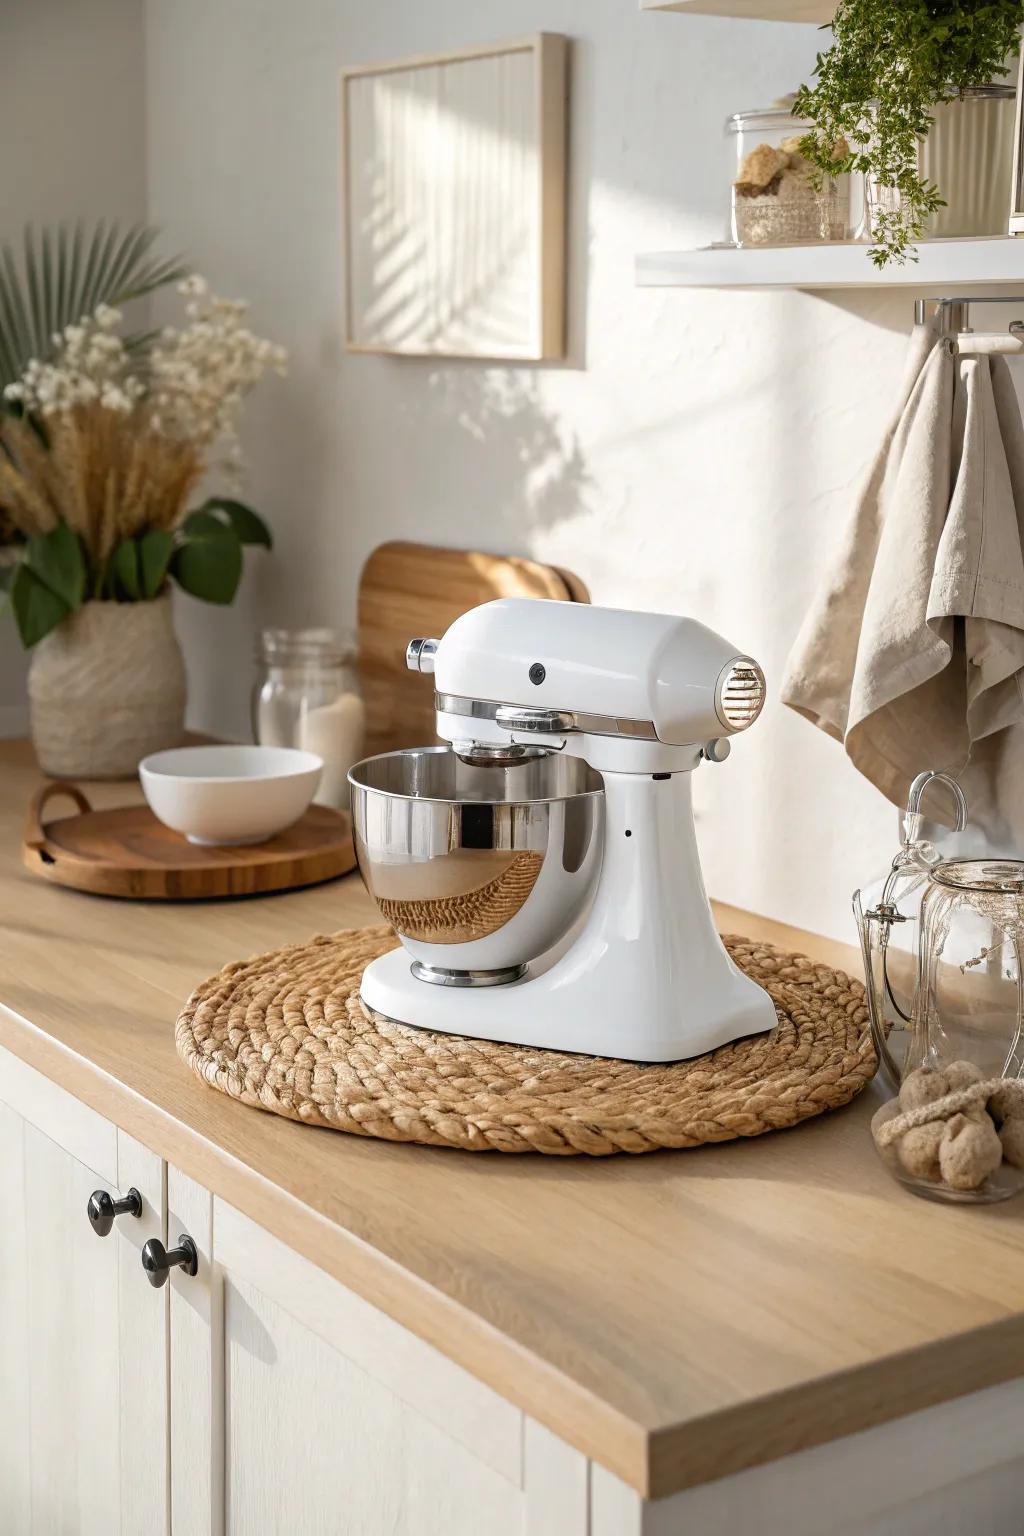
When I used my stand mixer multiple times a week, I gave it a “home base” on one corner of the counter and styled around it so it looked intentional. I keep a cute tray under it to define the spot and make wipe-downs way easier.
A few things you might like:
- Round Woven Serving Tray: Define your mixer’s dedicated zone with a woven tray that adds natural texture and protects your countertop surface.
- Glass Storage Canisters: Style the area around your mixer by displaying baking ingredients in beautiful, clear jars for easy access.
- Wooden Serving Board: Lean a warm wooden board behind your mixer to create a styled backdrop that adds visual height.
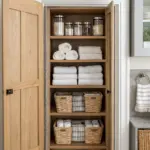
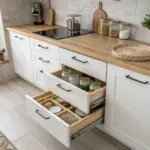
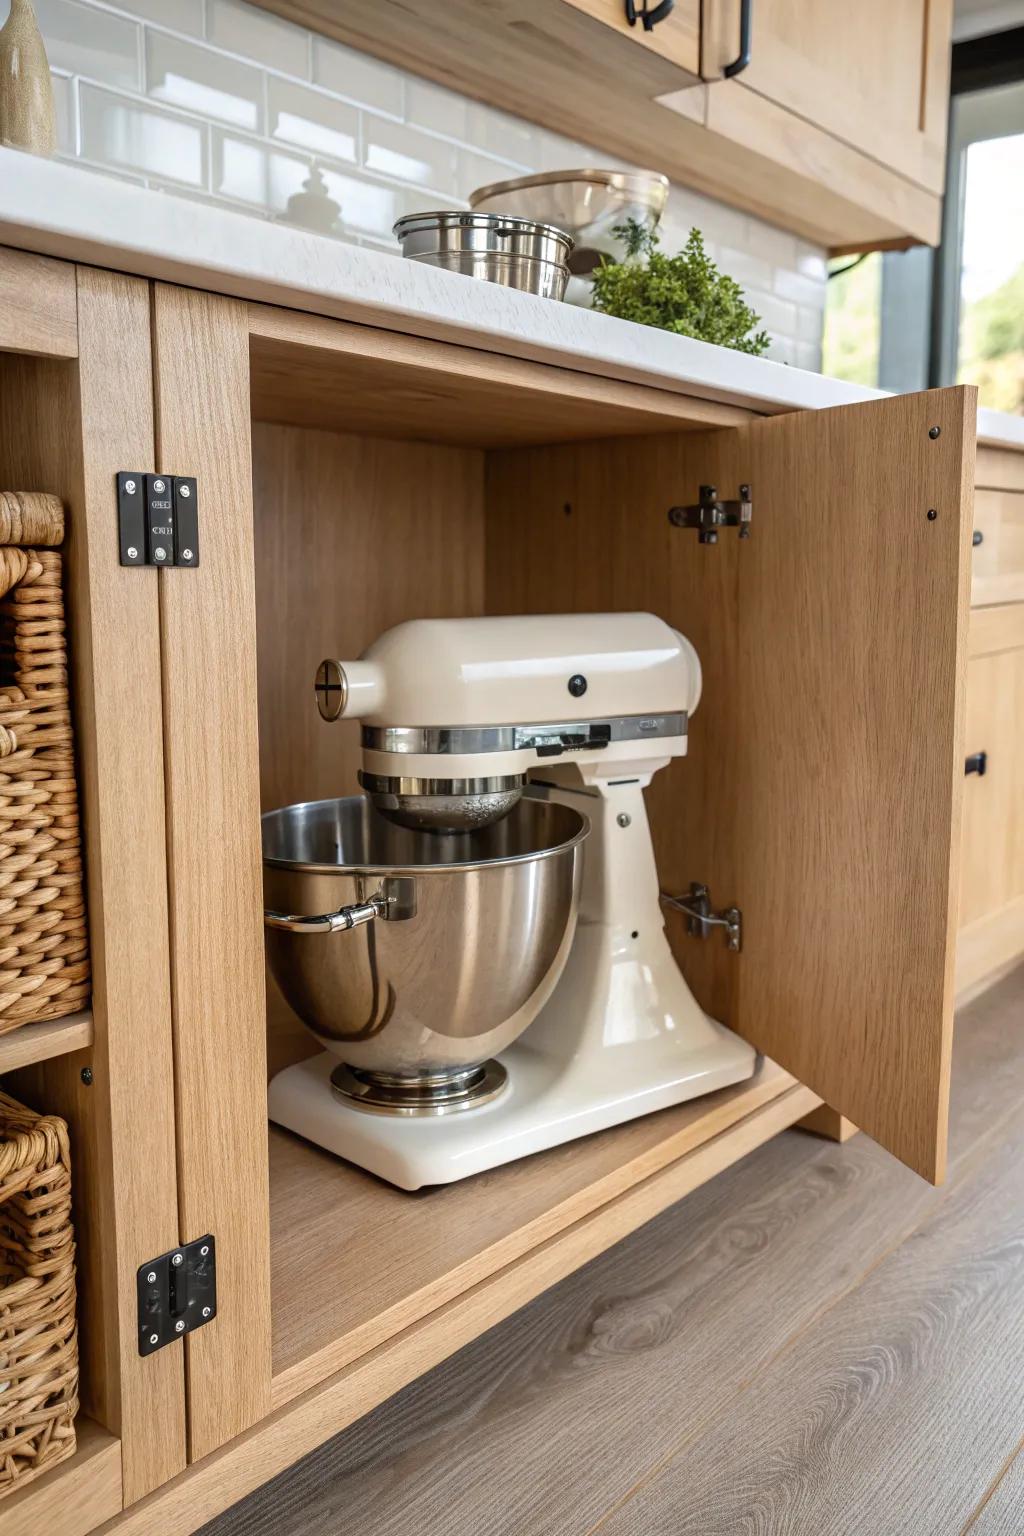
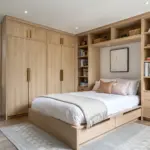
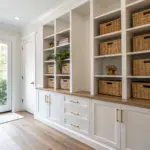
Create a Dedicated Baking Cabinet
In my first small apartment, I cleared one base cabinet and made it my baking zone so the stand mixer always went back to the same spot. I stored flour, sugar, and mixing tools right next to it so I wasn’t hunting around mid-recipe.
Some handy options:
- Airtight Glass Food Storage Jars: Keep your flour and sugar fresh and visible on shelves near your baking station for easy access.
- Stackable Ceramic Mugs: Organize your measuring cups or coffee mugs neatly on upper shelves to save valuable vertical cabinet space.
- Cotton Mixer Dust Cover: Protect your appliance from kitchen dust and scratches while keeping accessories stored together in the side pocket.

Install a Mixer Lift Shelf
A mixer lift inside a lower cabinet is the closest thing I’ve found to “magic” in a small kitchen, because the stand mixer comes up to counter height without you lifting it. I always suggest placing it near your prep area because I learned the hard way that convenience is everything.
These products might help:
- Heavy-Duty Appliance Lift Mechanism: Install this sturdy lift system to effortlessly raise your heavy mixer from cabinet to countertop height.
- Maple Storage Shelf for Appliance Lift: Pair your lift mechanism with a durable wood shelf block to securely hold your stand mixer.
- Soft-Close Cabinet Door Hinges: Upgrade your cabinet hardware with soft-close hinges to ensure smooth, quiet operation when accessing appliances.
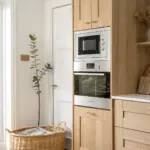
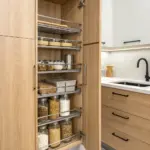
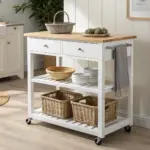
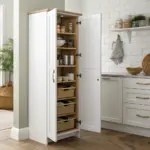
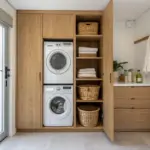
Store It in a Pantry at Waist Height
If you’ve got a pantry, I’ve found the sweet spot is a shelf around waist height so the stand mixer isn’t a floor-level deadlift. I reorganized my pantry once just to get that height right, and it made baking feel way less exhausting.
Maybe worth checking out:
- Heavy-Duty Freestanding Pantry Shelving: Create a designated, stable waist-high spot for your mixer without any complicated wall mounting or construction.
- Appliance Slider Tray: Make accessing your mixer effortless by sliding it forward smoothly whenever you need to start baking.
- Stackable Storage Bins or Baskets: Keep mixer attachments and ingredients organized right next to your machine for a streamlined baking station.
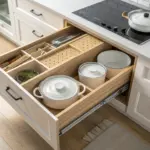
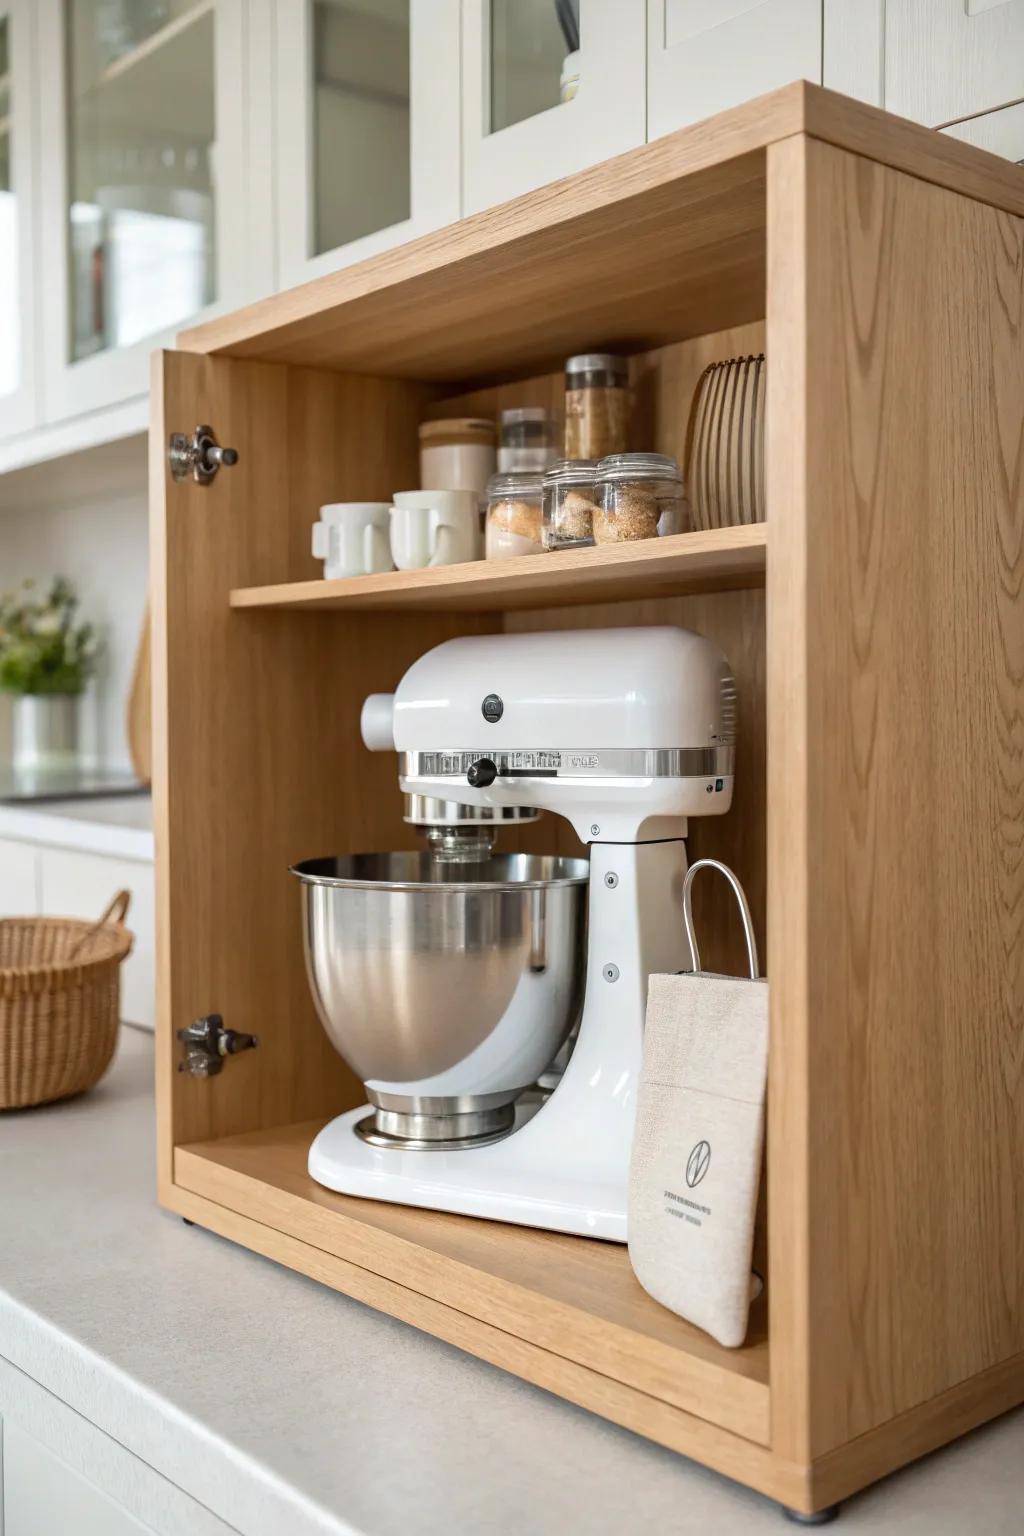
Use a Cabinet Shelf Riser for Clearance
I’ve used a simple shelf riser inside a base cabinet so the stand mixer fits below while bowls and accessories sit neatly above. It’s a low-cost trick that made my “baking cabinet” feel twice as big.
Try these:
- Wooden Cabinet Shelf Riser: Create valuable vertical space in your cabinets by lifting baking accessories above your mixer’s footprint.
- Stackable Wire Shelf Organizer: Maximize your cupboard height efficiently with these durable racks, perfect for storing heavier mixing bowls.
- Expandable Kitchen Shelf Insert: Customize your storage width to perfectly fit your cabinet dimensions and accommodate various baking tools.
Hang Attachments Inside the Cabinet Door

I mounted small hooks on the inside of the cabinet door so my stand mixer attachments live right where the mixer is stored. It saved my drawers from becoming a chaotic pile of weird-shaped parts.
These products might be useful:
- Under-Cabinet Hooks: Instantly create hanging space for mixer attachments by screwing these durable hooks beneath your shelves or cabinets.
- Adhesive Command Hooks: Organize lightweight attachments on cabinet doors quickly without using tools or damaging your beautiful kitchen surfaces.
- Screw-in Cup Hooks: Securely hang your mixer beaters and whisks inside wood cabinets with these classic, easy-to-install brass hooks.
Store It With the Bowl as a Container
When cabinet space was tight, I stored my stand mixer with the bowl in place and tucked small accessories inside the bowl. I loved that everything stayed together, and it cut down on that “where did I put it?” feeling.
Consider these options:
- Stand Mixer Bowl Cover: Keep dust out of your bowl and secure your loose attachments inside with a snug-fitting cover.
- Attachment Storage Insert: Protect your bowl from scratches and keep beaters organized by placing them in a specialized soft insert.
- Fabric Mixer Dust Cover with Pockets: Cover the entire machine for cleanliness while using the exterior pockets to store extra beater attachments nearby.
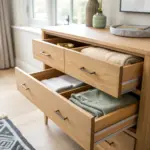
Try a Hidden Toe-Kick Drawer
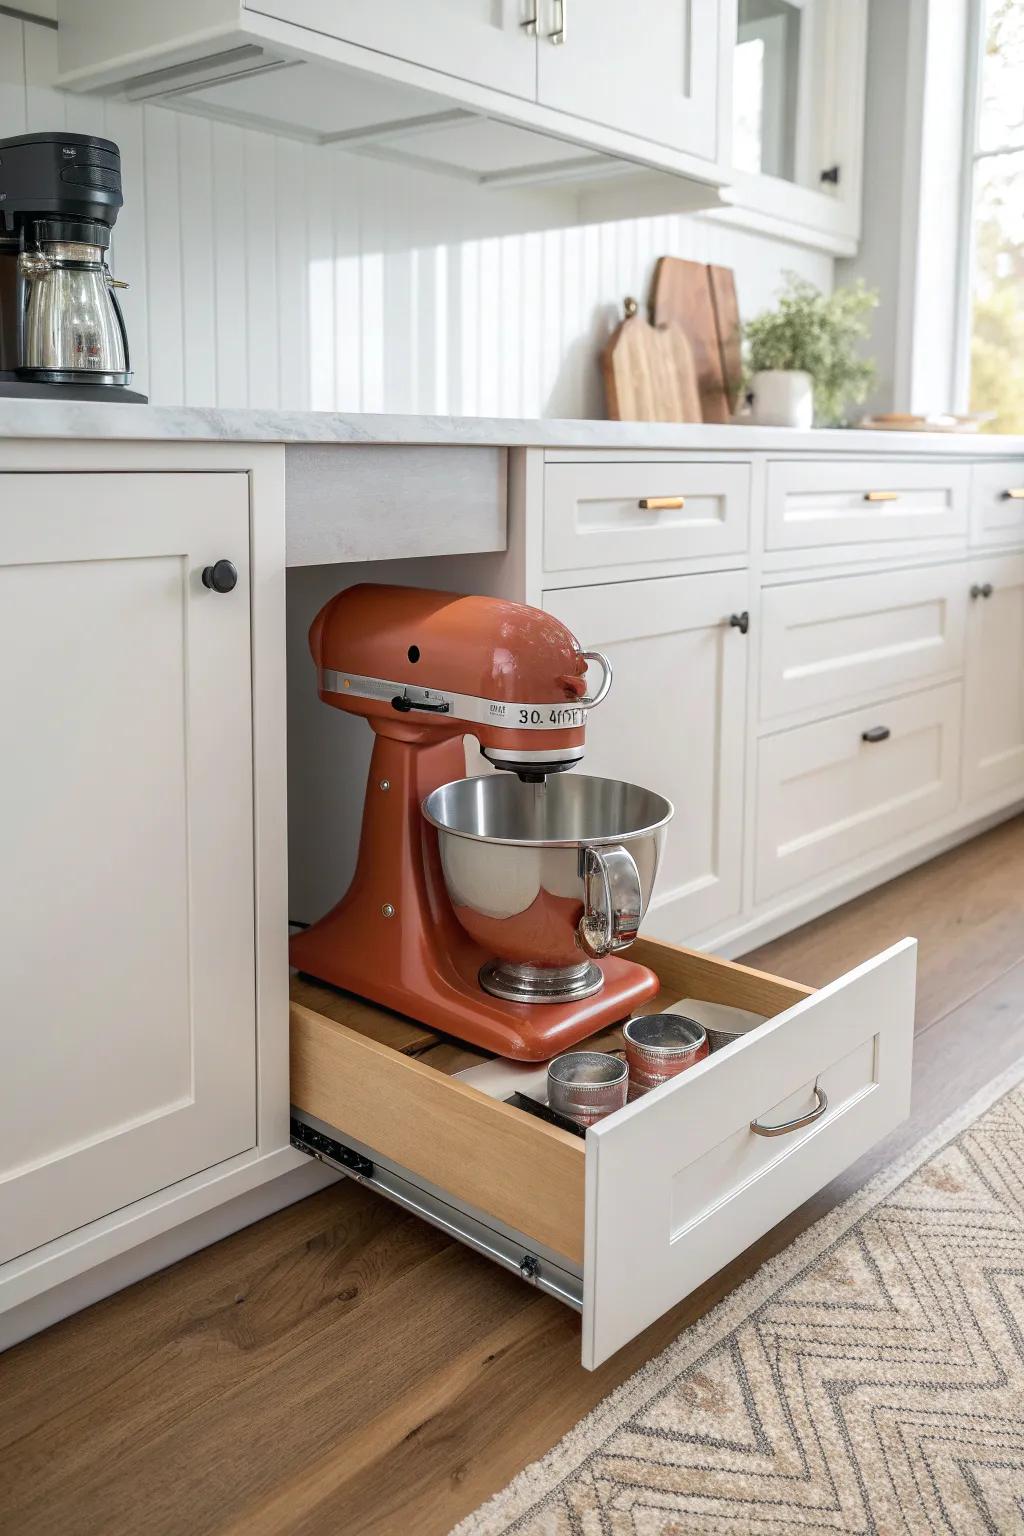
This one surprises people: a deep toe-kick drawer can hold a smaller stand mixer or the mixer base if your cabinetry has the depth for it. I’ve seen it turn totally wasted space into a secret storage win.
Possibly helpful picks:
- Toe Kick Drawer Installation Kit: Transform wasted space beneath your cabinets into usable storage with this handy hardware kit for seamless installation.
- Heavy Duty Drawer Slides: Support the weight of your heavy stand mixer securely by using these robust, soft-close drawer slides.
- Cabinet Drawer Pull Handle: Access your hidden drawer easily with a sleek, low-profile handle that blends perfectly with your kitchen design.
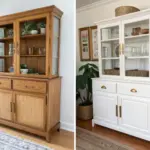
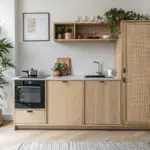
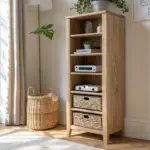
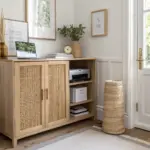
Convert a Sideboard Into a Mixer Cabinet
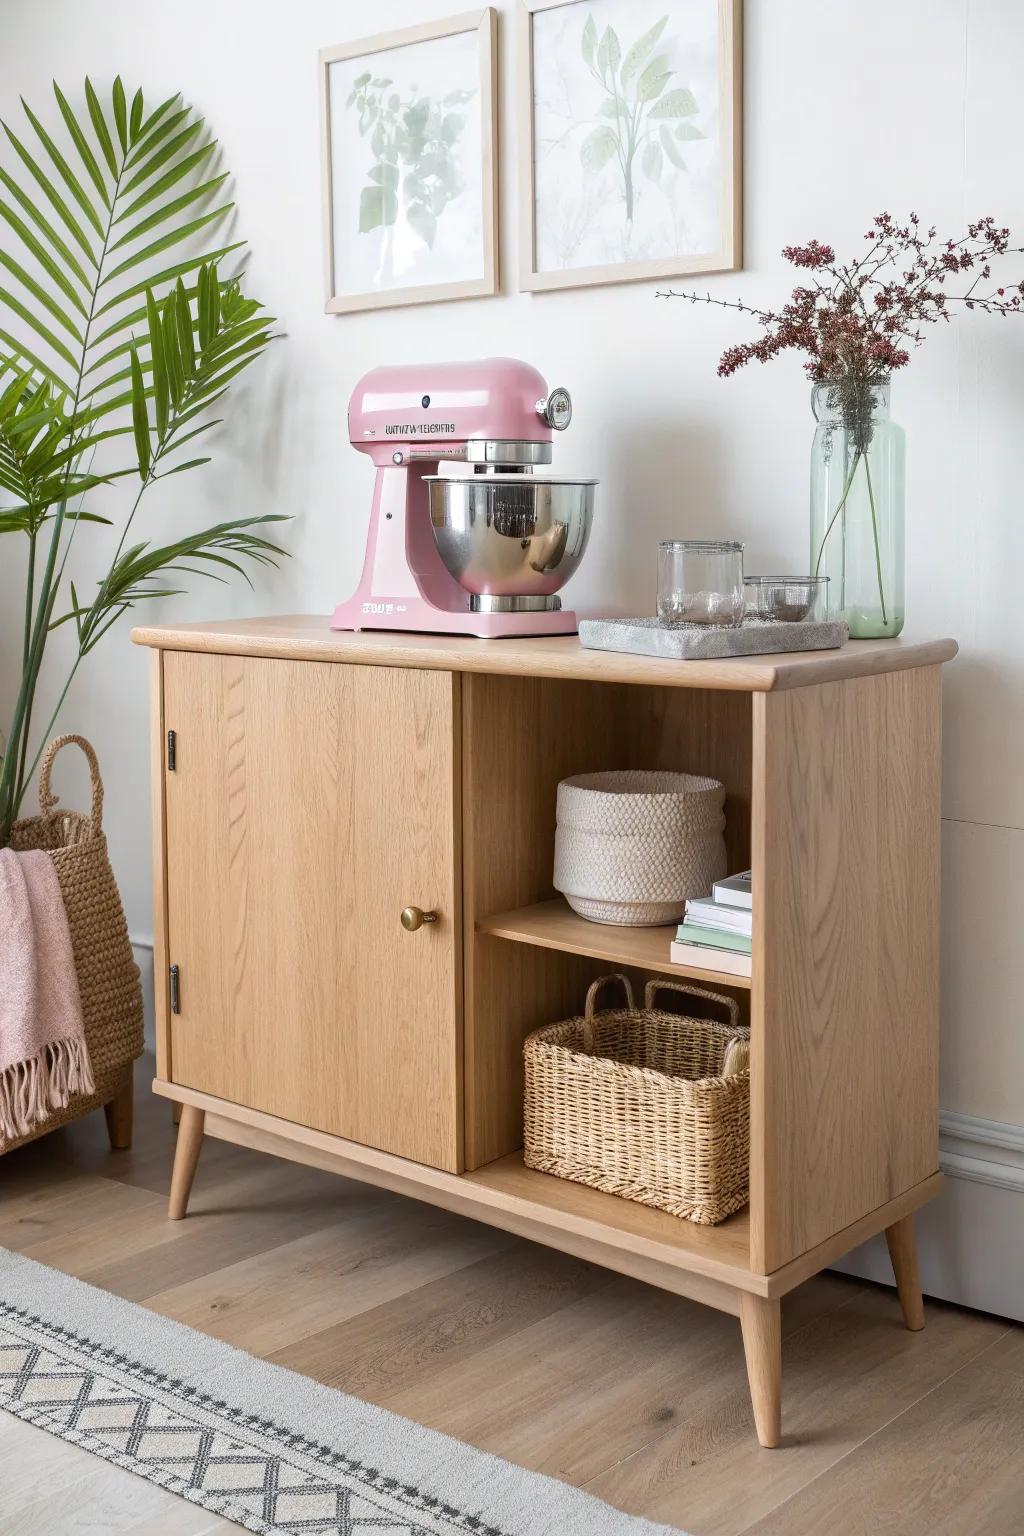
In one apartment, I used a compact dining sideboard as a “baking closet” so my stand mixer wasn’t fighting for kitchen cabinet space. It felt like adding storage out of thin air, and it looked like furniture instead of kitchen clutter.
Products that could assist:
- Mid-Century Modern Sideboard Cabinet: Create a dedicated baking station with a stylish sideboard that hides your mixer while looking like elegant furniture.
- Woven Storage Baskets: Keep baking attachments and loose tools organized on open shelves with these textured, aesthetically pleasing storage baskets.
- Clear Glass Canister Set: Store flour, sugar, or toppings visibly on top of your new cabinet for easy access while baking.


