Scrapbooking is so much more fun when you can actually find the paper, stickers, and tools you’re excited to use. In a small home, the secret is building a system that stores a lot, looks cute, and takes up barely any space.
Turn a Closet Into a Mini Scrapbook “Store”
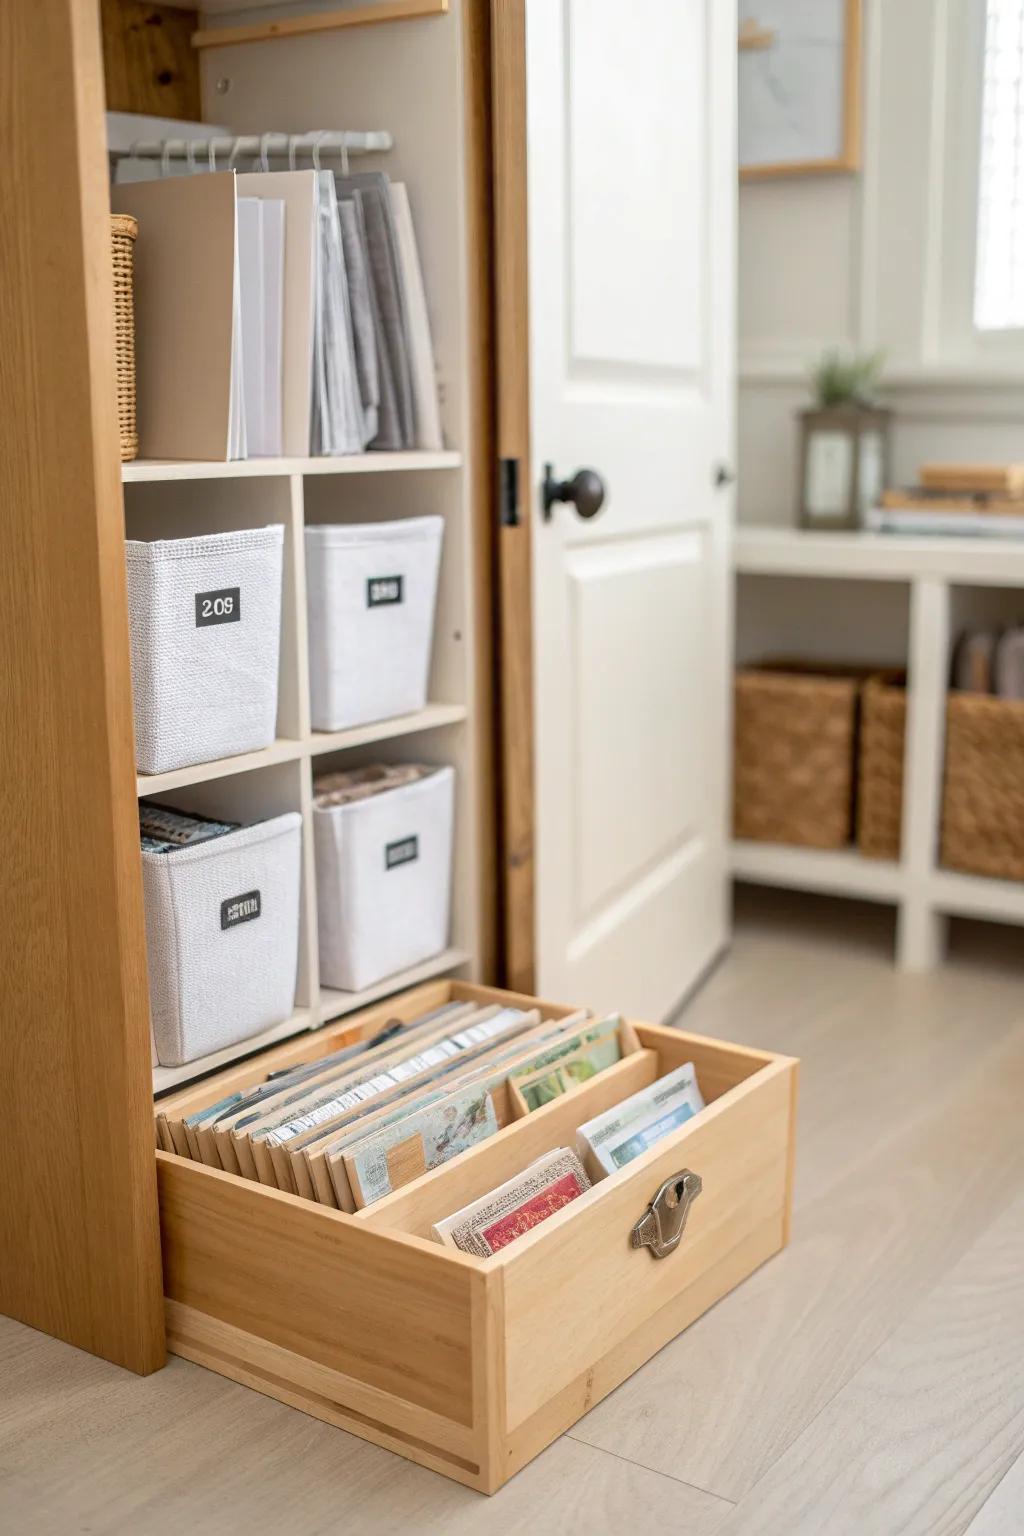
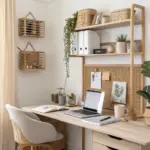
I once converted a narrow closet into a scrapbook zone by mounting shelves high for paper, adding bins down low, and keeping tools at eye level. Opening the doors and seeing my scrapbook organization laid out like a little shop made me create more often.
Possibly helpful picks:
- Fabric Storage Cubes with Labels: Keep loose embellishments and tools tidy by storing them in these versatile, labeled bins on your shelves.
- Wooden Drawer Organizers: create a custom filing system for your paper scraps and sticker sheets inside drawers or deep shelves.
- Vertical Magazine File Holders: Organize your essential cardstock and patterned paper vertically to easily browse your collection like a store.

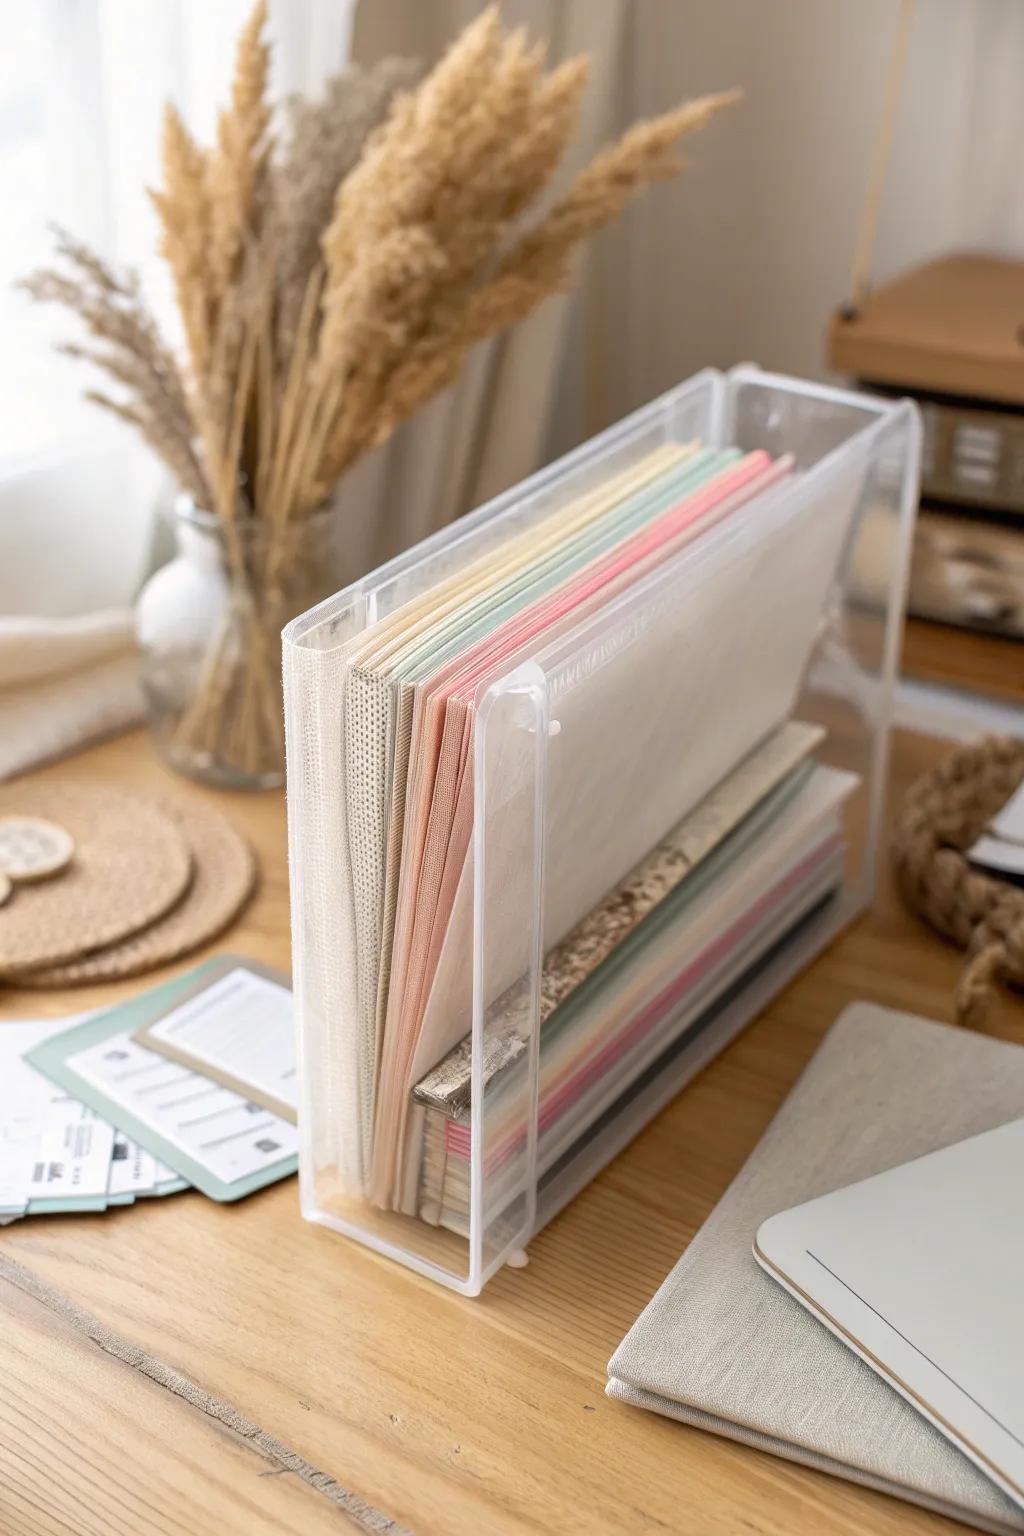
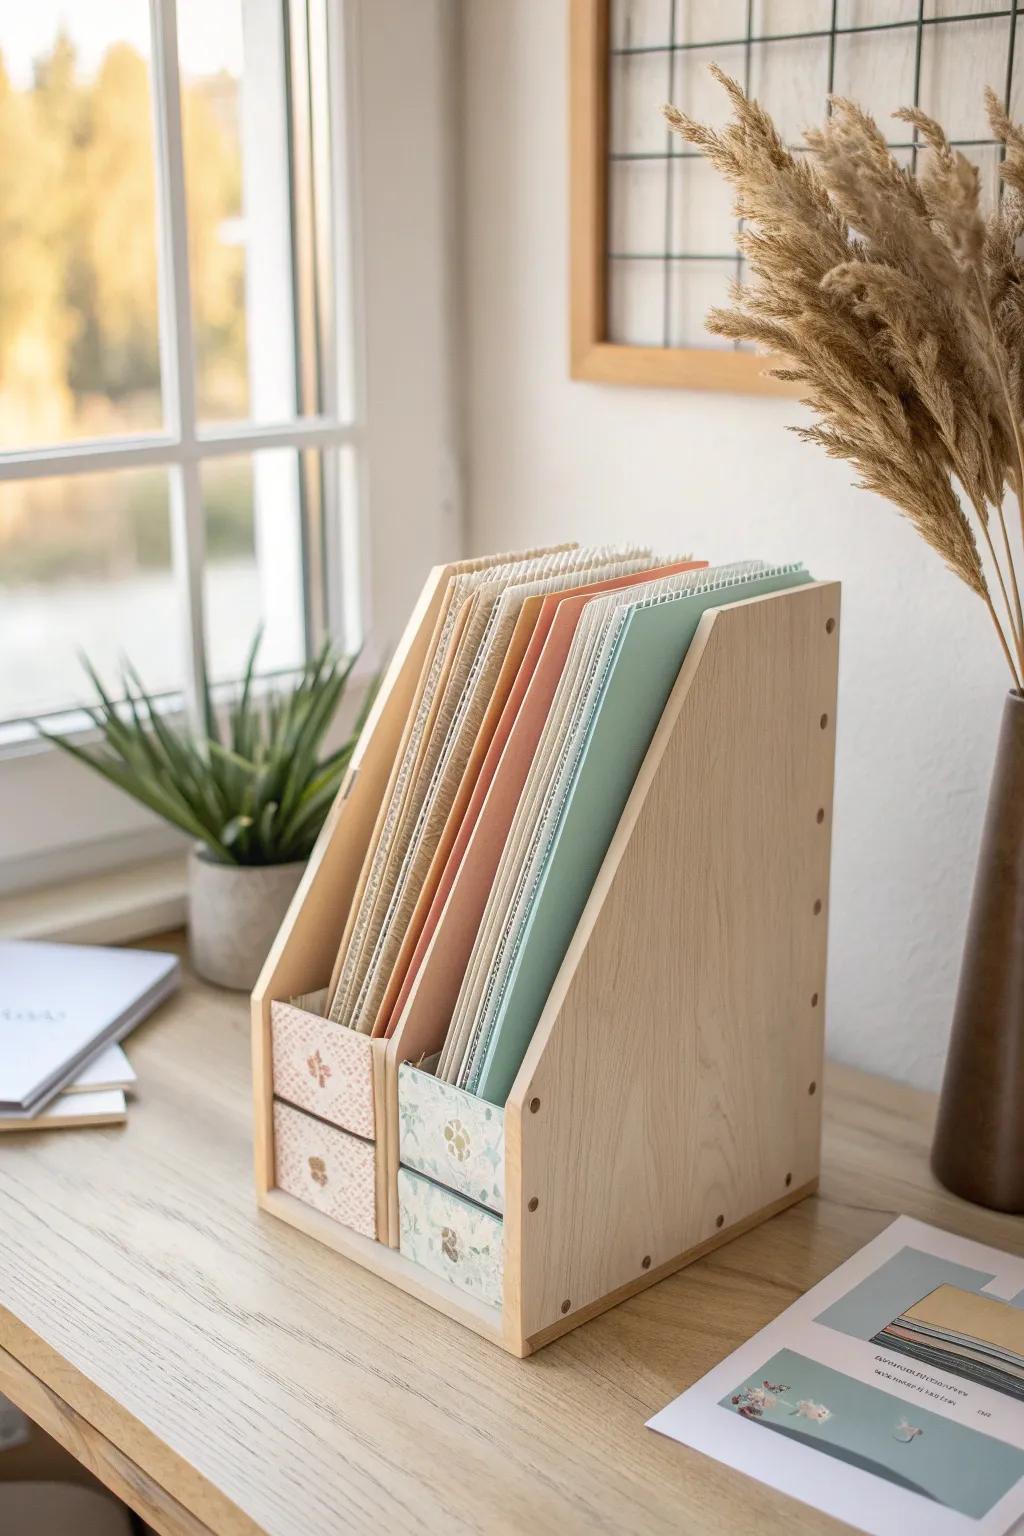
Store Scrapbook Paper Vertically
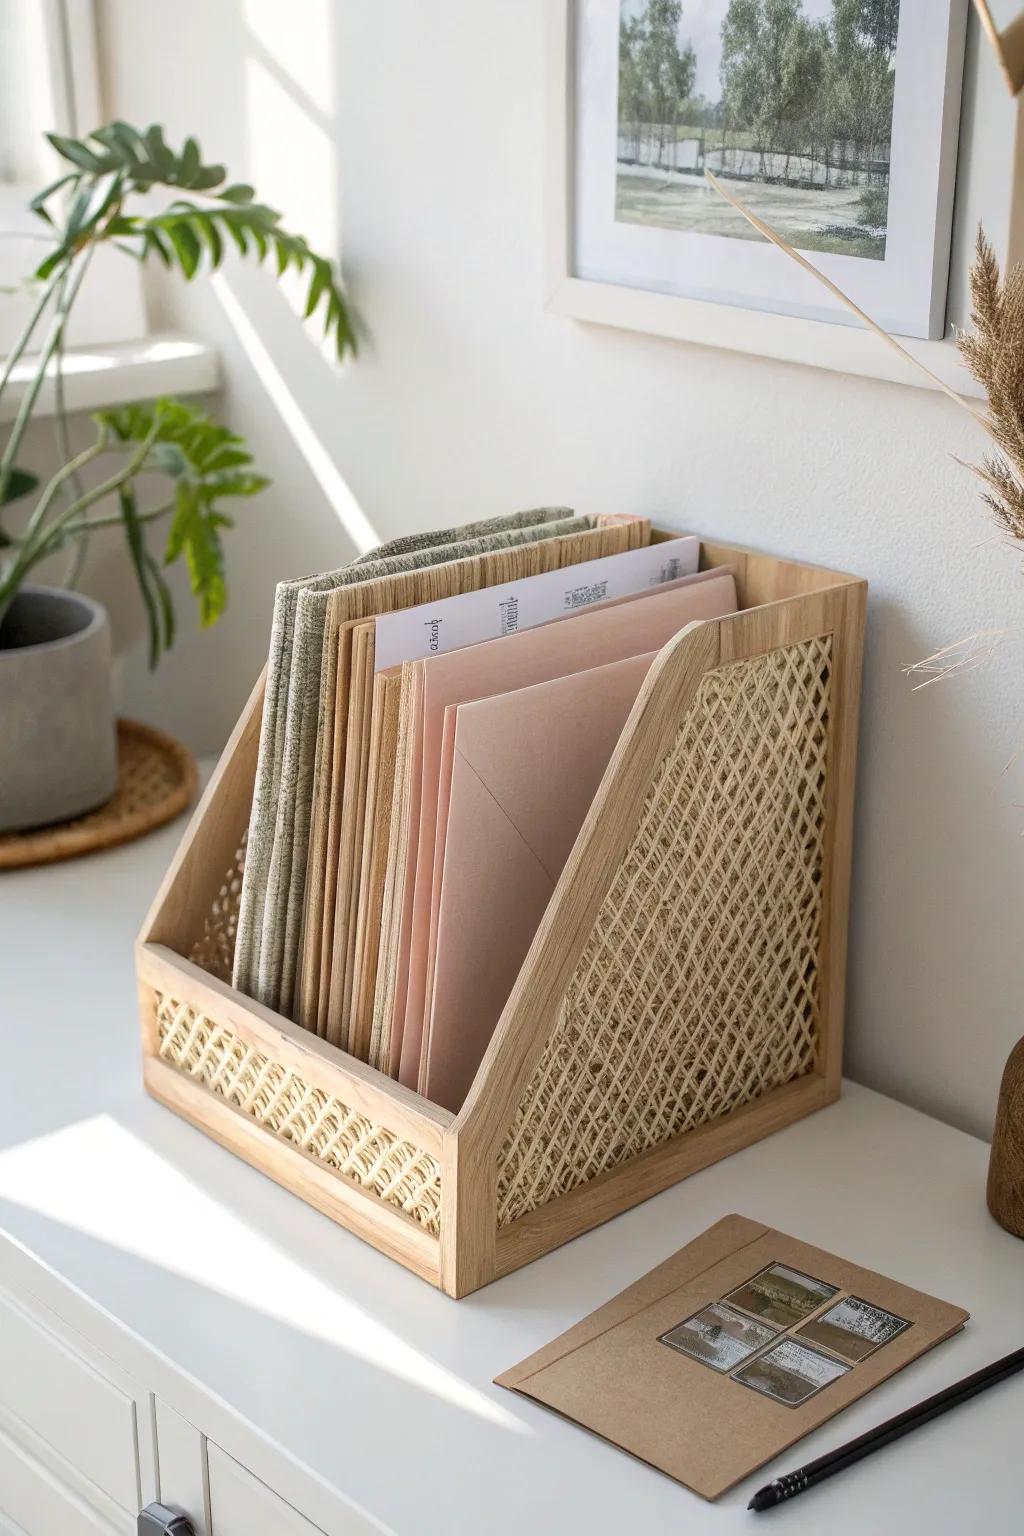
The biggest game-changer in my tiny apartment was switching to vertical paper storage so I can flip through sheets like files instead of lifting stacks. I keep 12×12 paper upright in sturdy holders, and it instantly feels twice as organized.
A few helpful options:
- Wooden Magazine File Holder: Keep your papers upright and accessible by storing them in a sturdy, stylish wooden file organizer.
- Clear Plastic Paper Storage Box: Protect your 12×12 scrapbook sheets from dust while keeping them visible with a vertical plastic case.
- Wire Desktop File Organizer: Maximize desk space and easily flip through your cardstock colors with a durable, open wire rack.
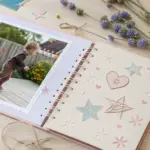
Sort Paper by Color and Theme
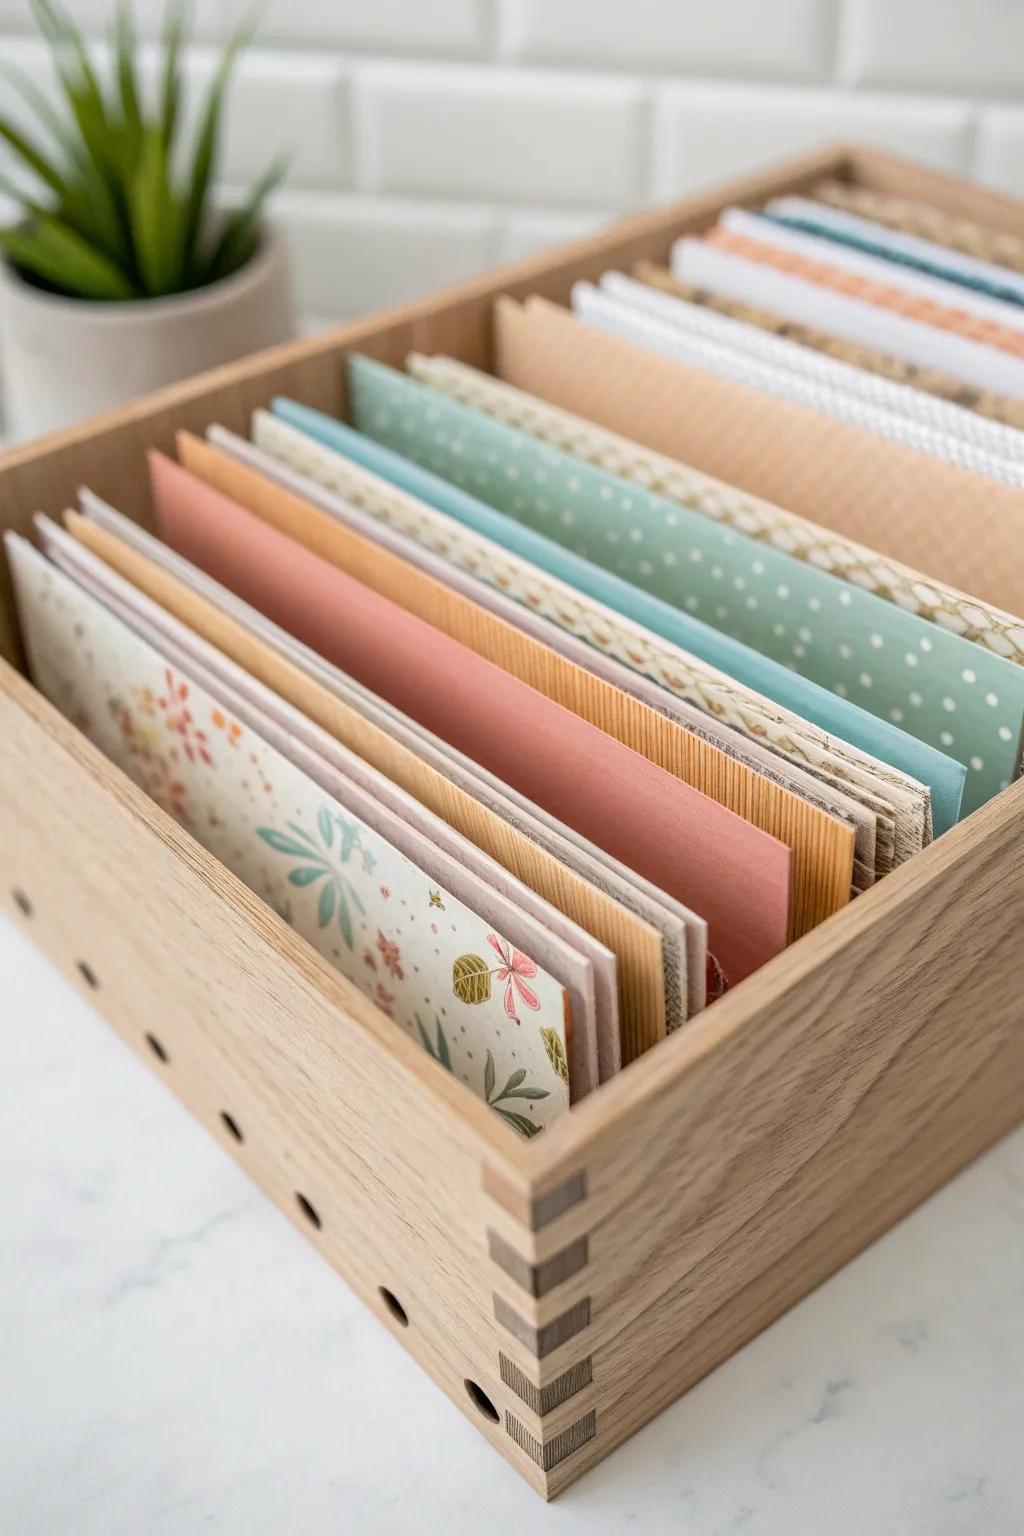
I organize my cardstock by color and my patterned paper by theme, because that’s how my brain shops when I’m mid-project. When I’m making a birthday layout, I can grab the exact vibe in seconds instead of pulling everything out.
Consider these options:
- Open Wooden Storage Crate: Store your sorted papers visibly with an open crate that keeps materials accessible and neatly displayed on your desk.
- Cardstock Divider Tabs: Keep your color and theme sections clearly defined by inserting durable, labeled dividers between your paper stacks.
- Patterned Paper Variety Pack: Start your organized collection with a fresh set of themed patterned papers ready to be sorted immediately.
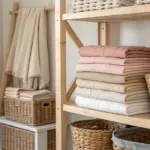
Use Cube Shelves With Mixed Inserts
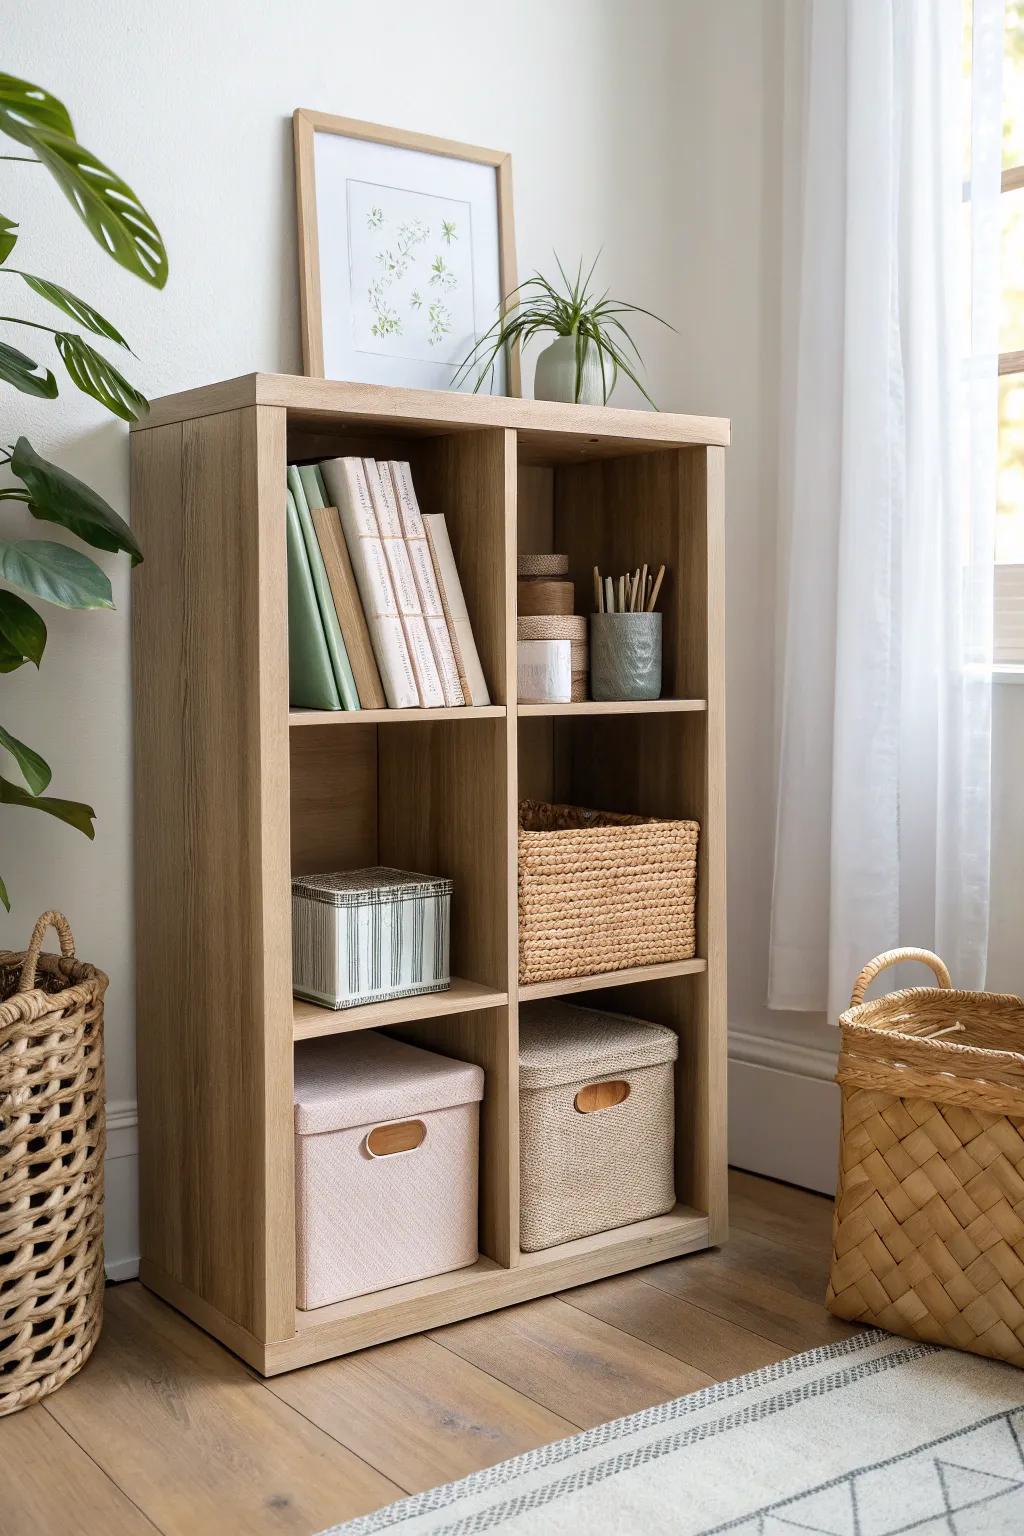
In my 450 sq ft setup, a cube shelving unit became scrapbook headquarters, with some cubes open for paper and others hidden with bins. I love mixing open display for pretty supplies and closed storage for the chaotic stuff.
Try these:
- Cube Organizer Shelving Unit: Build your perfect creative headquarters with a sturdy cube shelf that offers versatile spaces for display and organization.
- Woven Cube Storage Baskets: Hide clutter and add texture to your space using natural woven baskets that fit perfectly into standard storage cubes.
- Fabric Storage Bins with Handles: Keep smaller embellishments and tools organized and easily accessible with lightweight fabric bins featuring convenient pull handles.
Label Every Category Clearly
I used to think I’d “remember” where things went, and spoiler: I didn’t. Simple labels on bins, paper sections, and drawers keep my scrapbook organization from sliding back into mystery piles.
A few suggestions:
- Wooden Storage Box with Compartments: Store your scrapbooking supplies stylishly in a durable wooden organizer with multiple sections for easy sorting.
- Cardstock Divider Tabs: Separate your sticker sheets and paper scraps effortlessly using sturdy divider tabs that you can easily customize.
- Self-Adhesive Label Maker: Create clear, professional-looking labels for every drawer and bin to instantly identify your creative materials.
Keep Stickers in Document Sleeves
For sticker sheets and flat embellishments, I slide them into clear sleeves so nothing bends or disappears. I’ve found this saves me money too, because I stop re-buying the same sticker pack I forgot I owned.
Might be a good match:
- Clear Acrylic Desktop File Sorter: Store your sticker sleeves upright with this clear holder, making it easy to flip through your collection quickly.
- Clear Plastic Document Sleeves: Protect delicate sticker sheets from bending or tearing by sliding them into these transparent, durable plastic sleeves.
- Sheet Protectors with Binder Edge: Organize smaller embellishments easily using these protectors, which can stand alone in a sorter or fit into binders.
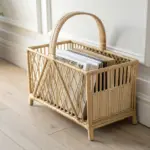
Create a Scrap Paper File
I keep scrap paper in its own vertical file by color, and it’s honestly my favorite “free supply” bin. When I started doing this, I stopped shoving scraps into random drawers and actually used them on every page.
Check these products out:
- Wooden Vertical File Holder: Store your scrap paper vertically for easy visibility, mimicking the clean, organized look of natural wood.
- Color-Coded File Folders: Sort your scraps by hue inside your organizer to quickly find the perfect color match for layouts.
- Mini Desktop Drawer Organizer: Keep tiny embellishments and the smallest paper scraps safe and accessible in compact, stackable drawers.
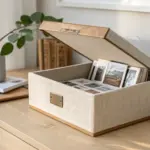
Dedicate One Bin to Current Projects
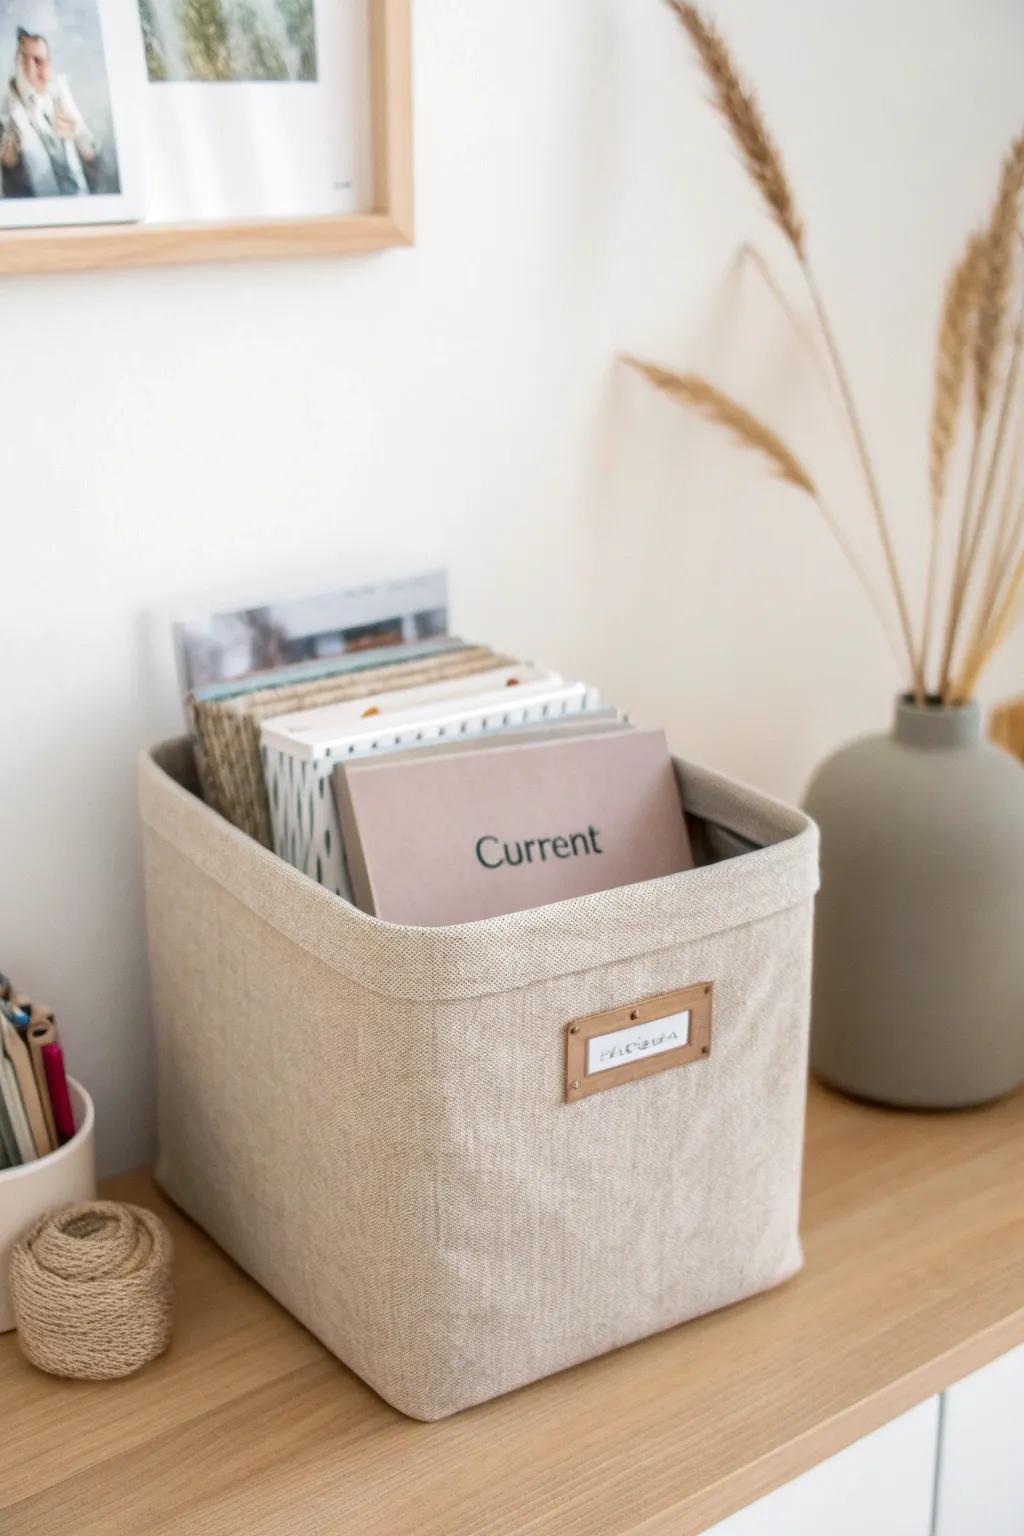
I keep a single project bin where the photos, journaling cards, and matching paper live until the layout is done. This saved my sanity because I can tidy up fast without mixing unfinished scrapbook pages into my main stash.
You might like:
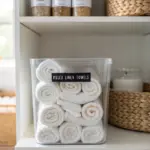
- Fabric Storage Bin with Label Holder: Keep your current scrapbook layouts tidy and accessible with a stylish, neutral fabric bin featuring a label.
- Expanding File Folder for 12×12 Paper: Protect your loose papers and photos inside the bin with an expandable folder sized for scrapbooking.
- Adhesive Label Holder Plates: Add a dedicated spot for labeling current projects to any plain storage basket you already own.
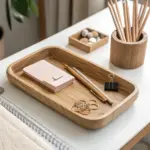
Corral Tools in a Desktop Caddy
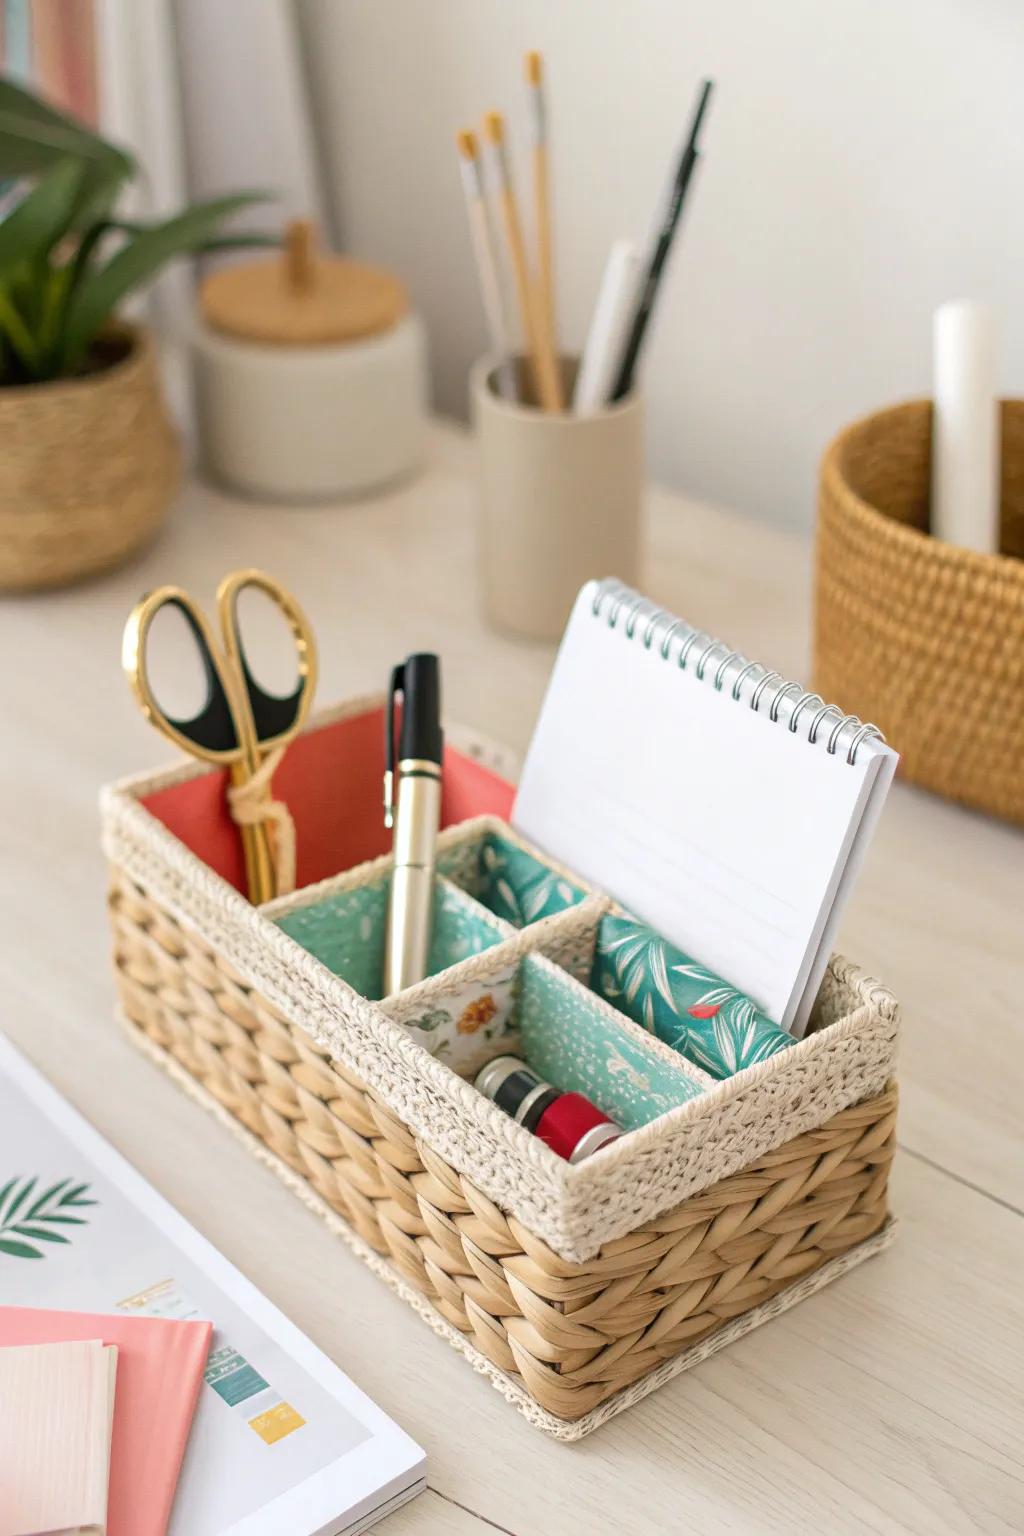
My rule is: if I use it every time (scissors, adhesive, pens), it goes in a tool caddy on my desk. When I lived in a studio, that one grab-and-go caddy made scrapbooking feel easy instead of like setting up a whole event.
Explore these options:
- Woven Desk Organizer: Keep essential tools visible and accessible with a stylish woven organizer that adds natural texture to your workspace.
- Gold-Handled Craft Scissors: Upgrade your toolkit with precision scissors featuring elegant gold handles for a touch of luxury while you cut.
- Small Spiral Notebooks: Organize your creative ideas or daily to-do lists quickly with these compact, convenient spiral-bound notepads.
Use Clear, Stackable Bins for Bulk Supplies
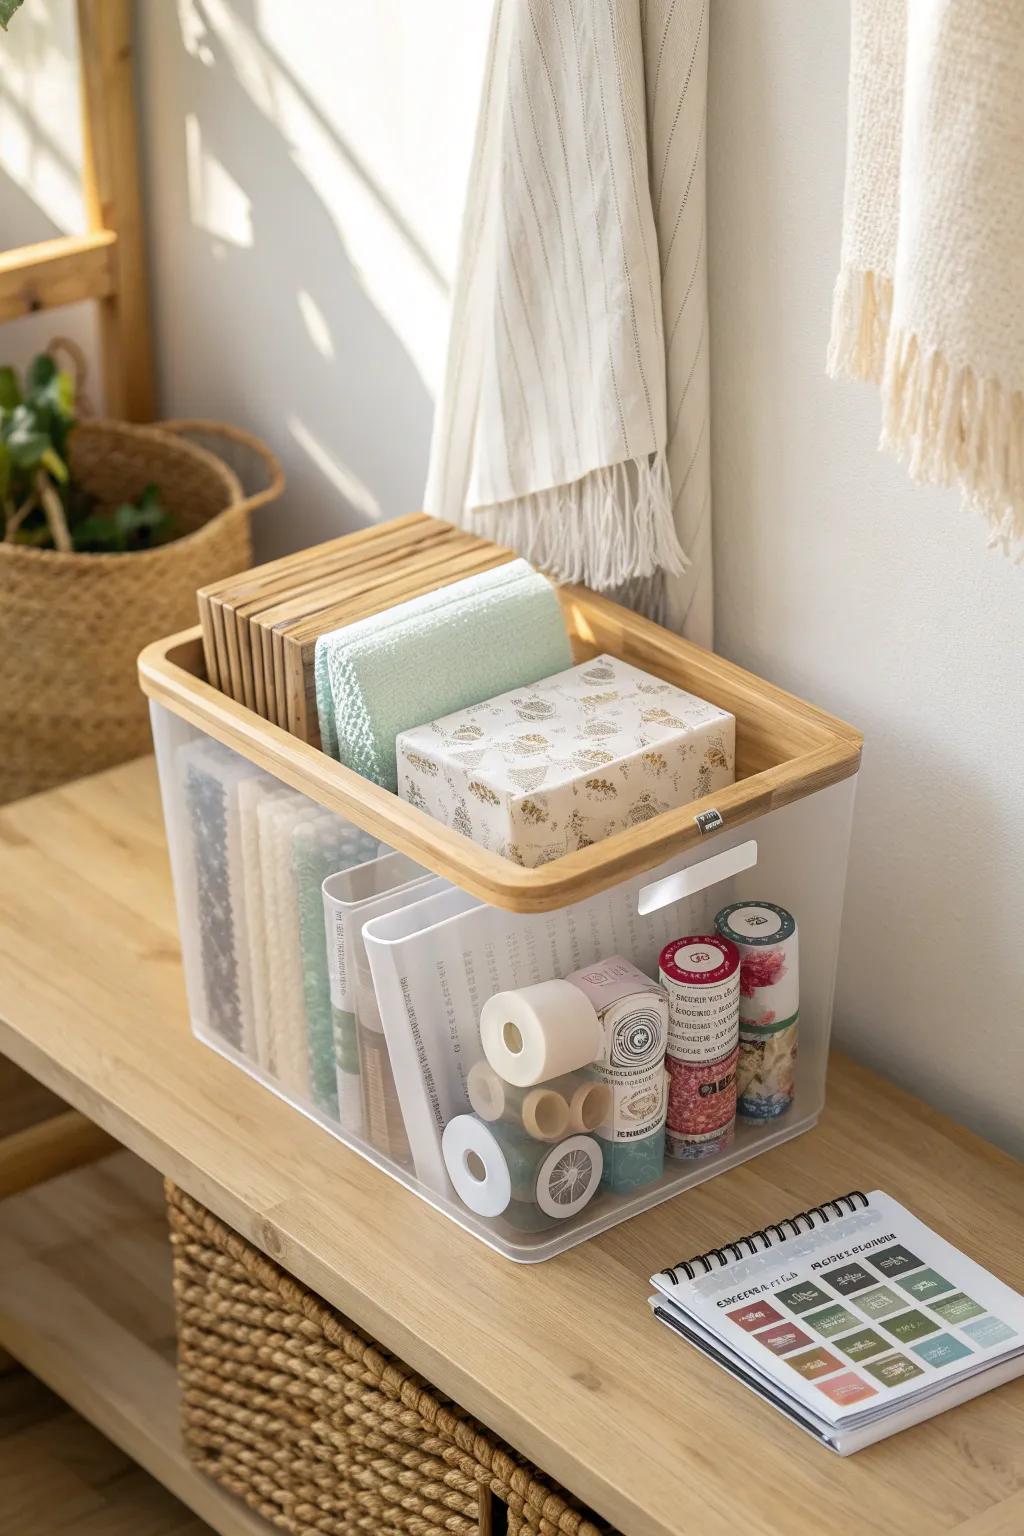
For bulky scrapbook supplies like extra adhesive refills and page protectors, I use clear stackable bins so I can see what’s low without digging. In my small closet craft nook, stacking upward is the only reason everything fits.
A few choices to try:
- Plastic Storage Bins with Bamboo Lids: Keep supplies visible and dust-free while adding a natural touch to your craft room organization.
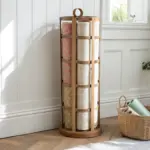
- Washi Tape & Ribbon Organizer Rolls: Display your favorite decorative tapes neatly to find the perfect pattern for your scrapbook layouts.
- Vertical File Folder Organizers: Store scrapbook paper pads and cardstock vertically to prevent bending and ensure easy access.
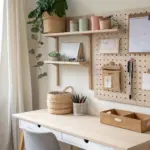
Hang Tools on a Wall Pegboard
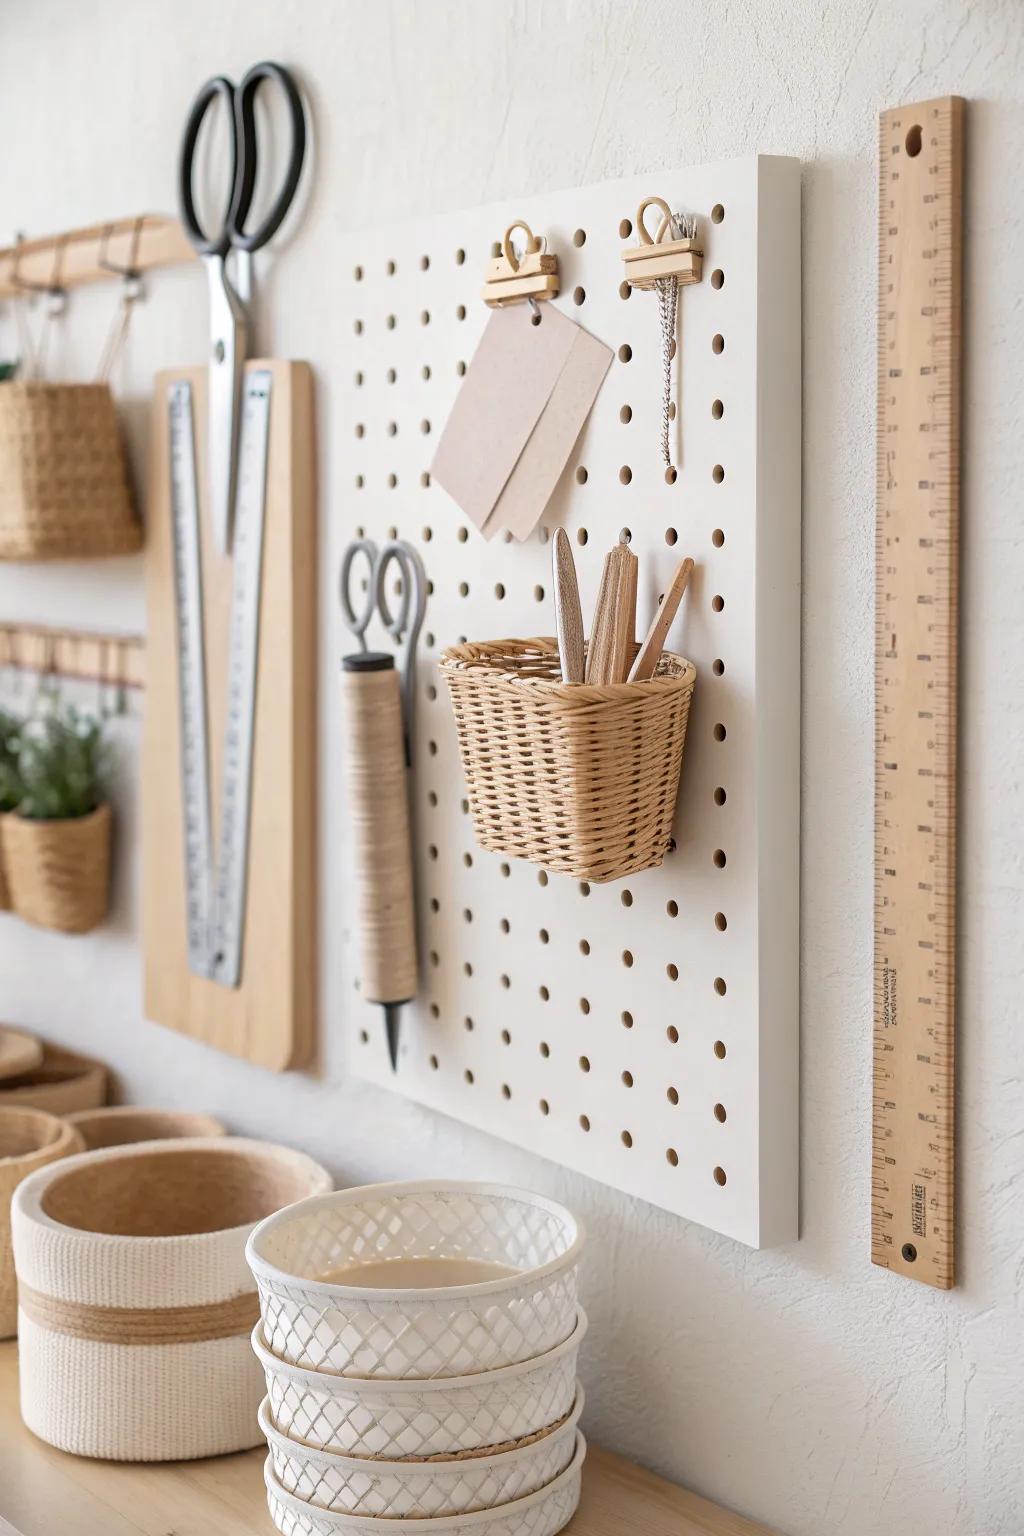
A pegboard wall was my best move for tiny-space scrapbook organization, because it freed up drawers for paper and keeps tools visible. I hang cutting tools, rulers, and little baskets for odds and ends, and it looks styled instead of messy.
A few things you might like:
- Wall-Mounted Pegboard Panel: Create a vertical storage system to keep tools visible and organized while freeing up valuable drawer space.
- Pegboard Basket Attachments: Store smaller crafting odds and ends neatly within reach by attaching these convenient hanging woven or wire baskets.
- Gold Binder Clips: Use these stylish clips to hang swatch cards or papers directly on pegboard hooks for easy reference.
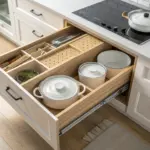
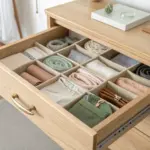
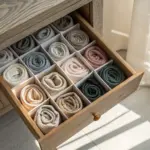
Add Drawer Dividers for Small Embellishments
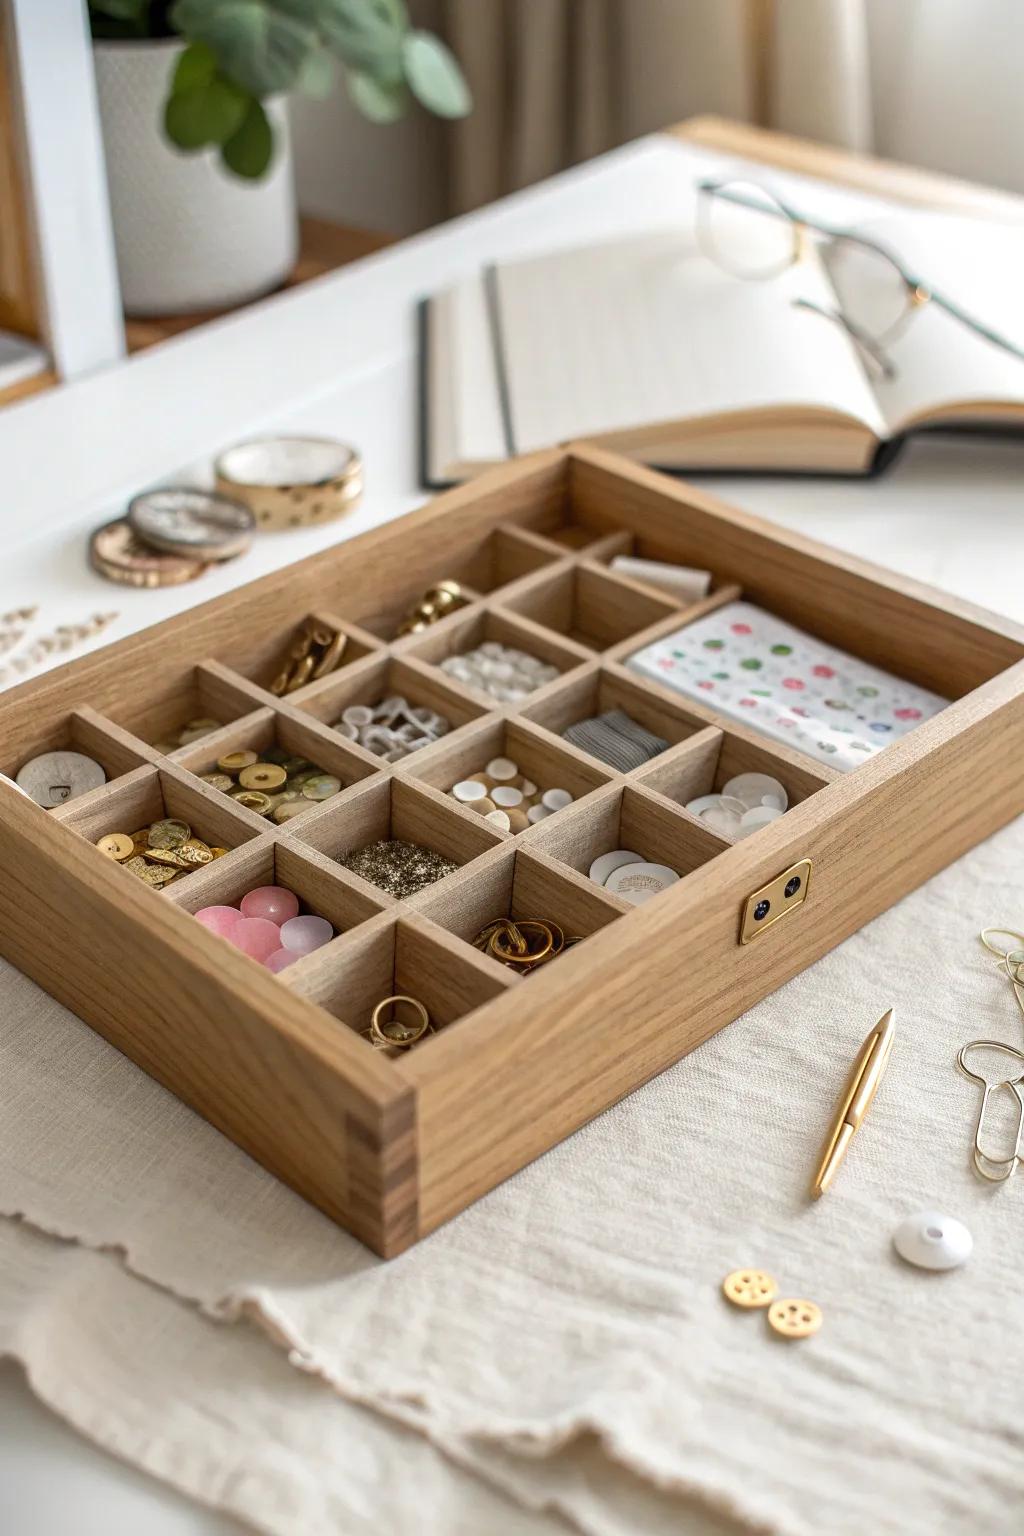
For brads, buttons, charms, and tiny die-cuts, drawer dividers keep everything separated so it doesn’t become one crunchy mix. This is the only way I’ve found to stop “small stuff” from taking over my whole scrapbook area.
Useful items to consider:
- Wooden Compartment Organizer Box: Store your tiny charms and buttons in style with a sturdy wooden organizer that keeps items separated.
- Adjustable Plastic Drawer Dividers: Customize your existing drawers instantly to create perfectly sized sections for die-cuts, brads, and loose embellishments.
- Stackable Bead Storage Case: Keep ultra-small items like seed beads or eyelets secure and visible with a clear, sectioned storage case.
Use Door-Back Organizers for Extras
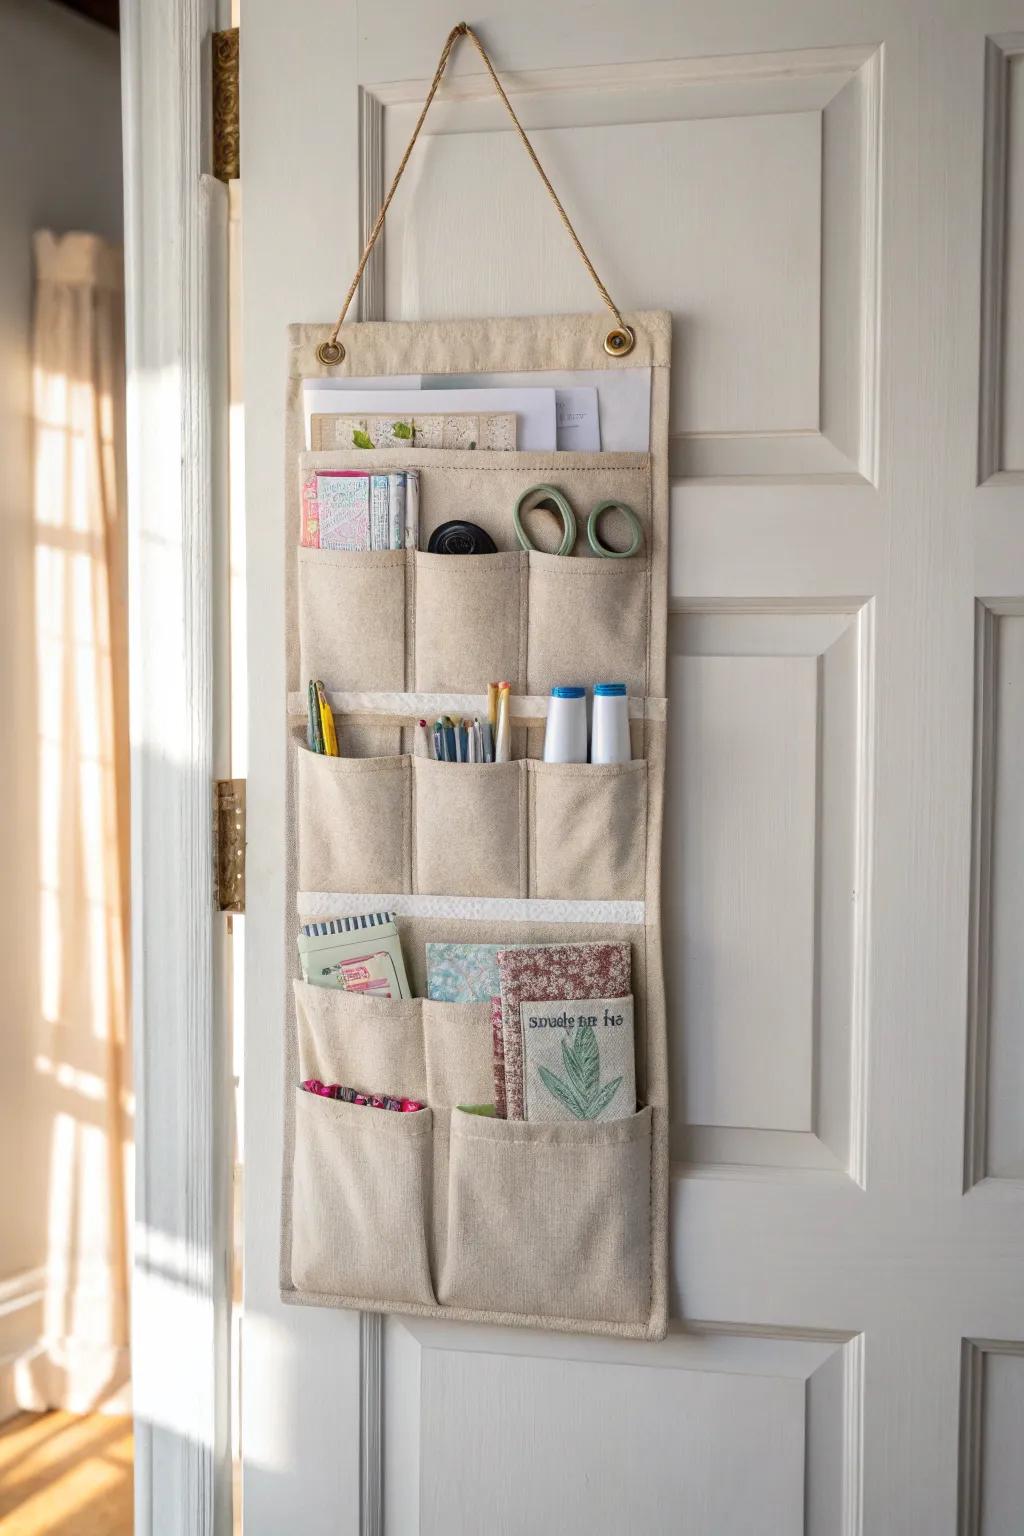
When I ran out of shelf space, I moved lighter scrapbook supplies onto an over-the-door organizer and it felt like discovering a whole new closet. Mine holds adhesives, pens, and sticker packs so my desk stays clear.
Check if these fit your needs:
- Hanging Door Organizer with Pockets: Maximize vertical space by hanging this organizer comfortably on your door to store extra crafting supplies.
- Assorted Scrapbooking Pens & Markers: Fill your new organizer pockets with colorful pens and markers to keep them easily accessible for projects.
- Small Scrapbooking Notebooks/Journals: Stash small field notebooks or journals in the organizer pouches for quick idea recording or sketching.
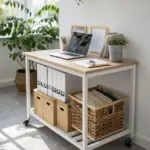
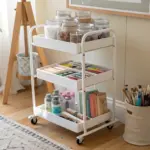
Keep a Rolling Cart for Mobile Scrapbooking

When my dining table doubled as my craft table, a rolling cart let me move scrapbook supplies in and out without spreading them across the whole room. I like setting the top tier as my “today’s tools” tray so cleanup is basically instant.
Give these a look:
- 3-Tier Rolling Utility Cart: Store your scrapbooking essentials on this mobile station to easily move projects from room to room.
- Magnetic Storage Cups & Bins: Attach these containers to your metal cart for extra storage that keeps small embellishments within reach.
- Clear Plastic Organizer Trays: Compartmentalize your cart tiers with these modular bins to prevent tiny supplies from mixing together.
Make a One-Minute Pack-Up Kit
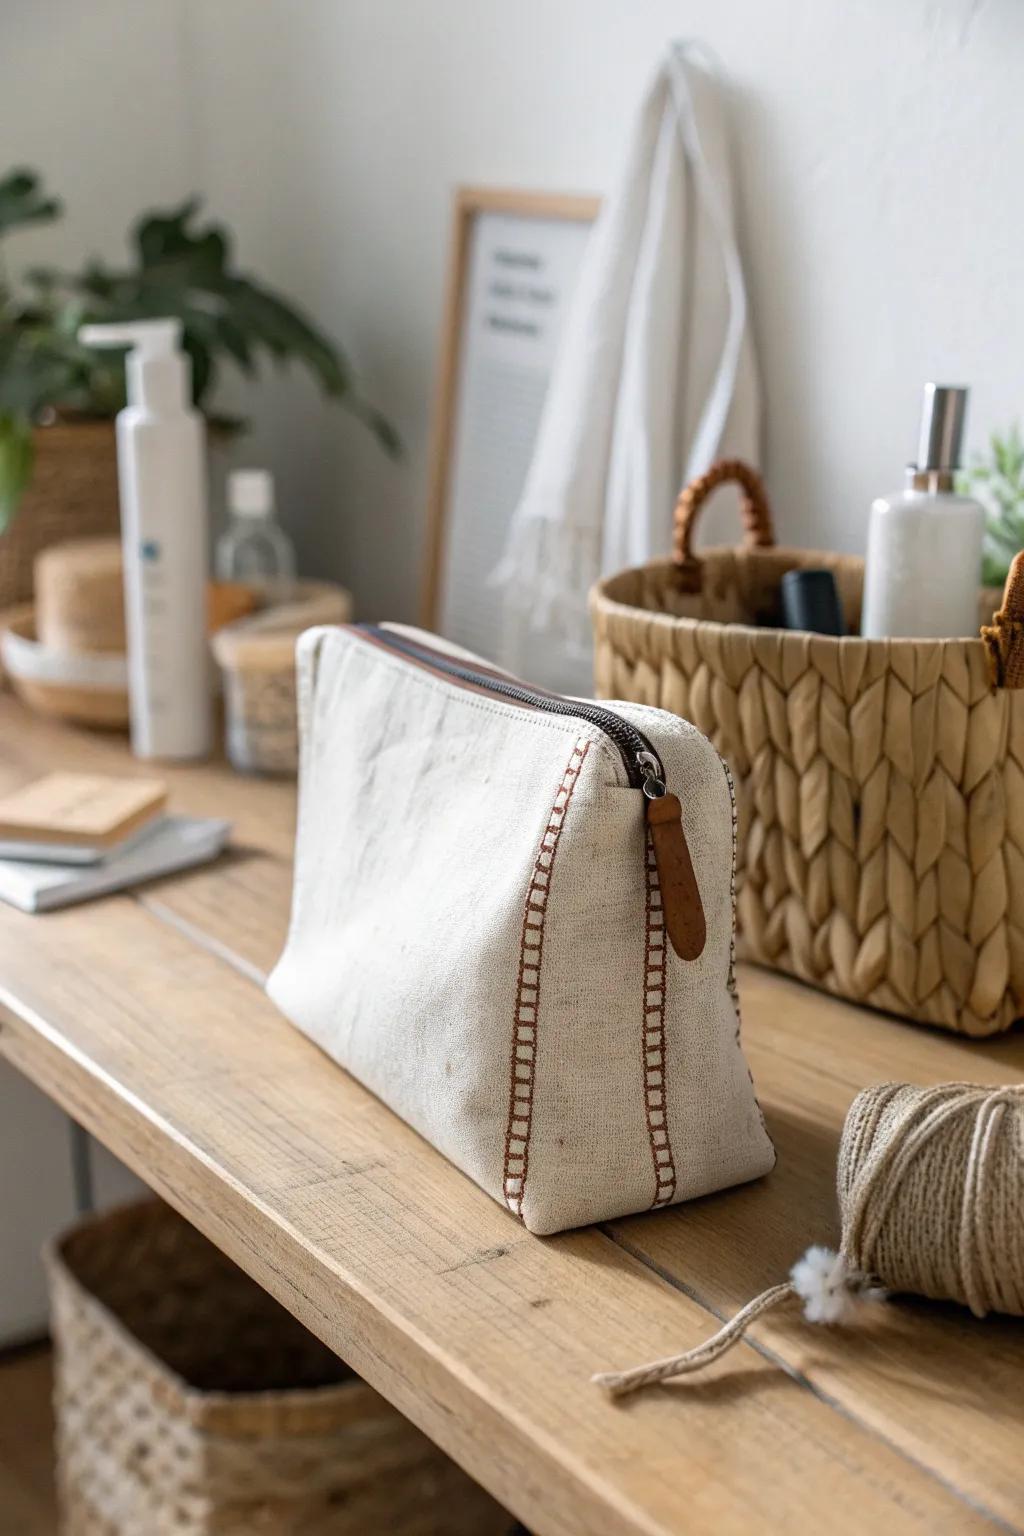
I keep a slim scrapbook cleanup kit with a mini trash pouch, wipes, and a spare adhesive in one spot so I can reset fast. I started this after living in a studio where leaving scraps out meant my whole home looked like a craft explosion.
May just do the trick:
- Zippered Canvas Pouch: Store your cleanup essentials in a durable, neutral pouch like this one for easy portability and simple organization.
- Mini Desktop Trash Bin: Keep scraps contained instantly with a compact bin that fits right alongside your pouch during crafting sessions.
- Adhesive Roller Refills: Stock your kit with spare adhesive runners so you never have to pause your cleanup or crafting flow.
Create a “Shopping Freeze” Inventory Card
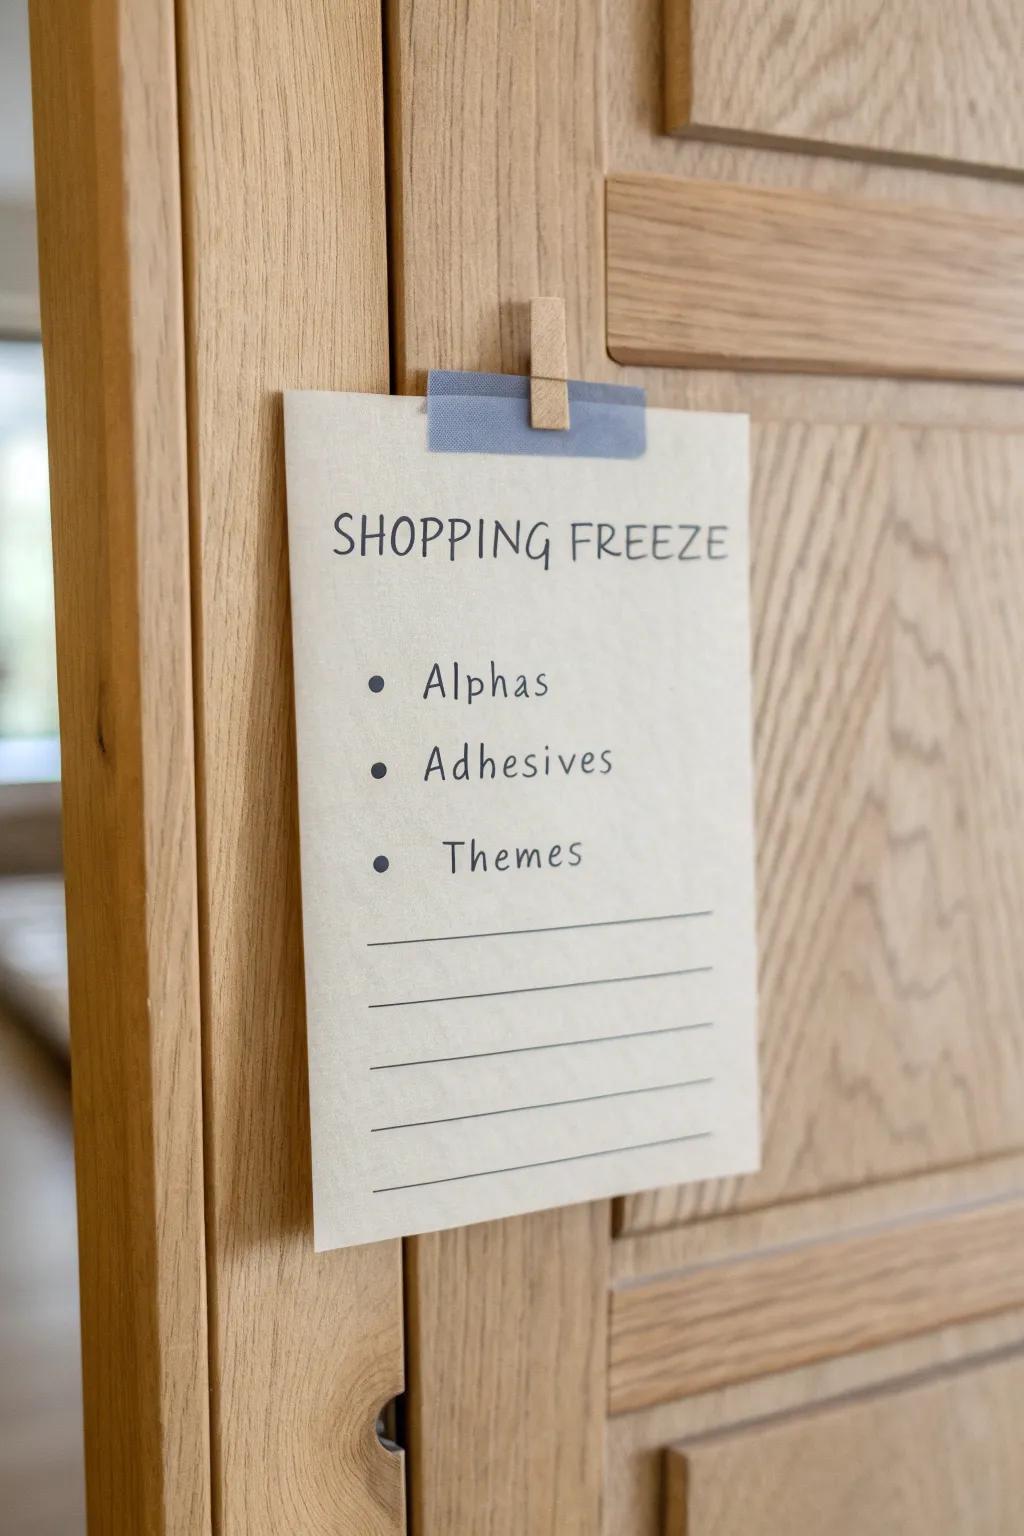
This one feels nerdy but it works: I keep an inventory card taped inside my supply cabinet listing what I already own (alphas, adhesives, and common themes). I started doing this after I found three unopened packs of the same scrapbook embellishment.
Possibly handy products:
- Heavyweight Cardstock Paper: Create durable inventory lists that won’t easily tear, serving as a lasting reminder of your supplies.
- Decorative Washi Tape: Secure your inventory cards stylishly to your cabinet doors or shelves without leaving sticky residue behind.
- Modern Wooden Clothespins: Add a charming, rustic touch to your organization system while holding your shopping freeze notes firmly.
Organize by Layout Size and Album Type
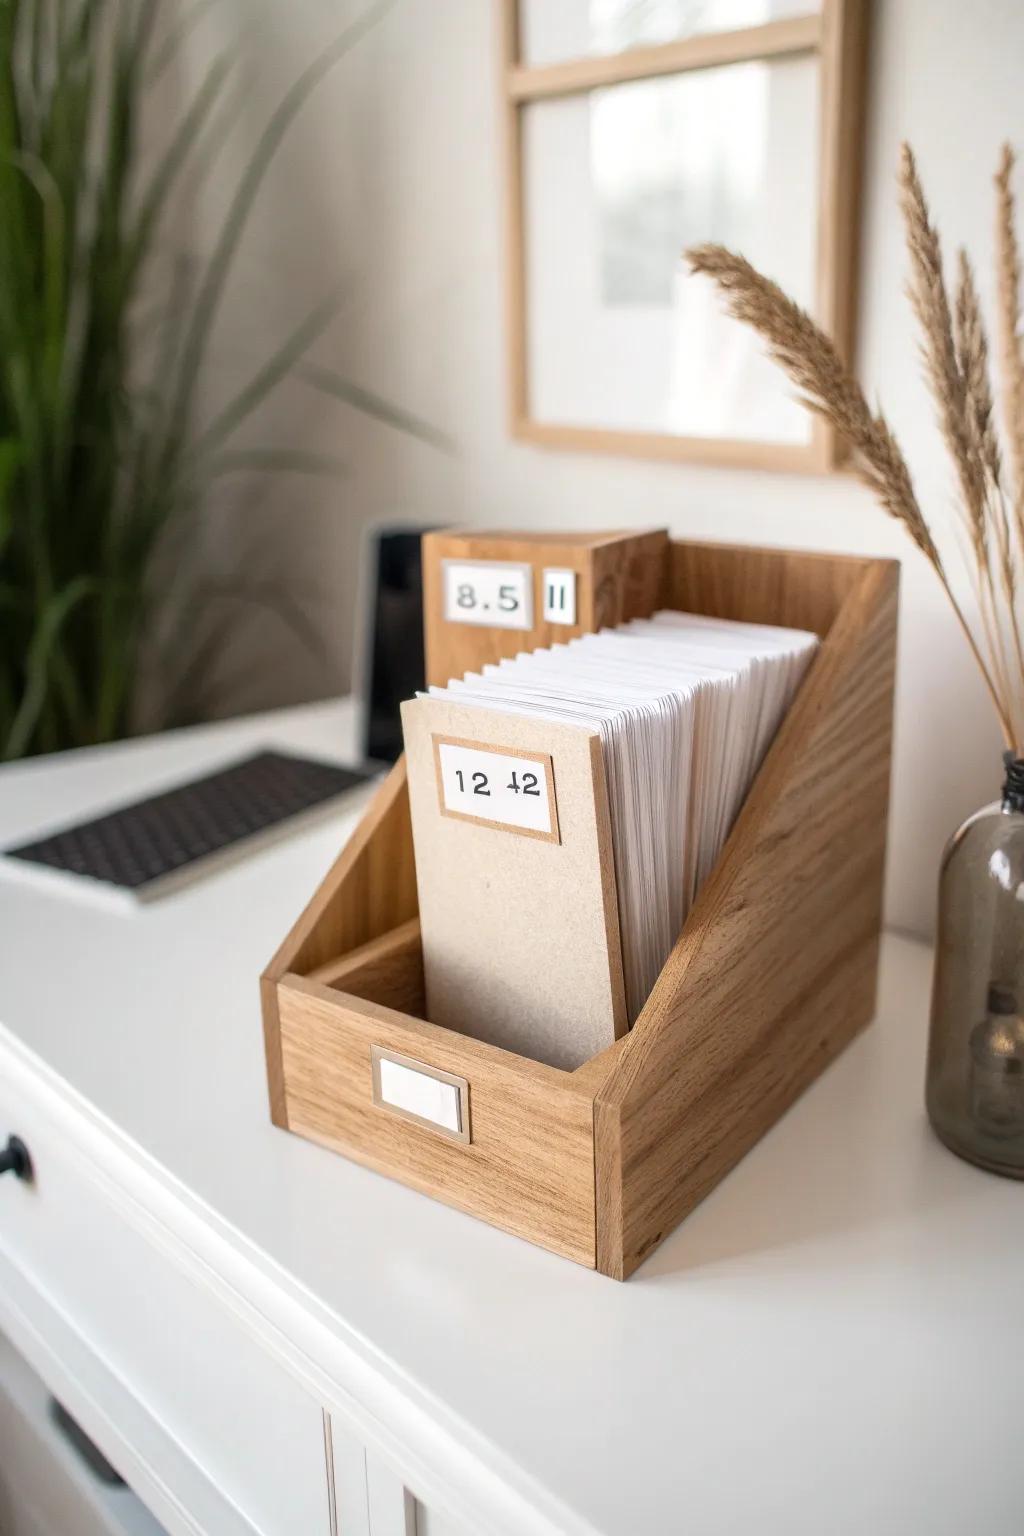
If you bounce between sizes, separate 8.5×11 supplies from 12×12 supplies so your storage doesn’t get jammed and bent. I learned this the hard way when I kept forcing mismatched paper into the wrong bin and wrecked the corners.
Items that may come in handy:
- Vertical Wooden Paper Holder: Keep your different paper sizes upright and accessible with a study wooden sorter on your desk.
- Labeled Tab Dividers: Separate your 8.5×11 and 12×12 cardstock easily using customizable tab dividers for clear organization.
- Adhesive Label Holders: Add metal label holders to your bins or dividers to instantly identify paper sizes at a glance.
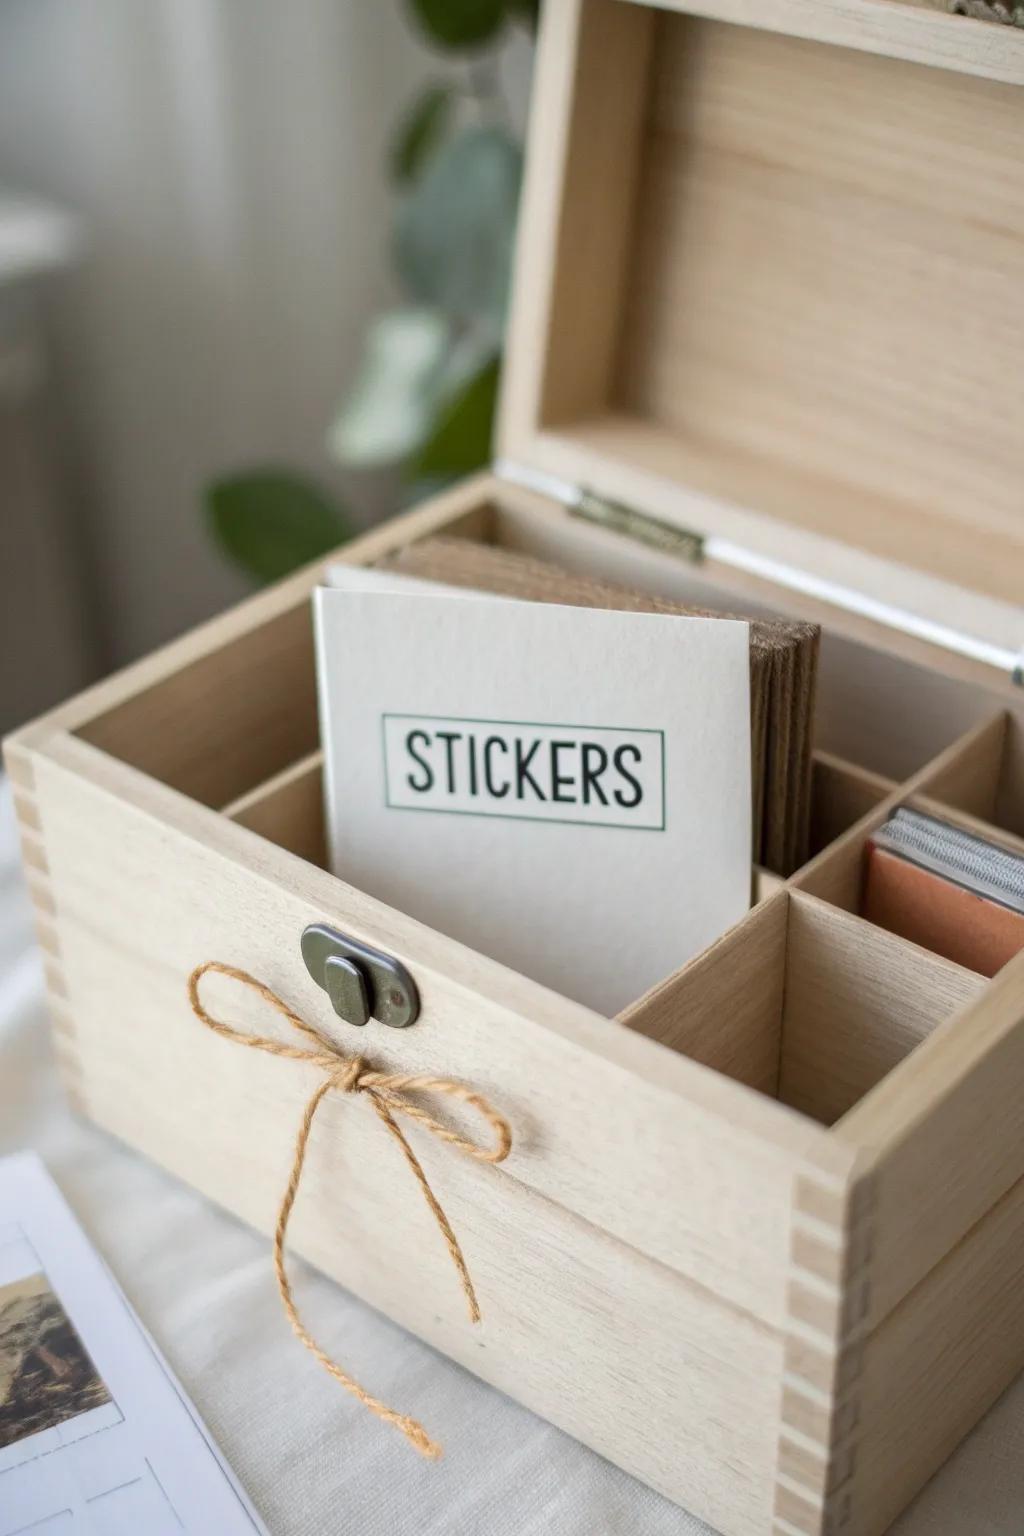
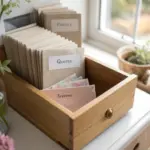
Use a “Theme Library” With Tiny Pull Boxes
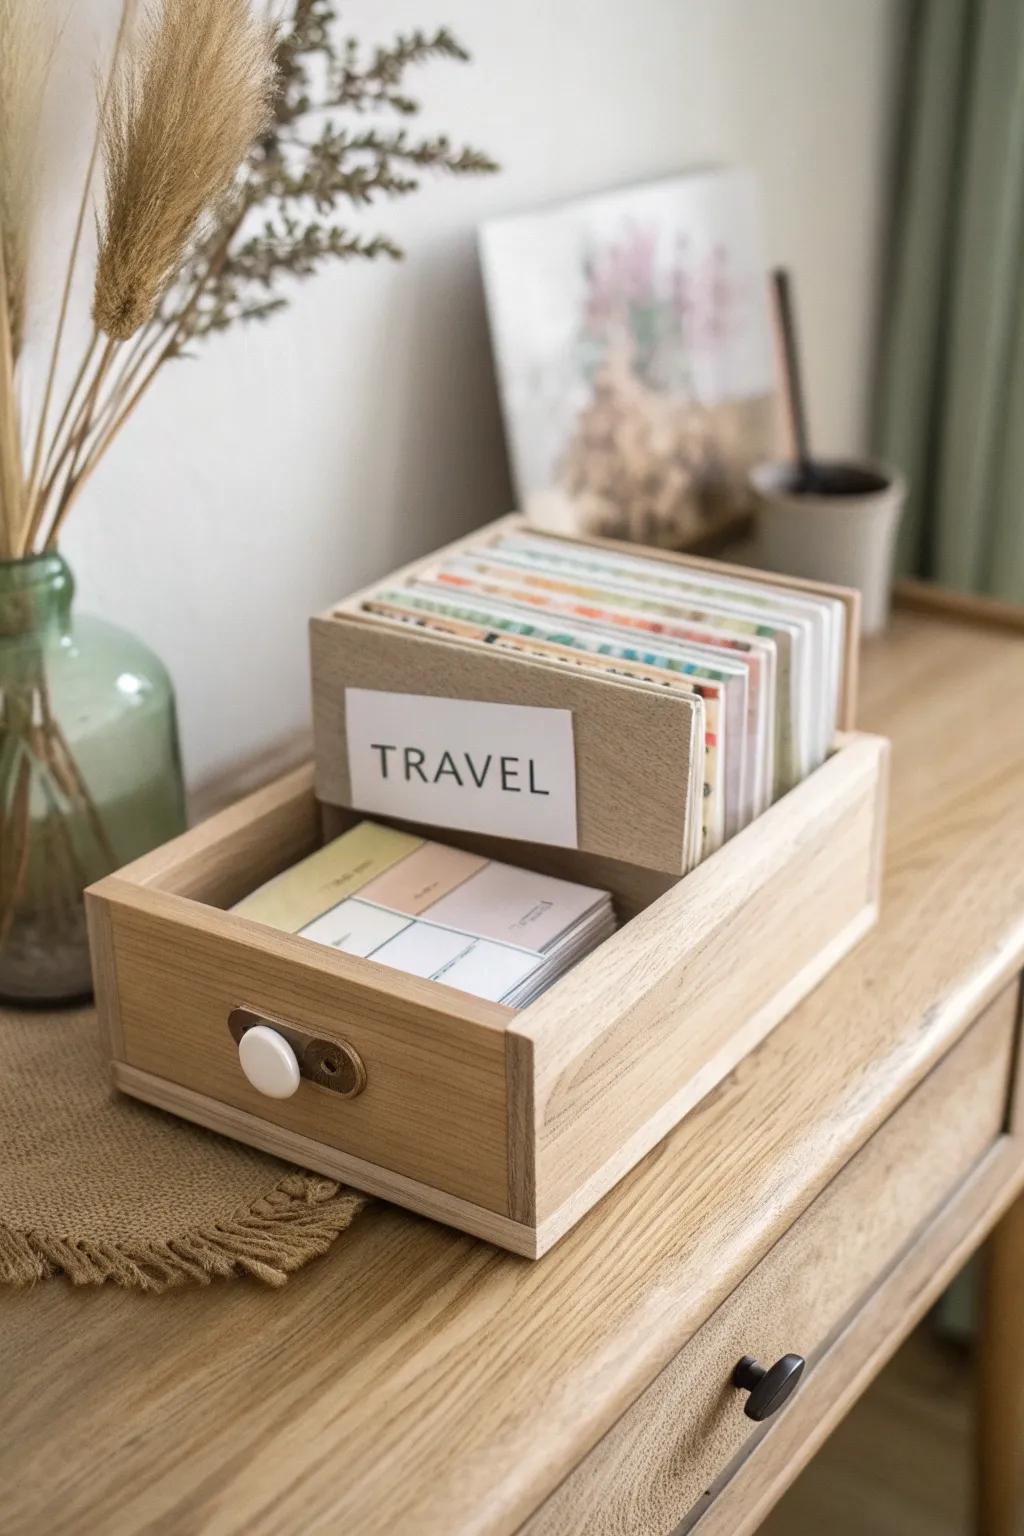
For a wow-factor system, I keep small pull boxes labeled like a library—travel, birthday, baby, holidays—each holding matching stickers, die-cuts, and journaling cards. I started this when I got tired of hunting through five containers just to build one themed scrapbook page.
A few relevant products:
- Wooden Desktop Organizers with Drawers: Store your themed stickers and die-cuts neatly in these compact, stackable wooden drawers for easy access.
- Cardstock Dividers or Index Cards: Separate your categories clearly by inserting sturdy dividers or colored index cards inside your organizational boxes.
- Adhesive Label Holders or Stickers: Identify each drawer’s contents instantly by applying clear, customizable labels to the front of every bin.


