Printed photos are basically tiny time machines, but they turn into chaos fast in a small home. These photo storage ideas are the exact kinds of systems I’ve used in my own tiny apartments to keep memories protected, labeled, and actually easy to enjoy.
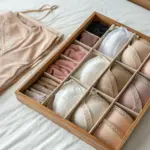
Separate Sizes So Nothing Gets Bent
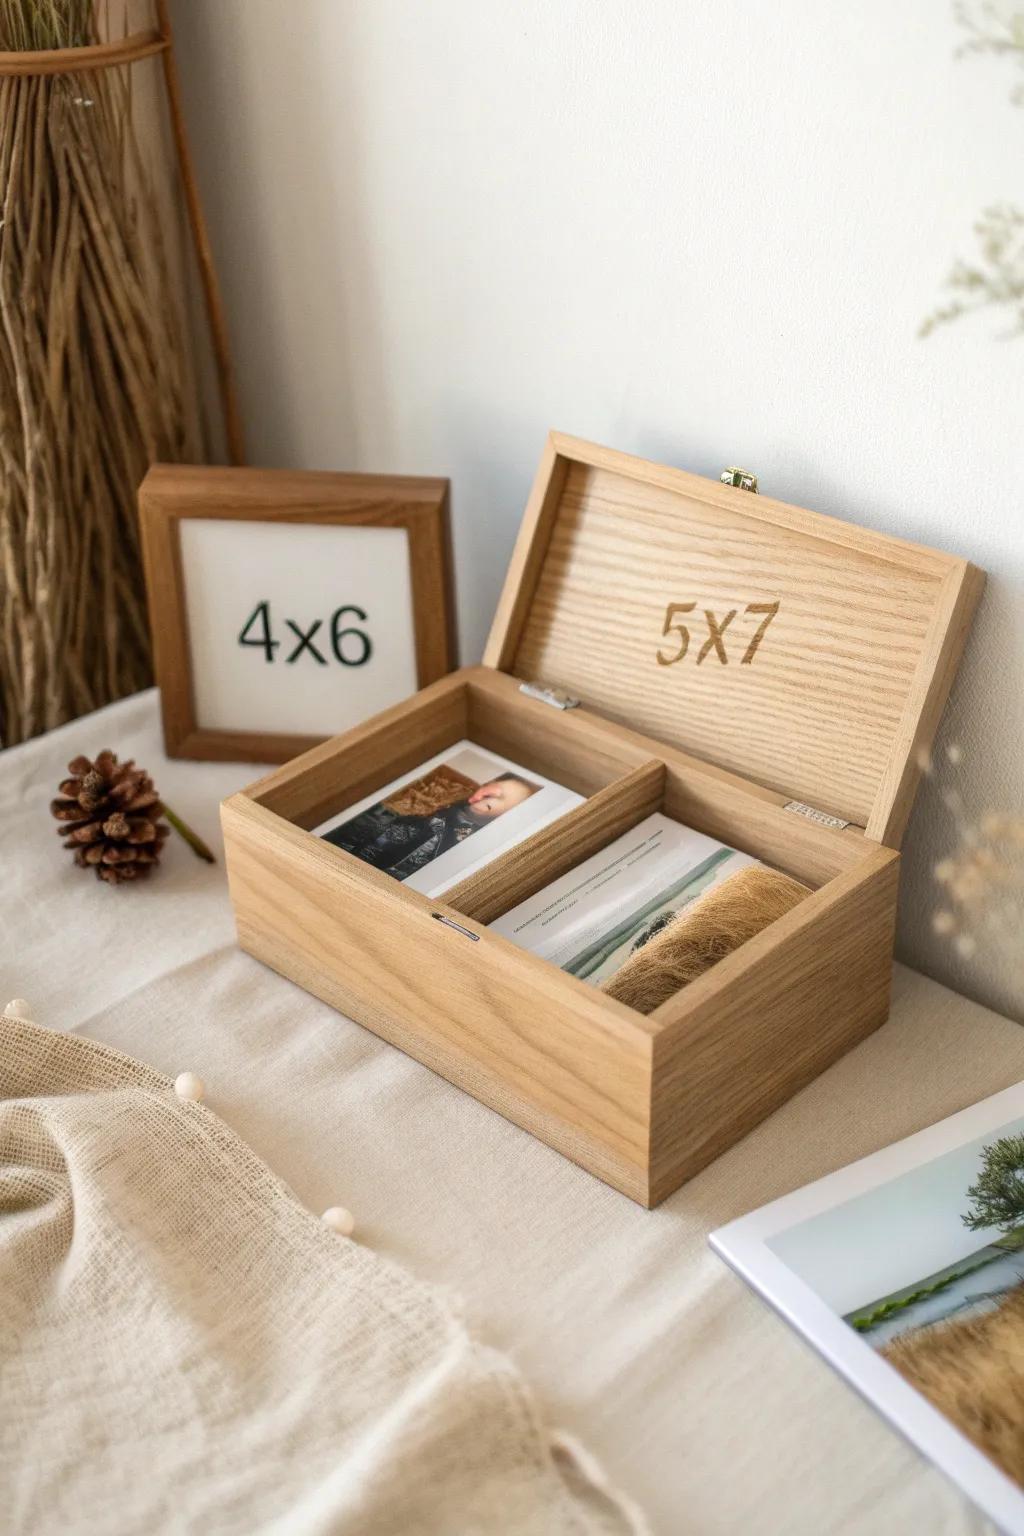
I learned the hard way that mixing sizes leads to curled corners, so I store 5×7 prints and 4×6 prints in separate containers. Once I did that, my photos stayed flatter and I stopped feeling like I was “ruining” them just by storing them.
A few relevant products:
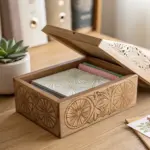
- Wooden Photo Storage Box: Protect your cherished memories in an elegant wooden box that keeps prints flat and organized by size.
- Acid-Free Photo Sleeves: Ensure long-term preservation by sliding your prints into archival-quality sleeves before placing them in boxes.
- Divided Photo Organizer Case: Keep different sizes perfectly separated and organized with a sturdy case featuring adjustable internal compartments.
Stackable Photo Boxes With Dividers
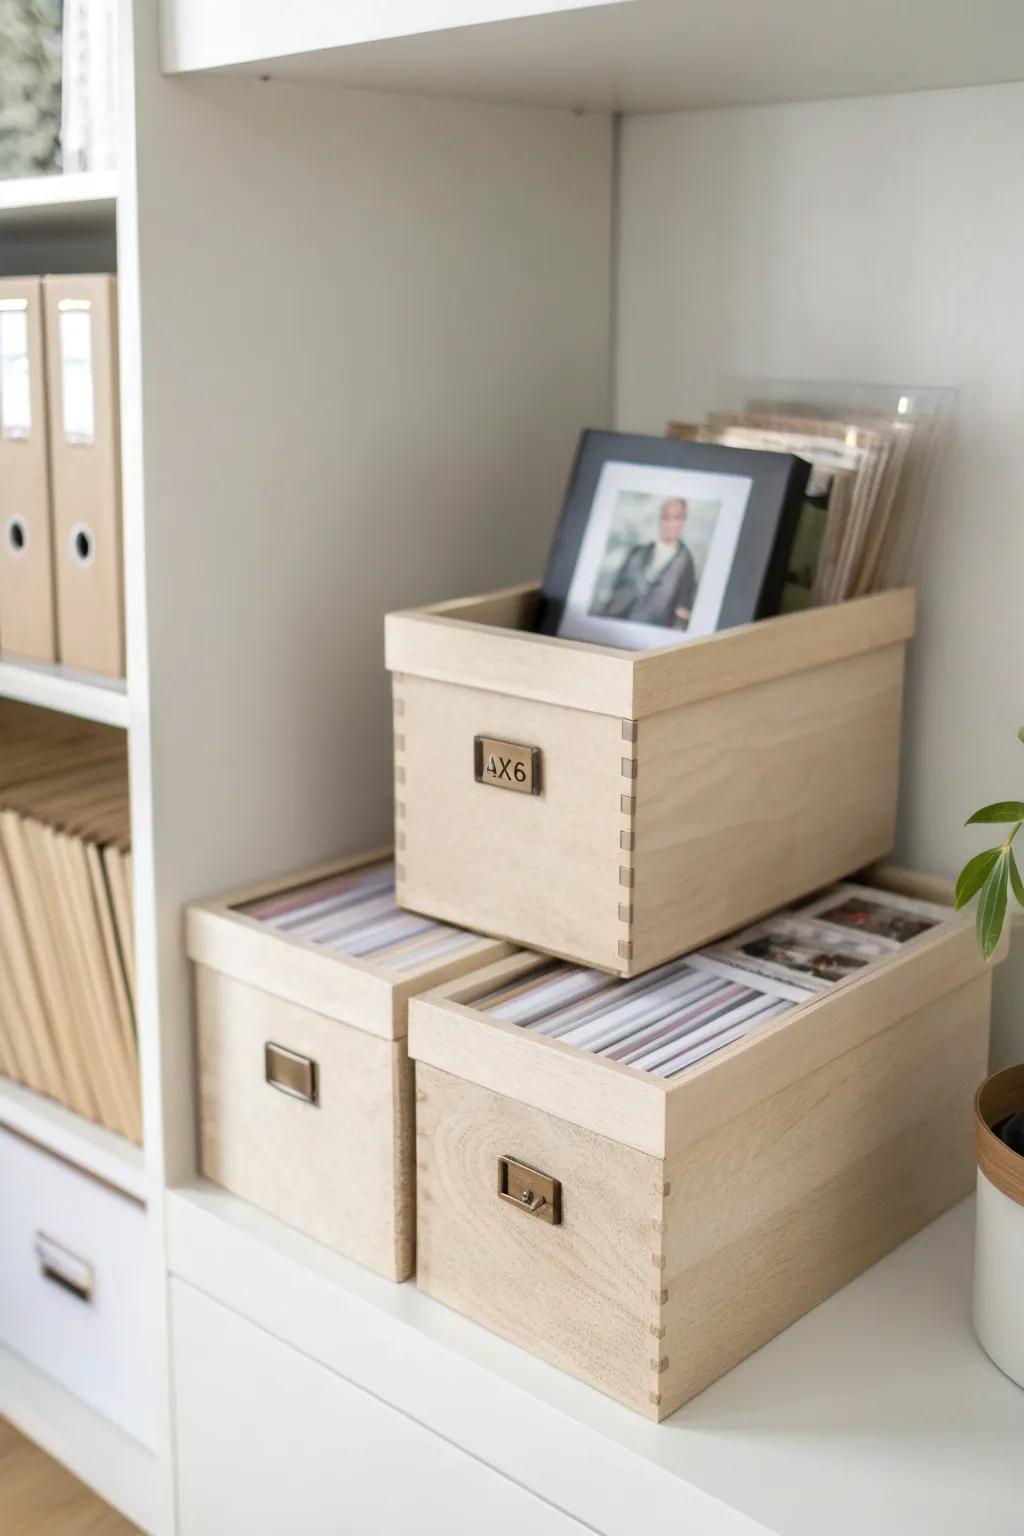
My go-to is a set of stackable photo boxes with photo dividers so prints stand upright like little files instead of slumping into a pile. I use this in my closet and it’s the first thing that made my photo stash feel “handled.”
You might give these a try:
- Wooden Photo Storage Box: Store your memories stylishly with a sturdy wooden box that keeps prints organized and upright on shelves.
- Photo Divider Cards: Sort your photography collection easily by date or event using these simple index cards for quick categorization.
- Metal Label Frames: Add a classic touch and identify contents instantly by attaching these metal label holders to your boxes.
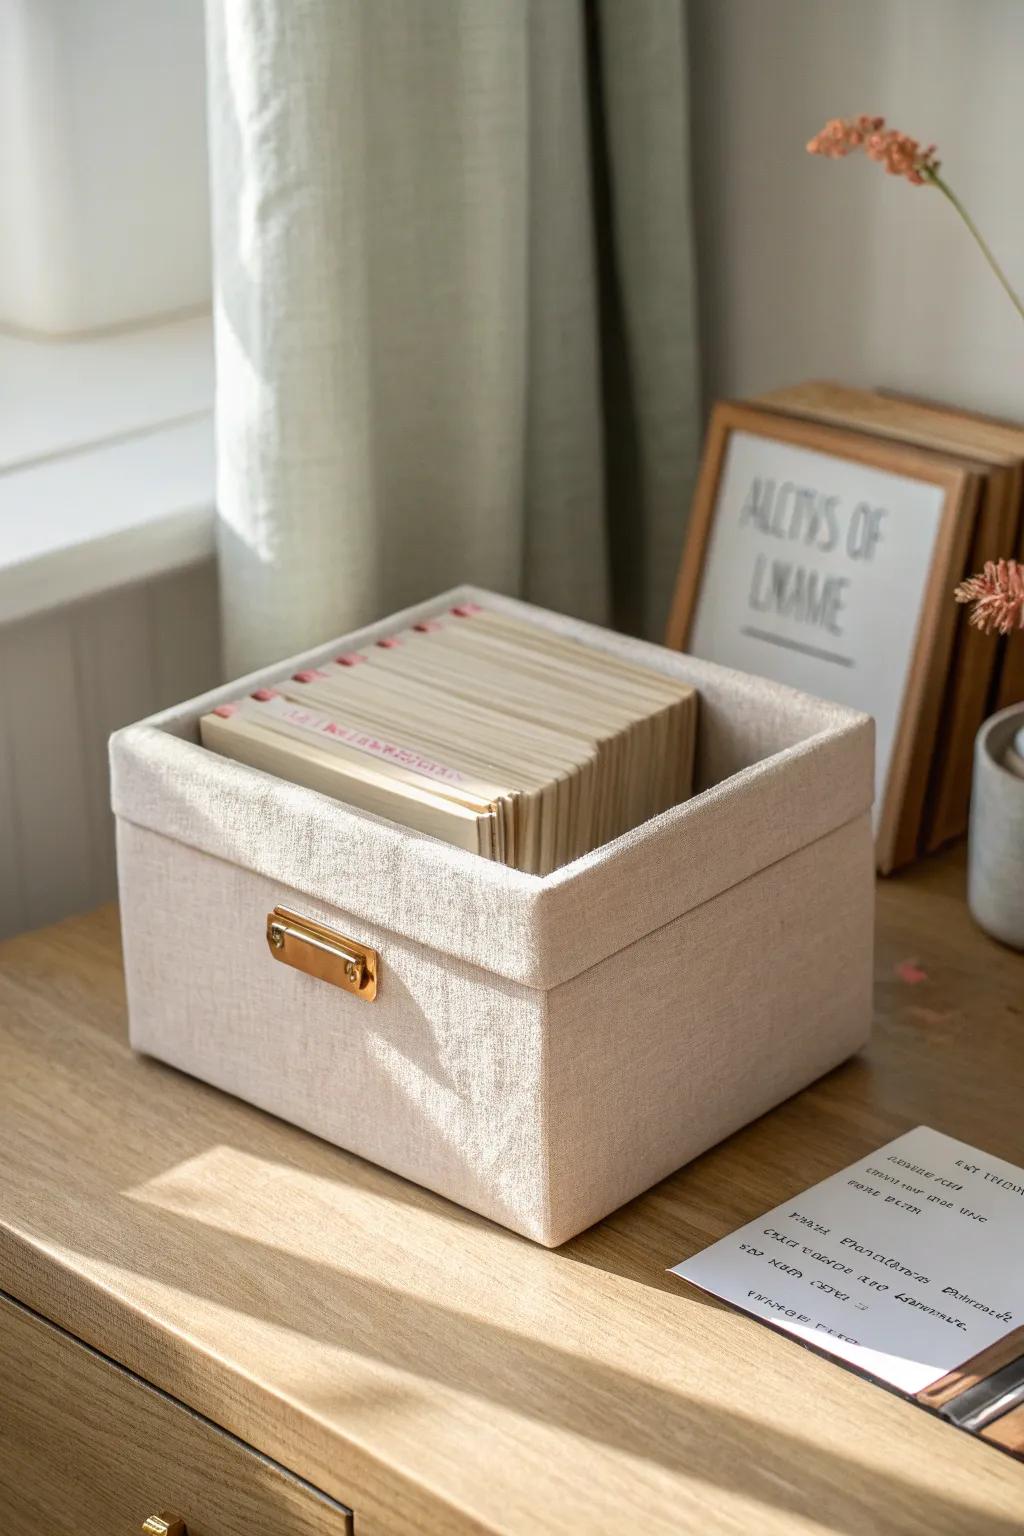
Sort Photos by Year First
When I’m overwhelmed, I do one simple pass: chronological sorting by year, even if the year is just my best guess. I’ve found that once the years are separated, everything else feels way easier to finish.
Try these:
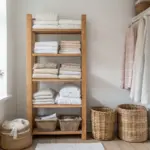
- Linen Fabric Photo Storage Box with Lid: Organize your yearly collections in these elegant boxes, keeping photos protected and neatly stacked on your shelves.
- Adhesive Metal Label Holders: Mark each box clearly by year; attach these holders to instantly professionalize your simple sorting system.
- Acid-Free Photo Sorting Divider Cards: Separate different years or events within each larger box using these sturdy, write-on index cards.

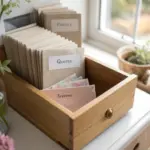
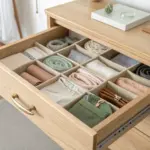
Add Event Tabs Within Each Year
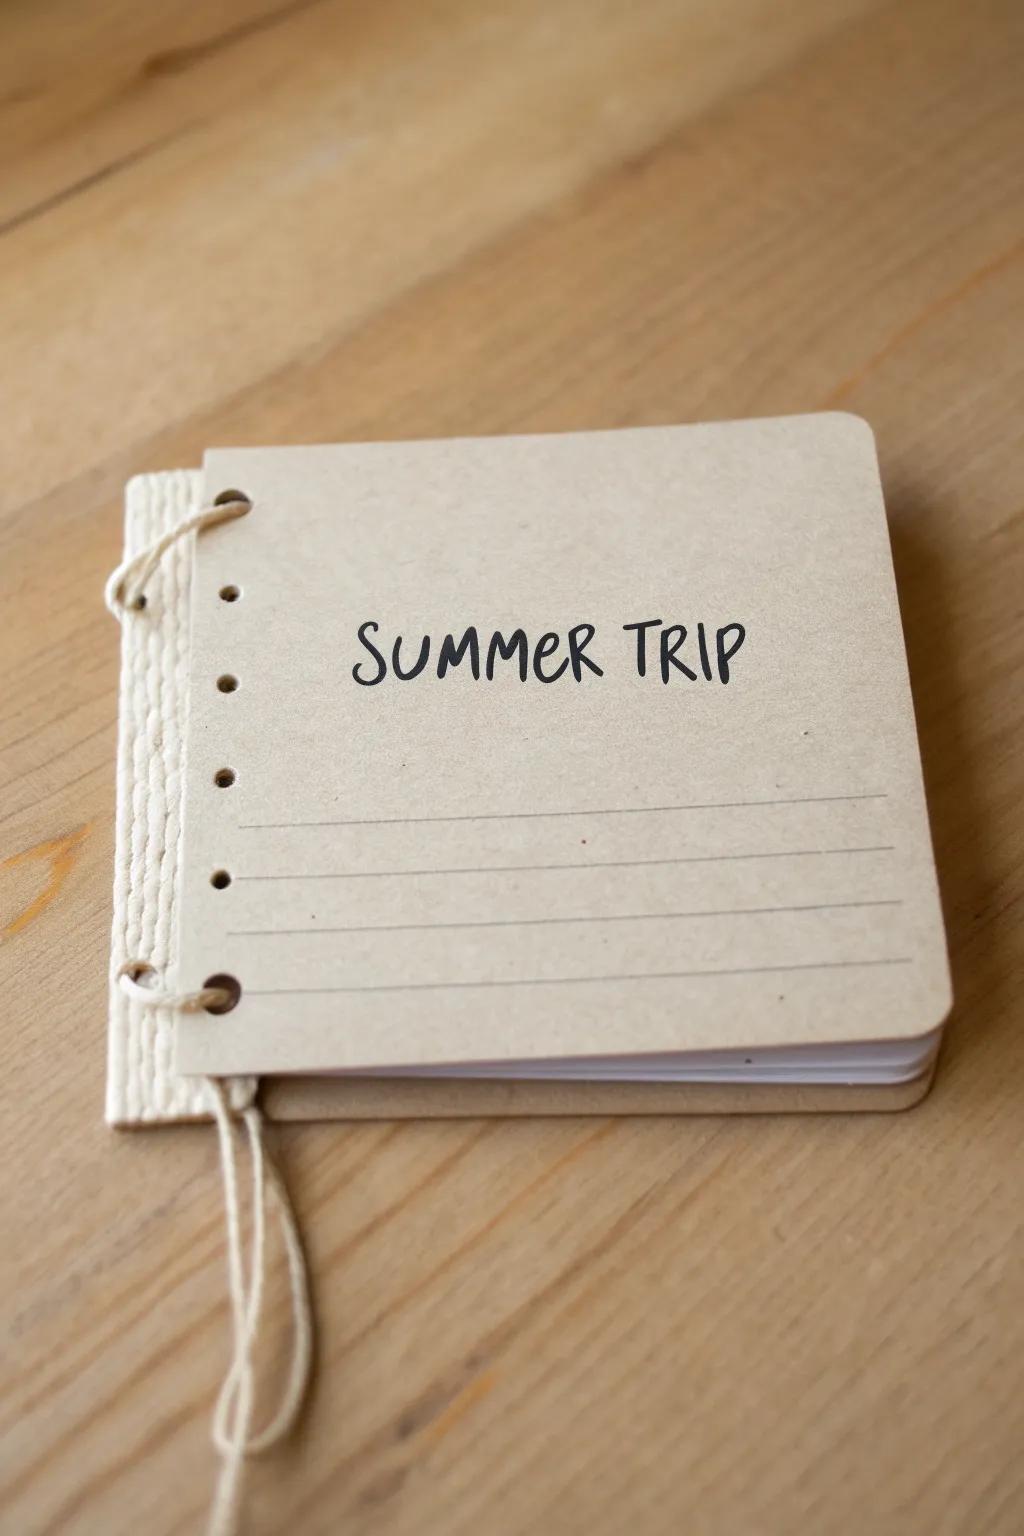
Inside each year section, I tuck in index card dividers labeled with big moments like trips, holidays, and birthdays. I started doing this after wasting forever hunting for one photo, and now I can grab a category in seconds.
A few suggestions:
- Kraft Paper Cardstock Dividers: Create distinct sections for your memories with sturdy kraft dividers that blend perfectly with rustic albums.
- Self-Adhesive Label Tabs: Easily mark specific trips and holidays in any photo album by attaching these write-on sticky tabs.
- Fine Point Permanent Markers: Label your dividers clearly and creatively with smudge-resistant markers designed for writing on various paper textures.
Use Acid-Free Storage for Long-Term Care
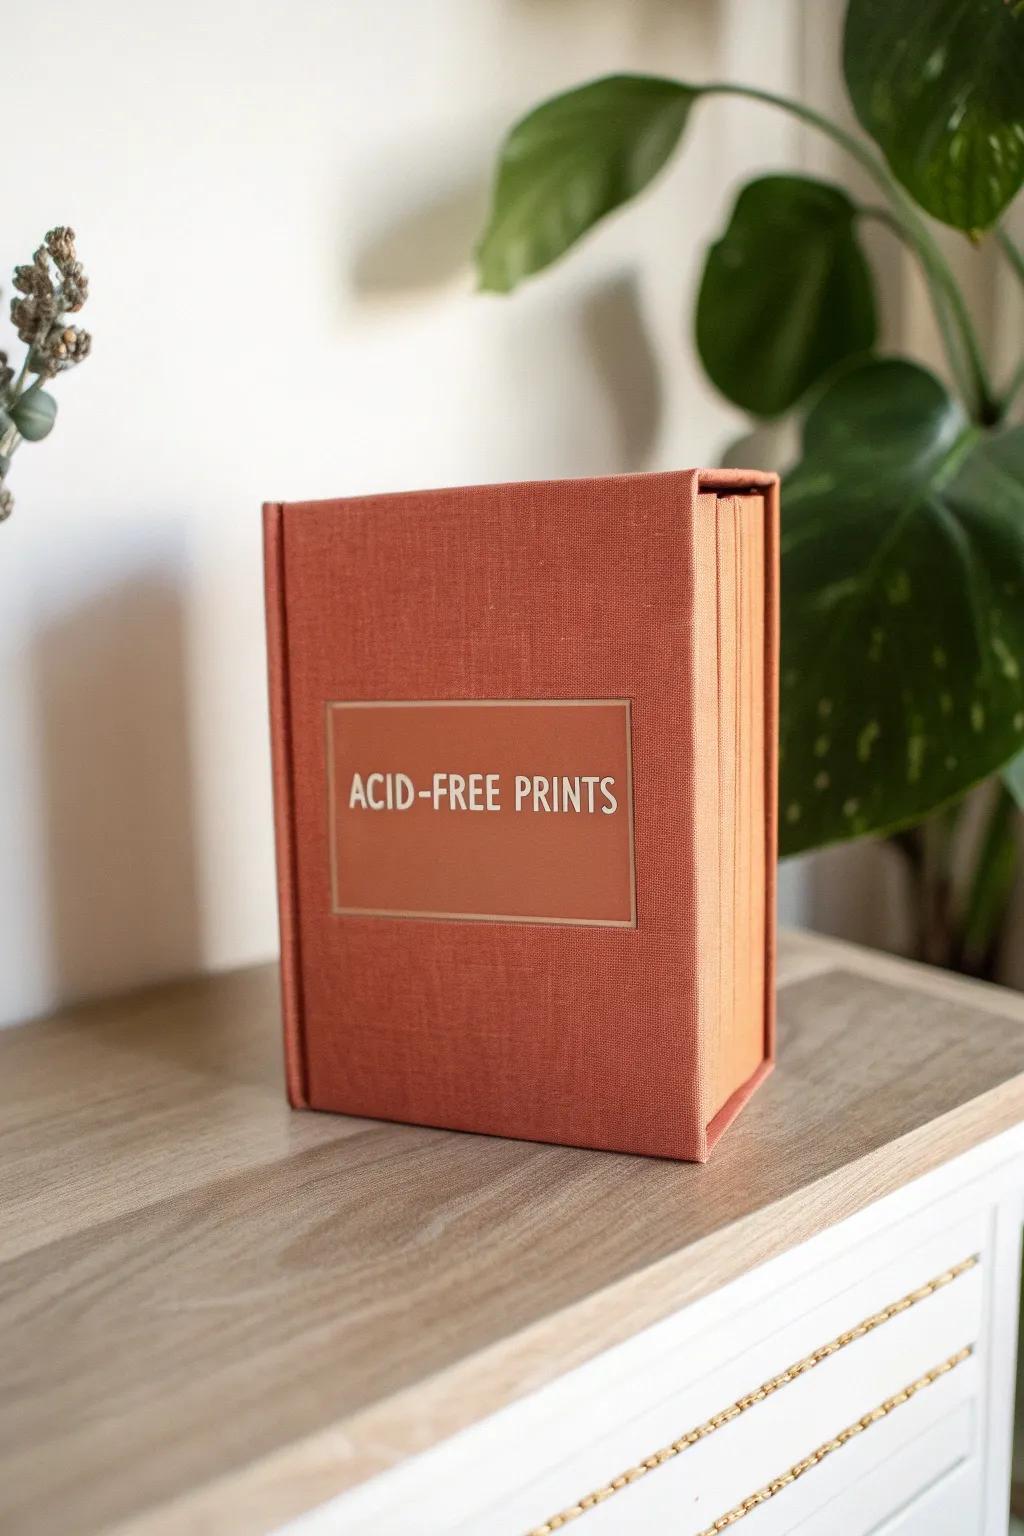
I switched my “important” prints into acid-free storage and it instantly made me feel like I was actually preserving them, not just hiding them. In a small apartment where things get shoved into tight spots, that extra protection has been worth it for me.
Explore these options:
- Linen Acid-Free Photo Box: Protect your cherished memories with this elegant storage solution that shields photos from light, dust, and aging.
- Archival Storage Sleeves: Ensure your individual prints stay pristine by organizing them inside protective, clear sleeves designed for long-term archiving.
- Acid-Free Photo Album: Display your favorite moments while keeping them safe from fading or yellowing in a classic, preservation-quality album.
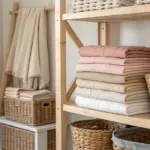
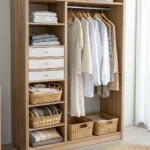
Go Vertical With Shoebox-Style Photo Libraries

I love the shoebox-style photo box setup because you can store photos vertically and fit a ton on one shelf. I’ve replaced multiple messy stacks with one neat row of boxes, and my closet looks calmer overnight.
Possibly helpful picks:
- Linen Fabric Storage Box with Lid: Store your photos upright in these fabric boxes to maximize shelf space while keeping memories dust-free and organized.
- Cardboard Photo Dividers with Tabs: Use these index cards to separate your collection by year or event, making specific memories easier to find.
- Acid-Free Photo Envelopes: Protect delicate prints from scratches and handling damage by grouping them into these protective sleeves before boxing.
Try Clear Modular Cases for Easy Stacking
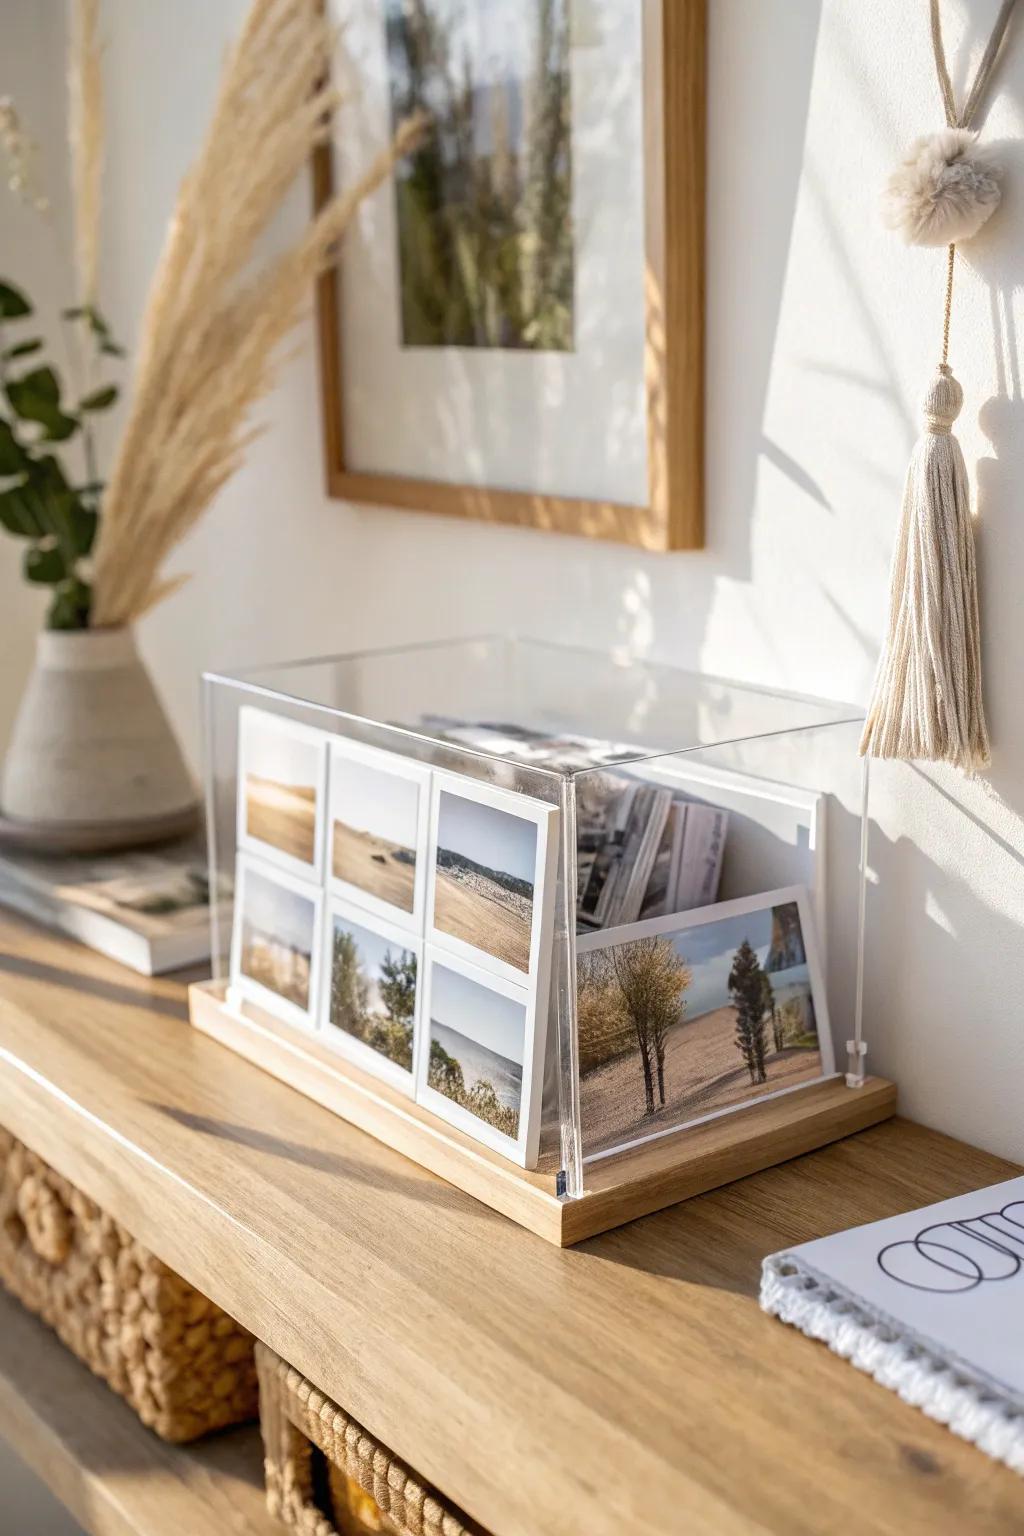
For everyday 4×6 prints, I’ve used clear modular cases so I can see what’s inside without opening everything. They stack neatly like little bricks, which is a lifesaver when your only storage is one skinny shelf.
A few things you might like:
- Acrylic Photo Box with Wooden Base: Display your favorite memories stylishly with a clear box that protects photos while keeping them visible.
- Clear Stackable 4×6 Photo Storage Containers: Keep your print collection organized and dust-free with these modular cases designed for easy vertical stacking.
- Minimalist Acrylic Keepsake Box: Store loose prints or small mementos in this sleek, transparent container that blends with any decor.
Debulk Old Albums Into Compact Boxes
I’ve pulled photos out of bulky albums and moved them into boxes, and the space difference is honestly wild. The key for me was keeping the album order with quick divider notes so the story stays intact.
A few helpful options:
- Fabric Photo Storage Box: Store hundreds of loose photos elegantly in these sturdy, fabric-covered boxes that look great on open shelves.
- Cardstock Photo Dividers: Keep your memories organized by event or year with these simple dividers that fit perfectly inside standard photo boxes.
- Protective Photo Sleeves: Protect your most fragile vintage photographs from fingerprints and dust before placing them into your new storage system.
Create a “To Sort” Photo Inbox
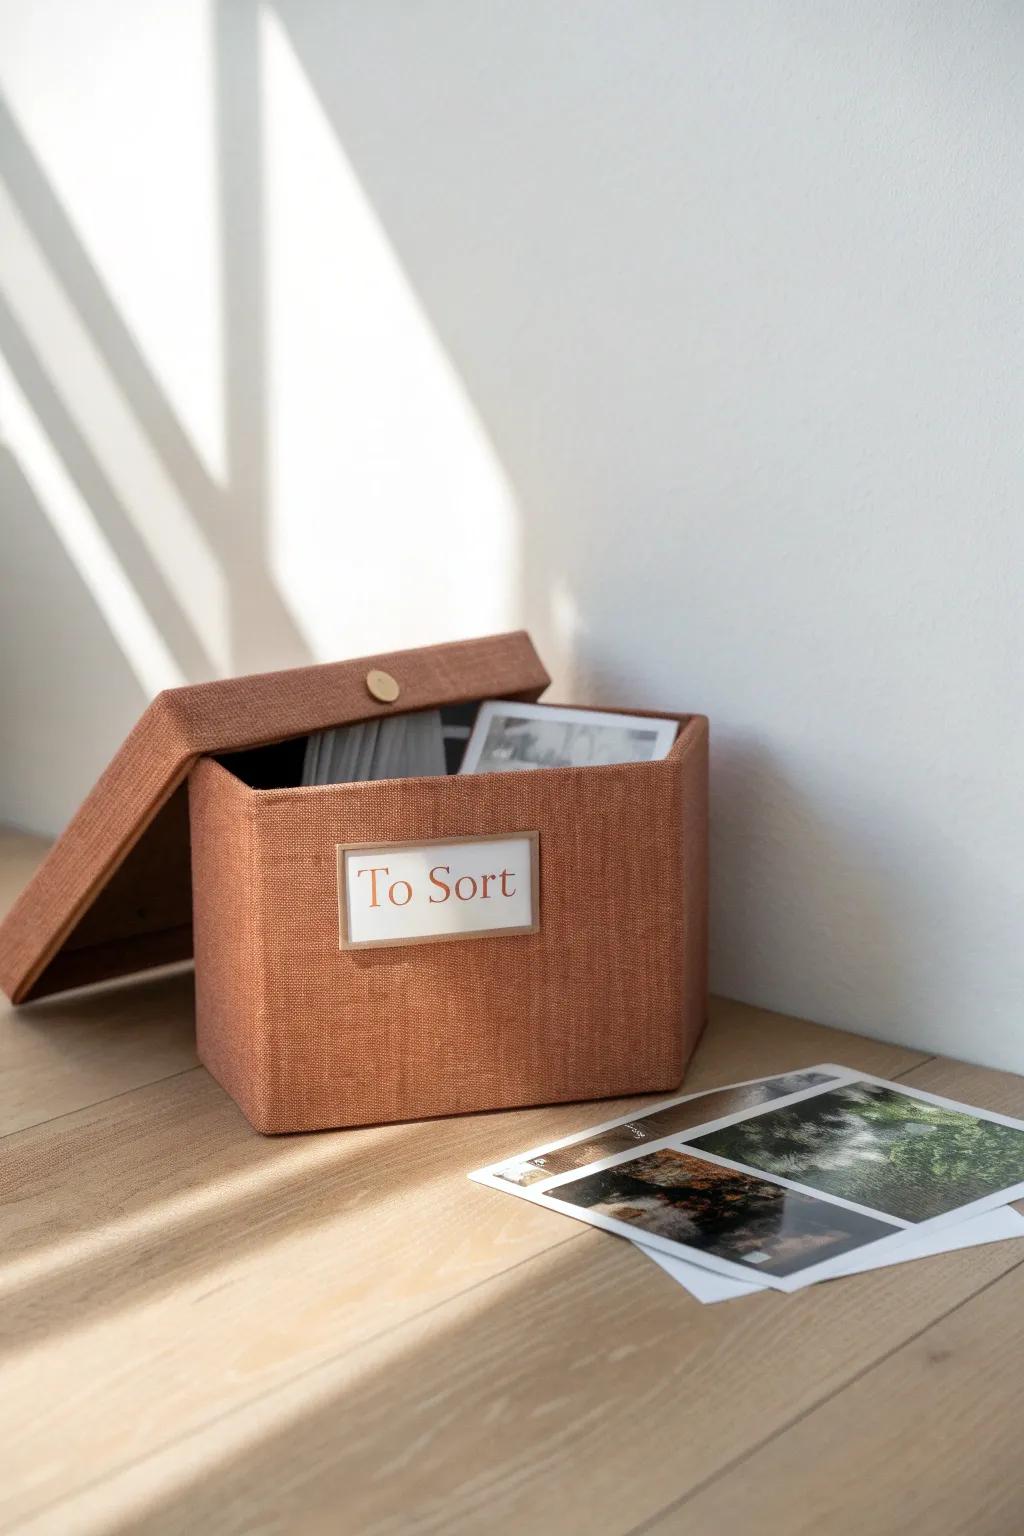
I keep one small photo storage box as a “to sort” inbox so new prints never turn into random countertop piles. This little habit saved me from redoing the whole system every few months.
Some handy options:
- Fabric Photo Storage Box with Lid: Keep loose prints organized and protected from dust with a stylish fabric box that blends into your decor.
- Adhesive Metal Label Holders: Easily identify box contents by adding these classic label holders to turn any plain container into an organized system.
- Cardstock Index Dividers Breakdown: Sort your incoming photos by date or event immediately using sturdy tabbed dividers inside your new inbox.
File Photos in a Desk Drawer Hanging System
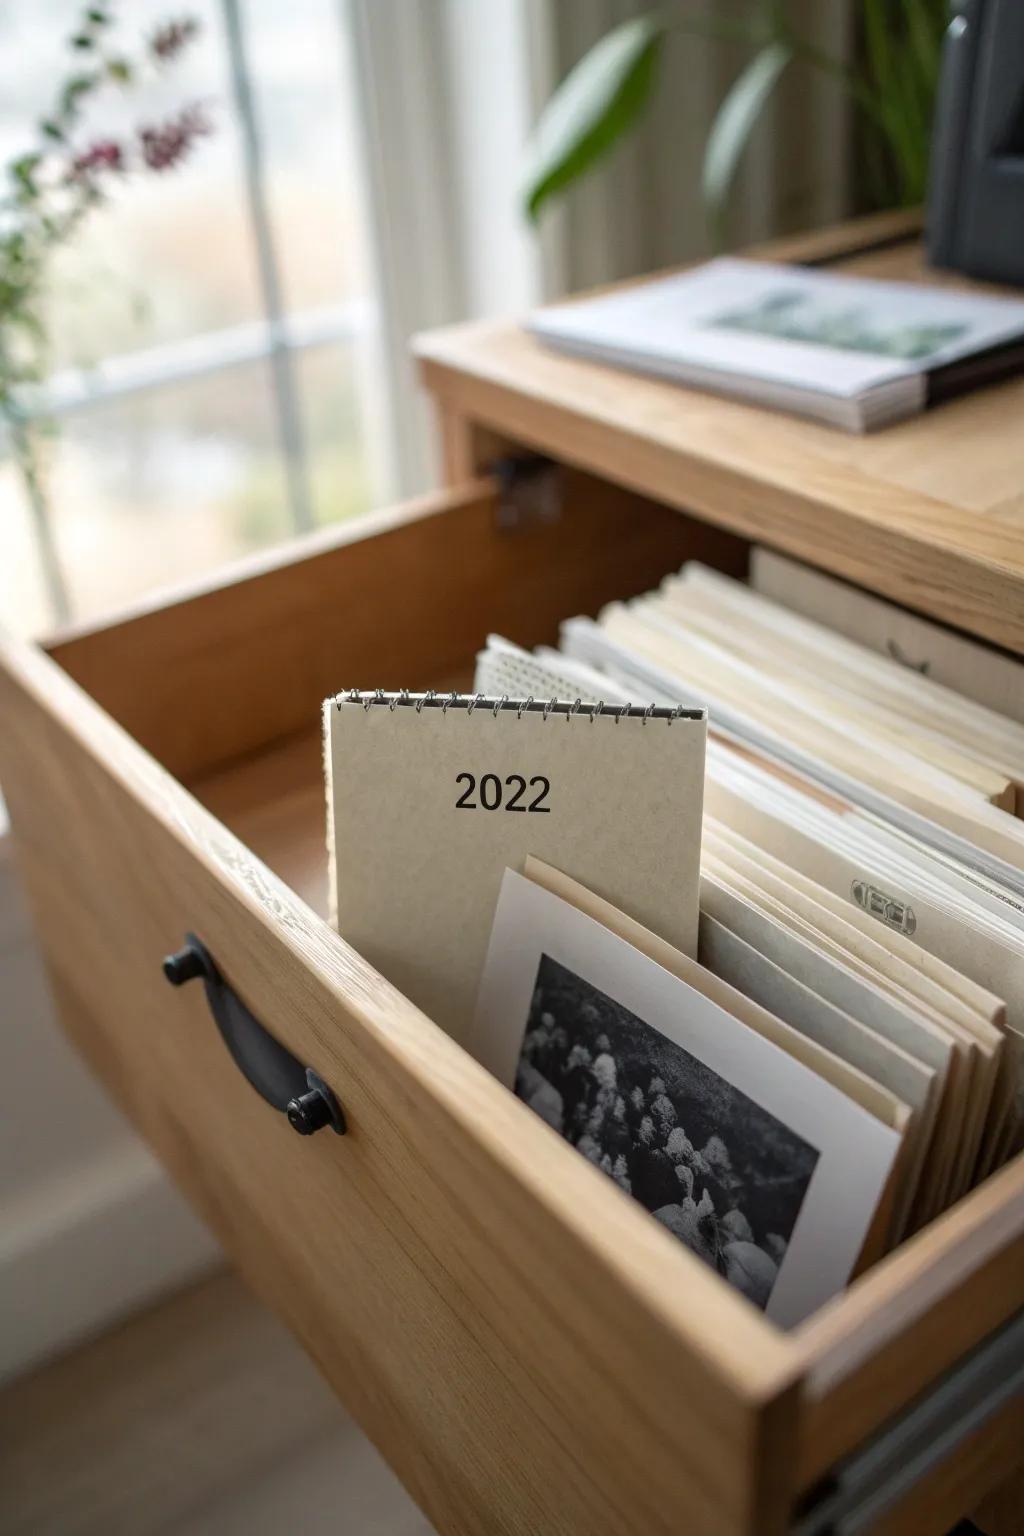
In my last studio, I used a shallow drawer with hanging file folders and labeled them by year for flat, tidy photo storage. It felt like a mini photo filing cabinet, and I loved being able to flip through without dragging boxes out.
Products that could assist:
- Hanging File Folder Frame: Convert any standard desk drawer into a filing system instantly to keep your photo collection upright and organized.
- Acid-Free Photo Envelopes: Protect your precious memories from dust and damage while keeping them grouped together within your hanging files.
- Tabbed Hanging Folders: Sort your photographs by year or event with these sturdy folders featuring easy-to-read tabs for quick retrieval.
Use Under-Bed Photo Bins for Bulk Storage
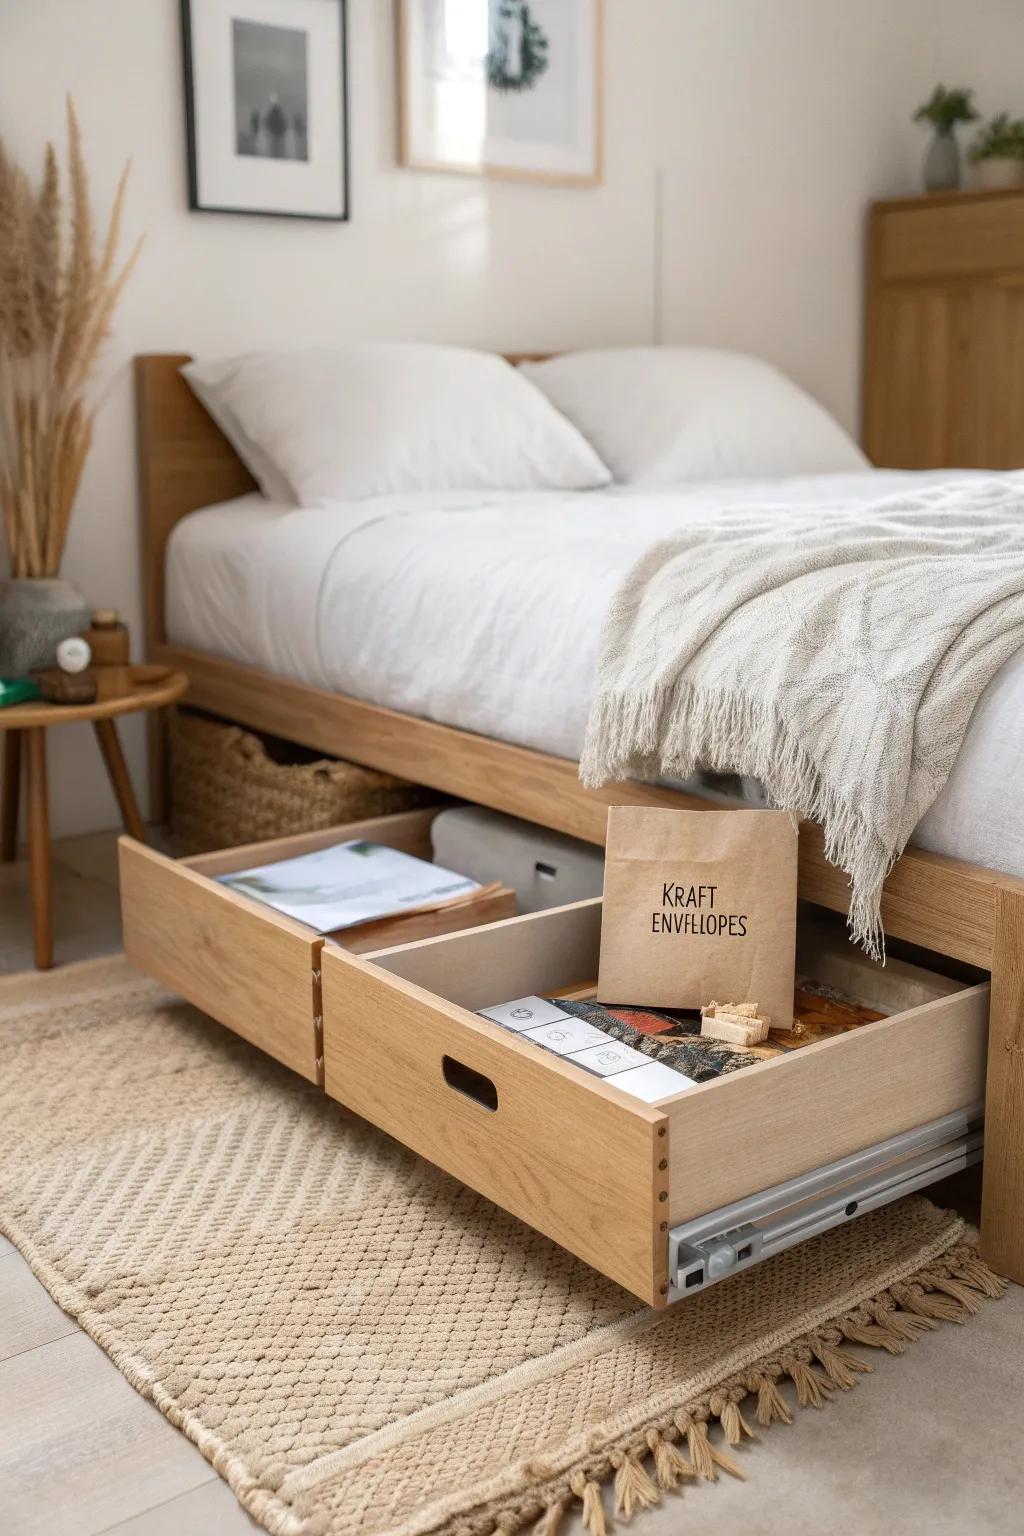
If you’re tight on closets, an under-bed bin becomes instant hidden photo storage for overflow boxes. I do this with my older decades and only pull them out when I’m in a reminiscing mood.
Maybe worth checking out:
- Plastic Under Bed Storage Bins: Protect your precious photo collections from dust and damage by sliding them into clear, durable under-bed containers.
- Archival Photo Storage Boxes: Organize individual decades of memories safely with acid-free boxes designed to fit perfectly inside larger under-bed drawers.
- Kraft Expanding File Envelopes: Keep loose photos and negatives sorted by year or event within sturdy envelopes, just like in the image.
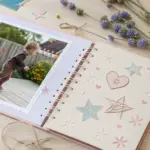
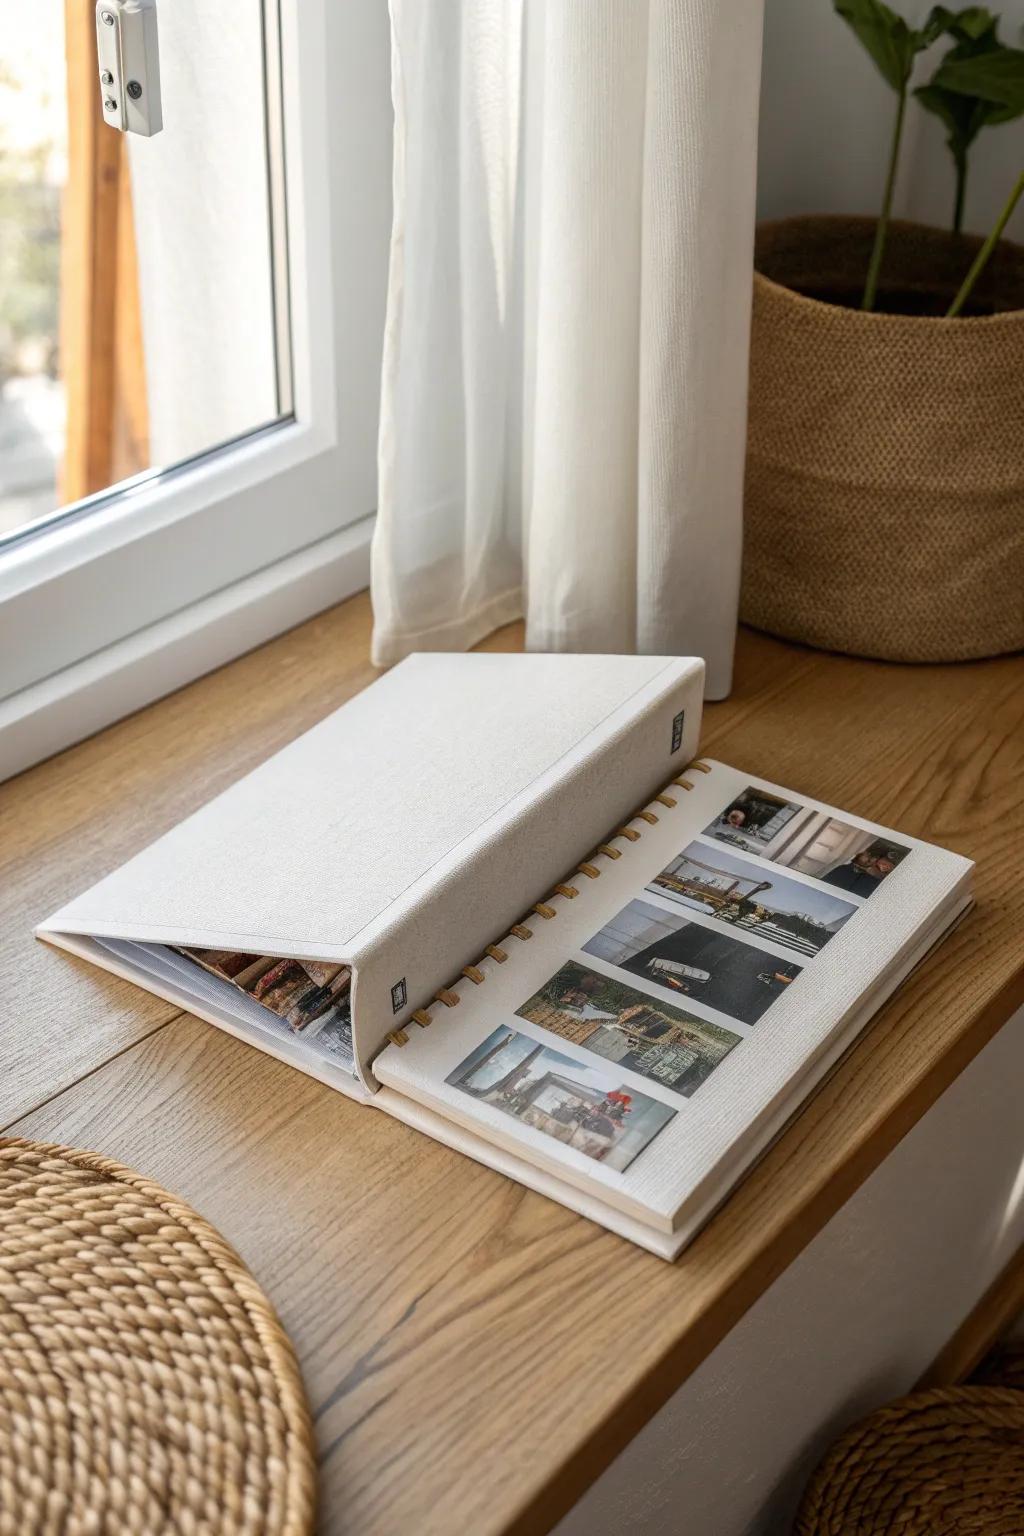
Keep a Slim Binder for Your Greatest Hits

I keep my favorite prints in a slim binder with photo pocket pages so it’s easy to flip through on the couch. It’s not for everything—just my “best of,” which keeps it small-space friendly.
Check if these fit your needs:
- Linen Fabric Ring Binder: Choose a binder with a sturdy linen cover to protect your memories while adding an elegant, tactile touch.
- Photo Pocket Sleeves: Use clear, archival-quality sleeve pages to organize various print sizes and keep your photos safe from fingerprints.
- Gold Foil Letter Stickers: Personalize the cover just like the photo by adding your own custom gold or silver lettering or dates.
Make a One-Box “Favorites” Collection
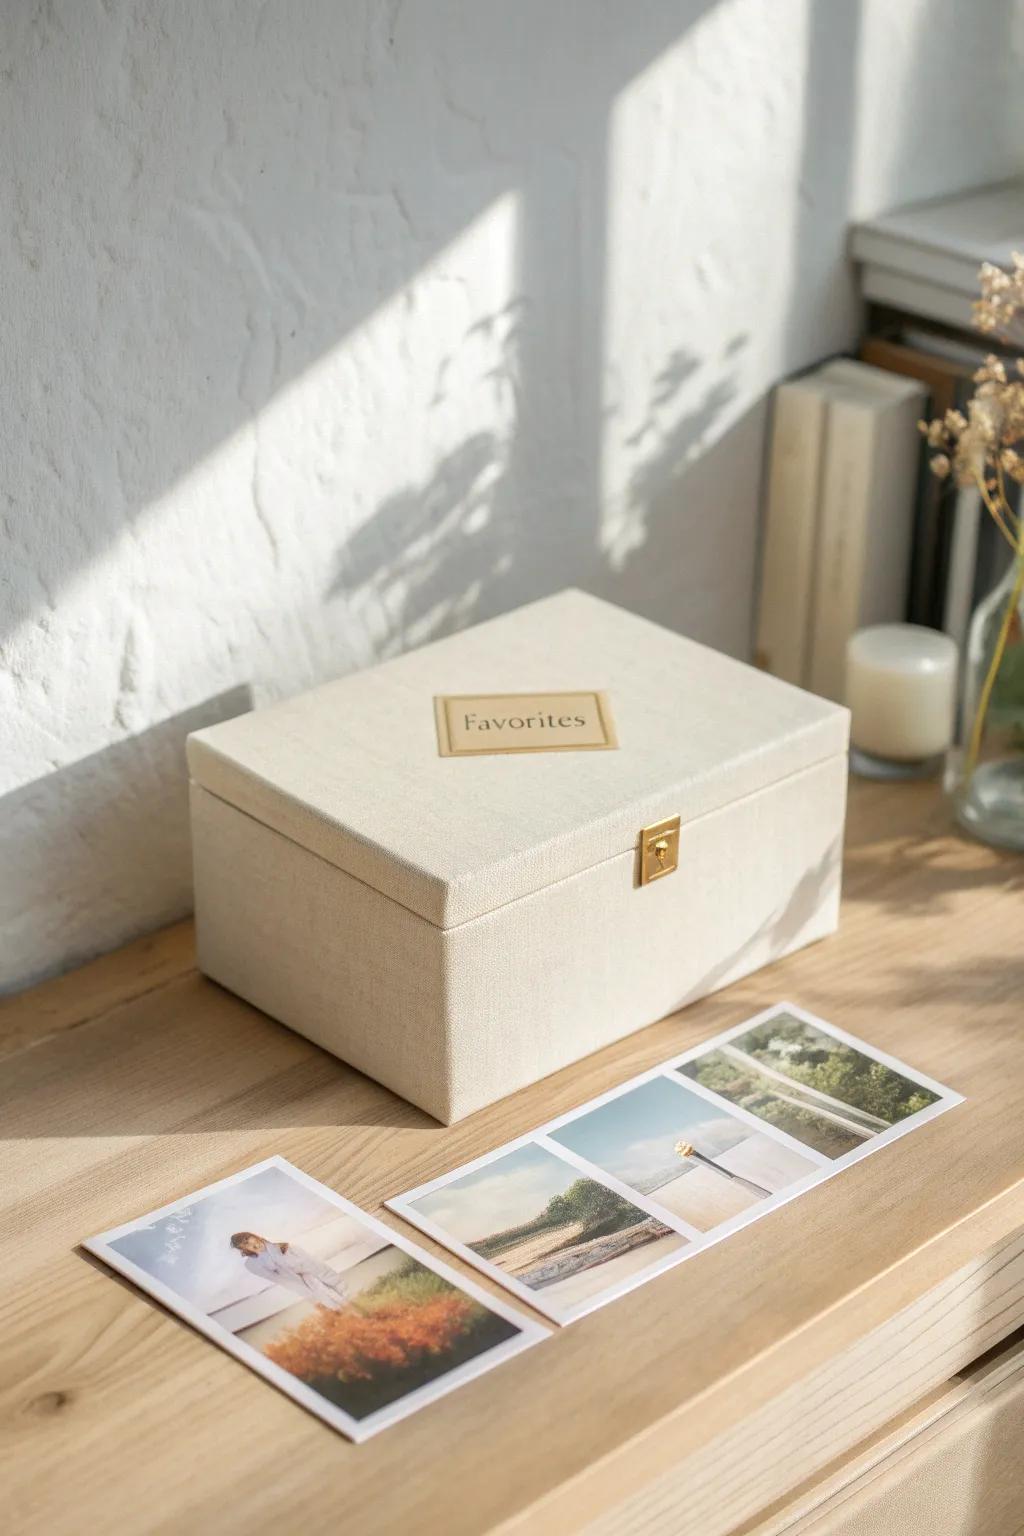
I keep one dedicated memory photo box for the photos I’d grab in a hurry, and it makes decision-making so much simpler. Whenever I’m sorting, I give myself permission to put only the absolute keepers in there.
Give these a look:
- Linen Memory or Keepsake Box: Store your most treasured moments in a fabric-covered box that looks elegant on any shelf.
- Self-Adhesive Gold Label Holders: Add a classic finishing touch by labeling your collection box clearly and stylishly.
- Acid-Free Photo Sleeves 4×6: Protect your loose prints inside the box from fingerprints and dust for long-term preservation.
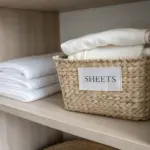
Label the Front and the Top
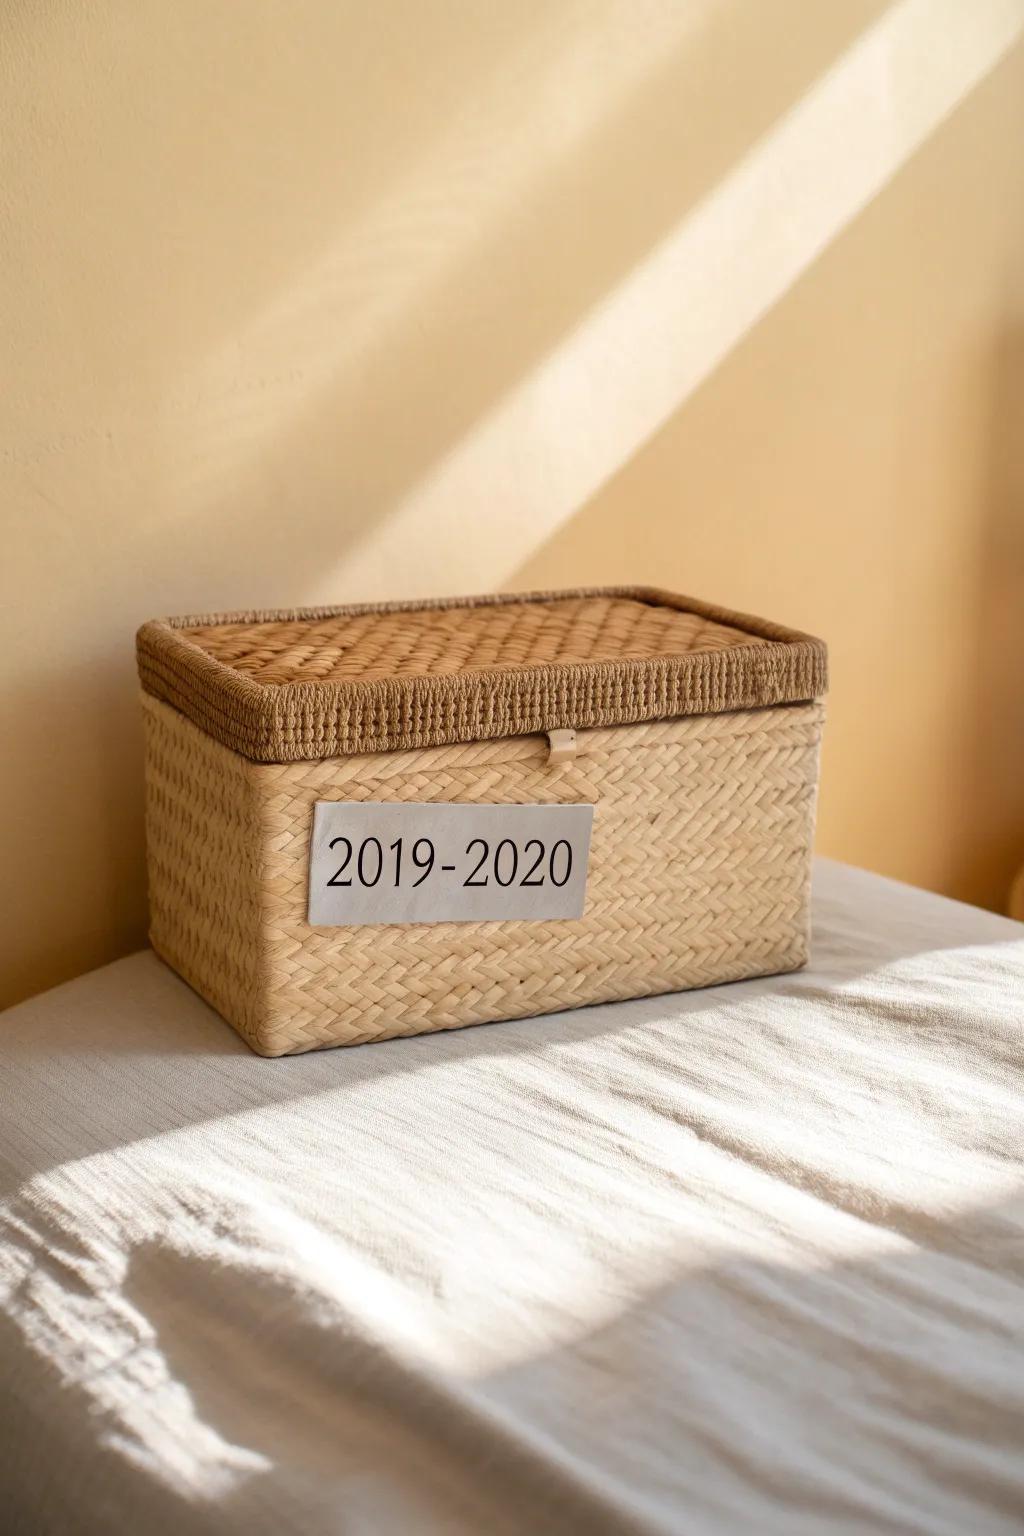
I label both the front and the top of each box using clear labels so I can identify them whether they’re stacked or shelved. In my tiny closet, this saved me from yanking out three boxes just to find one year.
Might be a good match:
- Clear Adhesive Label Holders: Use these durable pockets to protect your handwritten labels and switch them out easily as your collections grow.
- Woven Storage Boxes with Lids: Store your photo albums or loose prints in breathable, lidded baskets like these to keep memories safe and organized.
- Cardstock Label Cards: Create clean, readable year markers for your boxes using sturdy cardstock that slides perfectly into clear label holders.
Color-Code by Decade for Fast Scanning
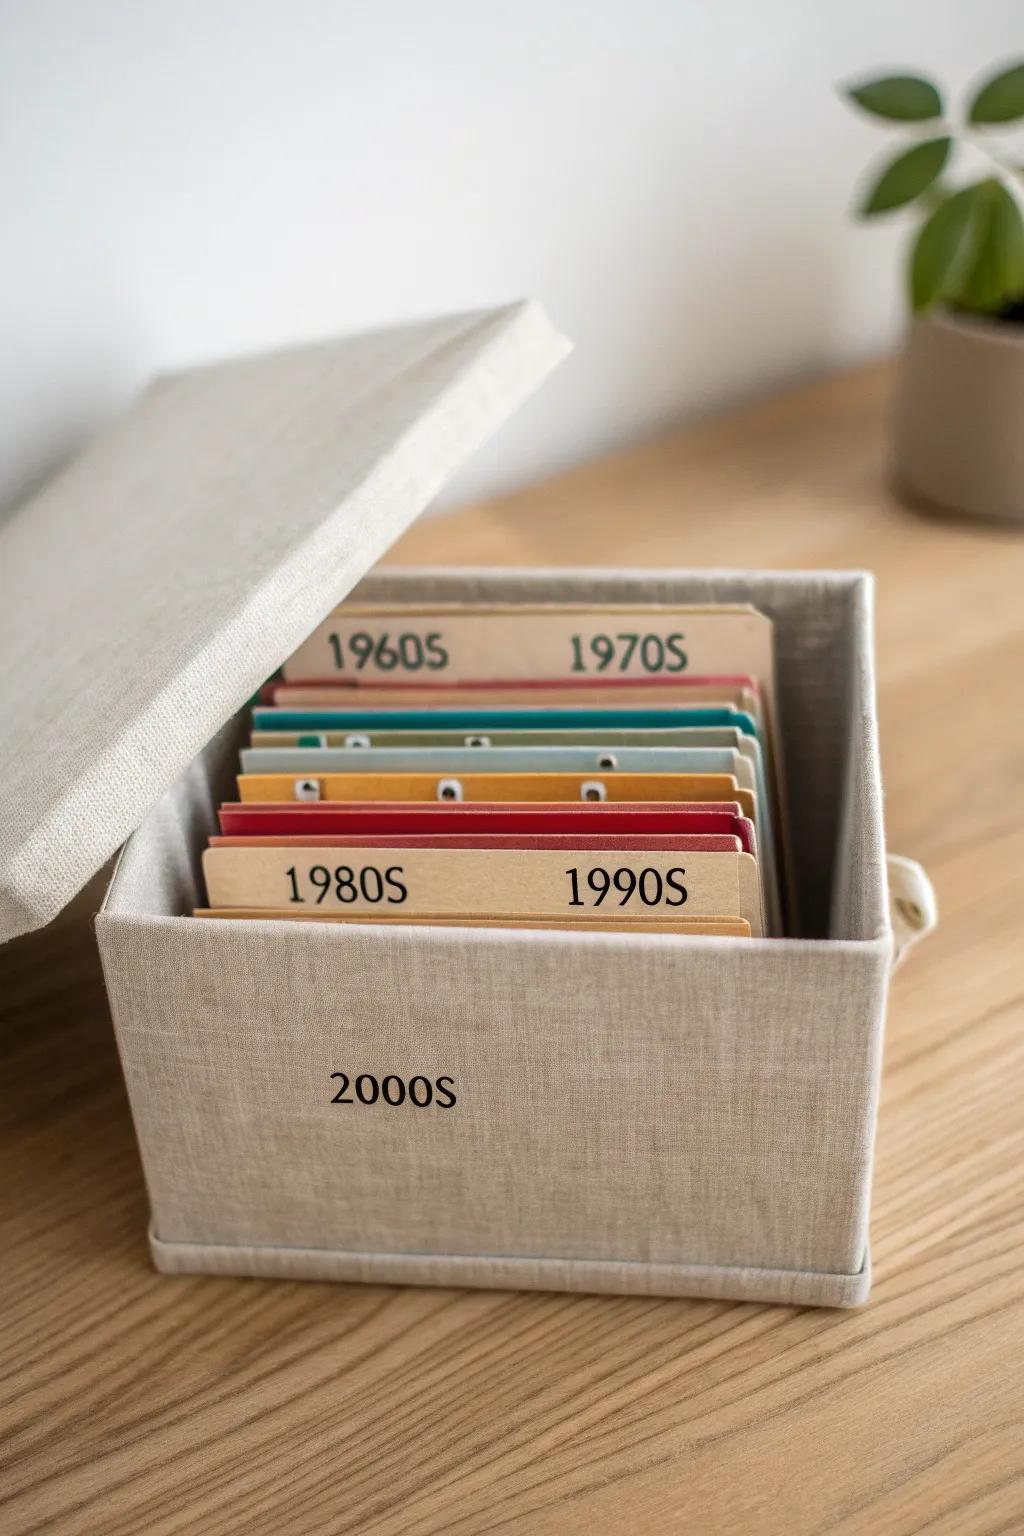
I assign one color to each decade with color-coded labels, and it’s weirdly satisfying how quickly my brain finds what it wants. I started this after helping a client with a huge photo archive, and now I do it at home too.
Consider these options:
- Linen Fabric Storage Box with Lid: Store your photos in style with a neutral linen box that keeps memories organized and dust-free.
- Cardstock Tab Dividers: Separate your decades easily using durable cardstock dividers that make flipping through huge collections effortless.
- Self-Adhesive Color Coding Labels: Apply these bright, simple dots to your dividers to instantly visual-code each decade for faster searching.
Store Negatives and Odd Media in Sleeves
For negatives and other small photo formats, I use archival sleeves inside a binder so they don’t get lost at the bottom of a box. I used to keep them “somewhere safe” (aka nowhere), and this finally gave them a home.
You might like:
- Linen Fabric 3-Ring Binder: Choose a neutral fabric binder designed for durability to create a stylish and cohesive home for your memories.
- Archival Photo Negative Sleeves: Protect your vintage negatives from dust and scratches by carefully sliding them into these specialized plastic protector sheets.
- Mixed Format Photo Pocket Pages: Combine different media sizes in one album by adding clear insert pages designed for polaroids or odd prints.
Pair Photos With Matching Memorabilia Pockets
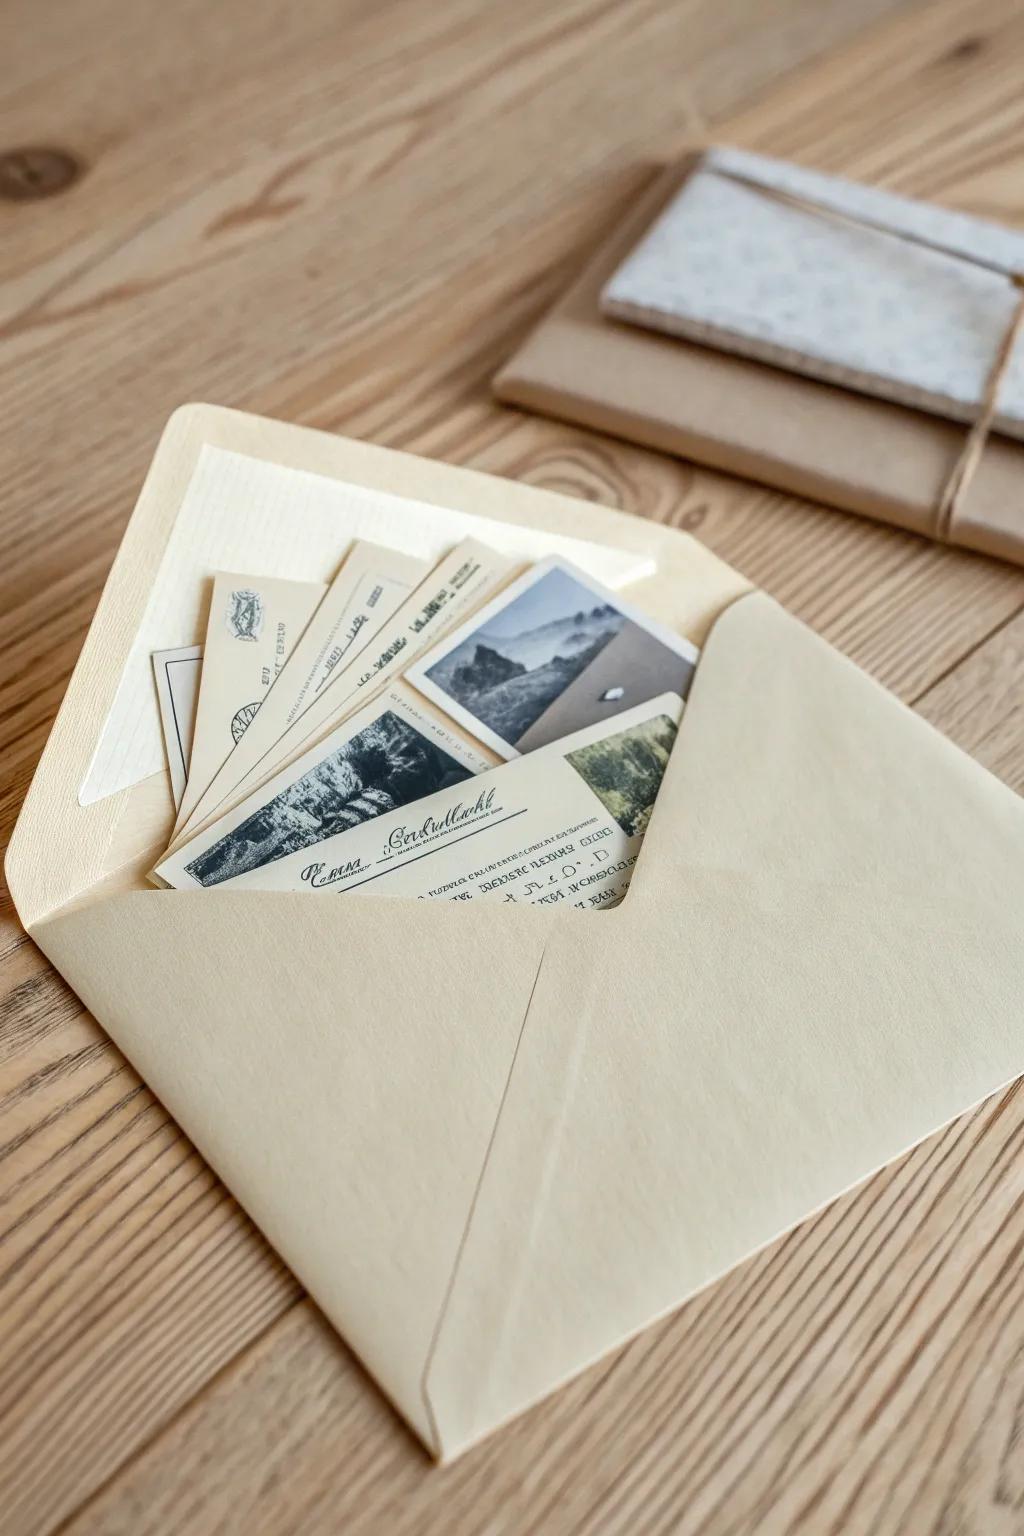
I slip a photo set and its little paper souvenirs (tickets, notes, postcards) into one photo-safe envelope so the whole story stays together. I started doing this after finding a random ticket stub years later and wishing I remembered which trip it was.
Some ideas to consider:
- Acid-Free Archival Envelopes: Protect your precious memories from yellowing over time by storing photos and keepsakes in safe, archival-quality paper envelopes.
- Kraft Box for Photo Storage: Organize your filled envelopes neatly in a sturdy, aesthetically pleasing box designed to hold 4×6 or 5×7 prints.
- Vintage Style Label Stickers: Label each envelope clearly with dates and event names using stylish stickers that complement the nostalgic look.
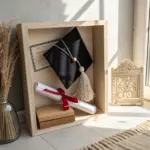
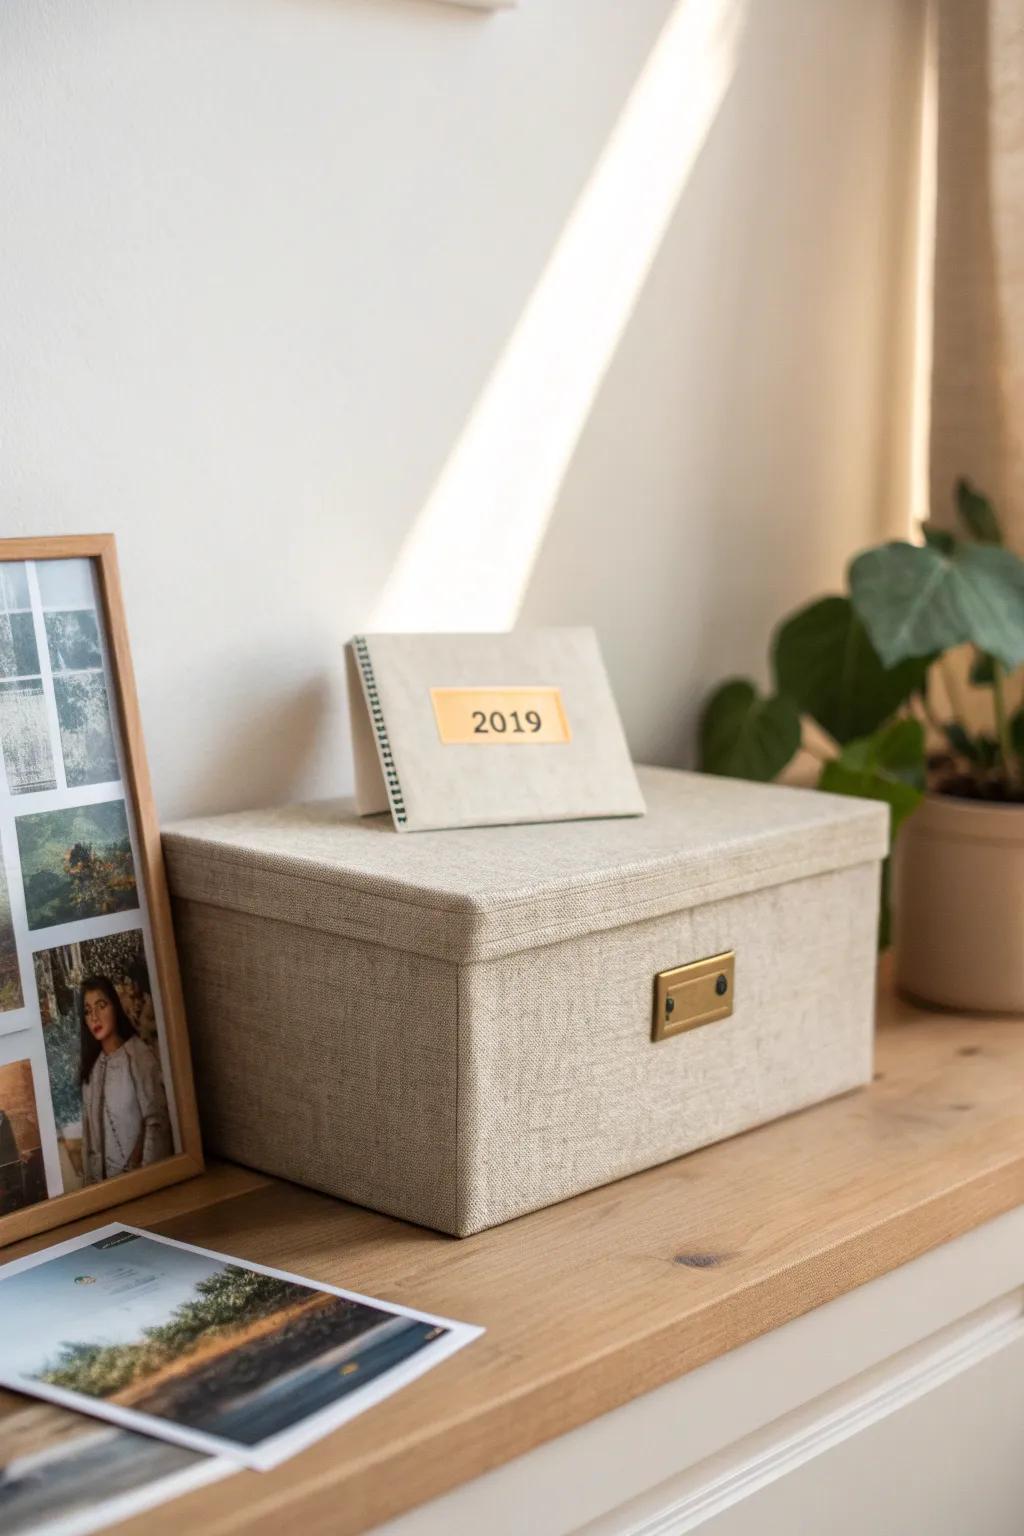
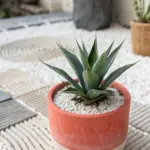
Use a Decorative Photo Box on Display
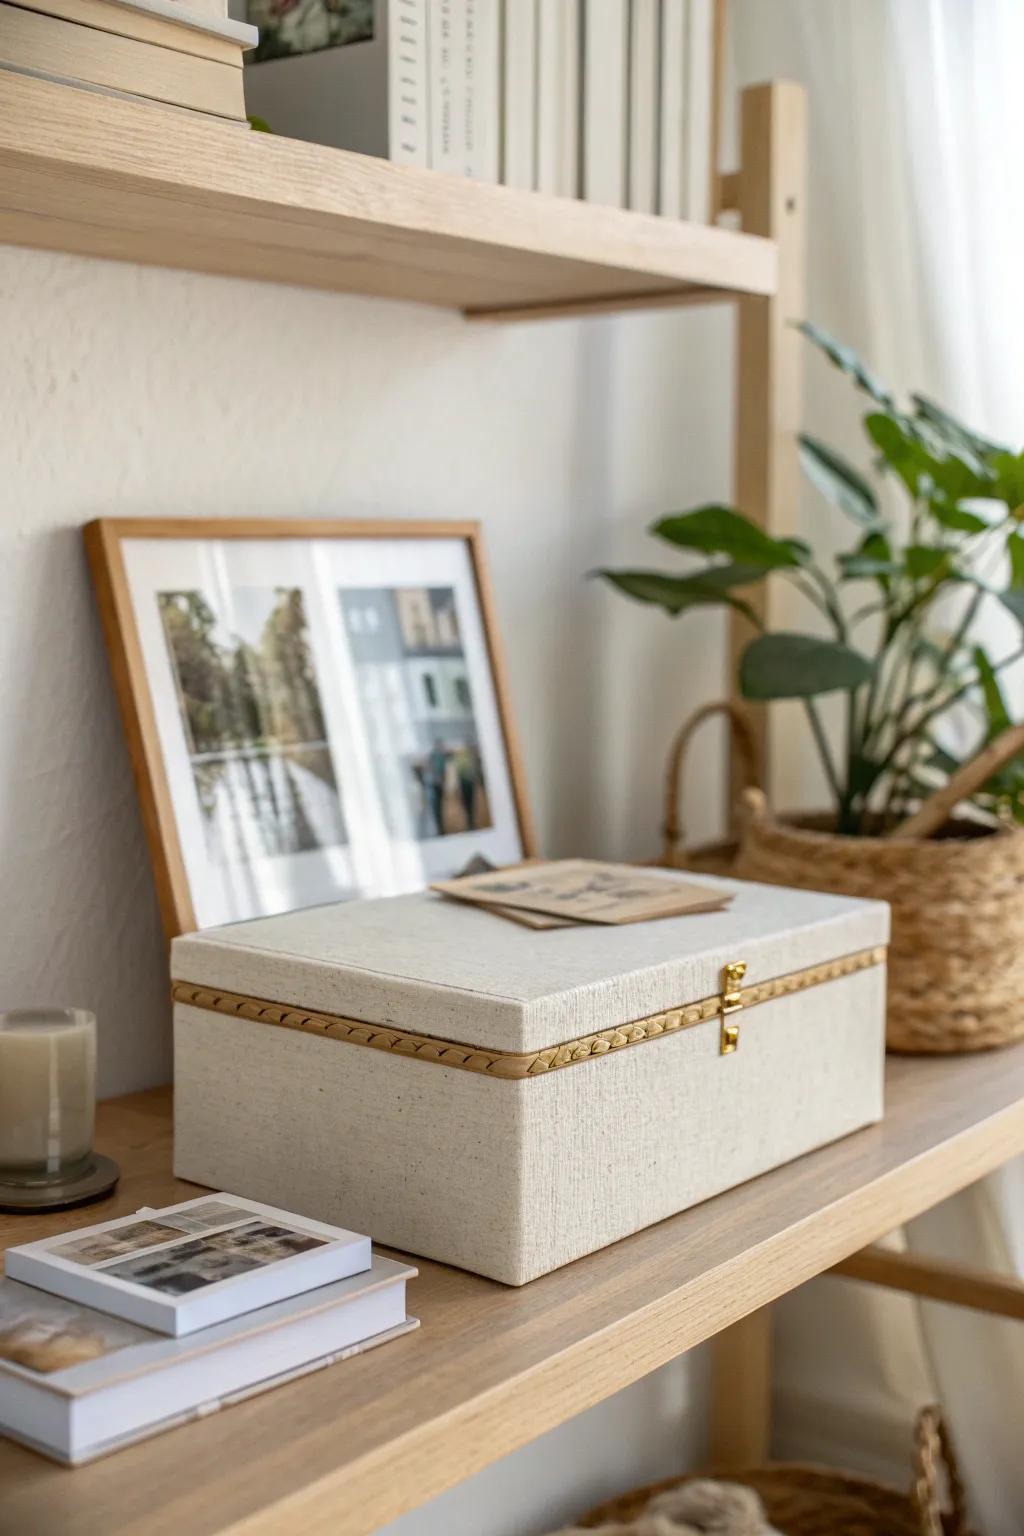
One of my favorite tricks is keeping a pretty photo storage box right on a shelf like décor, filled with the photos I actually want to see. I’ve noticed I look through them way more when they’re not buried in a back corner.
Useful items to consider:
- Linen Fabric Storage Box with Lid: Store your cherished memories in a neutral linen box that blends seamlessly with modern organic home decor.
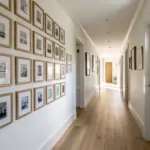
- Picture Ledge Wall Shelf: Create a dedicated display area for your photo boxes and frames with a sleek, minimalist wooden shelf.
- Wood Picture Frame: Showcase your favorite print alongside your storage box using a simple, natural wood frame for a cohesive look.
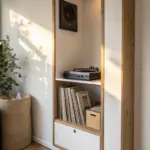
Hide Photo Storage Inside an Ottoman
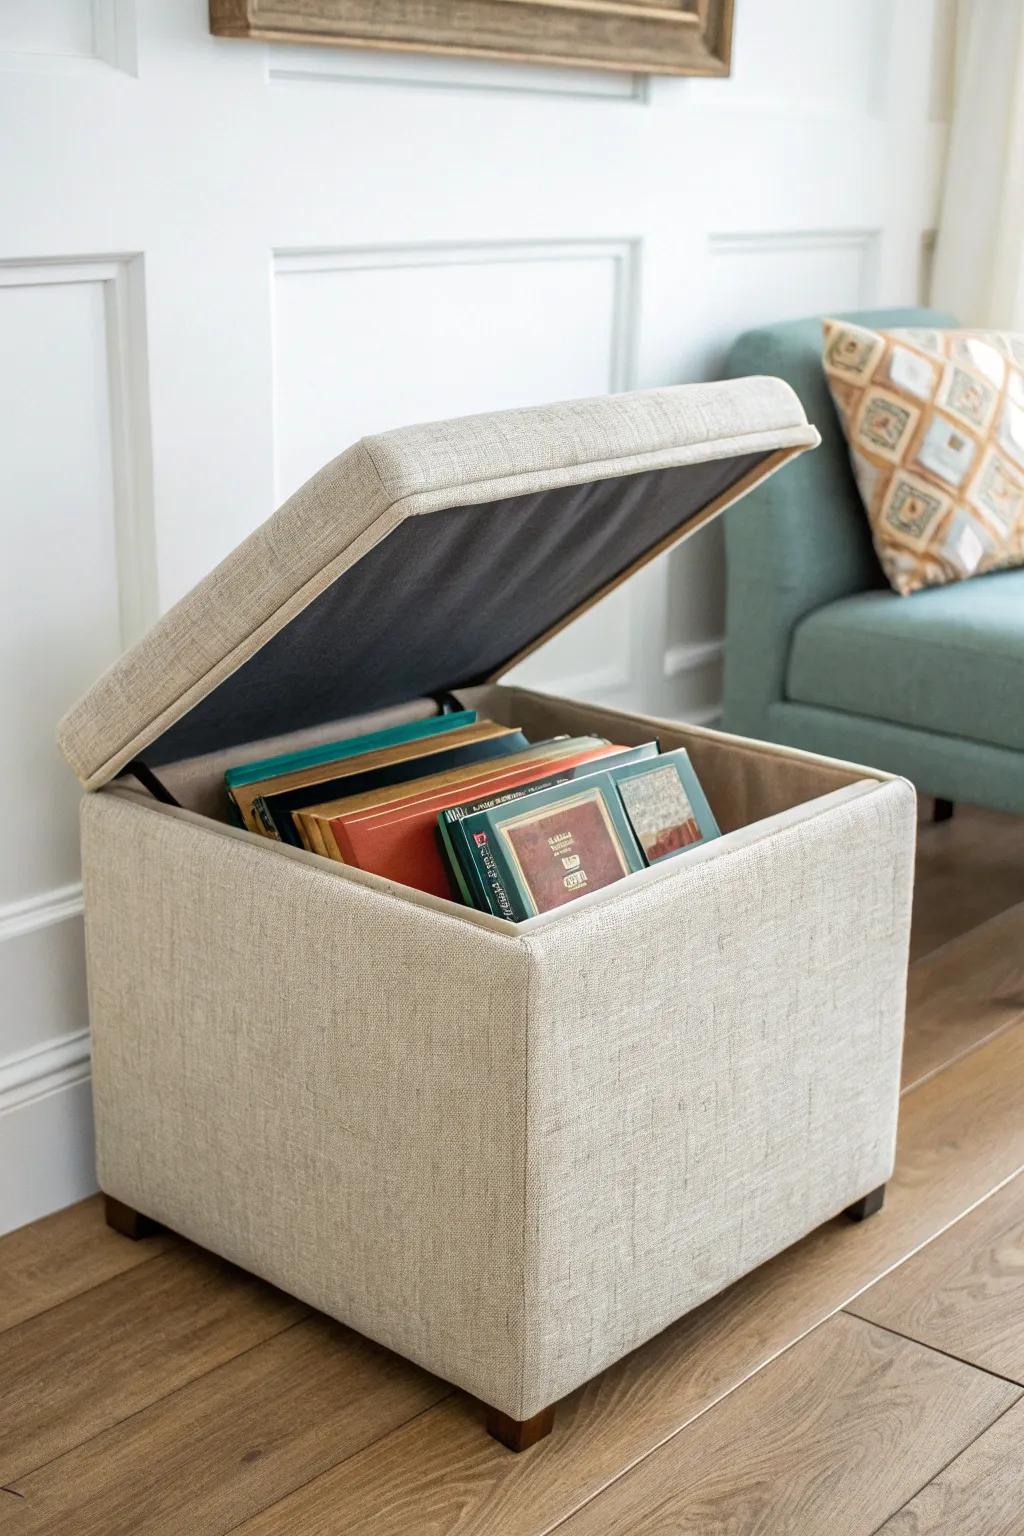
In my living room, I’ve tucked photo boxes inside a storage ottoman for double-duty storage that doesn’t steal closet space. It’s the kind of sneaky solution I lean on constantly in small apartments.
A few choices to try:
- Photo storage boxes: Protect your precious memories from dust and keep them organized neatly within your new hidden storage space.
- Storage ottoman workspace: Add a functional and stylish piece to your living room that secretly houses your entire photo collection.
- Photo albums: Curate your favorite snapshots into beautiful albums that can be easily stacked inside for quick access anytime.
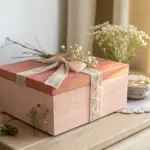
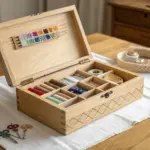
Create Mini “Time Capsule” Photo Tins
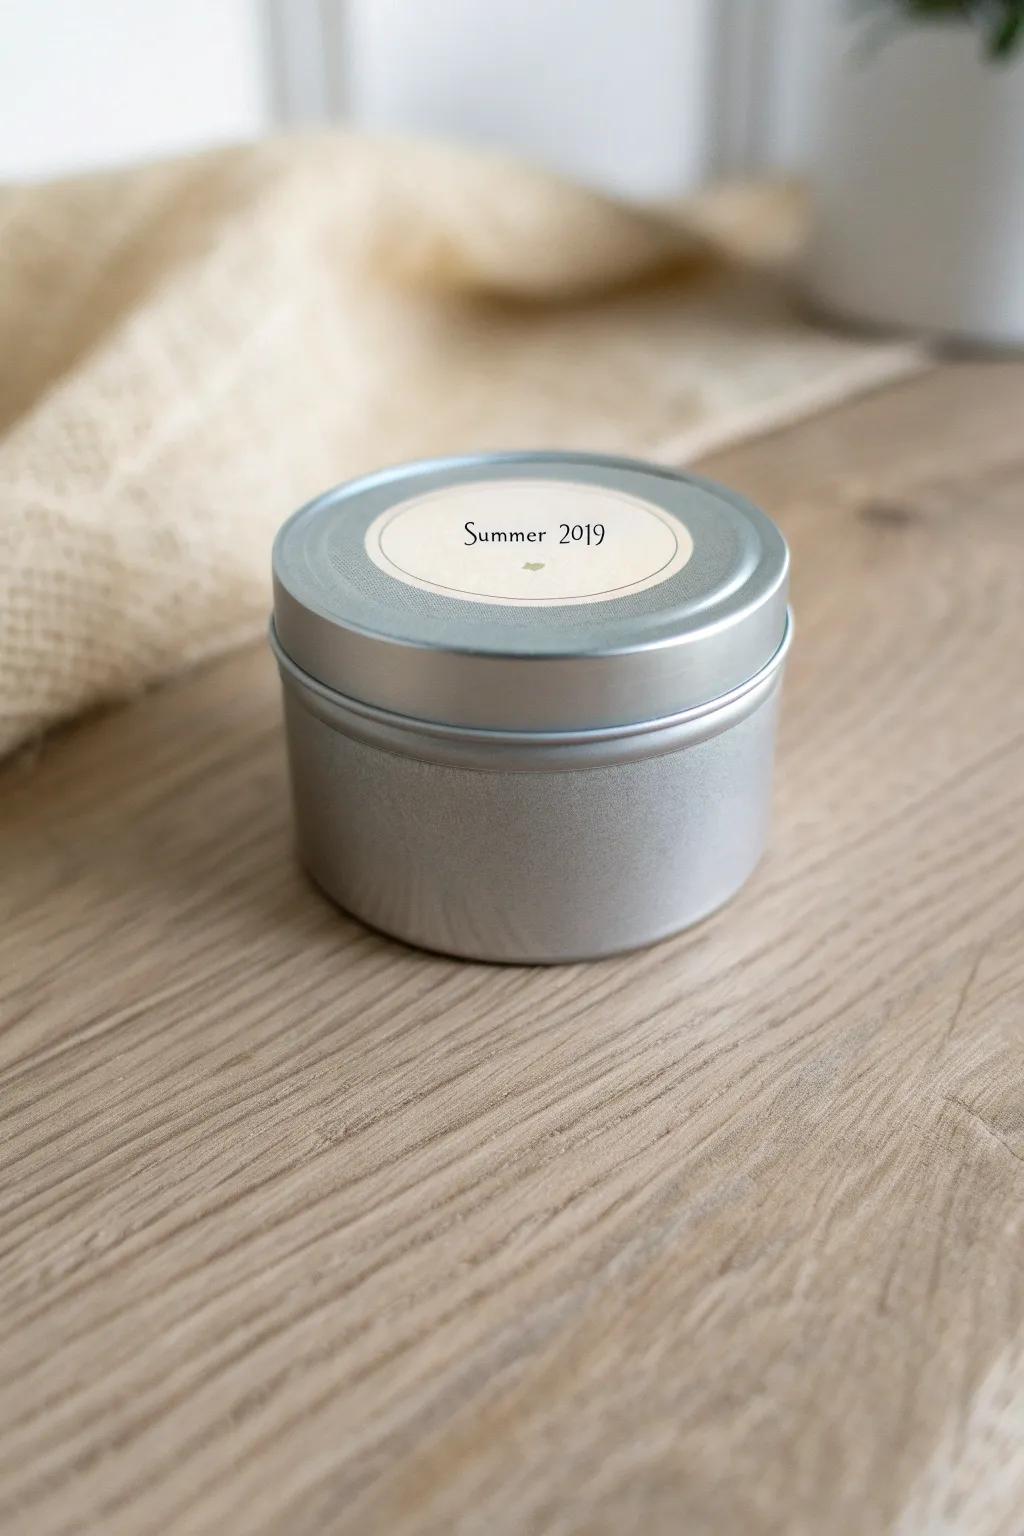
For super special sets (like one trip or one school year), I’ve stored photos in small lidded metal tins with a date label, like tiny time capsules. It’s such a fun, surprising way to protect a mini collection, and I love how giftable it feels if you ever want to pass memories along.
These products might help:
- Round Metal Tins with Cookie Lids: Store your precious photo memories securely in these durable, sleek containers perfect for efficient stacking and gifting.
- Self-Adhesive Round Labels: Easily organize your collection by adding customizable dates or titles to the top of every single tin.
- Mini Photo Prints: Print your favorite digital moments in perfect sizes to fit snugly inside your new time capsule containers.


