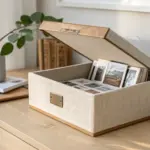
Craft supplies have a sneaky way of multiplying overnight, especially when you’re creating in a small space.
Sort by Craft Category First
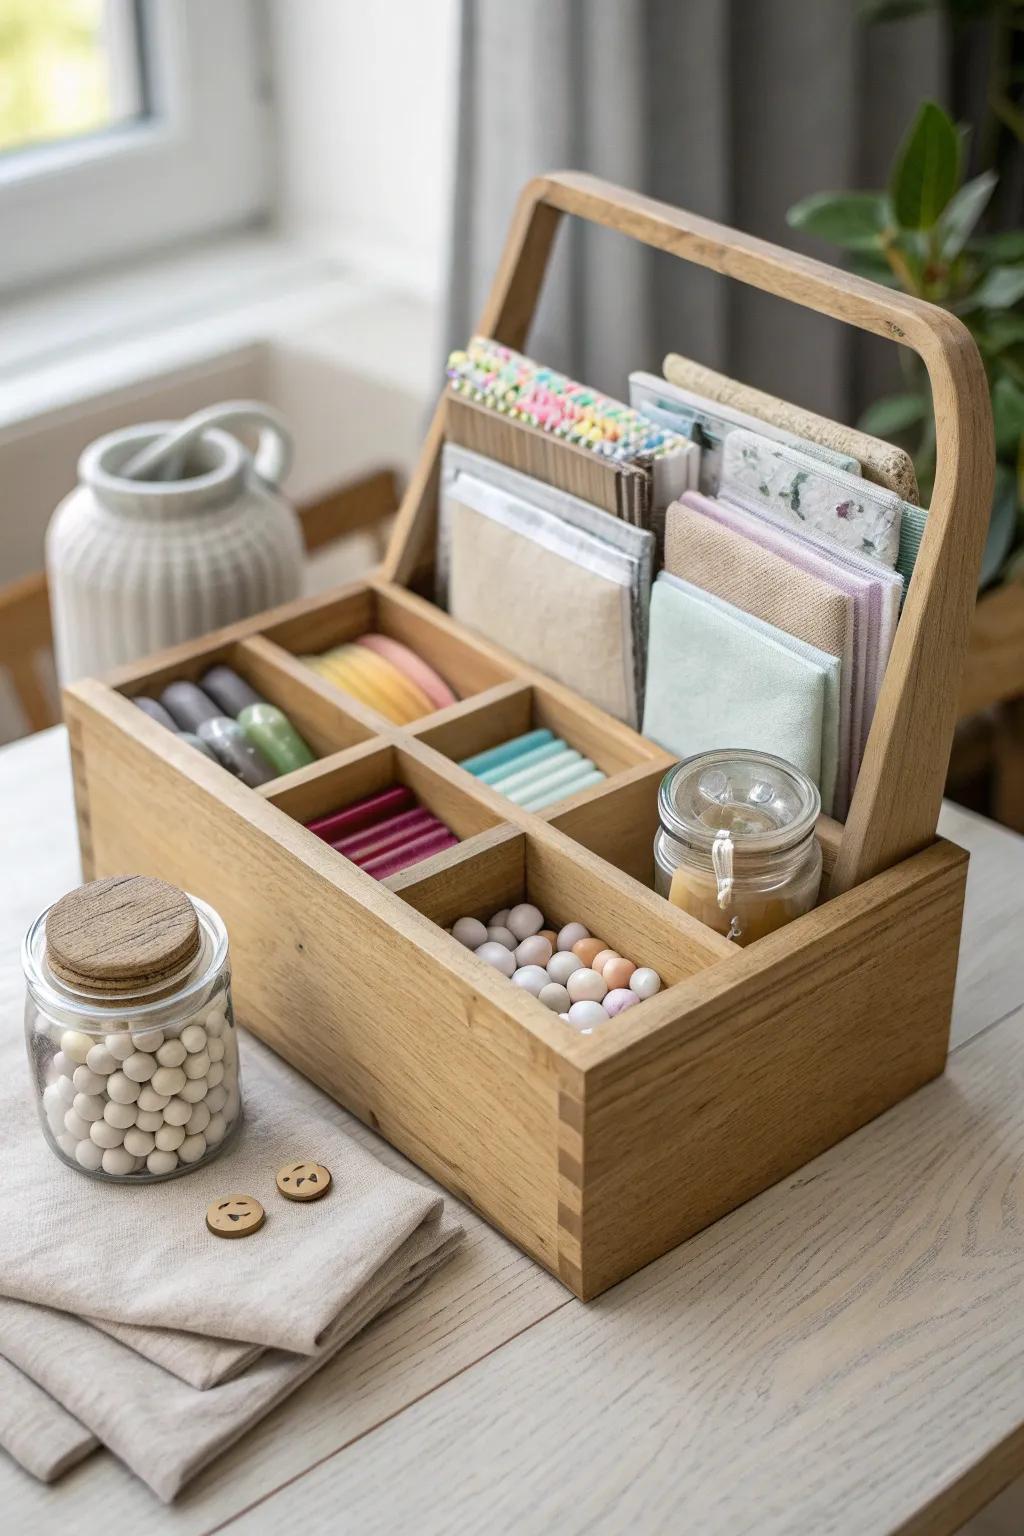
In my 450 sq ft apartment, I got my sanity back once I grouped craft supplies by big categories (paper, paint, fabric, beads) instead of hyper-specific little bins. I keep each category together so I’m not “treasure hunting” for scissors in three different places mid-project.
A few helpful options:
- Portable Wooden Craft Caddy: Keep frequently used essentials like scissors and threads accessible and portable for quick crafting sessions anywhere.
- Stackable Clear Storage Bins: Group larger categories like fabric or paints together in these bins to easily see your inventory.
- Drawer Divider Organizers: Sort smaller items like beads or buttons within your larger storage units to prevent messy tangles.
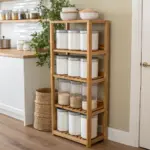
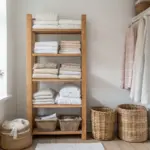
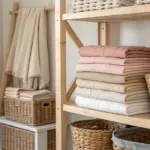
Use Clear, Stackable Bins
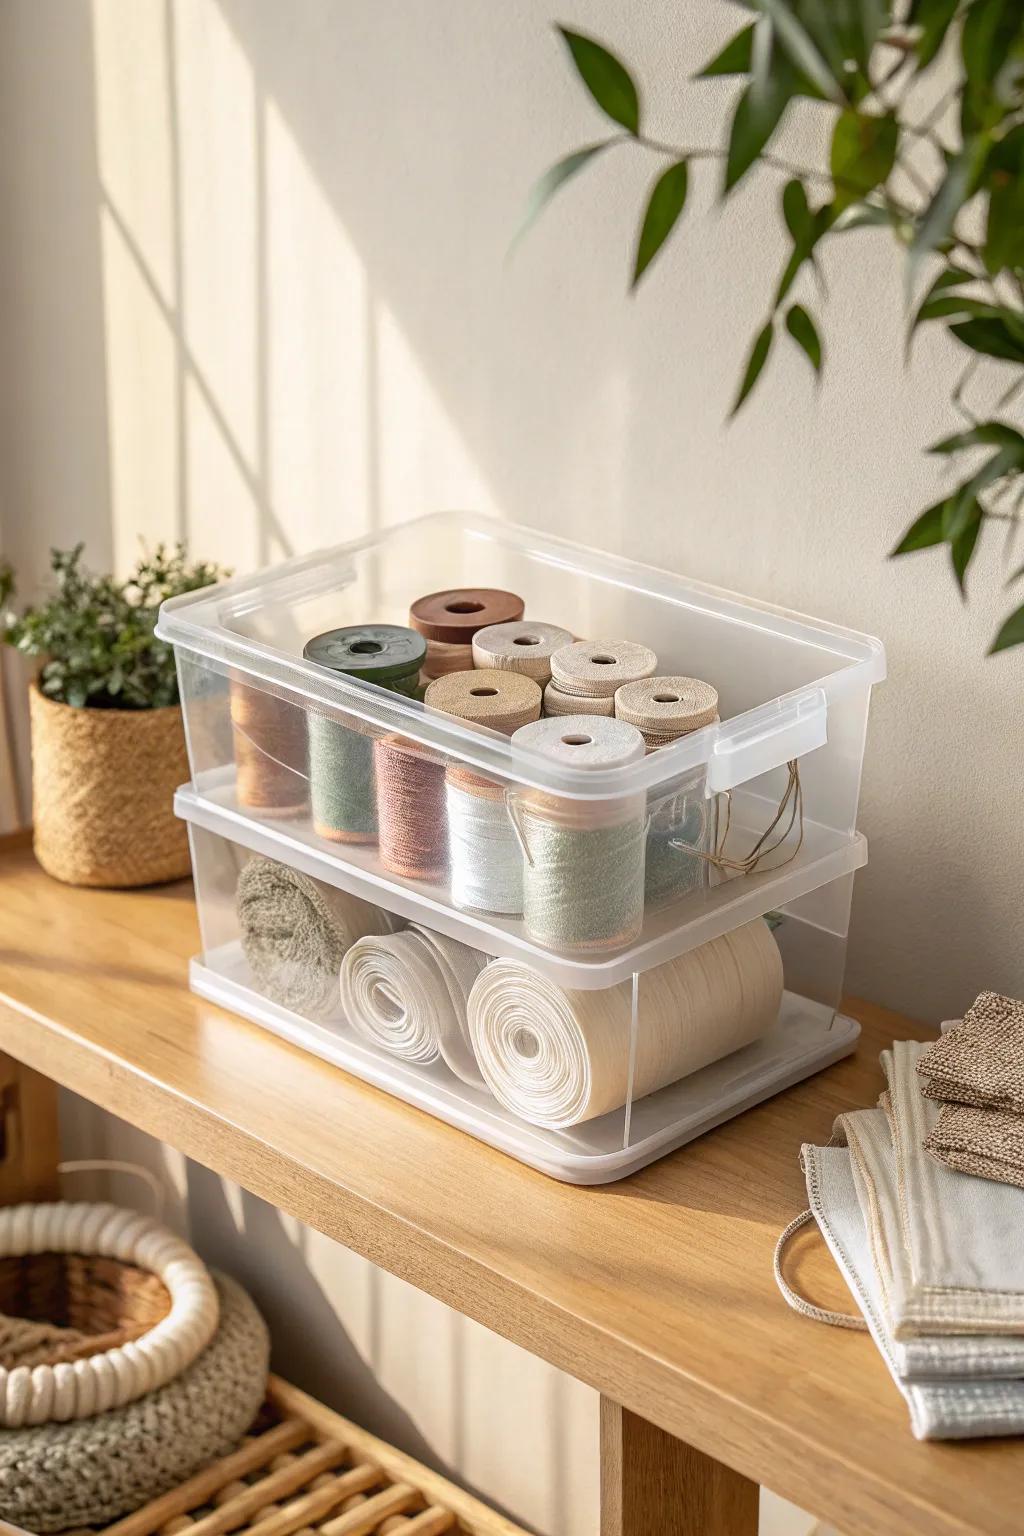
I rely on clear containers so I can see what I own without pulling everything out and making a bigger mess. Stacking lidded bins on a shelf let me go vertical, which is basically the only way small-space craft storage works.
These products might be useful:
- Shallow Clear Lidded Bins: Maximize vertical shelf space by stacking these transparent containers to keep smaller craft notions visible and organized.
- Deep Clear Storage Boxes: Store bulky fabric rolls or larger supplies securely in these deeper bins while protecting them from dust.
- Multi-Size Bin Sets: Create a uniform look on your shelves with a matching set of various sizes for modular organization.
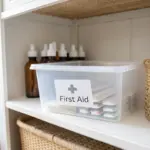
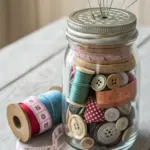
Label Like You Mean It
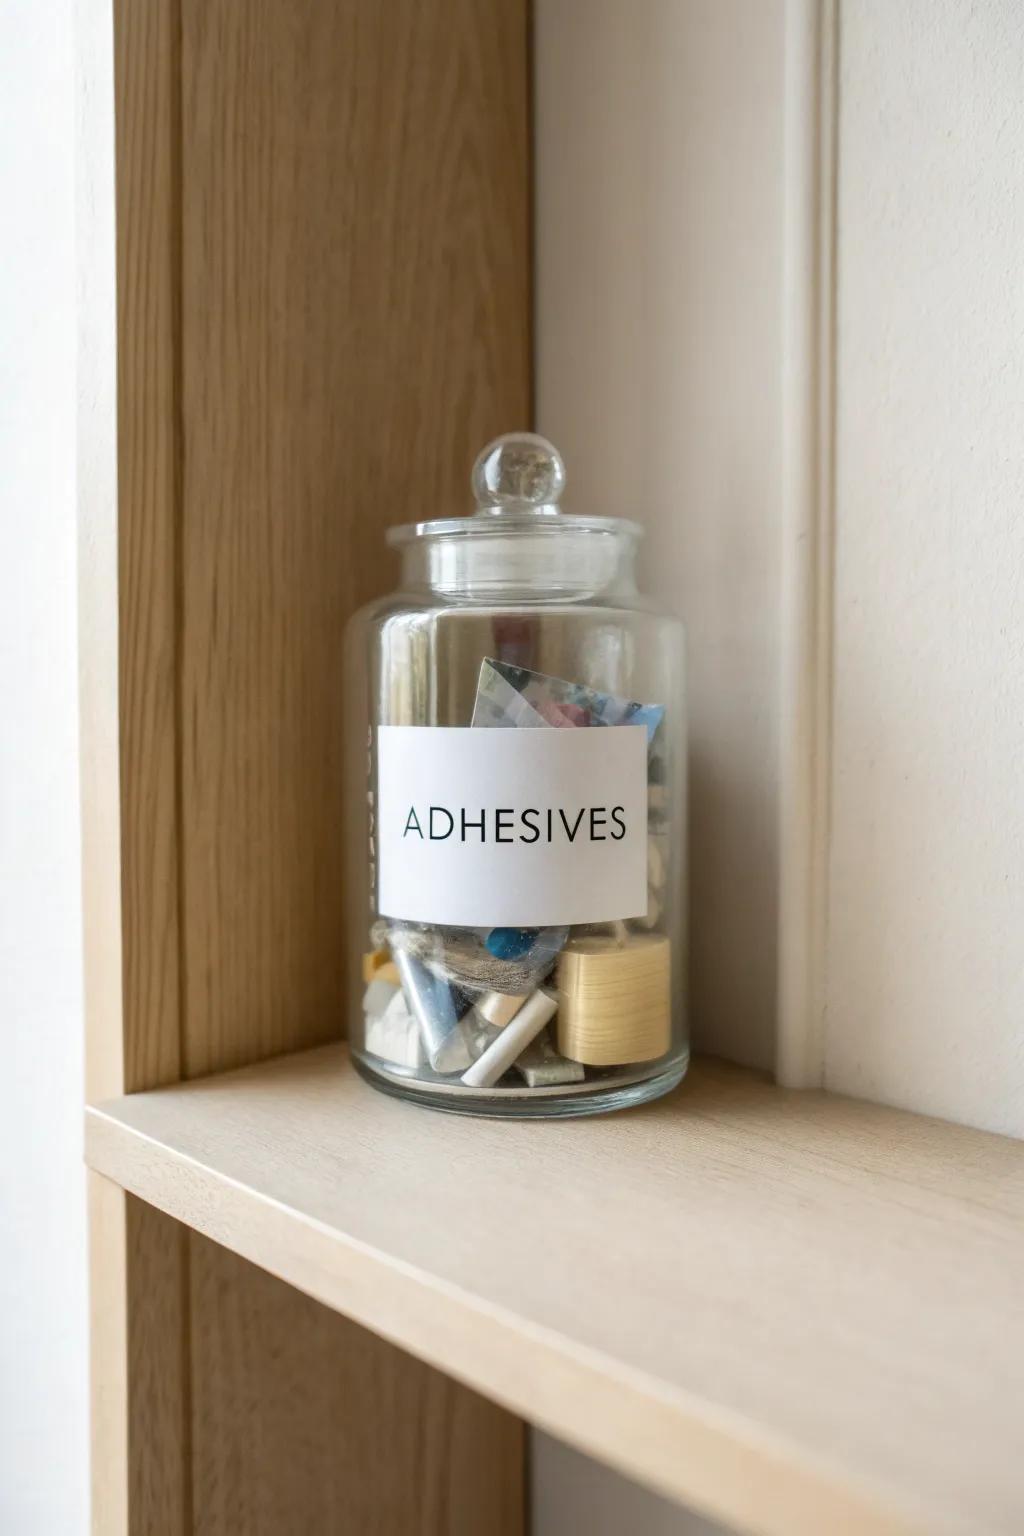
I used to think I’d “remember,” but my future self always disagreed, so now everything gets labels on the front where I can spot them fast. When I label by broad types (like “Adhesives” instead of “Tape”), my system stays flexible as my stash grows.
Useful items to consider:
- Apothecary Glass Storage Jars: Store your varied supplies in clear jars to easily spot exactly what you need at a glance.
- Printable White Label Stickers: Create clean, uniform labels for every container to keep your craft space looking polished and organized.
- Handheld Label Maker: Quickly print durable, legible labels for any bin or jar to streamline your sorting process immediately.
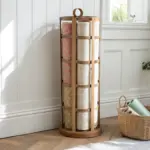
Store Paper Upright in Magazine Files
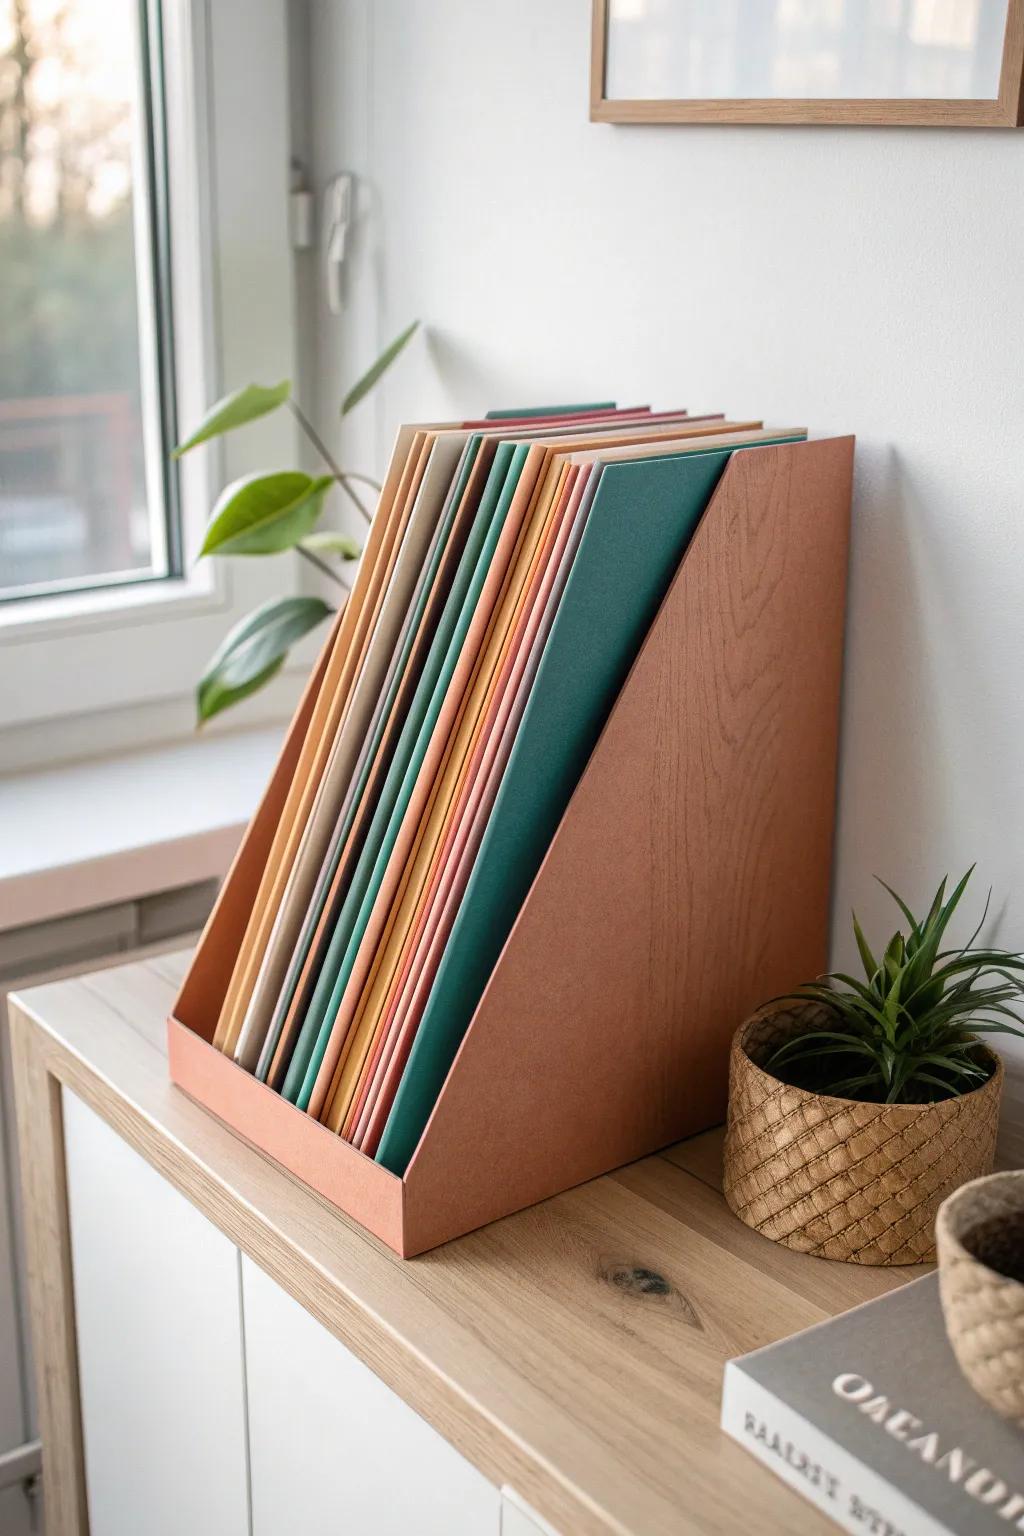
I store craft paper and cardstock upright so I can flip through it like a file instead of stacking it into a wrinkled pile. In my last studio flat, this single change freed up an entire drawer because paper stopped “sprawling.”
Check if these fit your needs:
- Wood Magazine File Holder: Keep cardstock accessible and upright with a sturdy wooden holder that prevents wrinkling and saves drawer space.
- Set of Colored Cardstock: Restock your craft station with vibrant, high-quality cardstock perfect for organizing by color in your new files.
- Small Woven Plant Basket: Add a touch of natural warmth to your desk setup by placing a small potted plant nearby.
Corral Ribbon and Tape on Dowels
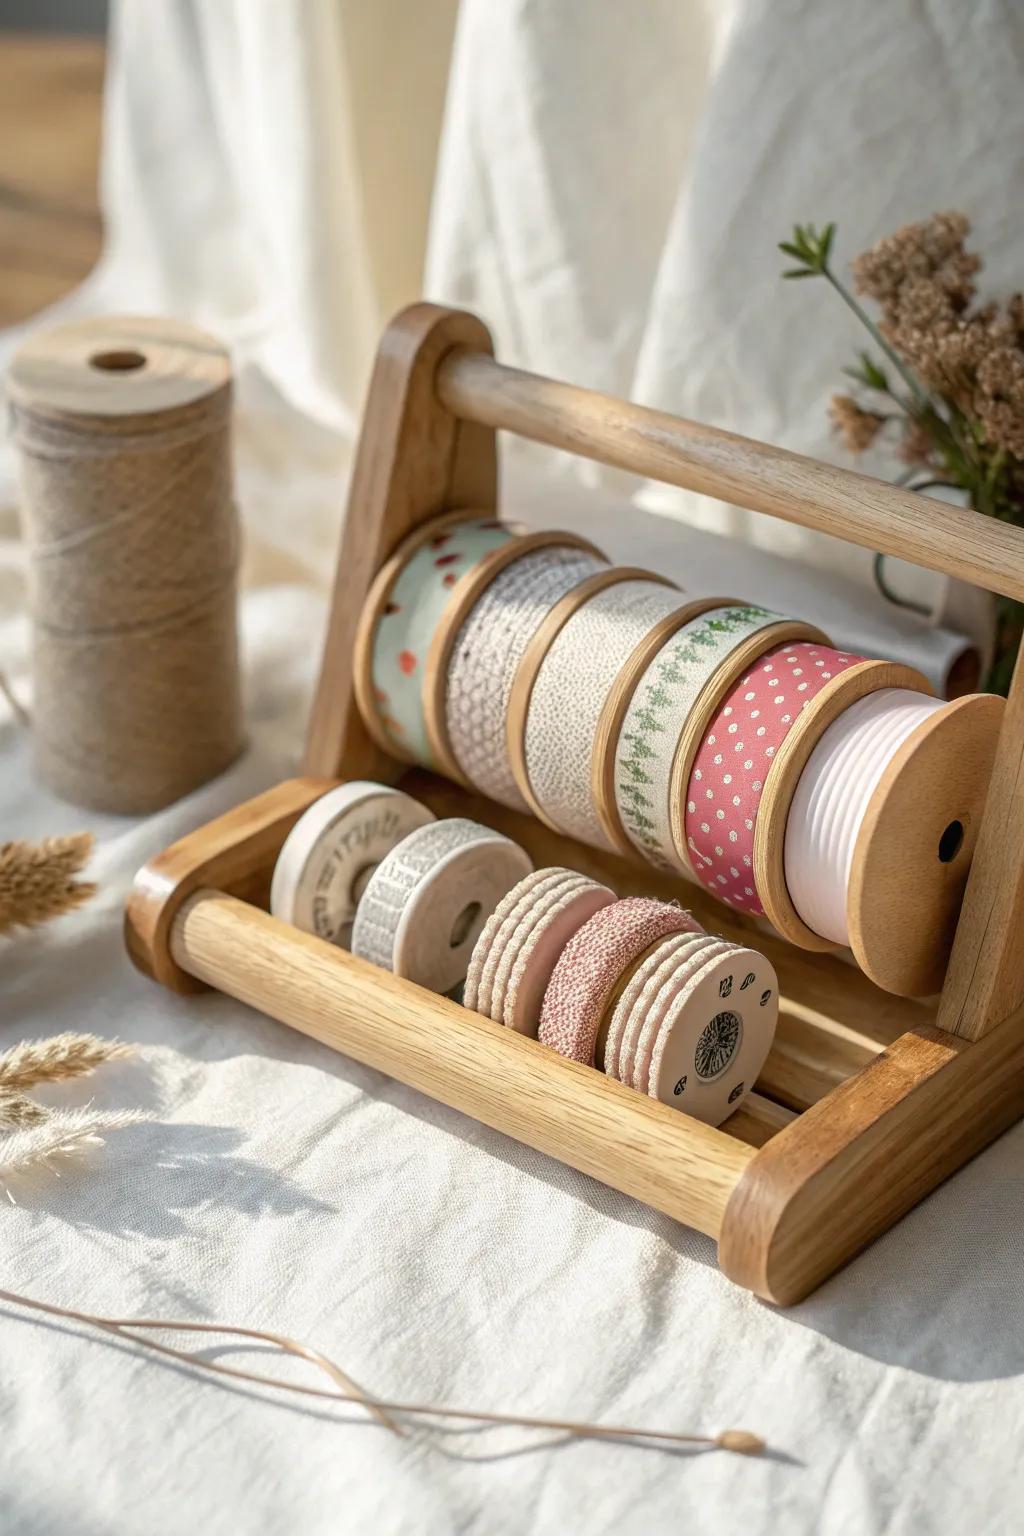
I slide ribbon spools and rolls of tape onto wood dowels so they stay neat and don’t unravel in bins. The first time I did this, I realized half my craft clutter was really just “loose ends” looking for a structure.
You might like:
- Wooden Dowel Rods: Ensure your ribbons stay perfectly aligned by sliding spools onto sturdy dowels for instant, tangle-free organization.
- Ribbon Organizer Rack: Simplify your setup with a dedicated rack designed to hold multiple dowels and display your entire collection.
- Decorative Washi Tape Sets: Fill your new organizer with beautiful, patterned tapes that add creativity and charm to every craft project.
Color-Code for Fast Grab-and-Go
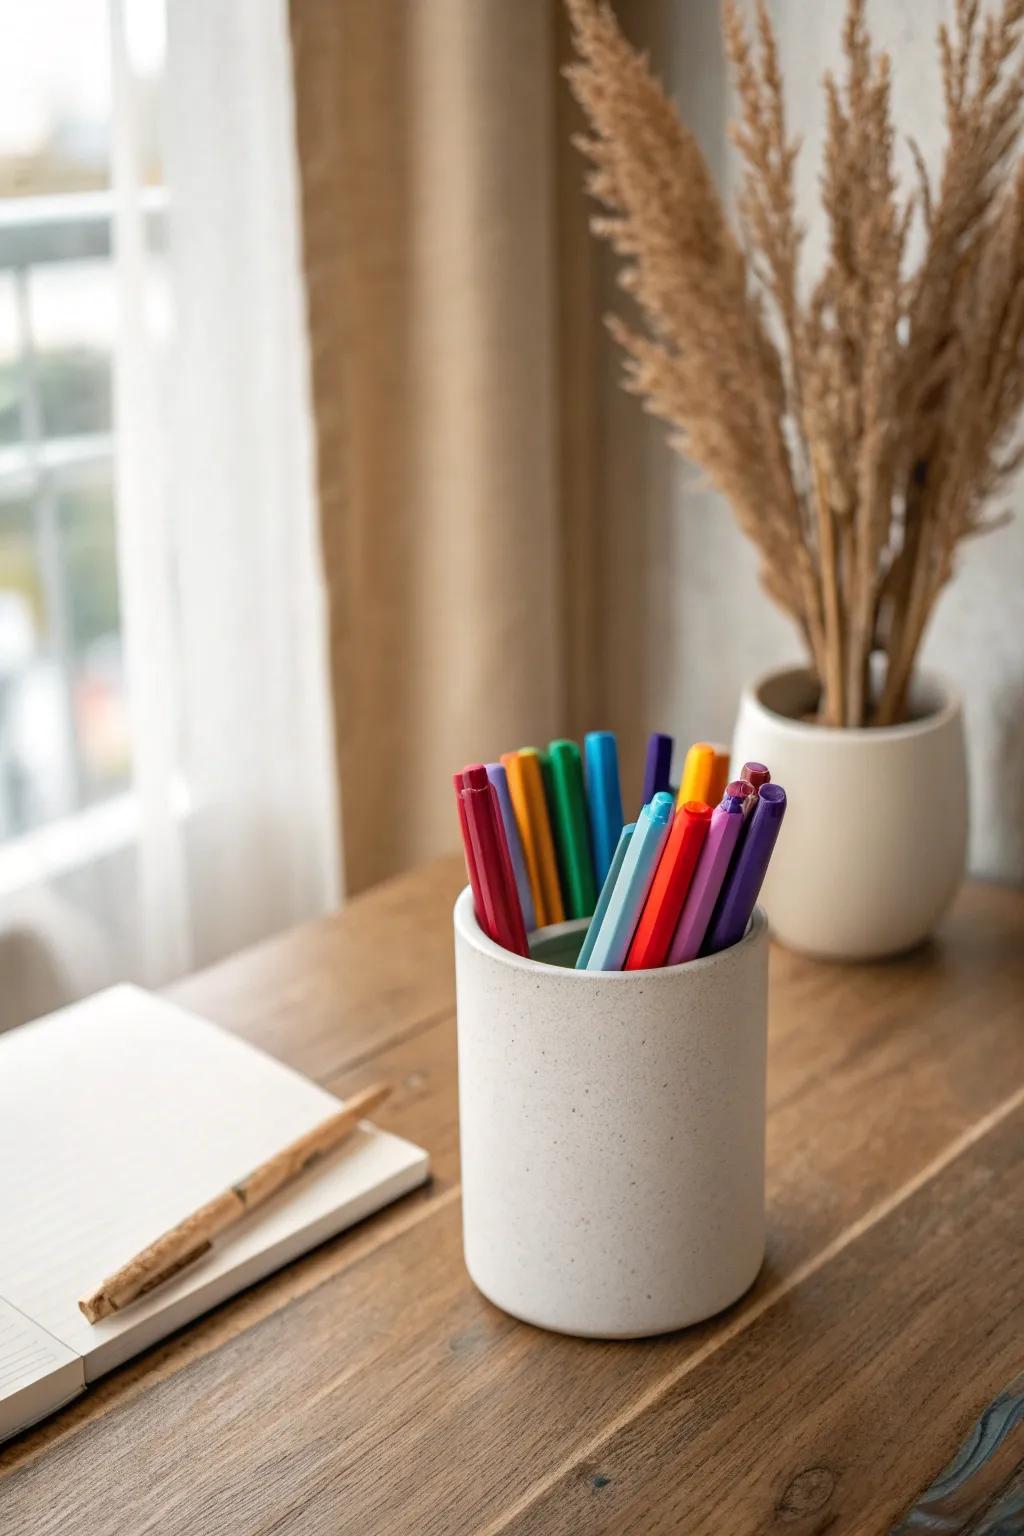
I arrange markers, papers, or yarn in a rainbow order because it’s pretty, but honestly it’s also faster—my eyes find colors quicker than labels. I started doing this when my craft corner doubled as my living room, and I wanted it to look intentional.
A few things you might like:
- Minimalist Ceramic Pen Cup: Keep colorful pens organized and accessible on your desk with a clean, neutral holder that matches any decor.
- Rainbow Dual-Tip Markers: Create your own color-coded system with a vibrant set of markers perfect for sketching, planning, or journaling.
- Classic Hardcover Notebook: Capture your colorful ideas and sketches in a high-quality journal that lays flat for easy creativity.
Store “Scraps” in a Hanging-Lid Jar
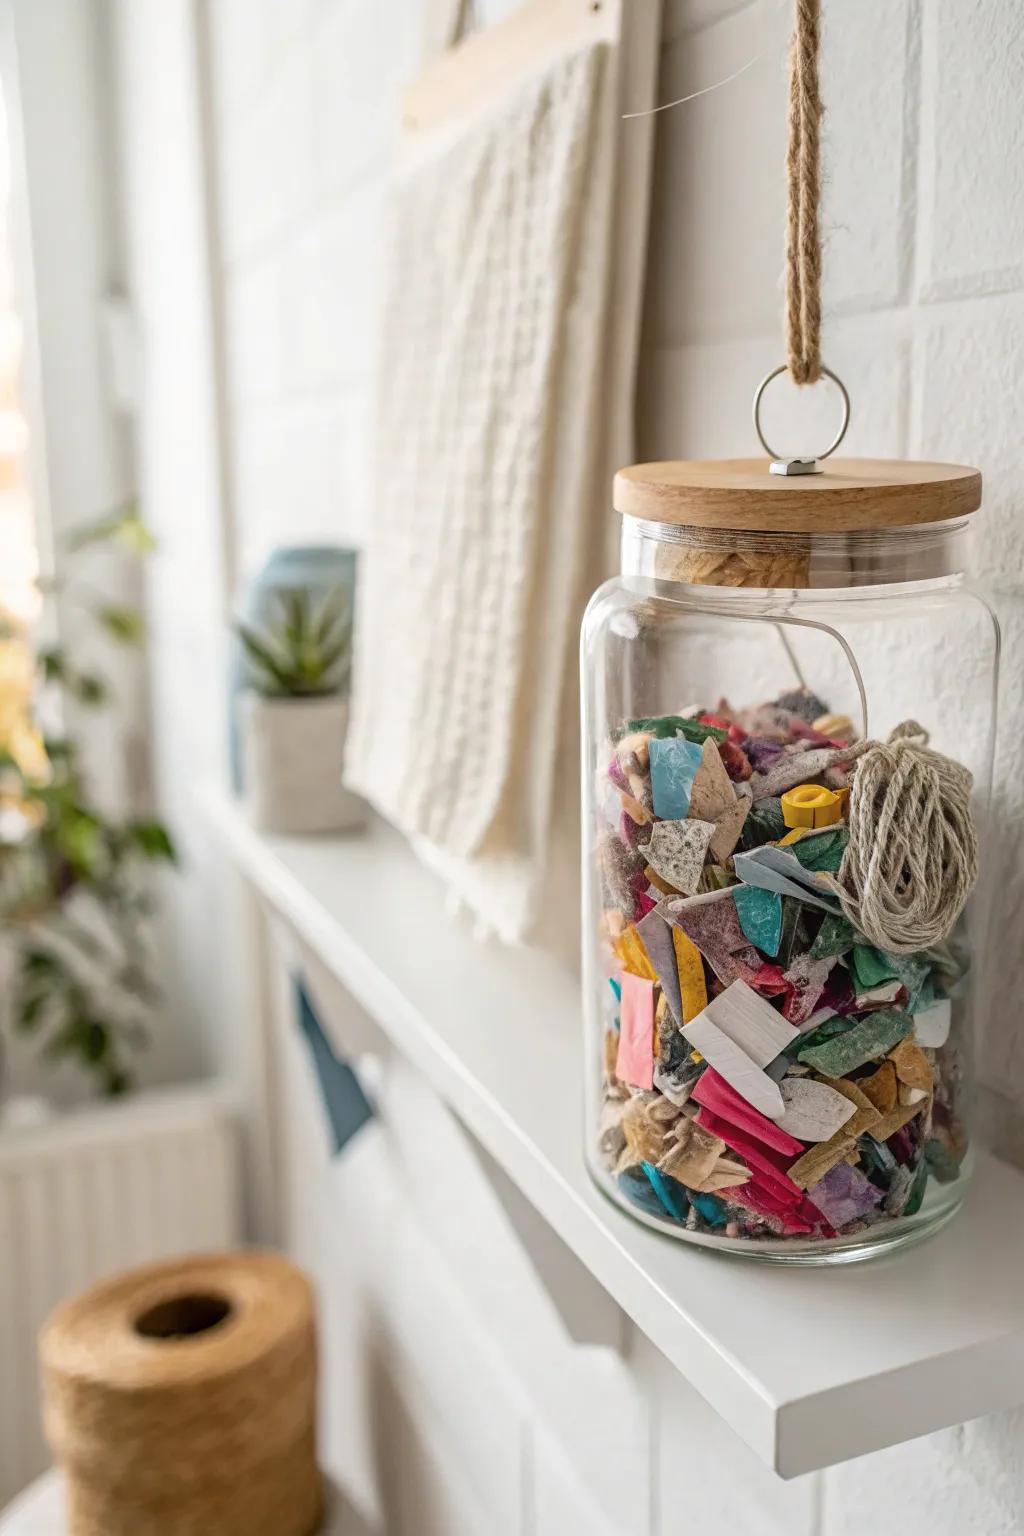
This one surprised me: I keep a wide jar for scraps (threads, paper bits, vinyl offcuts) and mount the lid under a shelf so the jar twists on and off like a mini trash can. It stopped my desk from becoming a confetti situation every time I craft.
Explore these options:
- Wide-Mouth Glass Storage Jar with Wood or Metal Lid: Choose a sturdy jar with a screw-on lid that is easy to mount under your crafting shelf.
- Heavy Duty Mounting Tape or Screws: Secure your jar lid firmly to the shelf underside using strong mounting tape or short wood screws.
- Jute Twine or Natural Rope: Add a decorative hanging loop or rustic texture to your scrap jar to match the organic aesthetic.


