Orchids are my favorite “living decor” because they instantly make a small space feel styled, not cluttered. With a few smart containers and some pretty filler, you can turn basic potted orchids into a centerpiece or mini wall moment that looks way more expensive than it was.
Orchid Hoop “Chandelier” Display
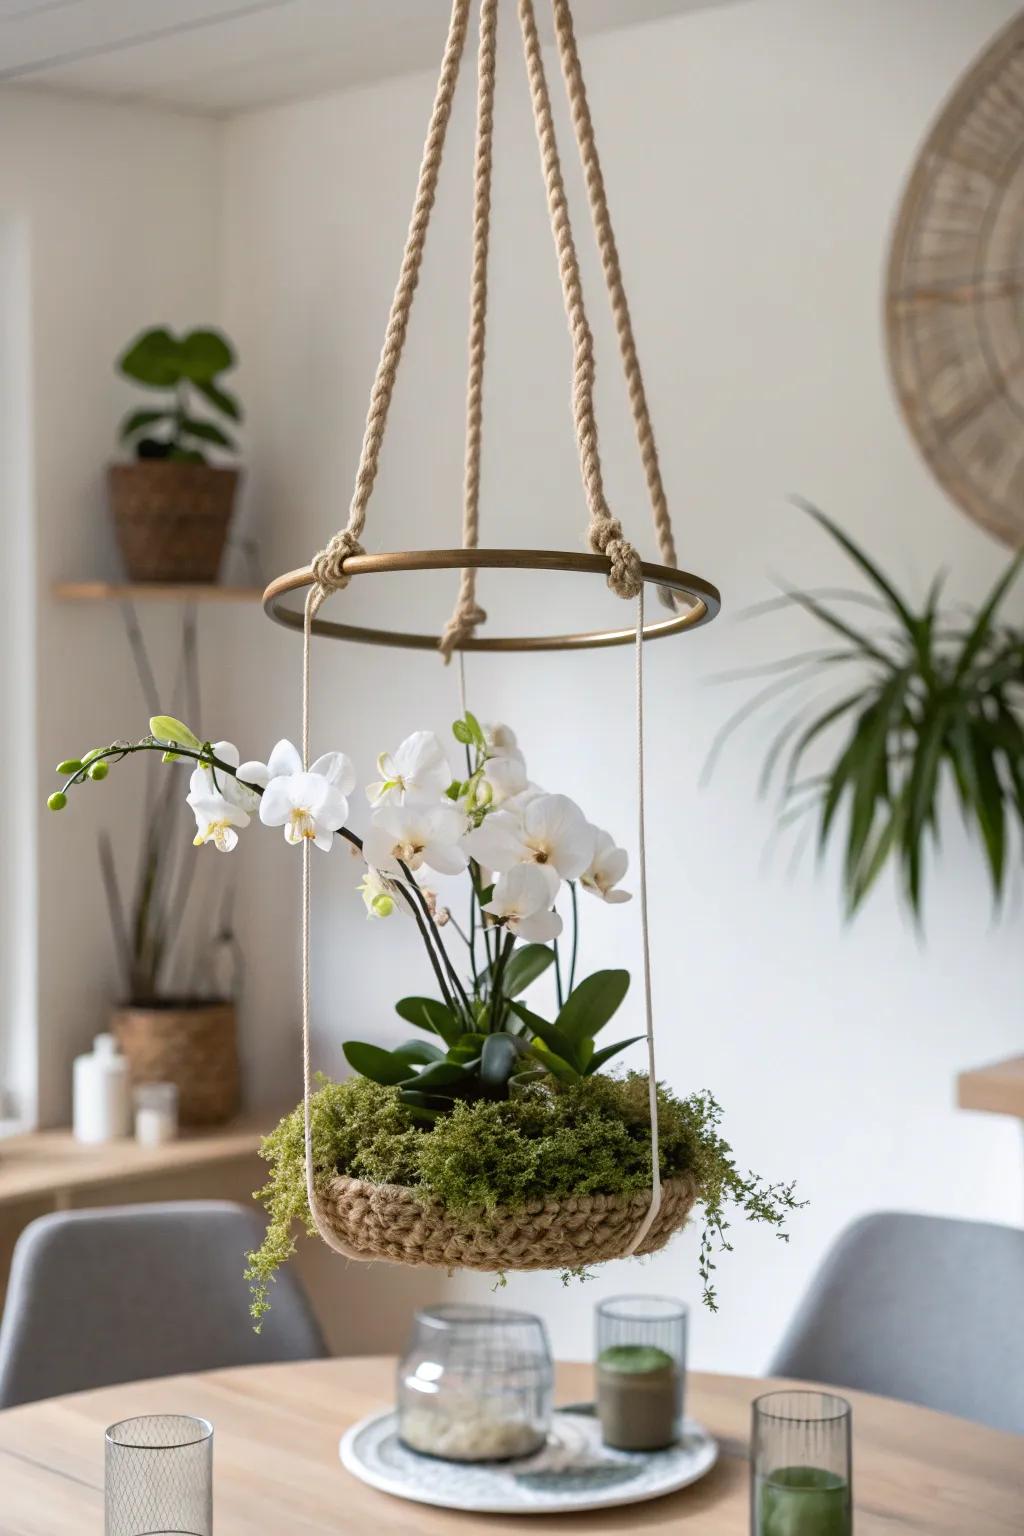
For a real statement, I once suspended a hoop above my table and hung a few lightweight orchid containers at different heights, and guests could not stop talking about it. It’s a surprisingly practical small space move because the orchids decorate the airspace instead of stealing tabletop room.
Give these a look:
- Hanging Planter with Gold Hoop: Recreate this stunning look by suspending a hoop-style planter that elevates your greenery and saves table space.
- Live White Orchid Plant: Fill your new display with elegant white blooms that add an instant touch of sophistication to any room.
- Preserved Green Moss: Cover the potting soil with lush preserved moss to give your orchid arrangement a polished, professional finish.
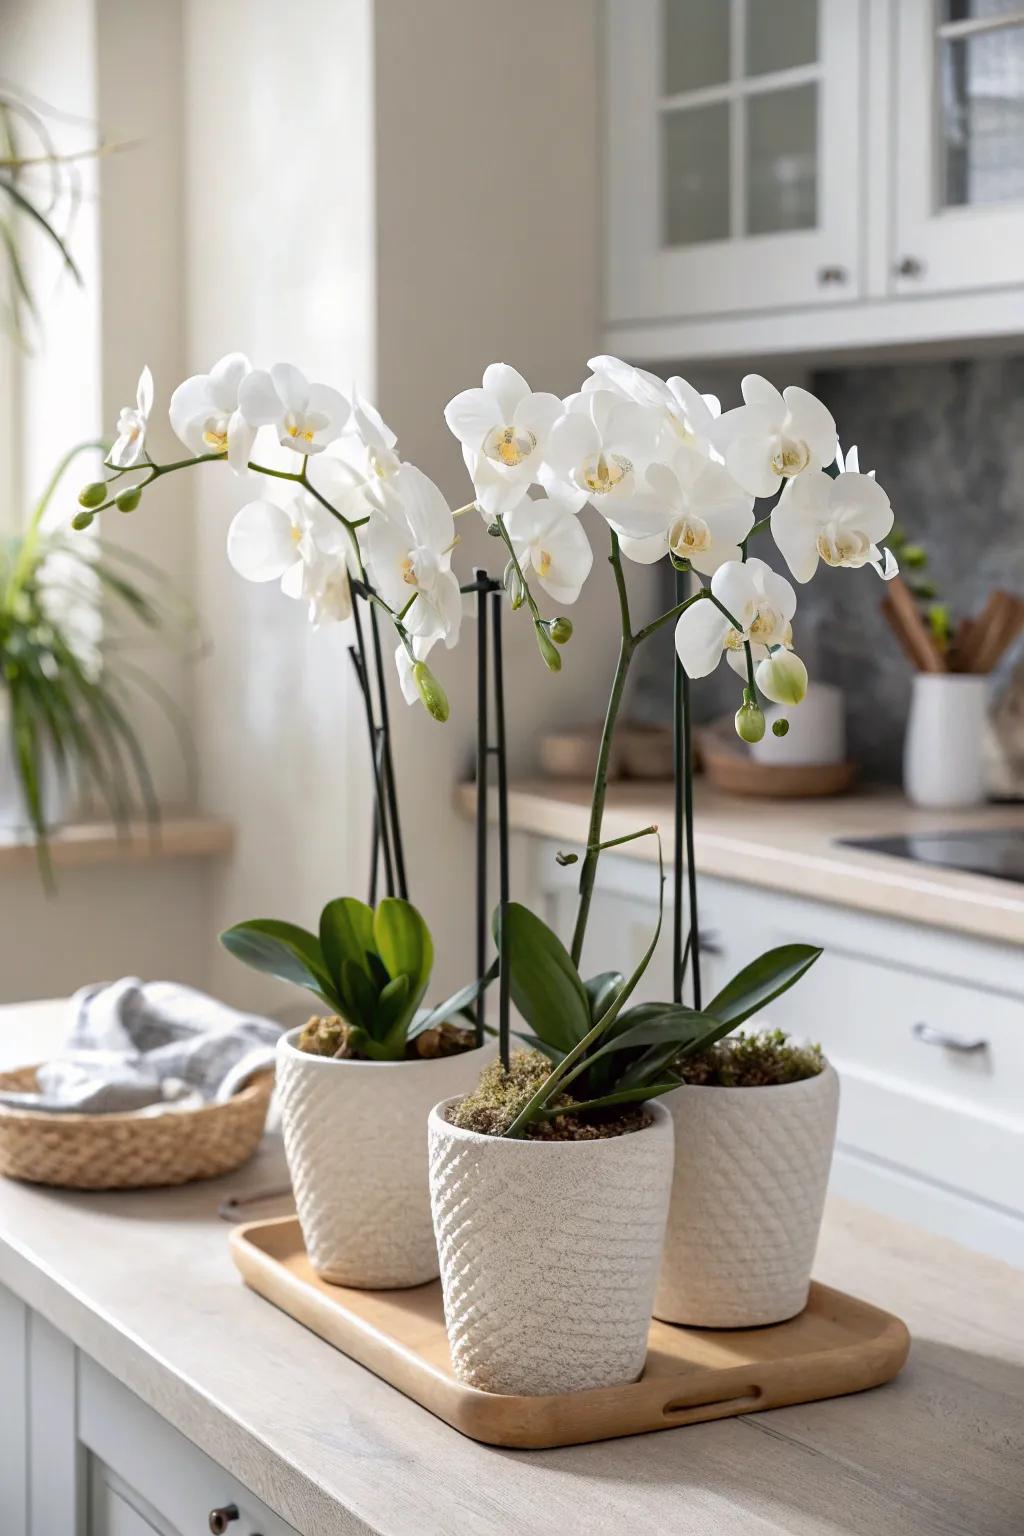
Trio of Matching Cache Pots
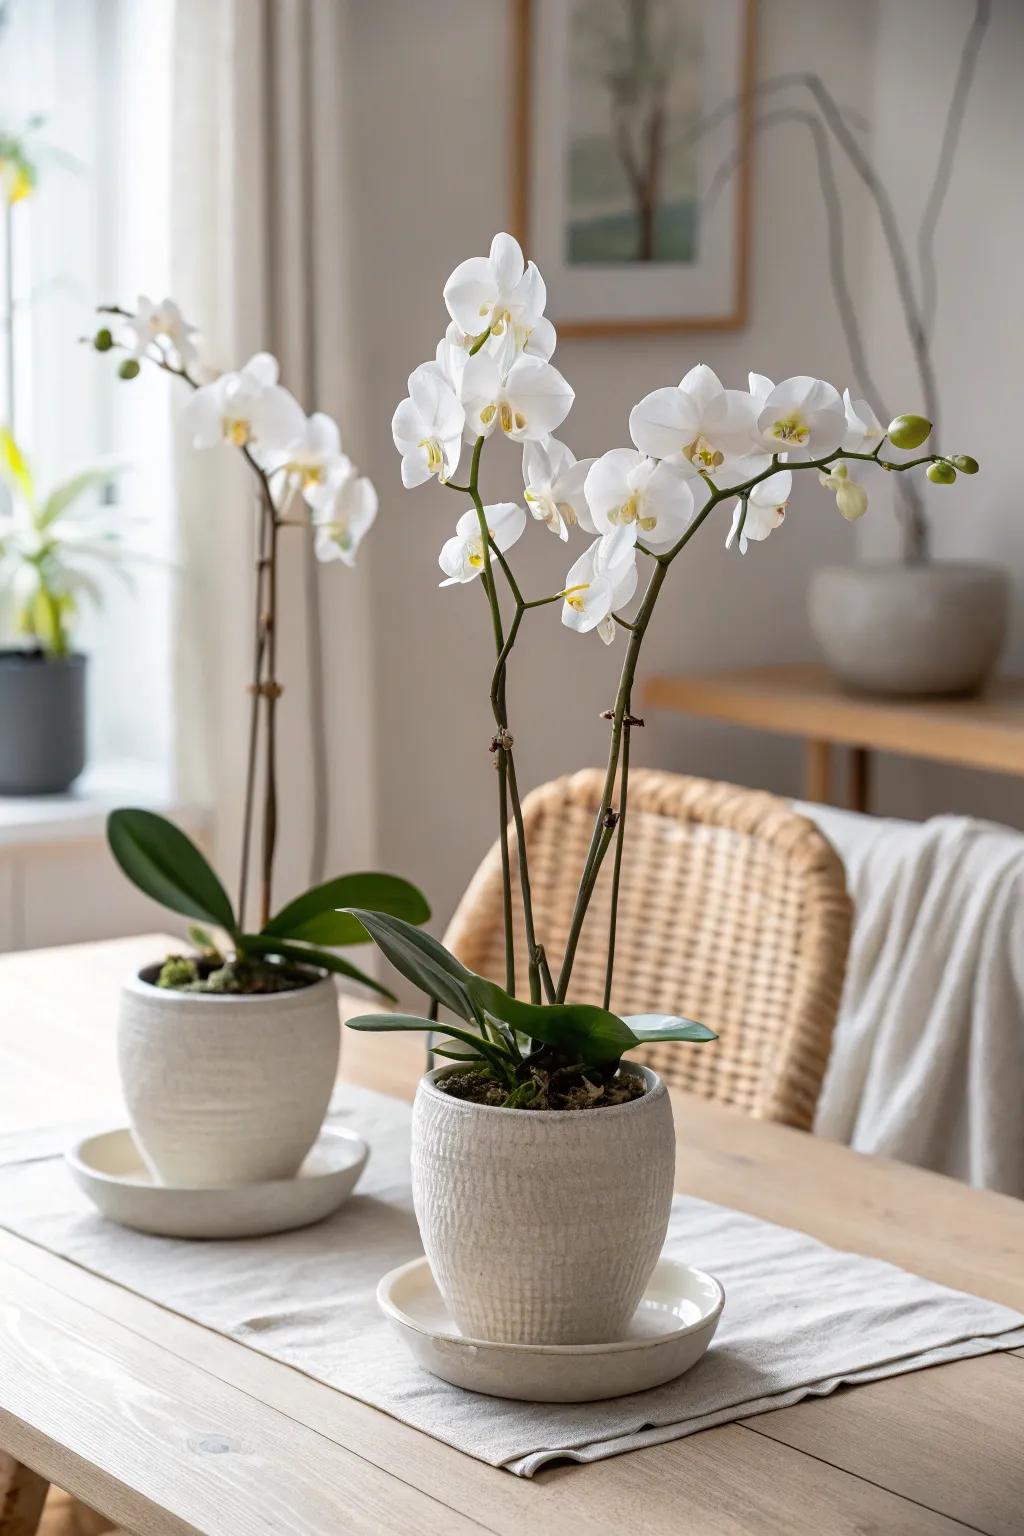
In my 450 sq ft apartment, I rely on a neat row of three potted orchids in matching cache pots to make my dining table feel intentional without taking over the whole surface. I keep them close together like one “unit,” so it reads as a centerpiece instead of three separate objects.
May just do the trick:
- Set of Textured Ceramic Planters: Choose ceramic pots with subtle textures to mimic the elegant, organic look of these centerpiece vessels.
- Live White Phalaenopsis Orchids: Select blooming white moth orchids to instantly recreate this fresh, clean, and classic dining table aesthetic.
- Neutral Linen Table Runner: Ground your orchid arrangement visually with a simple linen runner that adds soft texture and defined space.
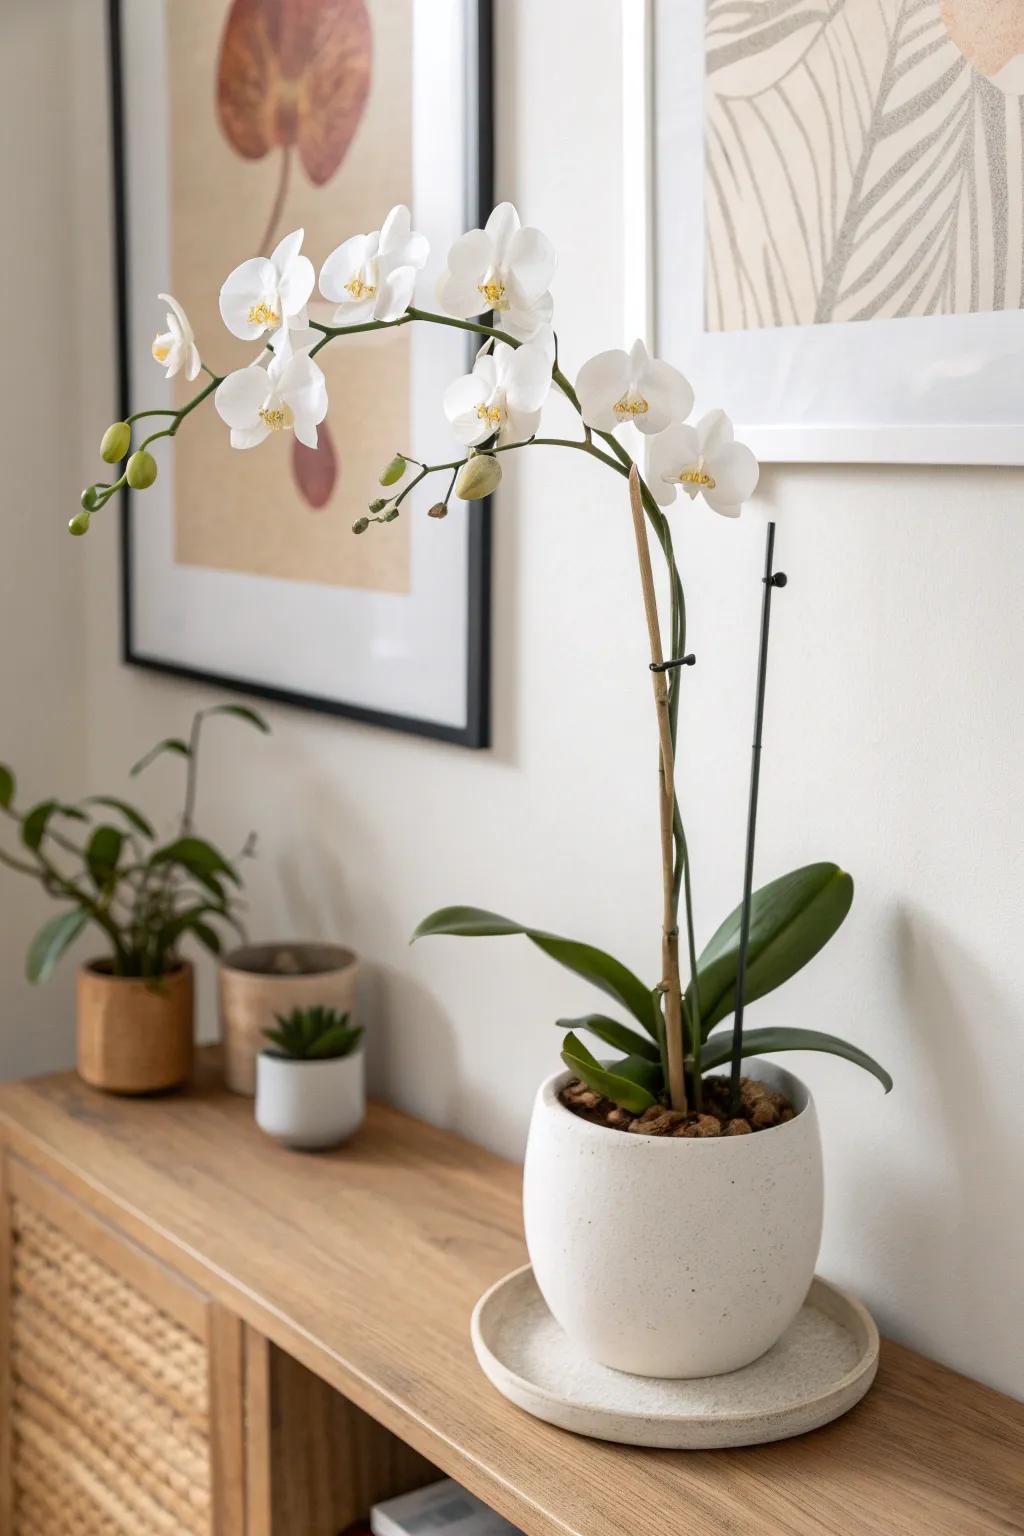
Single Statement Planter
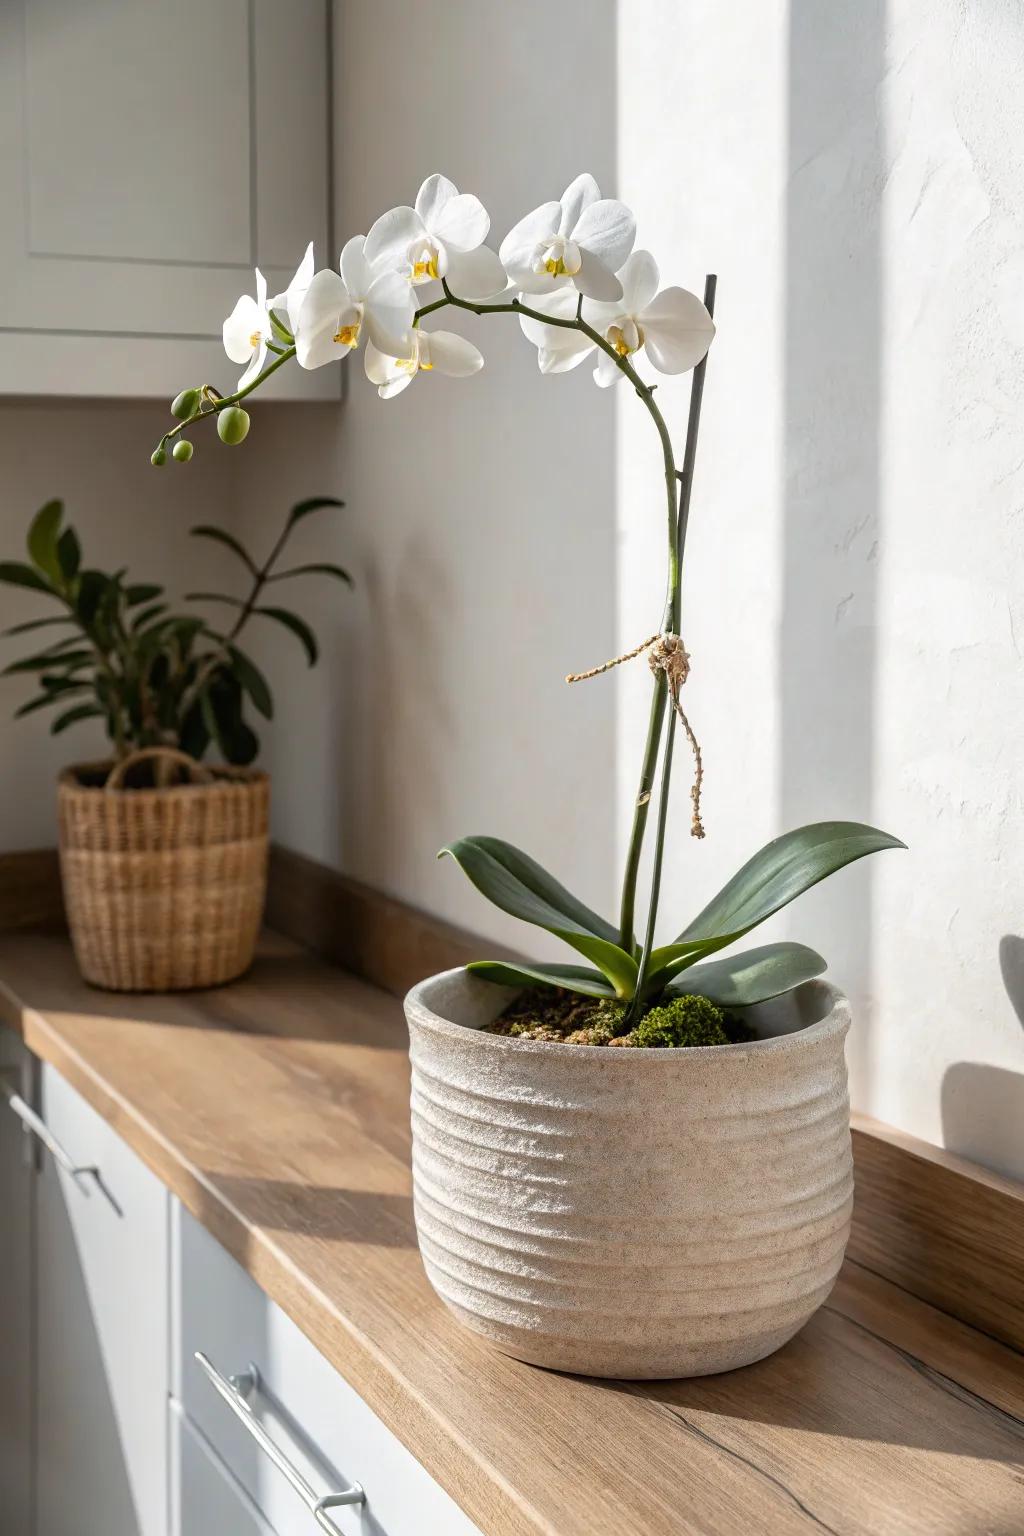
When my counters feel visually busy, I switch to one larger decorative planter with a single orchid so it feels calm and curated. I’ve found this works especially well on a narrow kitchen counter where you want beauty but still need prep space.
Check if these fit your needs:
- Textured Ceramic Planter: Choose a neutral, ridged pot to add subtle texture while keeping your kitchen counter looking clean and uncluttered.
- Orchid Potting Mix: Refresh your plant with a specialized bark blend to ensure proper drainage and support specific orchid root health.
- Plant Support Stakes: Use simple stakes and ties to gently guide your orchid stem upward for that elegant, high-arching display.
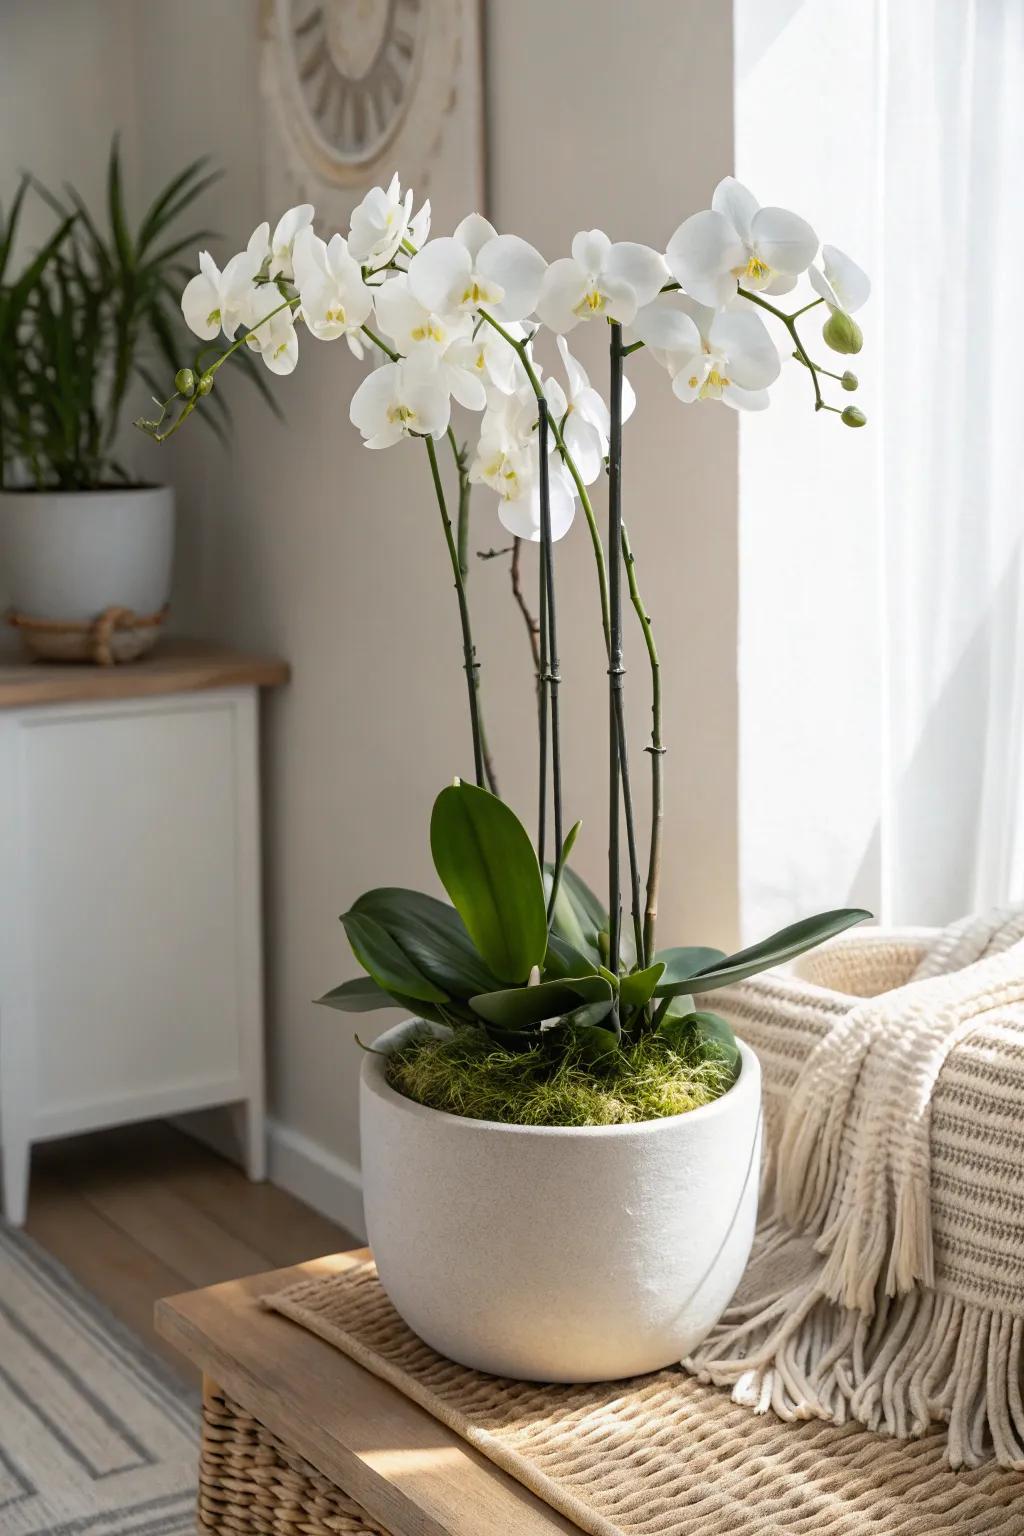
Pedestal Bowl Centerpiece
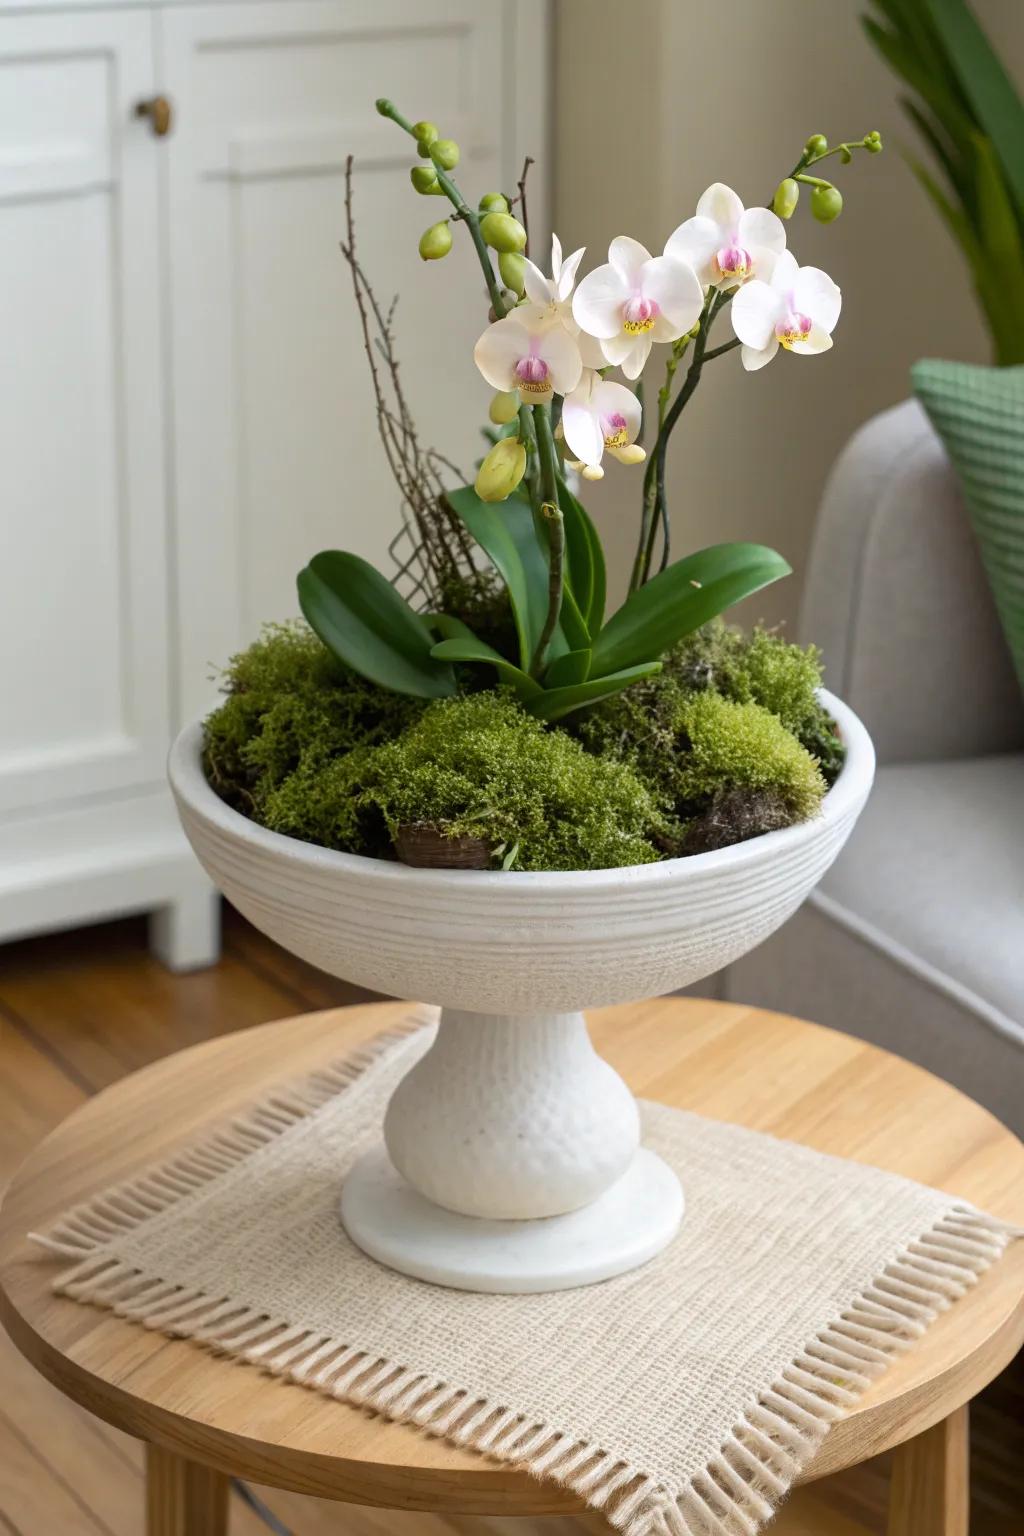
I love using a pedestal bowl because it lifts the blooms up into eye-level and makes even petite orchids look grand on a small table. I tuck the nursery pots inside and pack around them with moss so the base looks lush and finished.
A few relevant products:
- White Ceramic Pedestal Bowl: Choose a classic white footed bowl to elevate your orchid and create a sophisticated, eye-level focal point.
- Preserved Sheet Moss: Cover plastic nursery pots with lush green sheet moss to give your arrangement a natural, professional finish.
- Artificial Orchid Stem: Opt for high-quality faux orchids if you want everlasting blooms that require absolutely no maintenance or sunlight.
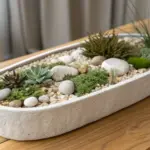
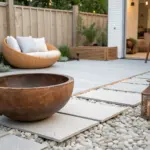
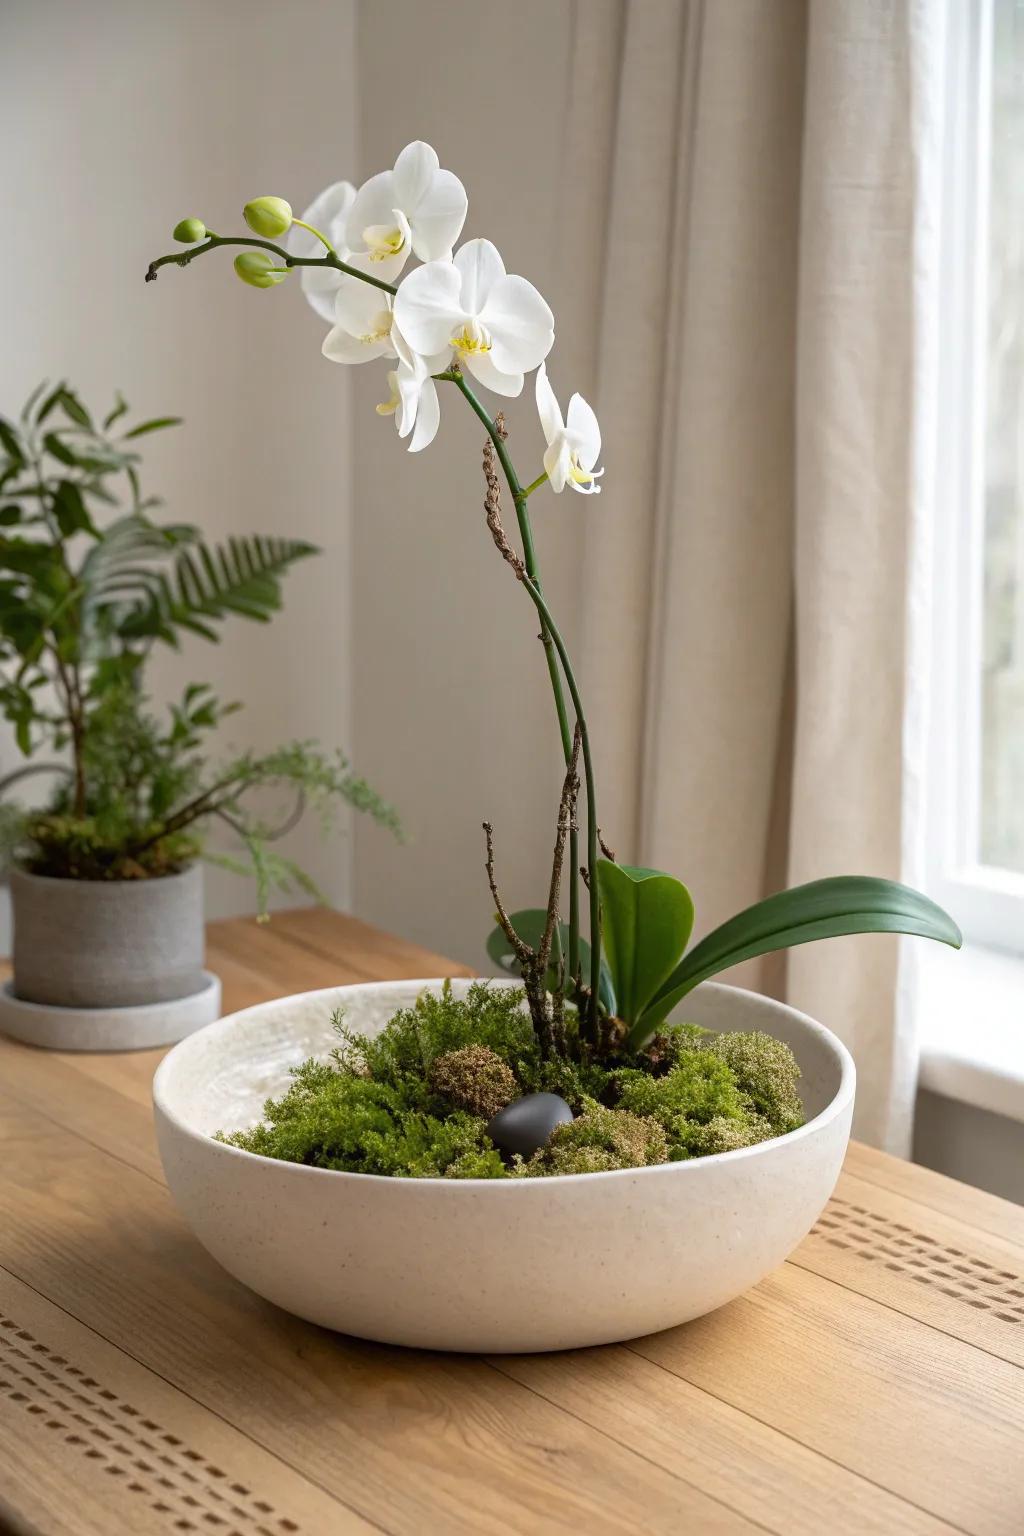
Low Bowl With Moss Blanket
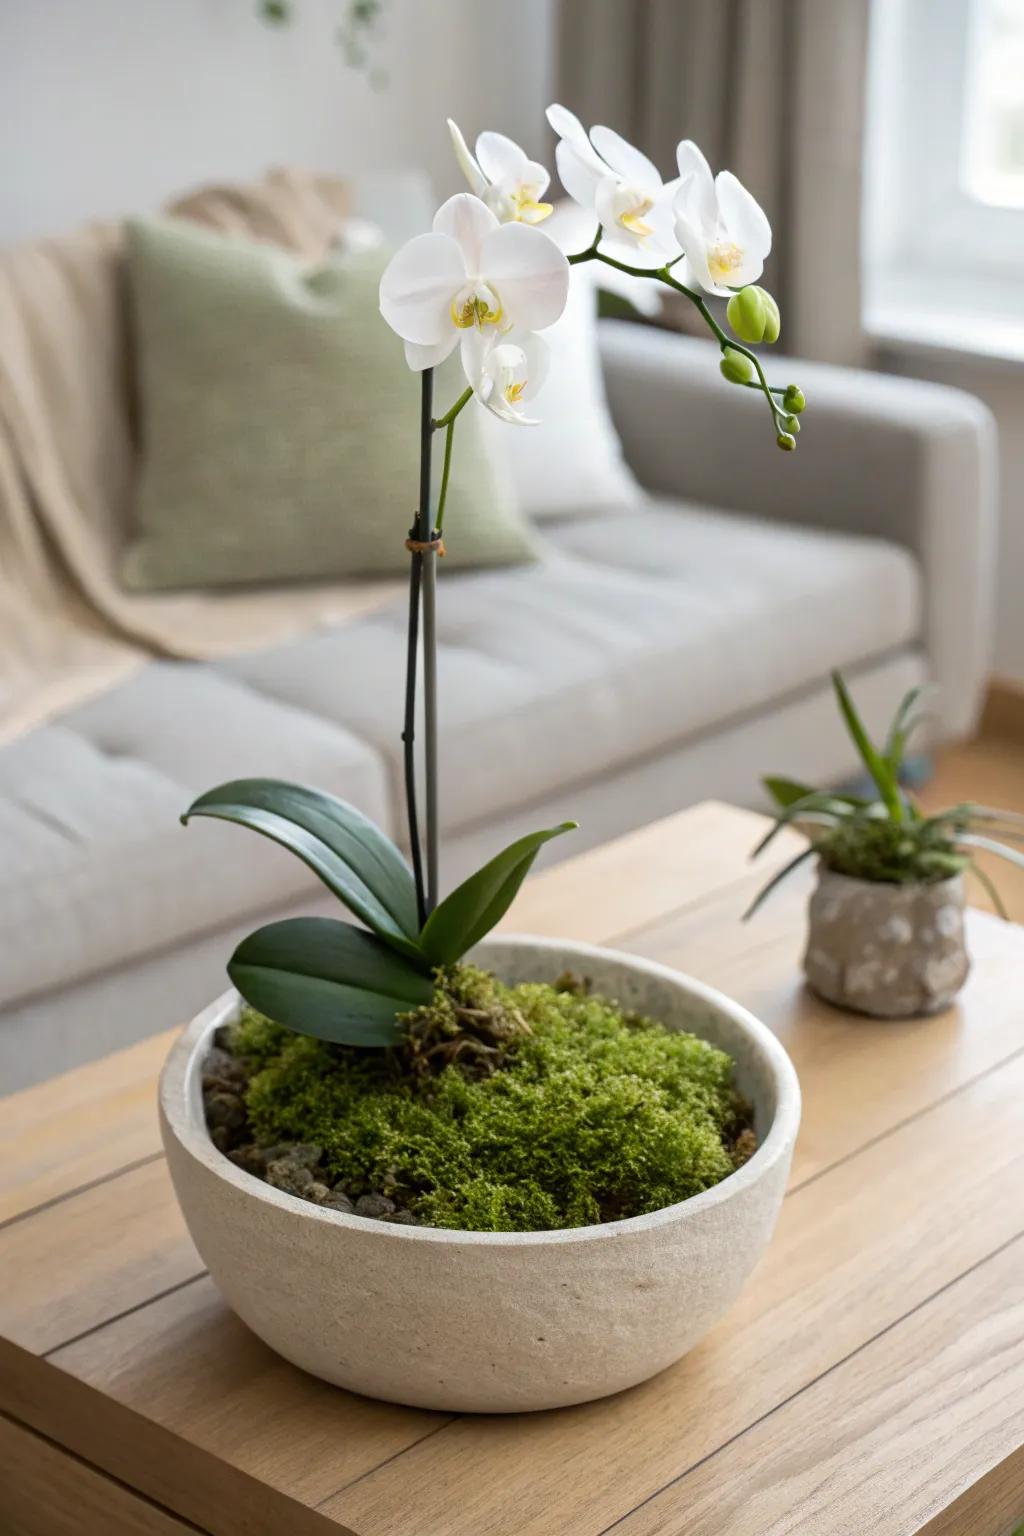
On my coffee table, I’ve done a shallow bowl display where the orchid pot gets hidden under a thick layer of sheet moss for that “designer” look. The trick I use is leaving a little gap around the stem so the moss doesn’t sit wet against the plant.
Try these:
- Shallow Concrete Planter Bowl: Create a modern foundation for your display with a textured, low-profile bowl that mimics the featured look perfectly.
- Preserved Sheet Moss: Cover the inner potting soil seamlessly with lush green sheet moss to achieve that professional, high-end florist finish.
- Decorative River Rocks: Use small stones beneath the moss or around the base to improve drainage and stabilize your orchid pot.
Rectangular Trough for Tables
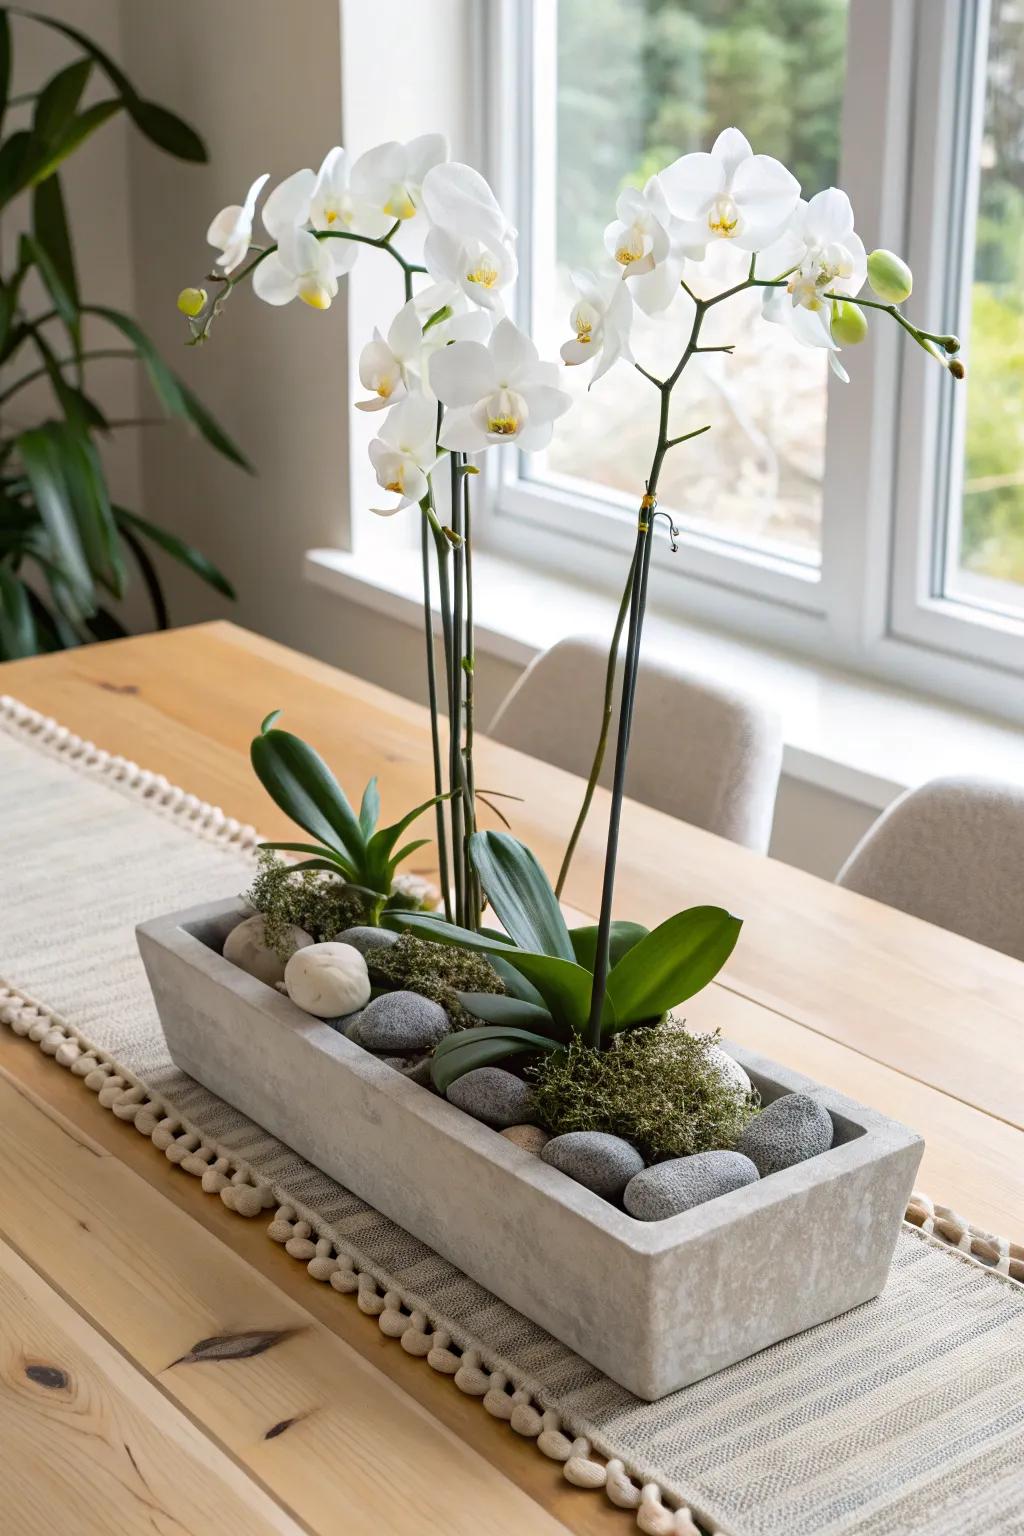
When I’m styling a longer dining table, I group two to four orchids in a rectangular planter so it reads like a runner centerpiece. I add river rocks at the bottom to give it weight and keep the arrangement from shifting when the table gets bumped.
Some ideas to consider:
- Concrete-Style Rectangular Planter: Choose a long, low trough to perfectly house multiple orchids and create a stunning, unified centerpiece for your dining table.
- Decorative River Rocks: Add these smooth stones around the base to stabilize the plants and create a polished, spa-like finish.
- Green Preserved Moss: Tuck this vibrant moss between the rocks and stems to hide plastic pots and add a lush, organic touch.

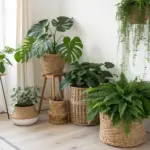
Massed Orchids in One Big Container
For maximum drama in minimal square footage, I’ve packed multiple orchids together in one oversized container and it instantly looked like a boutique hotel lobby. I keep the pots close, then disguise everything with moss so it feels full, not fussy.
Some handy options:
- Large White Ceramic Planter: Choose a spacious container to comfortably house multiple orchid pots for that luxurious, massed display look.
- Preserved Green Moss: Use natural-looking moss to cover the individual nursery pots and soil, creating a seamless, professional finish.
- Orchid Support Stakes: Keep your tall orchid stems upright and elegant with discreet stakes that prevent drooping or breaking.
Clear Glass Cylinder “Terrarium”
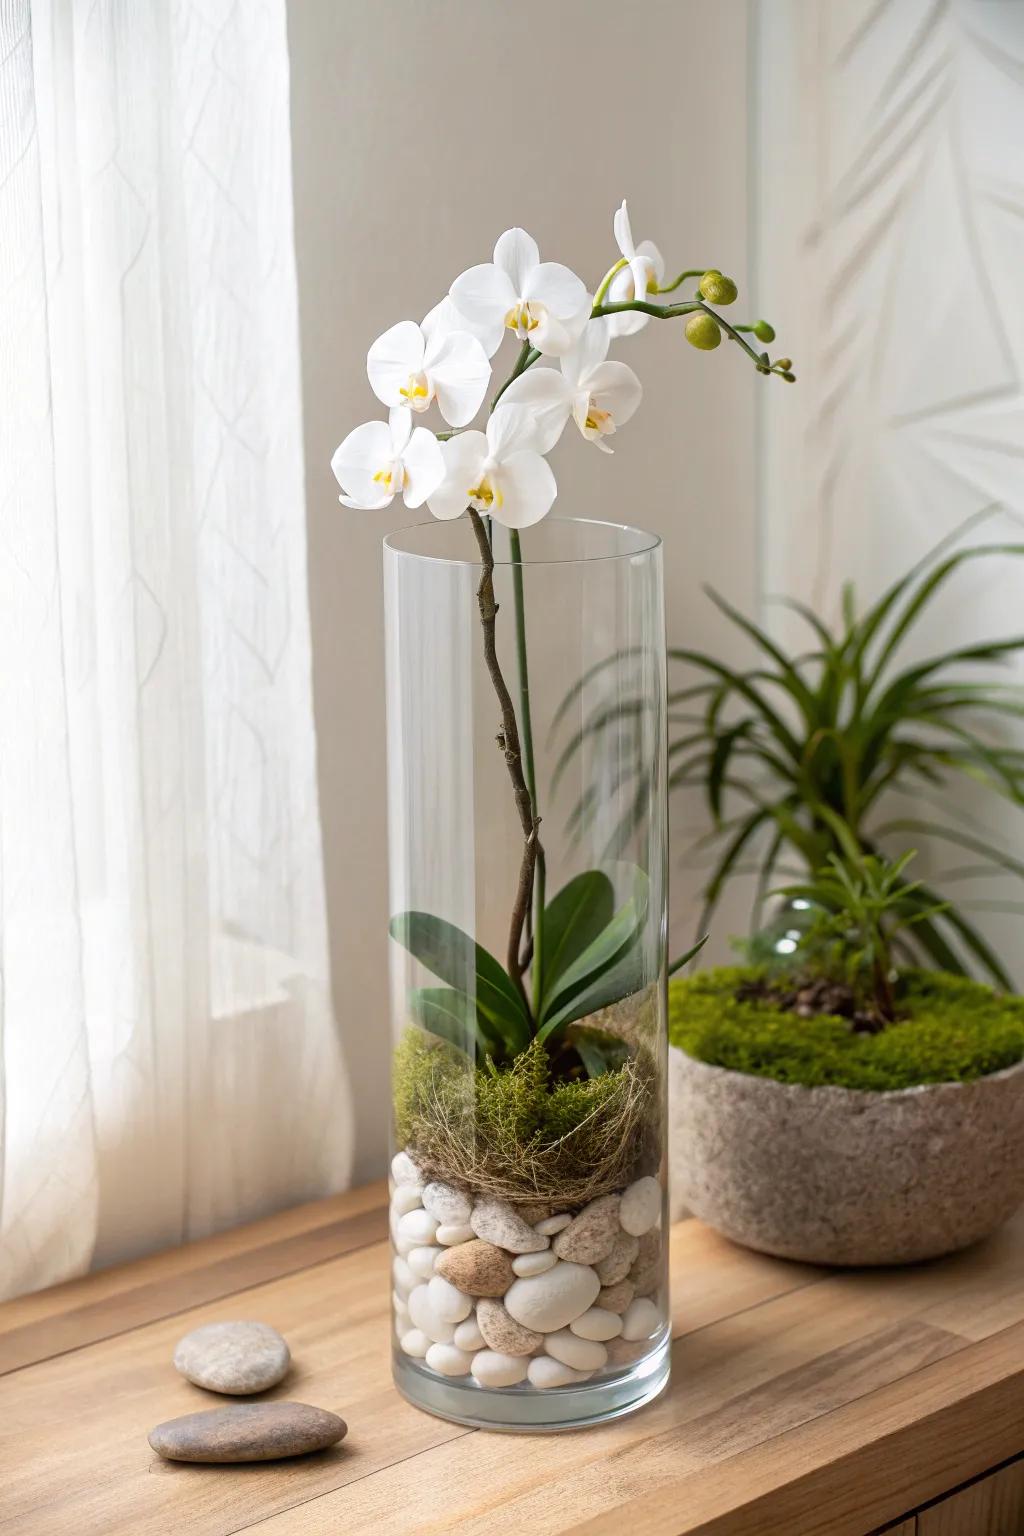
I’ve styled an orchid inside a tall glass cylinder with pebbles and a little moss, and it gives such a clean, modern vibe on a countertop. I always keep the orchid in its inner pot so I can lift it out for watering without soaking the display.
Possibly handy products:
- Tall Clear Glass Cylinder Vase: Create a sleek, modern display base for your orchid with this versatile, sturdy glass vessel.
- Decorative River Rocks or Pebbles: Add natural texture and essential drainage support to your terrarium by layering these polished stones.
- Preserved Green Sheet Moss: Cover the inner pot seamlessly and add a vibrant pop of green with this soft moss.
Window Sill Orchid Lineup
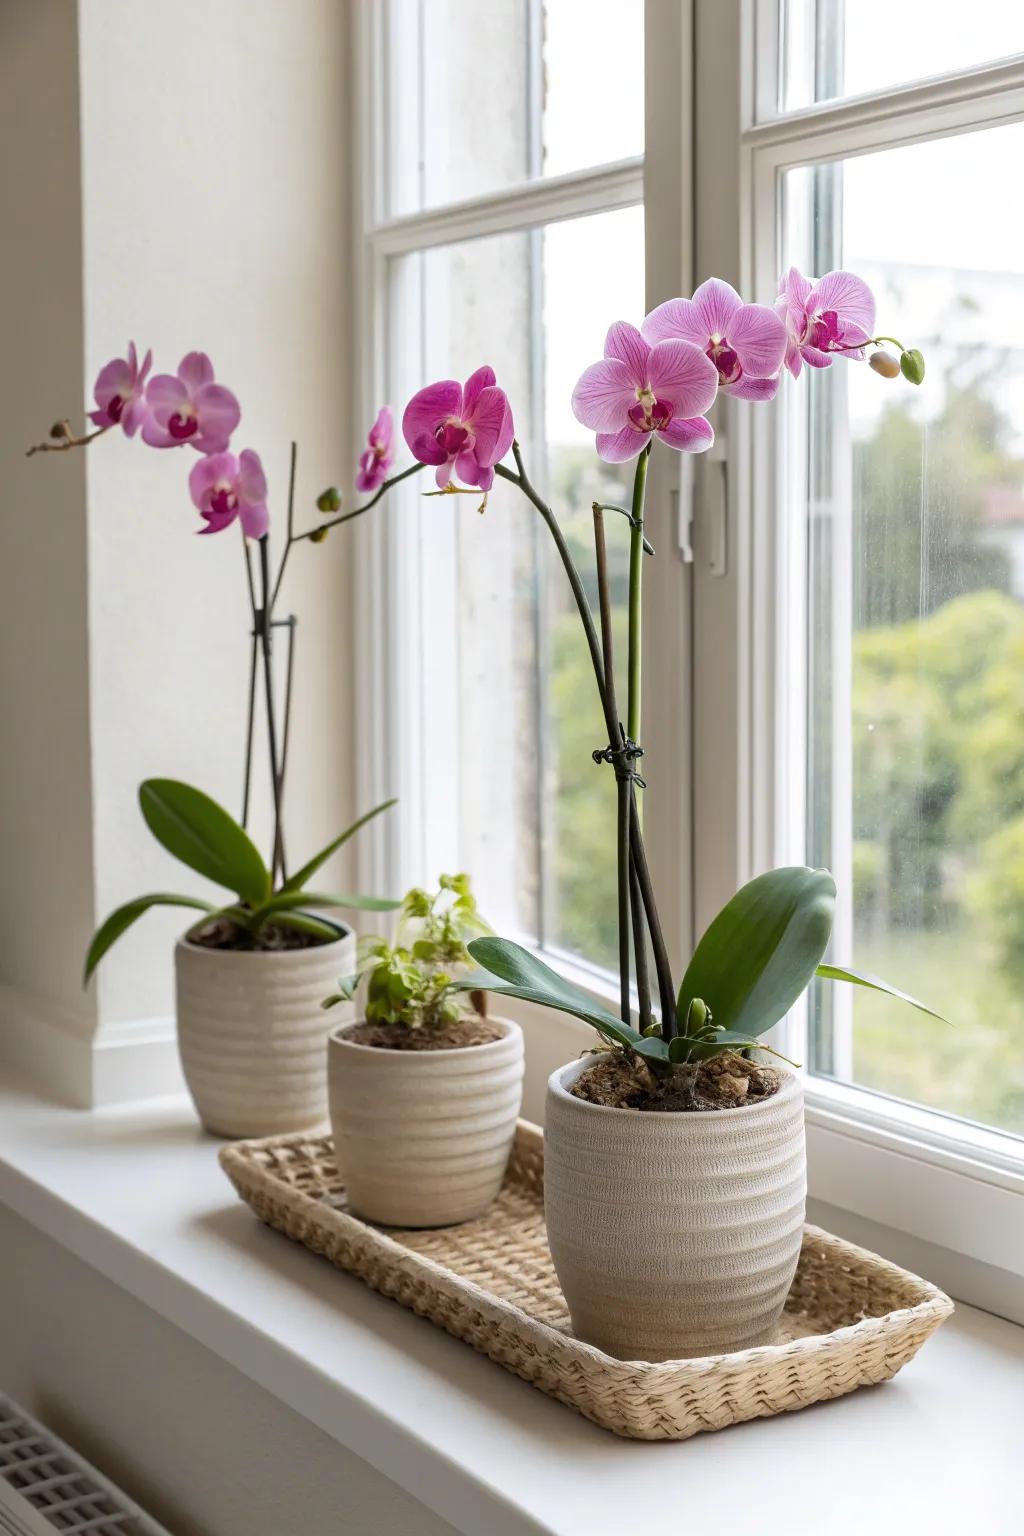
My brightest window is basically my orchid stage, and I line up a few orchids on a window sill for an easy “collected” look. I keep the containers all in the same color family so the view stays airy instead of chaotic.
Check these products out:
- Matching Ceramic Planter Set: Choose a cohesive set of neutral, textured pots to create a unified and airy look for your display.
- Woven Serving Tray: Group your smaller pots on a natural woven tray to add warmth and protect your window sill surface.
- Orchid Support Stakes: Keep your tall orchid spikes upright and elegantly displayed with discreet support stakes and gentle plant clips.
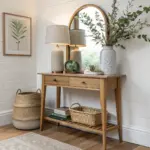
Entryway Console Orchid Moment
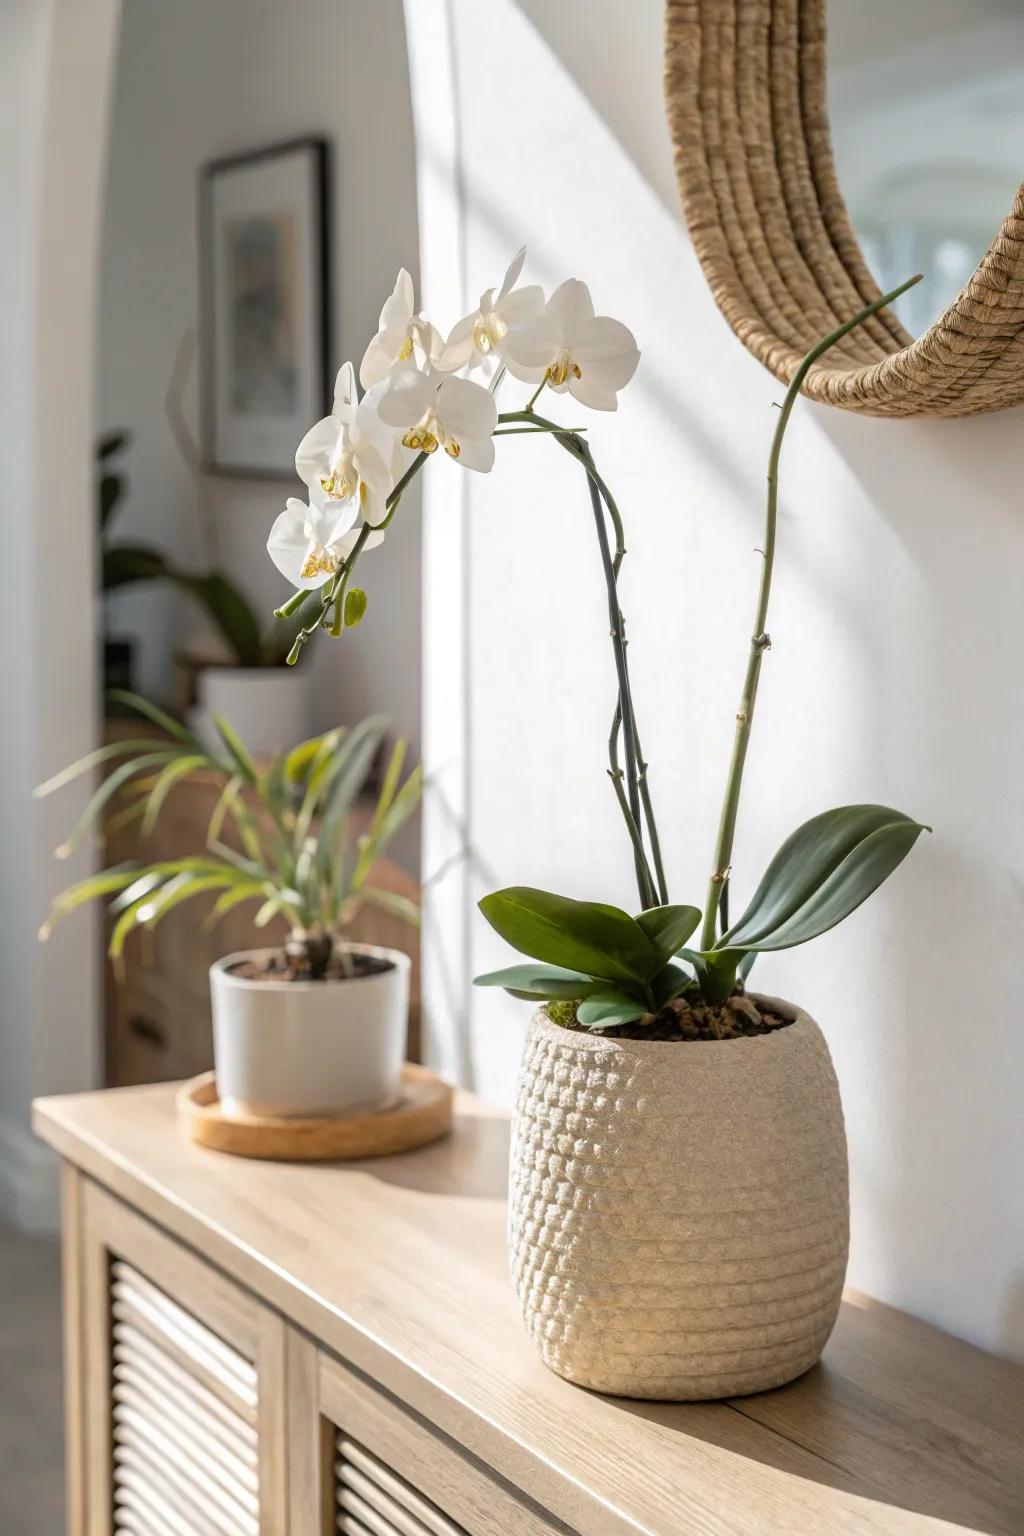
In my entryway, I’ve paired a potted orchid with a small tray and a couple of simple decor pieces to make the whole console feel pulled together. I like placing the orchid slightly off-center so there’s still a clear spot for keys and mail.
Maybe worth checking out:
- Artificial White Orchid in Textured Pot: Add instant elegance to your entryway without the maintenance by choosing a realistic-looking faux orchid arrangement.
- Round Wooden Decor Tray: Corral small items and create a cohesive look by placing your planter on a minimalist wooden tray.
- Coastal Wood Console Table: Create the perfect foundation for your display with a light wood sideboard featuring slat doors and ample storage.
Kitchen Island Orchid Cluster
When I want my kitchen to feel “done” without losing function, I cluster orchids in a tight group on one end of the kitchen island. I’ve learned to keep the tallest blooms toward the back so sightlines stay open across the room.
Useful items to consider:
- Textured White Ceramic Plant Pots: Recreate this clean, modern look by choosing matching white pots with a subtle textured finish for elegance.
- Rectangular Wooden Serving Tray: Group your planters on a simple wooden tray to protect your counters and create a cohesive centerpiece.
- Woven Storage Basket: Add warmth and texture near your floral display with a small woven basket for holding kitchen essentials.
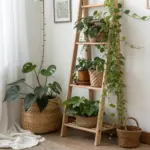
Tiered Stand Display
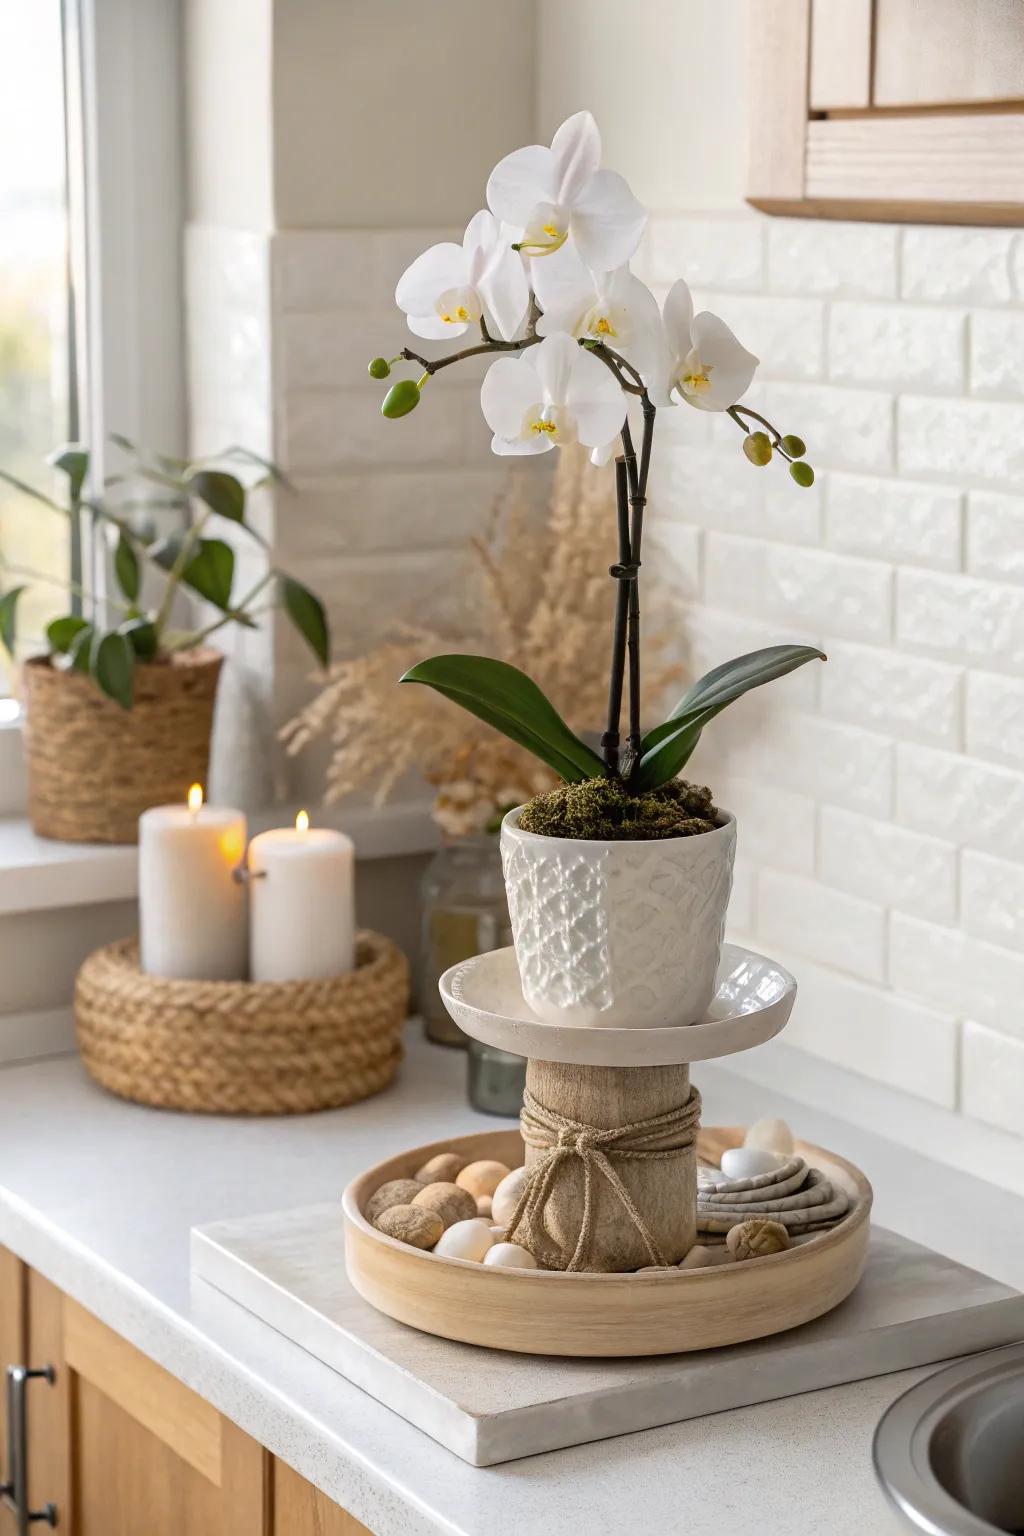
I’ve used a small tiered stand to stack one orchid up high and add tiny accessories below, which saves space but still feels styled. It’s one of my favorite tricks for a narrow counter because you’re decorating vertically, not horizontally.
Products that could assist:
- Small Tiered Tray or Pedestal Stand: Elevate your orchid instantly with a simple tiered stand, creating vertical interest ideal for narrow spaces.
- Decorative Polished River Stones: Scatter smooth stones on the lower tray to add natural texture and complete your styled vignette.
- Small White Textured Pot: Choose a textured planter that fits perfectly on top, keeping the focus on your beautiful blooms.
Bookshelf Cubby Orchid Pop
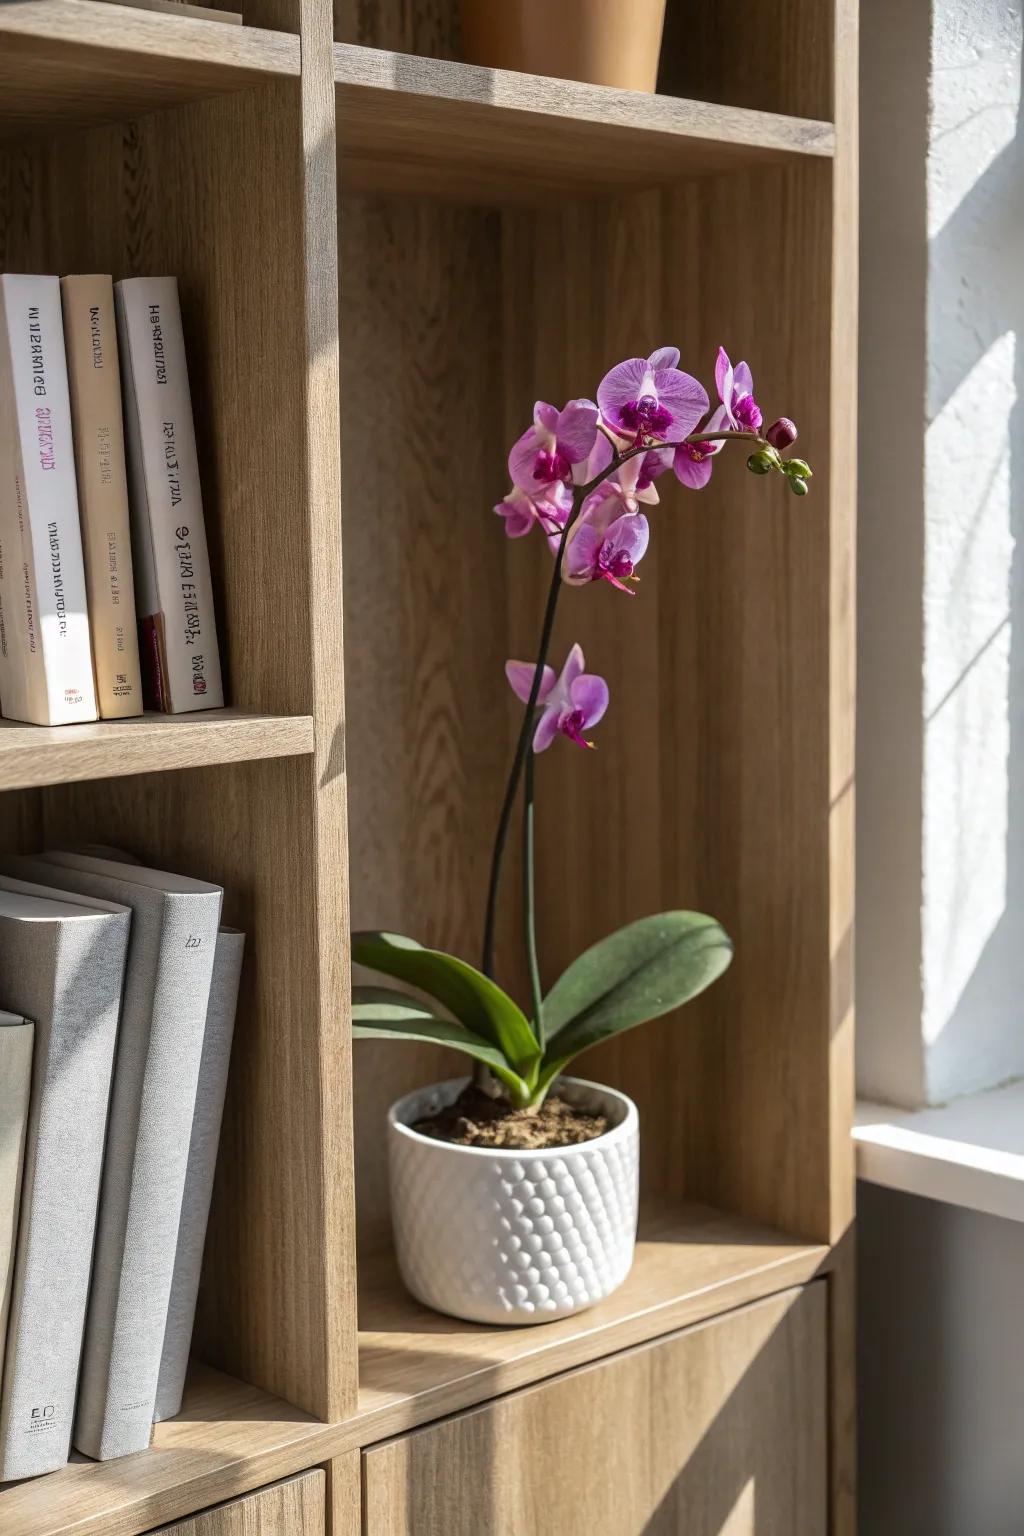
I tuck a mini orchid into a bookshelf cubby whenever the room needs a fresh color hit without adding another surface item. In my experience, placing it next to books with simple spines makes the blooms look even more special.
Possibly helpful picks:
- Textured White Ceramic Plant Pot: Recreate the look shown here by choosing a textured white pot that adds subtle dimension to your shelves.
- Live Mini Phalaenopsis Orchid: Add immediate color and elegance to your bookshelf cubby with a low-maintenance, blooming live mini orchid.
- Minimalist Bookends: Keep your nearby books tidy and upright with simple metal bookends that won’t distract from the flowers.
Bar Cart Orchid Styling Station
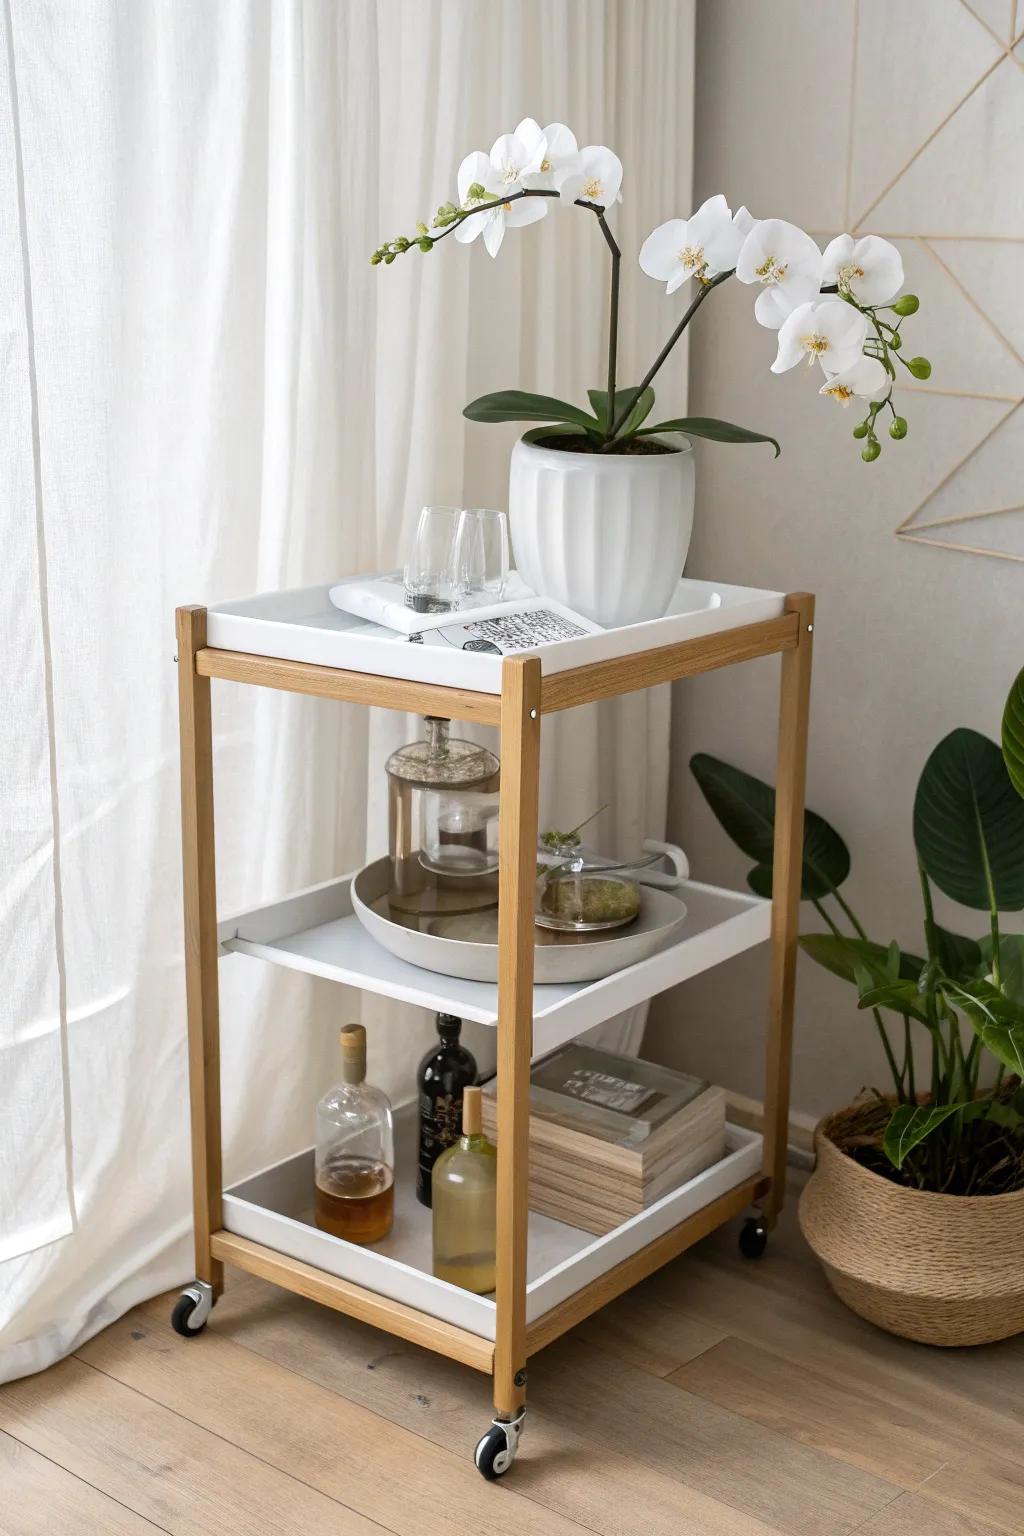
I’ve styled orchids on a compact cart so I can roll them into better light during the day and back out of the way at night. Keeping the display on a tray also saves my sanity because any drips stay contained and cleanup is easy.
These products might be useful:
- Rolling Utility Cart with Wood Accents: Choose a tiered cart with wheels to easily move your plants into sunlight or tuck them away.
- White Ceramic Fluted Plant Pot: Use a textured ceramic planter to add elegance while providing a stable home for your delicate orchids.
- Round Decorative Serving Tray: Place a sleek tray on lower shelves to organize accessories and catch any accidental water spills effectively.
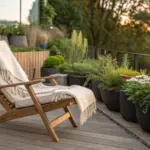
Bathroom Shelf Orchid Spa Vibe
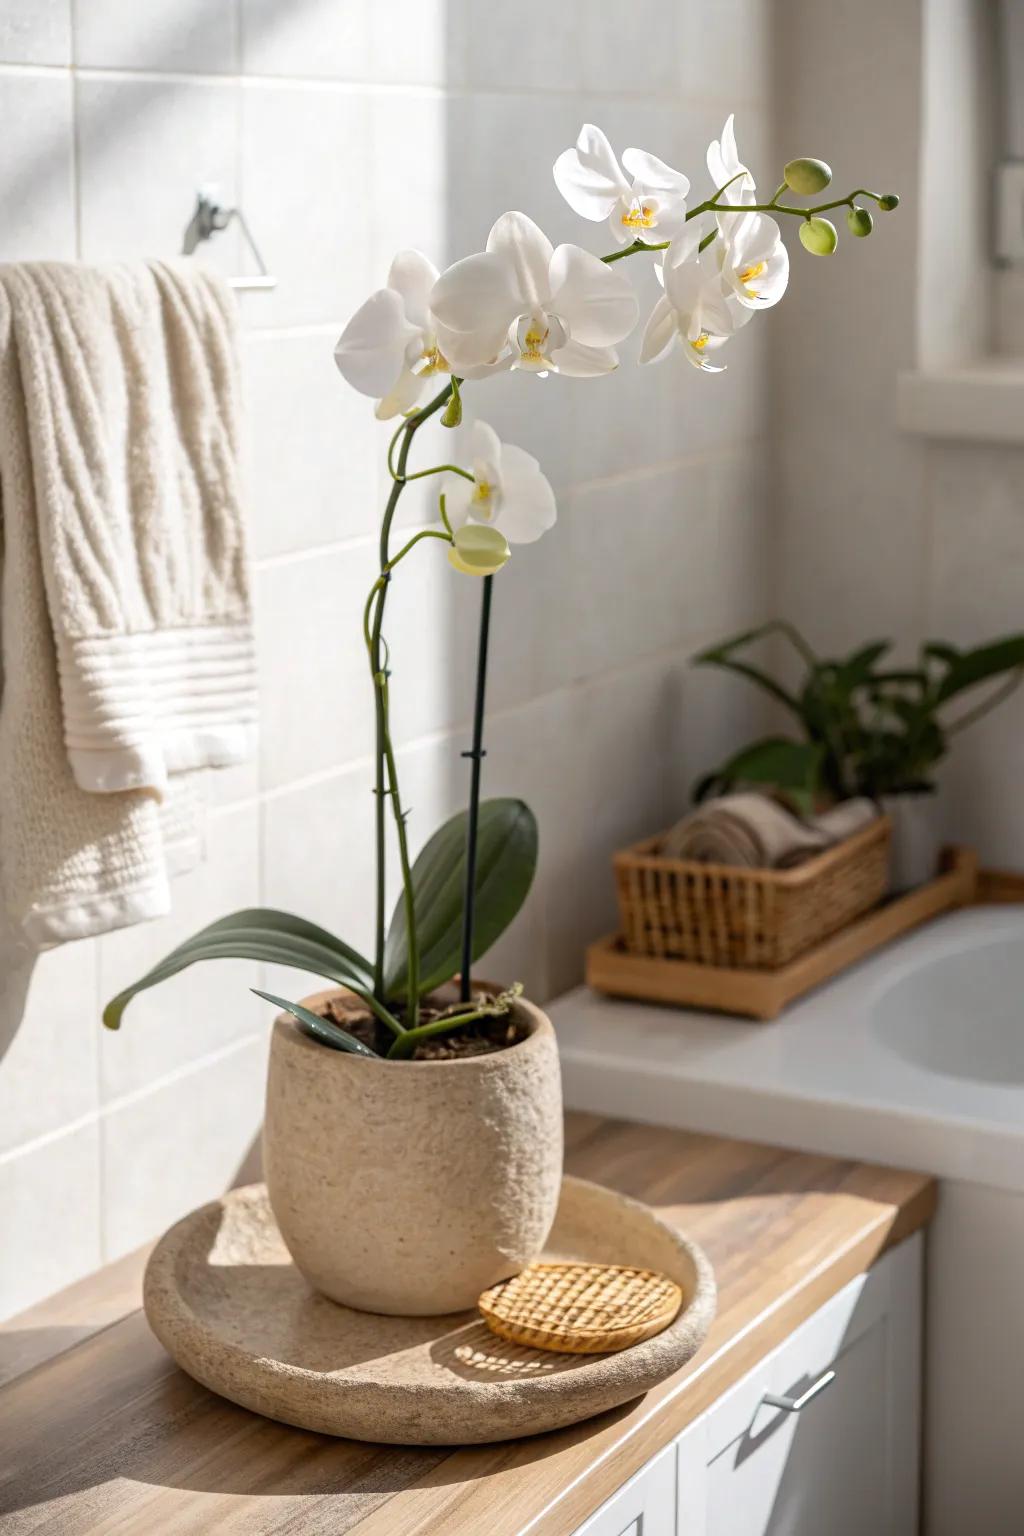
Yes, I’ve displayed orchids in the bathroom, and it instantly made my tiny space feel like a spa. I place them on an open shelf near bright light (not in the splash zone) and use a simple neutral container to keep it calming.
You might give these a try:
- Stone Textured Planter: Create a calming spa aesthetic by potting your orchid in a simple, neutral stone-textured container.
- Decorative Round Tray: Protect your shelf and elevate the display by placing your orchid pot on a matching decorative stone tray.
- Small Woven Storage Basket: Add warmth and organized storage for towels or toiletries with a small, natural woven basket nearby.
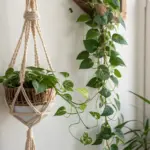
Hanging Orchid by the Window
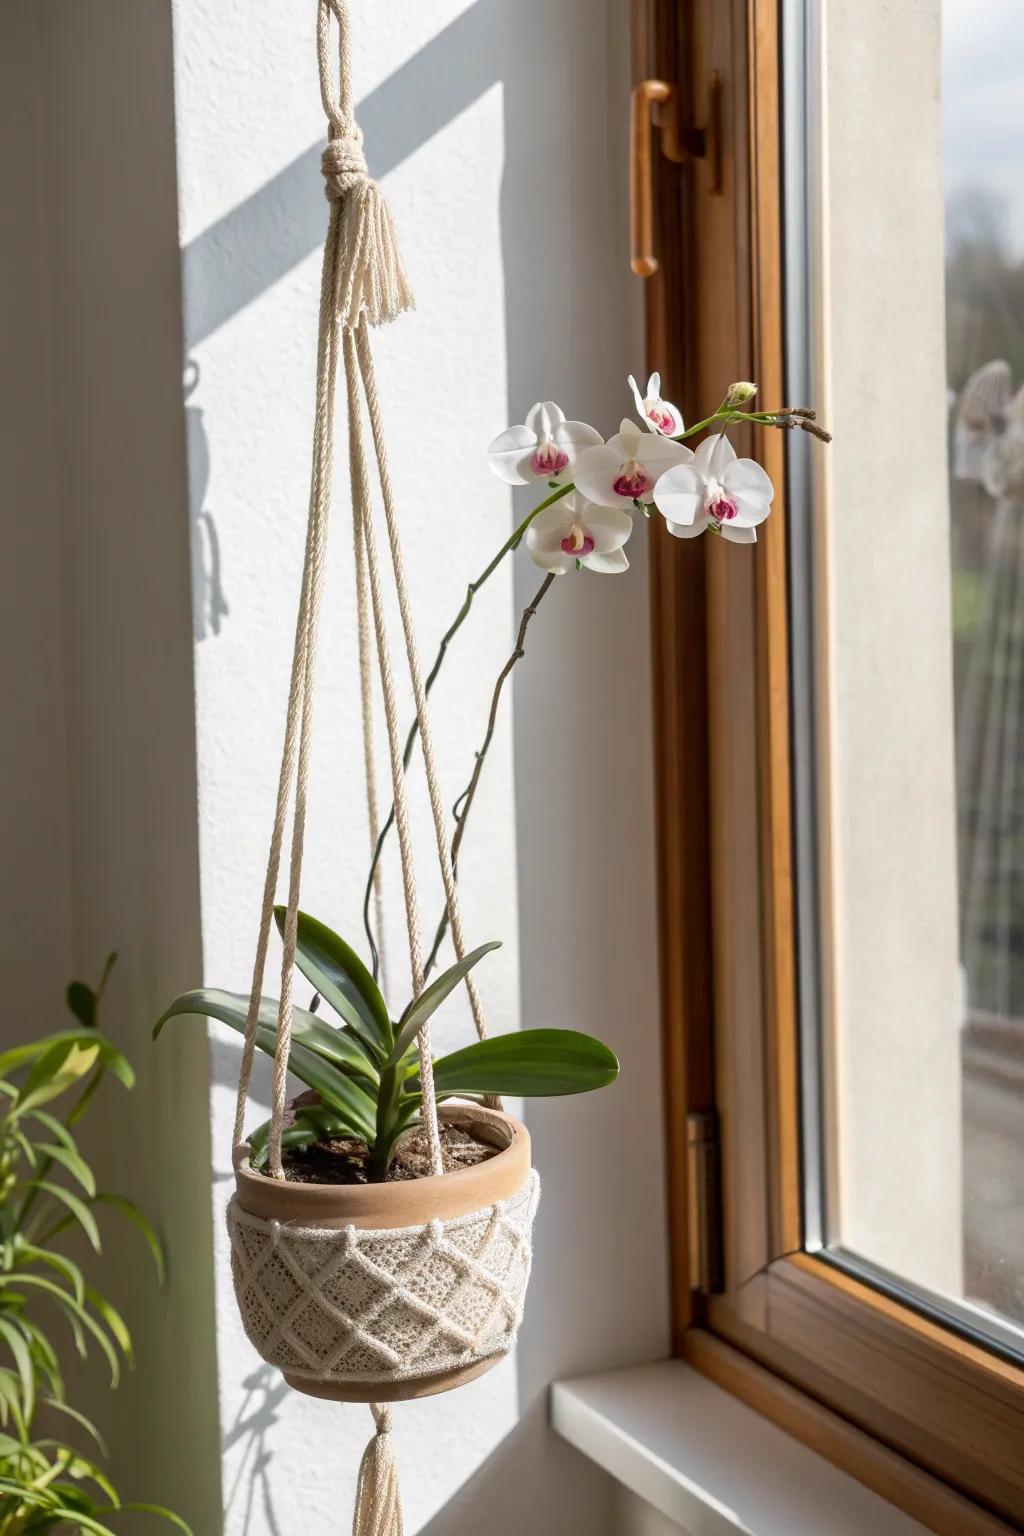
I’ve hung an orchid near a window to get the blooms floating at eye level, and it made my room feel taller instantly. I keep it in a lightweight hanging planter and make sure I can easily lift it down for watering.
A few things you might like:
- Macramé Plant Hanger: Suspend your orchid with style using a cotton macramé hanger that adds texture and vertical interest to your window.
- Small Terracotta Pot: Choose a breathable clay pot to ensure healthy root aeration and provide a classic, natural look for your plant.
- Ceiling Hook: Securely anchor your hanging display with a sturdy ceiling hook designed to hold plants safely near your window.
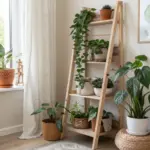
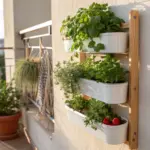
Orchid Ledge Shelf Gallery
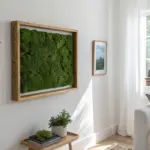
In one awkward corner, I installed a slim ledge shelf and turned it into a rotating orchid display with small art behind it. This combo gives you the layered “gallery” look while the orchid acts like the star sculpture.
Might be a good match:
- Ceramic Orchid Pot with Saucer: Choose a breathable ceramic pot with drainage to keep your orchid’s roots healthy and support vibrant blooms.
- Minimalist Floating Shelf Ledge: Install a slim floating ledge to create a dedicated, gallery-style stage for your plants and framed art.
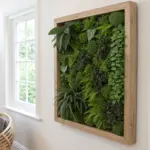
- Botanical Wall Art Prints: Layer botanical prints behind your orchid to add depth, color, and a cohesive artistic backdrop to your display.
Beachy Clam Shell Orchid Bowl
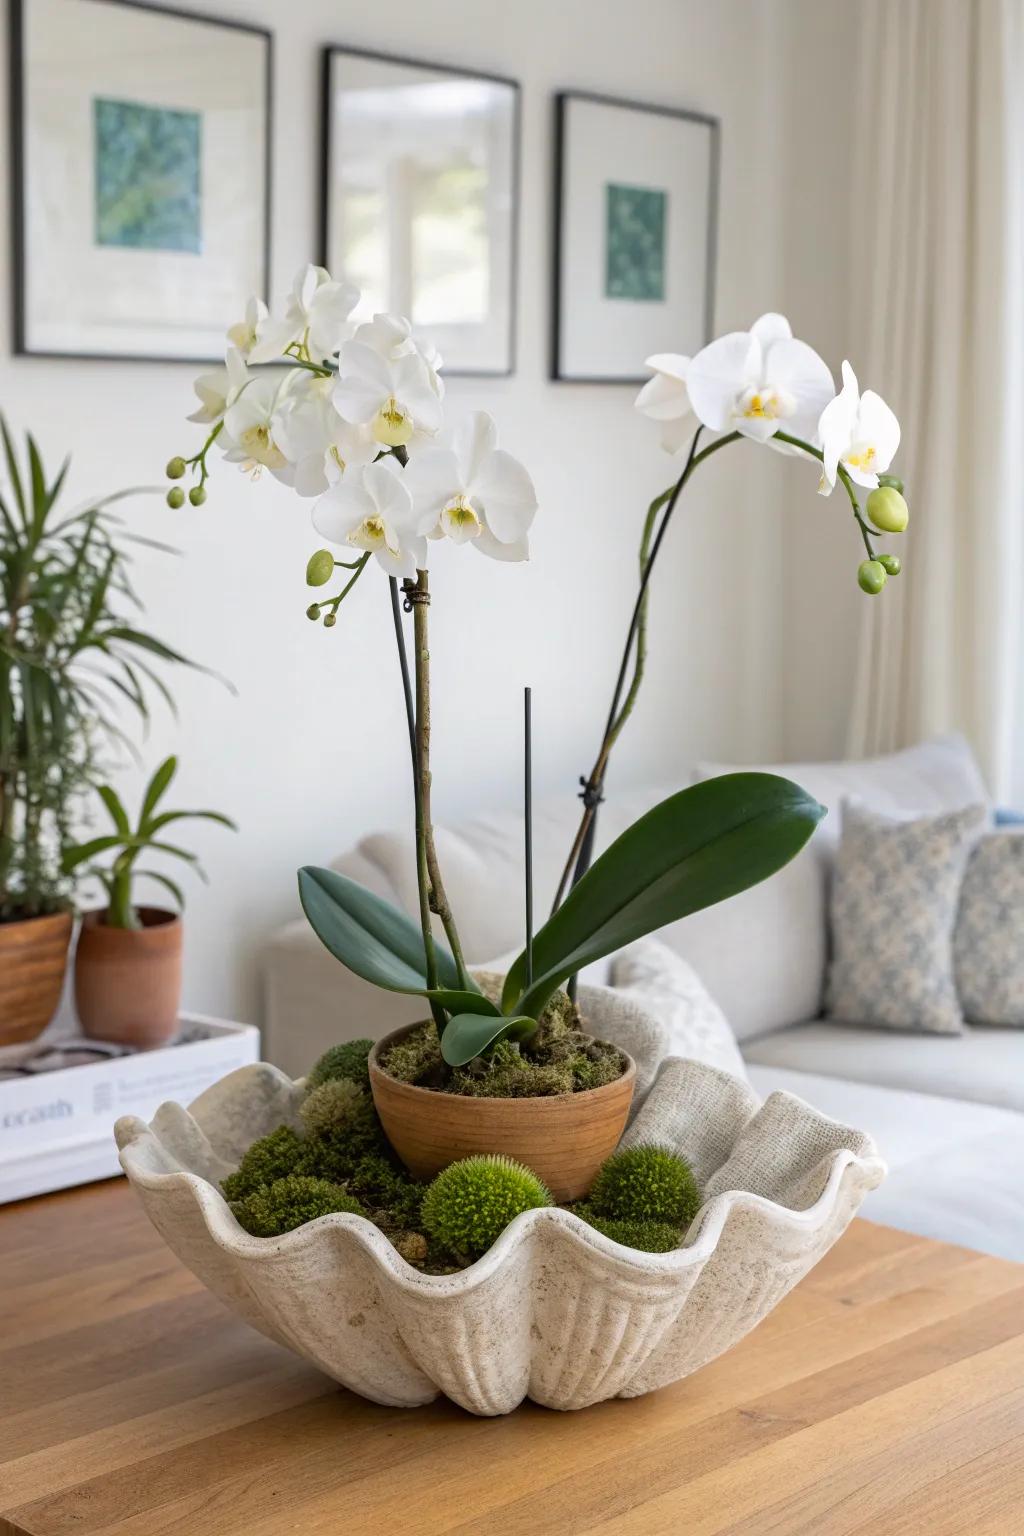
I tried a big shell-shaped bowl for orchids once and it was instantly coastal and sculptural, even in my city apartment. I anchored the pots with moss balls and finished with sheet moss so the whole thing looked like a living centerpiece.
These products might help:
- Large Clam Shell Bowl Planter: Transform your orchid display with a large shell bowl to create an instant coastal, sculptural centerpiece.
- Live Green Moss Balls: Use these textured moss accents to help stabilize pots while adding natural visual interest and texture.
- Preserved Sheet Moss: Finish your design by tucking in preserved moss to hide pots and create a lush, living look.
Orchid and Fern “Underplanting”
When an orchid looks a little bare at the base, I add a ring of ferns or extra moss around it to make the display feel full and layered. I’ve used this trick in low bowls and it always reads more luxe without costing much.
A few suggestions:
- Wide Ceramic Planter Bowl: Choose a shallow, wide vessel to provide ample space for layering your orchid with greenery.
- Preserved Reindeer or Sheet Moss: Cover exposed soil and roots with lush green moss to create a polished, high-end finish.
- Small Artificial or Live Ferns: Fill in the empty base area with delicate ferns to add texture and volume instantly.
Lantern Orchid With Pebble Base
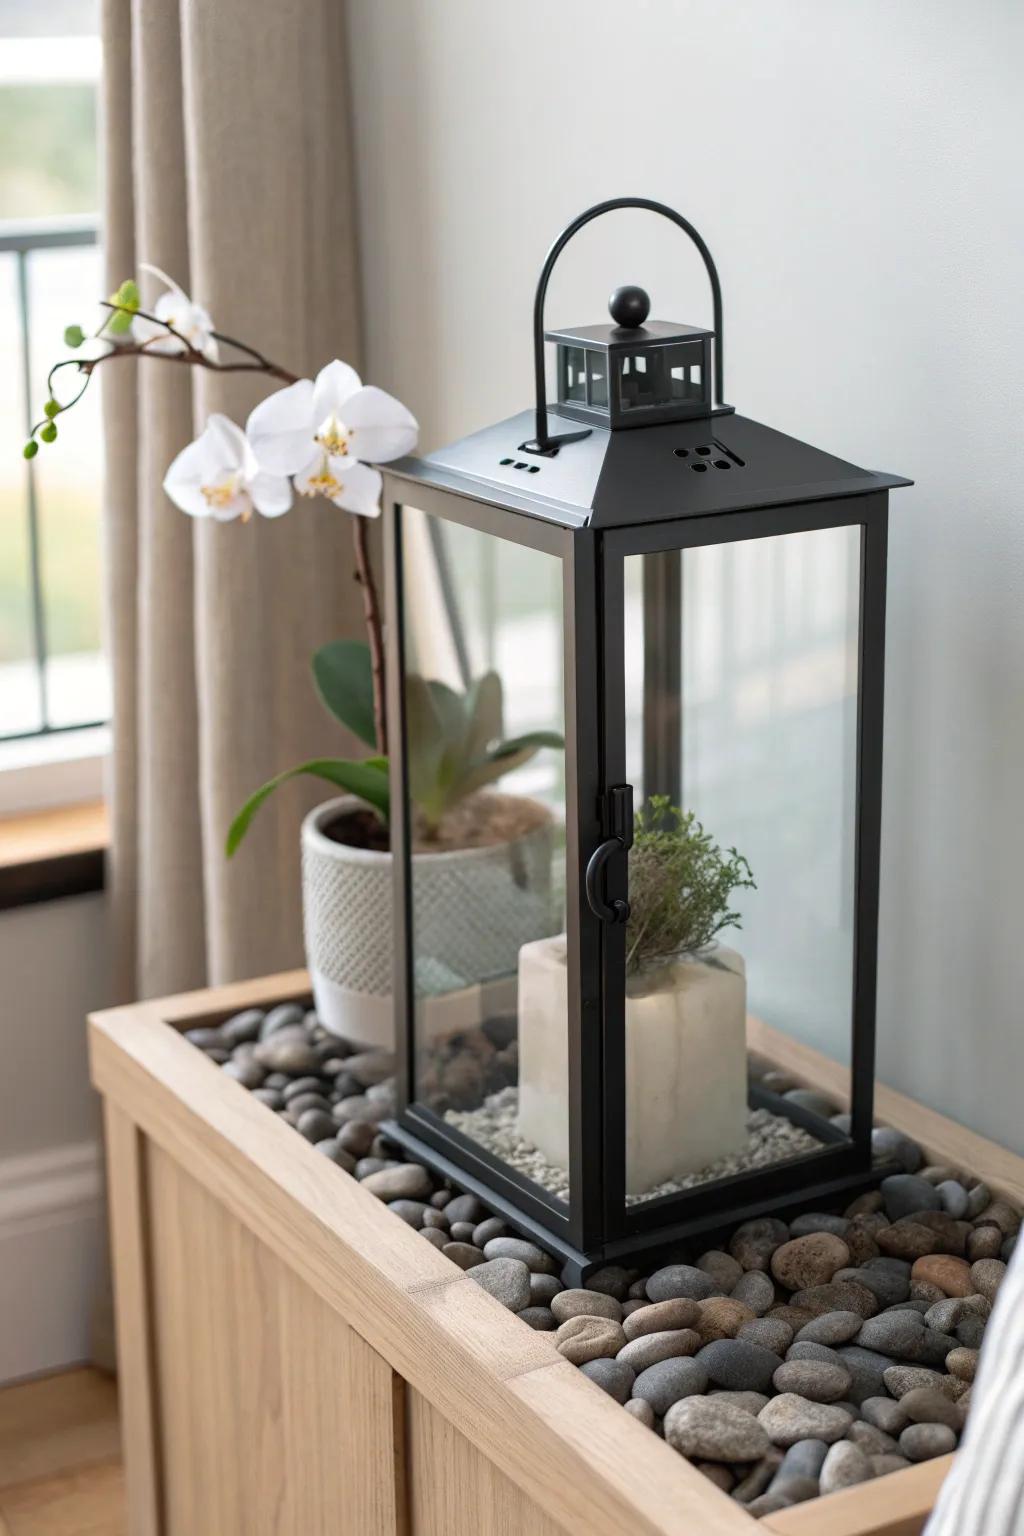
I’ve placed a small orchid inside a lantern with a pebble base, and it looked like a little greenhouse vignette on my console. I leave the door slightly open so air circulates and the plant doesn’t feel trapped.
Explore these options:
- Large Black Metal Lantern: Create the perfect frame for your orchid display with a spacious, elegant lantern that offers ample room for growth.
- Decorative River Rocks: Establish a stable, natural base for your vignette using smooth stones that add texture and assist with drainage.
- Small Speckled Ceramic Planter: House your orchid in a stylish, compact pot that fits neatly inside the lantern while complementing the modern aesthetic.


