Decorating on a tight budget is less about buying new and more about making what you already have look intentional.
DIY Mirror Frame Refresh
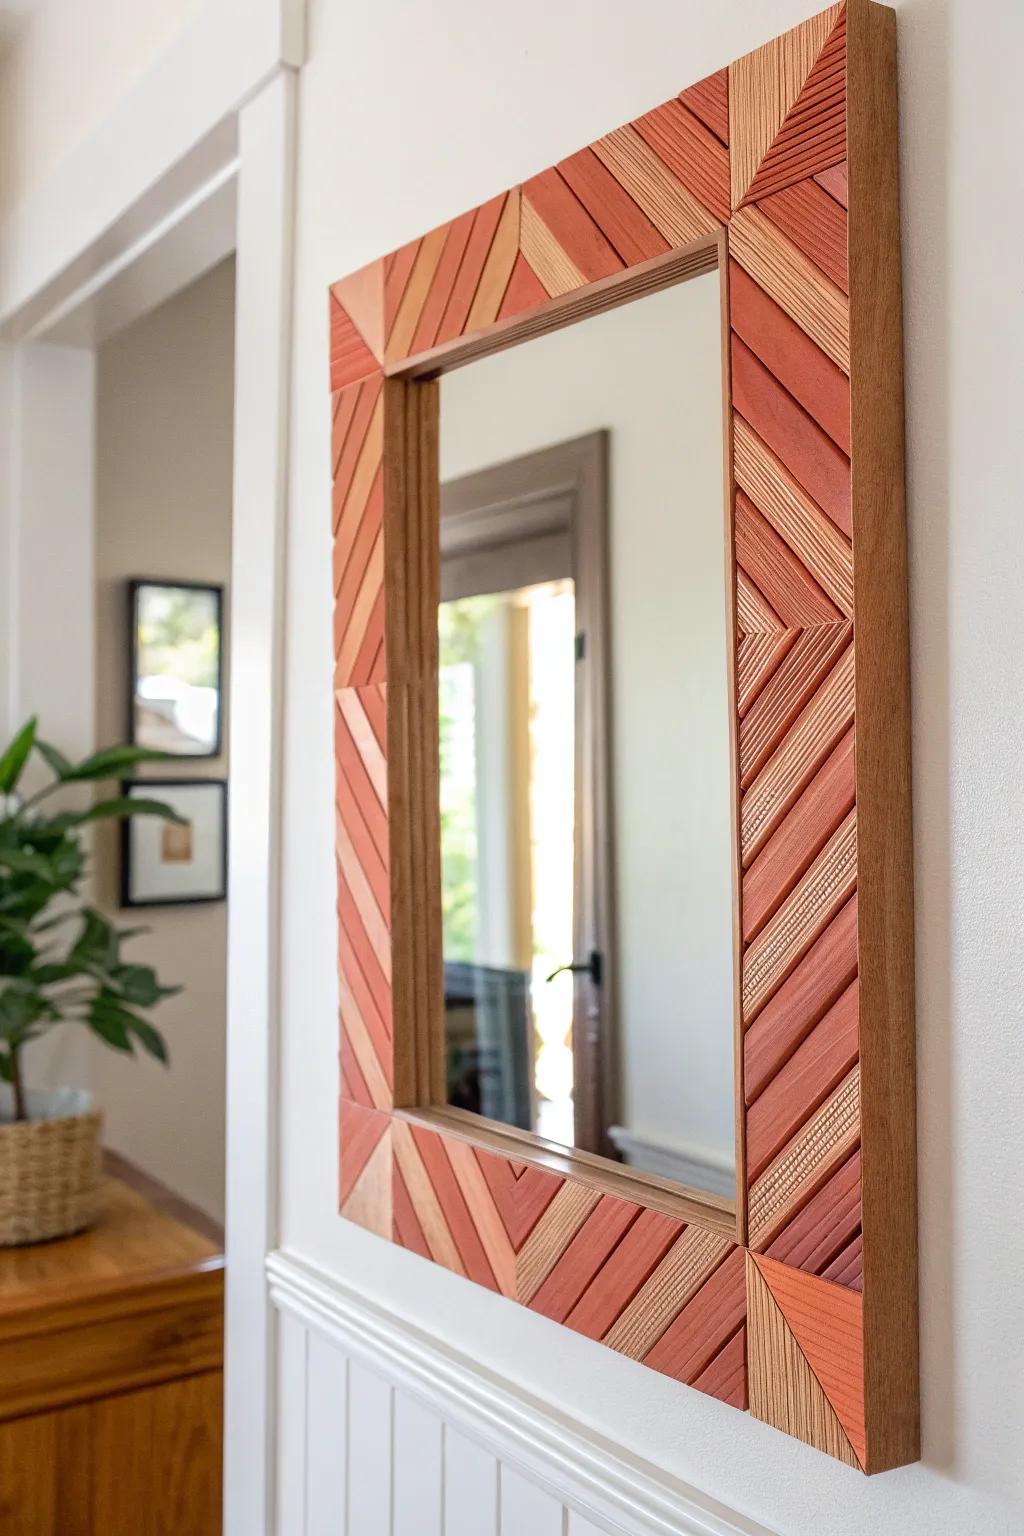
One of my favorite apartment tricks was updating a plain mirror with a painted frame using craft wood strips and strong adhesive. It gave me that brightening mirror effect in a cramped hallway without buying new.
You might give these a try:
- Unfinished Wood Strips: Create a custom geometric pattern easily; choose uniform wood strips to build your unique frame design.
- Construction Adhesive: Secure your wood pieces firmly to the existing mirror frame for a durable and lasting hold.
- Frameless Wall Mirror: Start with a simple, affordable base mirror to transform into a high-end looking statement piece.
Thrifted Frame Gallery Wall
In my 450 sq ft apartment, I built a gallery wall using thrifted frames and instantly filled a boring blank wall without spending much. I spray-painted the mismatched frames one color so it looked collected on purpose, not random.
Some ideas to consider:
- Matte White or Cream Spray Paint: Transform mismatched thrifted frames into a cohesive set with a few coats of this unifying, matte finish paint.
- Pre-cut Photo Mats: Give your eclectic frames a custom, professional gallery look instantly by adding clean, white matting for your artwork.
- Command Picture Hanging Strips: Hang your new gallery collection easily without damaging apartment walls or needing any heavy tools or nails.
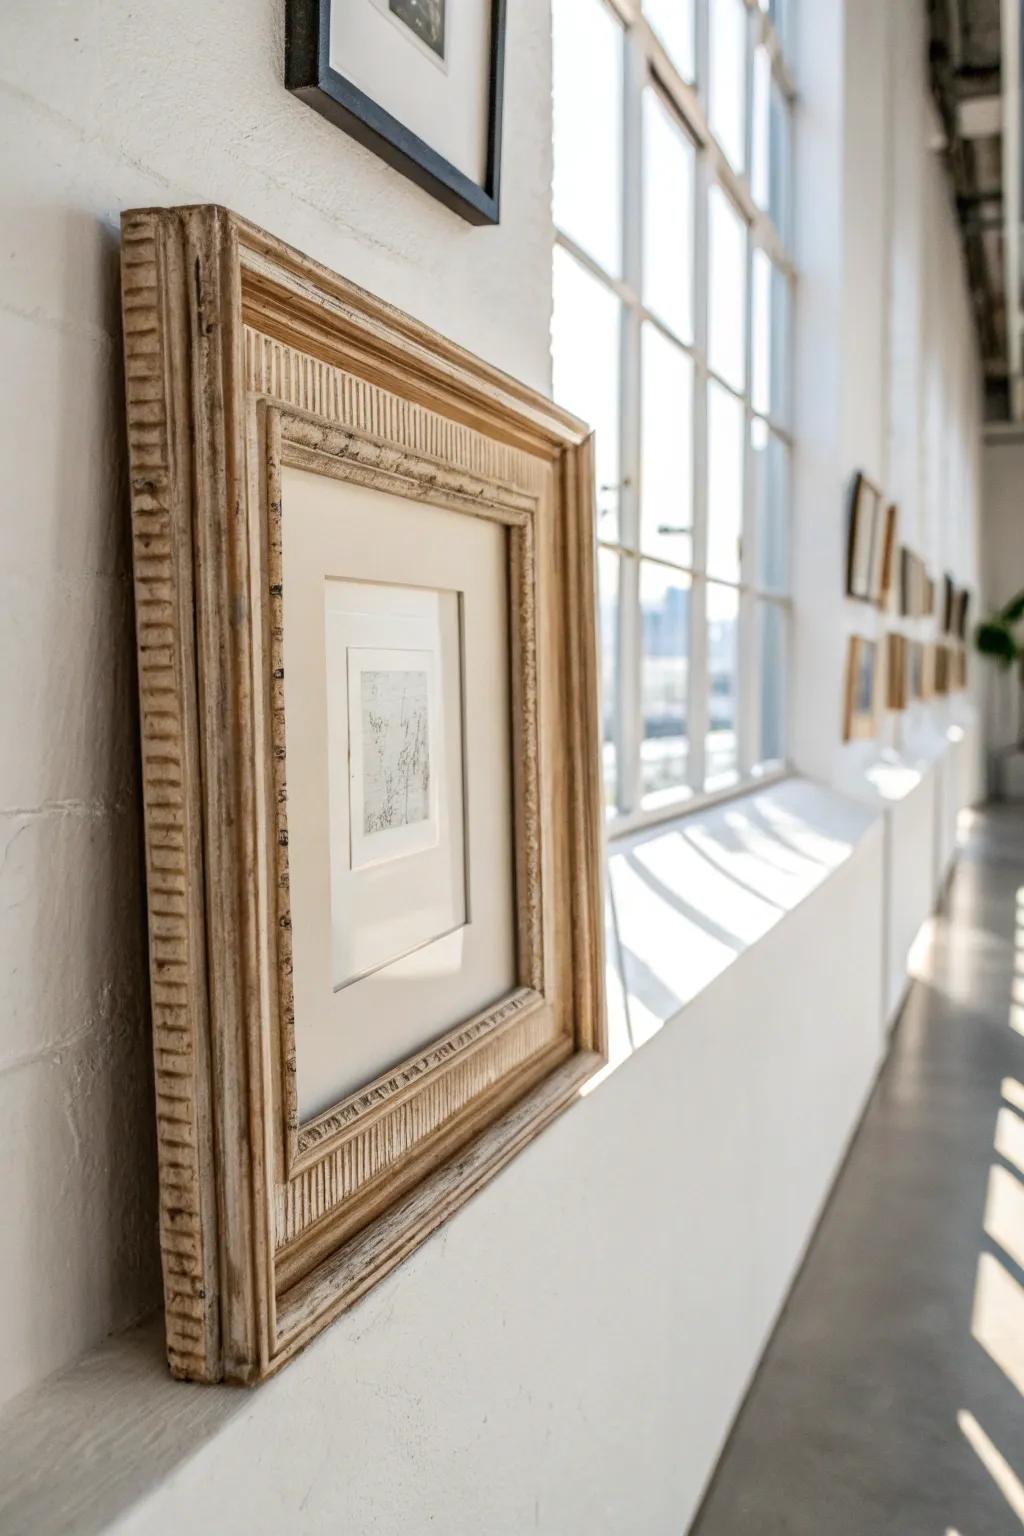
Poster Prints in Old Frames

When I couldn’t justify pricey artwork, I slipped budget posters into frames I already owned and it looked shockingly polished. My favorite trick is cutting one poster into multiple pieces for a “set” that feels custom.
Explore these options:
- Ornate Vintage-Style Picture Frames: Replicate the polished aesthetic of the photo by sourcing detailed, antique-style frames for your budget-friendly prints.
- Abstract Black and White Art Prints: Find minimalist line art prints similar to the one shown here to create a modern focal point.
- Picture Frame Matting Boards: Elevate inexpensive posters instantly by adding custom-sized mats, giving your artwork a professional, gallery-quality appearance.
Peel-and-Stick Paper as Art
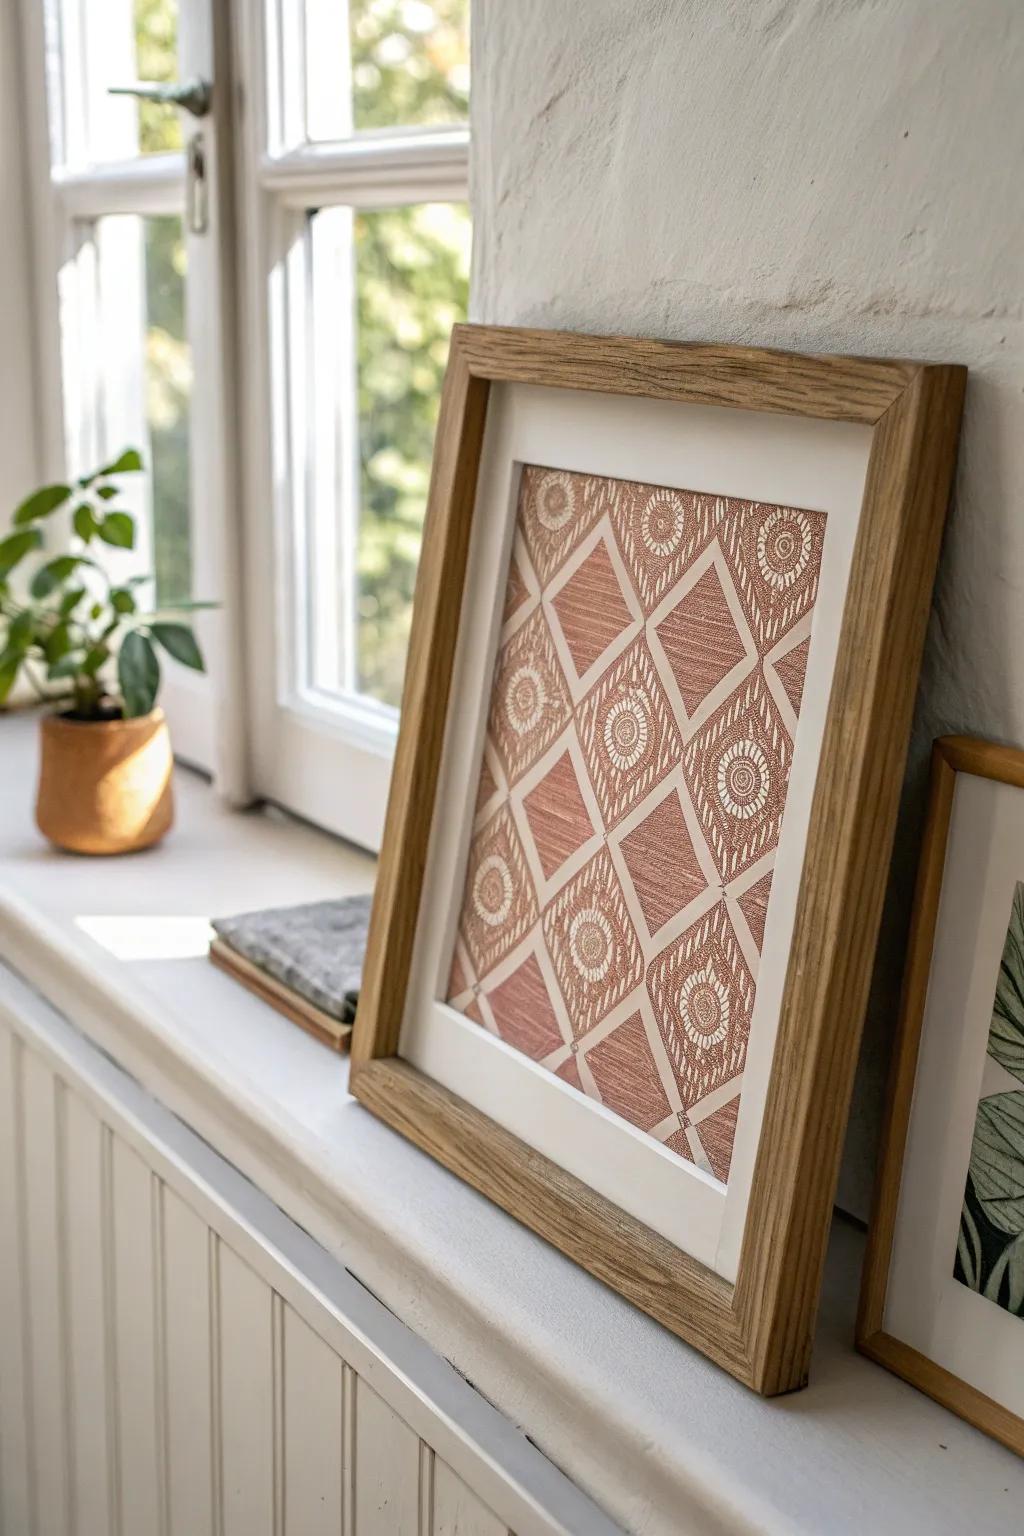
I’ve framed leftover removable wallpaper scraps like art prints, and it’s one of my easiest DIY home decor wins. In small spaces, it adds pattern without committing to an entire wall.
Check if these fit your needs:
- Wood Picture Frames: Showcase your wallpaper scraps beautifully with a simple wooden frame that adds natural warmth to any space.
- Geometric Peel and Stick Wallpaper: Find a bold pattern you love to create instant, affordable art pieces for your walls or shelves.
- Craft Knife and Cutting Mat Set: Ensure clean, precise cuts for professional-looking framed art with these essential crafting tools for your DIY project.
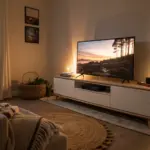
Mini Accent Wall With Paint
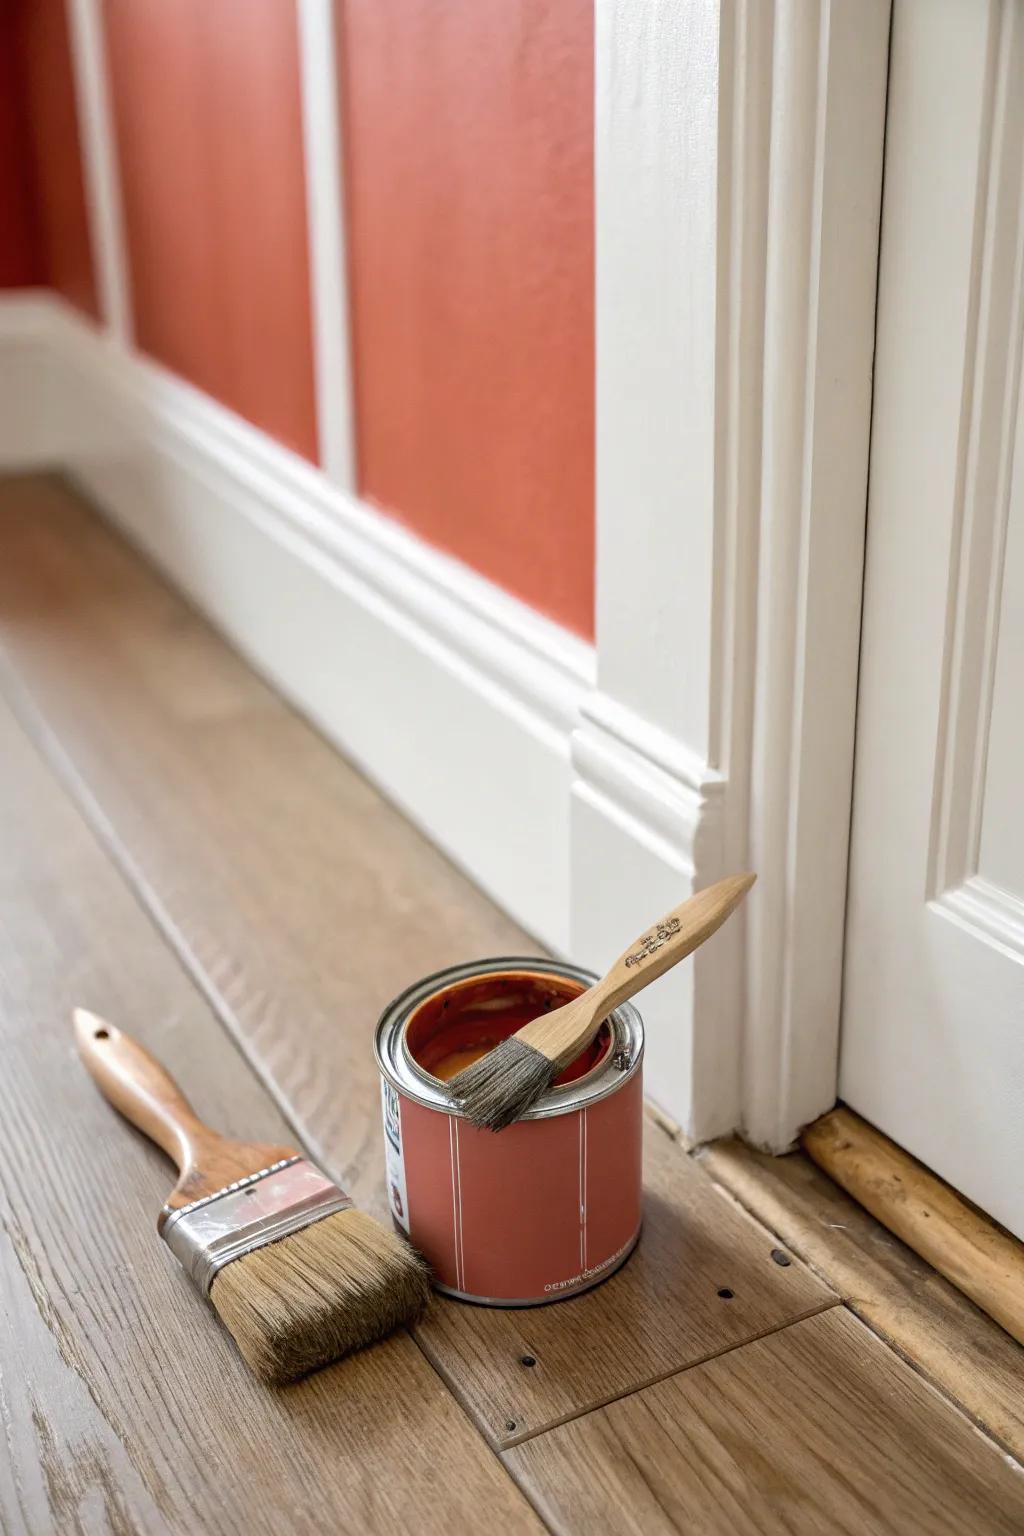
I once painted just the back wall of a little nook and got that accent wall drama for the cost of a small can of paint. If you’re short on space, doing one tight area keeps it bold but not overwhelming.
Maybe worth checking out:
- Angled Sash Paint Brush: Achieve clean lines and cut in around trim perfectly with a specialized angled brush for detailed edging.
- Small Terracotta Interior Paint: Bring warmth to your small nook with a rich, earthy color sample or quart-sized paint can.
- Painters Tape for Sharp Lines: Ensure professional results by protecting your trim and creating crisp, sharp edges along your accent wall.
Paint a Tired Side Table
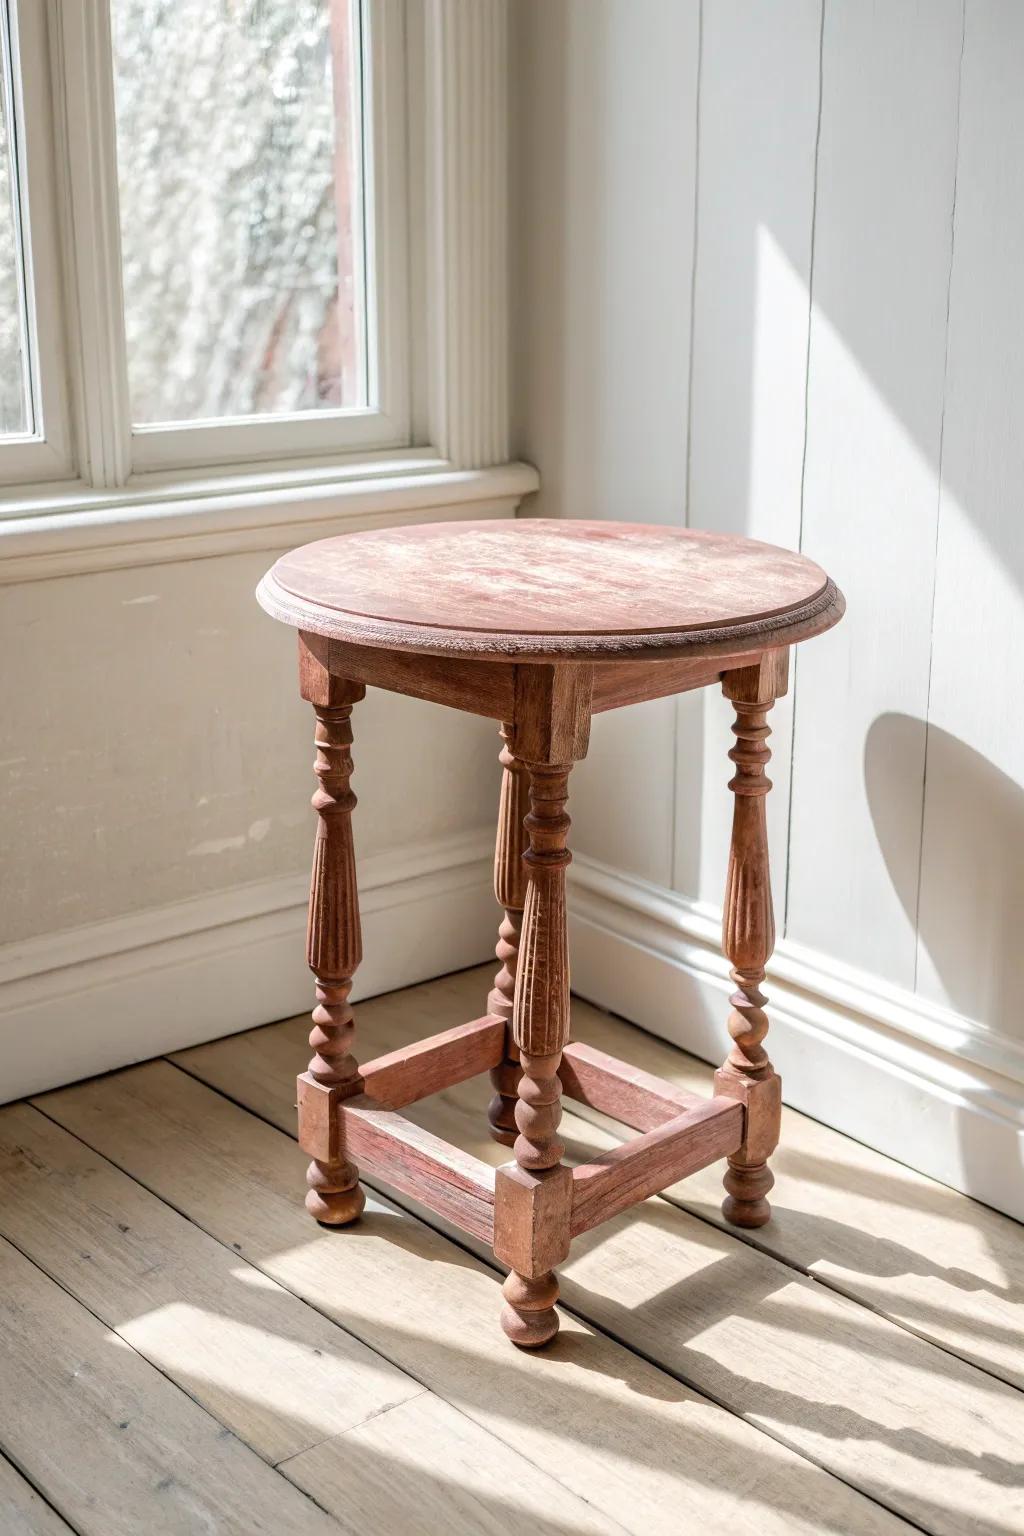
Any time I’m bored with my decor, I “shop my own furniture” and refresh it with leftover paint. I’ve turned scuffed pieces into cute accents in a single afternoon, which is my kind of budget-friendly makeover.
Useful items to consider:
- Chalk Style Furniture Paint: Give your side table a smooth, matte finish without needing to sand or prime first.
- Assorted Paint Brush Set: Reach every spindle and corner of your table legs easily with various brush sizes.
- Sanding Blocks or Sponges: Distress edges gently for a vintage look or smooth out rough spots before painting.
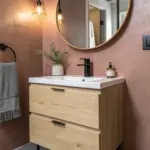
Upgrade Knobs and Pulls
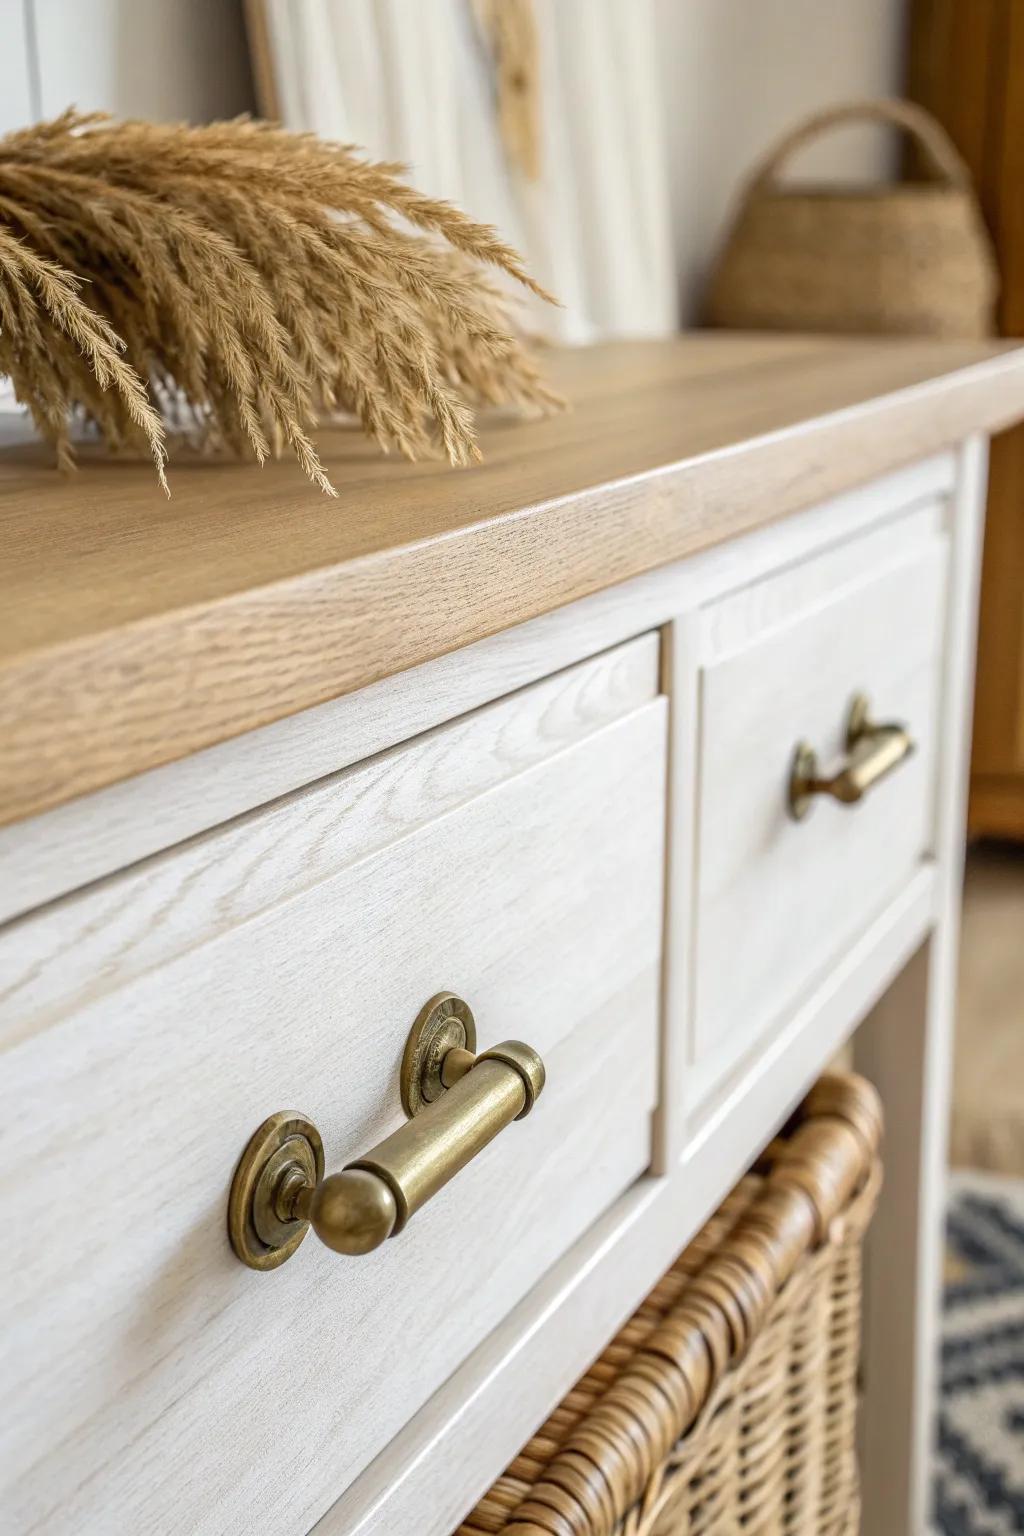
Swapping hardware is one of the fastest DIY upgrades I’ve done in rentals, especially on dressers and nightstands. I’ve mixed vintage pulls on purpose, and it gave my furniture that charming, collected look for cheap.
May just do the trick:
- Antique Brass Pulls: Instantly add warmth to plain drawers with these classic metallic accents that elevate your furniture’s overall style.
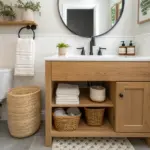
- Wicker Storage Baskets: Maximize your console’s storage space while adding texture and hiding clutter with these sturdy woven containers.
- Faux Pampas Grass: Create a trendy, bohemian focal point on your tabletop with these fluffy, maintenance-free decorative stems.
No-Sew Pillow Cover Hack

I’ve made DIY pillow covers from fabric remnants and even pretty dish towels using iron-on tape, and nobody guesses they’re not store-bought. It’s my go-to when I want a color refresh on a budget without learning to sew.
A few things you might like:
- Iron-On Hemming Tape: Secure your fabric seams easily without a needle and thread by using this convenient heat-activated bonding tape.
- Striped Cotton Fabric or Dish Towels: Choose stylish striped cotton fabric or oversized dish towels to mimic the textured look of this pillow.
- Decorative Tassel Trim: Add a charming finish to your pillow corners by attaching these soft tassels for a custom-made appearance.
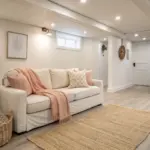
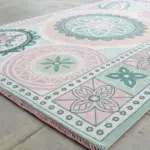
Layered Rug Look for Less
In my studio days, I layered a smaller patterned rug over a larger neutral one to fake that designer layered rugs vibe. It’s a smart budget decor move because you can use what you find secondhand and still get a “finished” look.
Possibly helpful picks:
- Vintage Style Area Rug: Add character to your floors with a patterned rug that serves as the perfect top layer accent.
- Large Jute or Sisal Rug: Create a neutral, textured foundation for your layered look with a durable and affordable natural fiber rug.
- Non-Slip Rug Pad: Keep your beautiful new layers securely in place and add extra cushion underfoot with a reliable grip pad.
Cuttings in Upcycled Jars
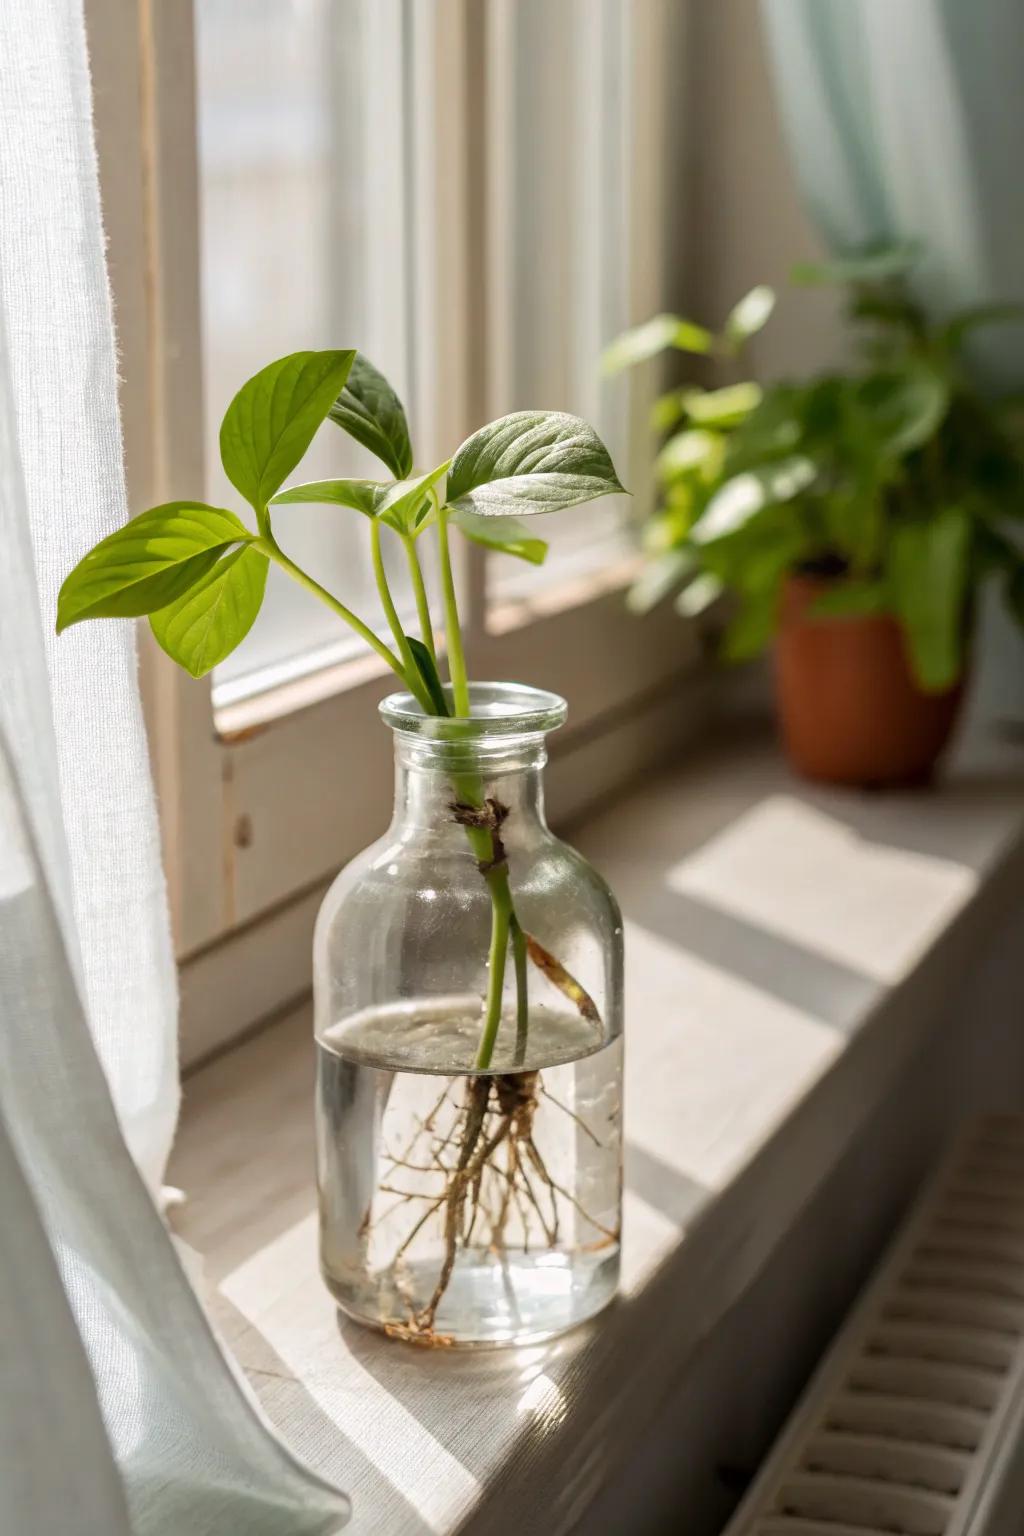
I love making a little greenery moment with plant cuttings in cleaned glass jars, and it costs basically nothing. In my small space, lining them on a windowsill doubled as DIY decor and a mood booster.
Consider these options:
- Rooting Hormone Powder: Help your cutting establish roots faster and stronger by dipping the stem before placing it in water.
- Vintage Apothecary Glass Bottles: Recreate this classic look instantly with a set of decorative glass bottles perfect for displaying various cuttings.
- Plant Pruning Shears: Take clean, healthy cuttings from your existing plants without damaging stems using sharp, precise gardening snips.
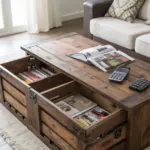
Make a Tray Coffee Table Vignette
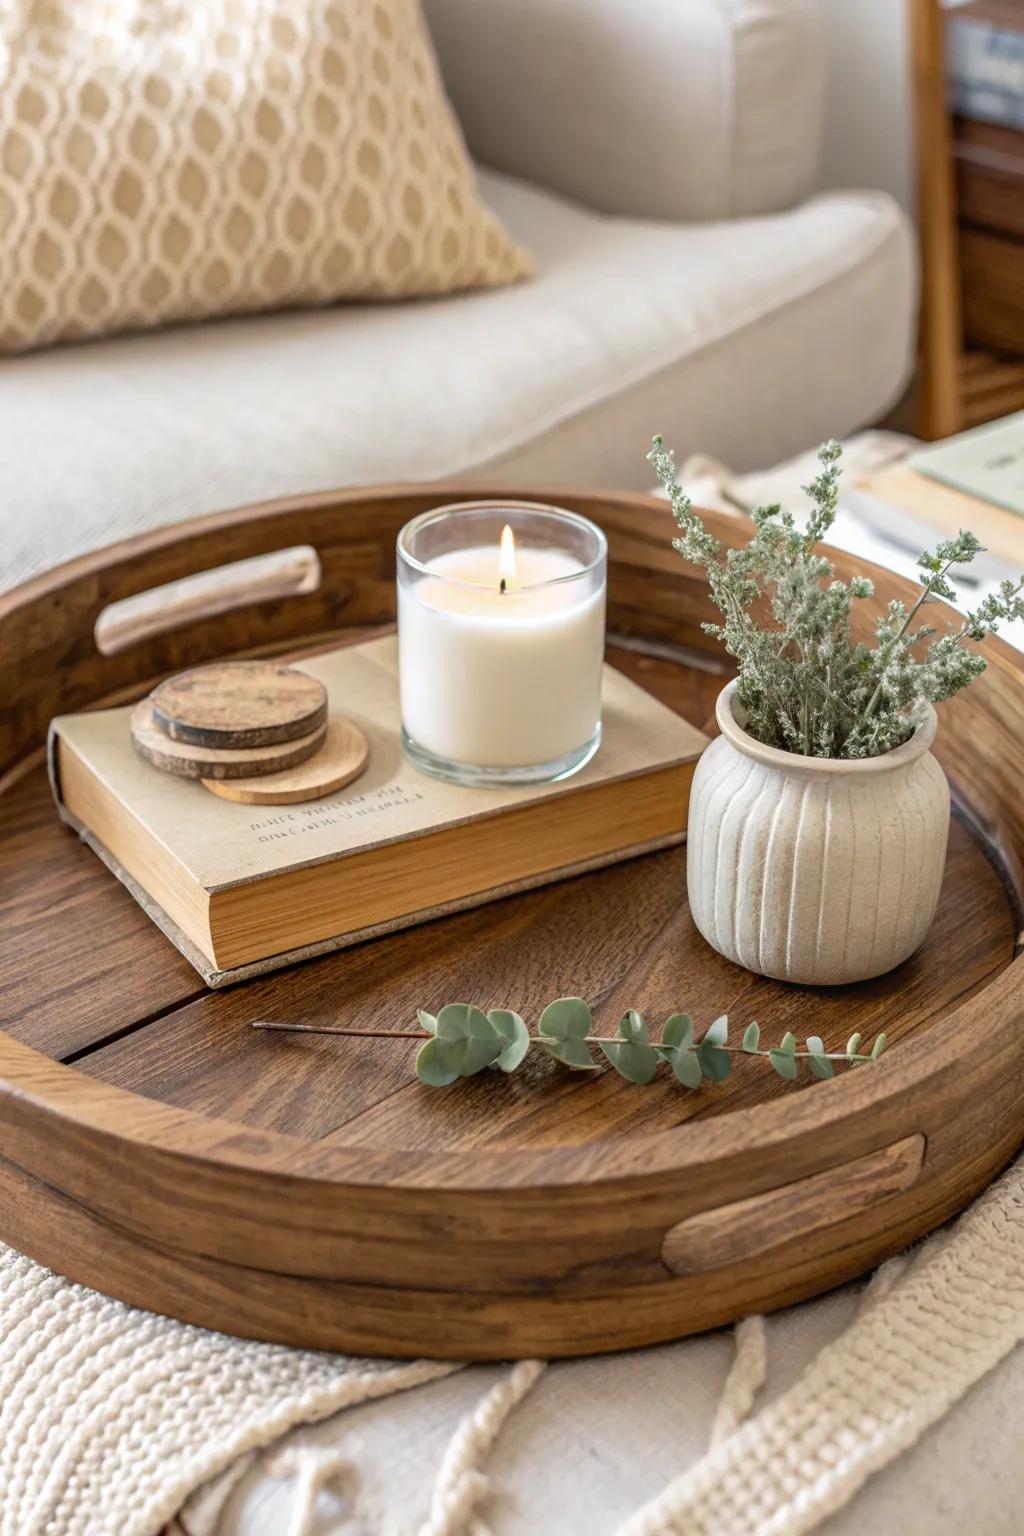
Whenever my living room feels messy, I corral the clutter into a tray vignette with a candle, a small stack of books, and something natural. I’ve thrifted trays for cheap, and it instantly made my tiny coffee table look styled.
Try these:
- Round Wooden Serving Tray: Corral your coffee table clutter instantly by grouping items on a sturdy, rustic wooden tray for organization.
- Decorative Ceramic Bud Vases: Add a touch of nature and texture to your display with small, neutral-toned ceramic vases for greenery.
- Glass Jar Scented Candles: Create a cozy ambiance and soft lighting by adding a simple, clean-burning candle to your styled vignette.
Curtains That Look Custom
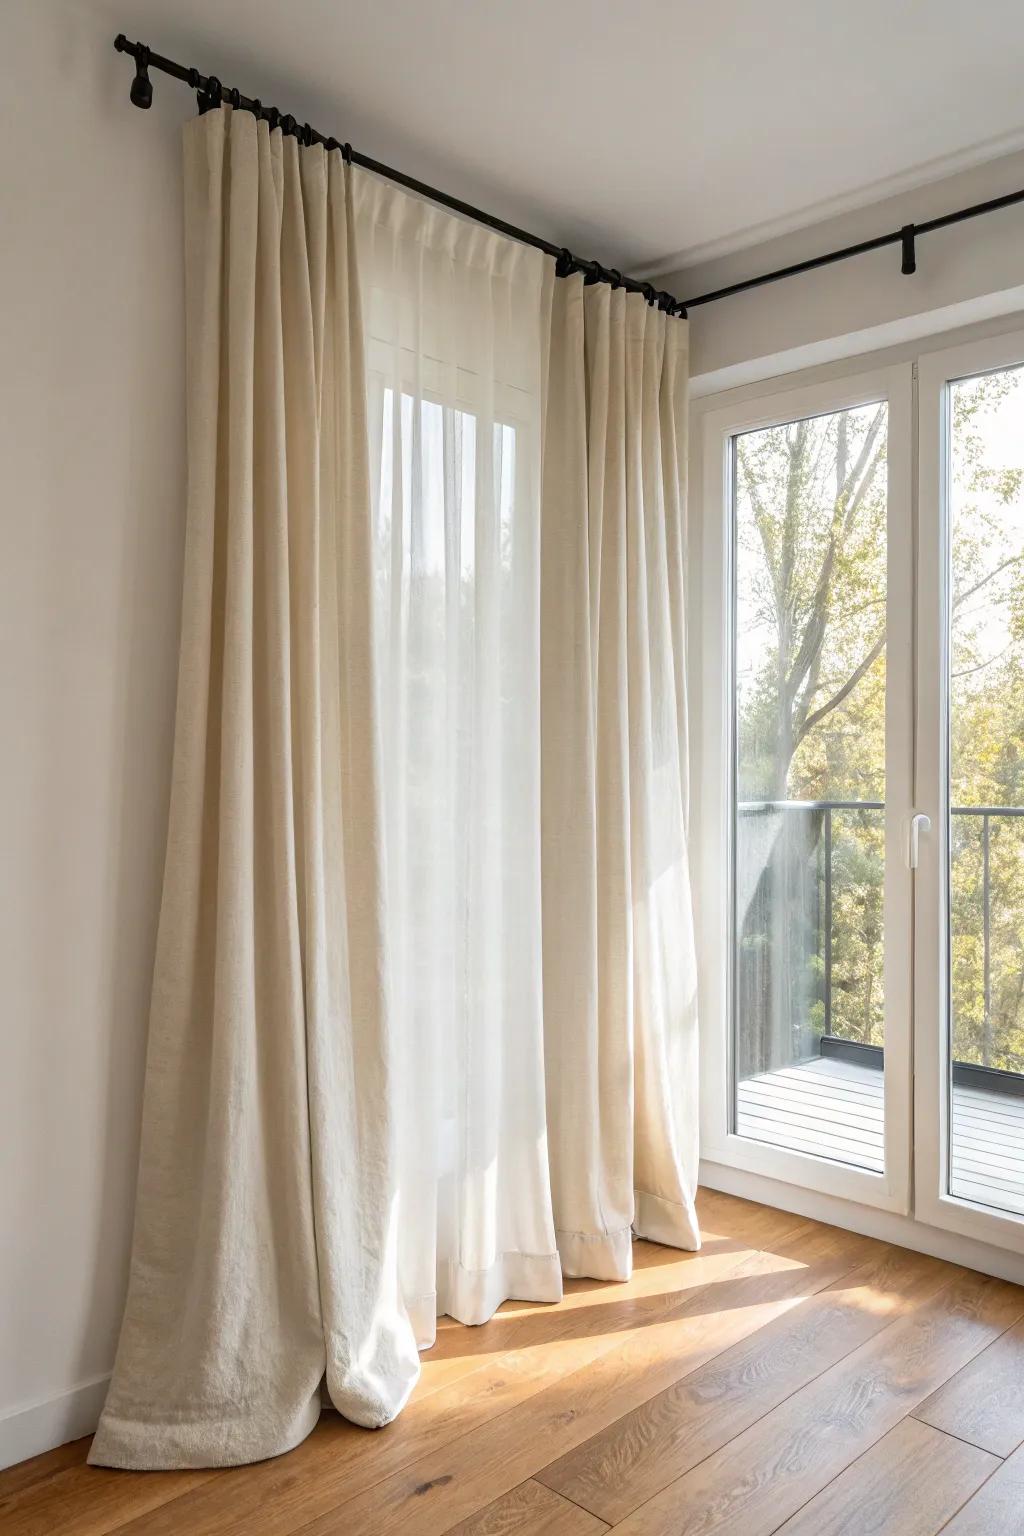
I’ve faked custom curtains by hanging panels higher and wider than the window, and it made my ceilings look taller for zero extra cost. If the length is off, I use hem tape and call it a win.
Might be a good match:
- Matte Black Curtain Rod: Extend your window’s visual width by mounting a sturdy, extendable rod high above the frame for elegance.
- Iron-On Hem Tape: Easily adjust curtain length without sewing; simply fold, iron, and bond the fabric for a tailored look.
- Long Linen-Look Curtain Panels: Choose extra-long panels to pool slightly at the floor or hang high, creating luxurious, ceiling-raising height.
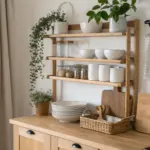
Styled Shelves Using “Only What I Own”
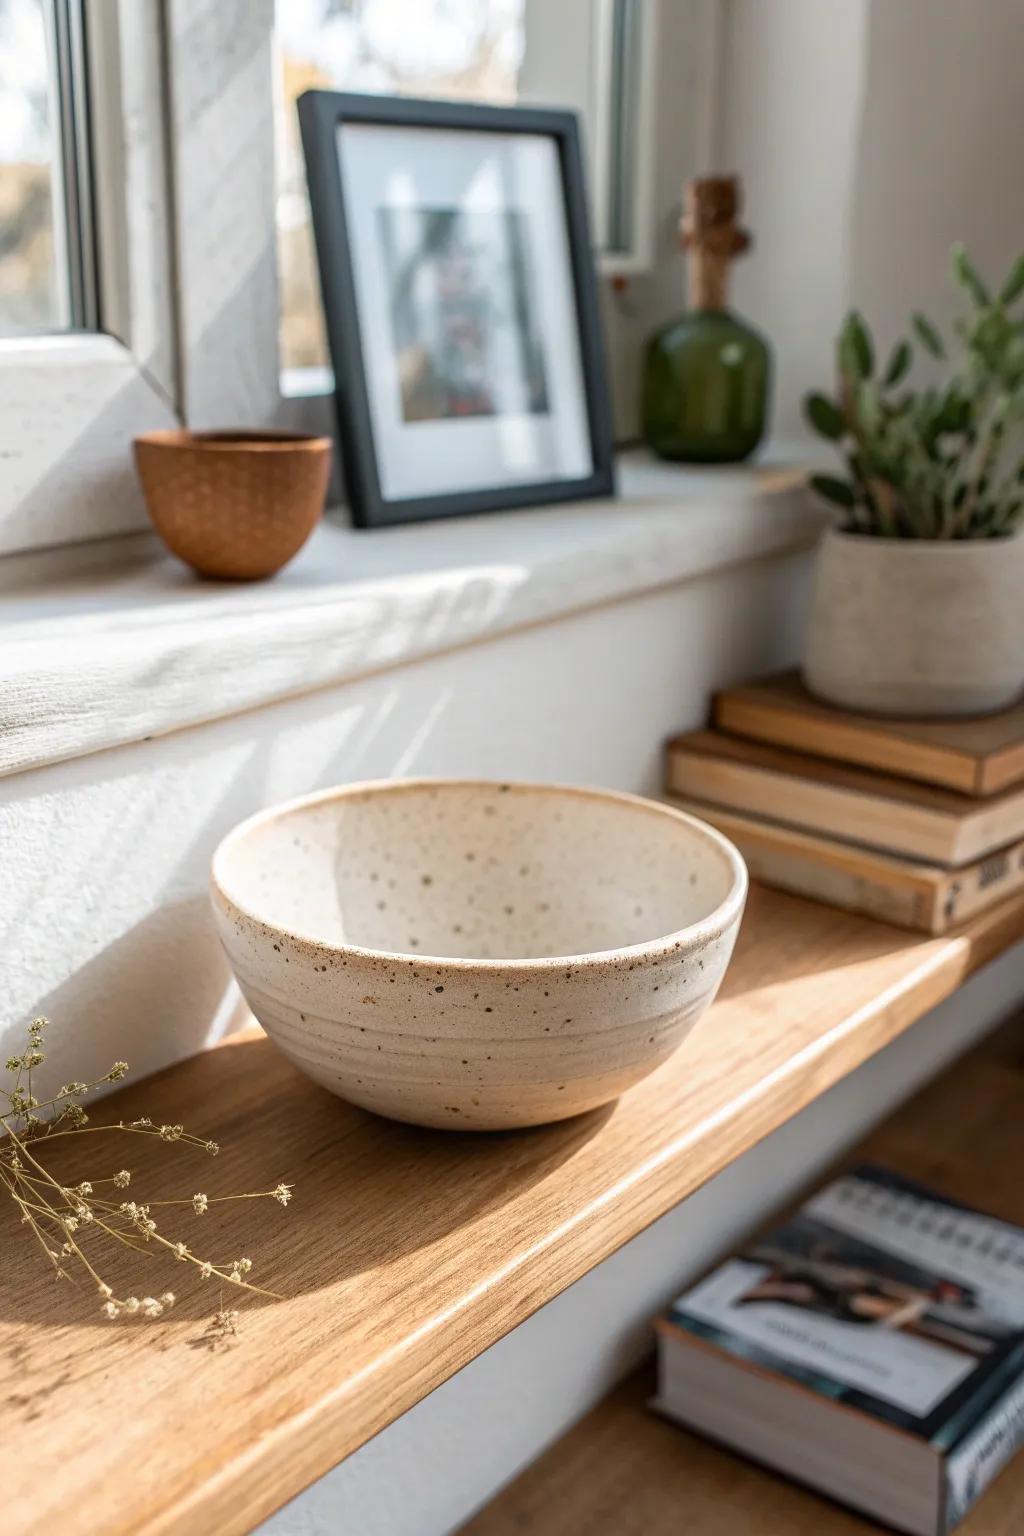
When I’m decorating on a budget, I style shelves by rotating what I already have—books, a small bowl, a framed photo, and a plant. In my experience, a little styled shelving moment makes even basic furniture look intentional.
A few helpful options:
- Decorative Speckled Ceramic Bowl: Add texture to your shelves with a versatile ceramic bowl perfect for holding keys or displaying alone.
- Minimalist Black Picture Frame: Showcase your favorite memories or art prints with a sleek, simple frame that complements any decor style.
- Small Indoor Potted Succulent: Bring life to your shelving display with a low-maintenance plant that adds a refreshing pop of greenery.
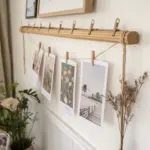
Baskets as Wall Decor Storage
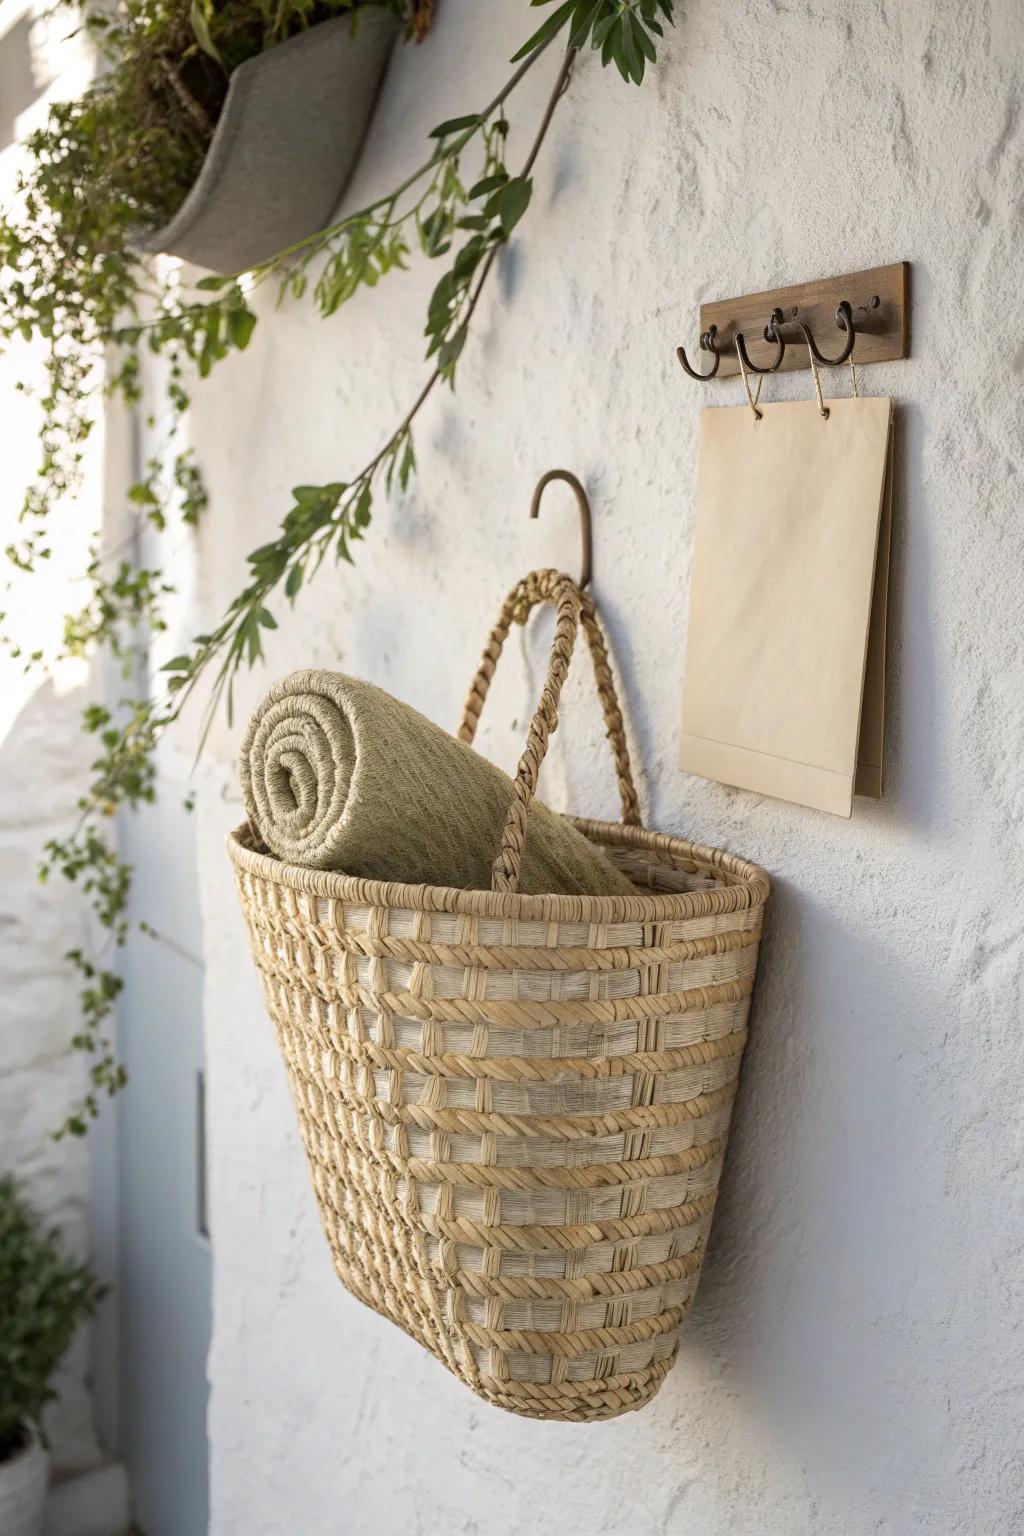
I’ve hung a couple of lightweight woven baskets on the wall to store scarves and mail, and it looked like decor instead of storage. In a small entryway, this DIY wall storage trick saved my surfaces from becoming clutter magnets.
A few suggestions:
- Hanging Woven Wall Basket: Transform your entryway with a stylish natural basket perfect for holding mail, scarves, or dried flowers.
- Decorative Wall Hooks: Secure your storage baskets elegantly with simple, rustic hooks that blend seamlessly into your wall decor.
- Small Wooden Hook Rail: Add extra utility alongside your basket for hanging keys like the rack shown in the photo.
Paper Wreaths and Garlands
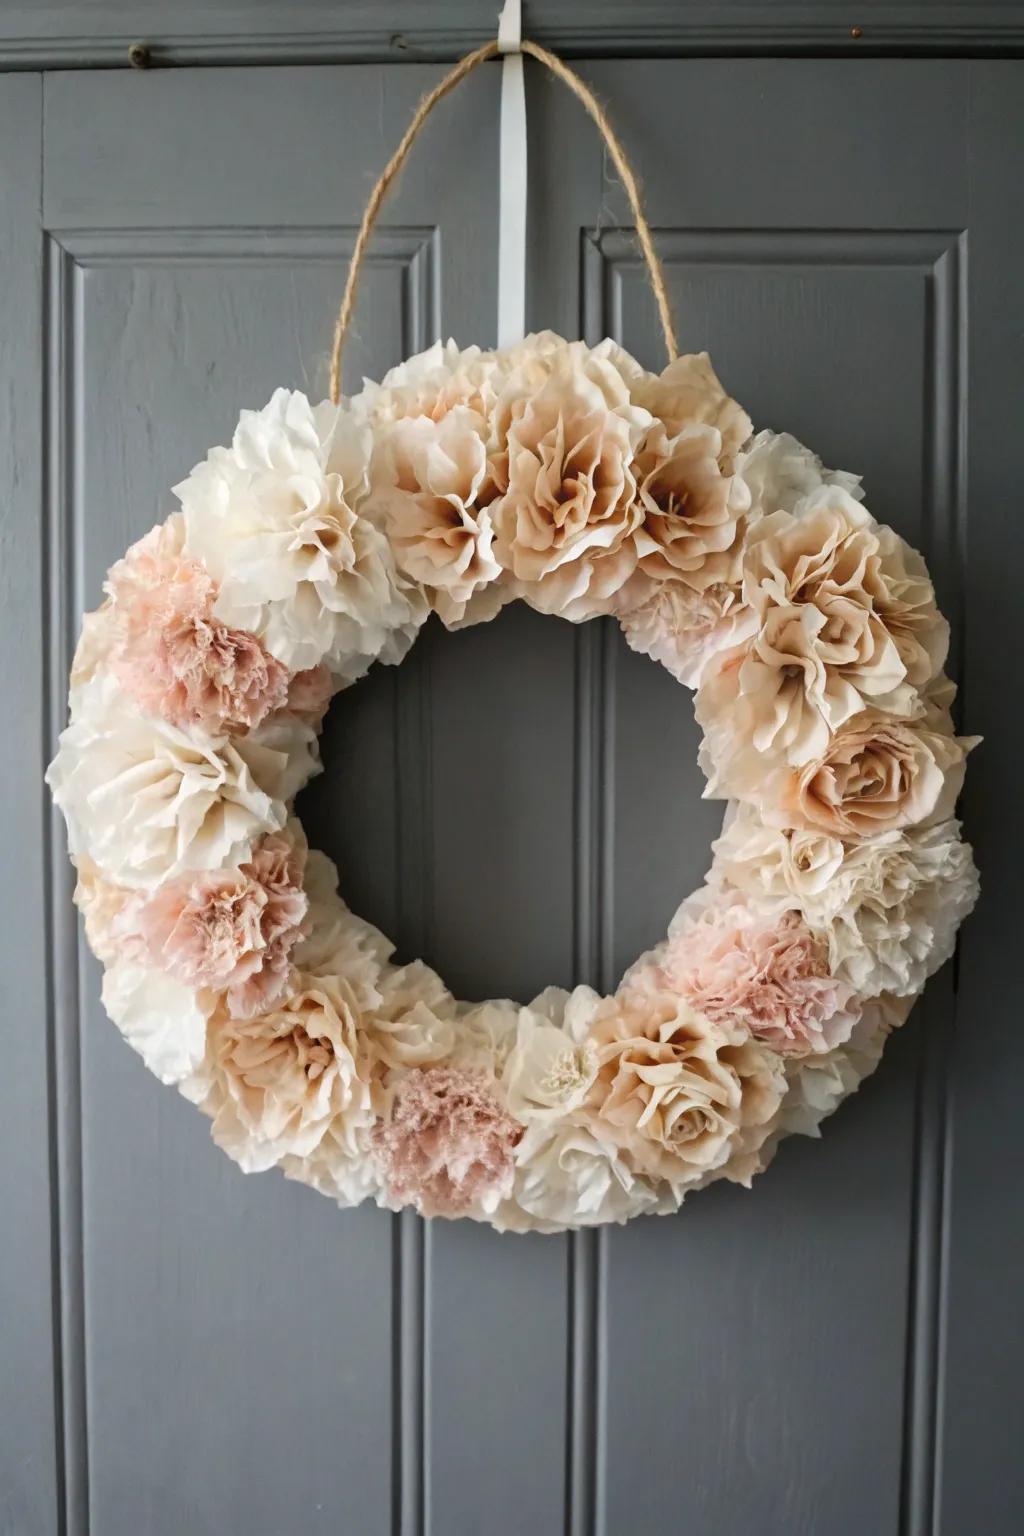
When I was broke-broke, I made oversized florals from coffee filters and used them as a DIY wreath that looked way fancier than it should. It’s such a fun budget home decor project because the supplies are cheap and the impact is huge.
You might like:
- Bulk Coffee Filters: Grab a large pack of standard white coffee filters to create the ruffled, petal-like layers for your blooms.
- Styrofoam Wreath Form: Use a sturdy foam base to easily pin or glue your paper flowers into a perfect circle shape.
- Food Coloring or Tea Bags: Dye your filters with tea or food coloring to achieve that vintage, antique pink and beige aesthetic.


