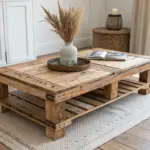
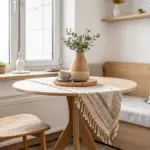
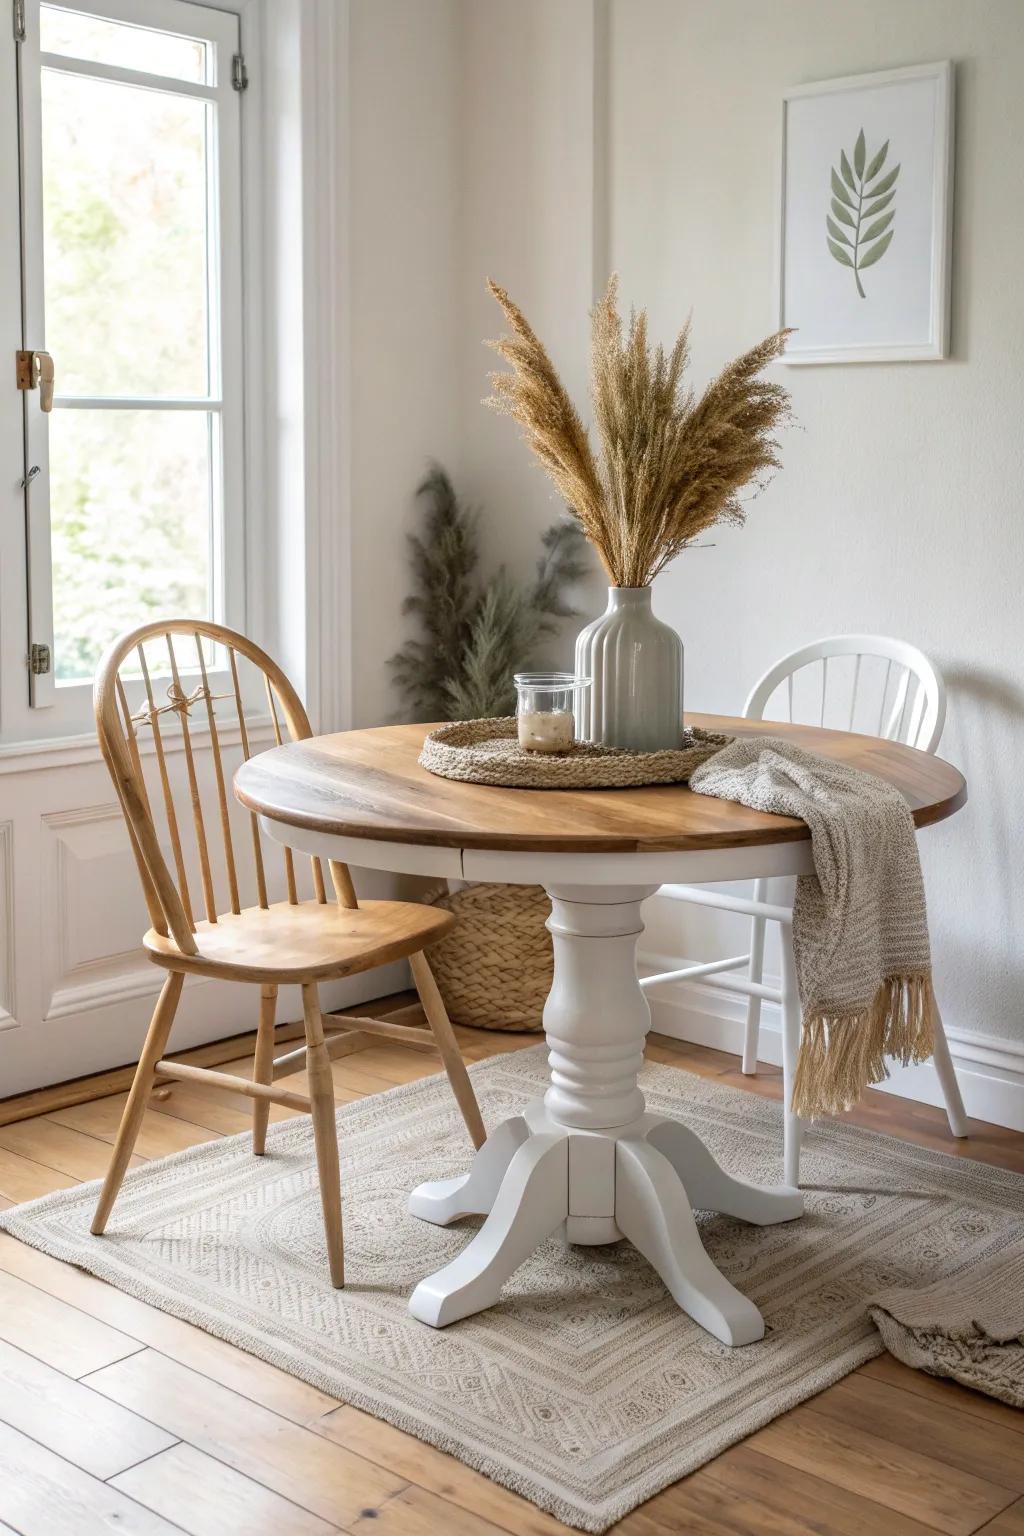
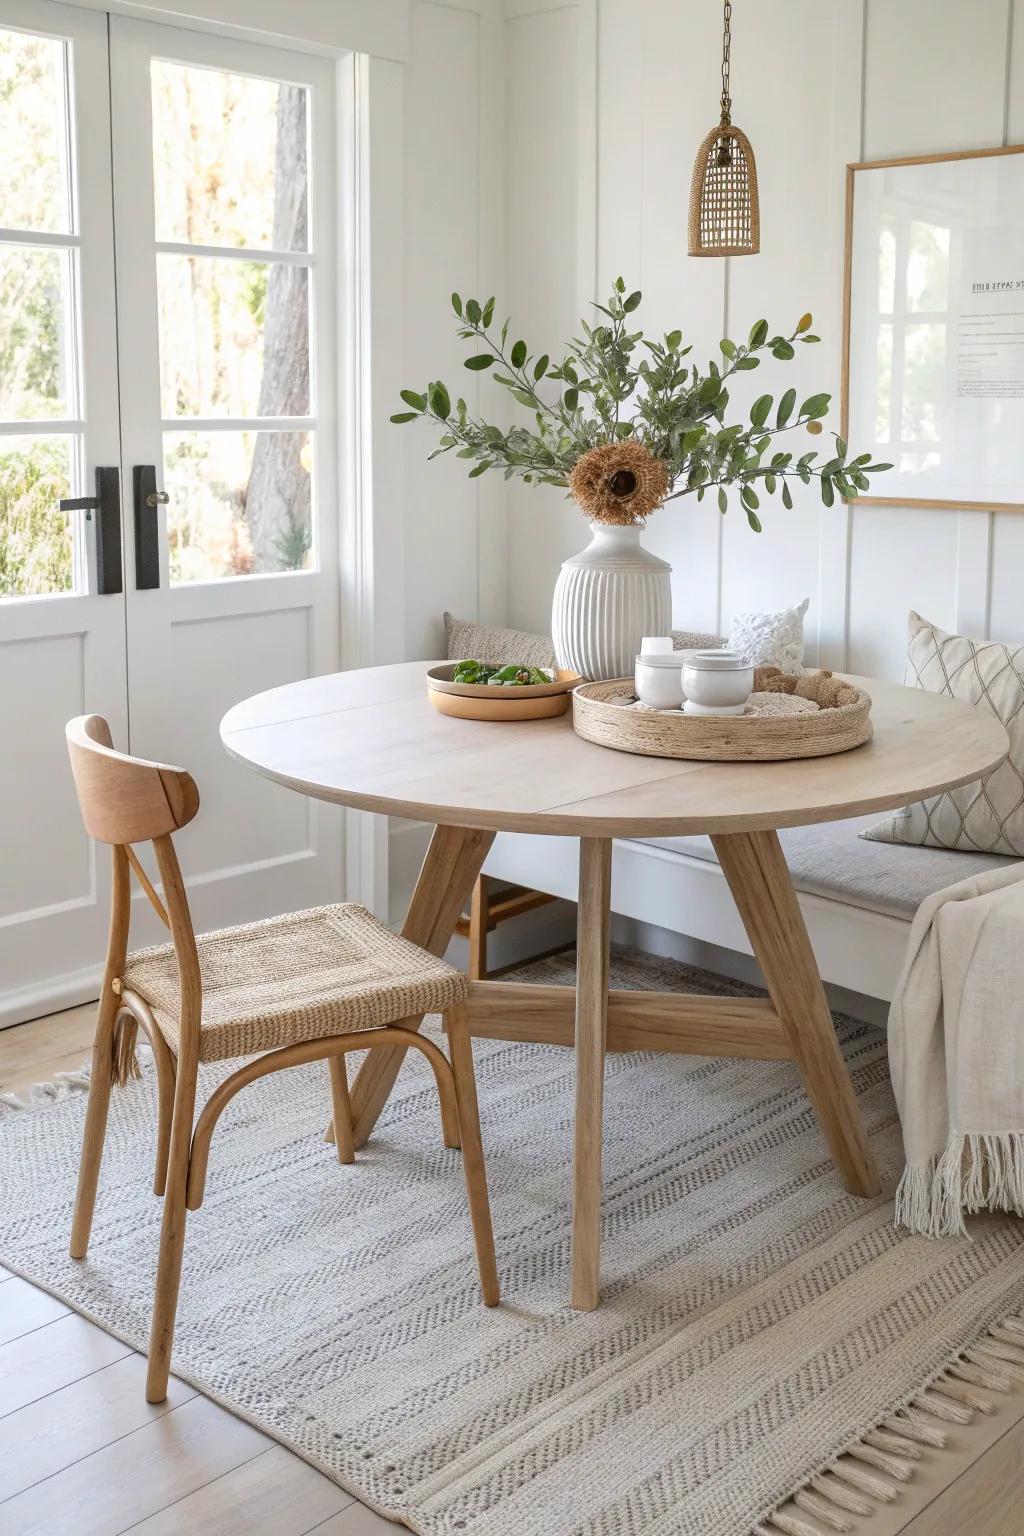
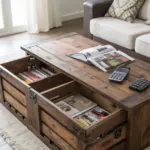
A tired dining table can drag down your whole space, especially when it’s one of the biggest pieces in a small apartment. I’ve revived more scuffed, sticky, dated tables than I can count, and these DIY makeovers are the ones that give the biggest before-and-after impact without needing a huge budget.
Fake a Wood Look With Gel Stain
I once had a painted dining table that I wanted to look like wood again, and gel stain over paint was my little miracle trick. Brushing with the grain and layering slowly made it look surprisingly authentic up close.
A few helpful options:
- Gel Stain in Wood Tones: Transform painted surfaces by applying this thick stain to mimic the rich, deep look of natural wood grain.
- Wood Grain Tool Set: Create realistic faux wood patterns easily by dragging this specialized rocker tool through your wet gel stain layer.
- Natural Bristle Chip Brushes: Use these affordable brushes to apply stain and softly drag through it to create subtle linear texture lines.
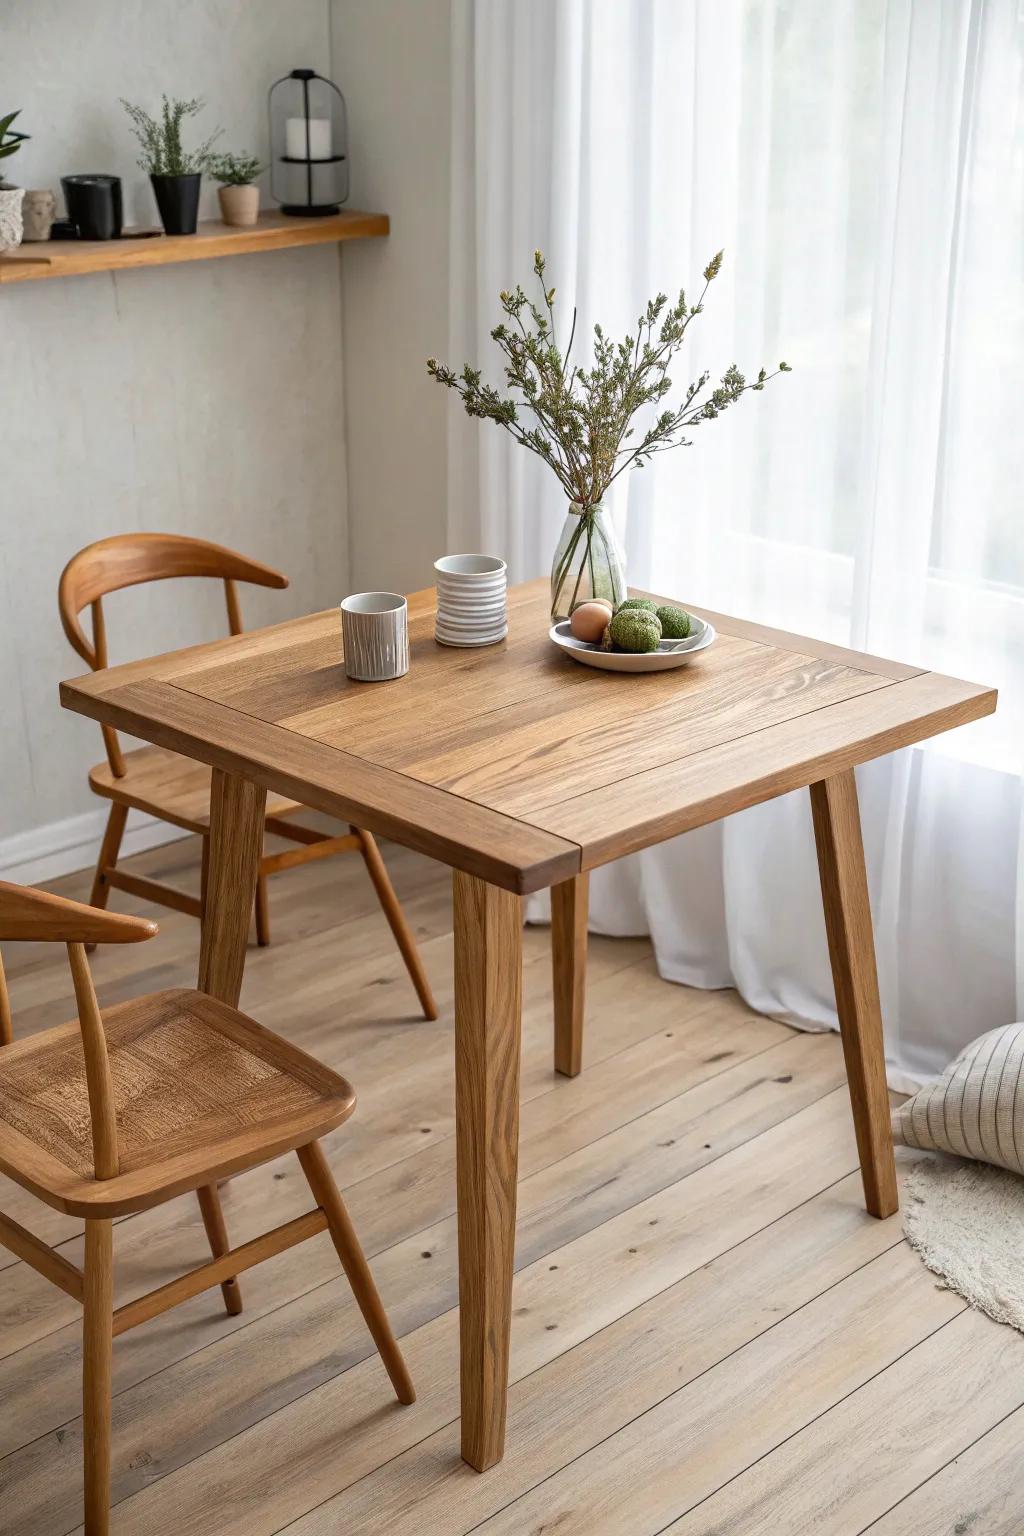
Sand and Restain the Top
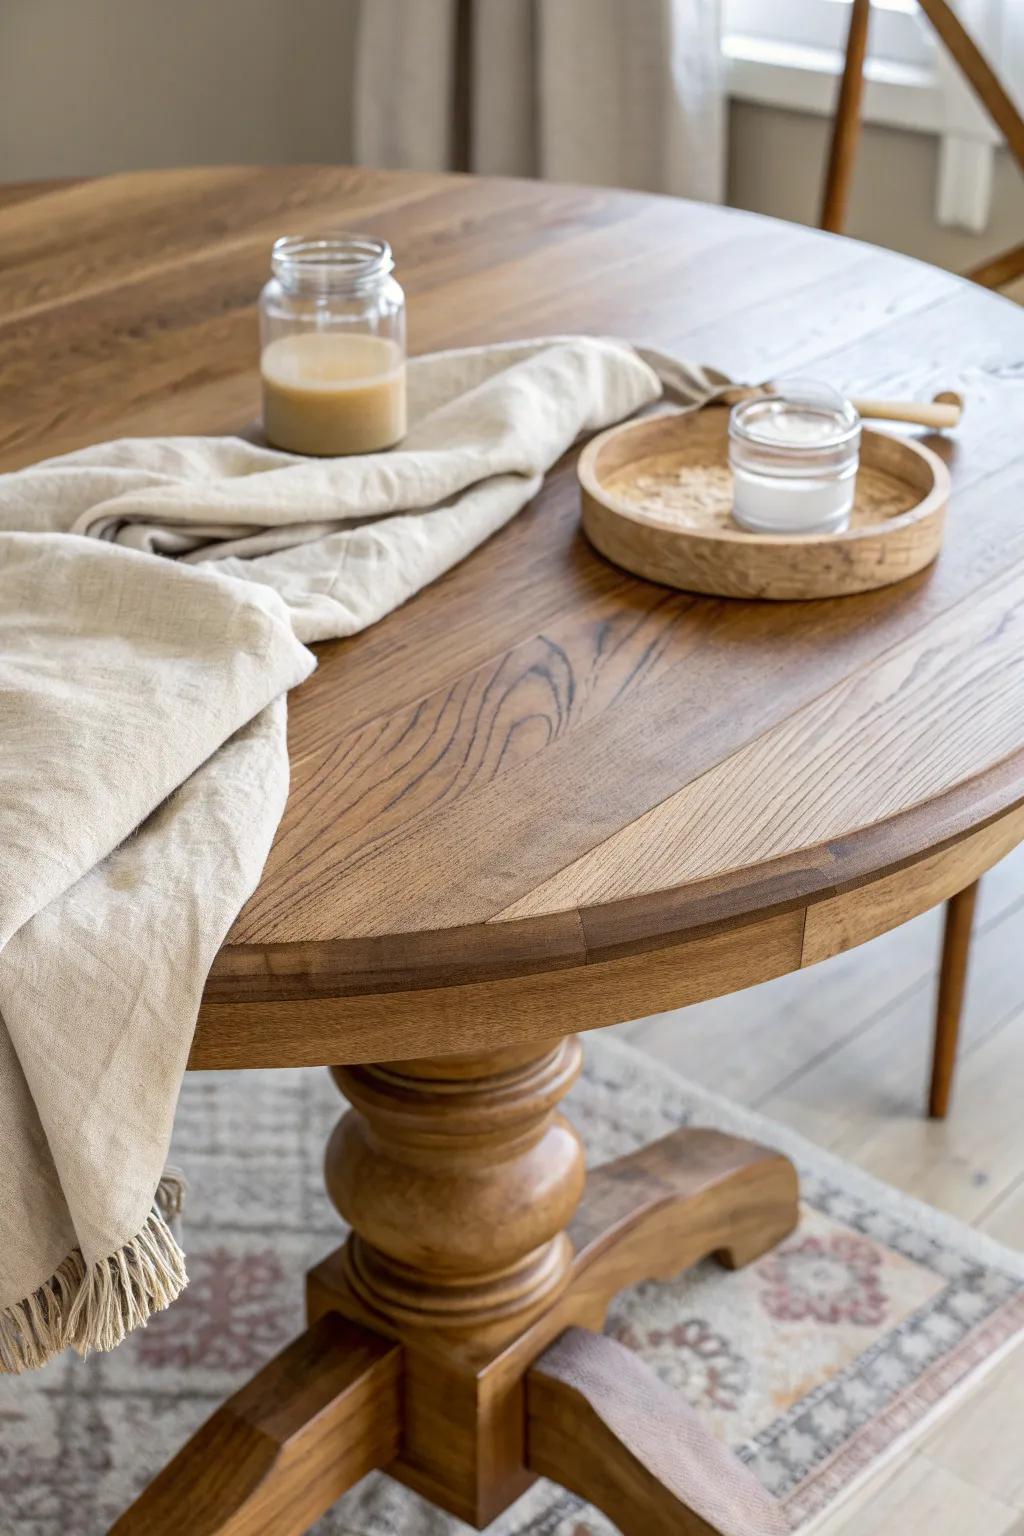
When my tabletop got covered in water rings, a quick sand and fresh wood stain made it look brand-new in one afternoon. I always finish with a protective clear coat so it survives real-life dinners.
Possibly helpful picks:
- Orbital Sander: Speed up your prep work significantly by removing old finishes and scratches quickly with this essential power tool.
- Interior Wood Stain: Revitalize your table’s natural beauty by choosing a rich, deeply penetrating color that matches your home decor.
- Polyurethane Top Coat: Protect your hard work from future spills and scratches with a durable, clear finish that seals the surface.
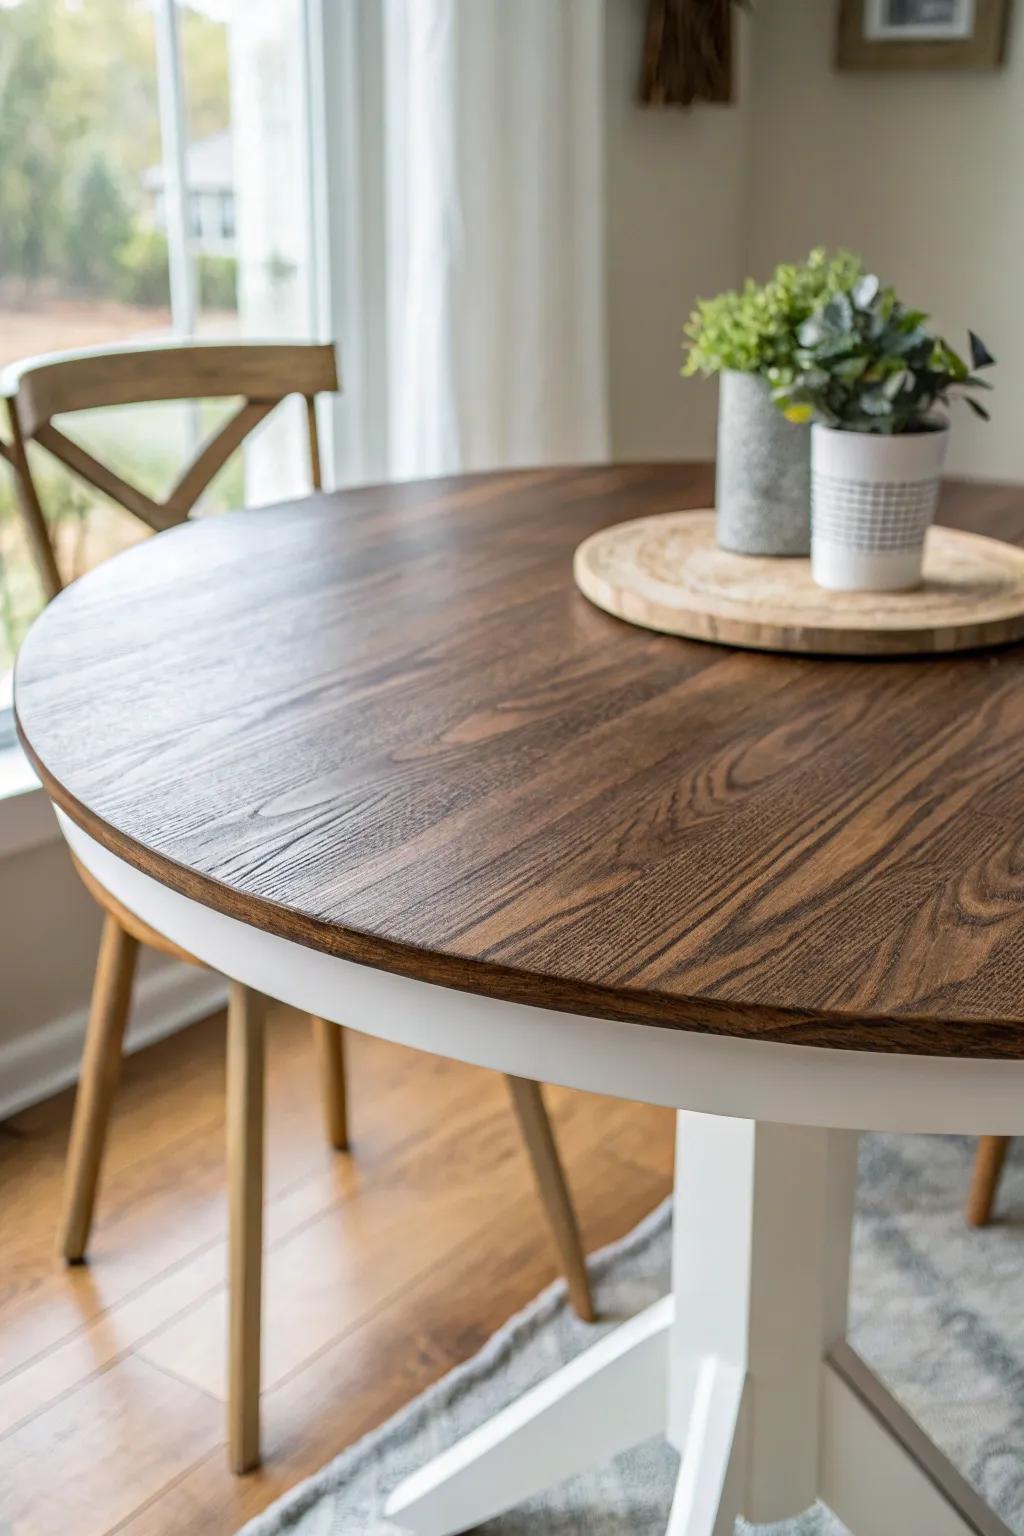
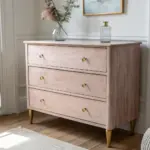
Do a Classic Two-Tone Finish
My most-requested client makeover is two-tone: a painted base with a warm stained top for that cozy, updated vibe. I love how it instantly makes a basic dining table look intentional and styled.
A few relevant products:
- Chalk Style Furniture Paint (White): Transform your table’s base easily with this matte finish paint that generally requires minimal prep or sanding.
- Wood Stain (Warm/Natural Tone): Give your tabletop that rich, cozy glow by applying a high-quality stain designed for interior wood use.
- Polyurethane Top Coat (Satin): Protect your newly stained surface from spills and scratches with a durable, clear finish for long-lasting wear.
Paint the Base Crisp White
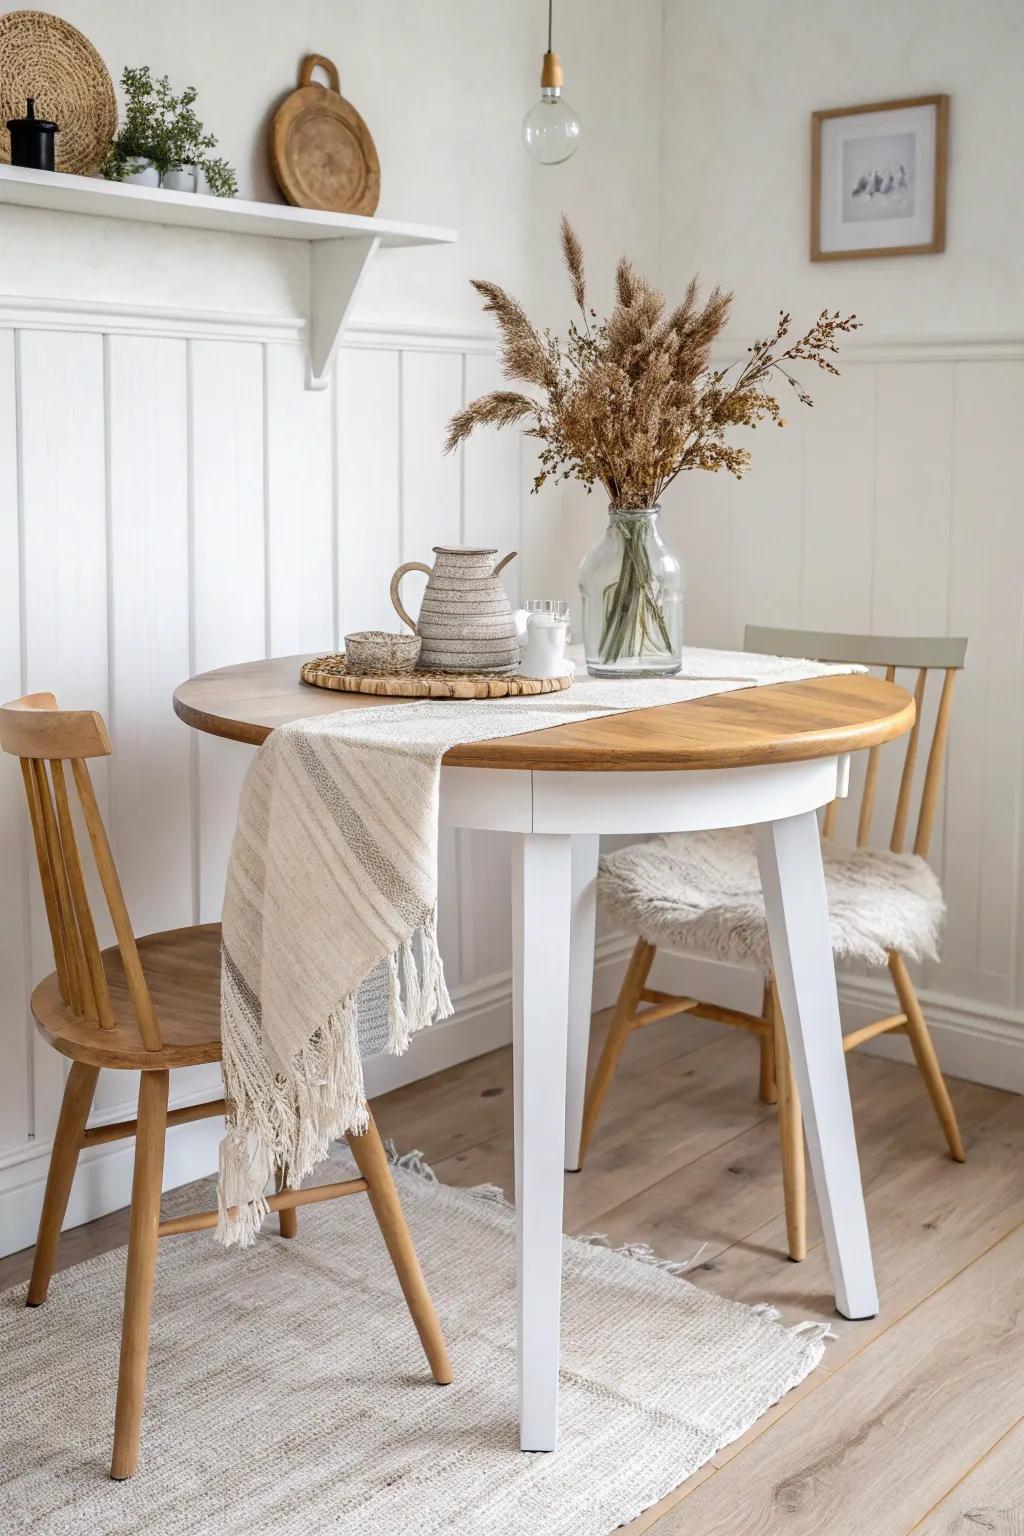
In my tiny dining nook, painting the legs and apron bright white made the whole table feel lighter and the room feel bigger. I keep the top natural or lightly stained so it still feels like real wood.
You might give these a try:
- White Chalk Style Paint: Transform your furniture legs quickly with this matte finish paint that generally requires very little sanding or priming.
- Clear Furniture Wax: Seal your freshly painted table base to protect the finish while adding a subtle, professional-looking sheen.
- Oval Paint Brush: Use a high-quality brush designed for furniture painting to achieve smooth coverage and easily reach curved spindles.
Try a Soft Whitewashed Top
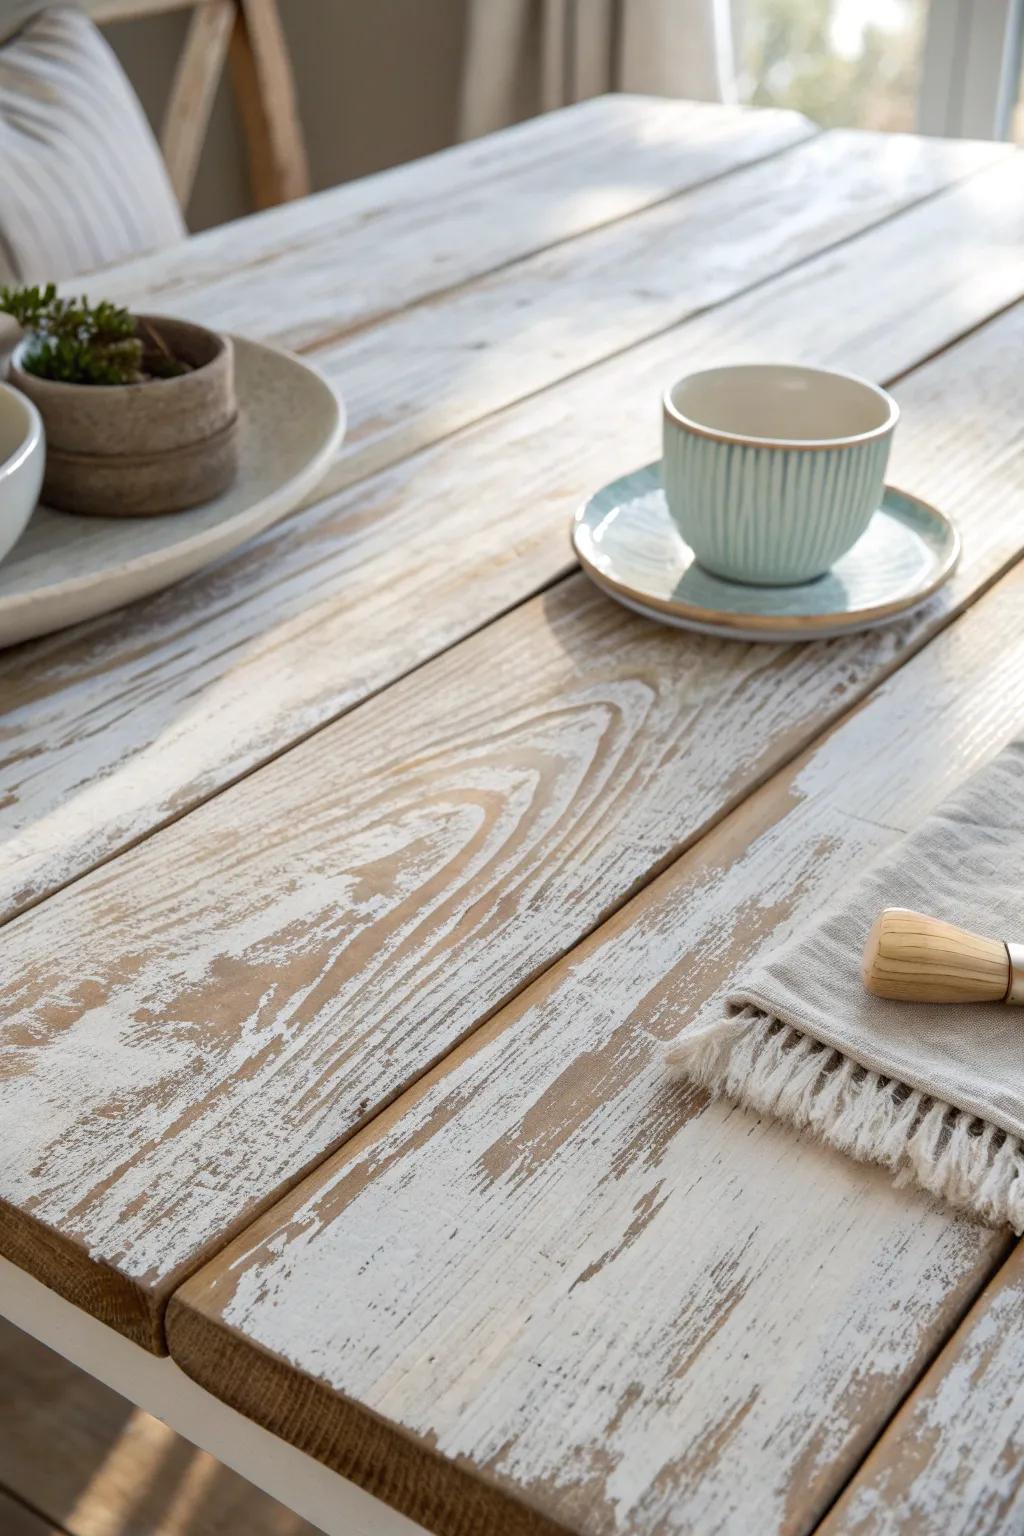
When I wanted “airy” without losing grain, I brushed on a diluted whitewash and wiped it back until it looked sun-faded. It’s such a forgiving dining table makeover if your top has random discoloration.
Might be a good match:
- Matte White Chalk Paint: Create that sun-faded look easily by diluting this paint with water for a perfect custom wash.
- Cotton Lint-Free Rags: Wipe back excess paint smoothly to reveal the wood grain without leaving annoying fibers or streaks behind.
- Clear Matte Polyurethane: Seal your new whitewashed surface to protect it from daily spills while keeping the finish natural.
Add Light Distressing on Edges
I’ve gently sanded corners and leg details for a distressed finish, and it magically turns dings into charm instead of damage. On my own dining table, it also helped hide the next round of inevitable scuffs.
Give these a look:
- Assorted Grit Sandpaper Sheets: Use varied grits to gently wear down sharp edges and corners for an authentic, time-worn appearance.
- Sanding Sponge Block: Gain better control over contours and rounded legs with a flexible block that conforms to shapes.
- Matte Clear Wood Finish: Seal your freshly distressed edges to protect the exposed wood without adding unwanted glossy shine.
Go Full Matte Black
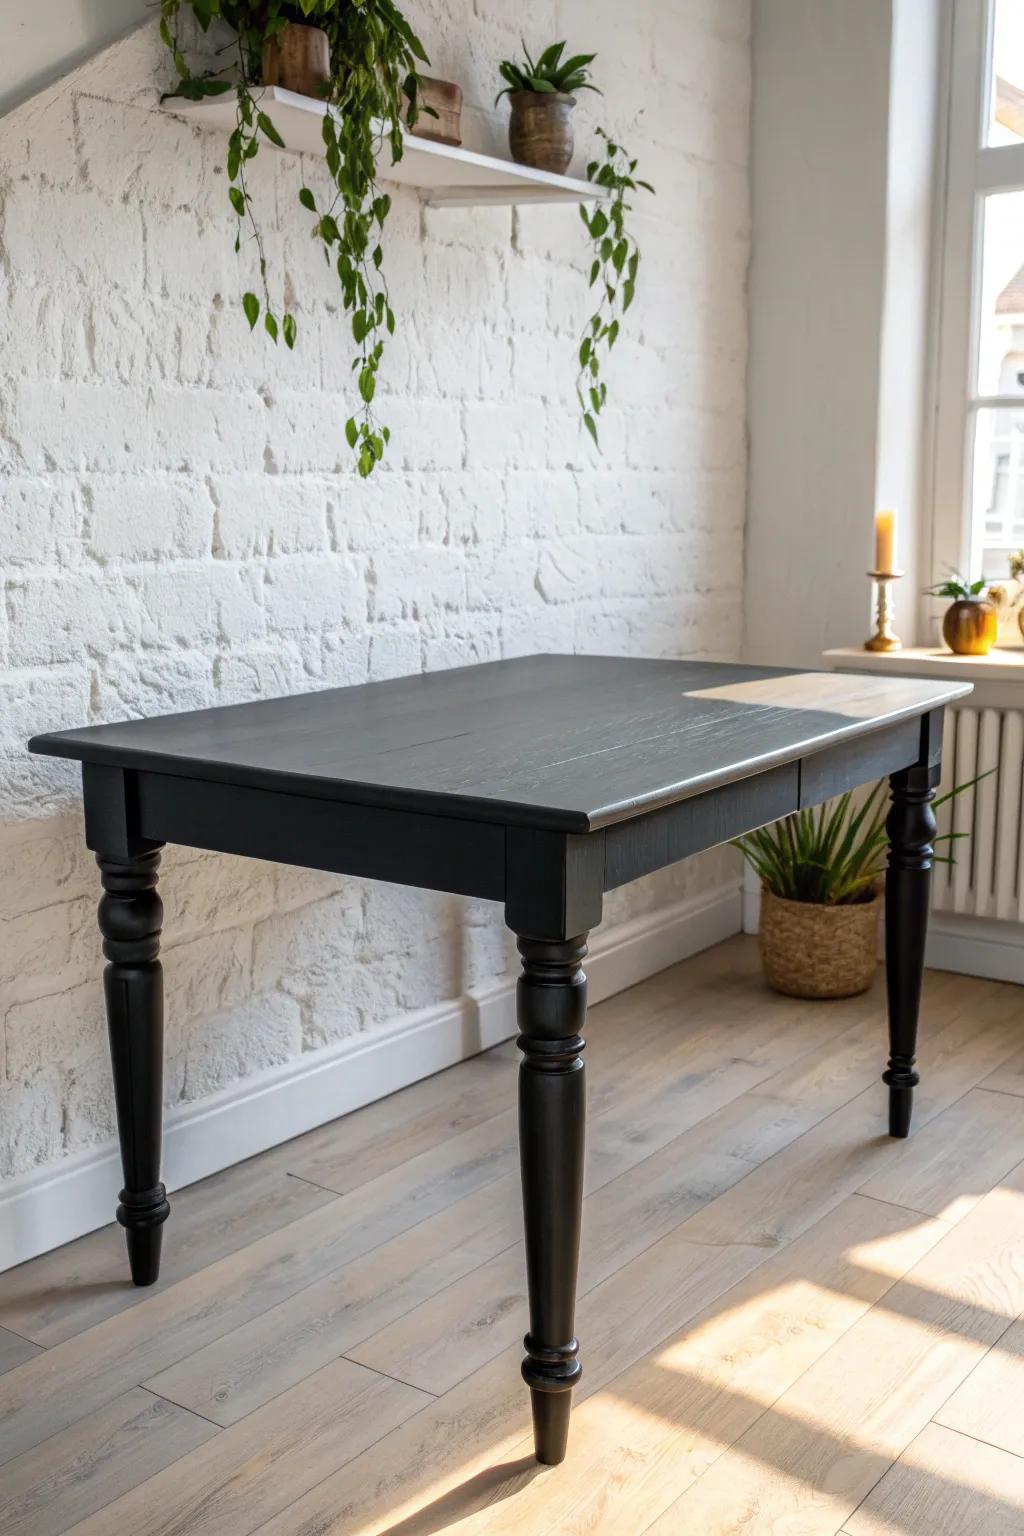
The first time I painted a dining table matte black, I couldn’t believe how modern it looked against light walls. I stick with a tough topcoat because black shows fingerprints if you skip protection.
You might like:
- Matte Black Furniture Paint: Achieve that sleek, modern finish effortlessly with a high-quality paint designed specifically to adhere to furniture surfaces.
- Clear Matte Protective Topcoat: Seal your new finish and prevent visible fingerprints or scratches by applying a durable, non-yellowing protective layer.
- High-Density Foam Roller Kit: Ensure a smooth, professional-grade application without brush strokes by using the right tools for your painting project.
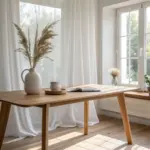
Refresh With a Finishing Oil Glow

When I was short on time, I revived a dull tabletop using finishing oil, and the grain popped instantly. It’s my go-to dining table makeover when the table is structurally fine but looks tired.
Check if these fit your needs:
- Food-Safe Wood Finishing Oil: Nourish dry wood and enhance natural grain patterns by applying this protective oil for a revitalized, lasting sheen.
- Lint-Free Cotton Application Cloths: Ensure a smooth, streak-free finish by using these durable cloths to evenly apply oils without leaving unwanted fibers behind.
- Fine Grit Sanding Sponges: Prep your surface gently before oiling to remove old imperfections and create an ultra-smooth base for better absorption.
Build a Plank-Style Top Overlay
In one studio apartment, I added slim boards over a scratched top to get that plank-style look without building a new table. After staining and sealing, my “overlay” dining table fooled everyone.
Items that may come in handy:
- Thin Wood Planks or Boards: Create your new tabletop surface by adhering these slim, unfinished wood pieces directly over your old table.
- Wood Stain: Transform the raw wood with a rich color that highlights the natural grain and matches your decor.
- Clear Polyurethane Sealer: Protect your new DIY surface from spills and scratches with a durable, clear protective topcoat.
Stencil a Patterned Tabletop
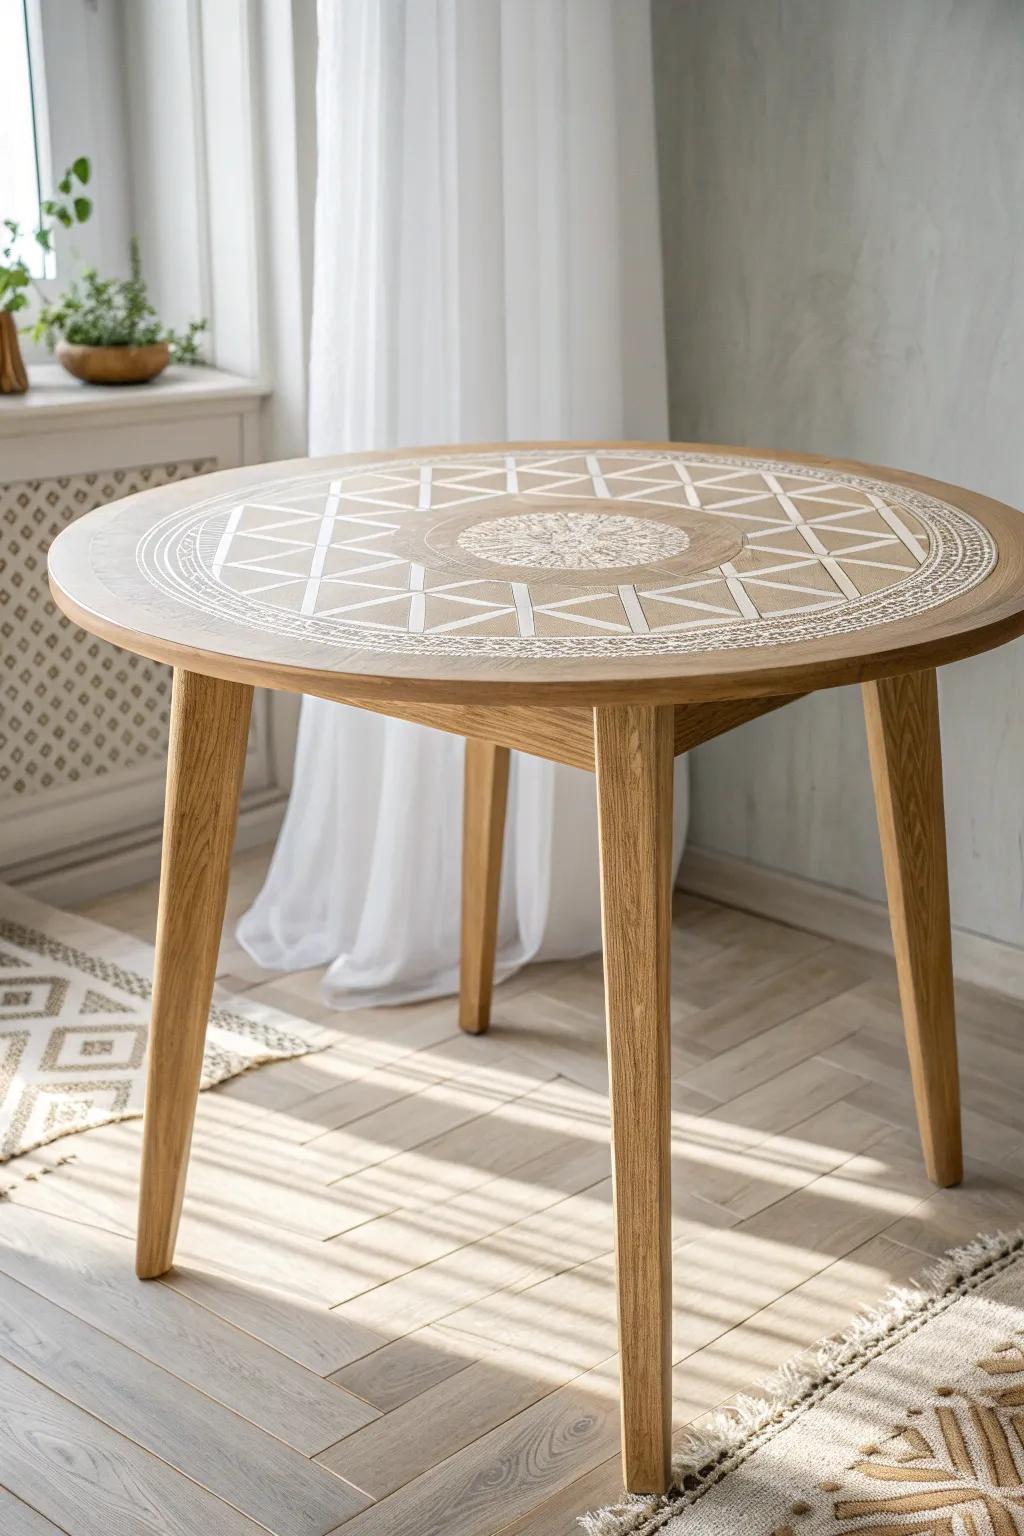
I stenciled a subtle geometric pattern on a dining table top and it instantly looked like a boutique piece. The trick I learned is sealing between layers so the design doesn’t smear during wipe-downs.
Products that could assist:
- Geometric Pattern Furniture Stencil: Create a stunning custom design on your tabletop by using a sturdy stencil for precise patterns.
- Water-Based Polyurethane Sealer: Protect your new stencil artwork from spills and cleaning with a durable, clear finish topcoat.
- Round Foam Stencil Brushes: Apply paint cleanly without bleeding under the stencil edges using these specialized foam applicator tools.
Wallpaper the Top and Seal It
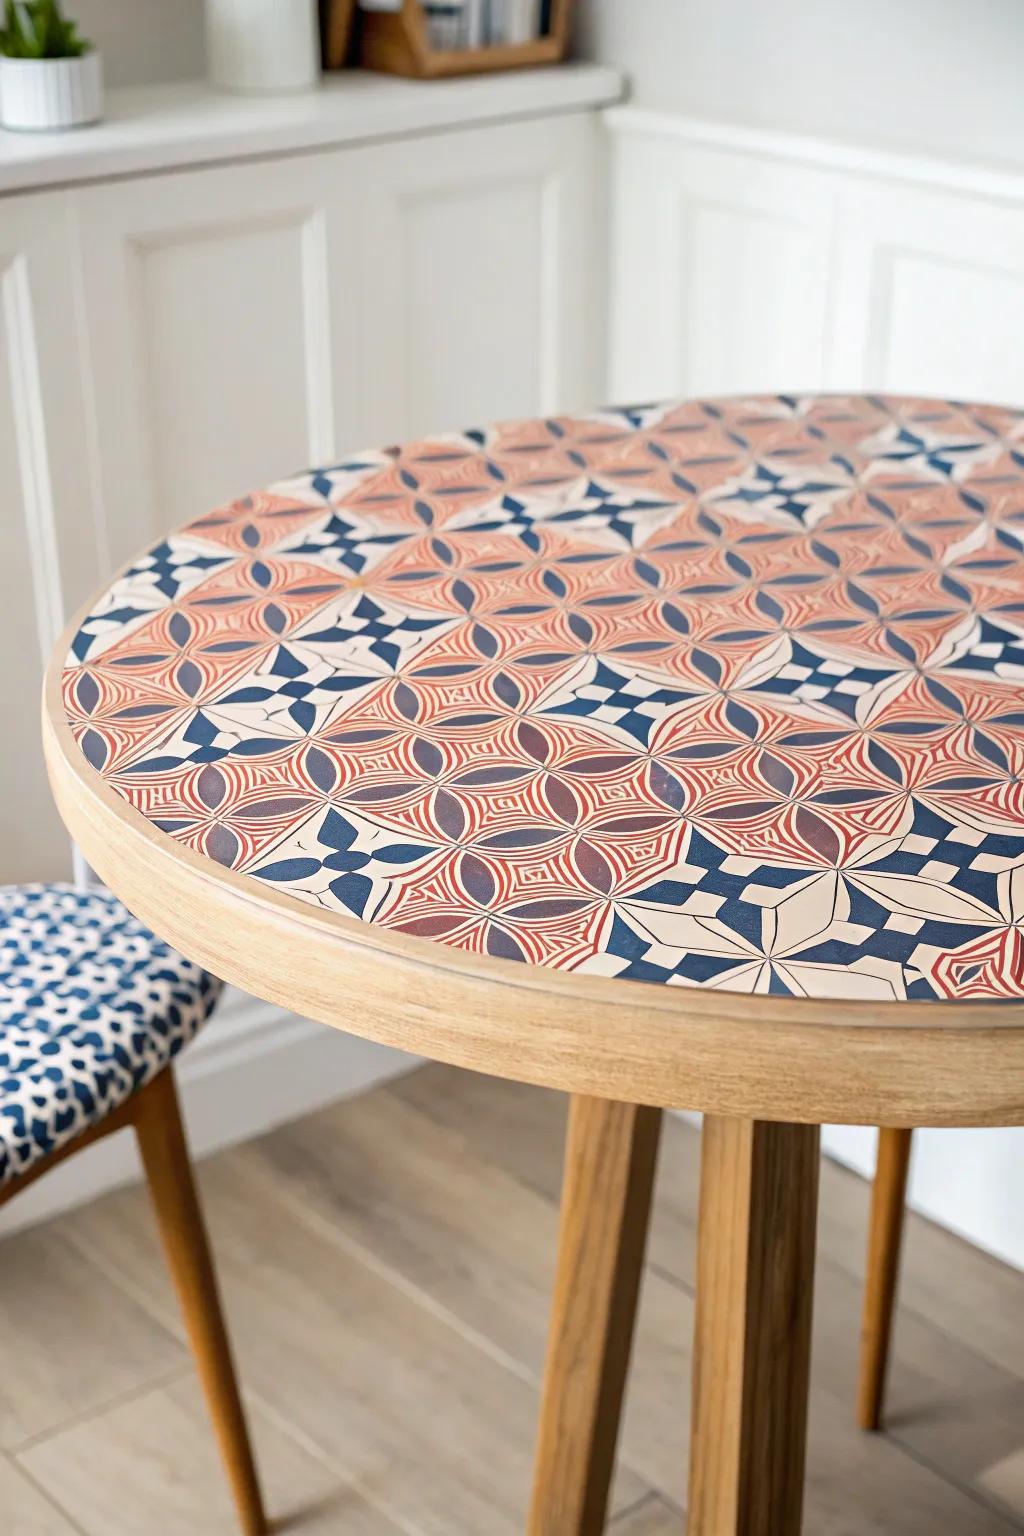
I’ve used wallpaper on a tabletop to hide cracks, then sealed it until it felt smooth and wipeable. It’s such a fun dining table makeover if you want bold style without permanent commitment.
Possibly handy products:
- Self-Adhesive Geometric Wallpaper: Choose a colorful, patterned peel-and-stick paper to transform your tabletop instantly without the mess of traditional permanent paste.
- Clear Water-Based Polyurethane: Apply several coats of this clear sealer to protect your wallpaper from spills, creating a durable and wipeable dining surface.
- Smoothing Tool and Knife Kit: Use these essential tools to eliminate air bubbles for a professional finish and trim excess paper cleanly around the table edges.
Make a Removable Contact-Paper Inlay
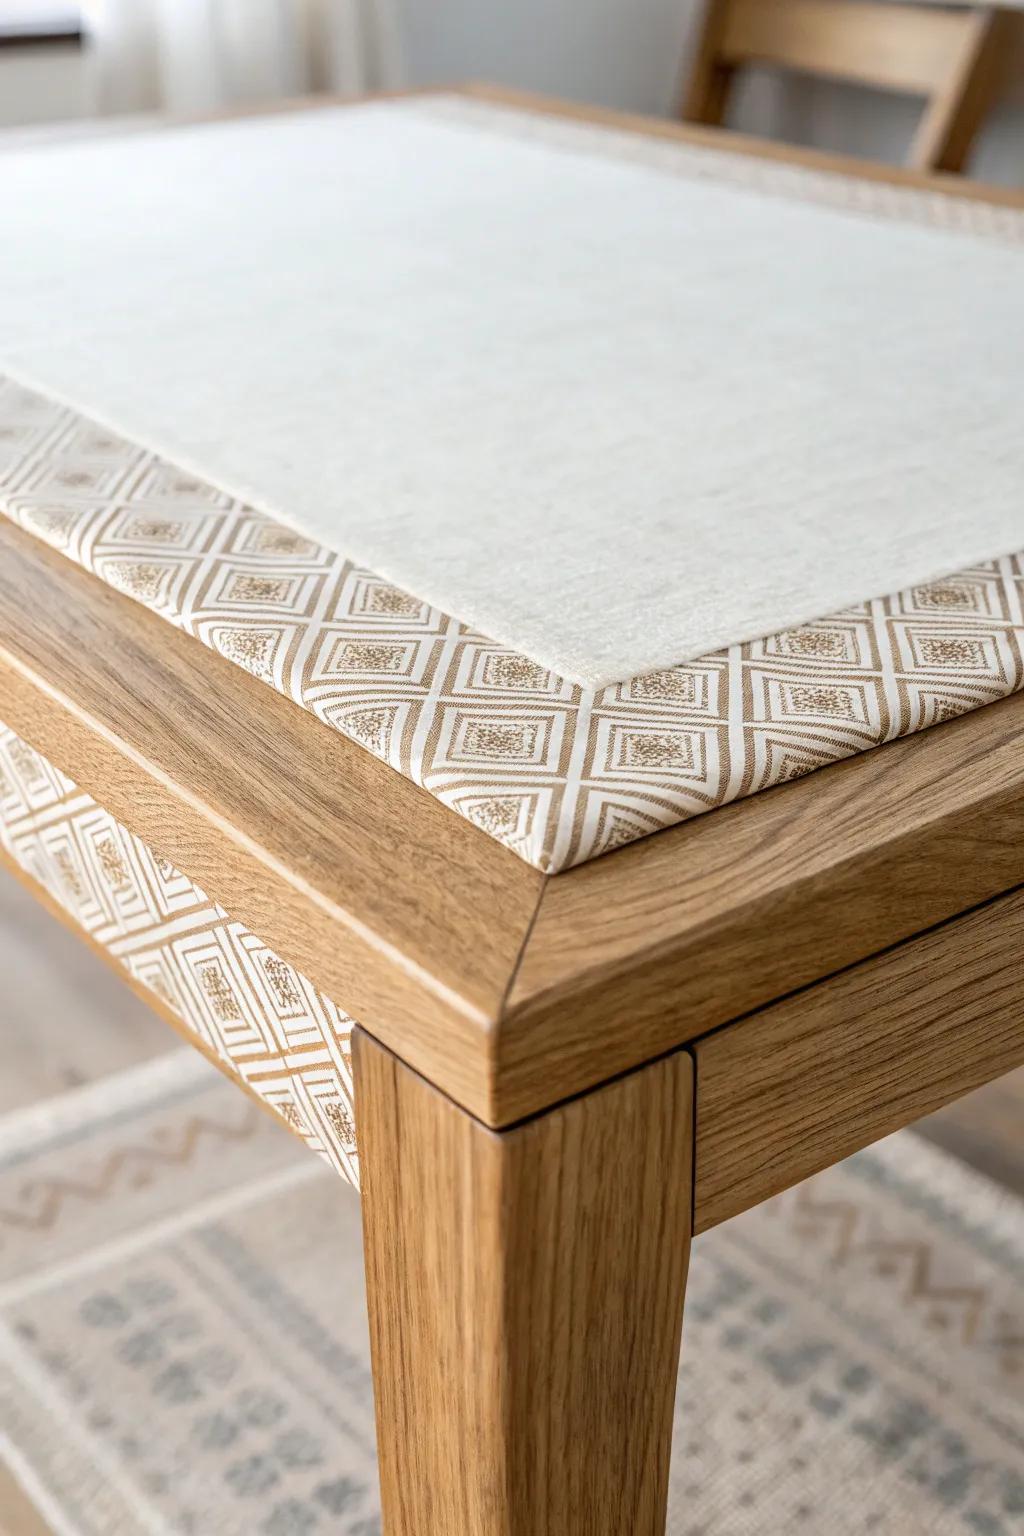
For renters, I love a removable inlay: wrap just the center panel and leave a wood border so it looks intentional. I did this on my own small dining table and loved being able to switch patterns seasonally.
Explore these options:
- Geometric Pattern Contact Paper: Refresh your table instantly with a peel-and-stick design. Choose a subtle geometric print to mimic this stylish inlay look.
- Smoothing Tool Kit for Wallpaper: Ensure a bubble-free finish on your table surface. Use a felt-edge squeegee to apply the paper smoothly and professionally.
- Precision Craft Knife and Cutting Mat: Achieve crisp, clean edges along your table’s border. Trim the excess paper perfectly for that custom, intentional inlay appearance.
Create a Faux Marble Top
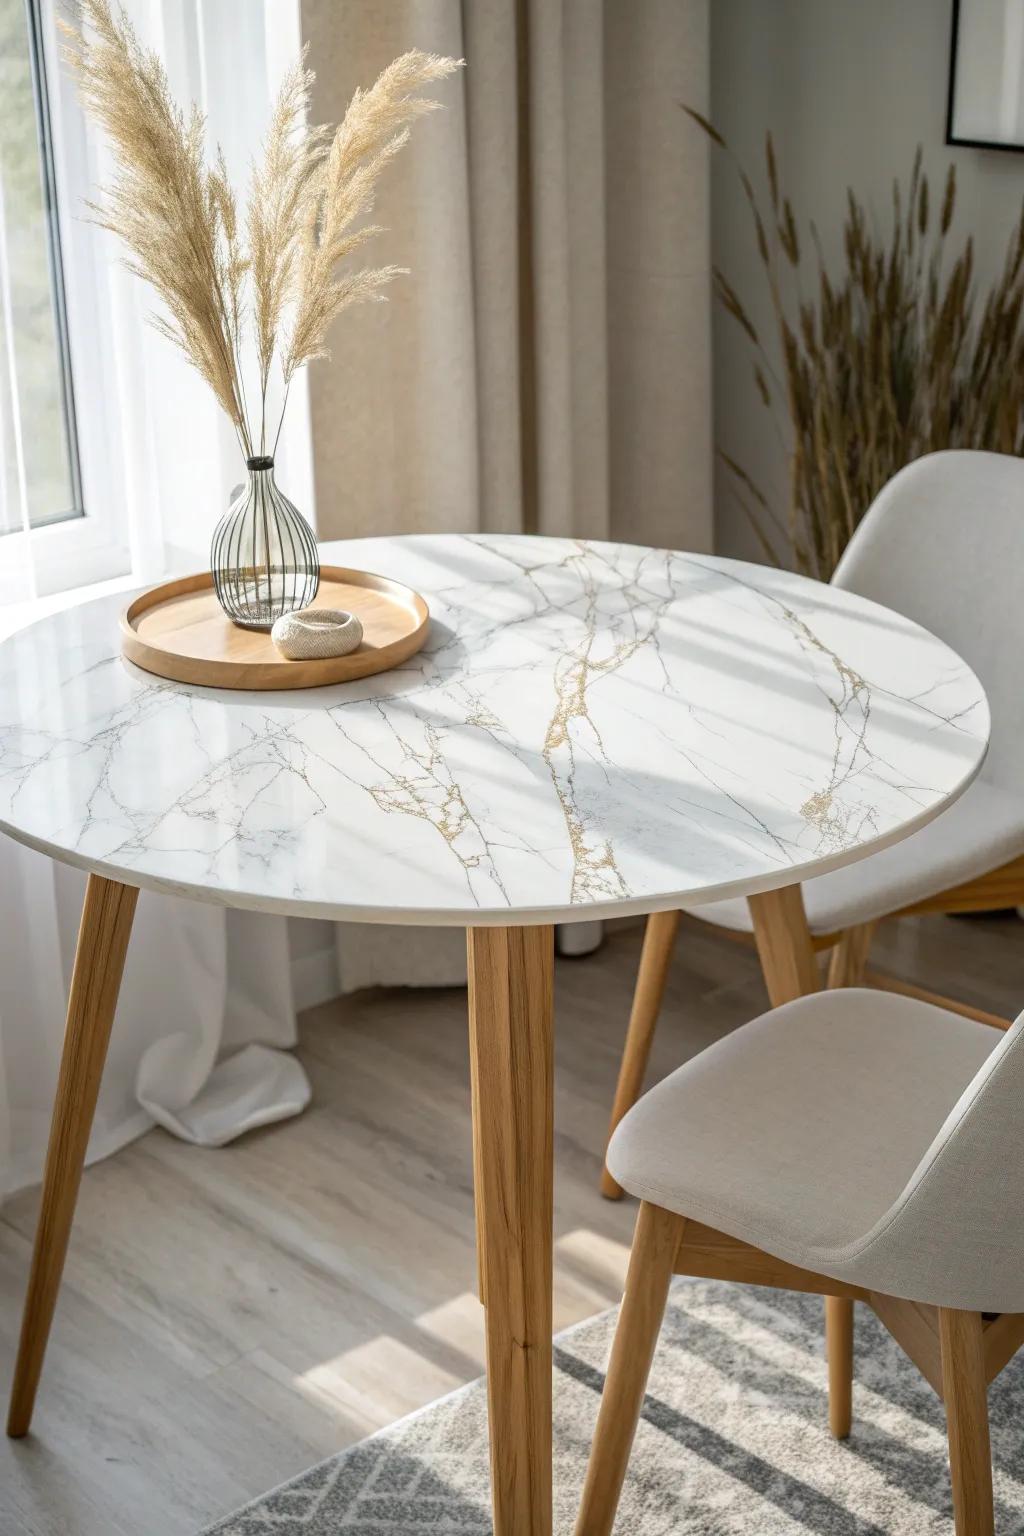
The easiest “fancy” dining table makeover I’ve tried is faux marble using a smooth wrap and careful trimming at the edges. Mine cleans up so easily, which matters when your dining table is also your desk.
These products might be useful:
- Marble Effect Contact Paper: Transform your table instantly by wrapping the surface in a durable, easy-to-clean marble-patterned adhesive film.
- Precision Craft Knife Kit: Ensure a professional finish by cleanly trimming excess film around curved edges with a sharp precision blade.
- Plastic Smoothing Tool: Eliminate frustrating air bubbles and wrinkles during application for a perfectly smooth, realistic stone surface look.
Decoupage With a Bold Tablecloth Print
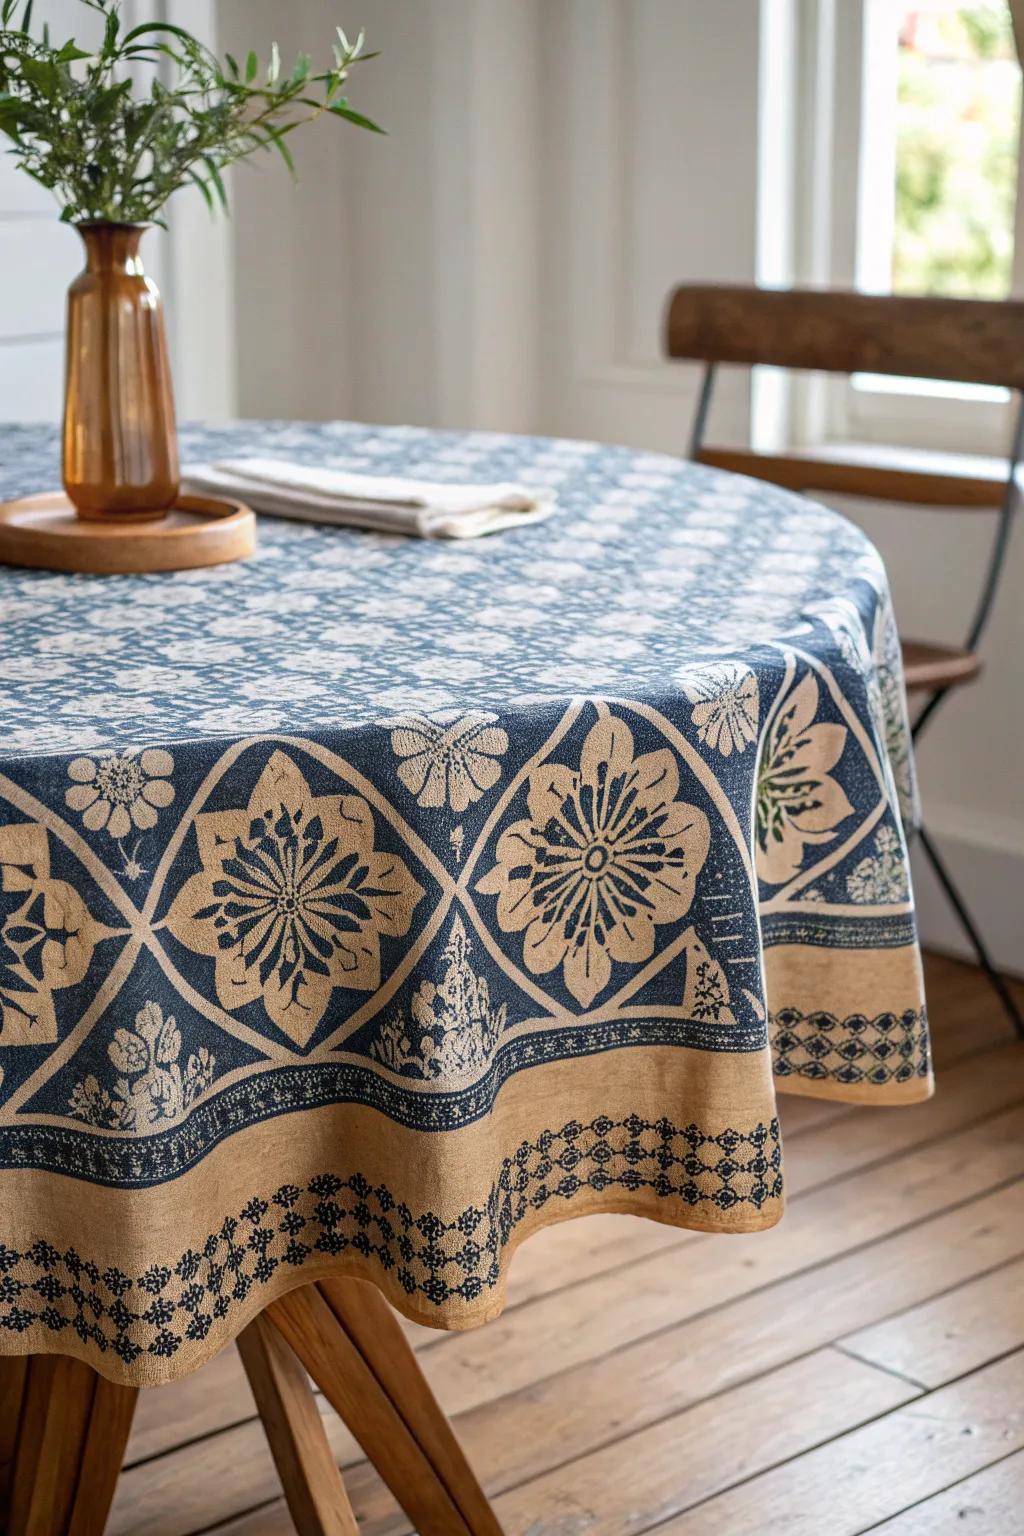
I once decoupaged a patterned material onto a beat-up dining table top and it became the whole room’s personality. A few thin coats of water-based sealer made it feel like a real finish instead of craft time.
May just do the trick:
- Cotton Block Print Tablecloth: Select a patterned tablecloth with a bold design like this one to transform your table’s entire look.
- Water-Based Polyurethane Sealer: Apply several thin coats of a durable sealer to protect the fabric surface against daily wear.
- Decoupage Medium & Glue: Use a quality decoupage glue to properly adhere the fabric to the tabletop without creating bubbles.
Paint the Underside of a Glass Top
If your dining table has glass, painting the underside gives you color without worrying about scratches on the surface. I did a soft translucent tint once, and it looked clean, modern, and way more expensive.
These products might help:
- Translucent Glass Spray Paint: Apply sheer color to your glass surface for a tinted, sea-glass effect that updates your table’s look.
- Self-Adhesive Glass Tint Film: Skip the paint and apply an architectural film to easily add color while reinforcing the glass surface.
- High-Gloss Spray Enamel: Ensure a smooth, durable finish by using high-gloss enamel designed specifically for adherence to slick glass surfaces.
Add an Epoxy “River” Detail

The first time I made an epoxy river down the center of a dining table, it stopped everyone mid-sentence at dinner. Keeping the rest of the wood simple made the river feel like art instead of chaos.
Consider these options:
- Deep Pour Epoxy Kit: Create a stunning river effect with crystal-clear resin designed for deep casting and durable table surfaces.
- Mica Powder Pigments: Add vibrant color and shimmering metallic depth to your epoxy river for a truly custom artistic finish.
- Wood Finishing Oil: Enhance the natural wood grain and protect your surrounding table surface with a rich, durable oil finish.
Tile the Top Like a Little Bistro Table
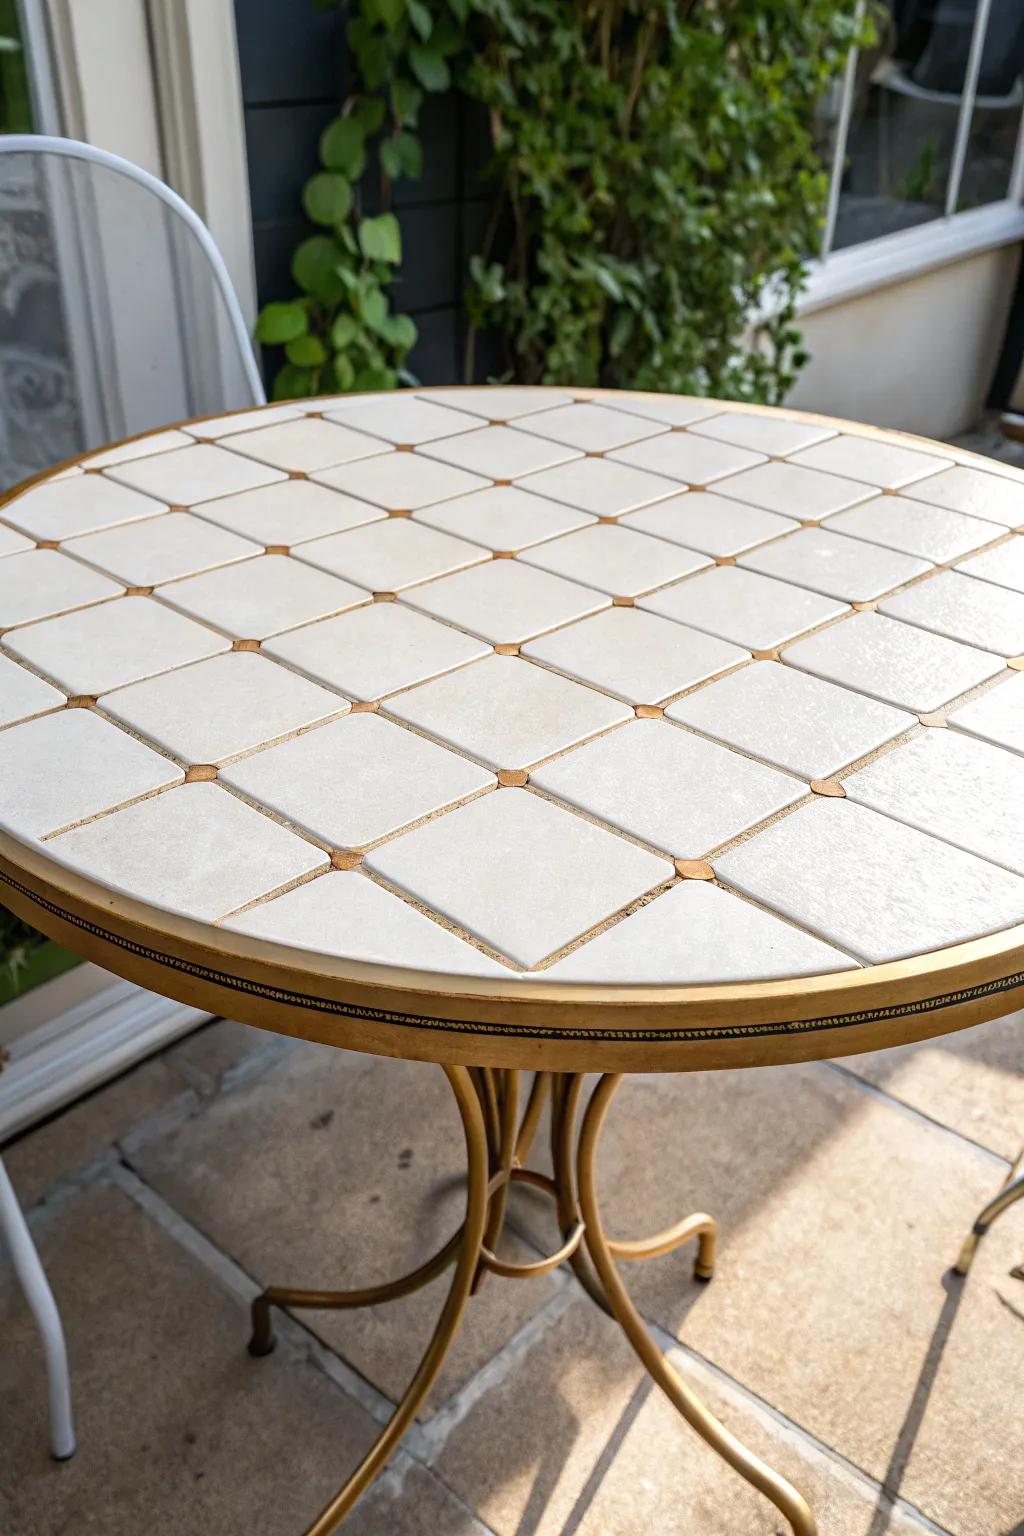
I helped a friend tile a small round dining table, and it instantly felt like a café corner in her apartment. Grout plus a good edge trim made it look finished and kept crumbs from catching on the border.
Check these products out:
- Ceramic Mosaic Tile Sheet: Create a classic bistro pattern easily using pre-meshed tile sheets that simplify spacing and installation on round surfaces.
- Flexible Metal Edge Trim: Finish the raw tile edges cleanly with a bendable metal trim that creates a polished, durable perimeter.
- Pre-Mixed Grout: Seal your new tabletop design with a durable, easy-to-apply grout that resists stains and keeps tiles secure.
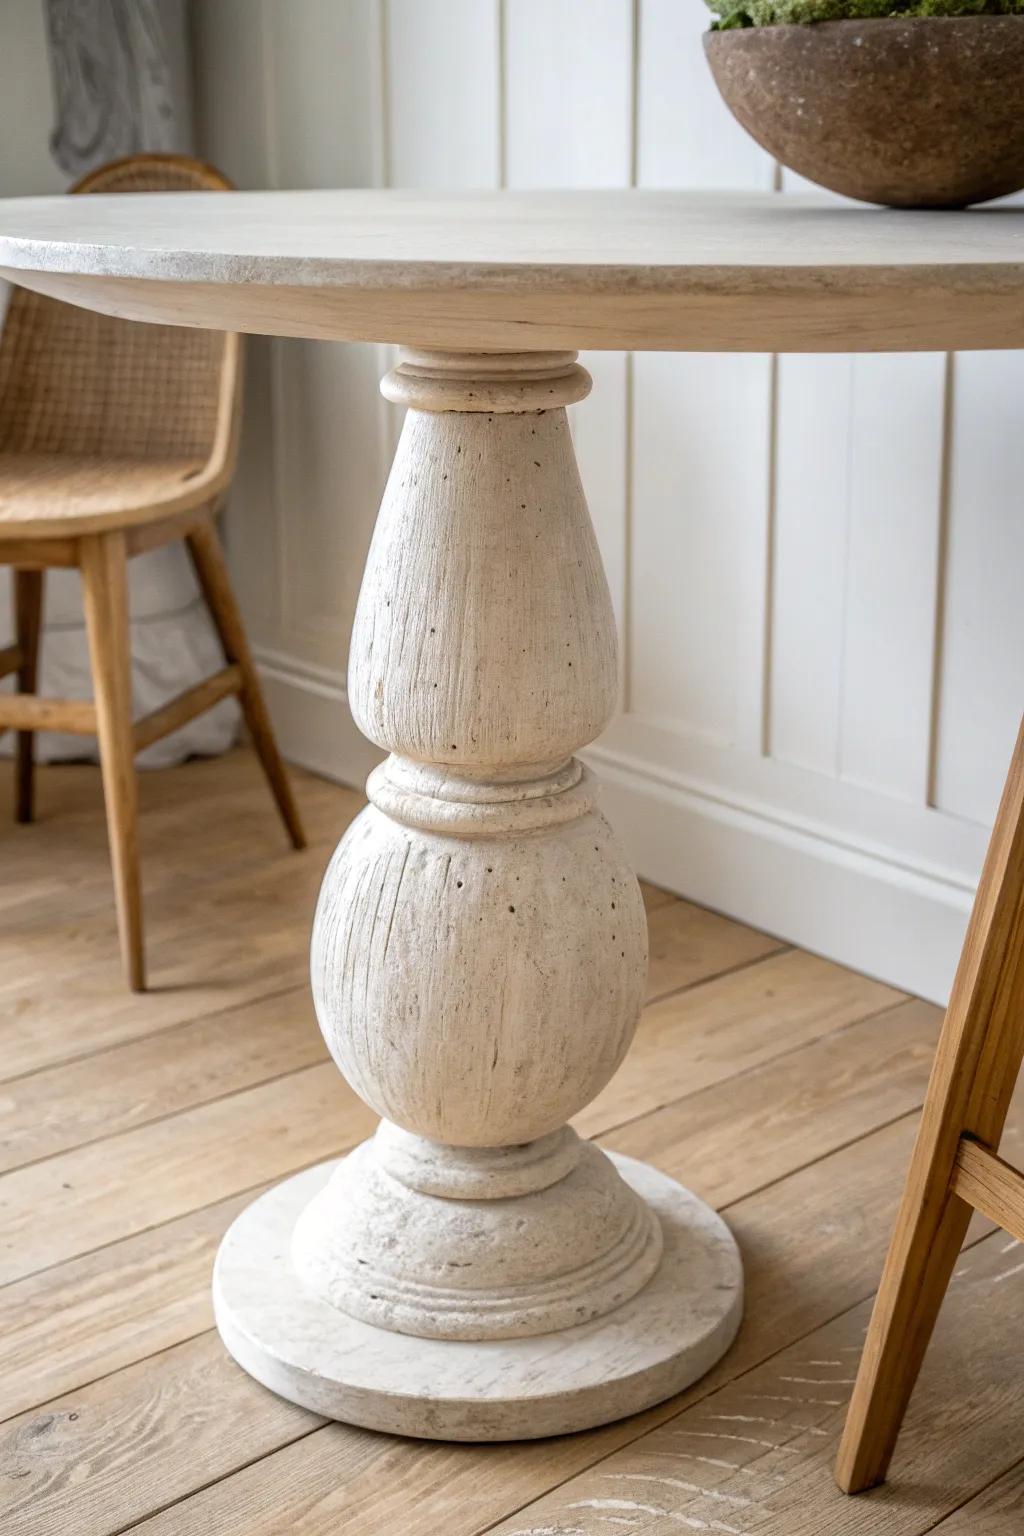
Fake a Smooth Concrete Look
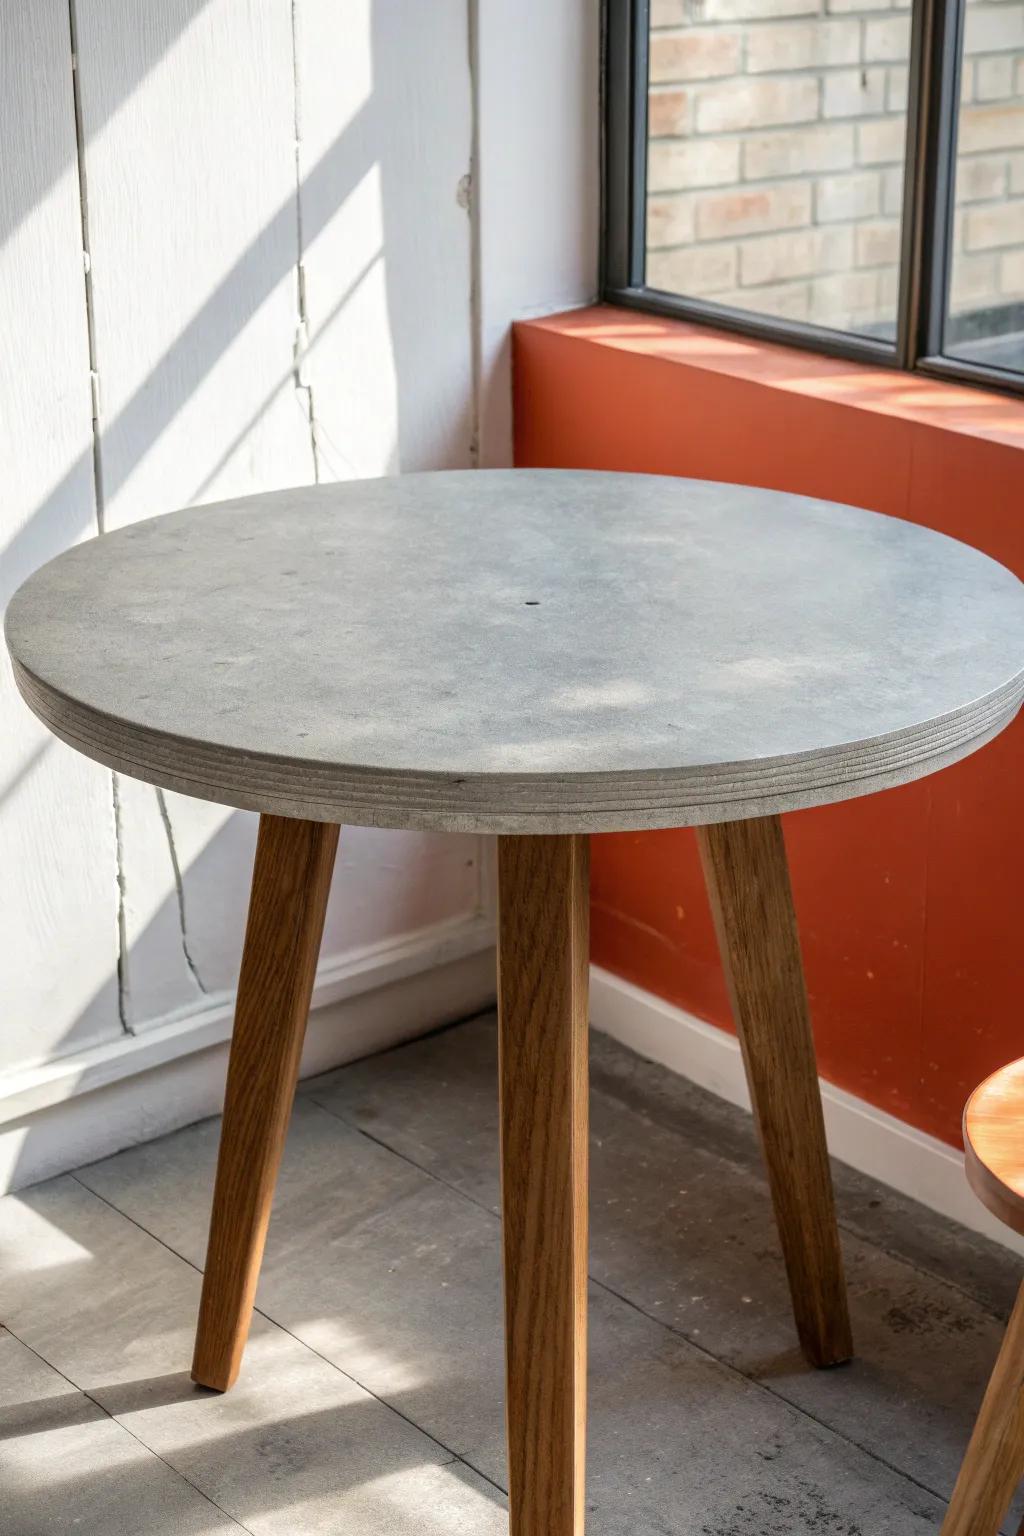
I’ve done a faux concrete finish on a dining tabletop, and it looked edgy while still feeling cozy with warm chairs. In a small space, that gray surface also hides daily wear way better than dark stain.
Try these:
- Concrete Effect Paint or Paste: Create a convincing industrial texture on almost any surface by applying this specialty paint layer by layer.
- Matte Top Coat Sealer: Protect your faux finish from spills and daily wear while maintaining that crucial non-glossy, dry concrete appearance.
- Wide Putty Knife or Trowel: Use this tool to spread the thick paint unevenly, helping you achieve realistic trowel marks and texture.
Sculpt the Legs With Air-Dry Clay
One of my favorite “how is that the same table?” makeovers was molding air-dry clay around plain legs to create a chunkier, rounded profile. After sanding smooth and painting, my dining table looked custom-made for my tiny place.
Some handy options:
- Air-Dry Sculpting Clay: Transform sleek table legs by applying thick layers of this moldable clay for creating custom, rounded shapes.
- Assorted Pottery Tools: Use these essential shaping tools to smooth the clay surface and carve consistent textures into your new base.
- Textured Stone Effect Paint: Finish your sculpted makeover with this specialty paint to mimic the coarse, grainy look of real stone.


