When your desk is tiny, every inch has to earn its keep, or the clutter takes over fast.
Spinning Desk Carousel
I glue a lazy-turn base under a cluster of cups to make a spinning desk organizer that keeps everything within arm’s reach. On my smallest desk, this stopped me from constantly standing up to hunt for scissors or tape.
You might give these a try:
- Wooden Lazy Susan Turntable Base: Use this smooth-spinning wood base as the foundation for your custom organizer to keep supplies accessible.
- Set of Ceramic Pen Cups: Glue these stylish ceramic cups onto your spinning base to sort pens, pencils, and scissors neatly.
- Strong Adhesive or Wood Glue: Ensure your DIY creation stays intact by using a high-quality adhesive to bond the components securely.
Upcycled Tin Can Pen Cups
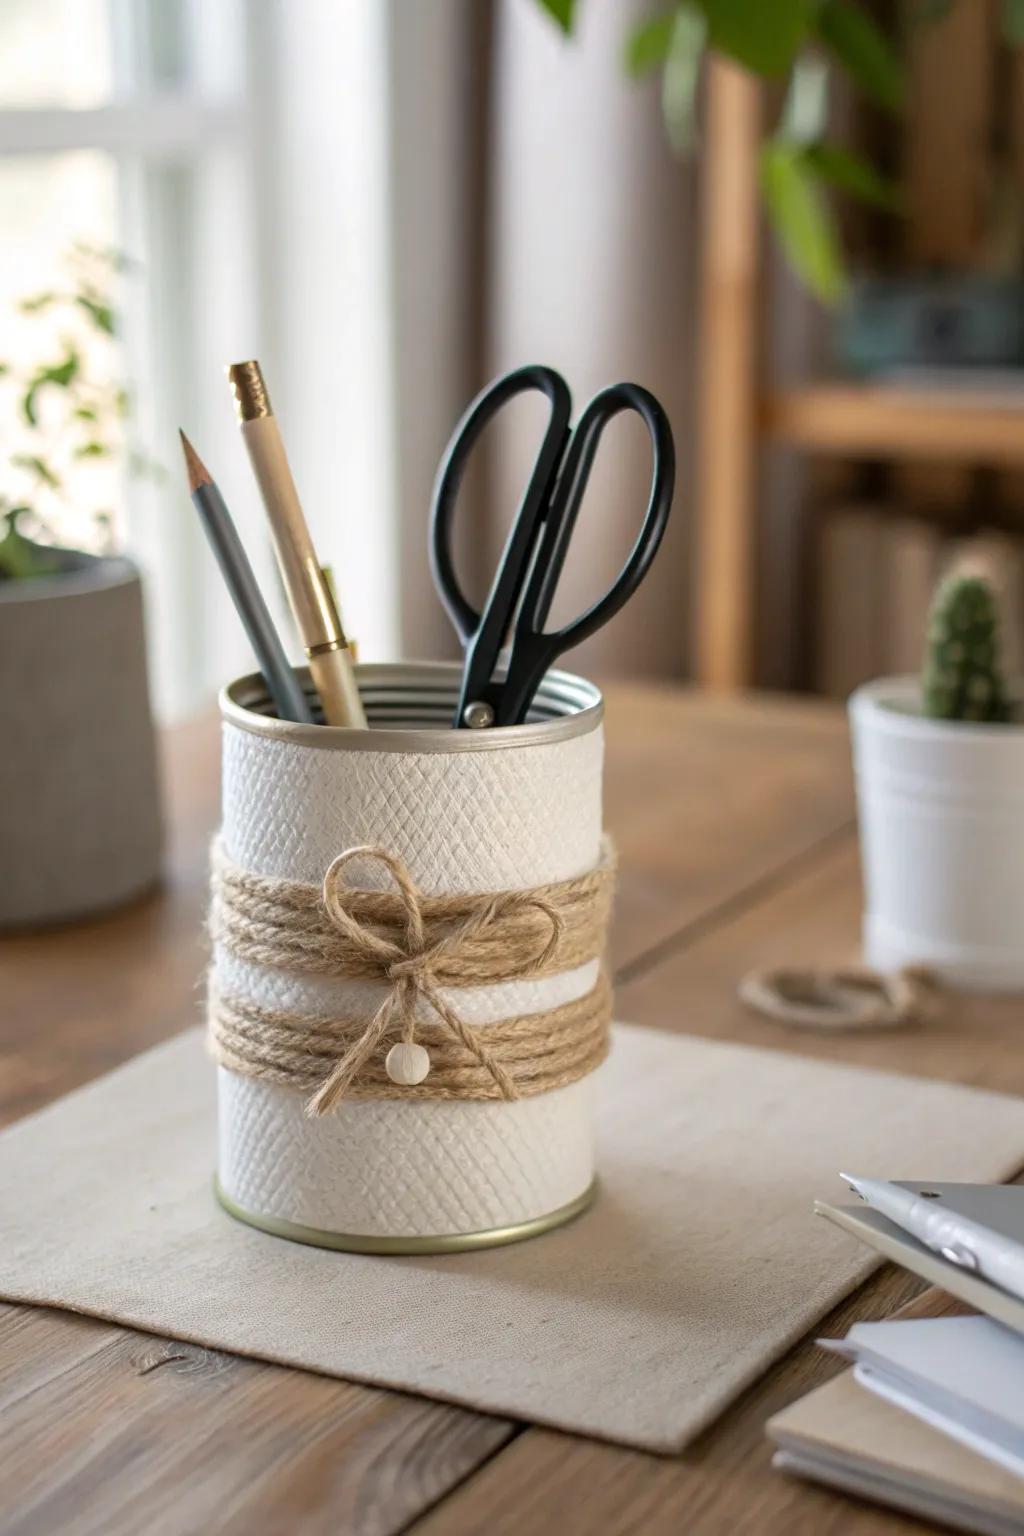
I rinse a few upcycled tin cans, wrap them in paper or fabric, and line them up as an instant desk organizer for pens, scissors, and brushes. In my last studio, this was the fastest way to clear my desktop without buying a thing.
Give these a look:
- Jute Twine Rope: Add a rustic touch to your organizer by wrapping or tying this natural twine around the cans.
- Textured Contact Paper: Quickly cover old tin labels with this self-adhesive paper to give your desk organizer a clean, cohesive look.
- Natural Wooden Beads: Thread these beads onto your twine bows for a charming, professional-looking detail on your handmade pen cup.
Glass Jar Supply Caddy
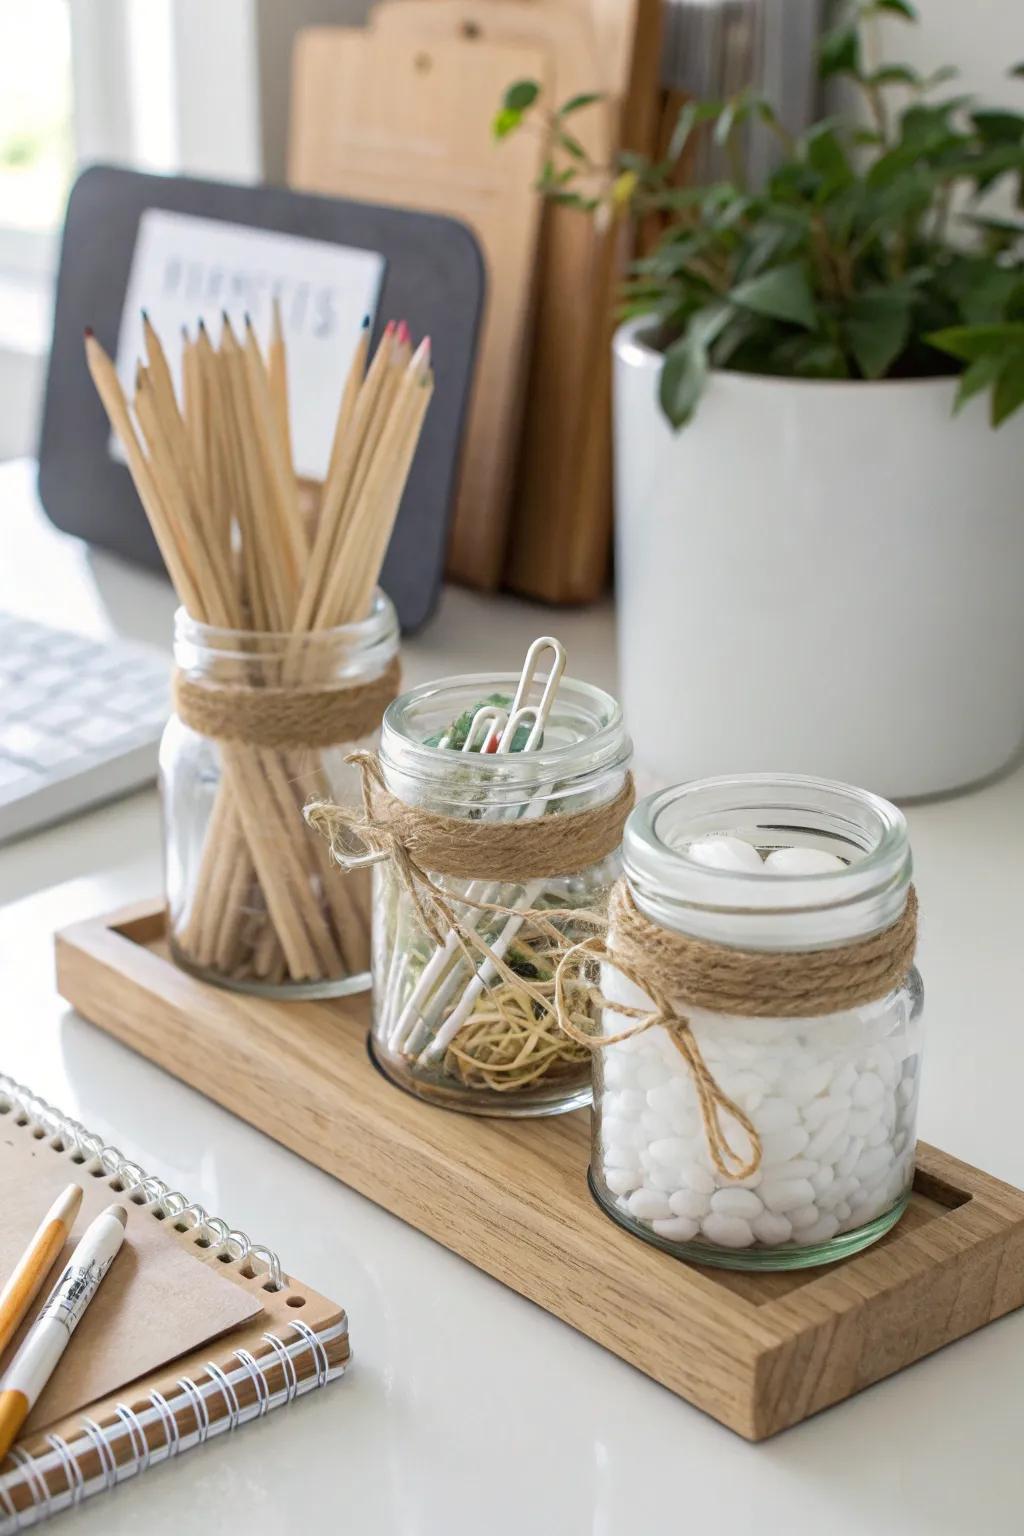
I corral glass jars onto a small scrap-wood base so they move as one tidy desk organizer instead of drifting all over the desk. I love this for small spaces because you can grab the whole caddy and clean underneath in seconds.
A few choices to try:
- Small Glass Mason Jars: Use these clear jars to visibly store pencils and clips, keeping your workspace neat and accessible.
- Jute Twine String: Wrap this rustic twine around the jar necks to add texture and a charming farmhouse style.
- Small Wood Serving Tray: Corral your jars on a simple tray to keep them organized and easy to move around.

Cereal Box Paper Sorters
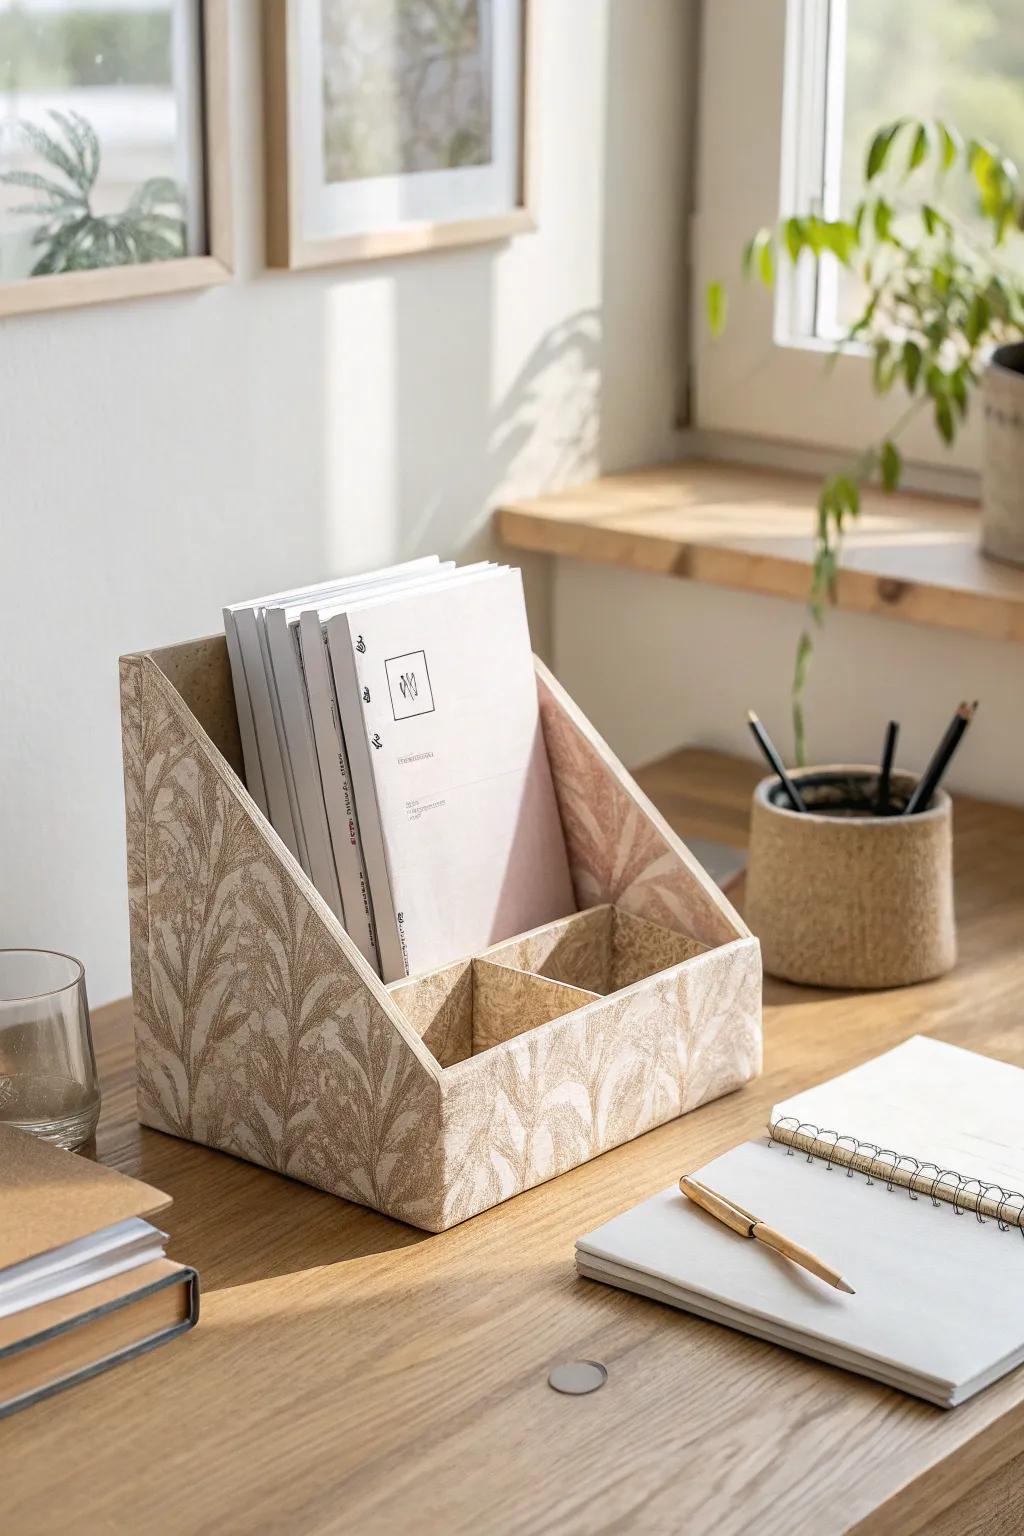
I cut cereal boxes into angled file holders and cover them with pretty paper for a lightweight desk organizer that stores mail, notebooks, and loose sheets upright. This saved me when my “office” was basically a corner of my dining table.
Items that may come in handy:
- Patterned Wrapping Paper: Transform plain cardboard boxes instantly by covering them with stylish, patterned paper that matches your room decor.
- All-Purpose Craft Glue or Spray Adhesive: Ensure your decorative paper stays perfectly smooth and bubble-free on the cardboard surface for a professional finish.
- Heavy-Duty Utility Knife: Create clean, precise angles when cutting through thick cereal boxes to get that sharp, custom organizer shape.
Shoebox Compartment Tray
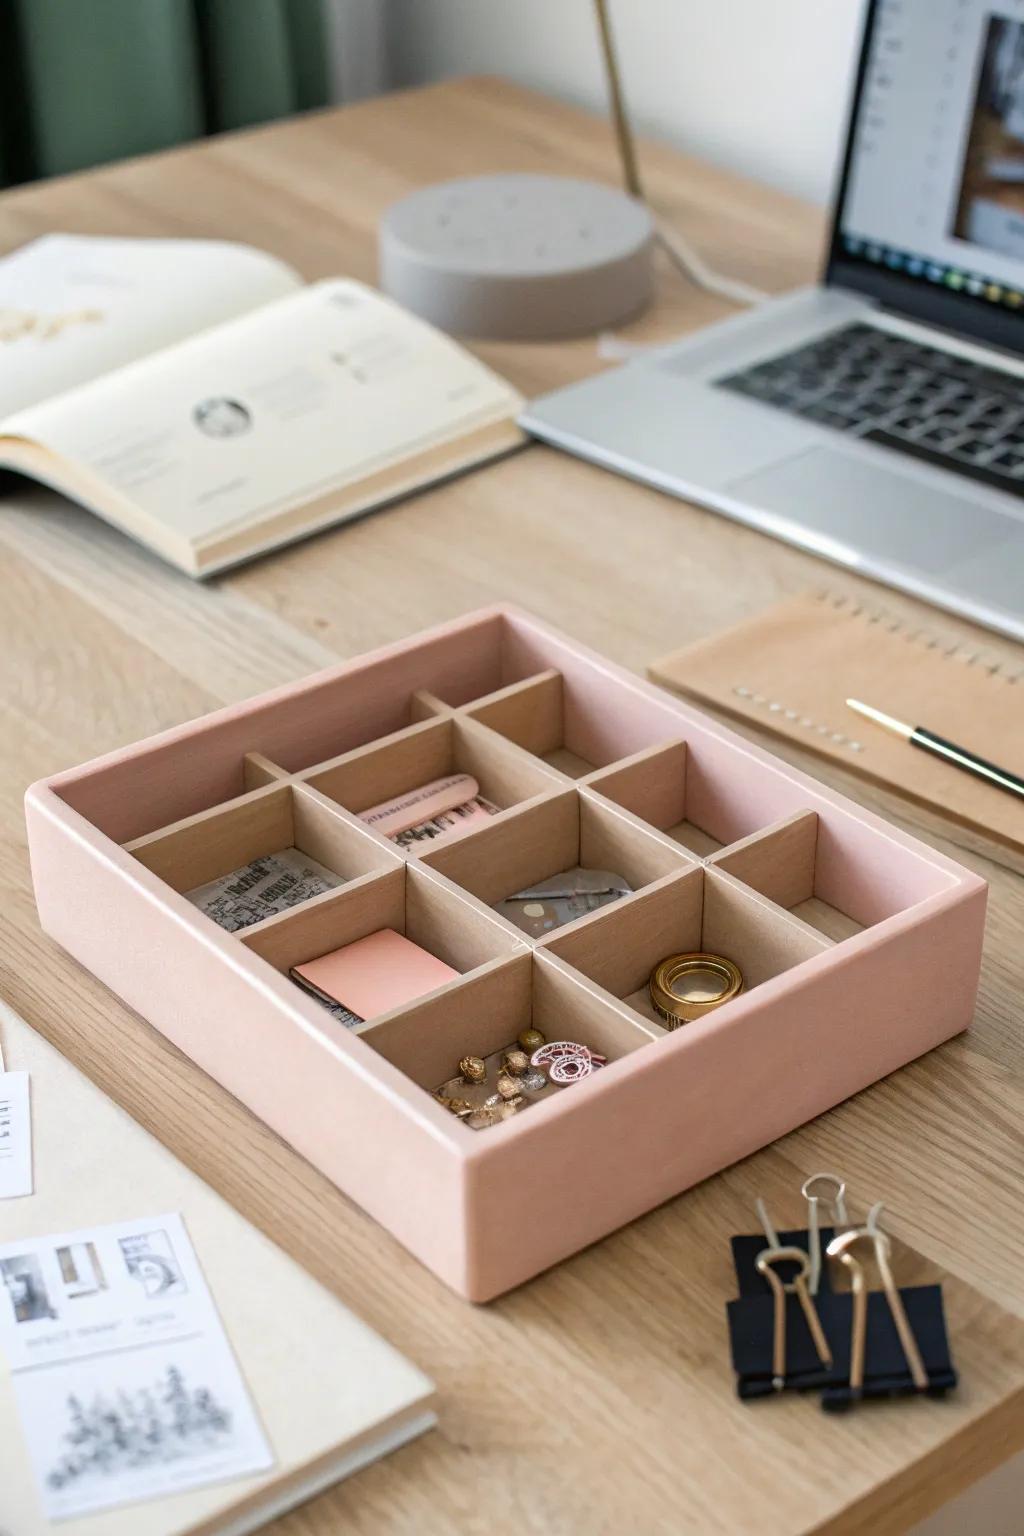
I turn a shoebox into a shallow desk organizer tray by adding little cardboard dividers for sticky notes, clips, and stamps. I started doing this after I got tired of digging through one chaotic “junk bowl” on my desk.
Might be a good match:
- Acrylic Paint Set: Paint your recycled shoebox in a soft pastel color like pink to achieve a clean, professional finish.
- Precision Craft Knife: Use a sharp knife to cut sturdy cardboard strips cleanly for creating perfect custom divider grids inside.
- Decorative Washi Tape: Wrap the raw cardboard edges of your dividers with patterned tape for a polished, decorative look.
Cardboard Roll Grid Insert
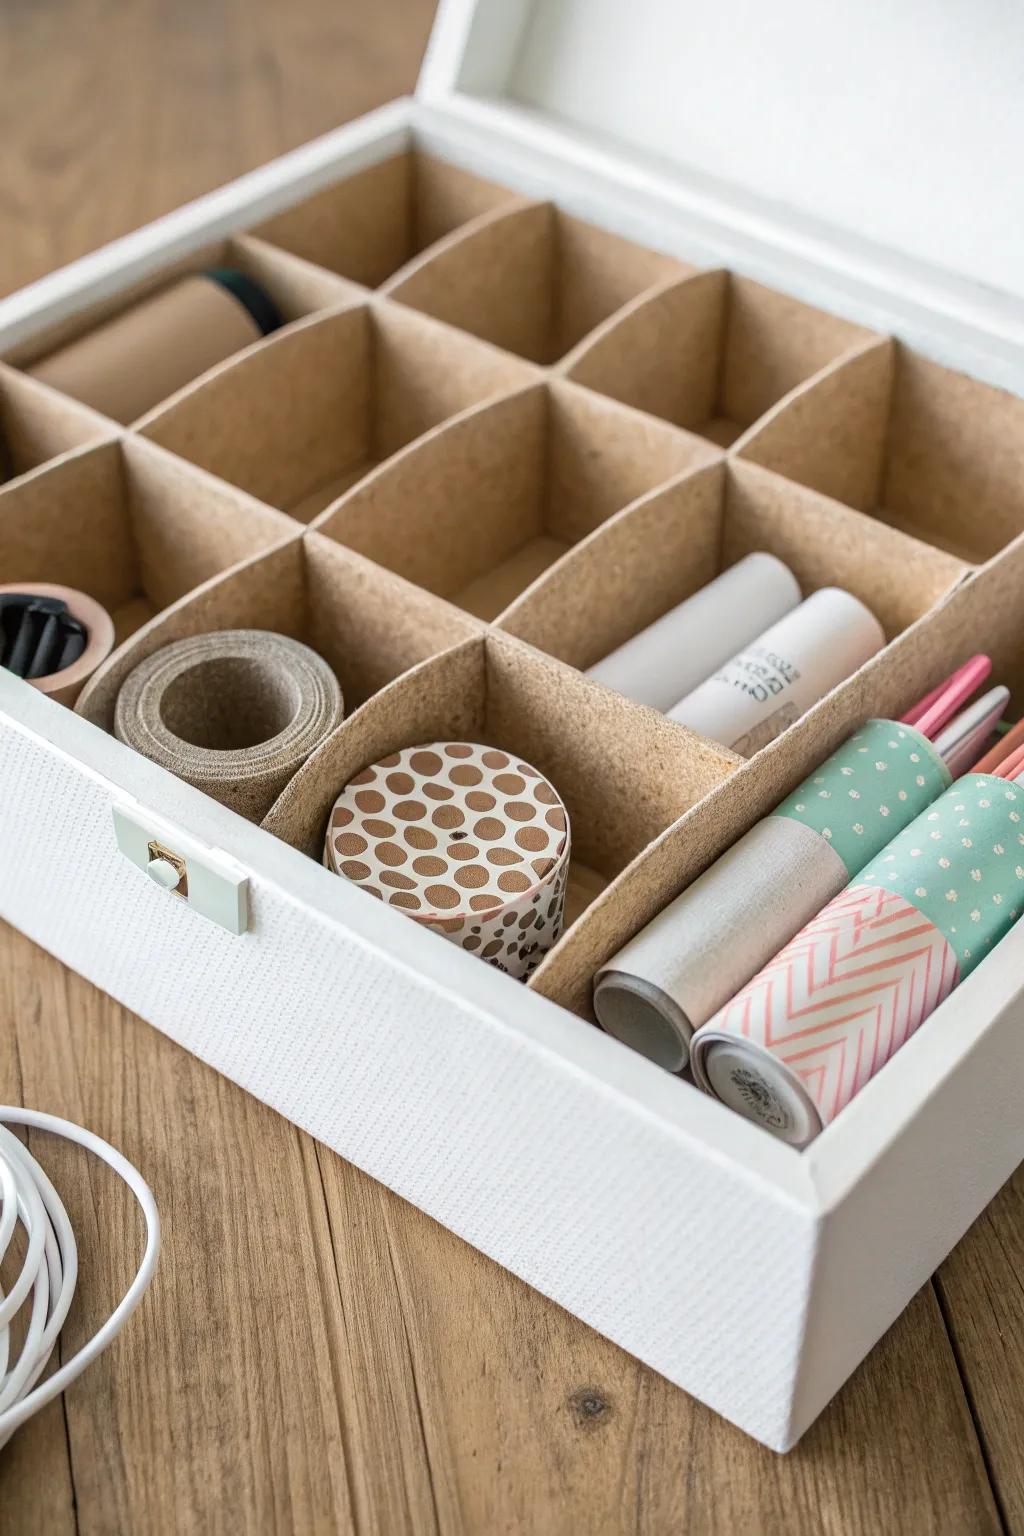
I slice paper towel rolls into rings and glue them into a grid inside a box to create a quick desk organizer for markers, cords, and washi-style tapes. I tried it on a whim, and it’s still one of my most-used small-space tricks.
Products that could assist:
- Decorative Box with Lid: Choose a sturdy, stylish box as the perfect base for your customized desk organizer project.
- Hot Glue Gun Kit: Secure your cardboard rings firmly in place with a reliable hot glue gun for lasting organization.
- Utility Knife: Slice through paper towel rolls cleanly and accurately to create uniform rings for your grid system.
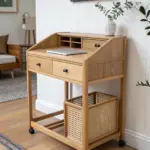

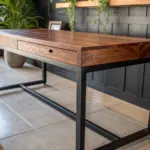
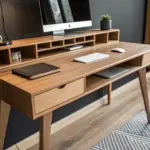
Scrap Wood Desktop Caddy
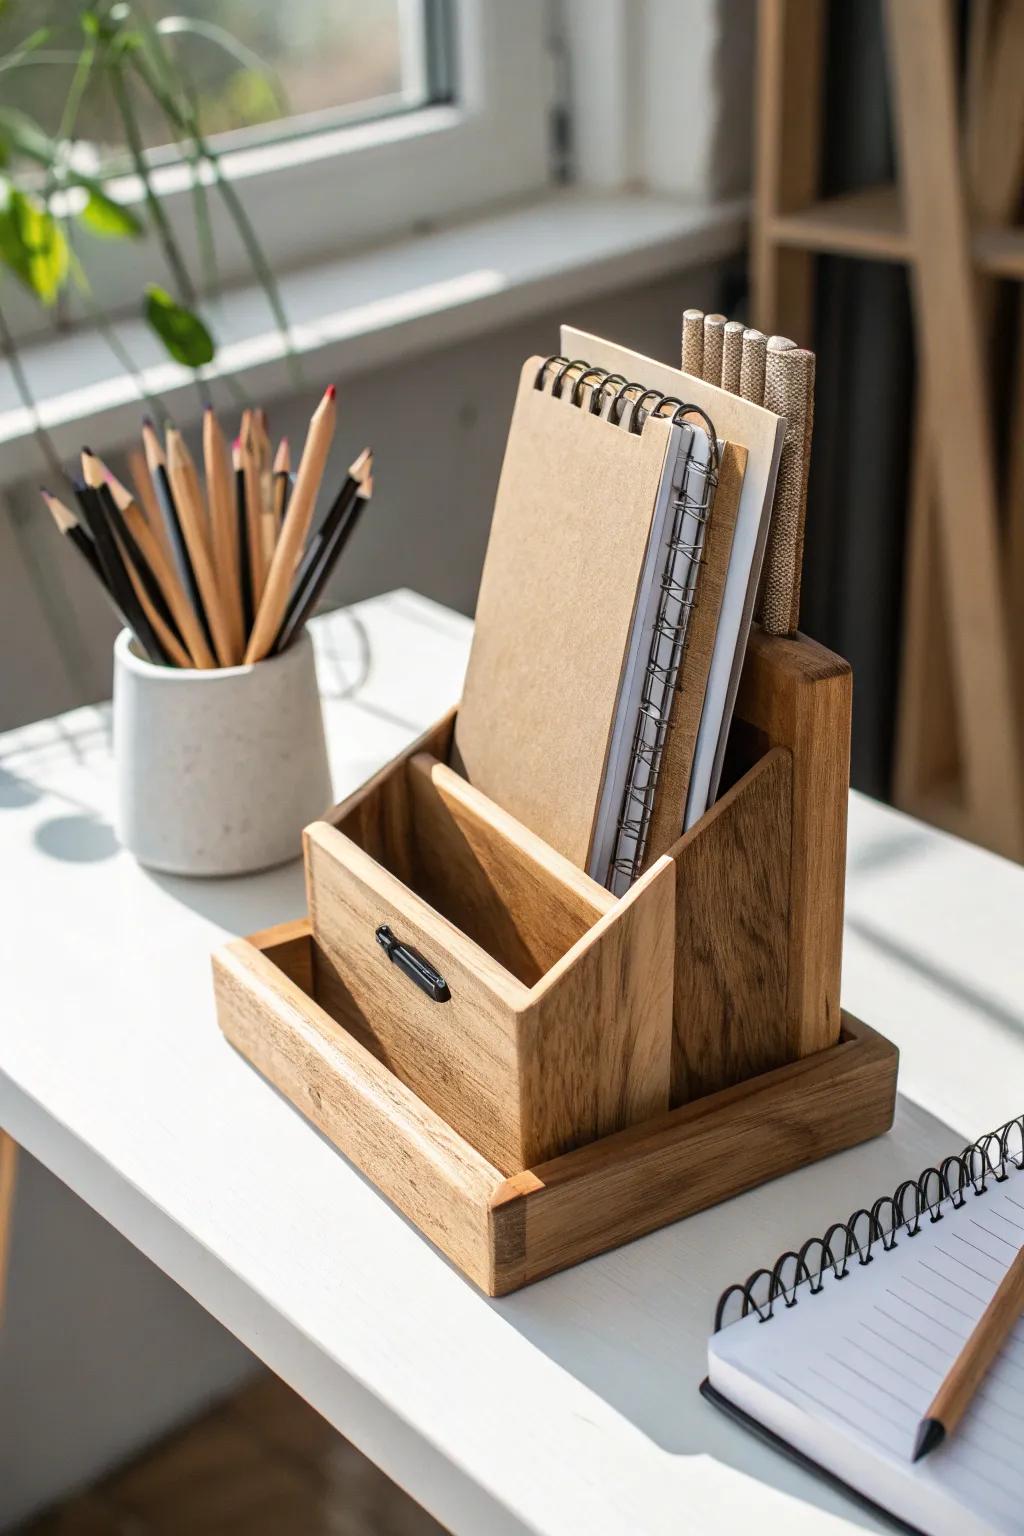
I’ve built a simple scrap wood desk organizer with a few vertical slots for notebooks and shorter pockets for pens. It’s the kind of project I recommend when you want something sturdy that fits your exact desk footprint.
Some handy options:
- Wood Glue: Ensure your scrap wood creation stays sturdy and durable by using reliable, strong-bonding wood glue for assembly.
- Medium Grit Sandpaper: Smooth out rough edges and prepare your scrap wood for a professional-looking finish with versatile sandpaper sheets.
- Wood Stain or Finish: Enhance the natural grain and protect your new organizer by applying a classic wood stain or clear finish.
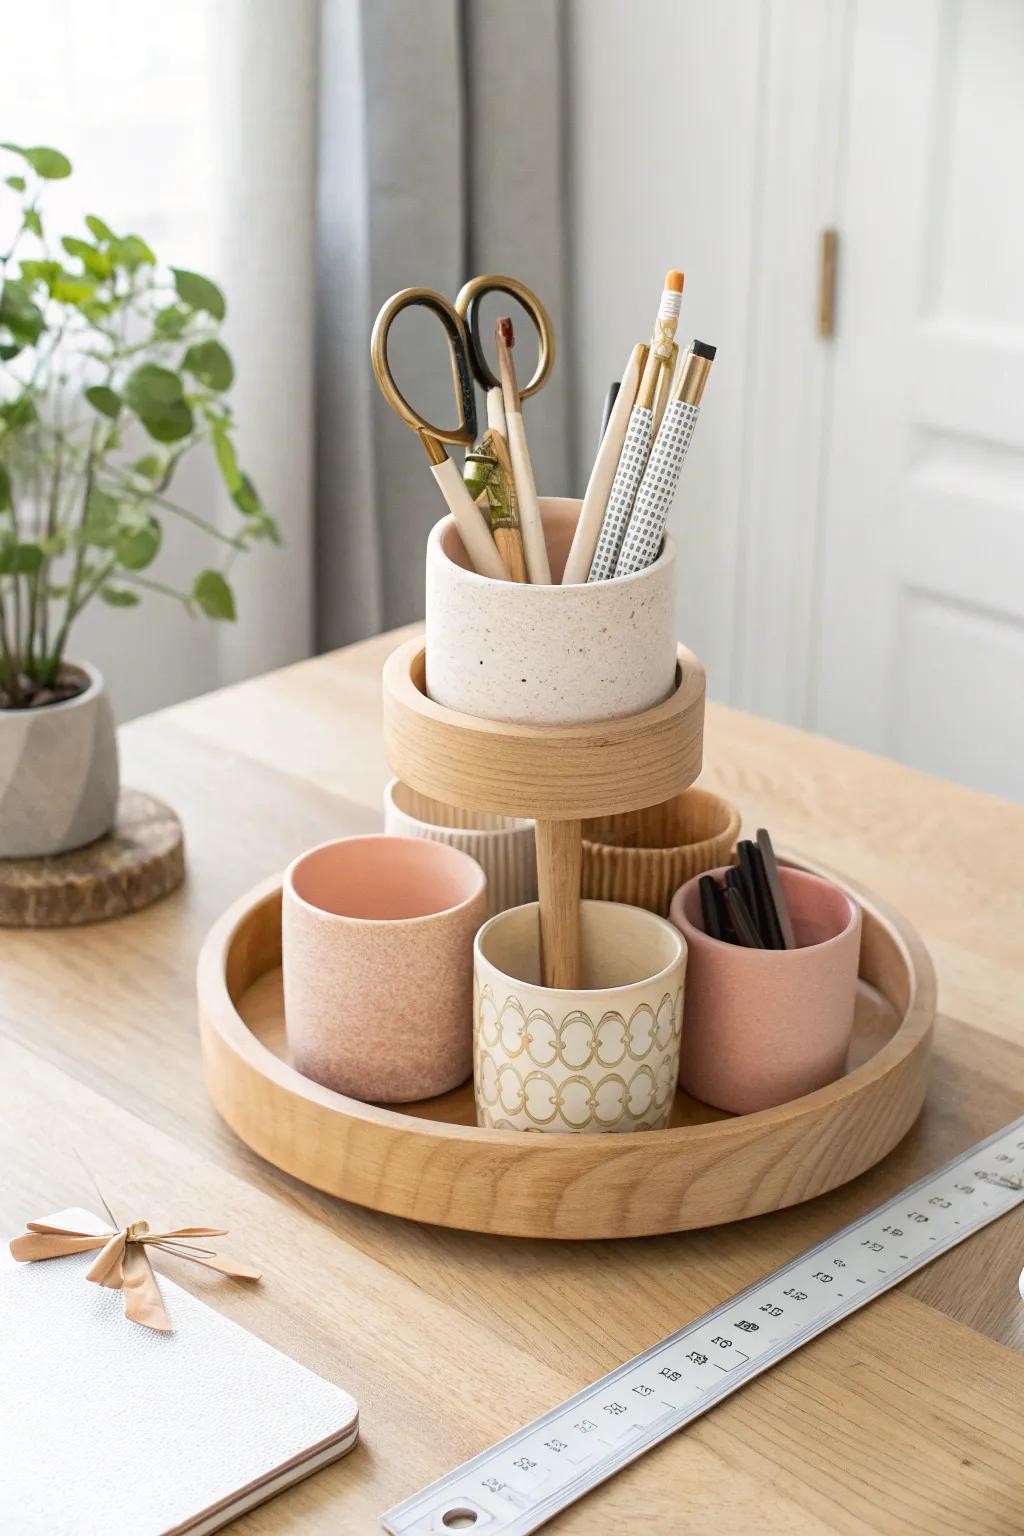
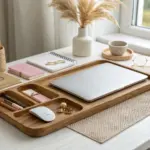
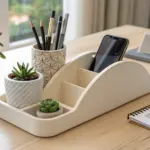
Tiered Desktop Shelf
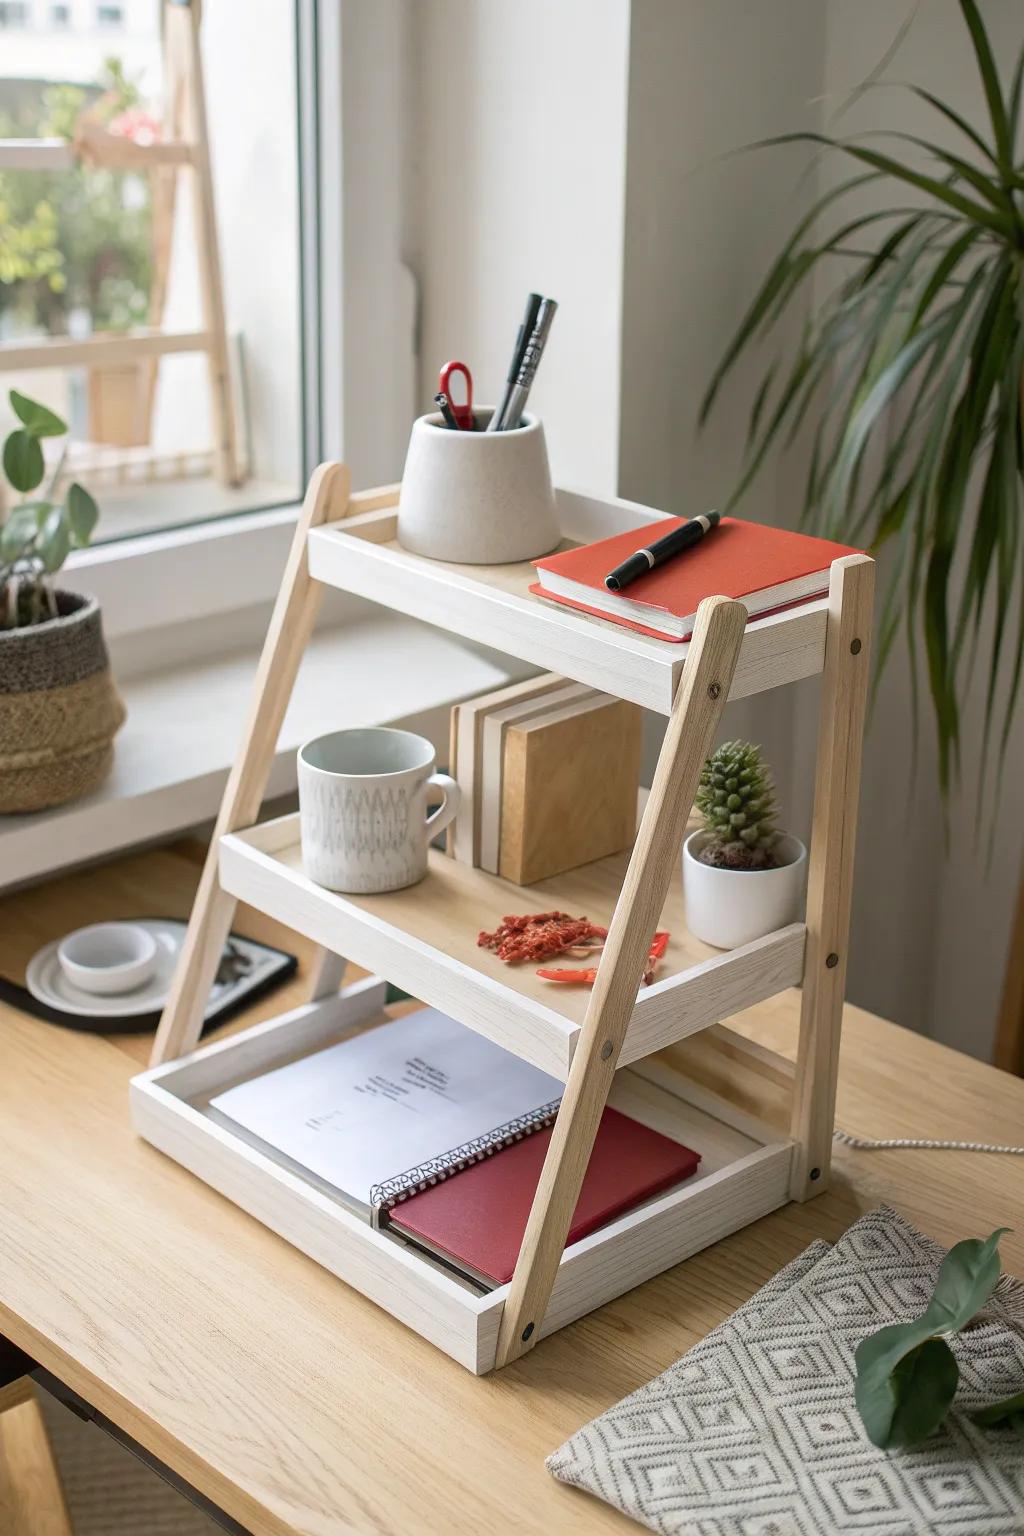
I DIY a tiered organizer with two levels so my daily essentials stay on top while backups tuck underneath. When my desk felt cramped, adding vertical storage instantly made it feel twice as usable.
You might like:
- Wooden Desktop Shelving Unit: Organize your workspace vertically with a tiered stand that keeps essentials accessible while decluttering your surface.
- White Ceramic Pen Holder: Store your favorite writing tools in a minimalist cup to maintain a clean and tidy desk aesthetic.
- Small Artificial Potted Plants: Add a touch of greenery to your shelves to create a calming and refreshing work environment.
Cardstock Standing File Rack
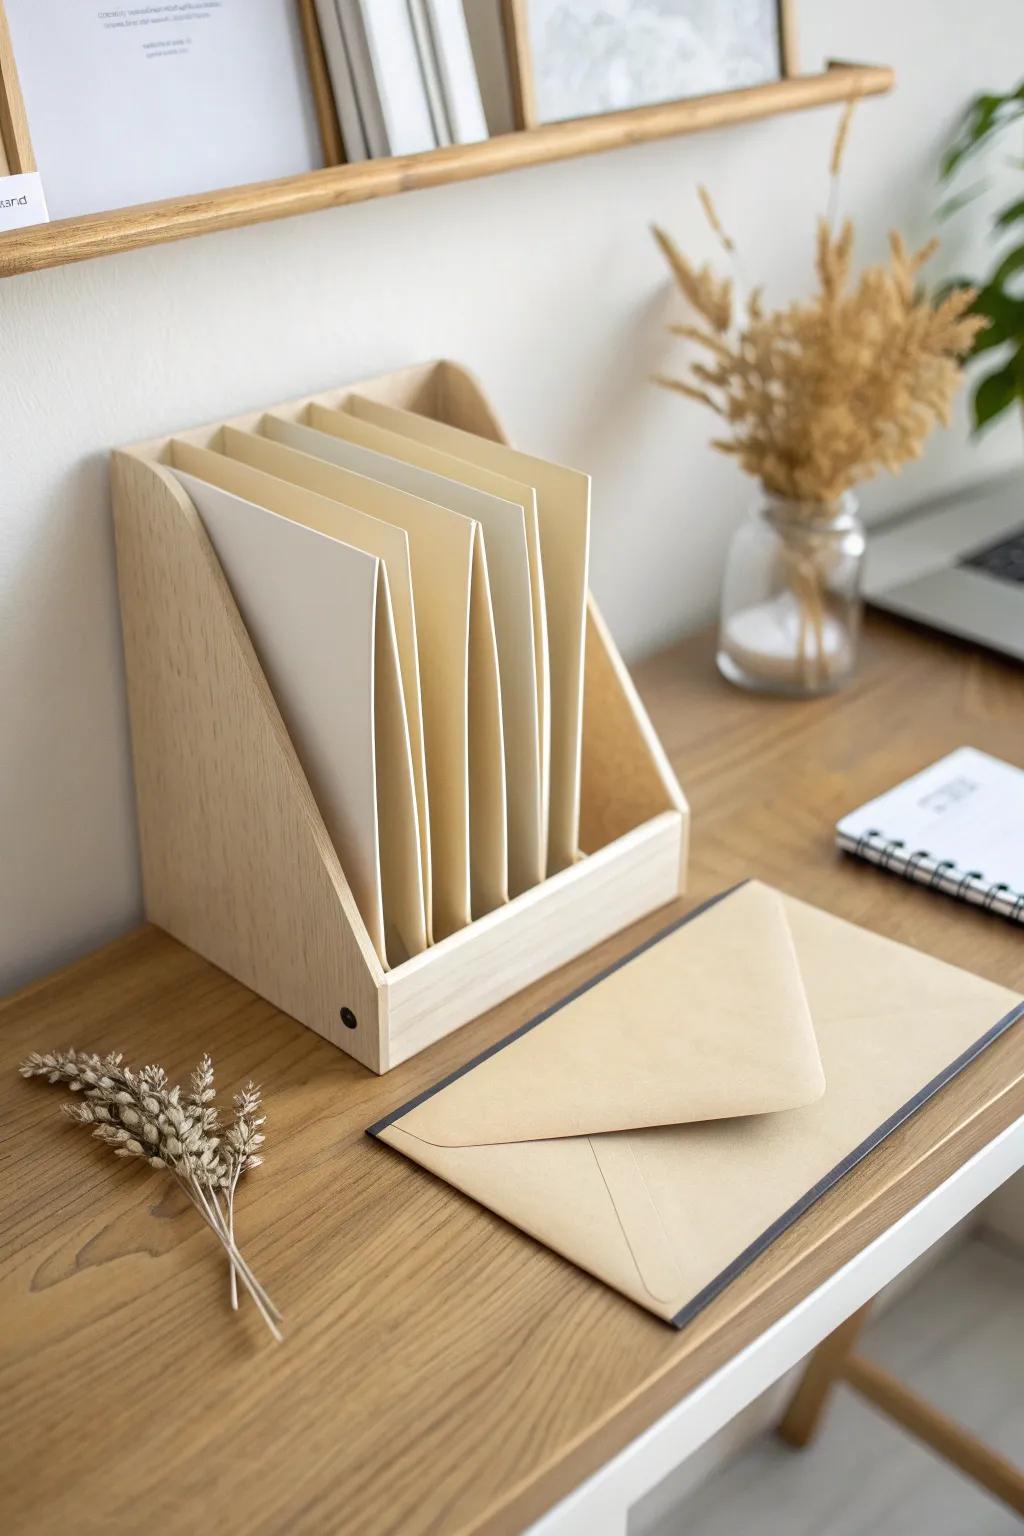
I fold sturdy cardstock into a slim standing rack for incoming papers, bills, and “deal with later” notes as a minimalist desk organizer. I started doing this because piles make me anxious, and vertical sorting feels instantly calmer.
Useful items to consider:
- Heavyweight Cardstock Paper: Create durable and structured organizers by choosing thick, high-quality heavy cardstock that holds its shape well.
- Bone Folder Tool: Ensure crisp, professional-looking creases in your cardstock rack with this essential tool for precise paper folding.
- Desktop File Sorter: Keep your newly folded folders upright and accessible by placing them inside a sturdy wooden file holder.
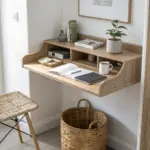
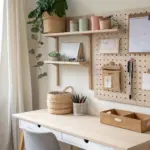
Wall Pocket Paper Station
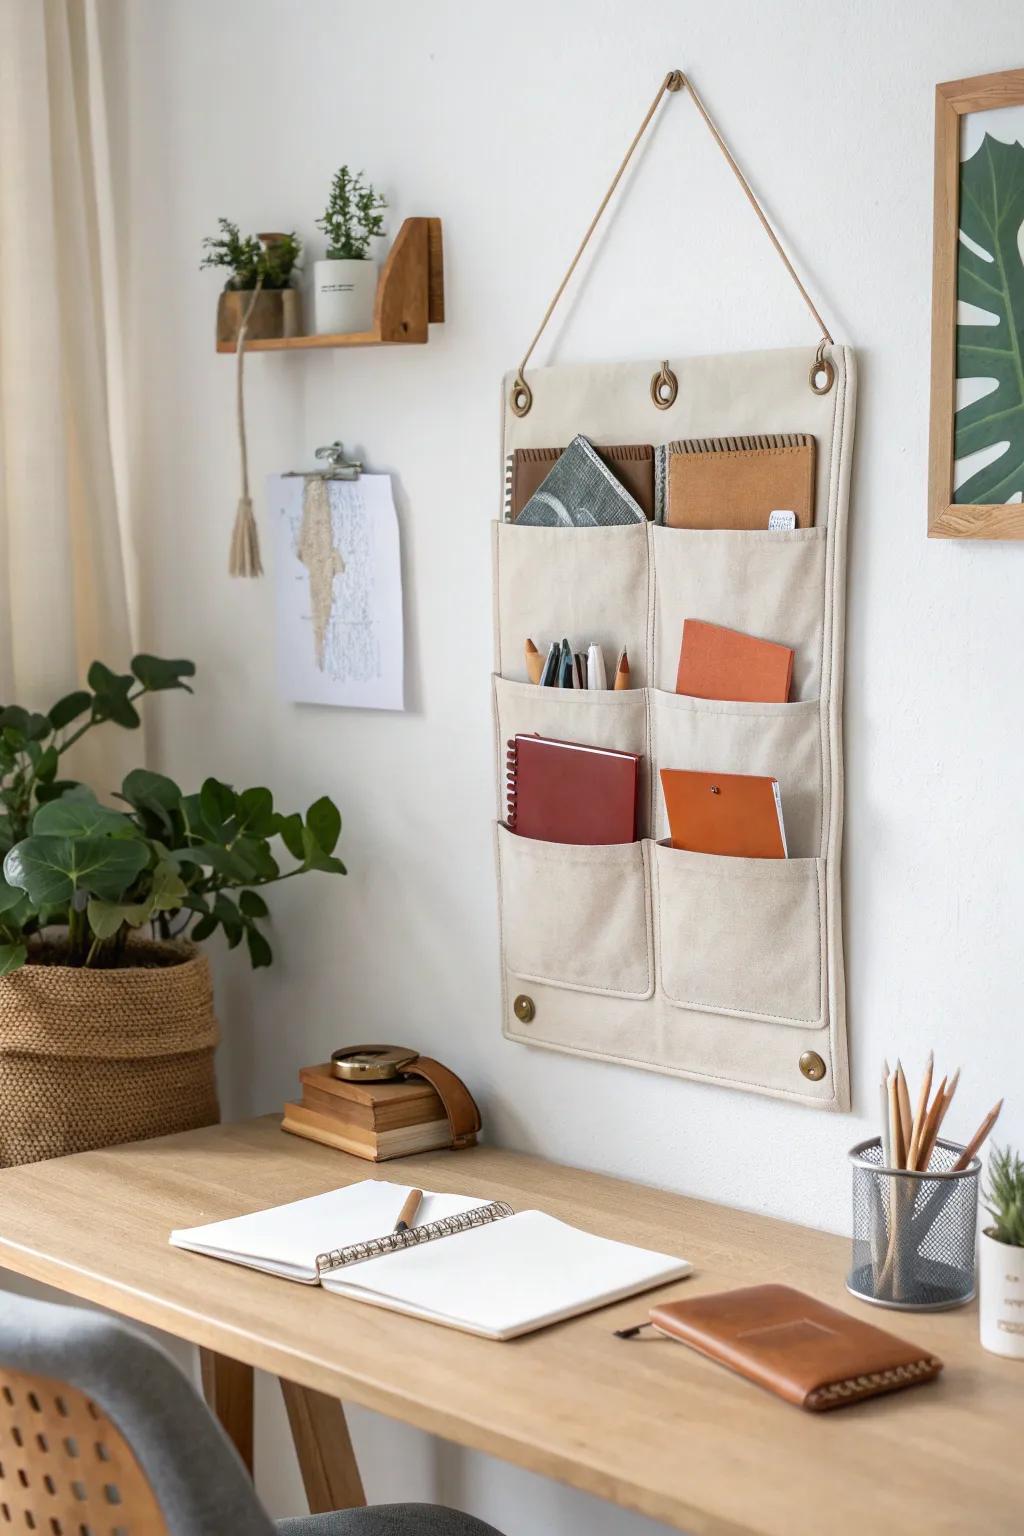
I hang fabric or plastic wall pockets above the desk for notebooks and mail so the desktop stays open. In rentals I’ve lived in, using vertical space like this kept my workspace functional without adding furniture.
Some ideas to consider:
- Hanging Wall Organizer: Declutter your desk by storing notebooks and mail vertically with this simple, space-saving hanging storage solution.
- Set of Wall Hooks: Securely mount your new organizer or decor with these hooks, keeping your vertical storage stable and accessible.
- Set of Kraft Notebooks: Fill your new wall pockets with these lightweight notebooks, perfect for jotting down quick ideas and lists.
Side-Mounted Hanging Cup
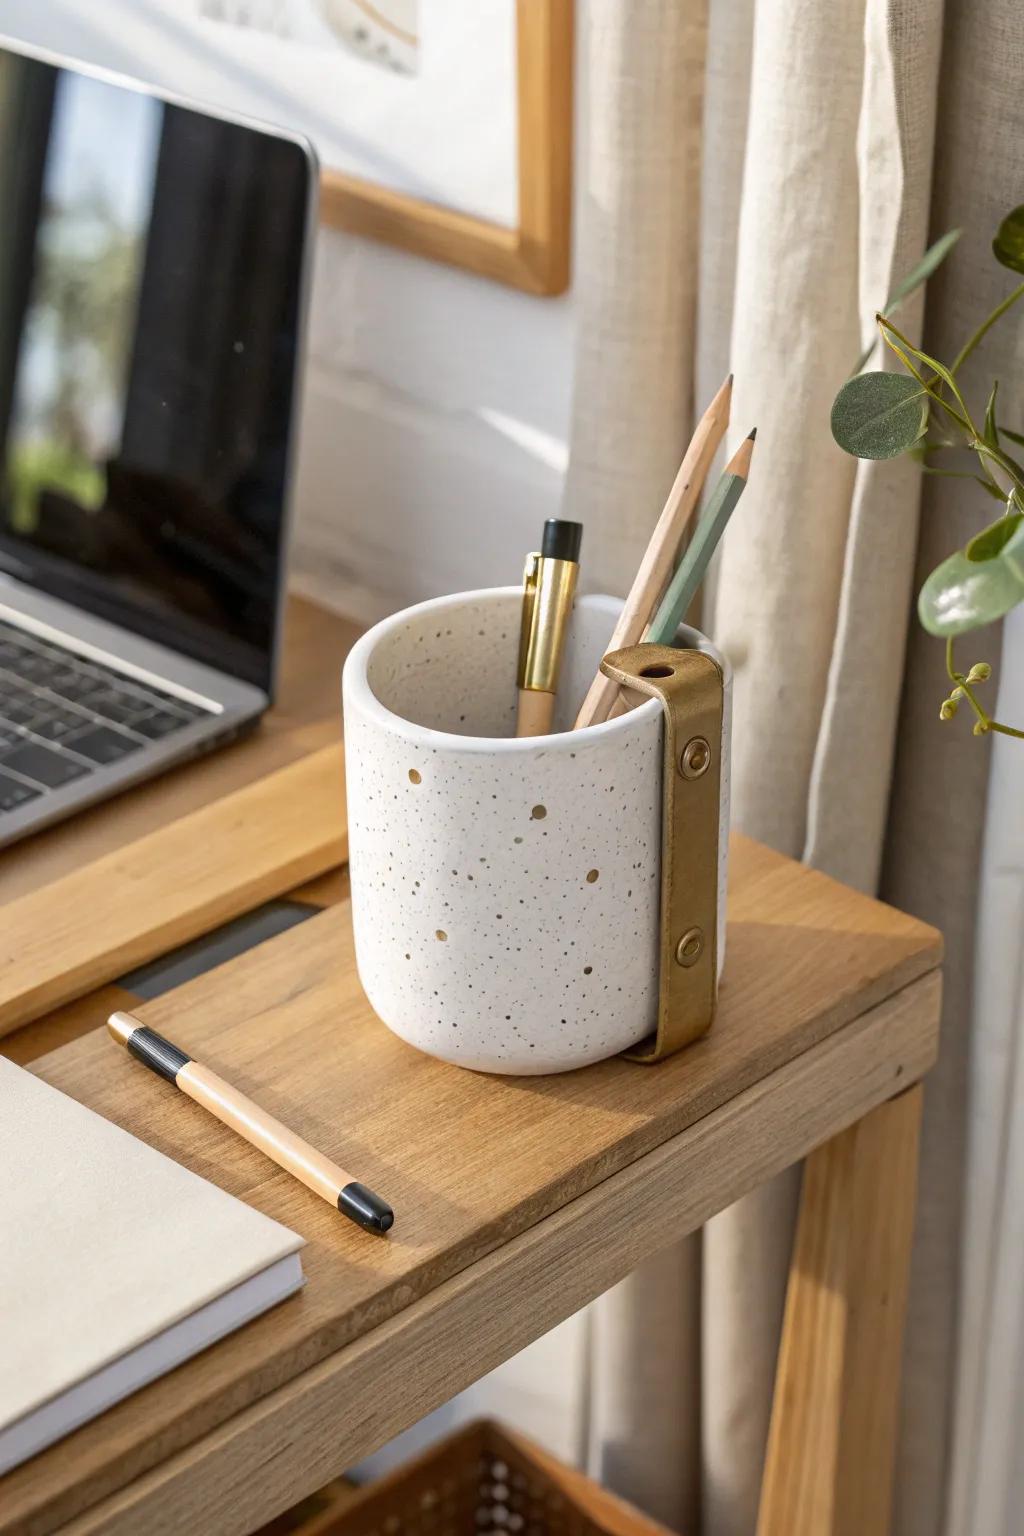
I attach a little container to the side of the desk (clamps or removable hooks work) as a desk organizer for pens I’m using right now. I love this in tight spaces because it steals storage from “air space” instead of the desktop.
These products might help:
- Clamp-On Desk Cup Holder: Attach this holder to your desk edge to keep drinks or pens secure and off your workspace.
- Ceramic Pencil Cup with Metal Stand: Create a similar stylish look by placing a speckled ceramic cup inside a sturdy metal stand or bracket.
- Hanging Desk Side Organizer Basket: Maximize your vertical storage by hooking a small wire or metal basket over the side of your desk.
Phone and Tablet Slot Dock
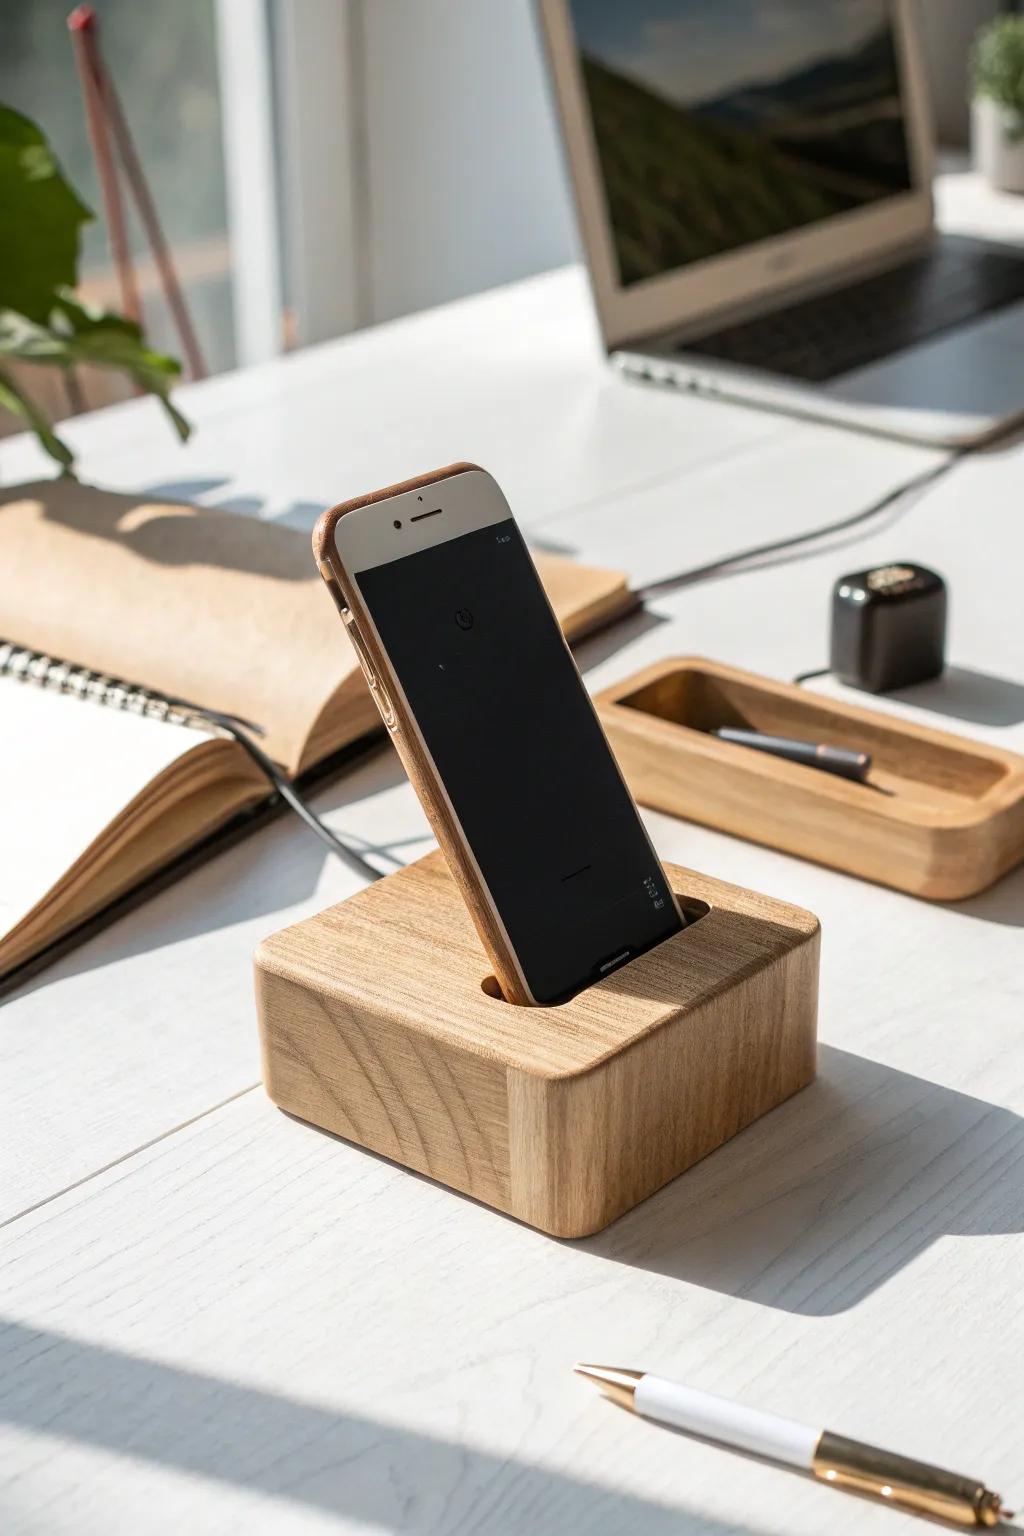
I cut a clean slot into a wood block (or stack and glue thick cardboard) to make a simple device dock that doubles as a desk organizer. I keep mine right beside my planner so my phone stops wandering under papers.
These products might be useful:
- Solid Wood Block: Start your project with a sturdy base like this to create a durable and elegant custom phone dock.
- Detailed Wood Carving Tools: Use a precision chisel set to carefully carve out the perfect fitting slot for your specific device.
- Natural Wood Finish Oil: Protect your finished organizer and enhance the natural grain pattern with a coat of high-quality wood oil.


