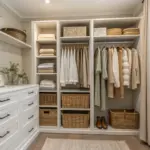
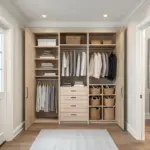
A good broom closet can make even the tiniest home feel calm, because you’re not tripping over mops and mystery bottles every time you clean.
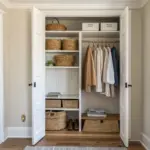
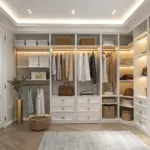
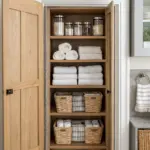
Add Adjustable Shelves on One Side
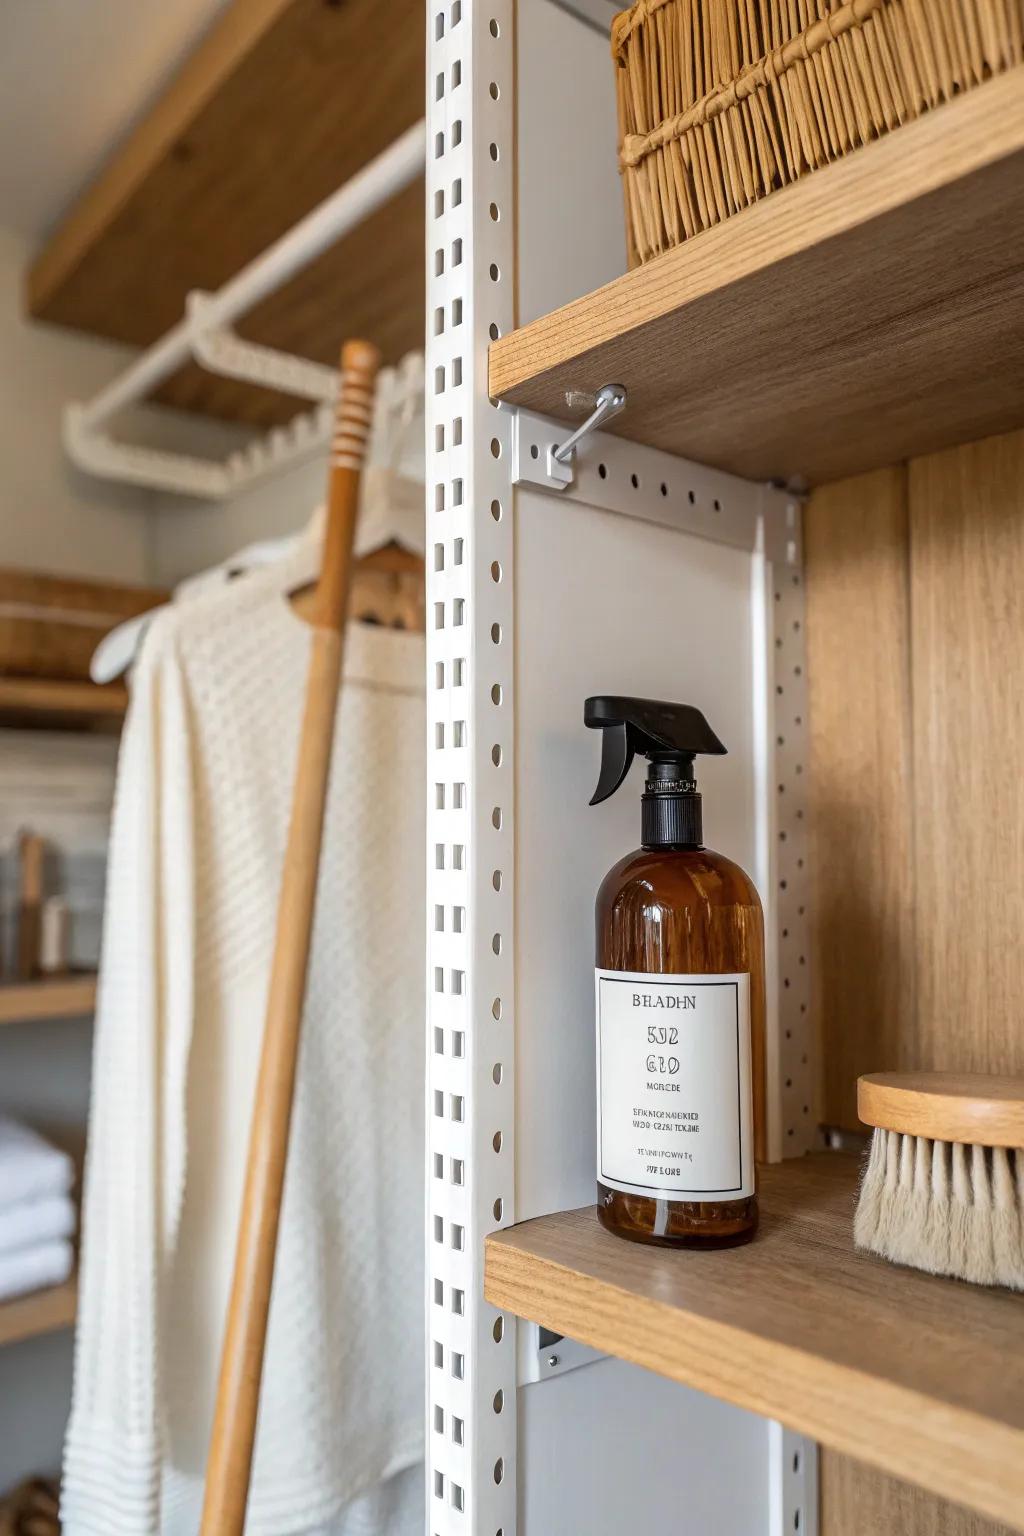
I swear by a split layout in a broom closet: tall tools on one wall, adjustable shelves on the other for sprays and refills. When my supply stash changes, I just move a shelf notch instead of redoing everything.
Products that could assist:
- Wall-Mounted Shelving System: Install a flexible track system to easily customize shelf heights for organizing sprays, refills, and cleaning tools.
- Amber Glass Spray Bottles: Upgrade your cleaning supplies with these refillable bottles to create a cohesive, clutter-free look on your open shelves.
- Woven Storage Baskets: Use natural baskets to hide smaller items and add texture to your closet while keeping shelves tidy.
Divide Tall Tools with Cubbies
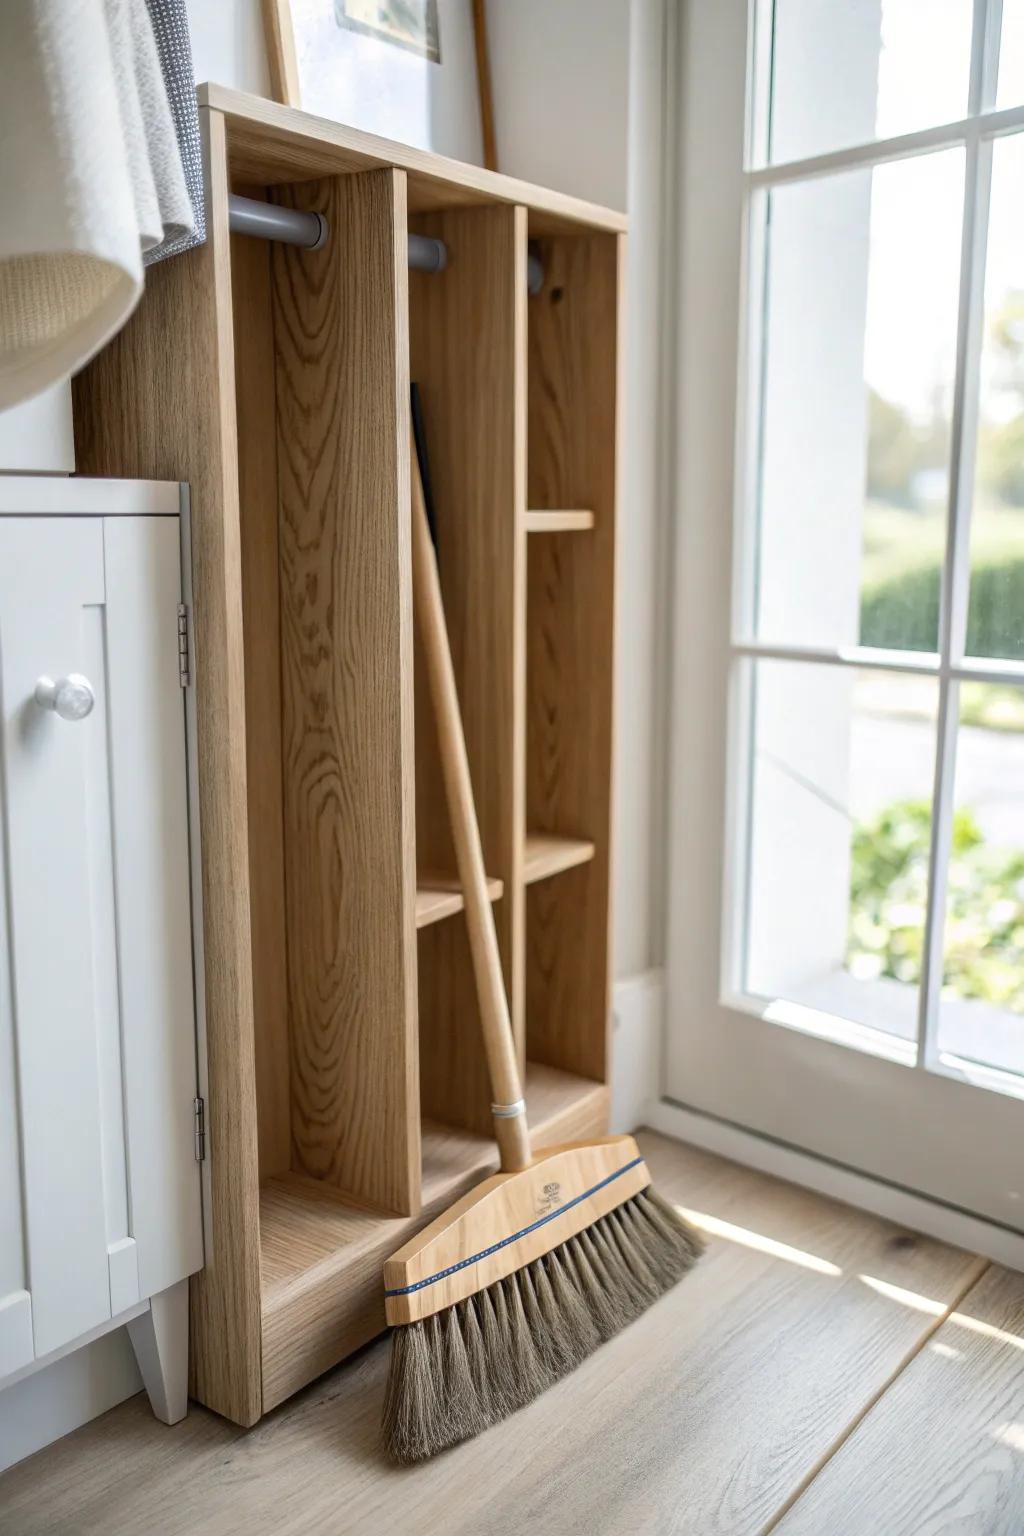
I’ve added simple vertical dividers in a broom closet so the ironing board, broom, and mop each get their own skinny lane. It’s a small tweak, but it stops the ‘domino effect’ when you grab one item.
Might be a good match:
- Wooden Broom & Mop Organizer Cabinet: Organize your cleaning tools instantly with a freestanding cabinet featuring dedicated vertical slots for tall items.
- DIY Wooden Shelf Dividers: Build your own custom partitions using sturdy wooden boards to separate ironing boards and mops effectively.
- Heavy-Duty Wooden Floor Brush: Keep your floors spotless with a durable, wide-bristled wooden broom that fits perfectly in skinny storage lanes.
Paint a Fun Back Wall
I once painted the inside of my broom closet in subtle stripes, and it made the whole cleaning routine feel less blah. Even a small pop of color behind the tools makes the closet look intentional when you open the door.
A few choices to try:
- Pastel Pink Chalk Paint: Transform your closet interior easily with soft pastel shades that dry quickly for a refreshing matte finish.
- Painters Tape for Striping: Create crisp, clean lines and playful stripe patterns on your walls without worrying about paint bleed.
- Striped Peel and Stick Wallpaper: Skip the painting mess and instantly add vertical visual interest to your closet back wall instantly.
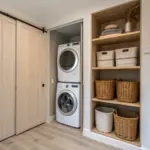
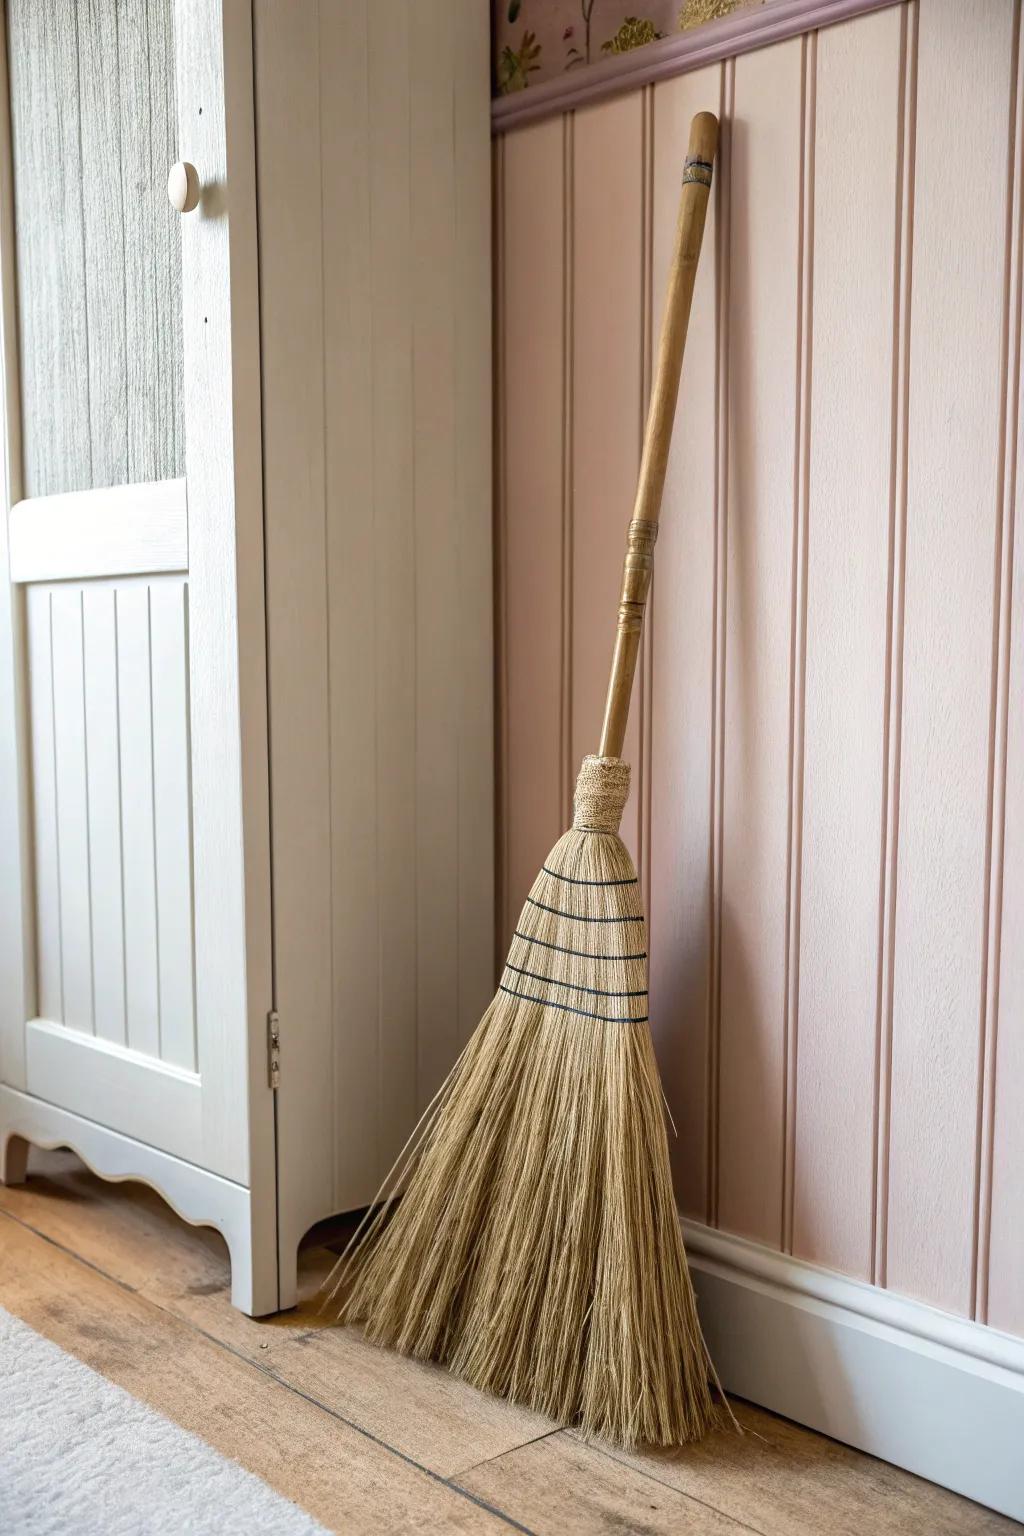
Build a Between-the-Studs Broom Niche
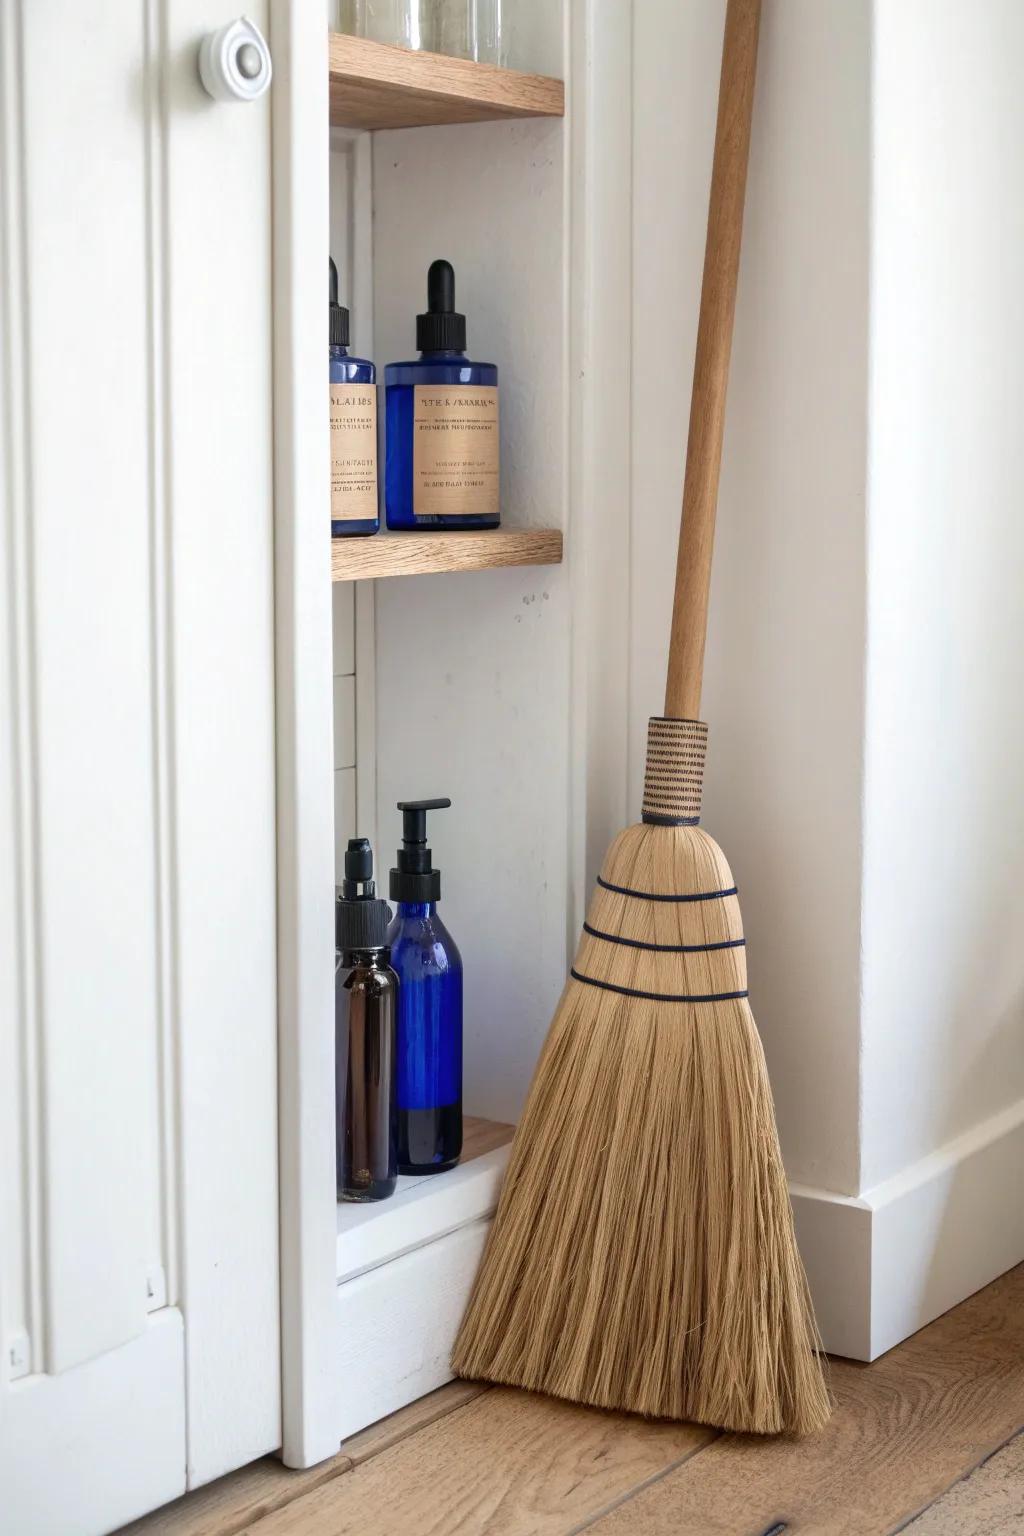
In a tight hallway, I’ve helped clients carve out a between-the-studs broom closet niche with shallow shelves for sprays and a slot for a duster. It’s surprisingly sleek, and you get storage without stealing any floor space.
Explore these options:
- Corn Straw Broom with Wood Handle: Upgrade your cleaning routine with a classic broom that looks beautiful enough to display in open storage.
- Amber Glass Spray Bottles: Organize your cleaning solutions in these stylish bottles to create a cohesive, clutter-free look on shallow shelves.
- Wall Niche Insert or Recessed Cabinet: Create instant recessed storage in your wall cavity to maximize space without intruding on limited floor area.
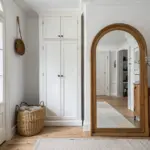
Hide It with a Disguised Door

For a real wow moment, I’ve styled a broom closet door to blend in with the wall using paint and simple trim so it reads like built-in paneling. You still get all the practical storage, but the utility zone basically disappears.
Useful items to consider:
- Wall Paneling / Molding Trim Kit: Create a seamless built-in look by applying decorative molding that mimics your existing wall paneling design.
- Matte Black Square Cabinet Knobs: Add a modern touch with discreet hardware that matches the aesthetic shown in the photo for subtle functionality.
- Concealed Cabinet Hinges: Install hidden hinges to ensure the door sits flush and maintains the clean, unbroken visual line desired.


