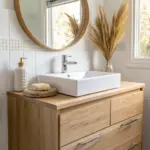
That awkward 5-inch gap between your vanity and the wall can make an otherwise cute bathroom look unfinished fast.
Tuck In a Slim Trash Can Zone
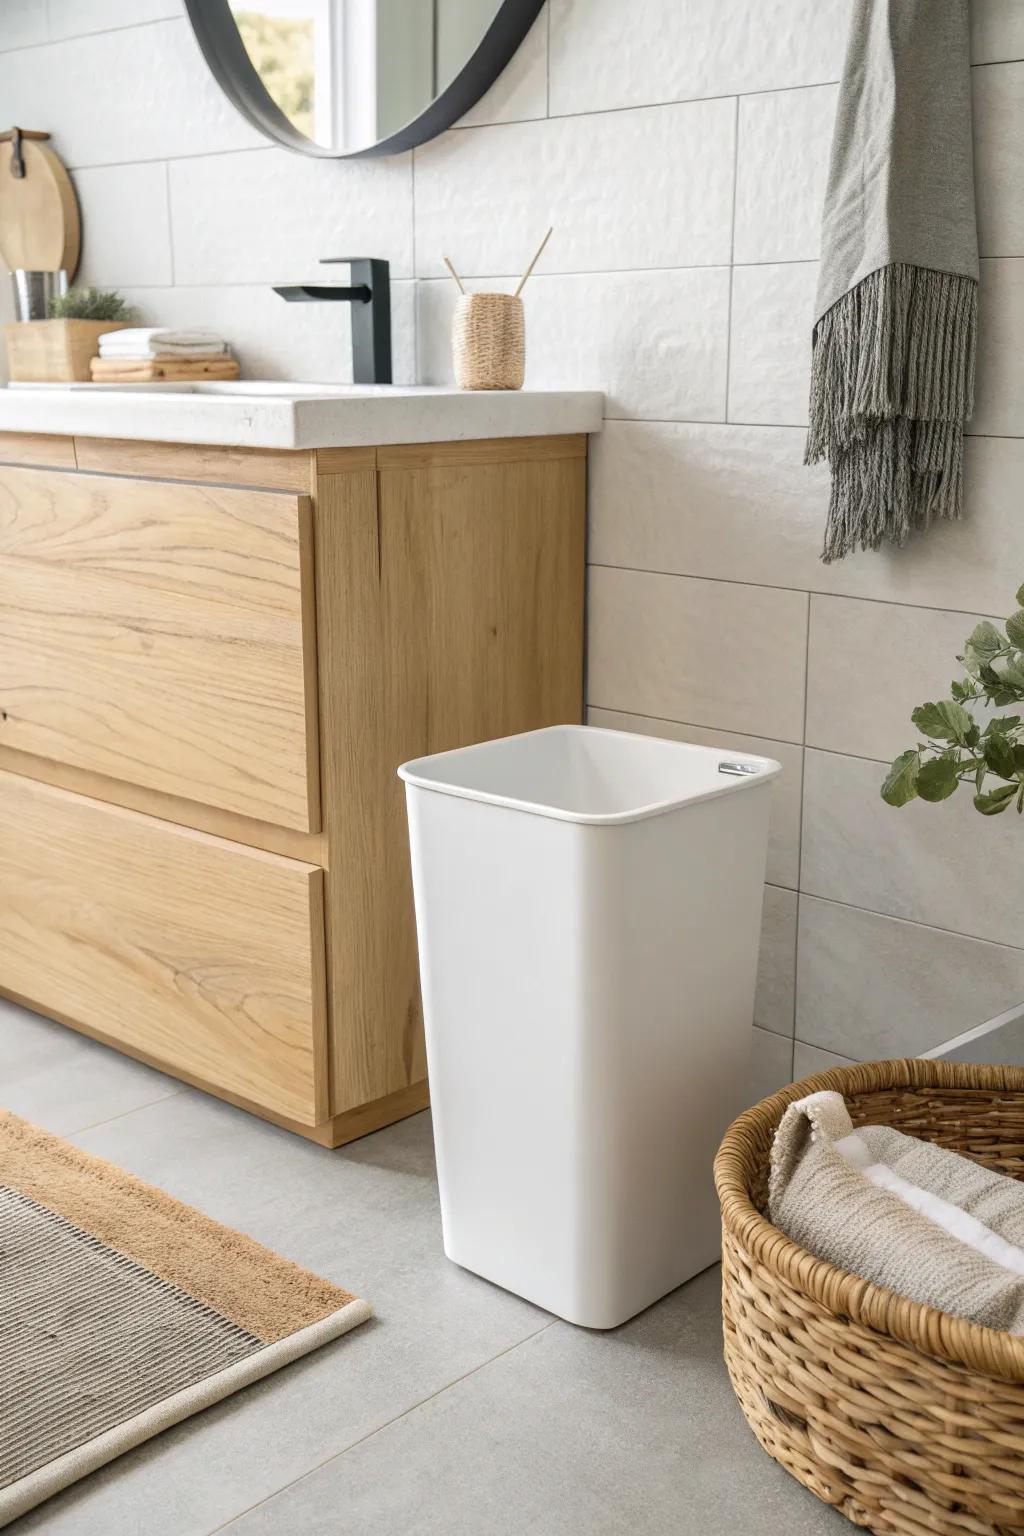
In one tiny bathroom, the 5-inch gap between vanity and wall became the perfect home for a slim waste bin that didn’t block the walkway. I loved not having the trash out in the open where it visually cluttered the floor.
Some handy options:
- Ultra-Slim Rectangular Waste Basket: Maximize your narrow bathroom gaps with a slim wastebasket designed to fit seamlessly into tight, unused spaces.
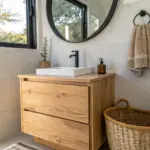
- Small Woven Storage Basket: Place a narrow woven basket nearby to hold extra liners or small essentials while adding texture to your decor.
- Wall-Mounted Toilet Brush Holder: Free up even more floor space next to the vanity by mounting a compact toilet brush holder on the wall.
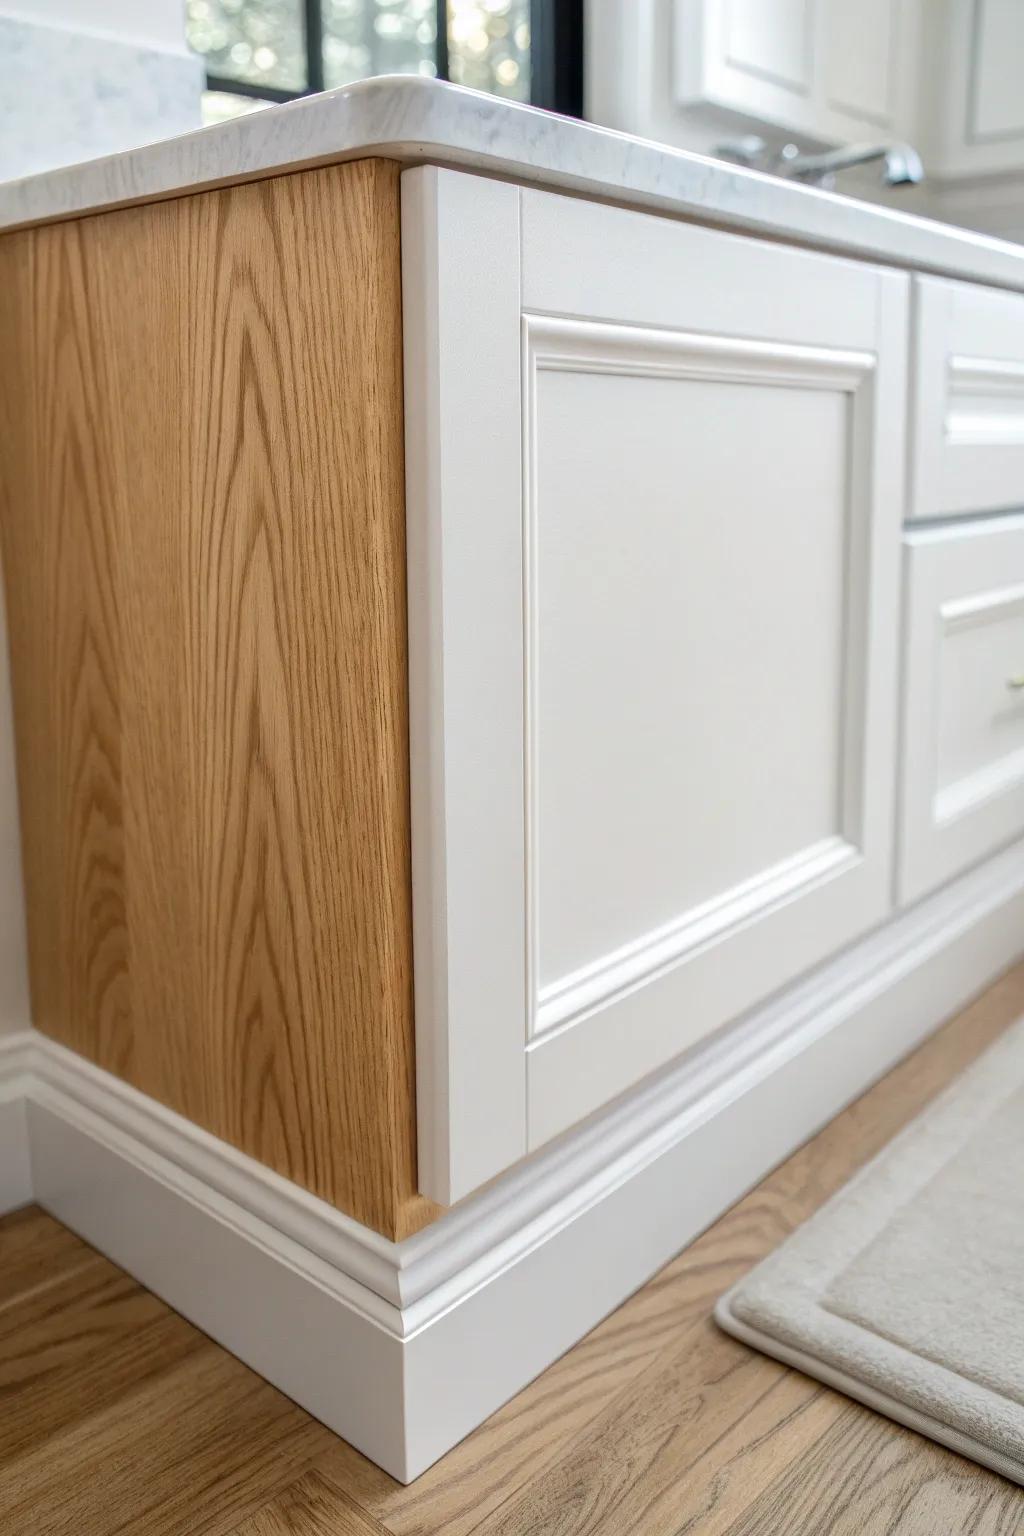
Add a Painted Filler Panel
In my first studio bathroom, I fixed the 5-inch gap by attaching a simple filler panel painted to match the vanity so it looked built-in. It instantly stopped the “floating cabinet” vibe and made cleaning around the vanity way easier.
Check if these fit your needs:
- Wood Filler Strip for Cabinets: Use a sturdy wood filler strip to seamlessly bridge the gap between your vanity and wall.
- General Purpose Cabinet Paint: Apply a durable, semi-gloss paint to your filler piece to match your existing vanity finish exactly.
- Wood Screws and Mounting Brackets: Secure the panel firmly in place using L-brackets or wood screws for a stable, permanent installation.
Use a Scribed Filler for Crooked Walls
My walls were never perfectly straight, so I learned to scribe the filler to the wall and it made that 5-inch gap disappear like magic. The tiny extra effort gave me a much more custom fit than forcing a straight board into a wavy space.
Check these products out:
- Scribing Tool for Woodworking: Trace uneven wall contours precisely onto your filler strip for a flawless, custom-looking fit without large gaps.
- Jigsaw for Curved Cuts: Cut along your scribed line effortlessly to match the wall’s unique shape and create a seamless transition.
- White Oak Veneer Edging: Finishes the raw cut edge of your filler board to perfectly match the light wood vanity top.
Finish the Edge With Trim Molding
When I couldn’t match cabinet material, I covered the 5-inch gap edge with clean trim molding and painted it the wall color. I loved how it looked intentional, like the vanity was framed into the room.
Give these a look:
- Primed Baseboard Molding: Use simple, flat baseboard molding to bridge the gap and create a seamless, built-in appearance.
- Decorative Corner Round Trim: Soften the edges where the molding meets the vanity for a polished, professional finish needing minimal sanding.
- Paintable Caulk & Gun Kit: Seal any remaining seams between the new trim and the wall for a flawless, paint-ready surface.
Caulk the Seam After Filling
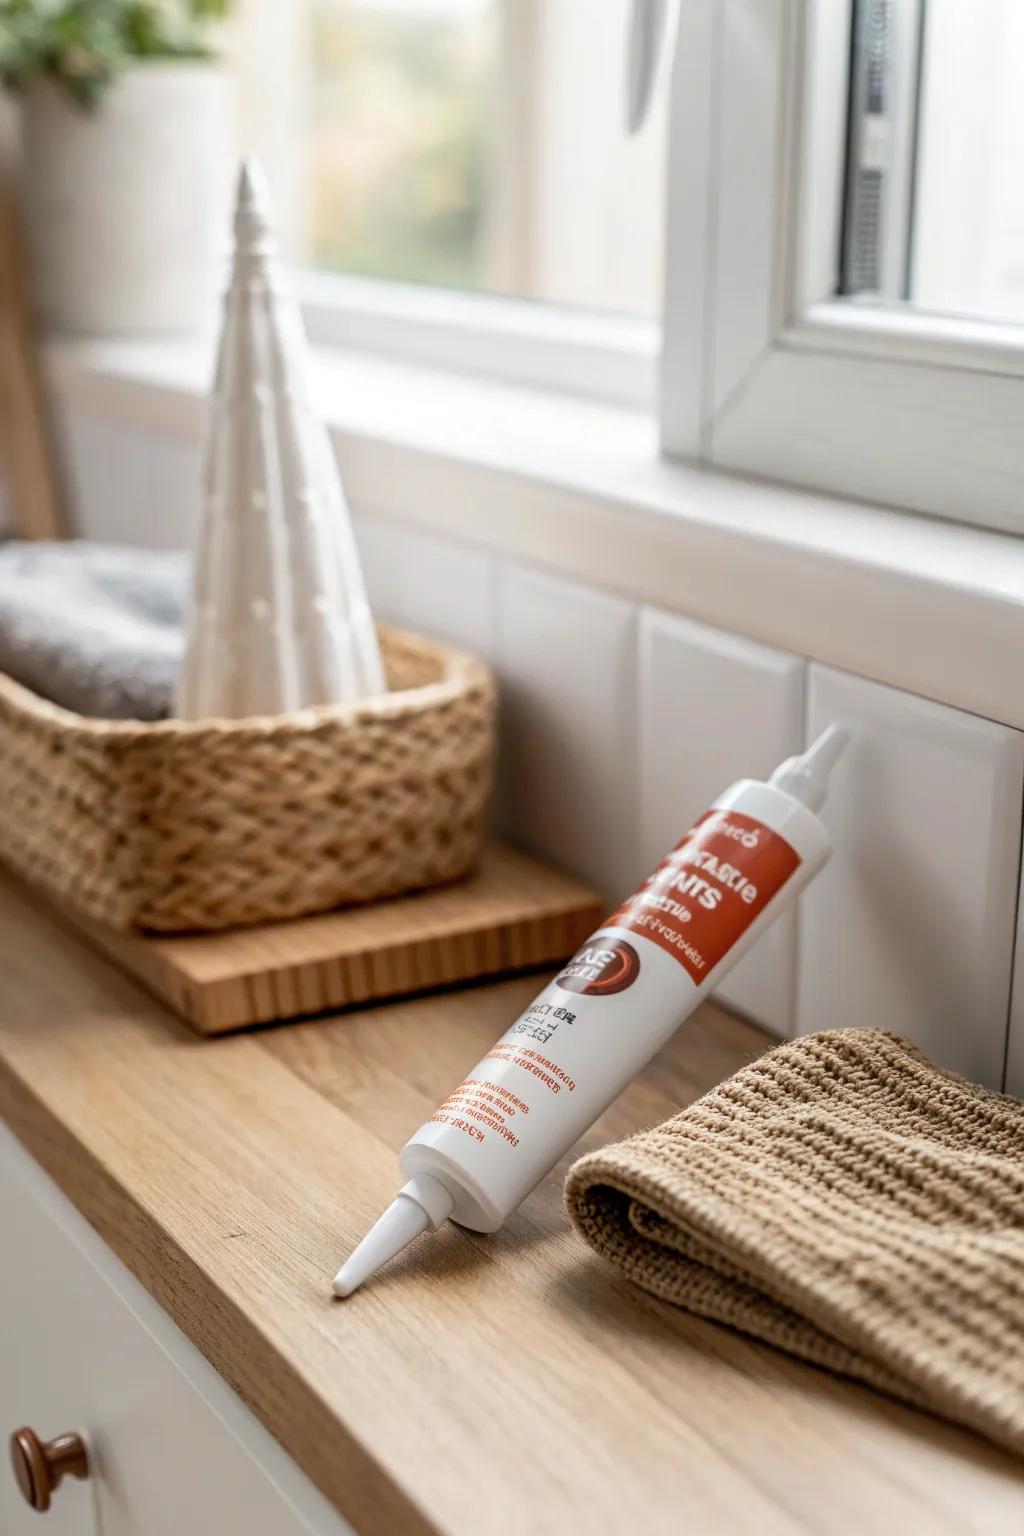
Even after I filled a 5-inch gap between vanity and wall, a neat bead of paintable caulk was what made it look professionally finished. I’m picky about this step because it also blocks moisture and grime from sneaking into the crack.
A few suggestions:
- Paintable Bathroom Caulk: Seal gaps neatly to block moisture and create a professional finish that blends seamlessly with your decor.
- Caulking Tool Kit: Apply smooth, perfectly shaped beads of sealant effortlessly, ensuring your vanity gap is sealed tightly.
- Microfiber Cleaning Cloths: Keep your workspace clean and tidy up any excess sealant quickly for a spotless final result.
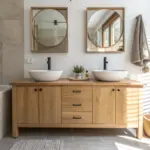
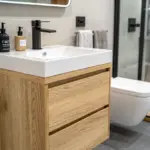
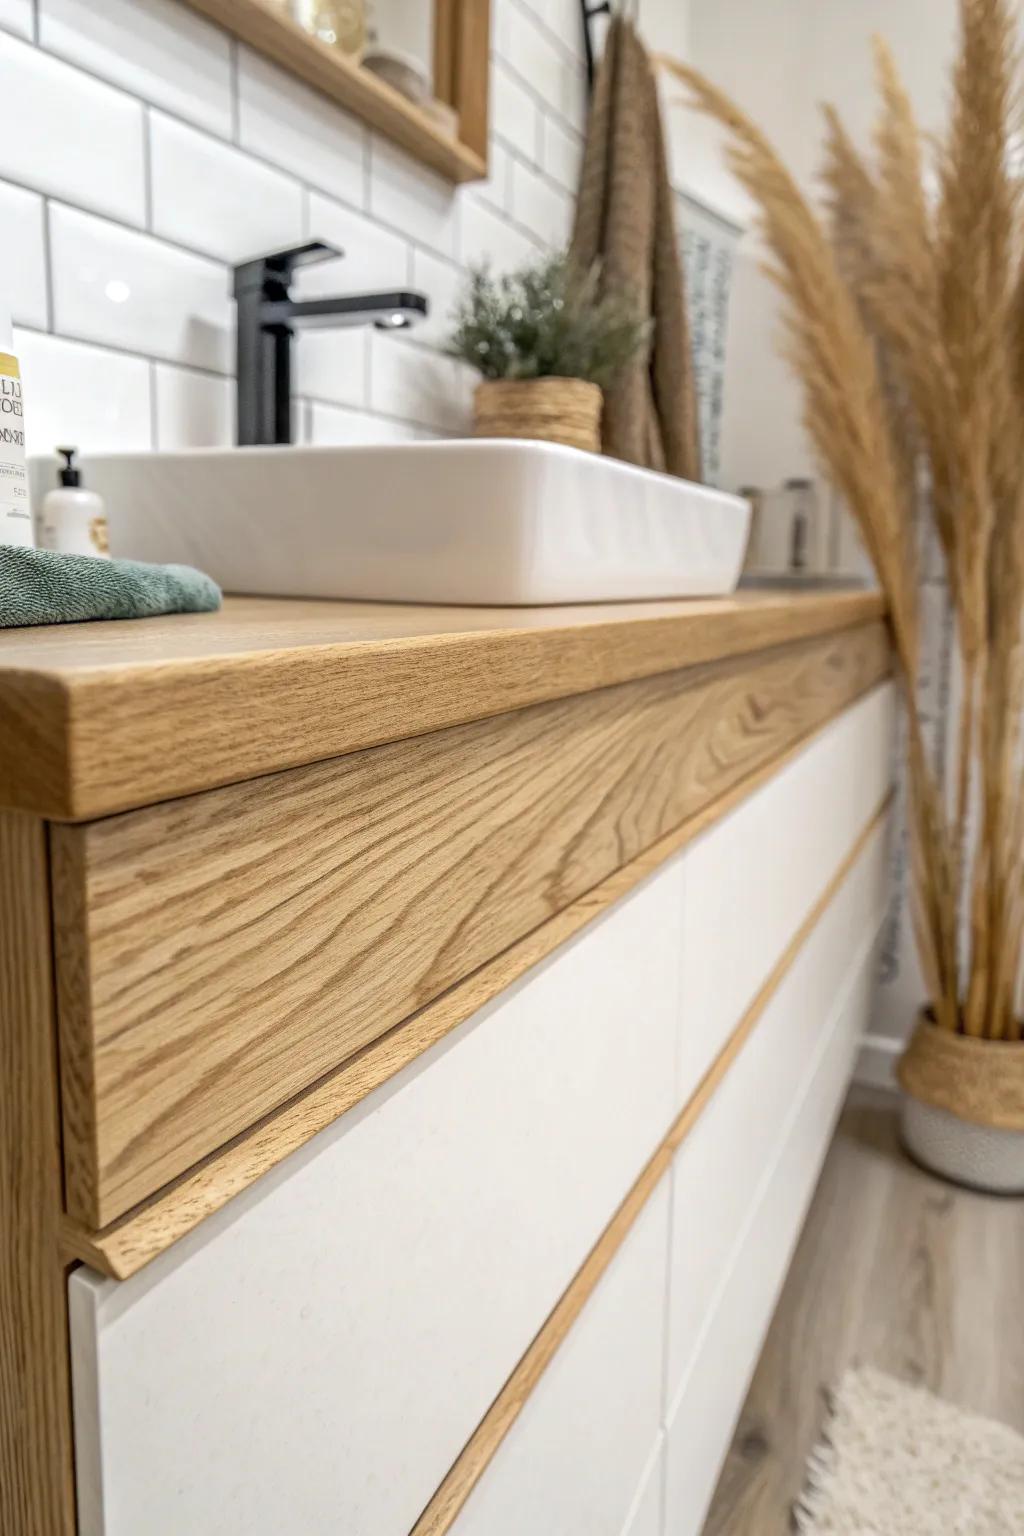
Bridge It With a Wider Countertop

In one rental, the cabinet stayed smaller but I used a top that spanned the whole nook, so the countertop extension “bridged” the 5-inch gap. It gave me bonus landing space for soap and skincare without changing the vanity itself.
Maybe worth checking out:
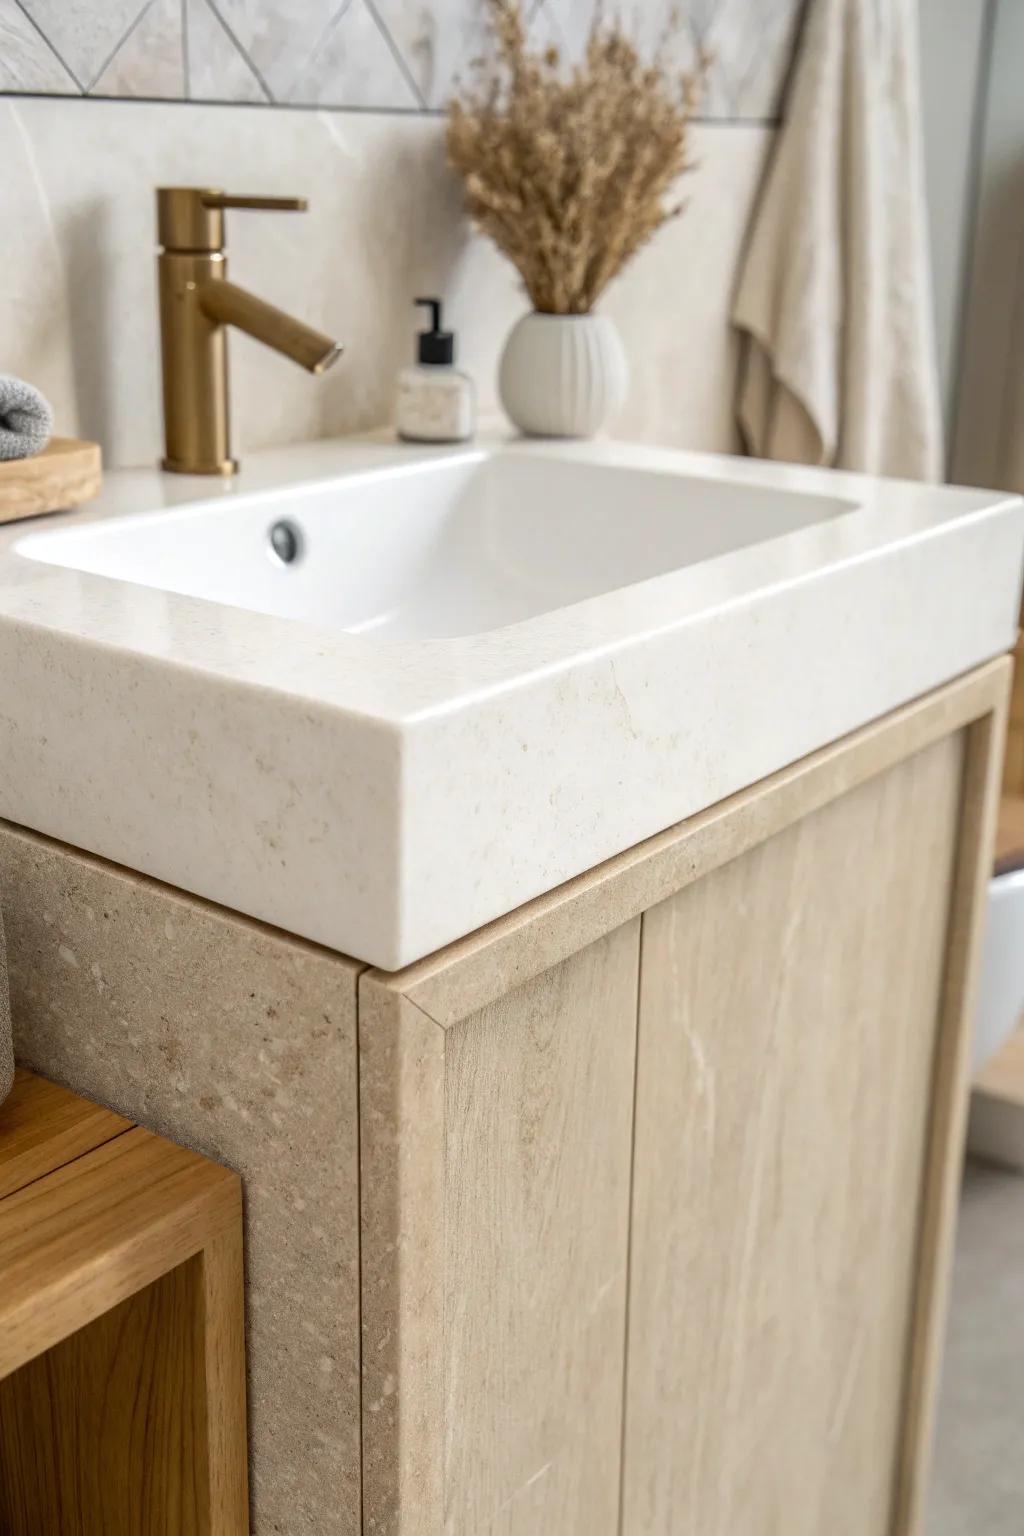
- Butcher Block Countertop Slab: Extend your vanity surface seamlessly with a solid wood slab that can be cut to fit your specific nook.
- Wall-Mounted Vanity Countertop Support Brackets: Ensure your extended countertop is stable and secure in the gap with invisible or decorative heavy-duty steel supports.
- White Porcelain Vessel Sink: Complete your new extended countertop look with a vessel sink that sits perfectly atop your custom wood surface.
Add a Side Splash to Close the Visual Gap
I once had a top that didn’t reach the wall, and a simple side splash made the 5-inch gap look tidy at eye level. It also saved my paint job from constant water drips near the sink.
Might be a good match:
- Self-Adhesive Stone Backsplash Tile: Instantly create a protective barrier on your side wall with these easy peel-and-stick tiles.
- White Quartz Side Splash Guard: Install a matching solid side splash to protect drywall from water damage and finish the look.
- Clear Waterproof Silicone Caulk: Seal the seams between your new side splash and the wall for a watertight, professional finish.
Build a Skinny Pull-Out Organizer
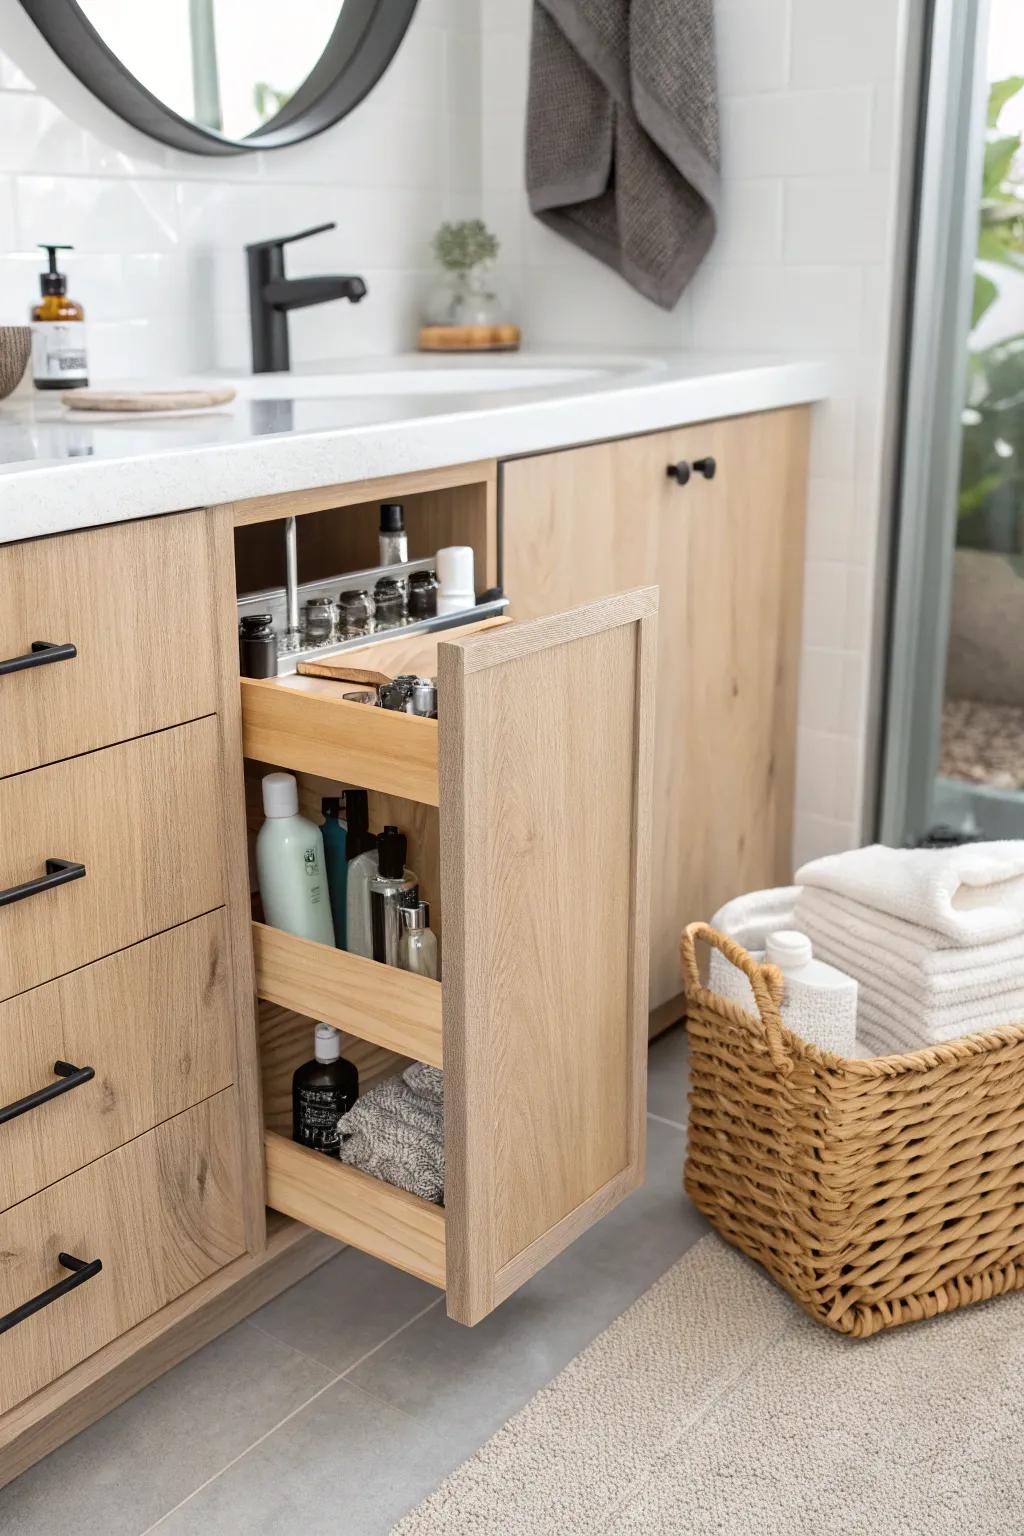
My favorite upgrade ever was turning the 5-inch gap between vanity and wall into pull-out storage for hair stuff and extra toothpaste. It felt like finding a secret cabinet in a bathroom that had zero closets.
Explore these options:
- Slim Bathroom Storage Cart: Instantly create organized space in tight gaps with a slim rolling cart perfect for toiletries and supplies.
- Cabinet Drawer Slides: Build your own custom pull-out cabinet using these sturdy slides to ensure smooth, reliable drawer movement.
- Clear Plastic Organizer Bins: Keep small items like makeup and toothpaste tidy inside your new pull-out shelves with these versatile containers.
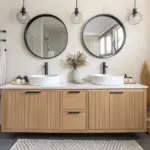
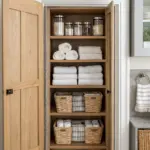
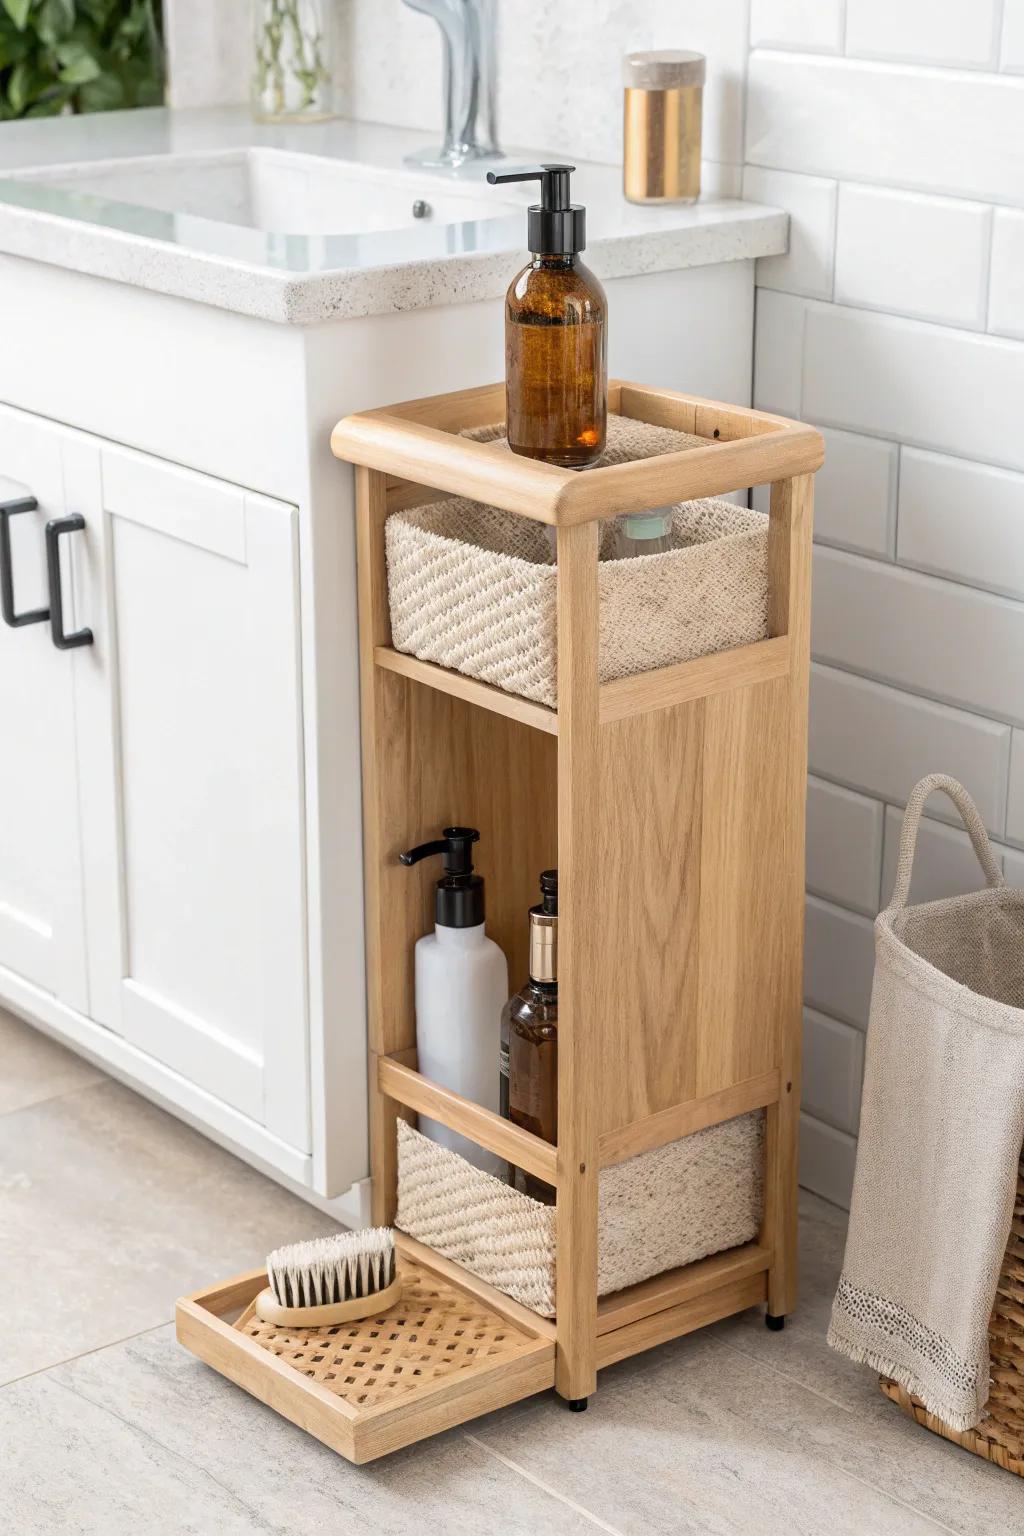
Slide In Open Vertical Shelves
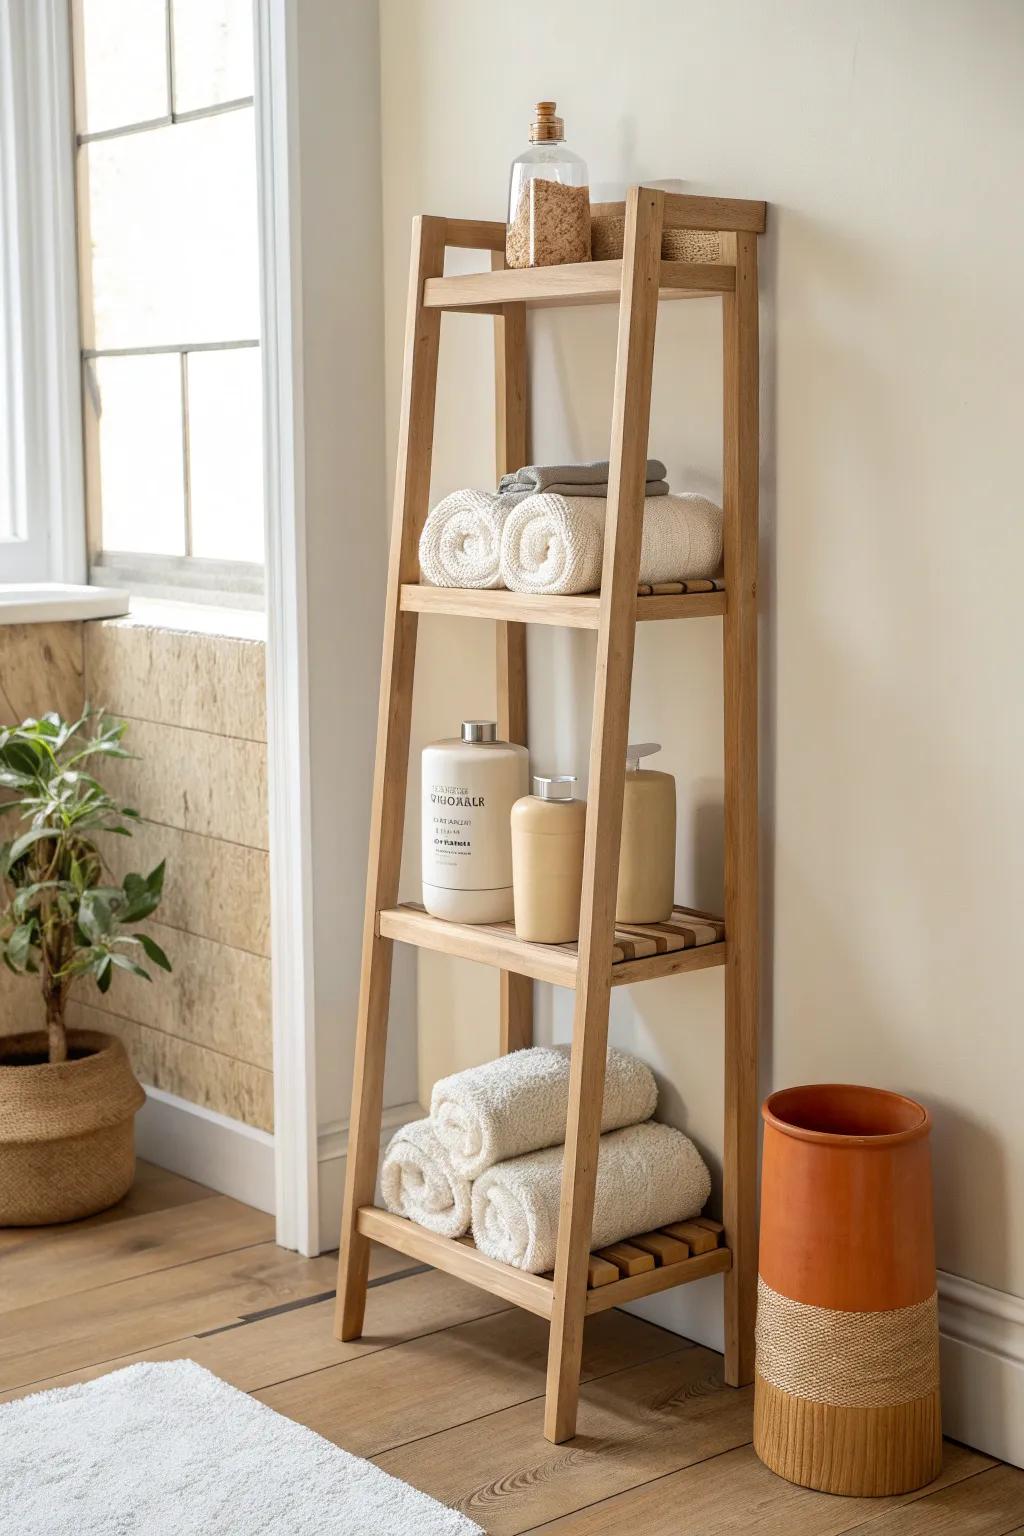
When I needed something quick, I slid a narrow set of open shelves into the 5-inch gap for rolled towels and daily toiletries. I kept it looking calm by sticking to matching containers, which is my go-to small-space trick.
Items that may come in handy:
- Slim Bamboo Bathroom Storage Unit: Utilize tight gaps efficiently with a narrow, tiered shelf that mimics the natural wood look shown here.
- Luxury Cotton Hand Towel Set: Roll these plush towels tightly to store them visibly on open shelves, creating that spa-like atmosphere.
- Ceramic Soap Dispenser Bottles: Upgrade your vanity aesthetics by decanting lotions and soaps into uniform, neutral-toned bottles for visual calmness.
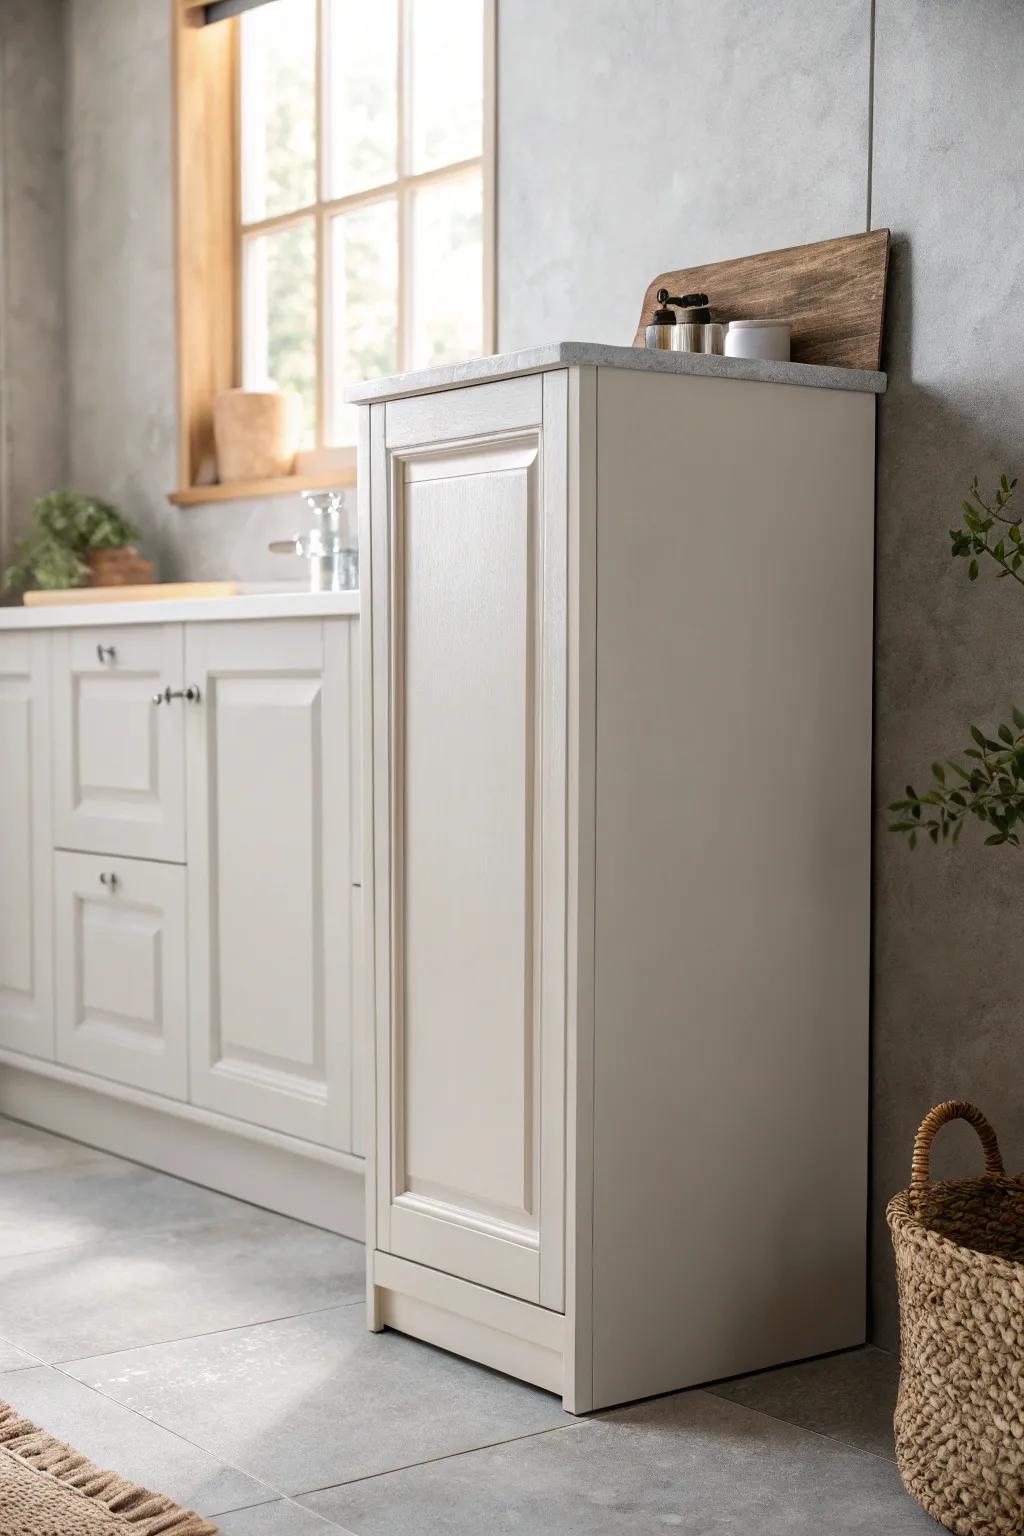
Create a Hidden Cleaning Supply Slot
I’ve used the 5-inch gap as a tall, skinny spot for a spray bottle and brush, tucked behind a simple front panel so it didn’t look messy. Having cleaning tools right there made me way more likely to do quick wipe-downs.
Possibly handy products:
- Slim Slide-Out Storage Tower: Utilize narrow gaps effectively by sliding this storage unit in to keep cleaning supplies accessible yet hidden.
- Narrow Woven Storage Baskets: Organize smaller items like sponges or brushes neatly within your shelving using these fitting, textured containers.
- Refillable Amber Pump Bottles: Decant your cleaning solutions into these aesthetic bottles to maintain a cohesive, stylish look in open storage.
Mount Hooks on a Filler Board
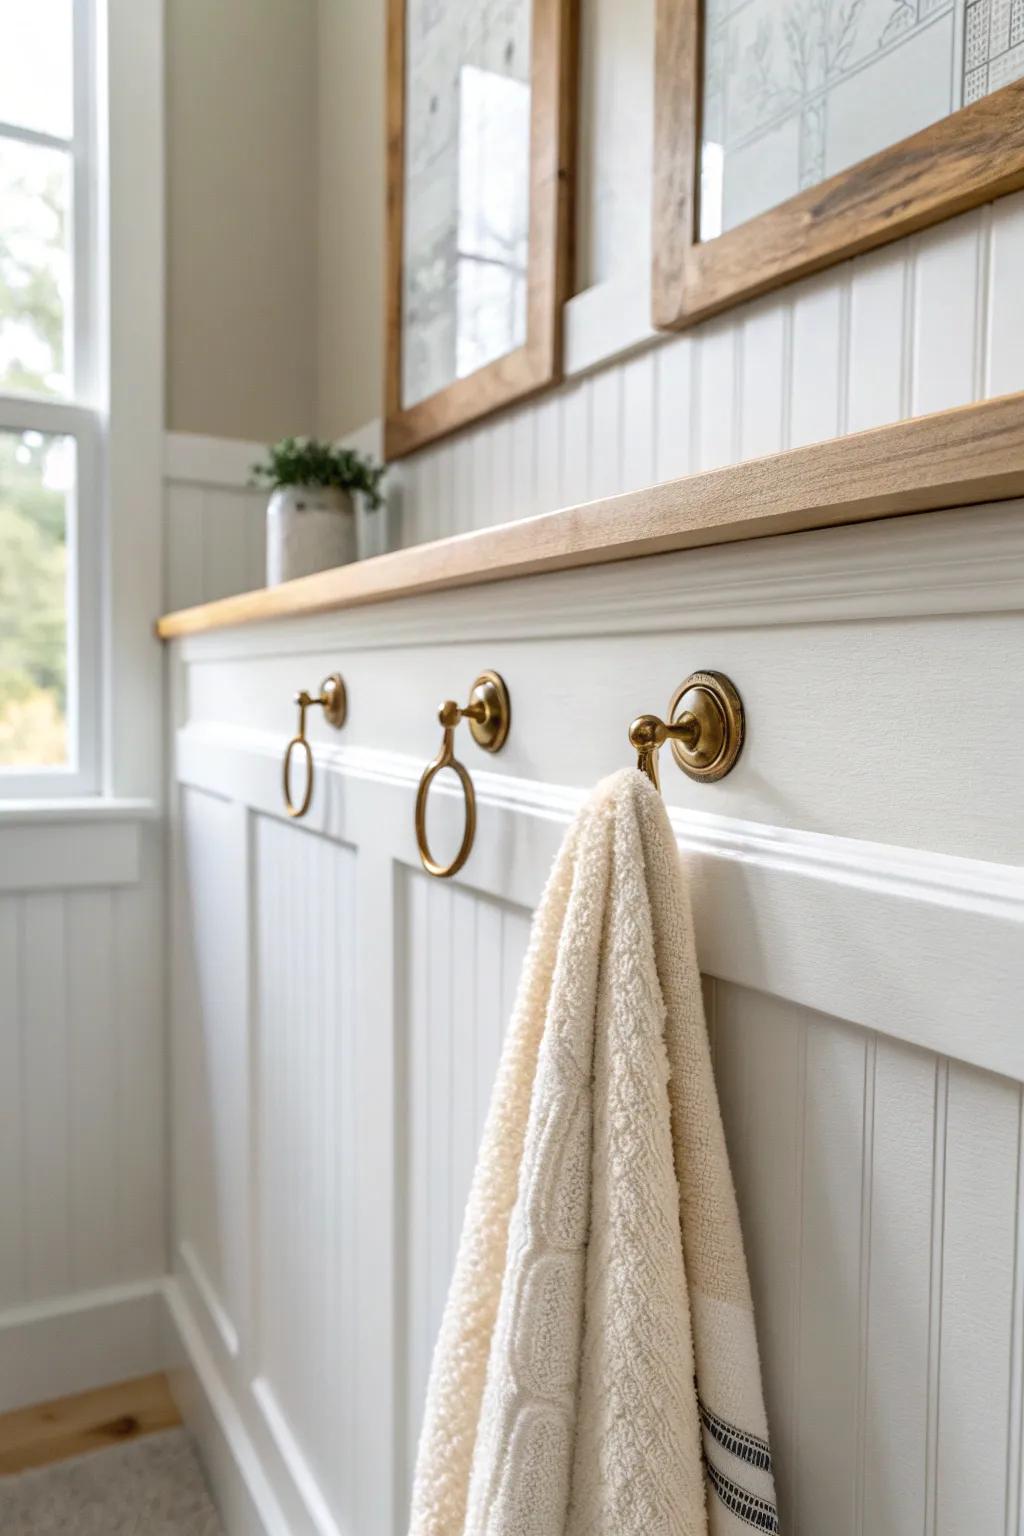
I’ve attached a painted board to fill the 5-inch gap and then added a couple of hooks for a hair towel and washcloth. It turned a dead strip of space into something I actually used every single day.
A few helpful options:
- Brass towel ring or hook: Install a vintage-inspired brass hook to hang towels stylishly while maximizing vertical storage in tight vanity gaps.
- Primed MDF or wood filler board: Use a paintable filler board to seamlessly close the awkward gap between your vanity and the wall.
- Semi-gloss interior paint: Finish your filler board with durable, moisture-resistant semi-gloss paint to perfectly match your existing bathroom wainscoting.
Add a Towel Bar That “Explains” the Gap
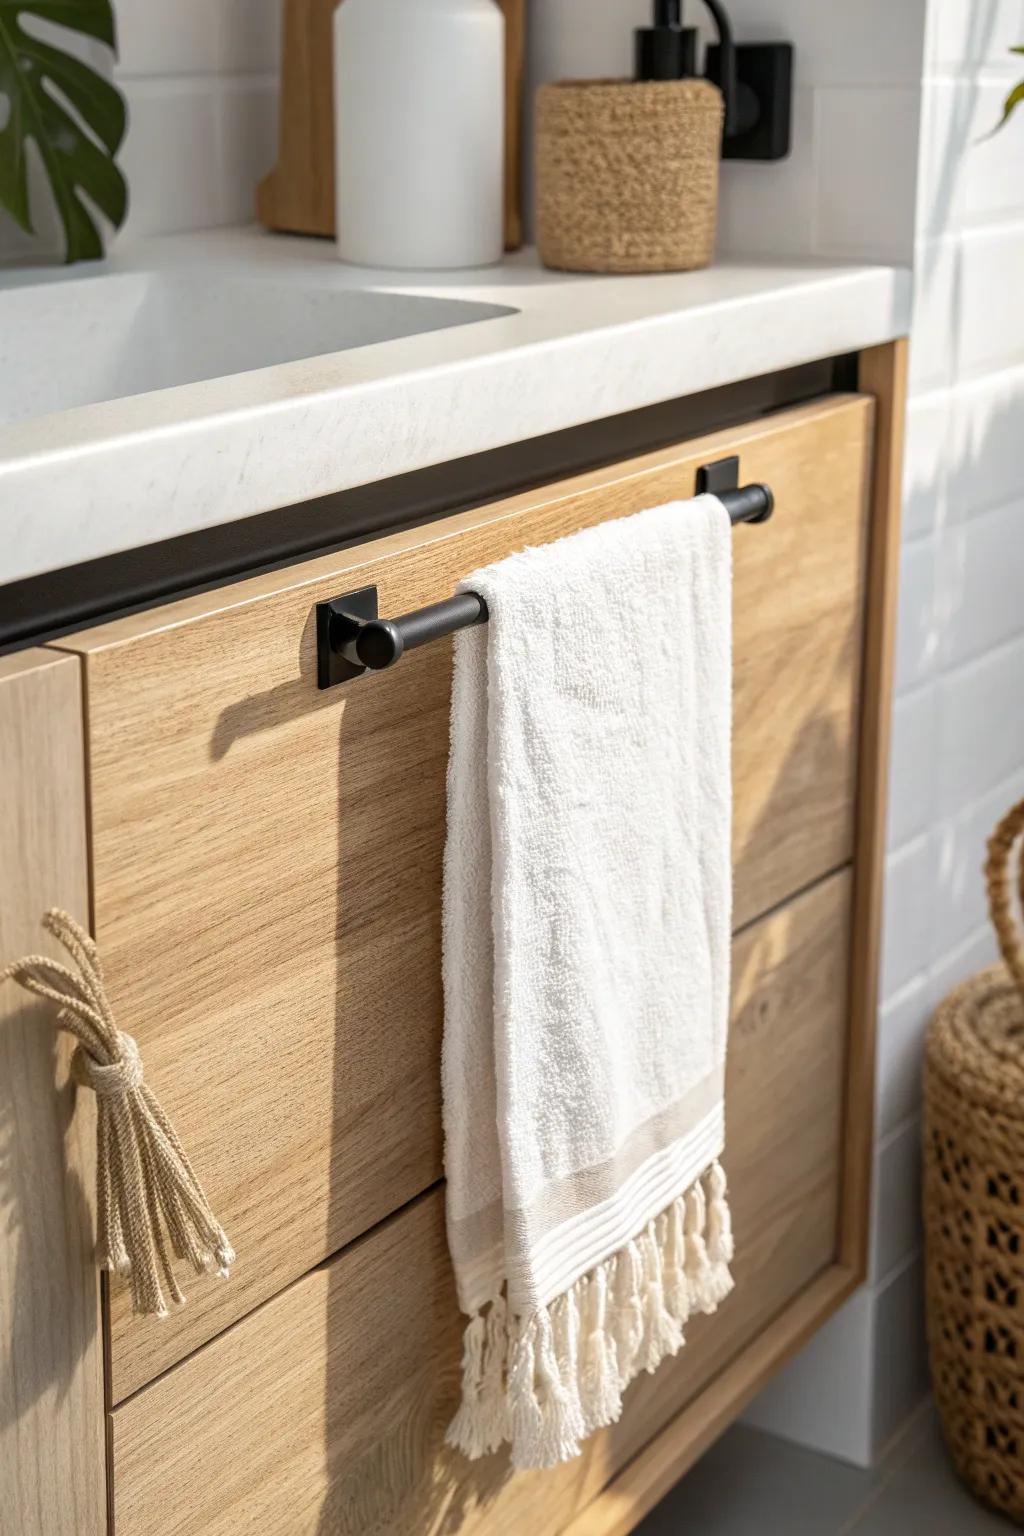
One time I couldn’t fully close the 5-inch gap between vanity and wall, so I leaned into it by mounting a towel bar along that side. It made the spacing feel intentional, like the vanity was placed there on purpose.
Products that could assist:
- Matte Black Cabinet Towel Bar: Install this sleek bar directly onto your vanity to turn awkward gaps into functional, stylish storage spaces.
- Turkish Cotton Hand Towel with Tassels: Drape this soft, textured towel over your new bar to add warmth and a spa-like feel instantly.
- Natural Jute Twine Rope for DIY Accents: Wrap cabinet handles with this durable twine to create custom, rustic pulls that match natural bathroom decor.
Make a Removable Renter-Friendly Cover Panel
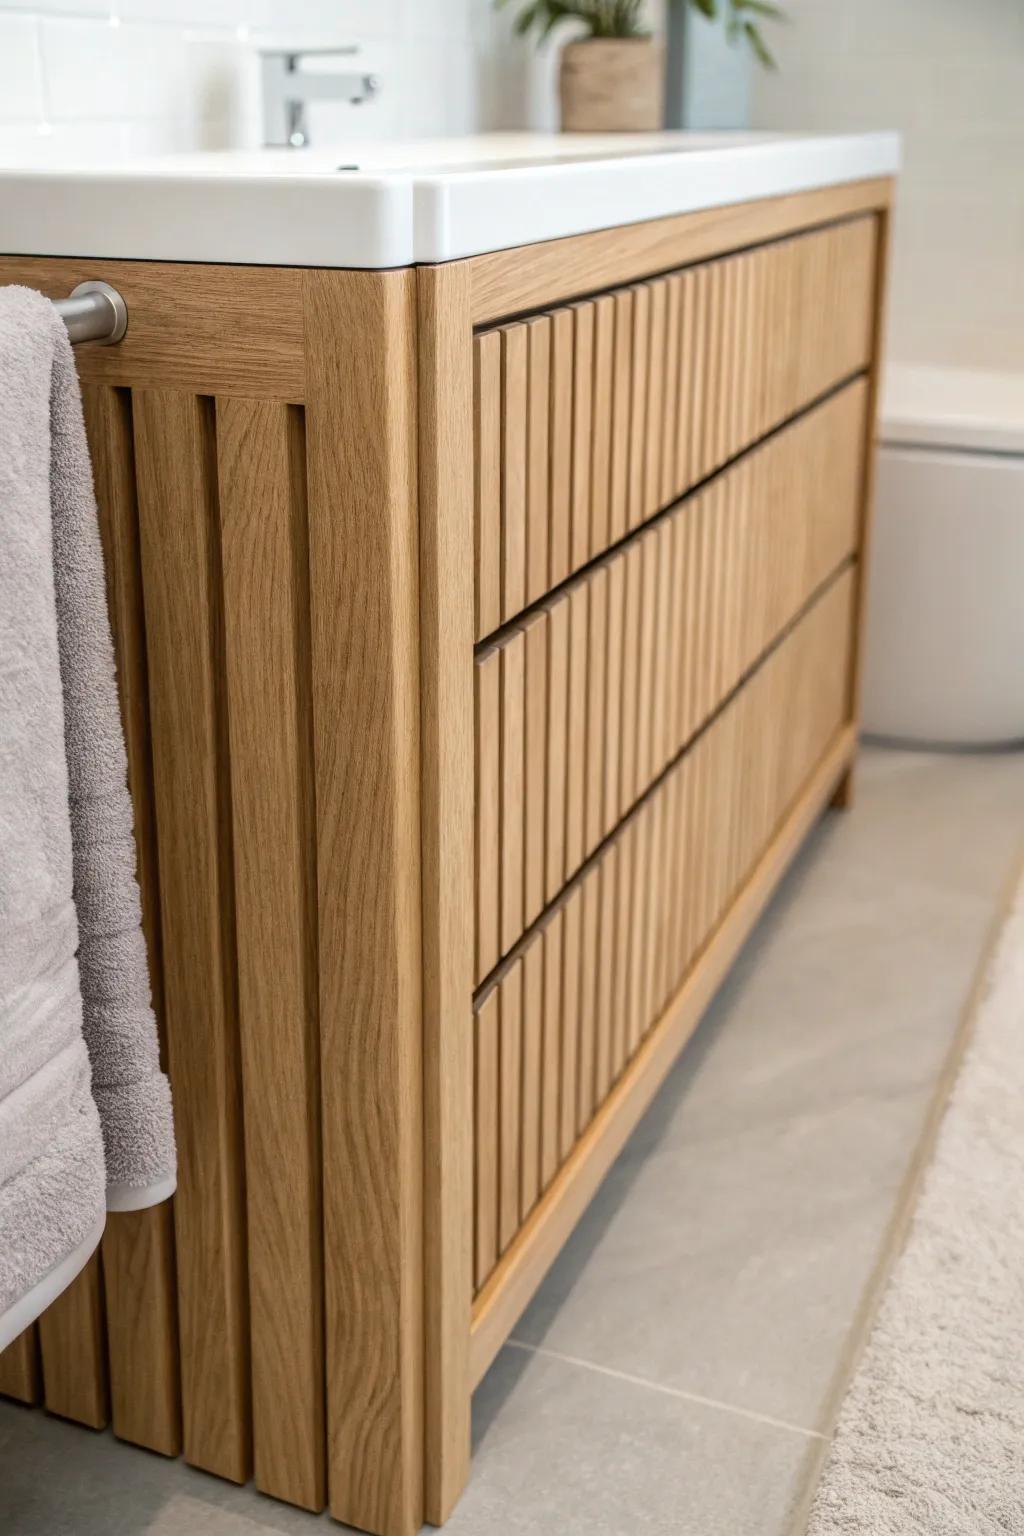
When I was renting, I hid a 5-inch gap with a snug, removable cover panel that friction-fit in place. I liked knowing I could pull it out for deep cleaning and take it with me when I moved.
Some ideas to consider:
- Unfinished Wood Slats or Flexible Panel: Create a seamless look by staining this wood to match your vanity for a custom, cohesive finish.
- Heavy-Duty Magnetic Cabinet Catches: Use these strong magnets to securely hold your panel in place while keeping it easy to remove.
- Wood Stain and Sealer: Protect your new panel from bathroom humidity and match the color perfectly to your existing vanity’s finish.
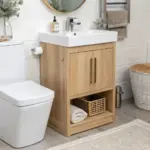
Turn It Into a Toilet Paper Reserve Niche
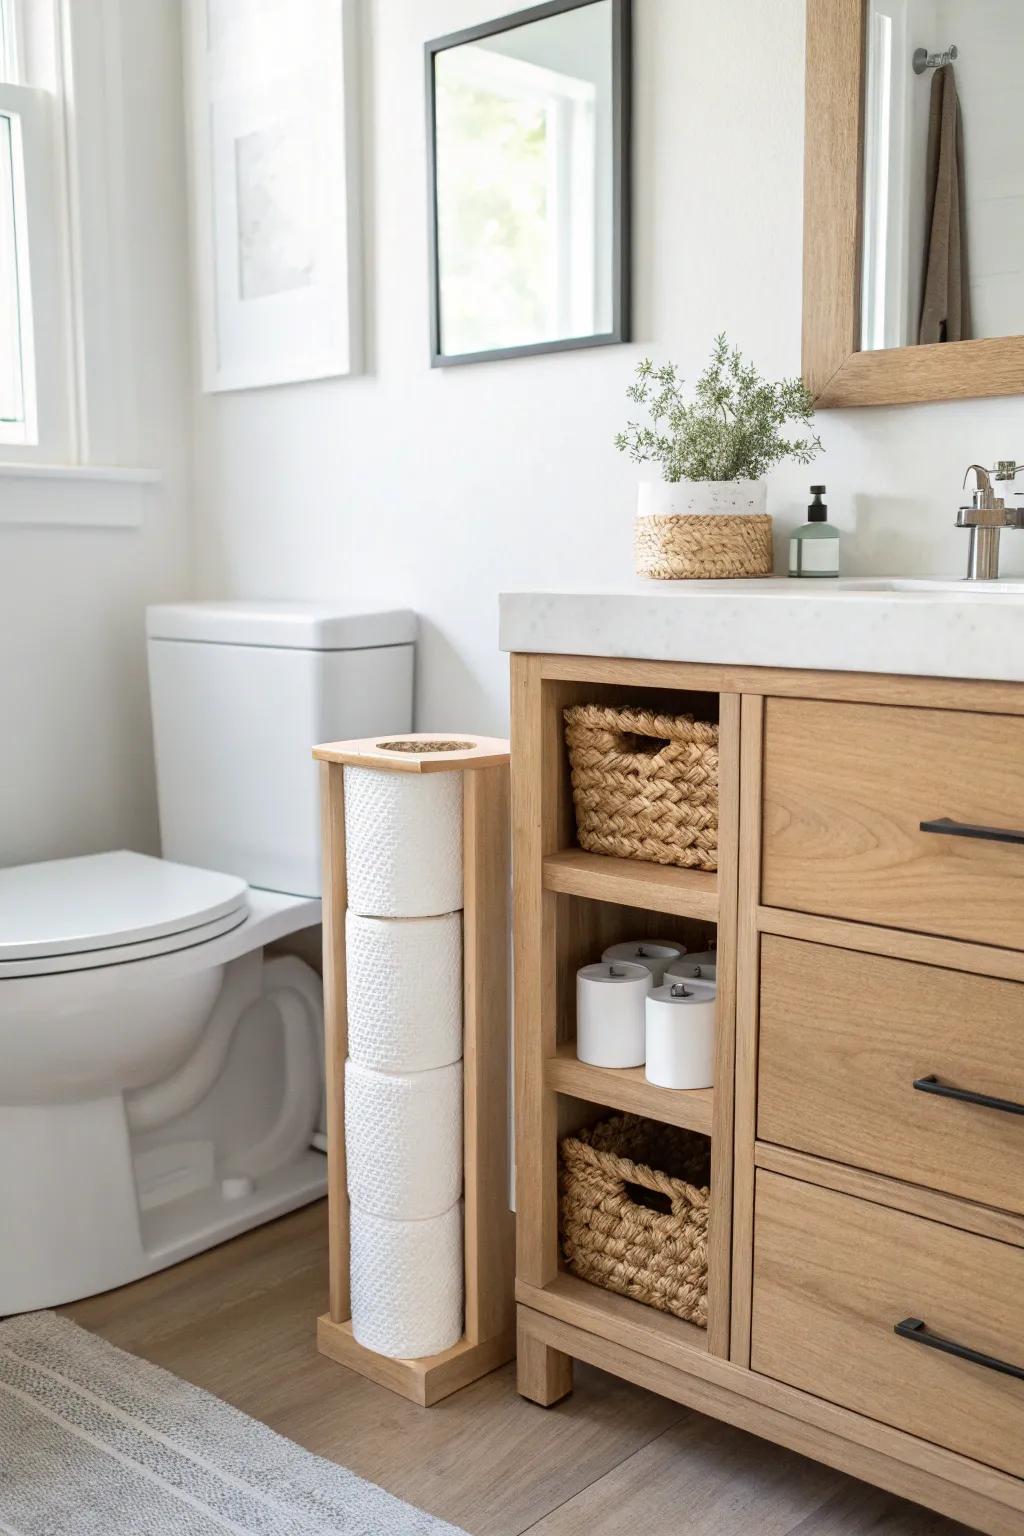
I once stacked extra rolls in the 5-inch gap between vanity and wall using a simple vertical divider so they didn’t tumble out. It freed up my under-sink space, which is always chaos in small bathrooms.
You might like:
- Slim Wooden Toilet Paper Holder Stand: Utilize tight gaps efficiently by stacking rolls vertically in a stand that complements your existing bathroom decor.
- Woven Storage Basket: Keep smaller items organized on open shelves with textured baskets that add warmth and hide visual clutter.
- Slim Bathroom Rolling Cart: Slide a narrow mobile organizer into the gap to store toiletries and paper goods discreetly out of sight.
Park a Slim Rolling Cart in the Gap
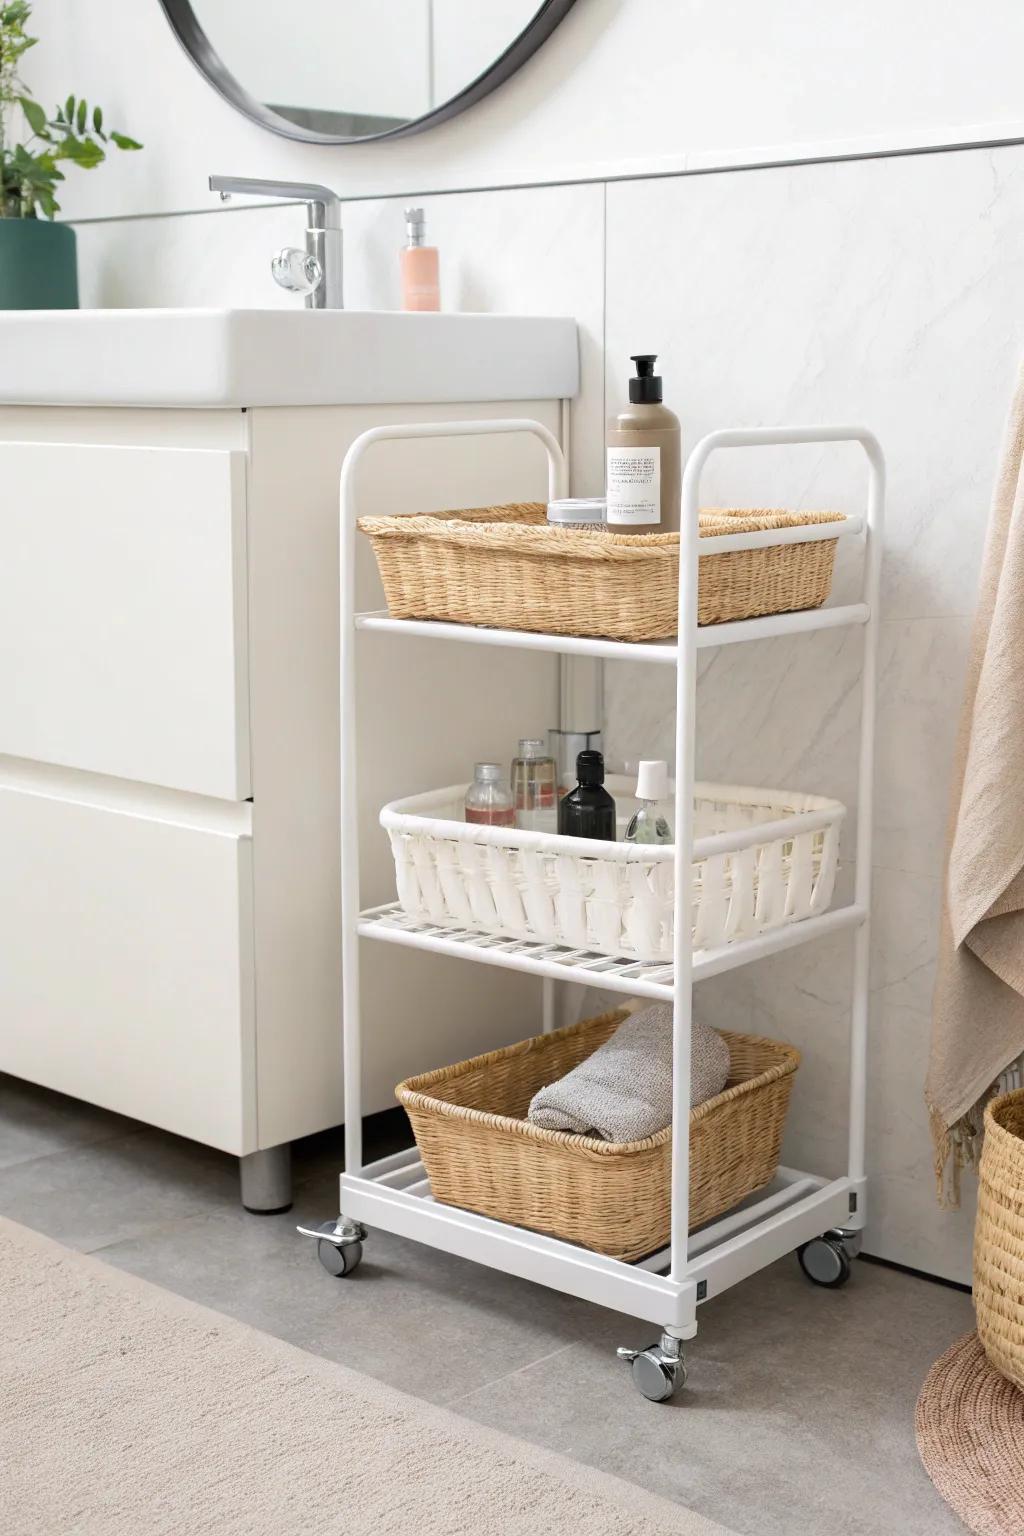
In my current place, I keep a narrow rolling cart that slides in and out of the 5-inch gap for backup soap, wipes, and tissues. I love that it’s storage without committing to permanent construction.
A few choices to try:
- Slim Rolling Storage Cart: Maximize tight spaces with a slender mobile organizer perfect for holding extra soap, lotions, and bathroom essentials.
- Woven Storage Baskets: Add texture and conceal clutter by placing these baskets on your cart shelves for a neat, organized look.
- Glass Pump Bottles: Elevate your cart’s aesthetic by decanting shampoos and soaps into matching, uniform dispensers for a spa-like feel.
Create a Hinged “Secret” Side Panel
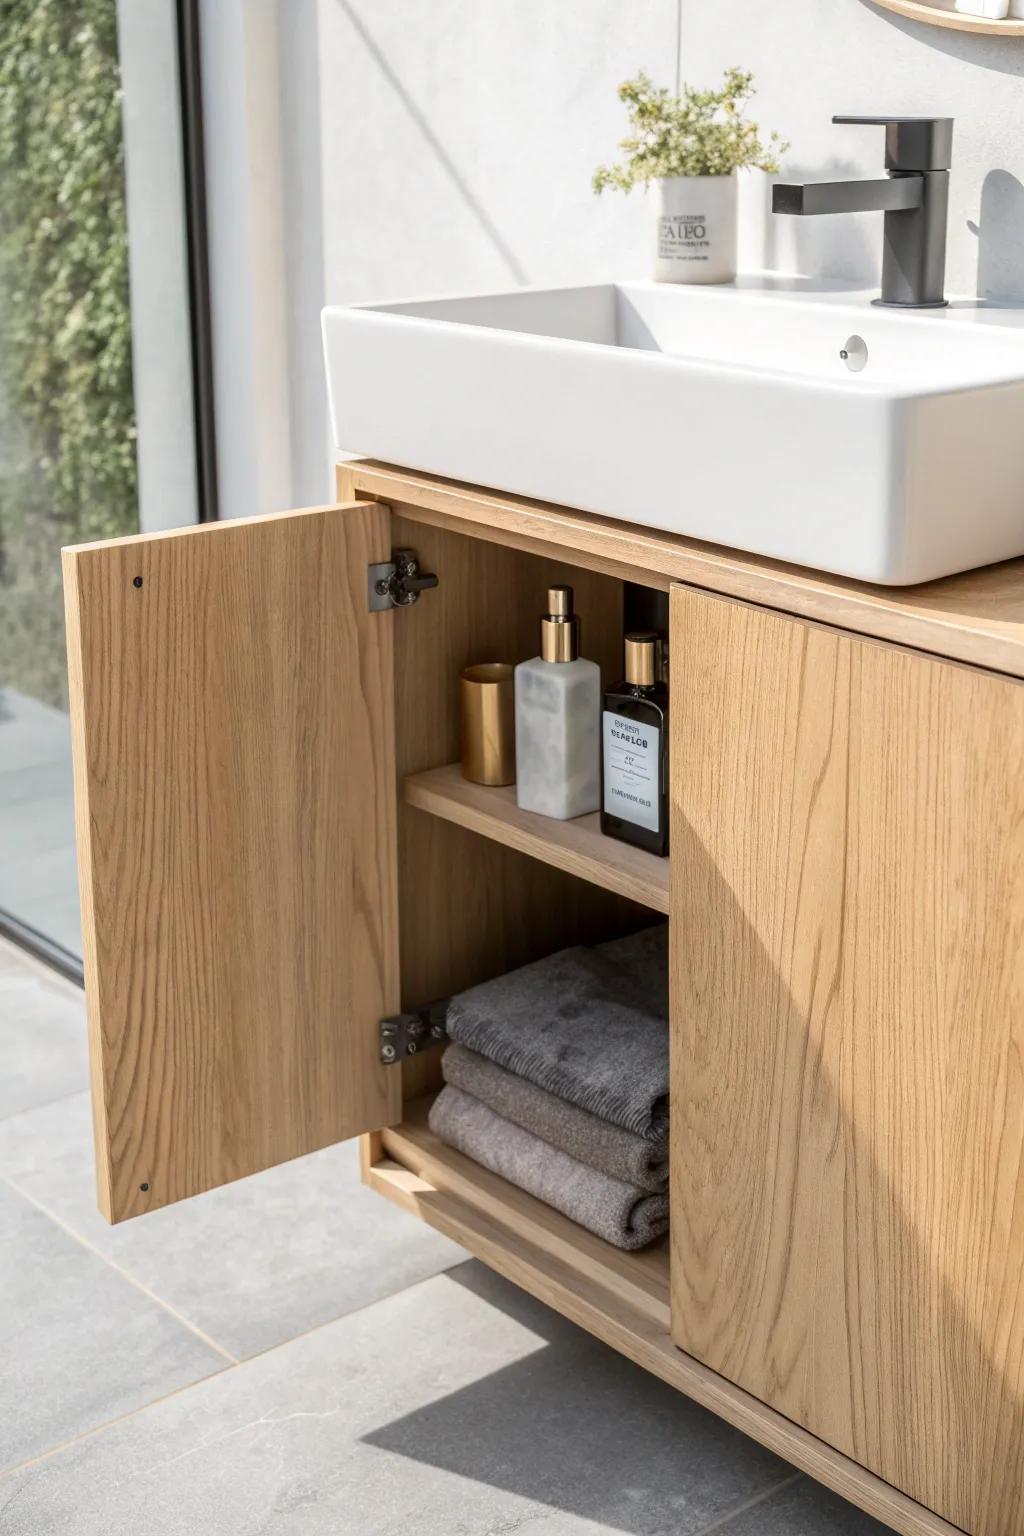
For a real wow moment, I’ve helped a client turn the 5-inch gap between vanity and wall into a hidden spot with a hinged panel for personal items. It looked like a normal finished side, but it opened like a tiny door.
Useful items to consider:
- Concealed Euro Hinges for Cabinetry: Install these hidden hinges to create a seamless swing-out mechanism for your custom gap filler panel and storage.
- Push-to-Open Magnetic Latches: Keep the panel completely handle-free and hidden by using a simple push-latch mechanism for easy access.
- Light Oak Wood Veneer Sheet: Match your existing vanity’s aesthetic perfectly by applying this adhesive wood veneer to your new secret filler panel.
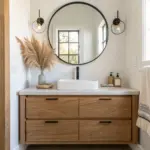
Add a Light Strip to Make the Gap Look Intentional
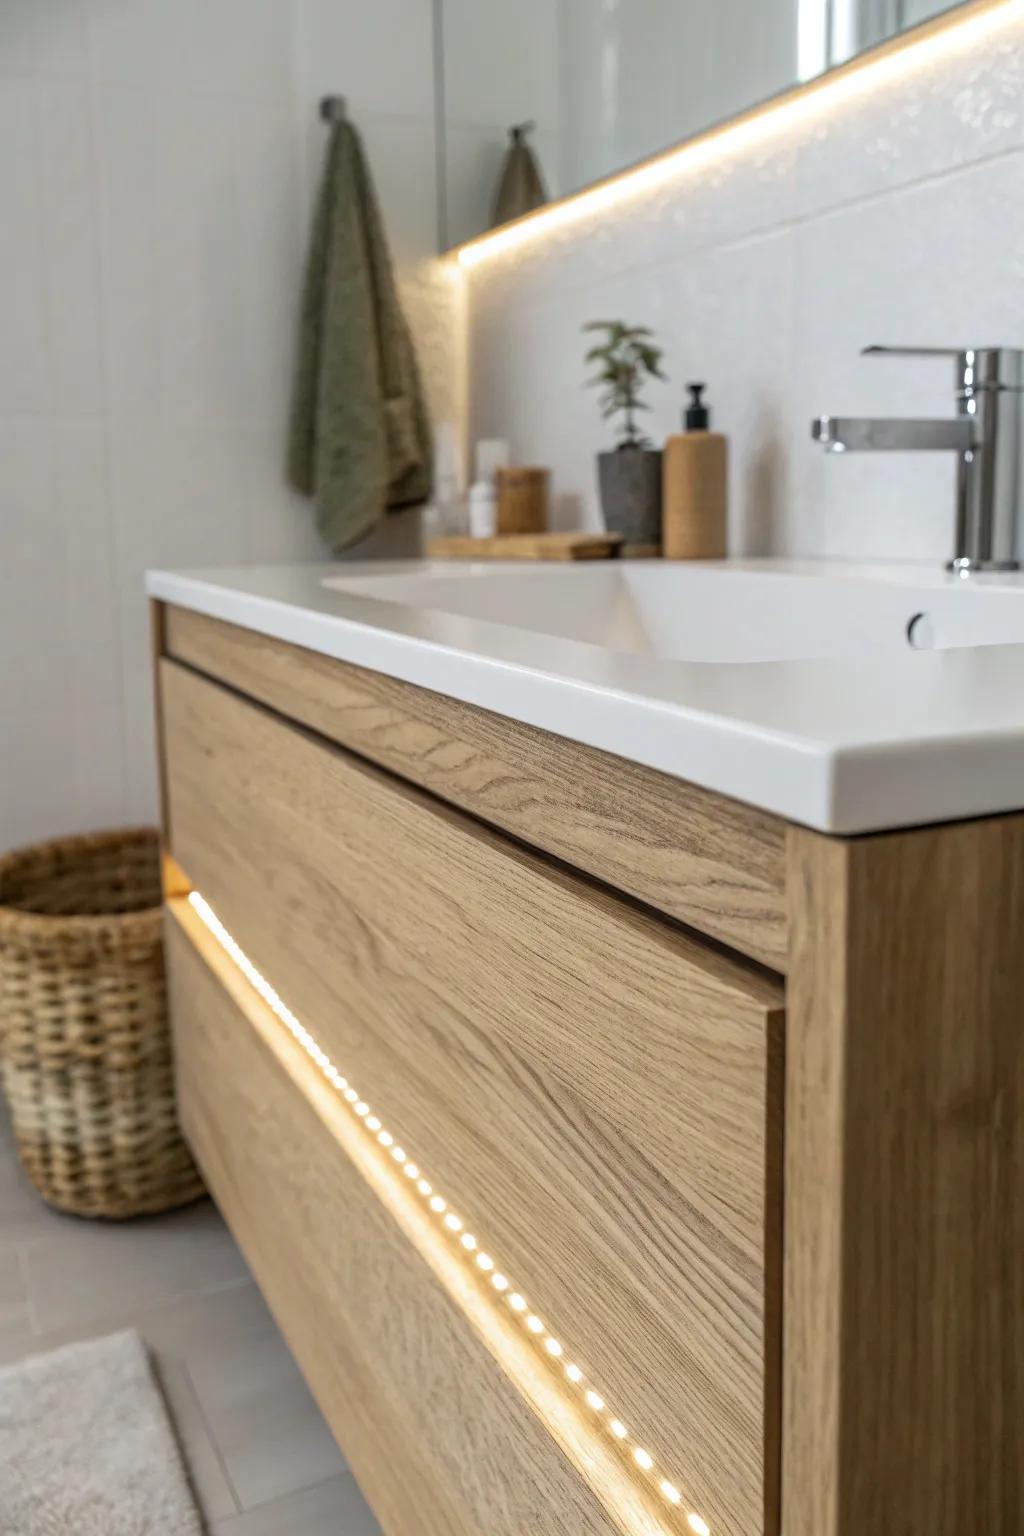
If you’re keeping the 5-inch gap for clearance, a soft LED light strip tucked along the vanity side can make it feel like a deliberate design feature. I did this in a dark bathroom once and it instantly gave the whole vanity area that cozy, styled look.
These products might be useful:
- Warm White LED Strip Light Kit: Create a cozy glow by attaching these adhesive warm lights directly to the side of your vanity cabinet.
- Motion Sensor Switch for LED Lights: Automate your new accent lighting to turn on gently whenever you step near your bathroom vanity area.
- Aluminum LED Channel Diffuser System: Install these channels to soften the light output and protect the strip for a clean, professional finish.


