A craft room can go from inspiring to chaotic in about five minutes flat, especially in a small space.
Use a Rolling Cart for Active Projects
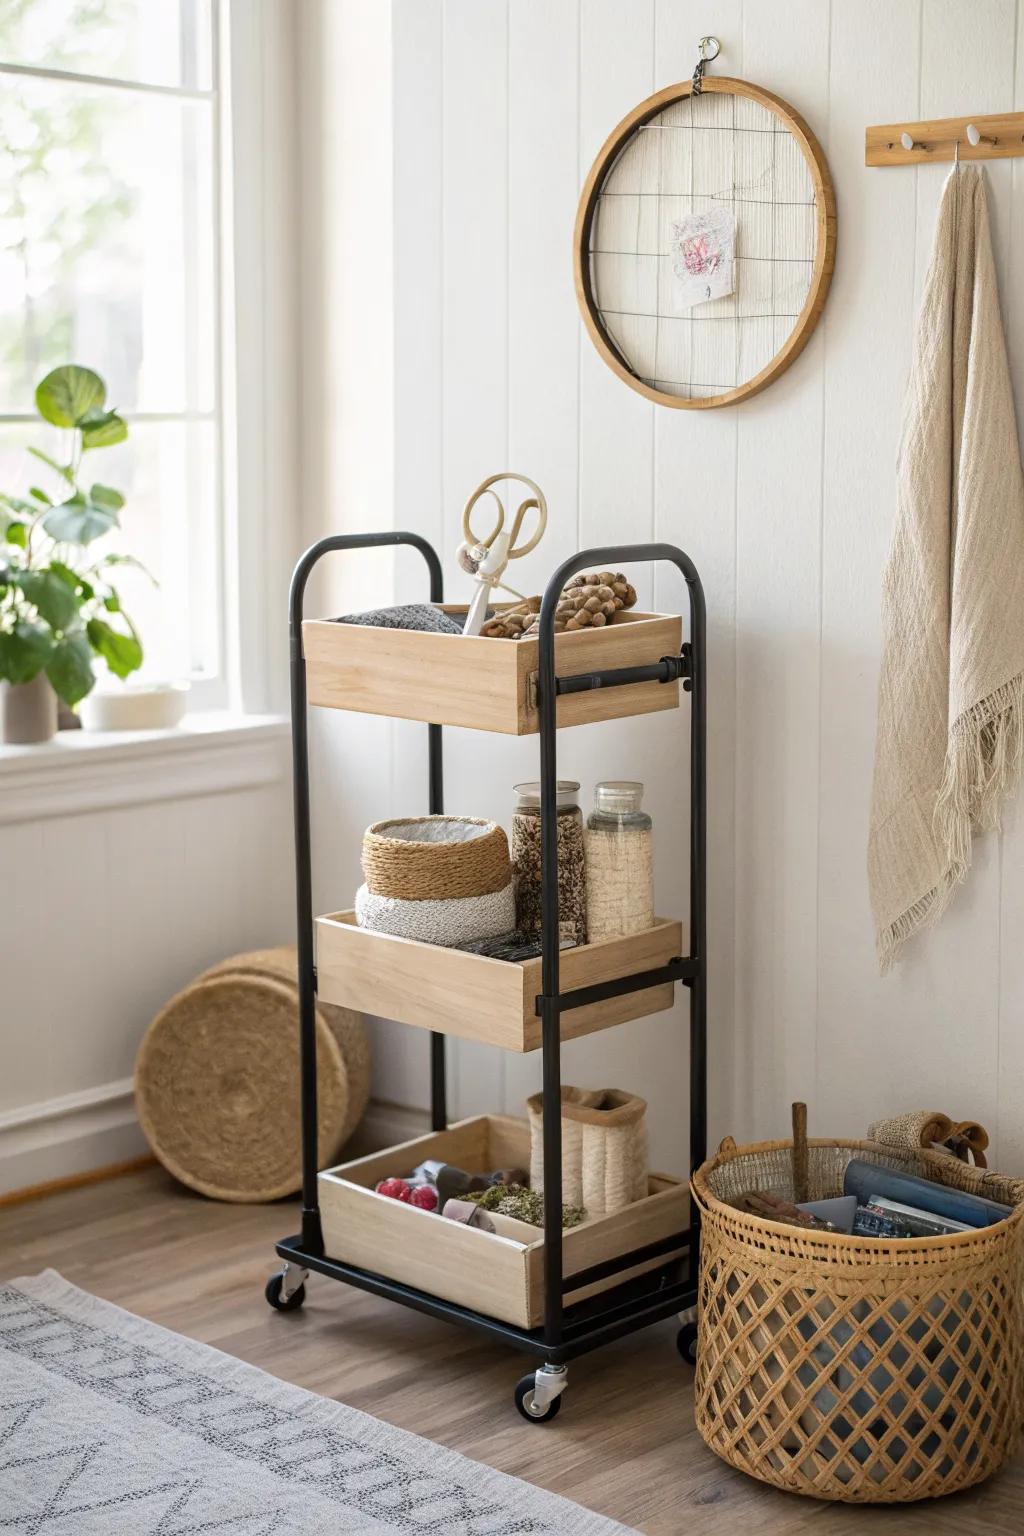
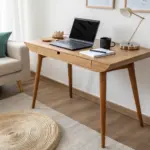
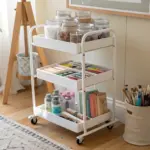
A rolling cart is my secret weapon for small-space craft rooms because it moves with me and parks out of the way when I’m done. I keep my current project on the top tier and backup supplies below, so my desk stays clear for actually making things.
Products that could assist:
- Wood & metal rolling cart: Keep current projects mobile and organized with a stylish cart featuring sturdy shelves and distinct handles.
- Woven storage baskets: Organize loose crafting yarns and materials by adding texture and warmth with these versatile, round containers.
- Glass storage jars: Store buttons, beads, and small notions visibly while keeping your creative space tidy and accessible.
Hang Tools on a Pegboard
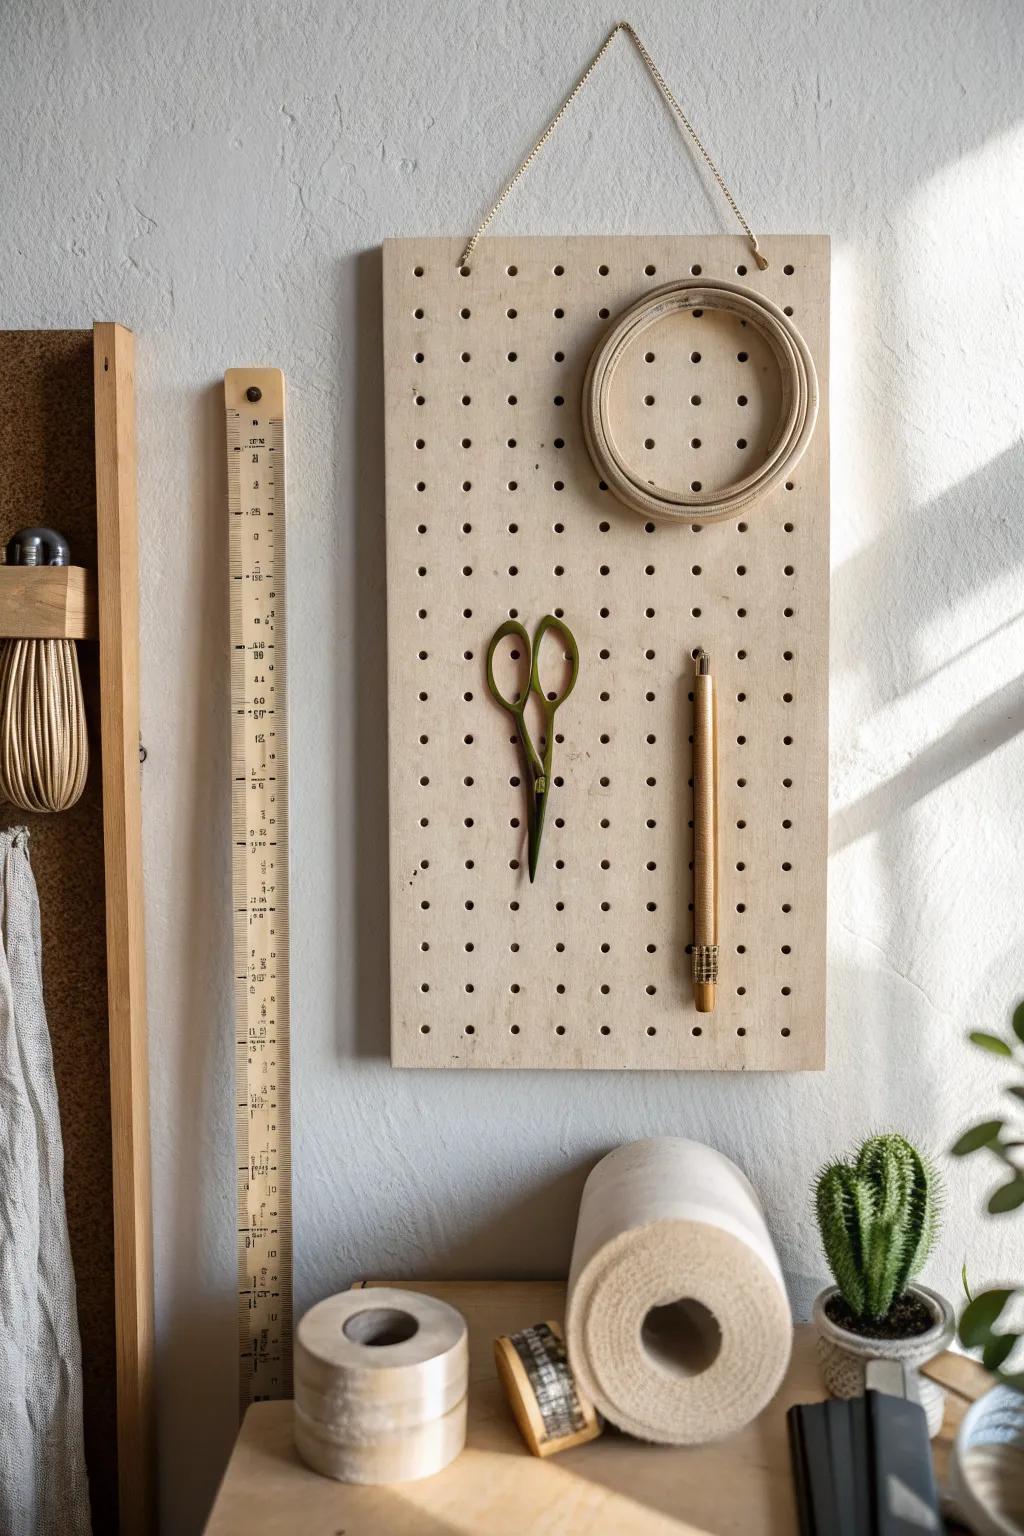
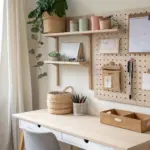
A pegboard tool wall was the fastest craft room upgrade I ever did because my scissors, rulers, and tape stopped disappearing. I hang the stuff I use daily at arm level, and it keeps my work surface from turning into a tool parking lot.
Maybe worth checking out:
- Wooden Pegboard Panel: Create valuable vertical storage space instantly by mounting a sturdy pegboard panel to your craft room wall.
- Pegboard Hooks and Accessories: Organize scissors, tape, and tools securely with a versatile assortment of durable hooks designed for standard pegboards.
- Craft Scissors: Keep these essential cutting tools handy on your new board for precise trimming during your next creative project.
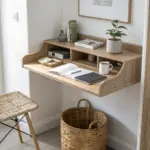
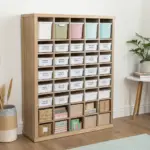
Go Floor-to-Ceiling with Shelves
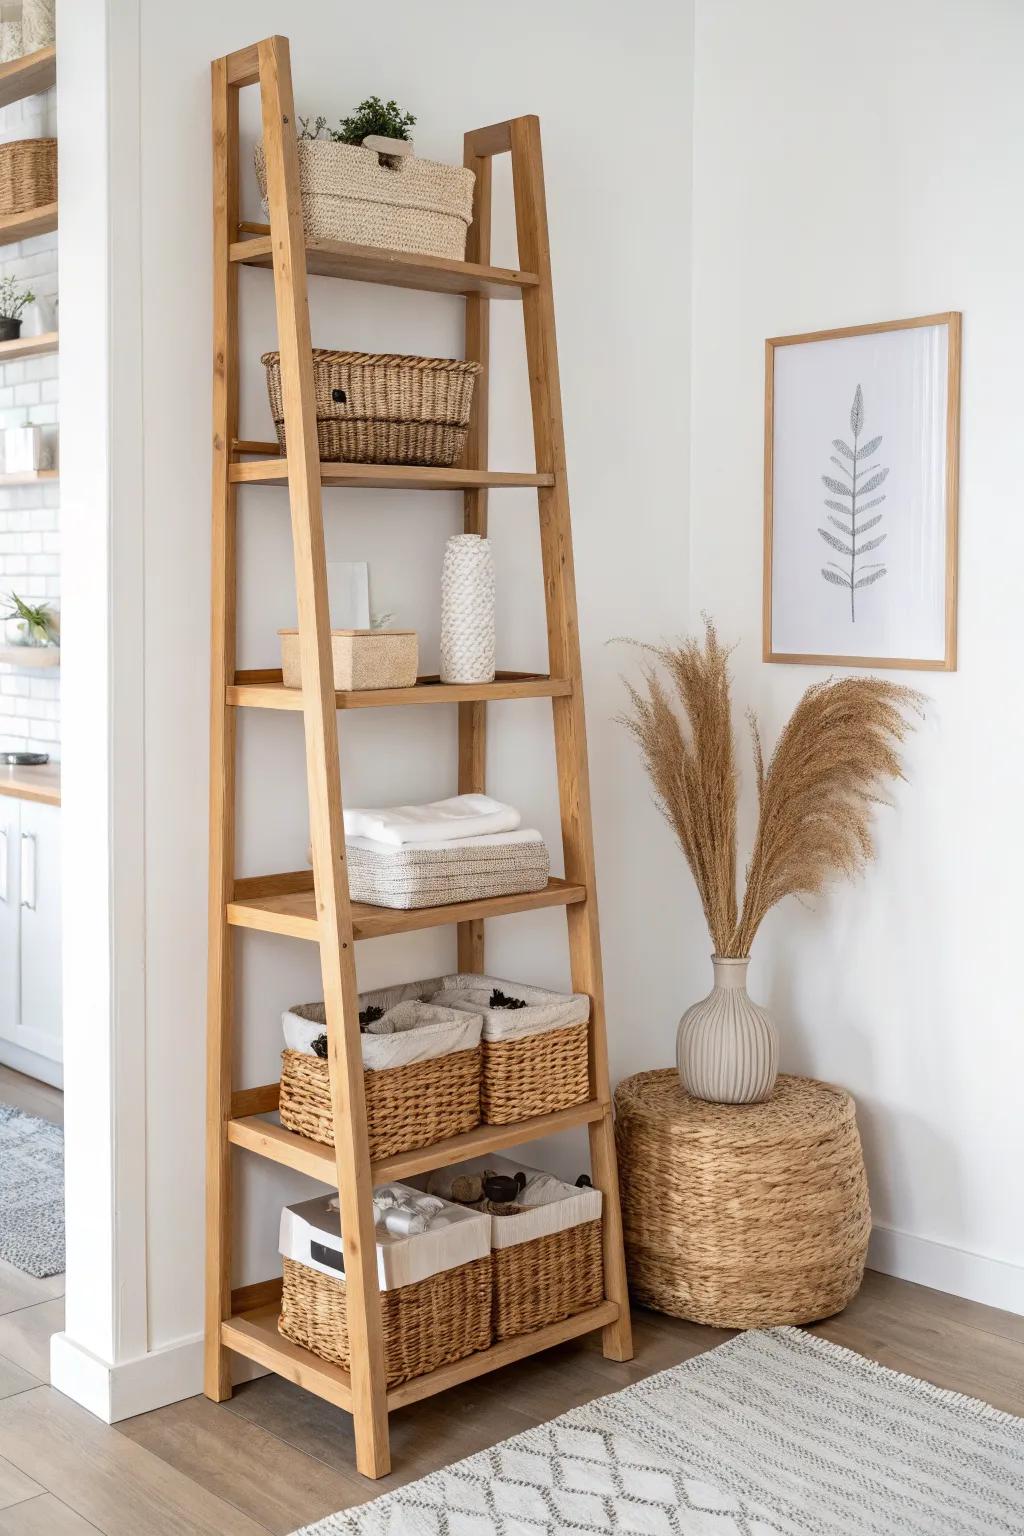
When I added vertical storage with shelves up near the ceiling, my craft room instantly felt bigger because the clutter moved up and off my desk. I stash rarely-used supplies (extra canvases, bulk refills, seasonal stuff) on the top shelf so the everyday area stays open.
These products might help:
- Freestanding Ladder Shelf: Maximize your vertical space and display craft supplies stylishly with an open-tiered shelving unit like this.
- Woven Storage Baskets: Hide clutter and organize loose items by adding matching natural woven baskets to your lower shelves.
- Large Round Ottoman Pouf: Add texture and a cozy touch to your craft corner with a natural fiber floor pouf.
Sort Small Supplies in Clear Drawers
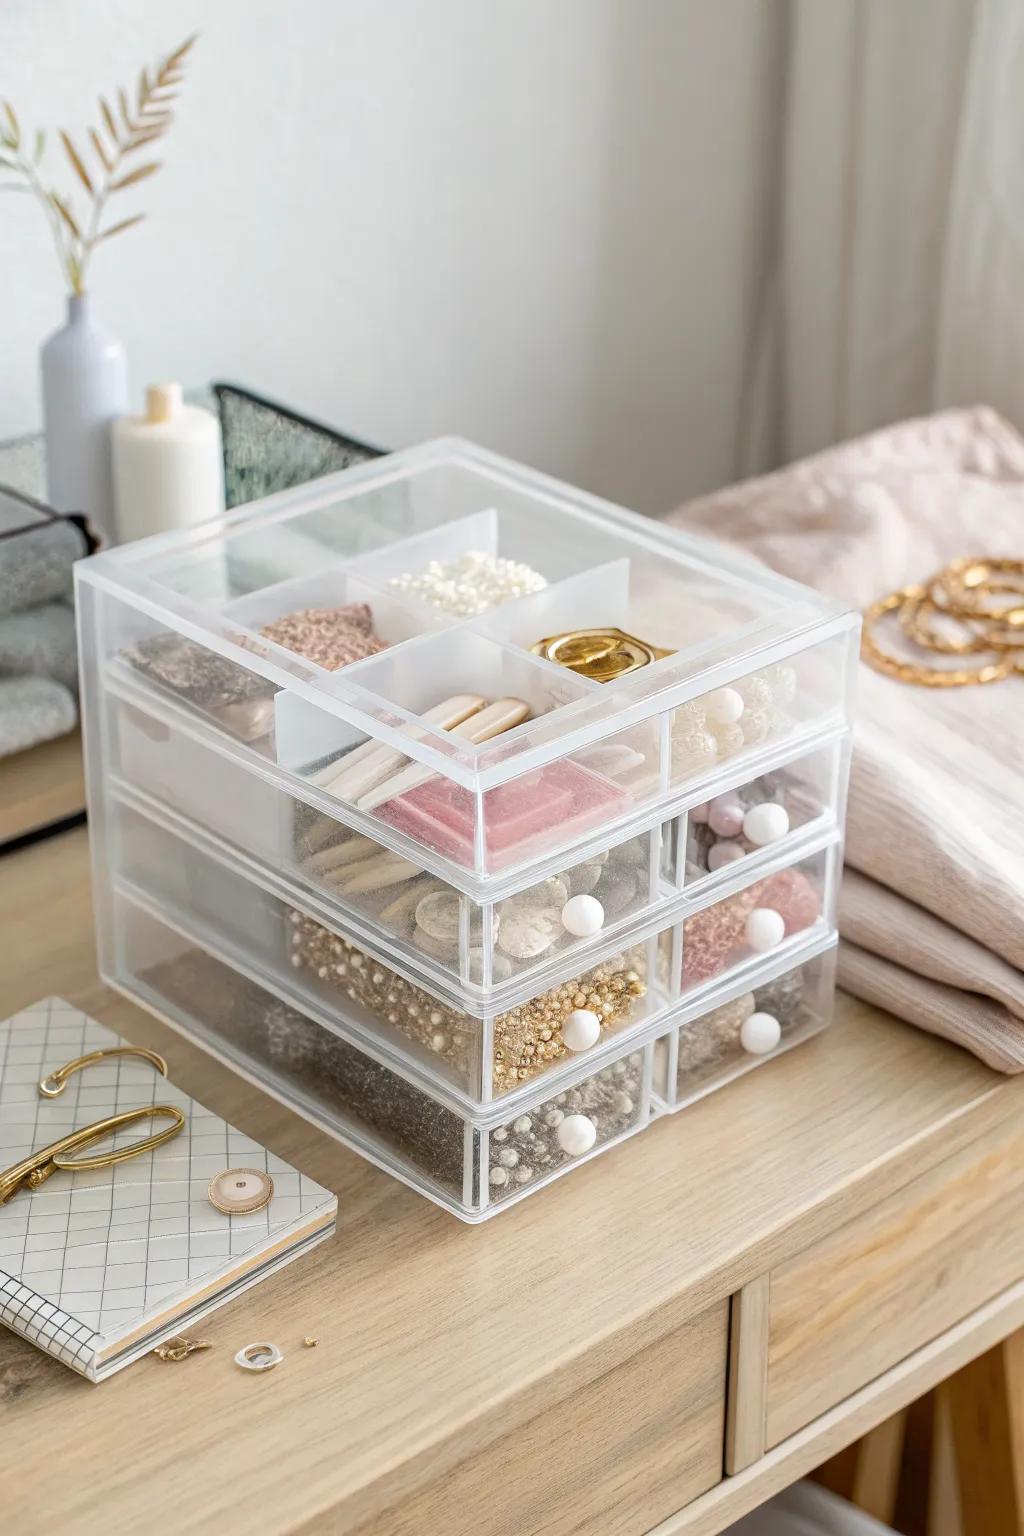
For beads, buttons, and findings, I swear by clear drawer units because I can see what I have without dumping anything out. I keep a “top drawer” just for my most-used little items, and it saves me so much time when I’m crafting fast.
Useful items to consider:
- Clear Stackable Drawer Organizers: Keep your beads and buttons visible and accessible with these versatile, modular clear drawer units for smart storage.
- Acrylic Jewelry Storage Box: Protect delicate findings in shallow, compartmentalized drawers designated for your smallest items to keep your workspace tidy.
- Multi-Compartment Bead Organizer: Sort varied craft supplies effortlessly using organizers with divided sections, perfect for separating colors and types efficiently.
Color-Code Your Craft Supplies
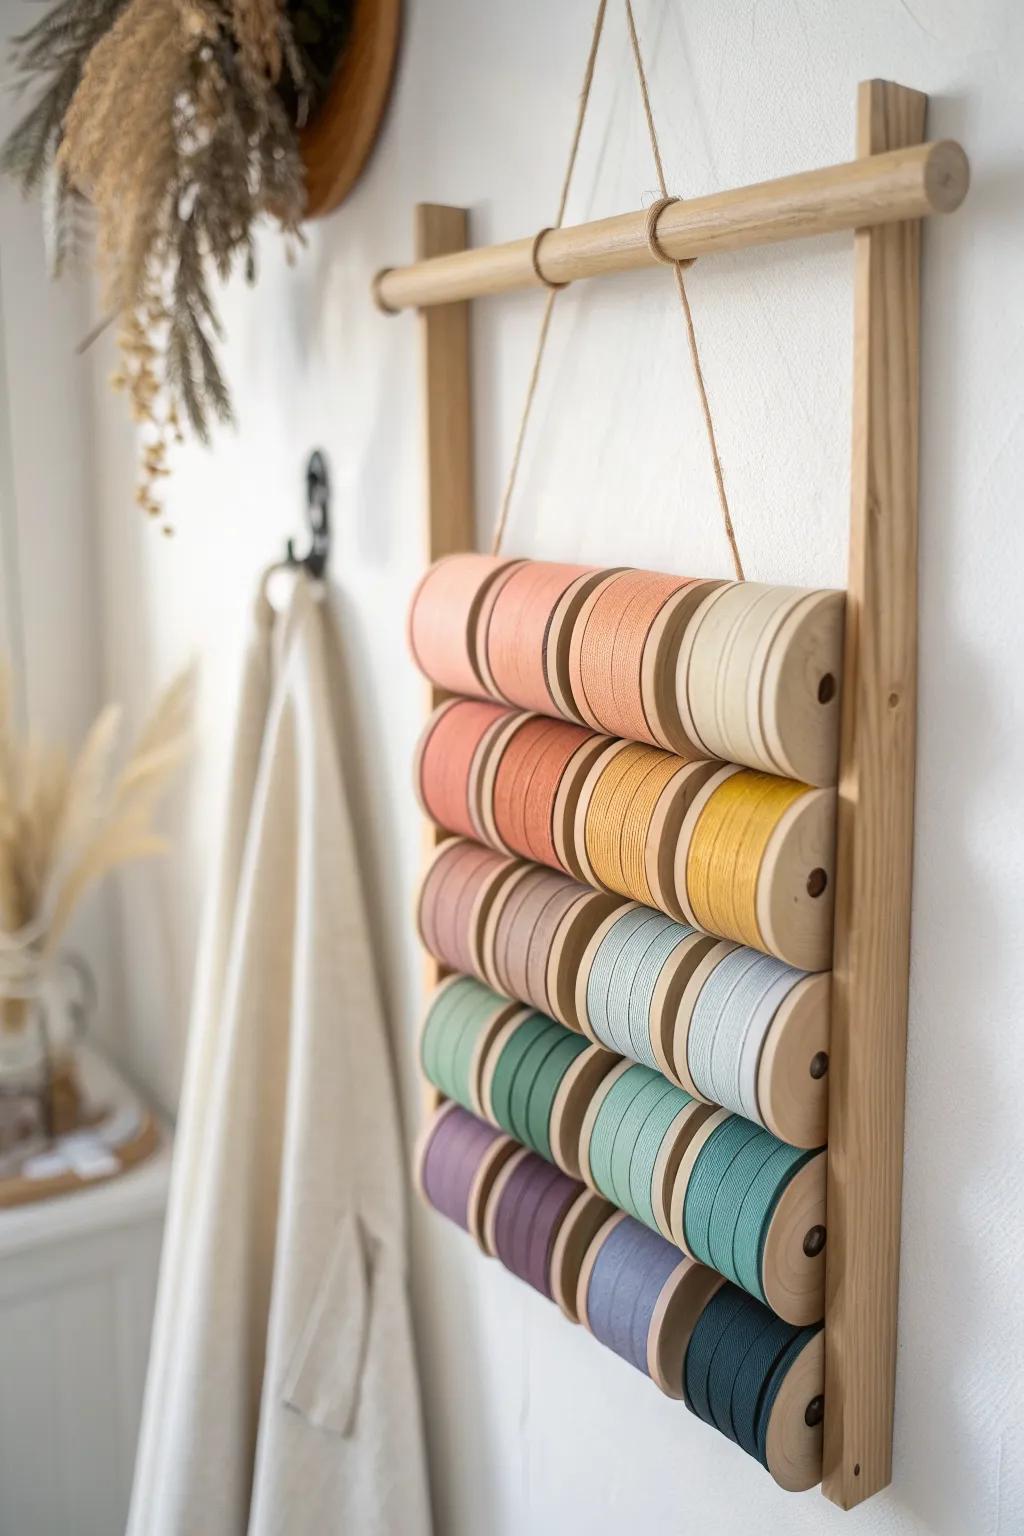
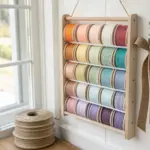
I started color-coding my cardstock, yarn, and ribbon, and it turned my craft room storage into decor I actually enjoy seeing. Bonus: when I’m working on a palette, I can grab everything I need without hunting.
A few choices to try:
- Wooden Ribbon Rack: Display your colorful ribbons neatly on a wall-mounted rack to turn your supplies into beautiful, functional decor.
- Colorful Ribbon Spools: Stock up on ribbons in varied shades to create your own satisfying gradients and coordinated craft projects.
- Wall Hooks: Use simple hooks to securely hang your organizers, keeping your workspace clear and your materials accessible.
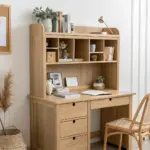
Store Paper Upright, Not Stacked
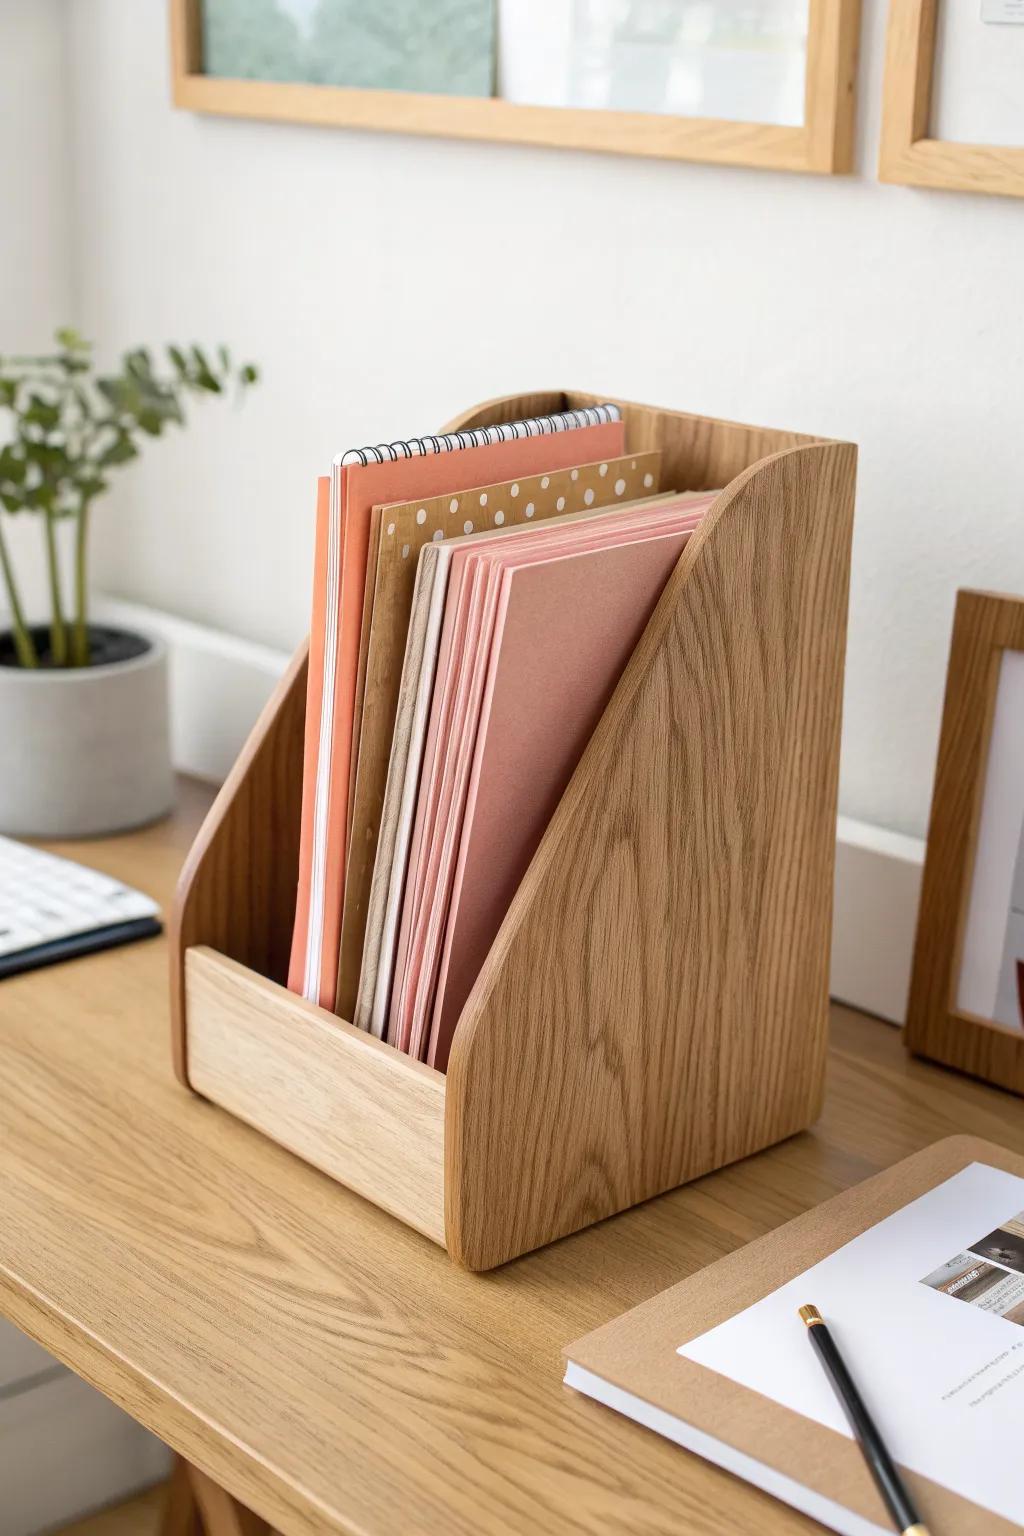
Stacked paper always became a bent, messy tower for me, so I switched to vertical paper storage using magazine-style holders. In my craft room, I separate cardstock, scrap paper, and specialty sheets so I can pull one piece without wrecking the pile.
Some handy options:
- Wooden Magazine File Holder: Keep your craft papers organized and easily accessible while adding a warm, natural touch to your workspace.
- Vertical Desktop File Sorter: Tidy up loose sheets and notebooks by sliding them into this sturdy vertical sorter for quick retrieval.
- Multi-Section Paper Organizer Stand: Separate your cardstock from scrap paper efficiently with a divider stand designed to prevent clutter pile-ups.

Make a Ribbon and Tape Dispenser Row
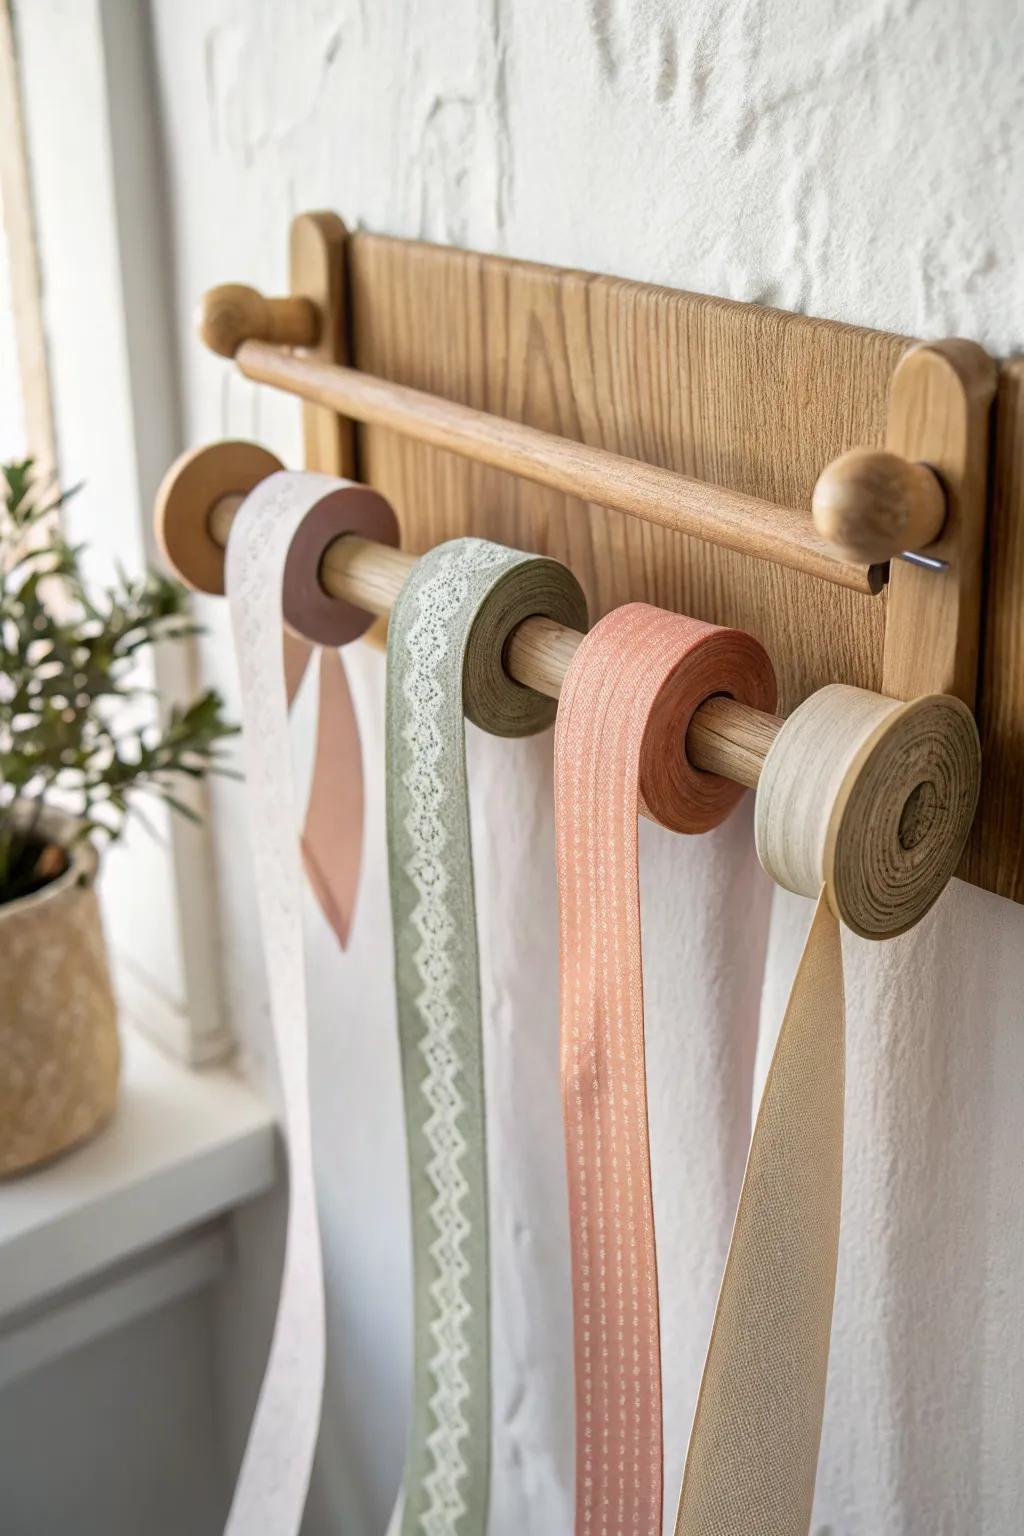
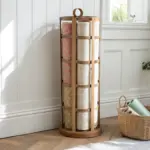
Ribbon spools and decorative tape used to tangle nonstop in my craft room until I put them on dowels so they dispense smoothly. I group by type (gift wrap ribbon, fabric ribbon, narrow tapes) and it keeps the “stringy chaos” under control.
You might like:
- Wall-Mounted Wooden Ribbon Rack: Install a dedicated rack with removable dowels to easily access and display your favorite ribbons and tapes.
- Wooden Dowel Rods (Assorted Sizes): Create your own custom dispenser system or replace old rods to fit various spool sizes perfectly.
- Wooden Curtain Rod Brackets: Use these simple supports to hold your dowel rod firmly against the wall for a DIY dispenser.
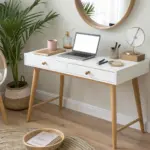
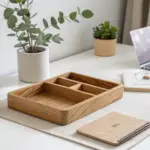
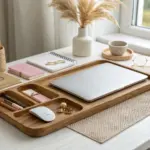
Keep Desktop Tools in Grab-and-Go Caddies
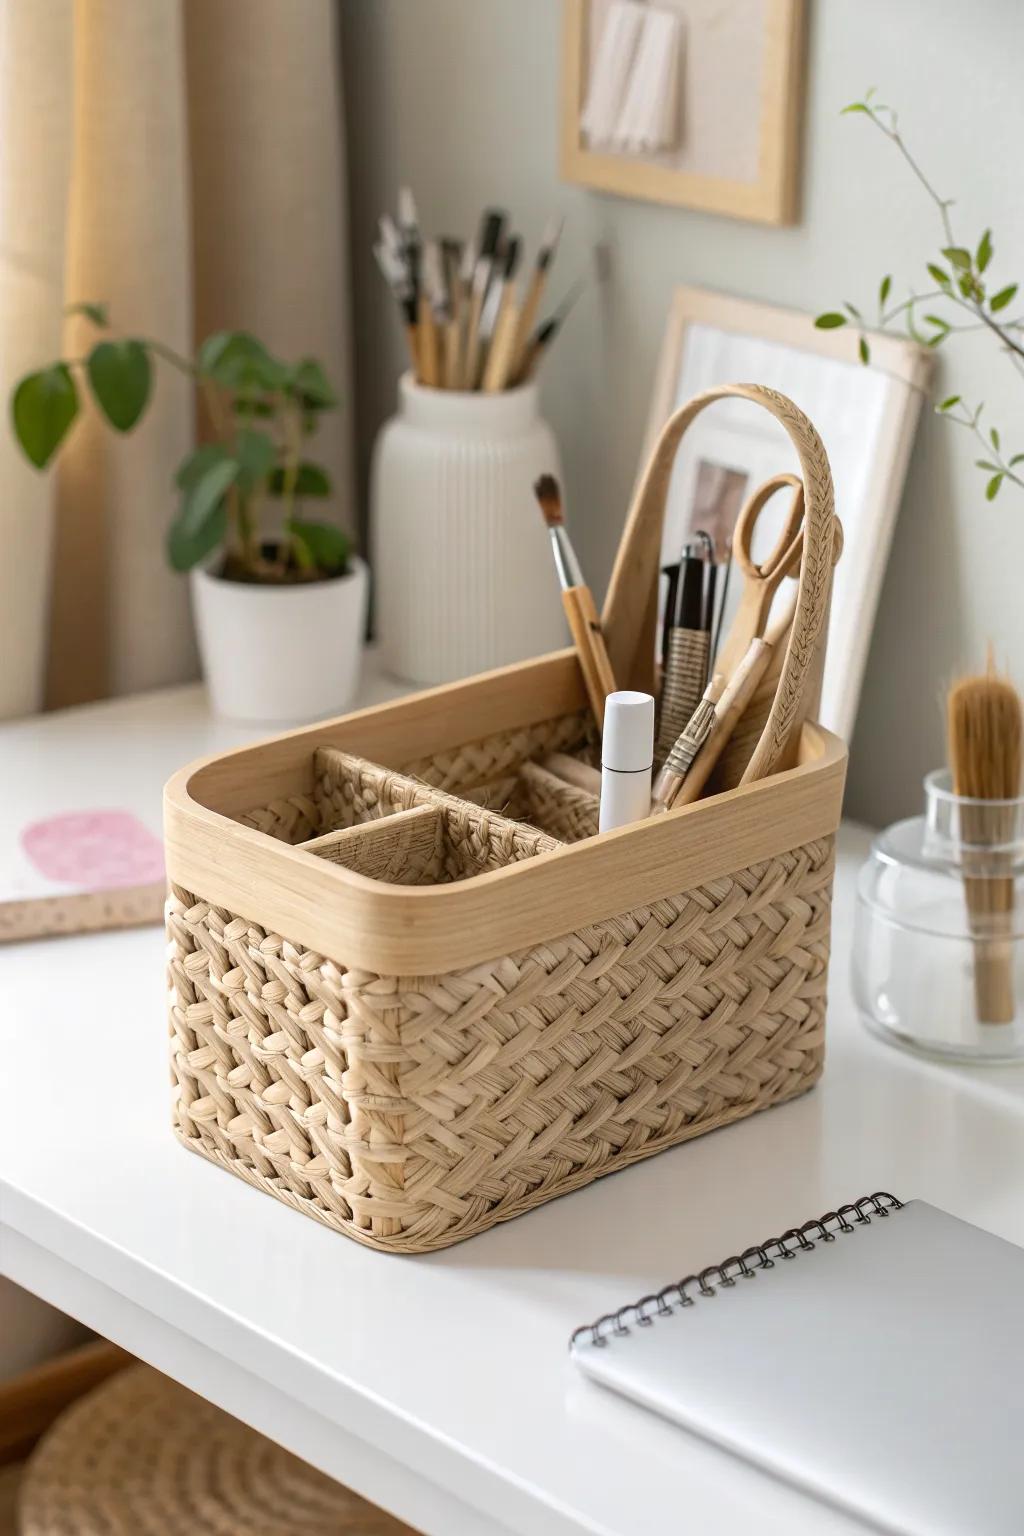
I used to scatter pens, brushes, and cutters across my craft table, so now I corral them in tool caddies that I can lift and carry. In my craft room, I keep one caddy per “tool vibe,” like cutting tools in one and marking tools in another.
Check these products out:
- Woven storage caddy with handle: Organize your essential tools in style with a portable woven basket that keeps everything within reach.
- Bamboo desktop organizer: Divide your markers and brushes neatly using a sturdy bamboo organizer perfect for any craft surface.
- Portable art supply tote: Transport your creative gear easily between workstations with a dedicated tote designed for varied supplies.
Turn the Back of the Door into Storage
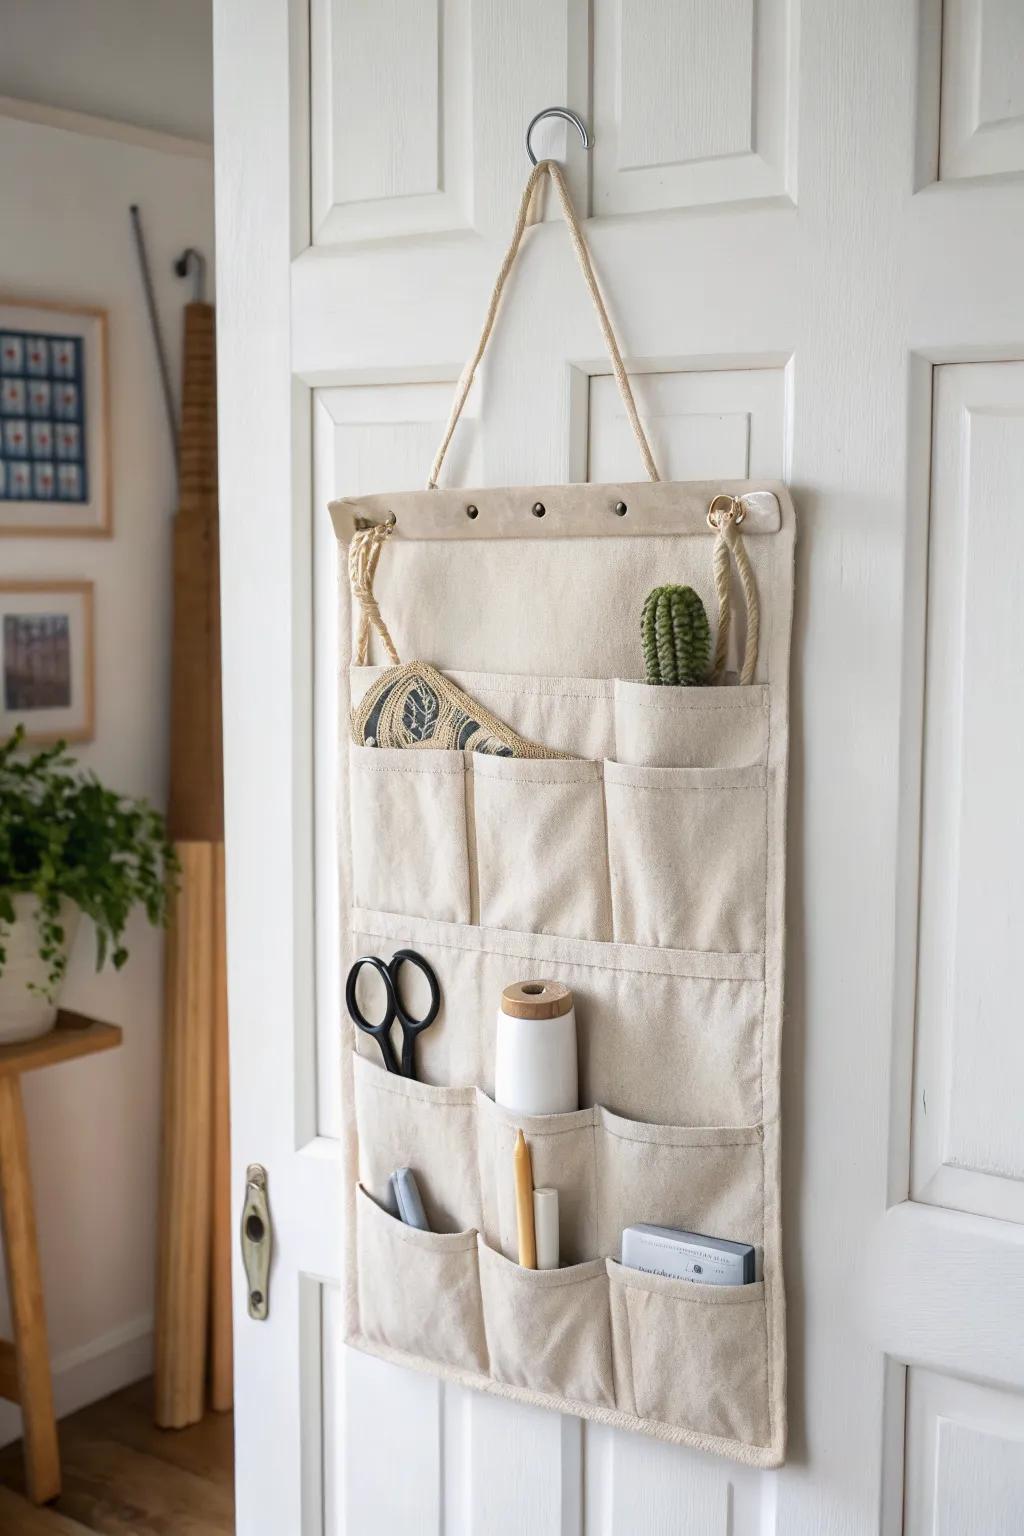
I love a door organizer in a craft room because it’s basically free square footage you’re already paying for. I use mine for adhesives, corded tools, and spare scissors, and it stopped my drawers from becoming a tangled cord situation.
Possibly helpful picks:
- Hanging Door Organizer with Pockets: Maximize your vertical space by hanging a fabric organizer for easy access to scissors, glue, and essential tools.
- Over-the-Door Metal Hook: Secure your hanging storage effortlessly with sturdy metal hooks designed to fit over most standard interior doors.
- Small Artificial Potted Plants: Add a touch of greenery to your workspace pockets for a refreshing and inspiring creative atmosphere.
Hang a Ceiling Drying Line for Projects
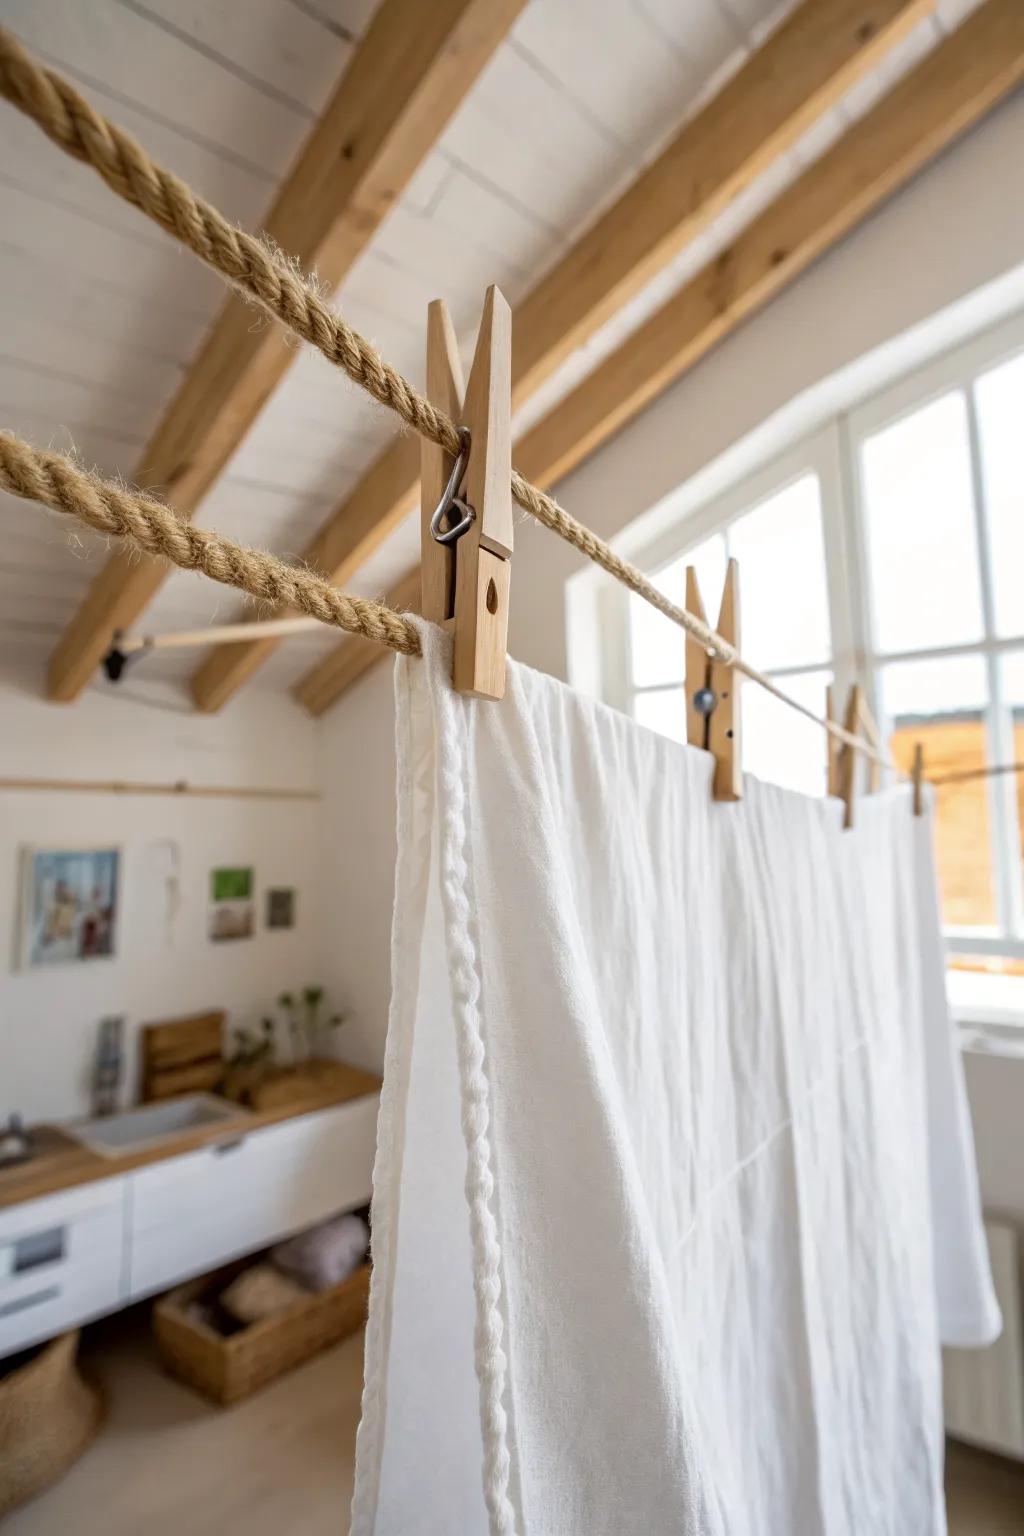
When I was painting in a cramped craft room, I rigged a simple drying line near the ceiling so wet pieces could dry without stealing desk space. I clip art, fabric swatches, and test prints up there, and it feels like a little mini studio trick.
Check if these fit your needs:
- Thick Jute or Hemp Rope: Create your rustic drying line base by securing a durable, natural fiber cord across your workspace.
- Large Wooden Clothespins: Securely hold heavier fabric swatches or art prints in place with these classic, sturdy wooden clips.
- Ceiling or Wall Hooks: Anchor your drying line safely to the ceiling beams or walls with these heavy-duty mounting hooks.
Create a Scrap Bank and Reset Tray
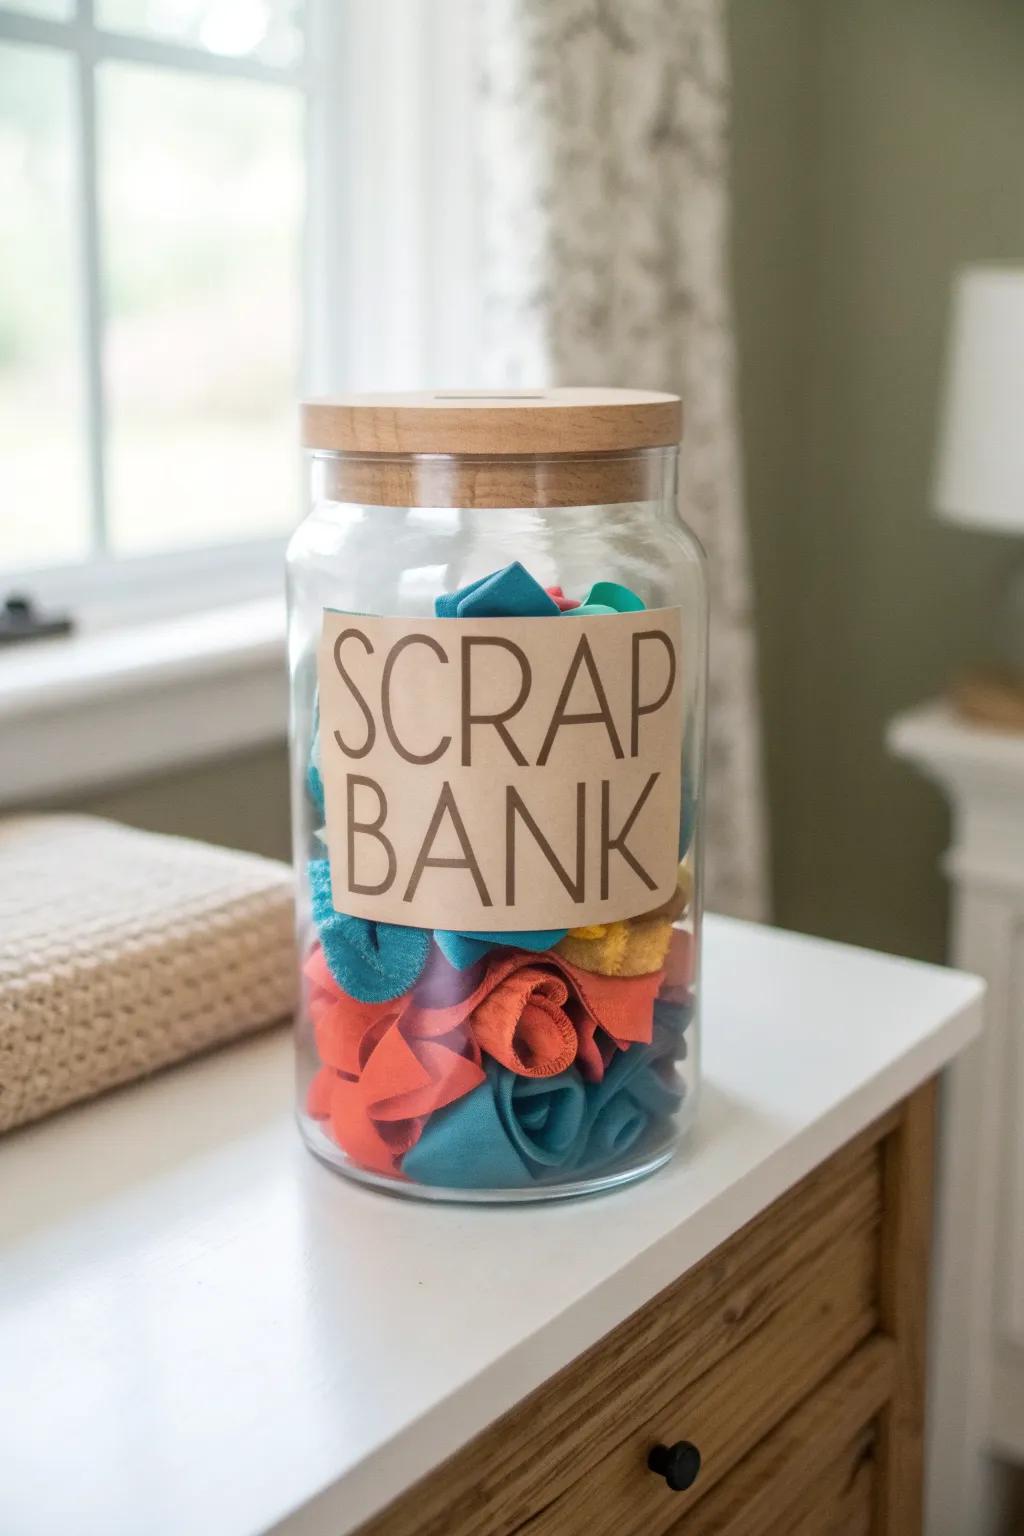
My craft room stays organized longer when I keep one scrap bank container for “good leftovers” and one small tray for “put-away later today.” I do a quick weekly reset where I empty the tray back into labeled homes, and it prevents the slow creep back to clutter.
You might give these a try:
- Large Glass Storage Jar with Wooden Lid: Store your colorful scraps in clear glass jars to keep leftovers organized while adding visual charm to your space.
- Customizable Adhesive Labels: Create a cohesive look by labeling your jars clearly, ensuring every scrap container is easily identified at a glance.
- Small Decorative Tray or Basket: Use a dedicated tray to corral daily clutter before putting items away, keeping your workspace consistently tidy and clear.


