A blank whiteboard can look a little intimidating, but it’s basically the easiest way to create a tiny-space command center. I’ve tested these white board organization ideas in my own small apartments, and the right layout really does make life feel calmer overnight.
Kanban With Sticky Notes
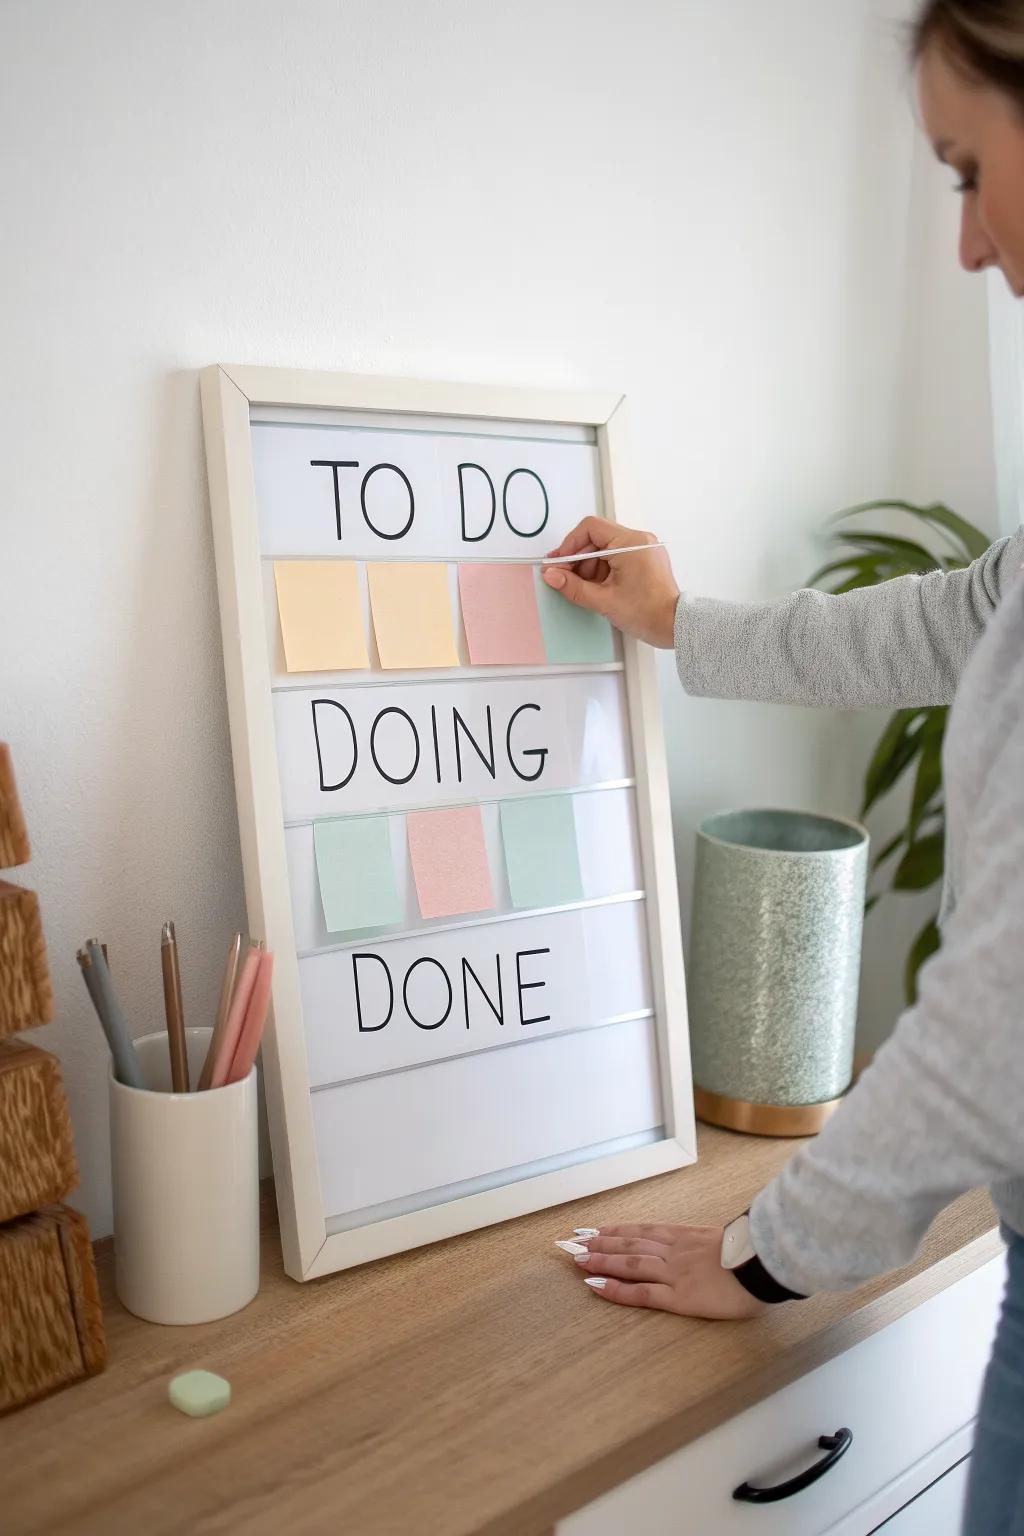
I turned my whiteboard into a mini Kanban board—To Do, Doing, Done—using sticky notes so tasks can move without re-writing. In my small-space clients’ homes, this is the easiest way to manage shared projects like decluttering or prepping for guests.
A few helpful options:
- Framed Magnetic Whiteboard: Transform your wall into a stylish productivity hub with a framed whiteboard perfect for tracking daily tasks.
- Pastel Sticky Notes Set: Organize your workflow visually using these colorful sticky notes that move easily from stage to stage.
- Dry Erase Markers: Label your Kanban columns and add quick details to your board with these versatile, erasable markers.

Tape Grid Calendar Layout
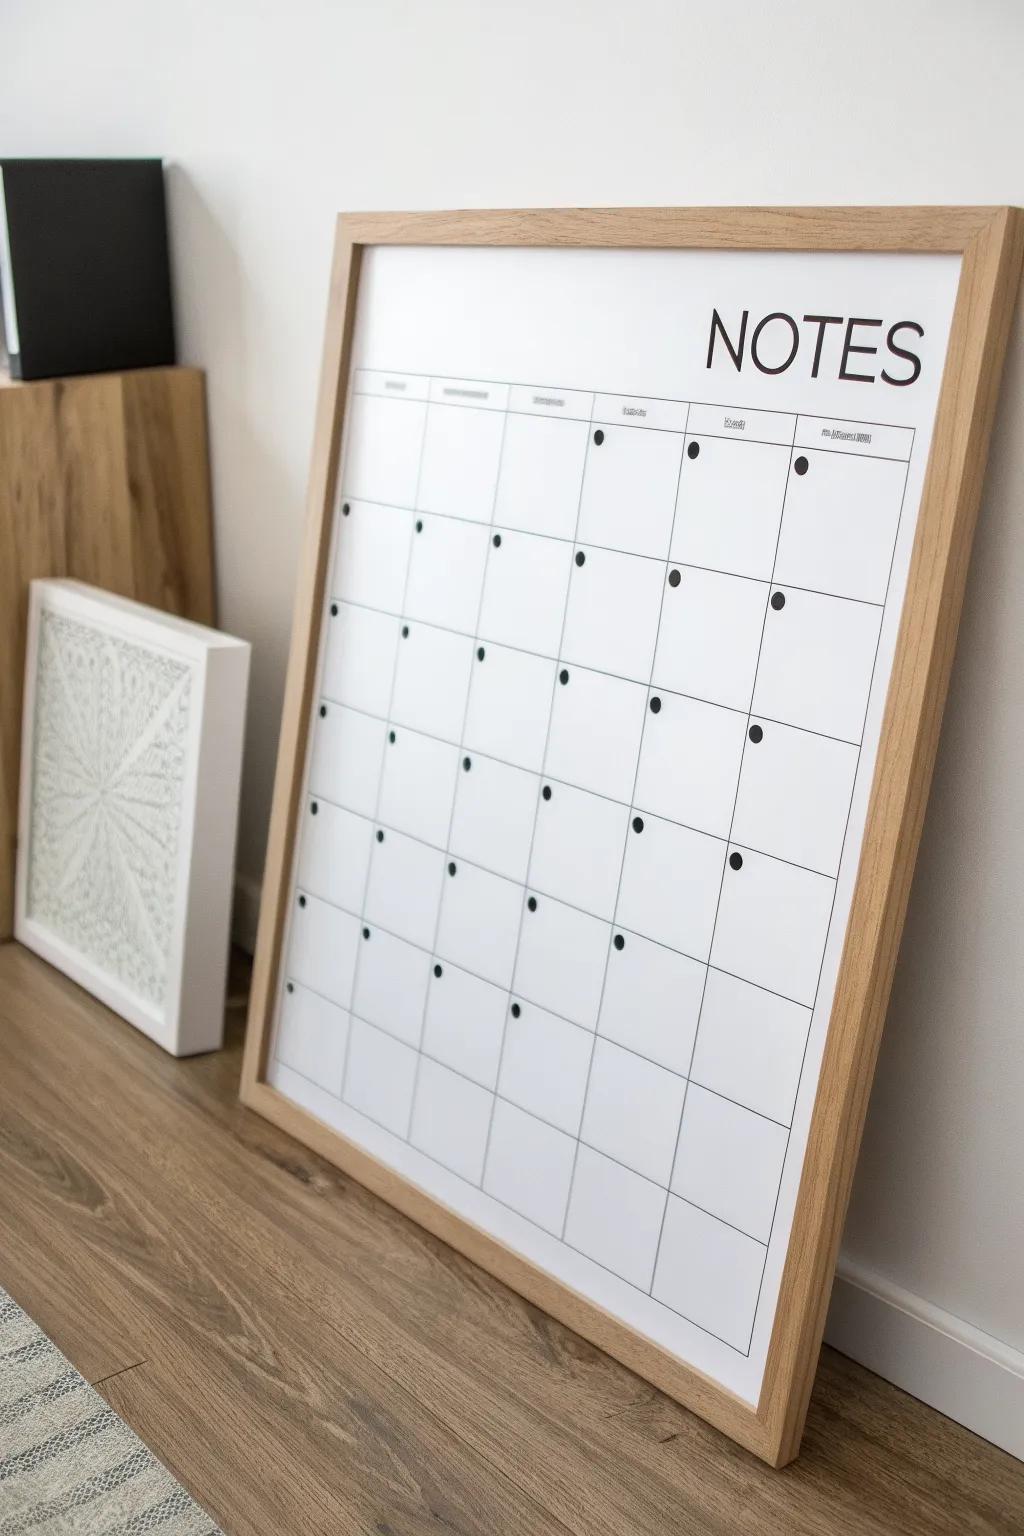
I use thin tape lines to turn my whiteboard calendar into clean boxes, and it instantly stops that “messy scribble” look. If you try this, leave one skinny column for notes—it’s where I catch all the random stuff I’d otherwise forget.
Give these a look:
- Thin Whiteboard Grid Tape: Create clean, permanent lines on your board to separate days and sections without using ink markers.
- Large Framed Whiteboard: Start with a clean, wood-framed surface that mimics the aesthetic shown in the example image perfectly.
- Fine Tip Dry Erase Markers: Write clear, legible notes in your new grid boxes without cluttering the small spaces you created.


Meal Plan and Grocery Split
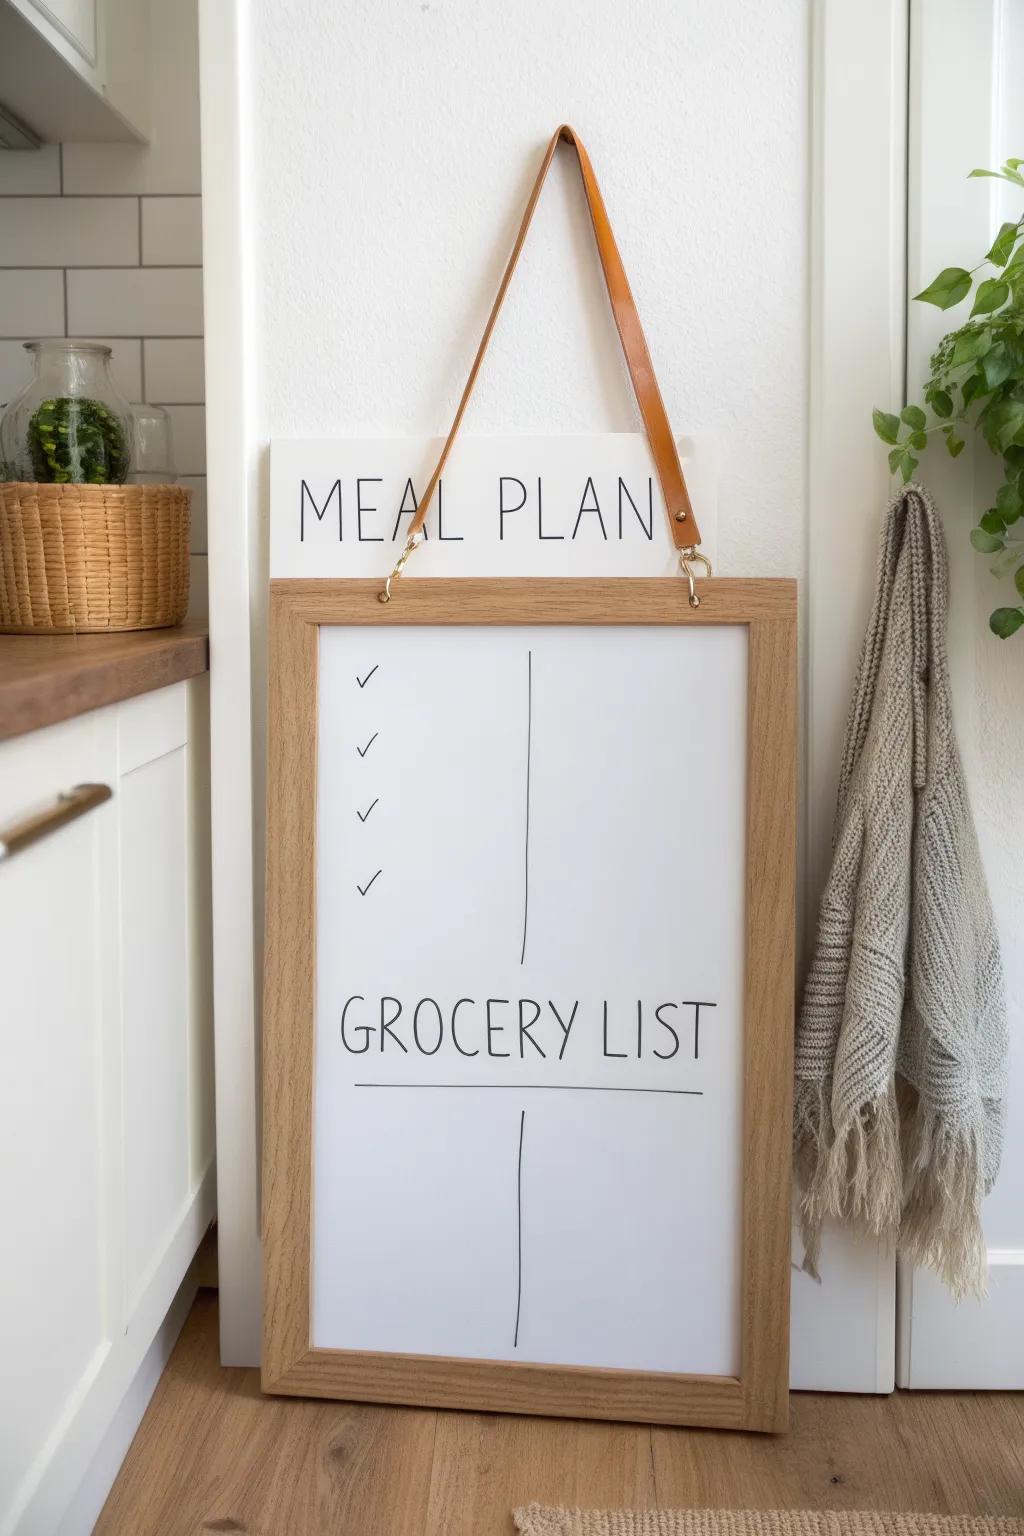
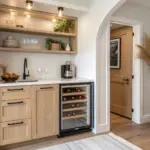
I split my whiteboard down the middle: meal plan on the left and grocery list on the right, so I’m not hunting through my phone mid-cooking. This saved me so much money in my 450 sq ft place because I stopped buying “backup” ingredients I already had.
Some handy options:
- Framed Vertical Whiteboard: Choose a stylish, framed board to create a functional command center that blends seamlessly with your kitchen decor.
- Fine Tip Dry Erase Makers: Use fine-point markers to neatly write out detailed lists and draw clear dividing lines on your board.
- Leather Strap Hanging Kit: Add a decorative leather strap to your board for a custom, modern farmhouse look that saves counter space.

Chore Chart With Moveable Magnets
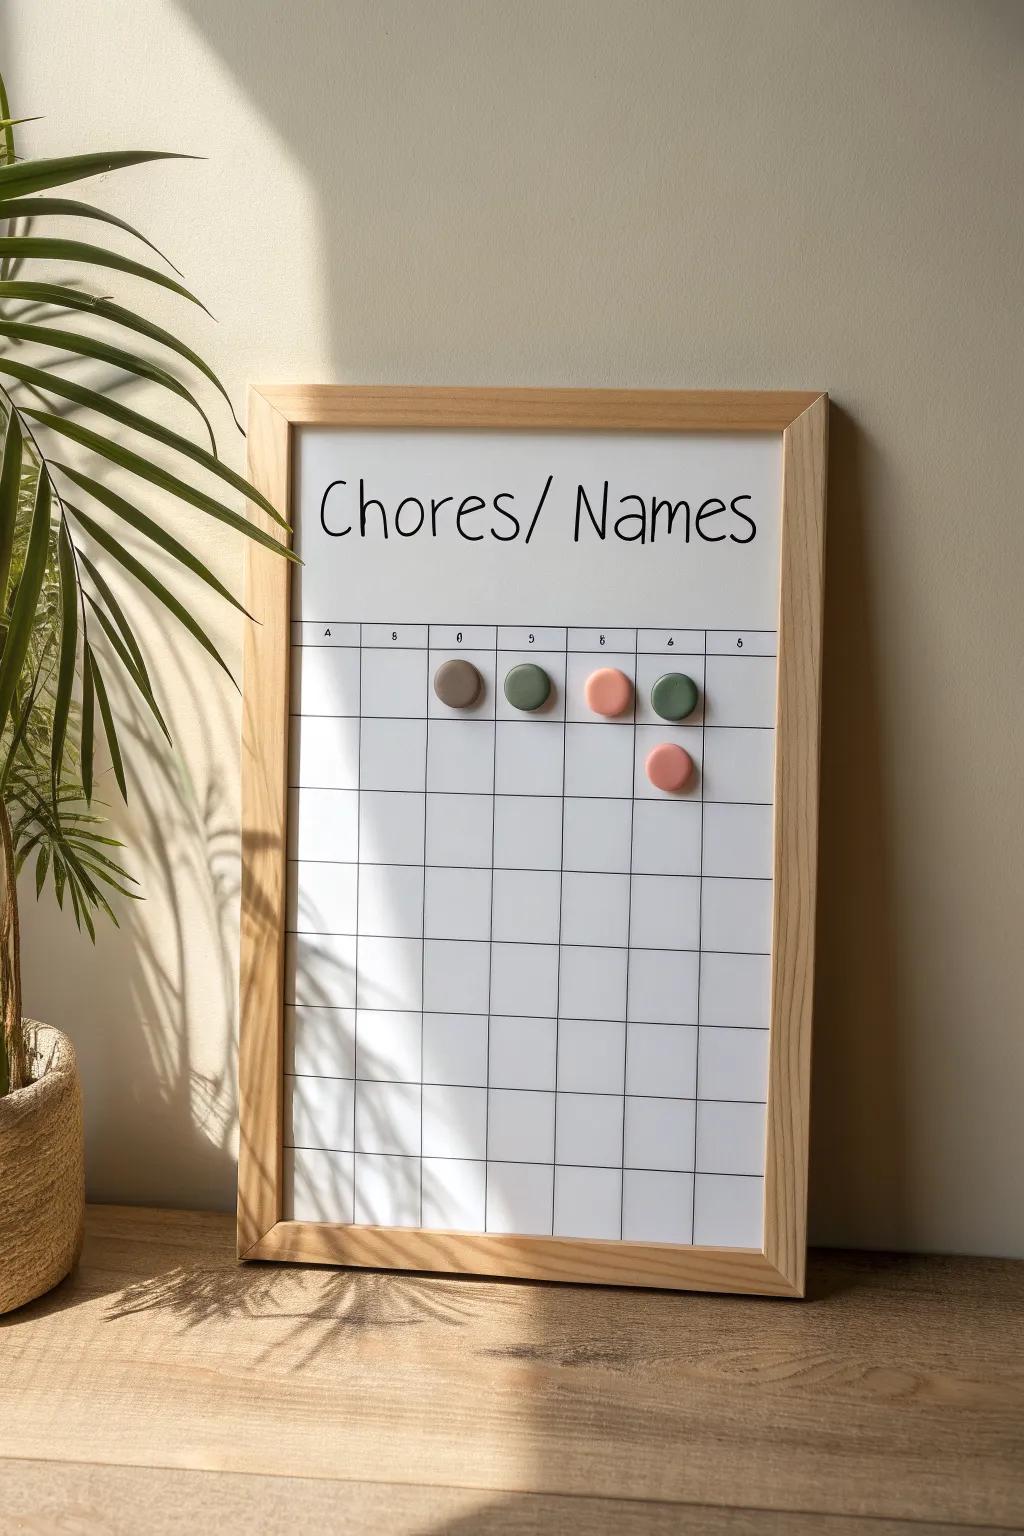
On my whiteboard, I set up a simple chore chart and use little moveable magnets to mark who’s on what task. I’ve used this in tiny shared spaces where no one wants a long meeting—one quick look and it’s settled.
Explore these options:
- Grid Layout Whiteboard: Organize your tasks efficiently with a pre-lined whiteboard, perfect for creating clear columns for names and chores.
- Small Round Magnets: Use these colorful, compact magnets to easily assign tasks and move them around as chores are completed.
- Fine Point Dry Erase Markers: Write specific names and detailed chore descriptions clearly in small grid spaces with these precision markers.
To Do and Done Columns
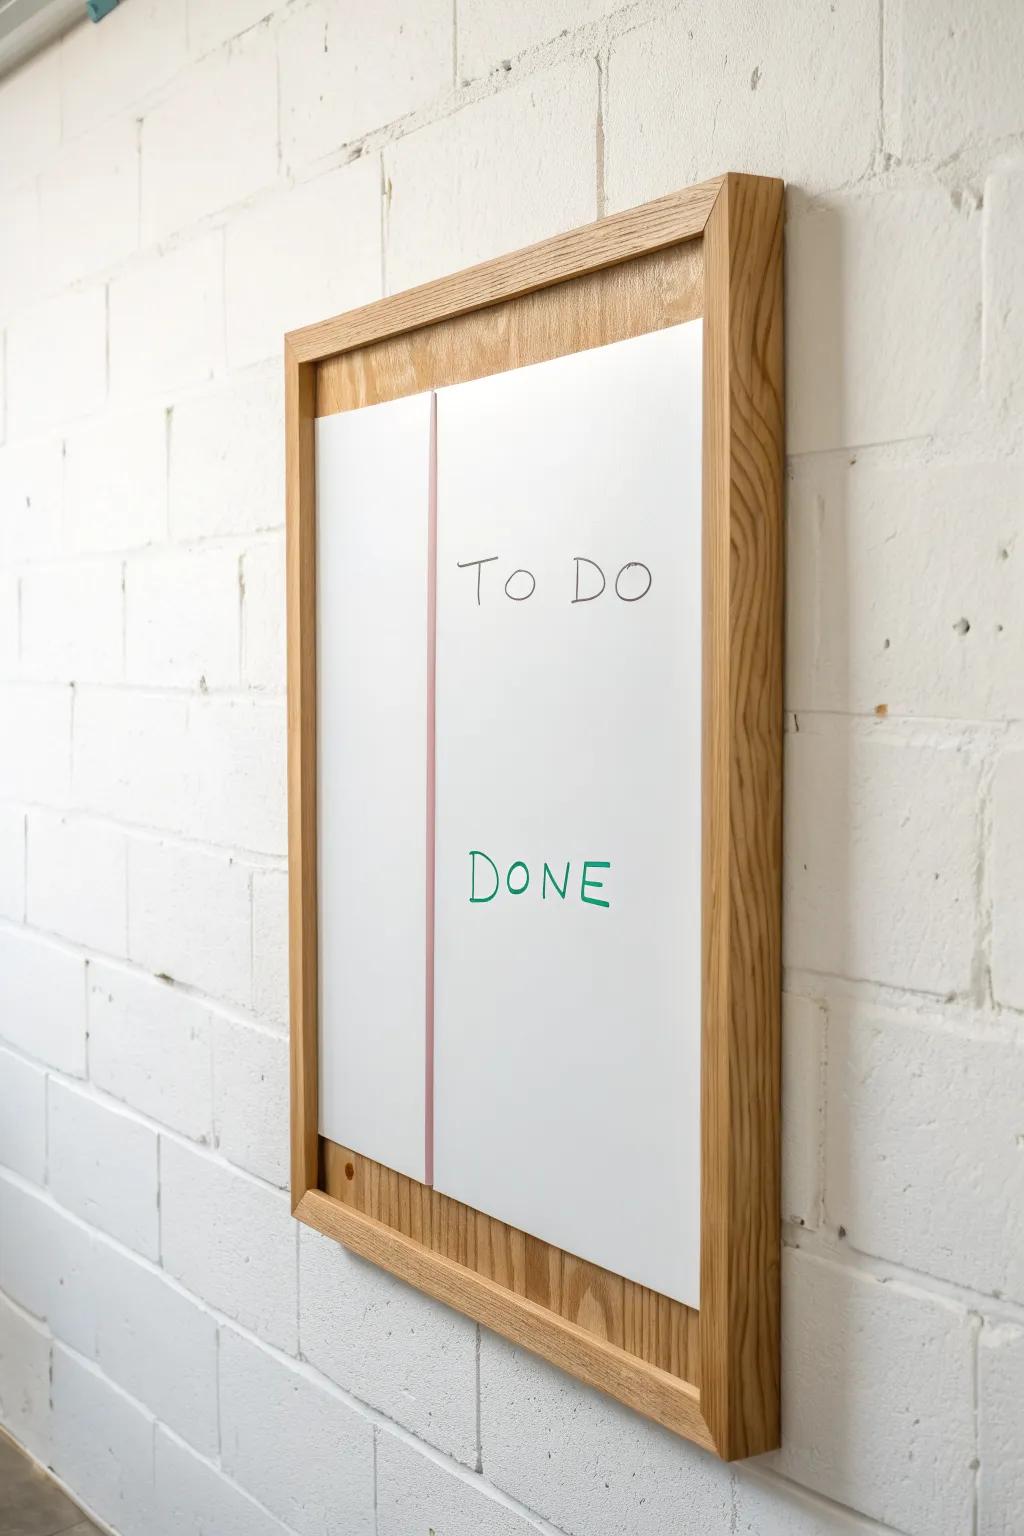
My simplest whiteboard setup is two columns: To Do and Done, because the “Done” list is weirdly motivating. I started doing this during a busy work season, and it made my days feel more finished (even when they weren’t perfect).
Check if these fit your needs:
- Framed Whiteboard: Replicate the clean, framed aesthetic of the image with a stylish wood-framed whiteboard for your workspace.
- Pinstripe Graphic Tape: Create a sharp, permanent divider line between your ‘To Do’ and ‘Done’ columns without using ink markers.
- Fine Tip Dry Erase Markers: Write clear tasks and headings with fine-point markers that offer precision for neater lists and better legibility.
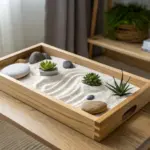
Waiting On Follow-Up Box

I keep a “Waiting On” box on my whiteboard for anything pending—returns, landlord fixes, emails I need answered. This one little section has saved me from that annoying loop of “I know I’m forgetting something…what is it?”
You might give these a try:
- Wood Framed Magnetic Whiteboard: Replicate the clean, Scandinavian look of the image while keeping your pending tasks clearly visible and organized.
- Minimalist Black Dry Erase Markers: Ensure your list looks sharp and legible with fine-tip markers that offer precision for smaller writing spaces.
- Small Wooden Planter Pot: Complete the calming corner aesthetic by adding a touch of greenery next to your new organization station.
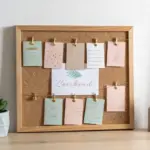
Magnetic Clip Paper Hub
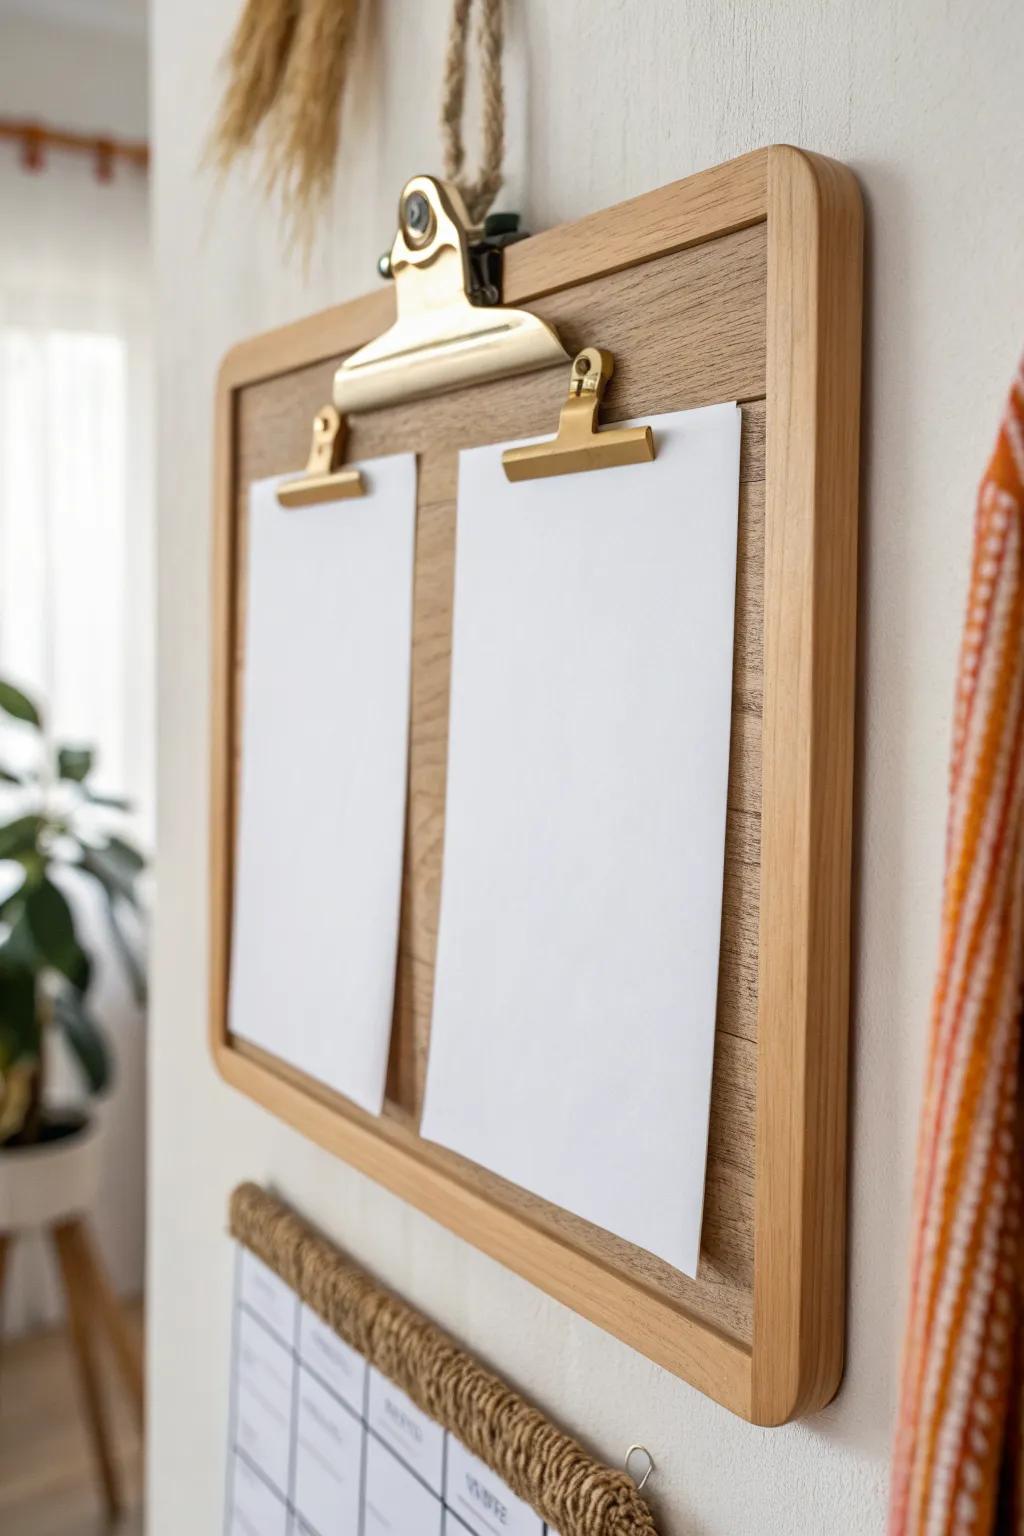
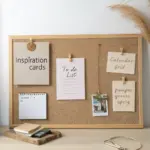
I use magnetic clips on my whiteboard to hold the two papers I actually need this week (not a whole pile that turns into clutter). In my apartment, this replaced a bulky countertop stack and instantly made my entry feel bigger.
Maybe worth checking out:
- Gold Metal Bulldog Clips: Upgrade your paper organization with these sturdy gold clips that secure documents while adding an elegant, metallic touch.
- Wooden Clipboard Organizer: Create a dedicated command center on your wall using a wooden board designed to display your essential weekly papers.
- Heavy Duty Magnetic Clips: Transform any magnetic surface into a functional display space for notes, photos, and lists with these strong holding clips.
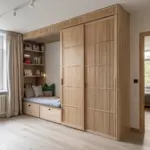
Door-Back Whiteboard Command Spot
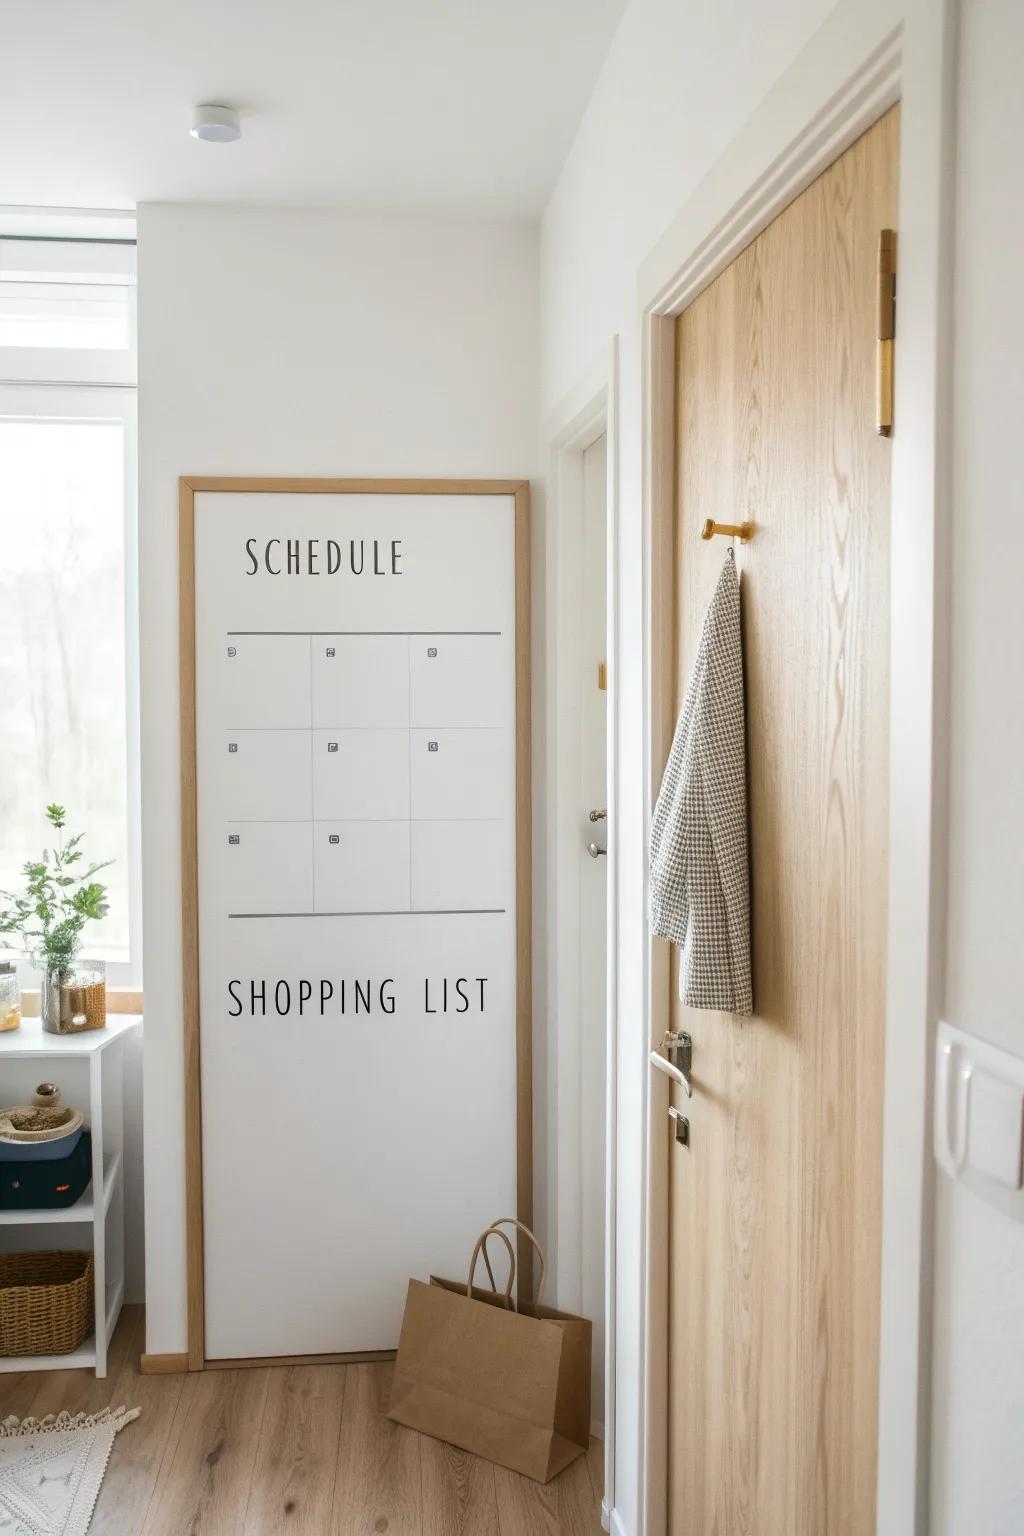
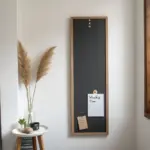
I’ve mounted a whiteboard on the back of a door when wall space was basically nonexistent, and it felt like I “found” an extra wall. If you do this, keep the layout simple—my go-to is schedule + shopping list.
These products might help:
- Adhesive Whiteboard Contact Paper: Transform any smooth door surface into a functional writing area quickly by applying this customizable, peel-and-stick whiteboard film.
- Framed Vertical Whiteboard: Choose a tall, framed magnetic whiteboard to hang on your door for a polished, built-in organizational look.
- Black Vinyl Letter Stickers: Create clear, professional headings for your schedule and lists using these easy-to-apply vinyl letter decals.
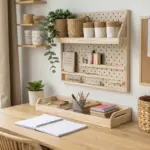
Vertical Whiteboard for Narrow Walls
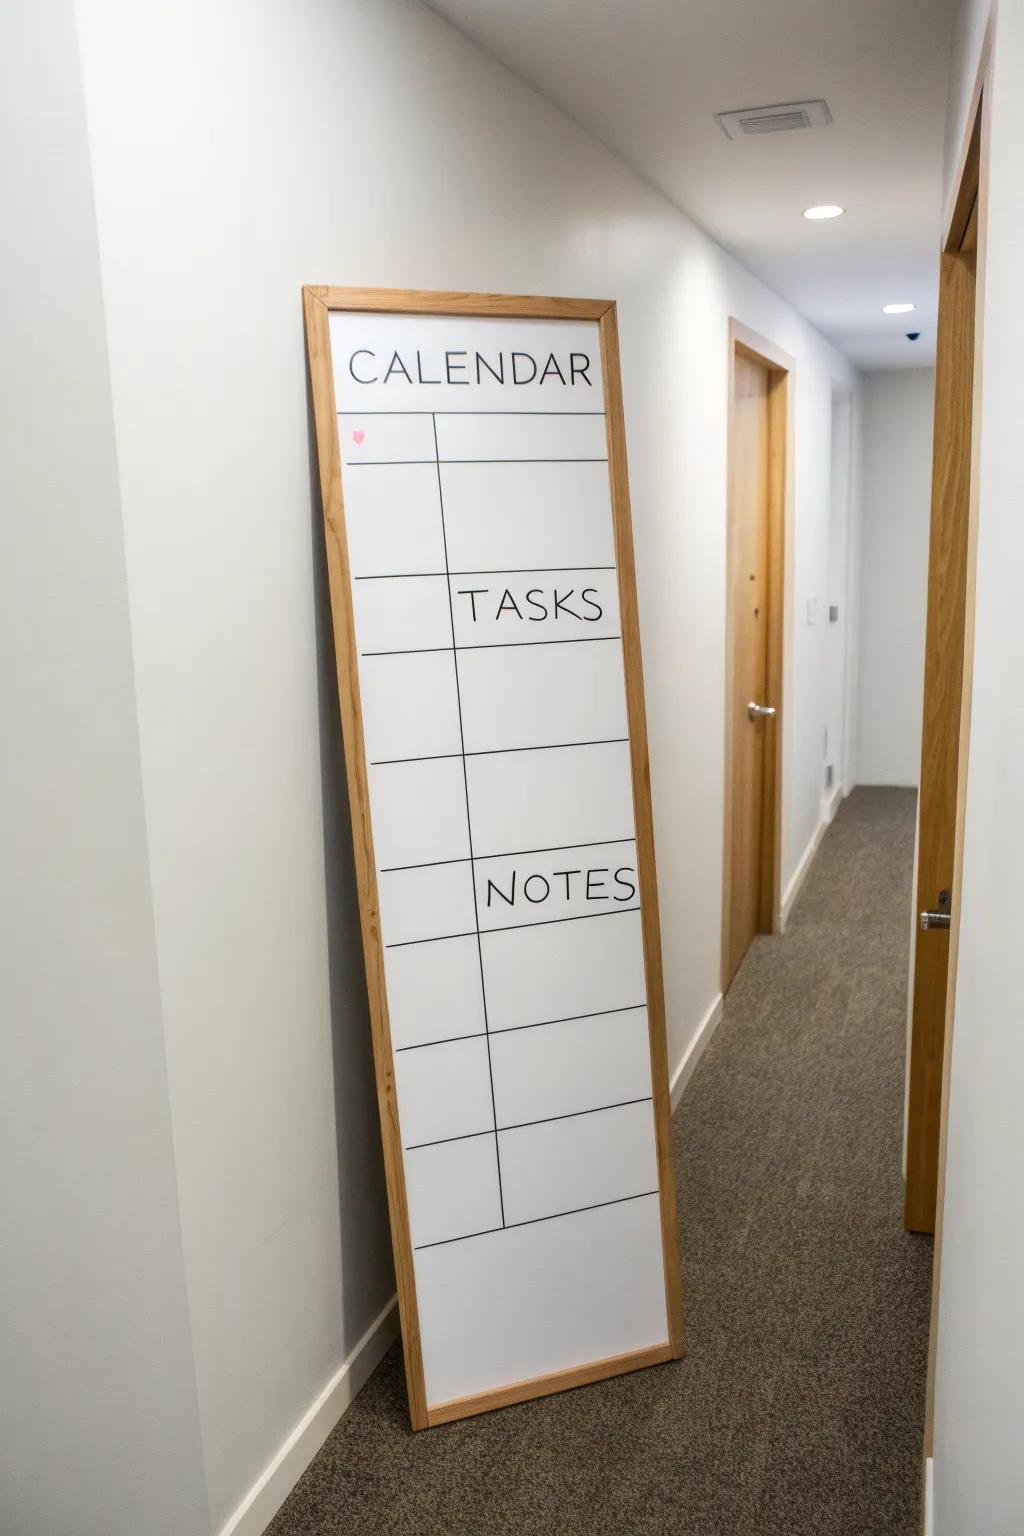
A tall, vertical whiteboard works amazingly in tight hallways because you can stack sections like calendar, tasks, and notes without needing width. I switched from a wide board to a vertical one and immediately stopped bumping into it in my narrow entry.
Consider these options:
- Tall Vertical Magnetic Whiteboard: Maximize narrow wall space with this tall format board, perfect for stacking your schedules and task lists vertically.
- Black Pinstripe Art Tape: Create custom sections for your calendar and notes easily with this thin tape that creates crisp, permanent lines.
- Fine Tip Dry Erase Markers: Keep your handwriting neat and legible within smaller designated sections using these precision fine-point markers.


