Taking kitchen cabinets to the ceiling is one of my favorite small-space moves because it instantly gives you more storage and makes the whole room feel taller.
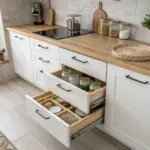
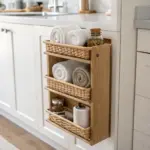
Bridge the Gap With Open Shelf Boxes
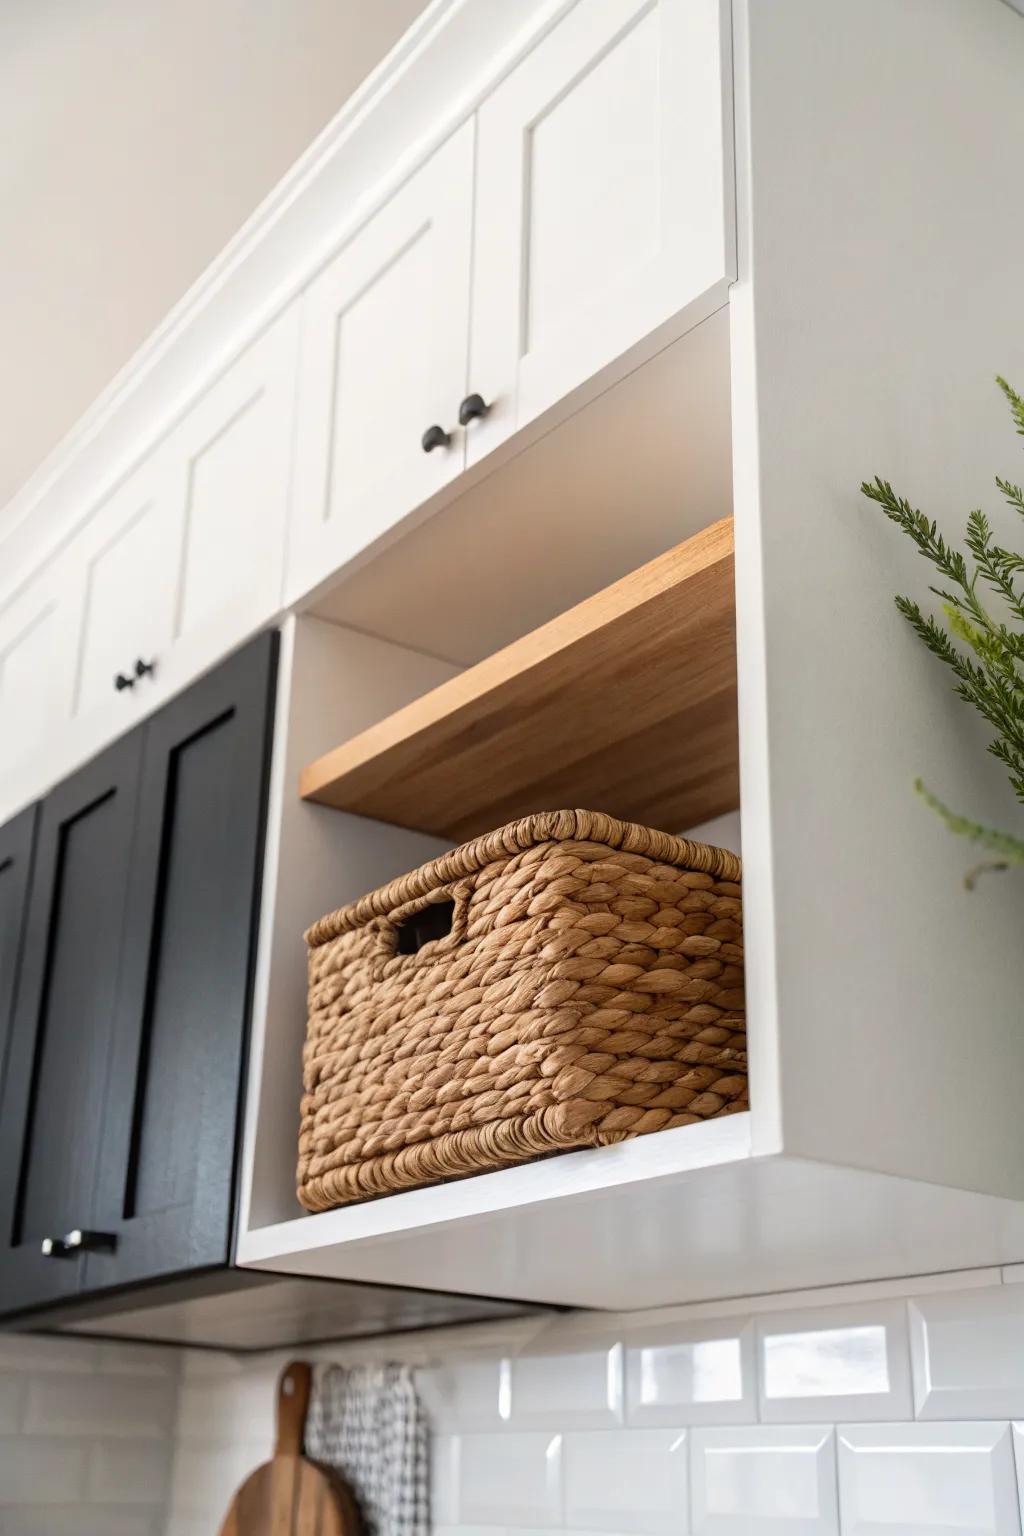
I’ve used open shelf boxes above cabinets in a rental where I couldn’t do a full install, and it made the height feel finished without heavy construction. It’s also an easy spot for baskets, which is my favorite way to make high storage look tidy.
Might be a good match:
- Woven Hyacinth Storage Baskets: Organize your high shelves with natural texture that hides clutter and adds a warm, finished look.
- Floating Wood Shelf Boards: Create a custom open shelving look above existing cabinetry to utilize vertical space for display or storage.
- White Cabinet Filler Panels: Build custom open boxes or trim out gaps between your cabinets and ceiling for a seamless appearance.
Add Double-Stacked Upper Cabinets
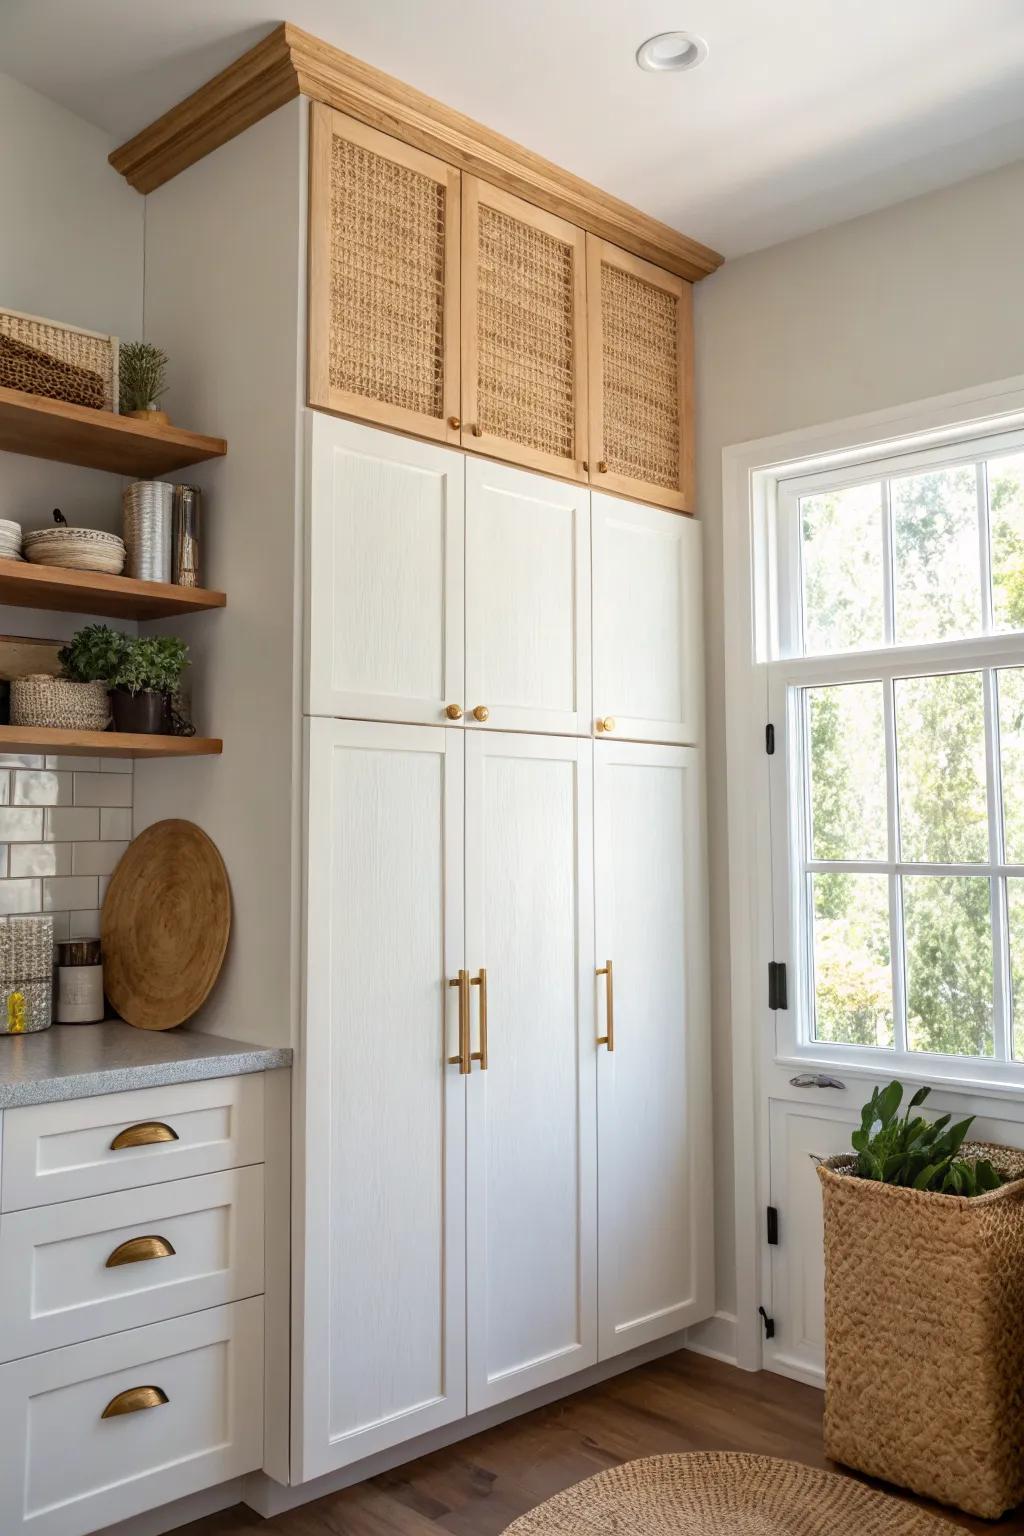
In my last apartment, I used stacked cabinets (standard uppers plus a shorter top row) to eat up that awkward empty space above the doors. It made my kitchen feel taller without changing the layout at all.
A few choices to try:
- Cane Webbing Roll: Upgrade standard cabinet doors with cane webbing to mimic the textured, custom look of high-end upper storage.
- Woven Storage Baskets: Use wicker baskets on high shelves to simulate the warmth and texture of wooden upper cabinets easily.
- Gold Cabinet Pulls: Install sleek brass hardware to unify your stacked cabinets and add a touch of modern elegance upwards.
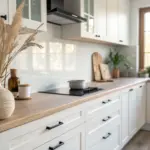
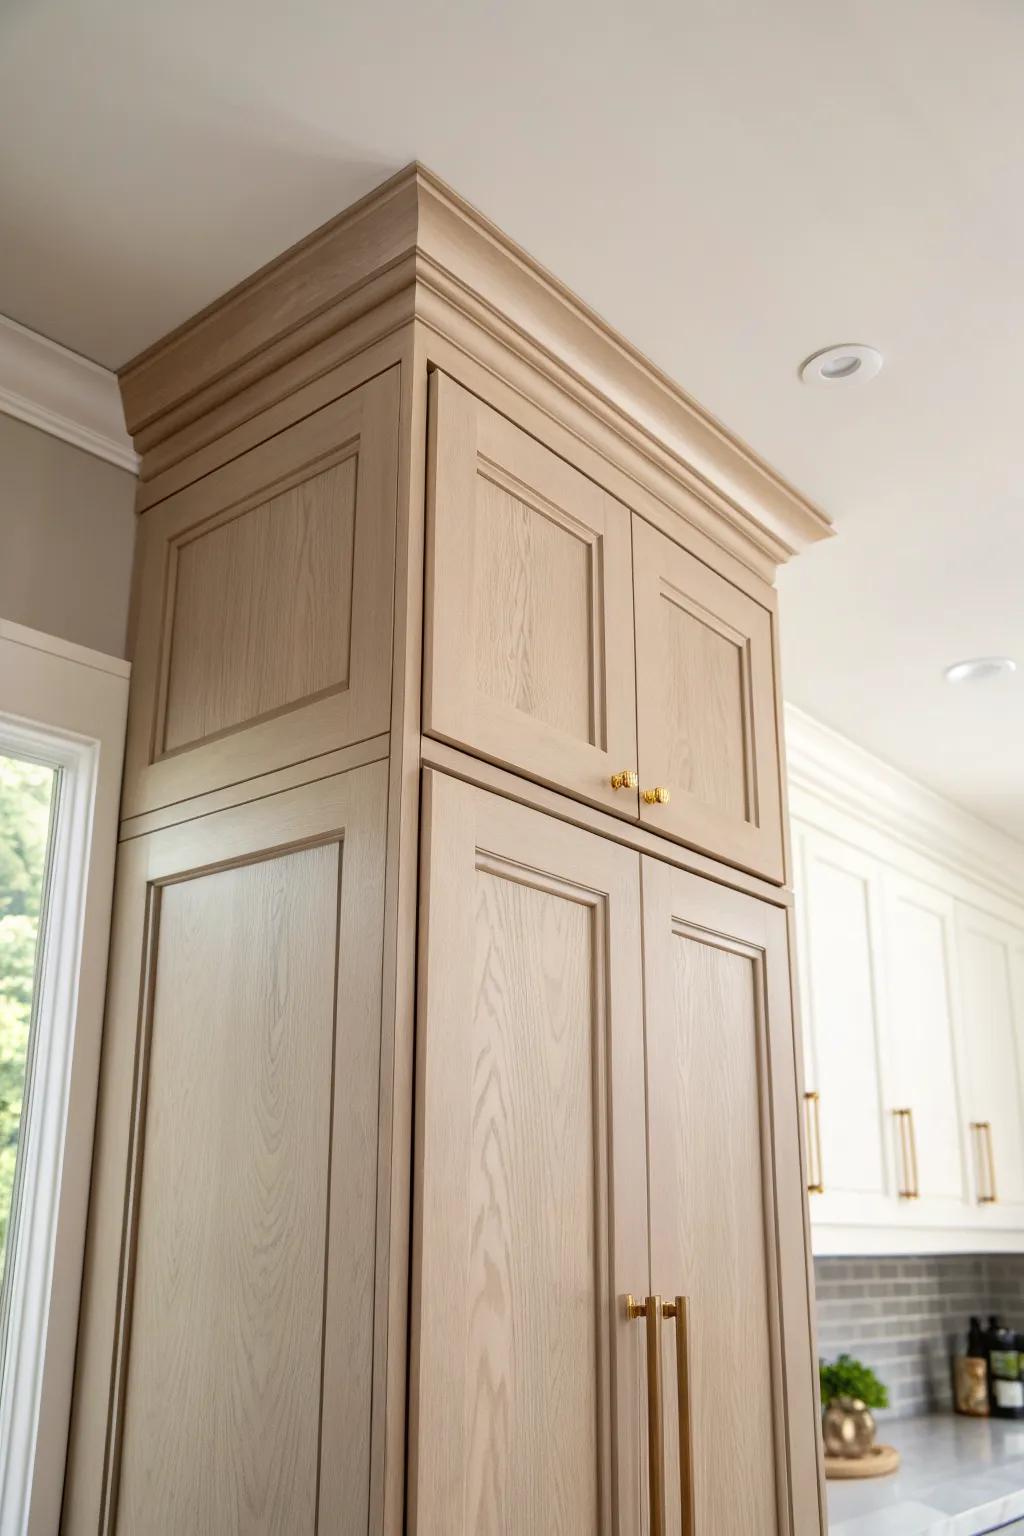
Finish With Crown Molding to the Ceiling
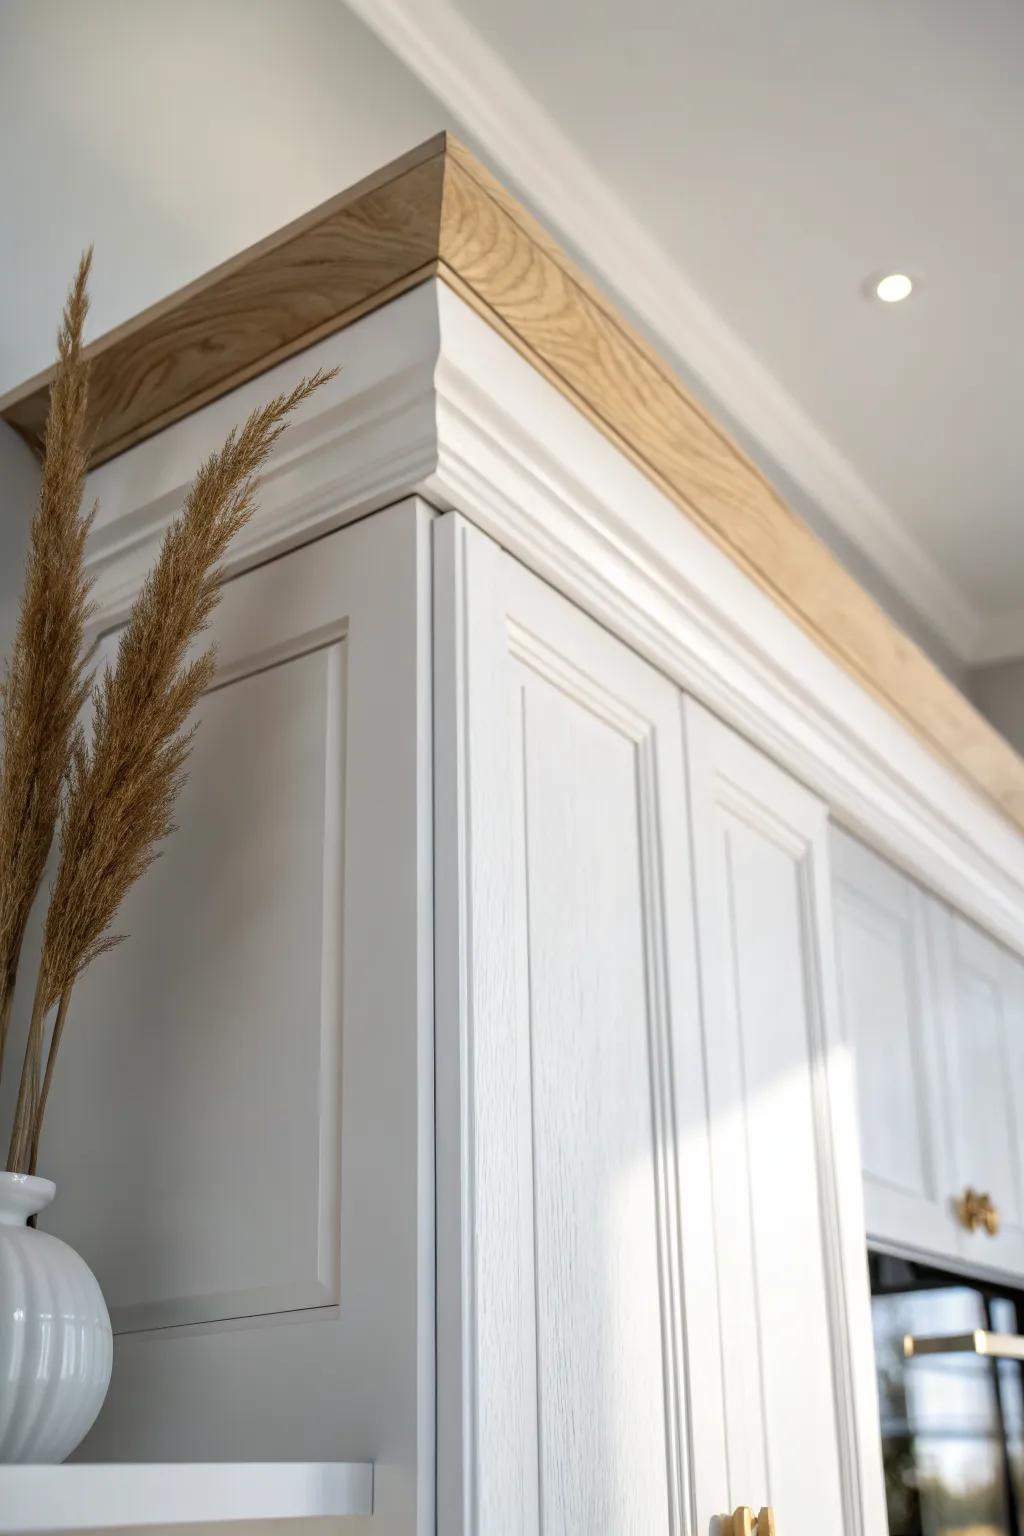
I’ve “faked” cabinets to the ceiling just by adding chunky crown molding, and it still made the cabinets look way more high-end. It’s my go-to when the gap is small and I don’t need extra storage.
Some ideas to consider:
- Wood Crown Molding Trim: Add height and elegance to your cabinetry by installing custom wood molding that bridges the ceiling gap beautifully.
- Decorative Cabinet Hardware Knobs: Complete your high-end look with gold or brass knobs that complement natural wood tones and white finishes.
- Dried Pampas Grass Decor: Recreate this styled vignette by adding tall, textured dried stems to bring warmth and height to countertops.
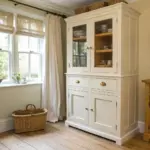
Use Glass-Front Doors on the Top Row
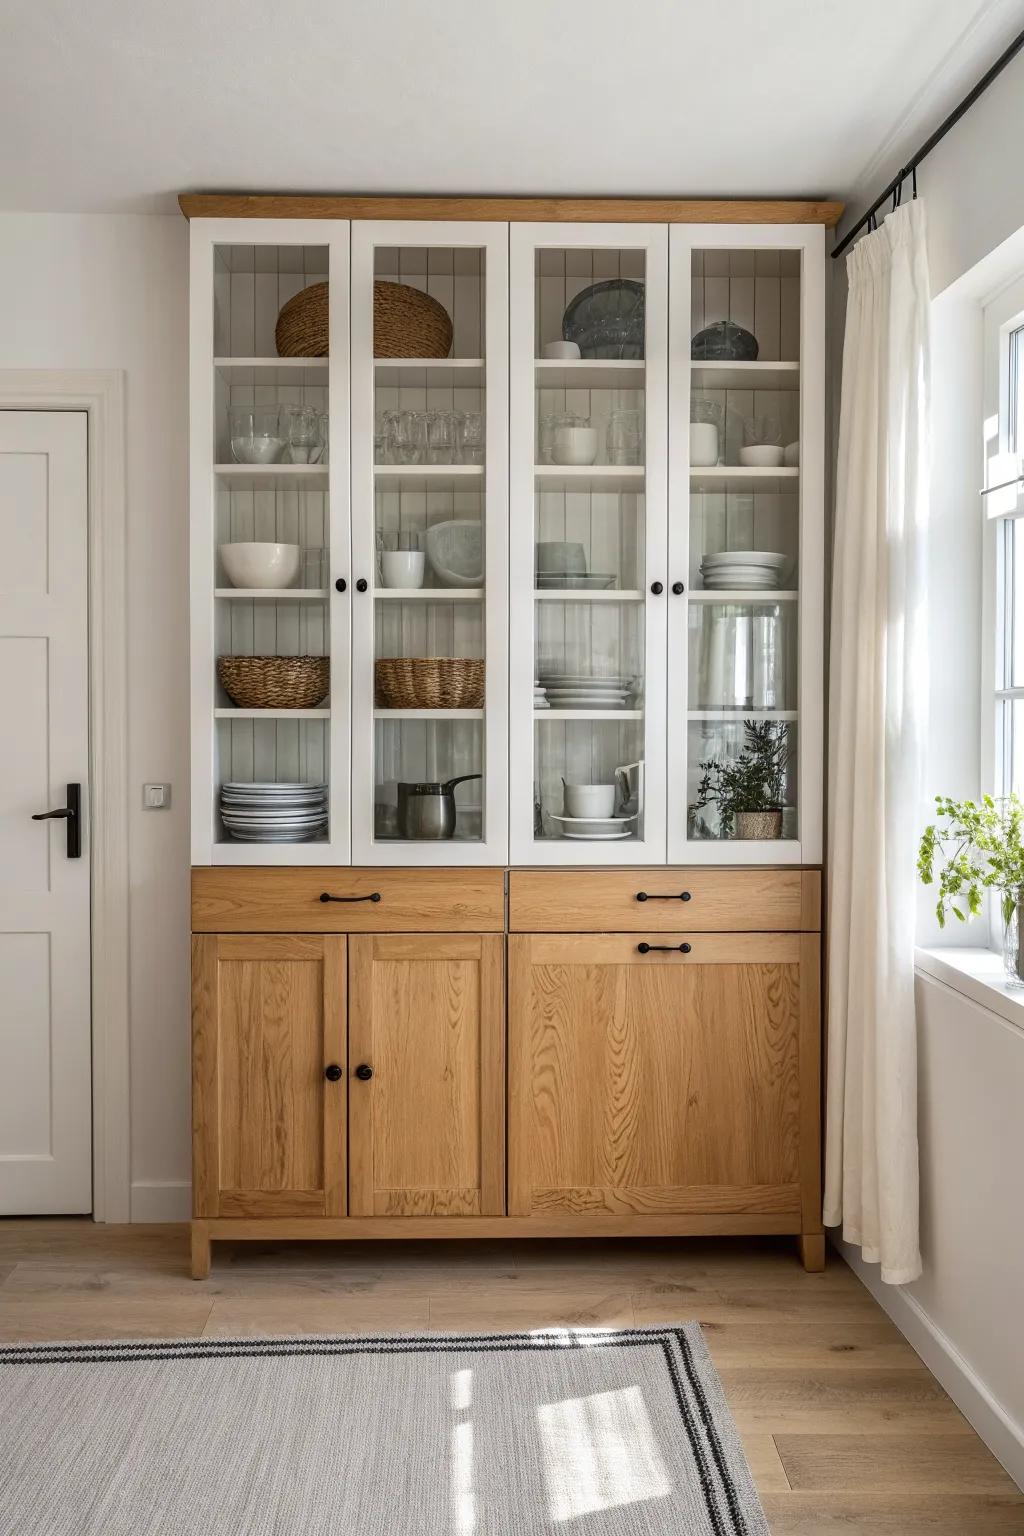
I love glass-front uppers at the very top because they keep the kitchen from feeling like a wall of boxes, especially in small spaces. In my place, I stash pretty serving pieces up there so it feels intentional, not just storage.
Items that may come in handy:
- Ceramic or Porcelain Serving Bowls: Display elegant white bowls behind glass doors to create a clean, organized look that enhances your kitchen’s aesthetic.
- Woven Storage Baskets: Add warmth and texture while hiding smaller items by incorporating natural woven baskets into your china cabinet display.
- Glass Pitcher or Carafe: Elevate your open shelving display with timeless glass drinkware that catches the light and adds sophistication to storage.
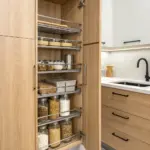
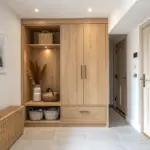
Extend the Fridge Cabinet to the Ceiling
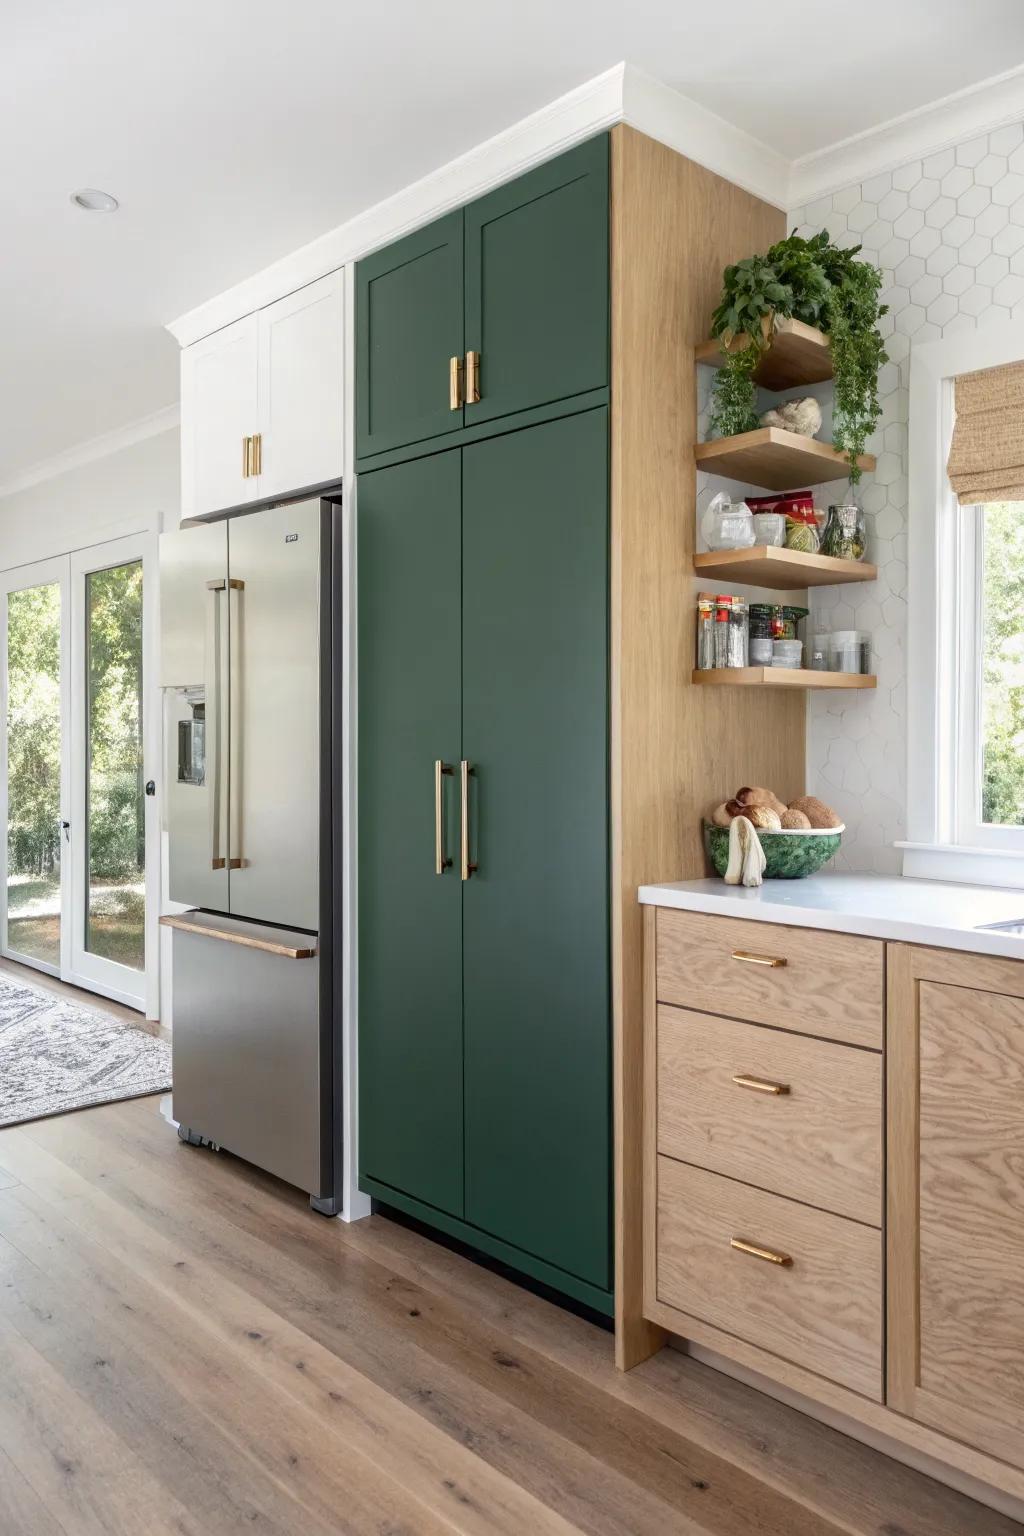
That space above the fridge is basically a dust magnet, so I always push for a ceiling-height fridge surround if you can. I added a small cabinet above mine and finally had a home for big platters I only use a few times a year.
May just do the trick:
- Large Oval Serving Platters: Store bulky seasonal items efficiently by utilizing that new upper cabinet space for oversized serving dishes.
- Gold Cabinet Hardware Pulls: Achieve a cohesive, custom look by matching your new upper cabinet pulls to your existing hardware.
- Cabinet Step Stool: Make those hard-to-reach ceiling-height cabinets easily accessible with a sturdy, foldable stool for safe climbing.
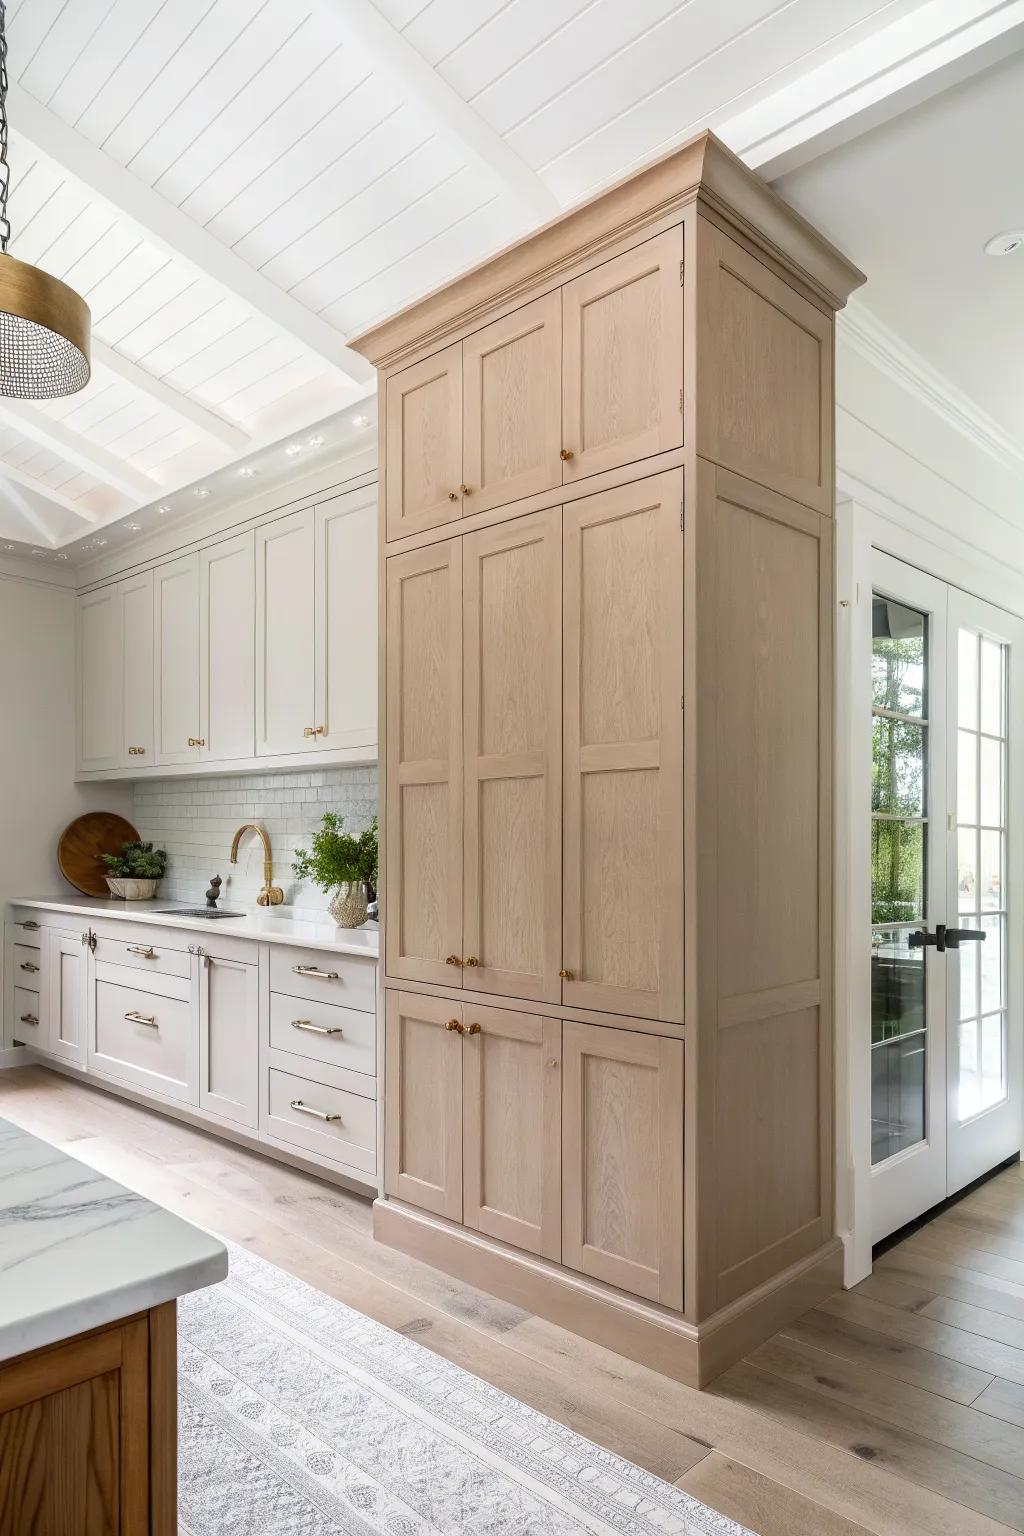
Wrap Corners With Ceiling-Height Uppers
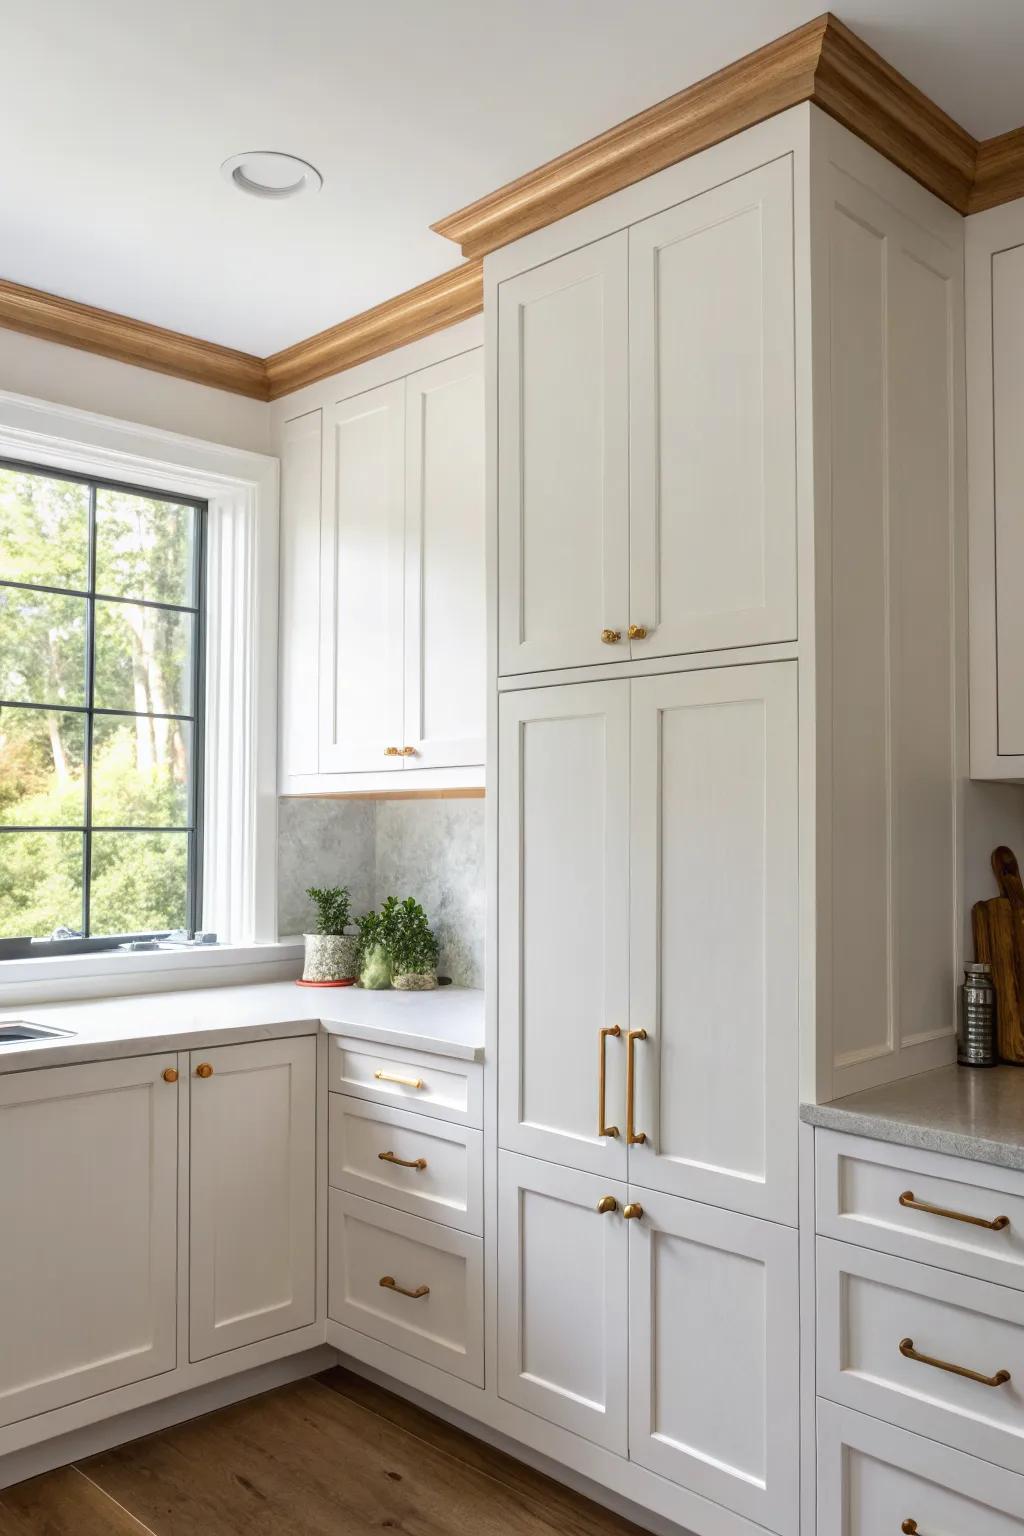
In an L-shaped kitchen I styled, running the upper cabinets to the ceiling around the corner made the whole run look longer and more polished. I’ve learned corners are where “almost to the ceiling” looks the most unfinished, so this detail really pays off.
Check these products out:
- Brushed Gold Cabinet Pulls: Update standard cabinets with elegant gold hardware to help unify the look of extended cabinetry runs.
- Decorative Wood Crown Molding: Install classic crown molding to seamlessly bridge the gap between your upper cabinets and the ceiling.
- Corner Cabinet Organizer: Maximize the utility of your new ceiling-height corner space with efficient, accessible shelving solutions.
Try a Two-Tone Stacked Look
I’ve done a two-tone approach where the top row is a slightly different shade, and it drew the eye up in the best way. If you’re nervous about going all one color, this is a fun compromise that still screams cabinets to the ceiling.
Check if these fit your needs:
- Gold Cabinet Pulls: Upgrade your two-tone cabinets instantly with sleek gold hardware that ties both colors together seamlessly for a polished finish.
- Cabinet Paint Kit: Refresh your upper cabinets with a lighter shade using a high-quality renovation paint kit designed for durable coverage.
- Decorative Crown Molding: Create a seamless transition to the ceiling by adding architectural interest to your upper cabinets with easy-to-install molding.
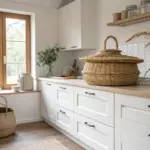
Color-Match Cabinets and Ceiling for Seamless Height
One trick I use in small kitchens is painting the top extension the same color as the main cabinets, then keeping the ceiling bright so the line disappears. I did this in my 450 sq ft place and the full-height cabinets felt lighter instantly.
Explore these options:
- Matte Cabinet Paint: Transform your extensions to match existing cabinets perfectly; choose a high-quality matte finish for a seamless, blended look.
- Crown Molding Kit: Bridge the gap between your cabinets and ceiling elegantly to create that custom, built-in appearance effortlessly.
- Minimalist Gold Cabinet Hardware: Draw the eye vertically with simple, elegant gold pulls that accent tall cabinets without creating visual clutter.
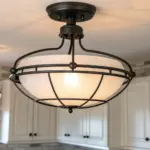
Add Glow With Hidden Top-Row Lighting
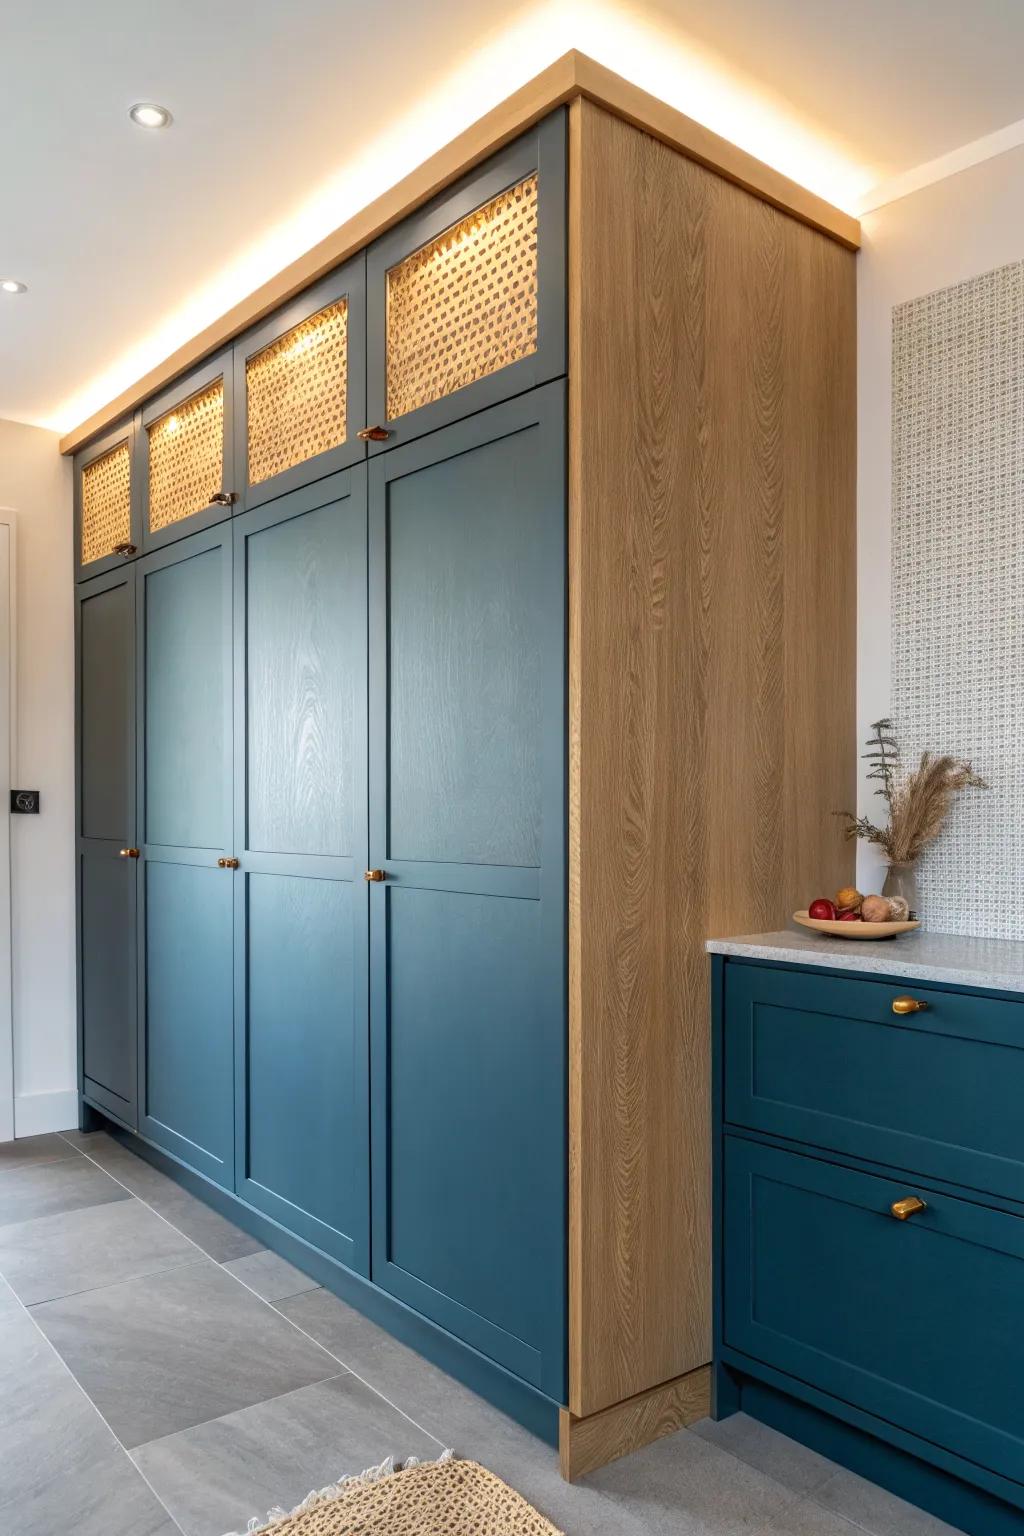
When I added LED strip lighting near the top row, it made the whole to-the-ceiling cabinet setup feel intentional and a little luxe. It’s also a sneaky way to soften tall cabinetry so it doesn’t feel heavy.
Consider these options:
- Warm White LED Strip Light Kit: Instantly add a soft, luxurious glow above your cabinets to create ambiance and reduce visual heaviness.
- Aluminum LED Channel Diffuser System: Install these channels to diffuse light evenly, preventing harsh hotspots and giving your lighting a professional finish.
- Smart Wi-Fi LED Controller with Dimmer: Control brightness and timing from your phone to effortlessly set the perfect mood for your kitchen space.
Build a Range Hood Chase to the Ceiling
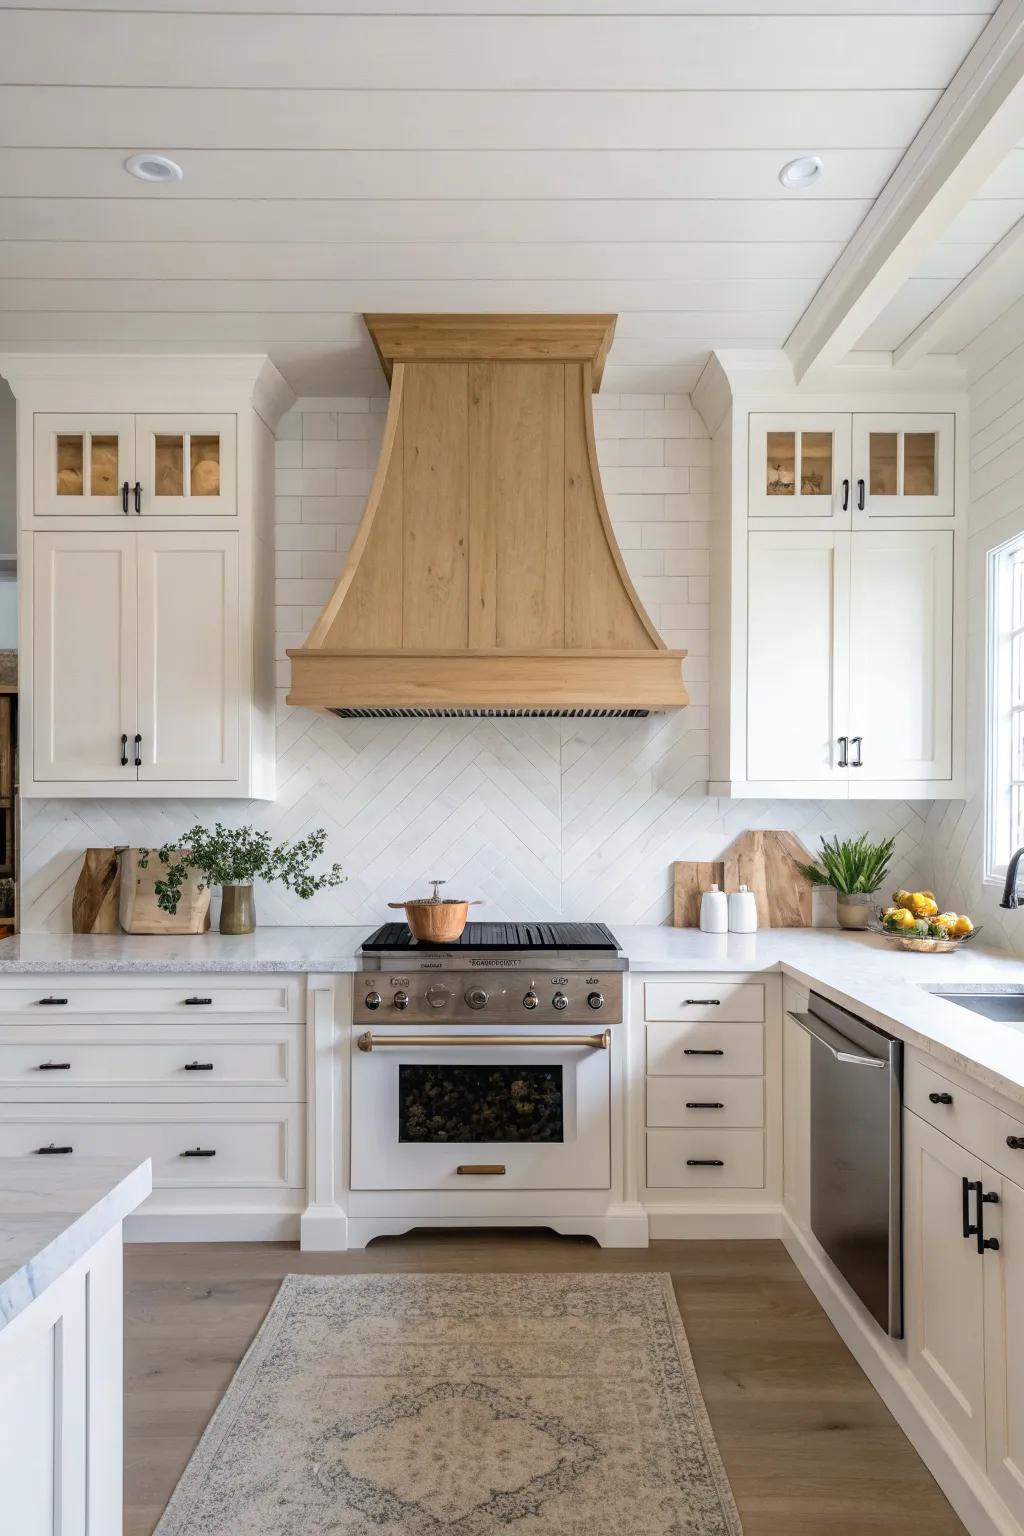
I’m obsessed with a range hood surround that runs up into the upper cabinets because it creates a strong vertical moment. In a small kitchen I consulted on, it anchored the room and made the ceiling-height cabinets look designed, not just taller.
Useful items to consider:
- Unfinished Wood Range Hood Cover: Create a custom focal point by installing a wooden hood cover that you can paint or stain.
- Shiplap or Wood Paneling Boards: Extend the texture upwards to the ceiling using paneling boards to build out a seamless vertical chase.
- Crown Molding: Finish the transition between your extended hood chase and the ceiling with elegant trim for a built-in look.
Plan Access With a Pretty Step Stool Spot
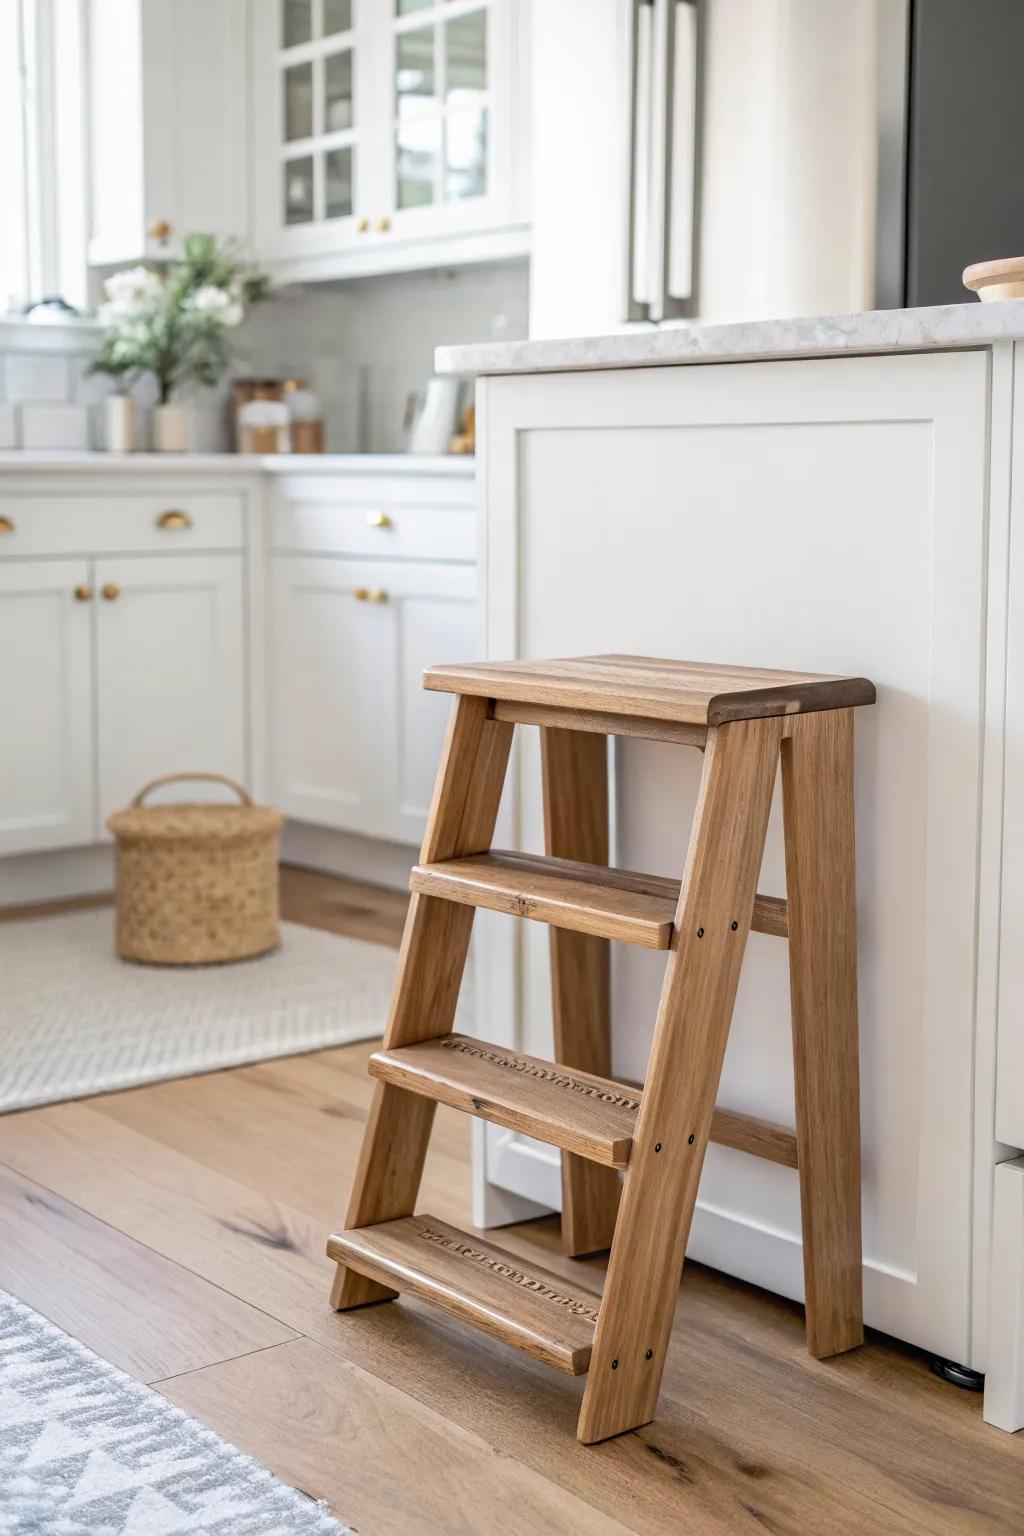
Real talk: cabinets to the ceiling only work if you can reach them, so I always plan a dedicated home for a slim step stool. I keep mine tucked beside the fridge, and it makes those top cabinets actually usable instead of “decor-only.”
A few things you might like:
- Wooden step ladder or stool: Choose a sturdy wooden step stool that blends style with function to easily reach high storage spaces.
- Woven storage basket: Keep clutter contained near your step stool with a textured woven basket perfect for storing kitchen linens.
- Slim folding step stool: Maximize floor space by opting for a slim, foldable stool that tucks away neatly when unused.
Turn the Top Row Into a Rotating Display Zone
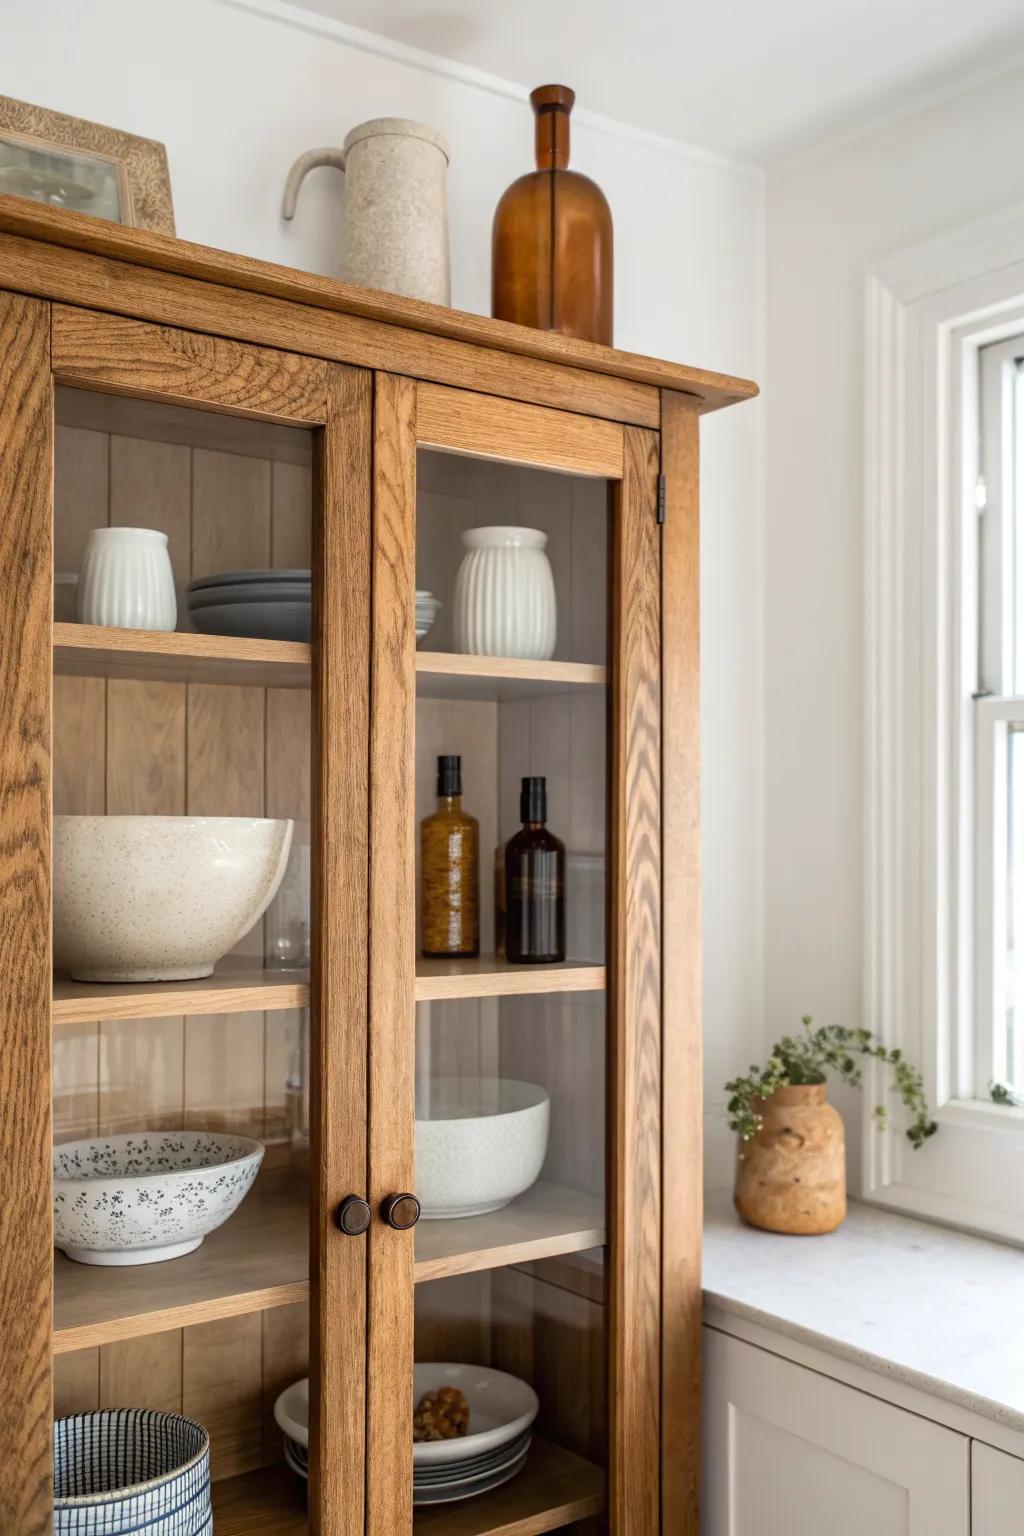
If you do glass-front top cabinets, I like styling them as a mini gallery that changes with seasons or moods so the height feels playful, not imposing. I rotate a few neutral pieces up there, and it keeps my stacked cabinets from feeling too serious.
Possibly helpful picks:
- Ceramic or Stone Pitcher: Add height and texture to your display with a simple pitcher that works beautifully alone or holding dried stems.
- Amber Glass Bottles: Introduce warmth and a vintage feel to your shelves by grouping amber glass bottles in varying sizes.
- Speckled Serving Bowl: Ground your cabinet arrangement with a large, speckled ceramic bowl that combines practical storage with decorative appeal.
Hide a Secret Cabinet in the Ceiling Line

For a true wow moment, I once designed a topmost section with an extra-discreet door style so it reads like trim, but it’s actually a hidden upper cabinet. It’s perfect for paperwork, backups, or anything you want stored high in your cabinets to the ceiling setup without advertising it.
Give these a look:
- Touch Latches for Cabinet Doors: Install push-to-open latches to eliminate visible hardware, making your hidden cabinet blend seamlessly into the molding.
- Step Ladder for High Reach: Access your new hidden upper storage safely and easily with a slim, foldable step ladder or stool.
- Overlay Cabinet Hinges: Use concealed hinges to ensure doors sit flush, maintaining the illusion of a solid trim piece overhead.


