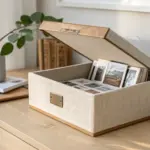
If you’ve got a blank wall and a stack of frames, you’re basically holding the ingredients for instant cozy.
Centered Row Above the Sofa
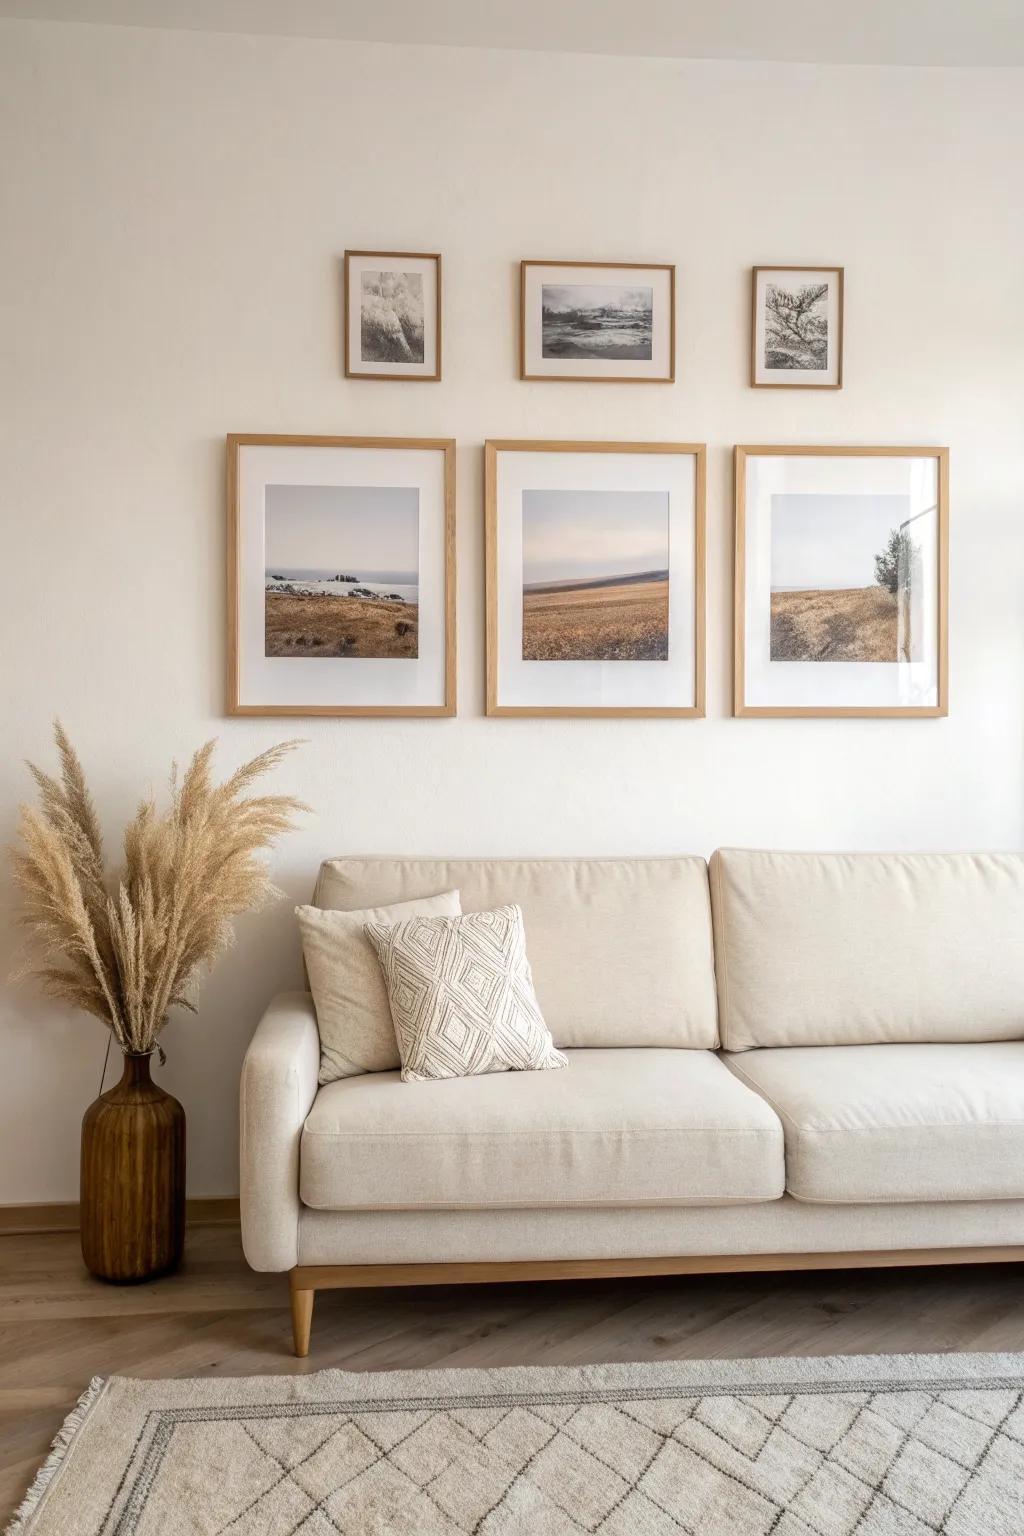
In my 450 sq ft place, I hung a simple photo frame row centered above my sofa, and it made the whole seating area feel “done” without eating up visual space. I always keep the bottoms aligned so it looks tidy even if the frame sizes vary.
Give these a look:
- Set of Matching Wood Frames: Create a cohesive look with natural wood frames that unite varied art prints for a clean, gallery-like style.
- Picture Hanging Level Tool: Ensure your photo row stays perfectly straight and aligned effortlessly with this handy DIY tool for precision hanging.
- Decorative Dried Pampas Grass: Add natural texture next to your sofa with tall dried stems that complement warm, earthy photo frame tones.
Classic Symmetrical Grid
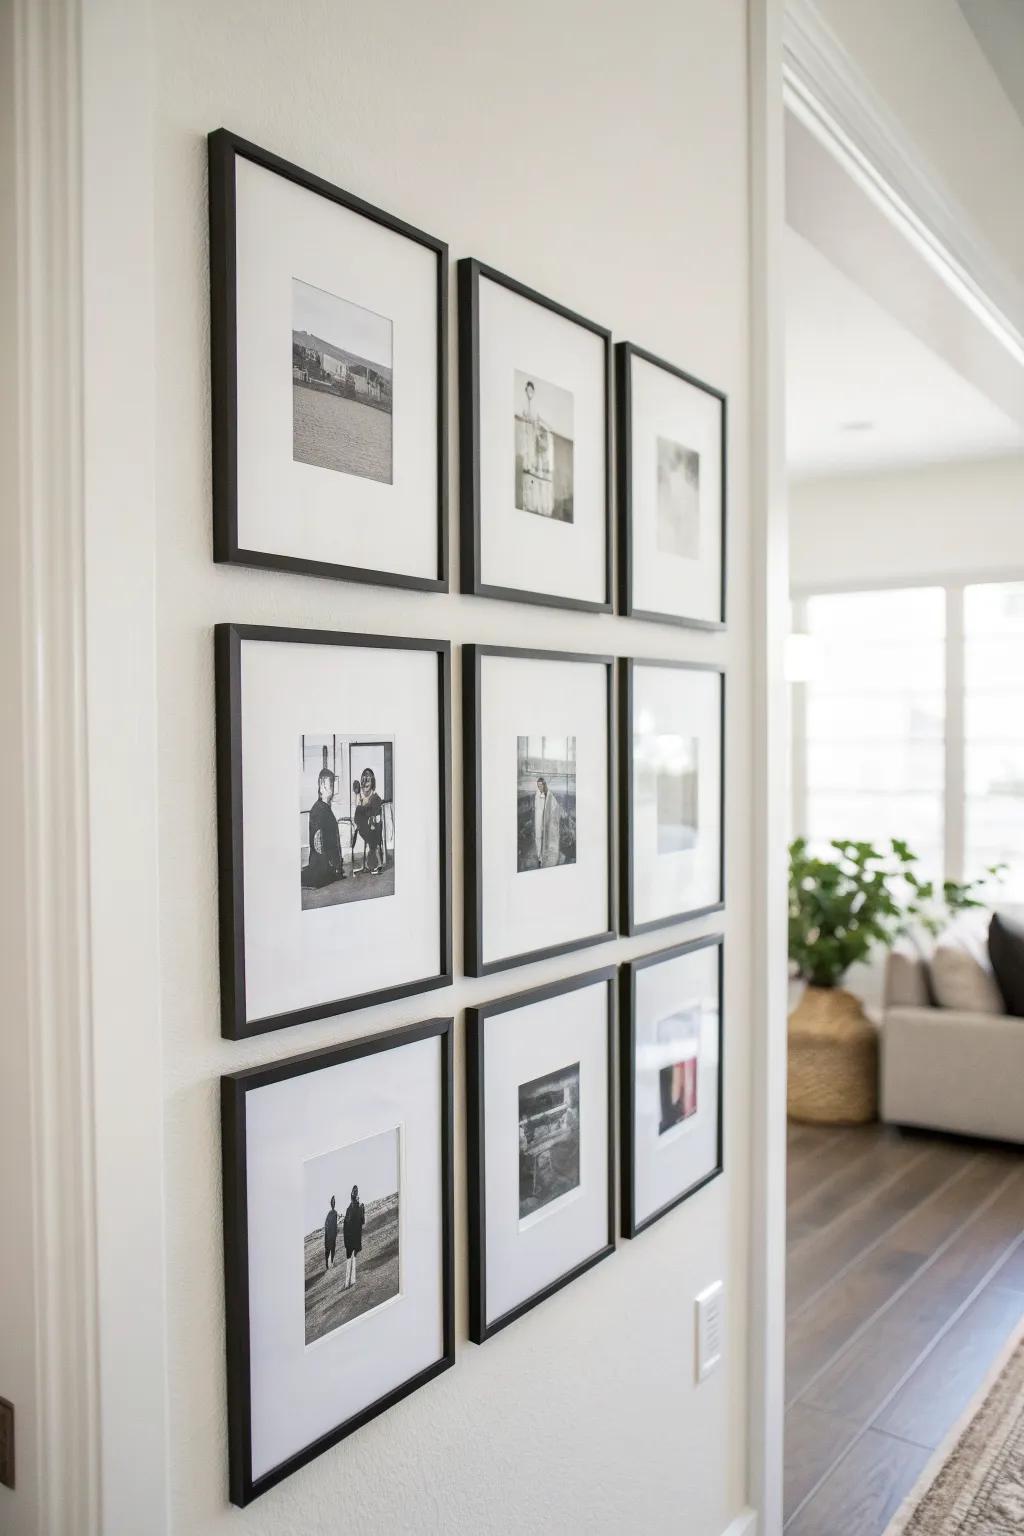
When I want my wall to look instantly polished, I hang photo frames in a grid layout with equal spacing (it’s my go-to for small living rooms). I’ve found that keeping the frames the same size makes the whole wall feel calmer and way less cluttered.
Products that could assist:
- Set of Matching Black Square Frames: Create a unified look with identical frames that make building a symmetrical grid layout effortless for you.
- Picture Hanging Level Tool: Ensure your grid is perfectly straight and spaced evenly by using this helpful alignment tool today.
- Removable Mounting Strips: Secure your frames cleanly to the wall without damaging paint, allowing for easy adjustments during installation.
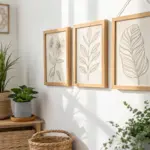
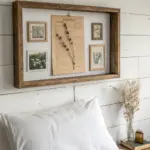
Three-Frame Triptych Set
I love hanging three photo frames in a straight line as a triptych, especially over a bed or console where you want a strong focal point. I’ve done this with one photo split across three frames, and it looks custom without being fussy.
A few choices to try:
- Set of 3 Wood Picture Frames: Recreate this trio layout easily by choosing a matching set of three light wood frames.
- Coastal Landscape Wall Art Set: Instant focal point: buy a pre-curated set of three coastal prints to hang immediately.
- Picture Hanging Level Tool: Ensure your triptych hangs perfectly straight and evenly spaced with a specialized hanging level tool.
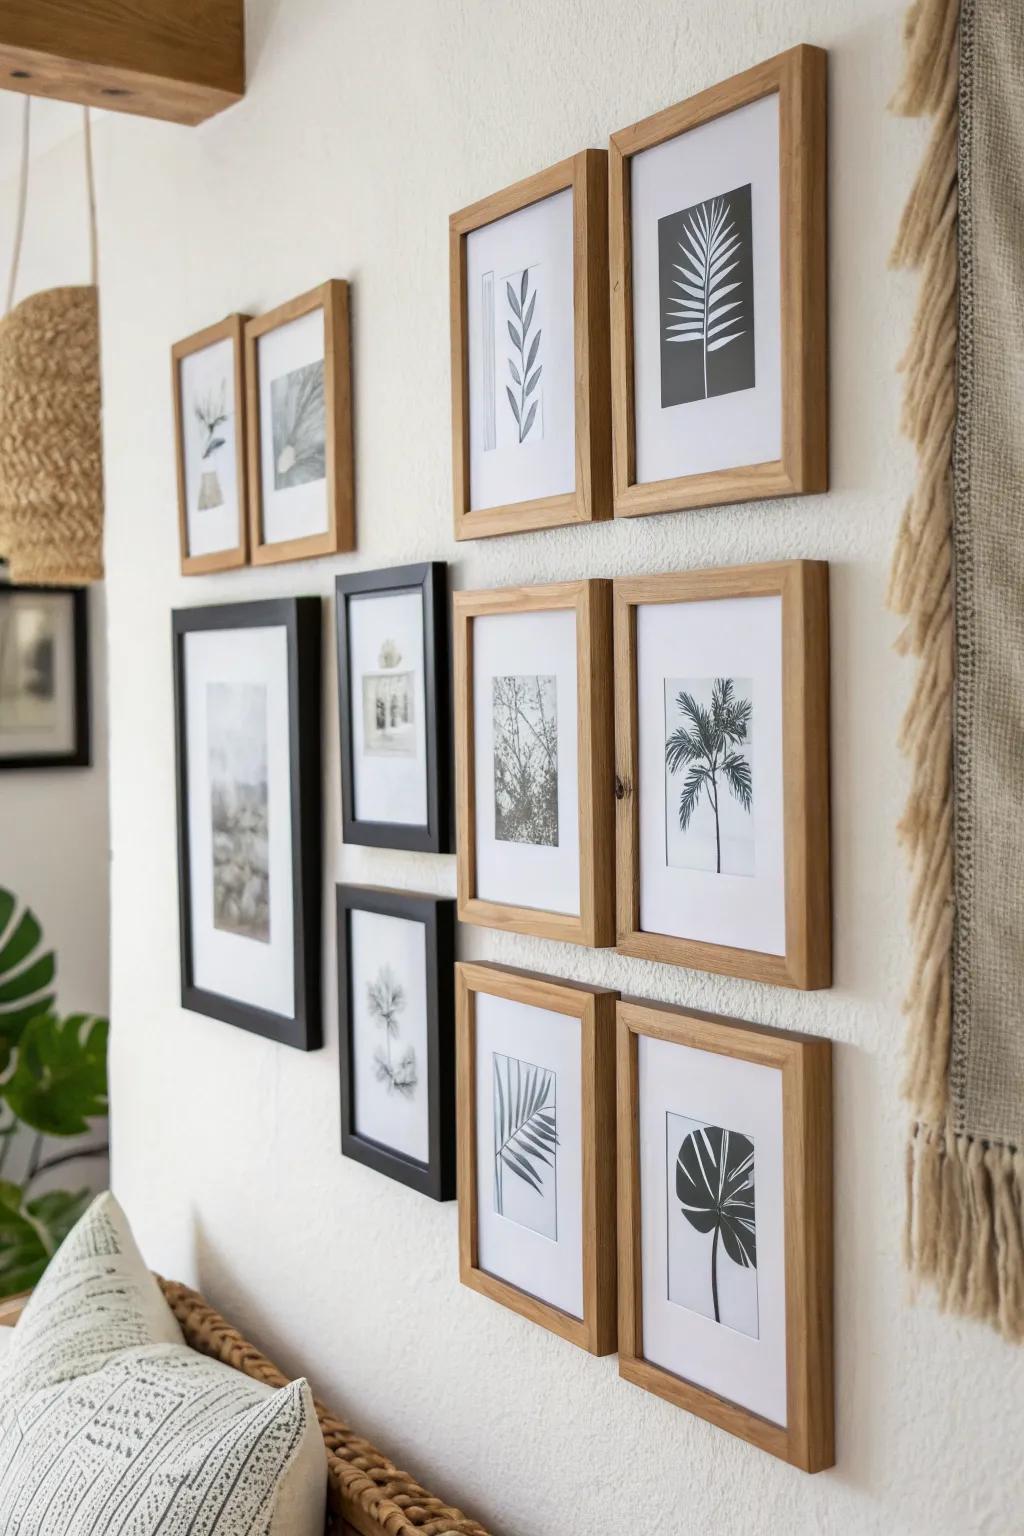
Balanced Asymmetrical Gallery Wall
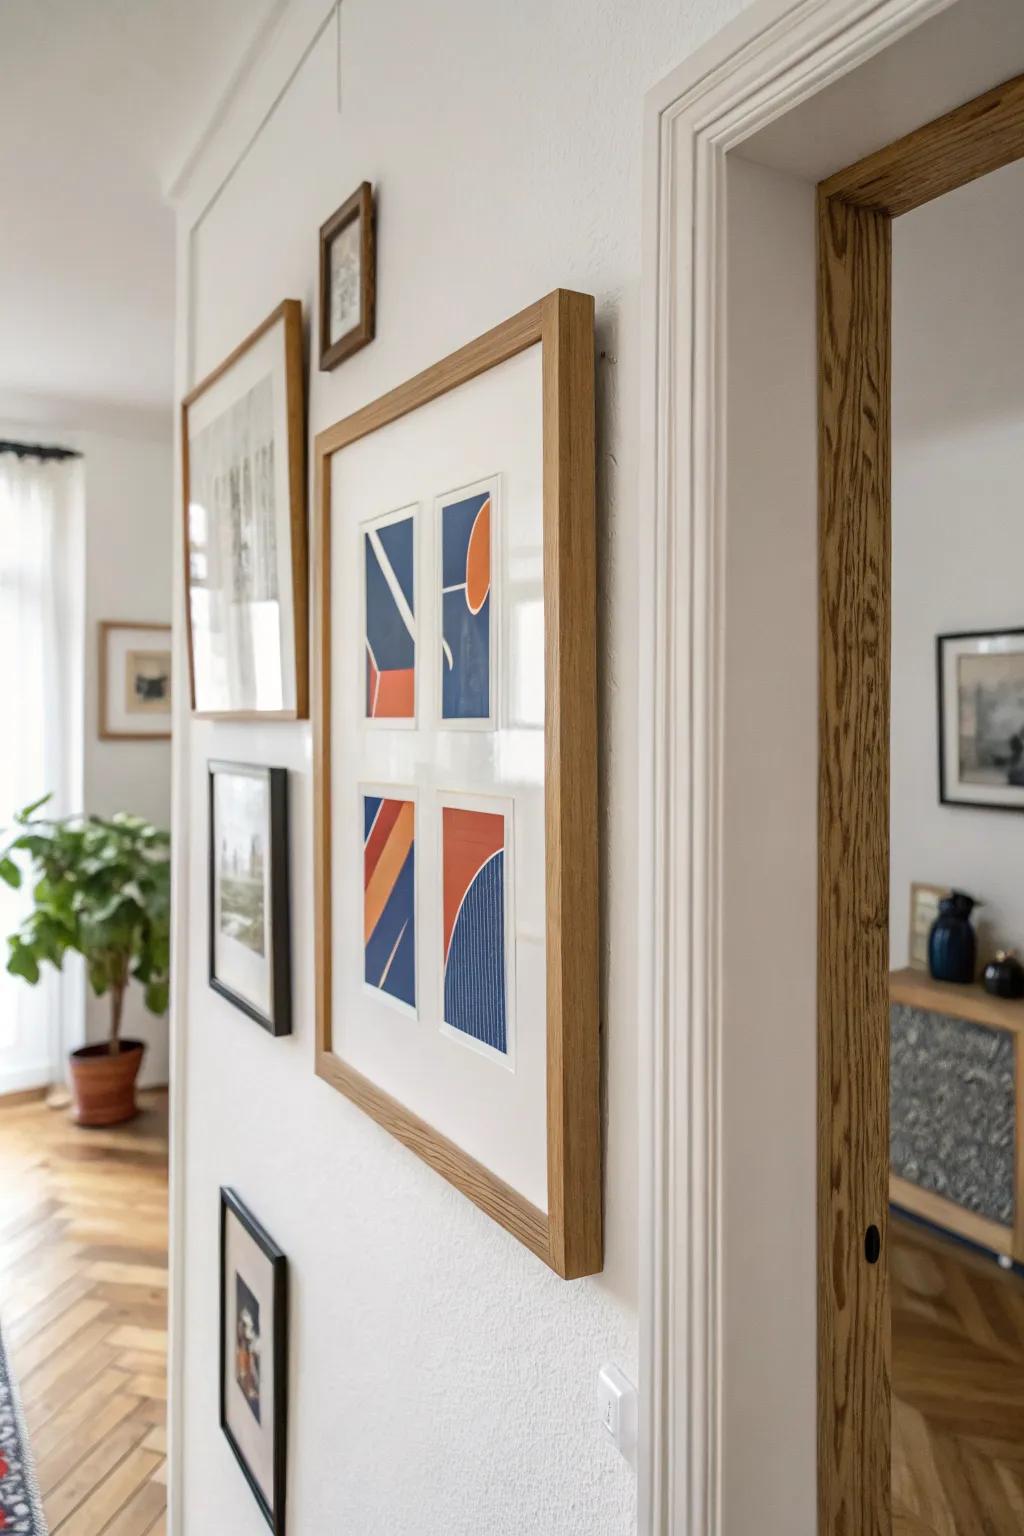
When I’m craving a more relaxed vibe, I hang photo frames in a gallery wall that’s asymmetrical but balanced around one larger “anchor” frame. I’ve learned to start with the biggest frame first, then build outward like I’m filling in a puzzle.
Check if these fit your needs:
- Light Wood Picture Frame Set: Create a cohesive gallery look instantly with a matching set of natural wood frames for varied artwork sizes.
- Large Statement Anchor Frame: Start your layout with this substantial frame as the central anchor point, creating stability for your asymmetrical arrangement.
- Picture Hanging Hardware Kit: Ensure your frames hang securely and level with a complete kit including hooks suitable for drywall or plaster.
Matching Frames, Mixed Mats

One of my easiest wins is hanging photo frames that all match, then switching up the mat widths so the wall still has depth. I did this in a narrow hallway, and it looked curated even though the photos were totally random.
Some handy options:
- Light Oak Wood Picture Frame Set: Create a unified look with these natural wood frames that warm up your hallway walls instantly.
- Pre-Cut Picture Frame Mats (Various Opening Sizes): Switch up your display depth by swapping standard mats for wider borders or different opening sizes.
- Picture Hanging Rail System Kit: Achieve a professional gallery look and easily adjust frame heights without putting extra holes in walls.
Tight “Closed Set” Cluster
If your wall space is limited, try hanging photo frames so they nearly touch in a close cluster—it reads like one big piece instead of many little ones. I used this trick above a tiny desk, and it made the corner feel more intentional and less scattered.
Some ideas to consider:
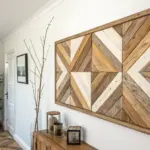
- Mixed Wood & Black Frame Set: Recreate this contrast-rich look by choosing a multi-piece set that combines natural wood tones with bold black accents.
- Botanical Art Prints: Fill your tightly clustered frames with simple, nature-inspired botanical prints to maintain a cohesive and calming visual theme.
- Precision Hanging Tool: Ensure your frames hang perfectly straight and close together without frustration by using a dedicated picture hanging measurement tool.
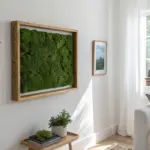
Ledge Shelf Frame Layering
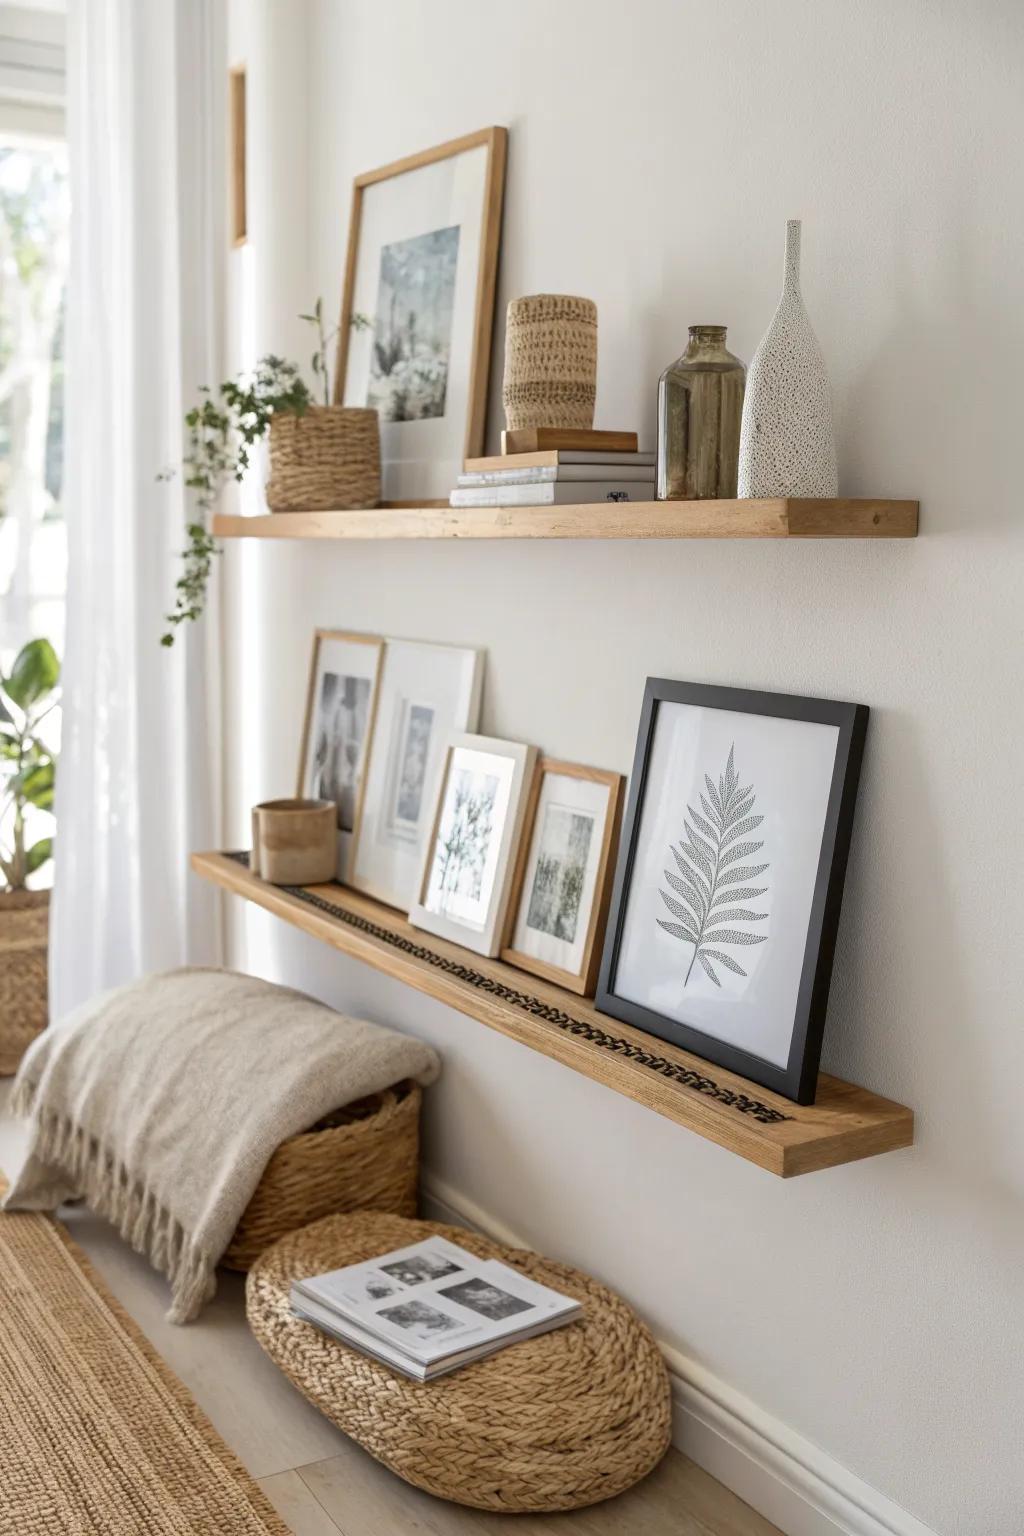
I hang one slim ledge on the wall and then layer photo frames on it, which lets me swap pictures without re-measuring or patching holes. In my studio days, this was my favorite renter-friendly way to keep things fresh.
Possibly helpful picks:
- Floating Wooden Picture Ledge: Install sleek wooden ledges to hold your frames securely, allowing you to easily rotate your favorite photos.
- Minimalist Photo Frame Set: Choose frame sets in varied sizes and finishes to create a stylish, layered look on your shelf.
- Woven Storage Basket or Seat: Add texture and warmth below your display with a natural woven ottoman or low storage basket.
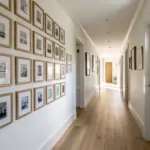
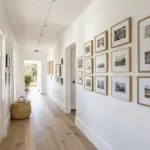
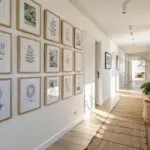
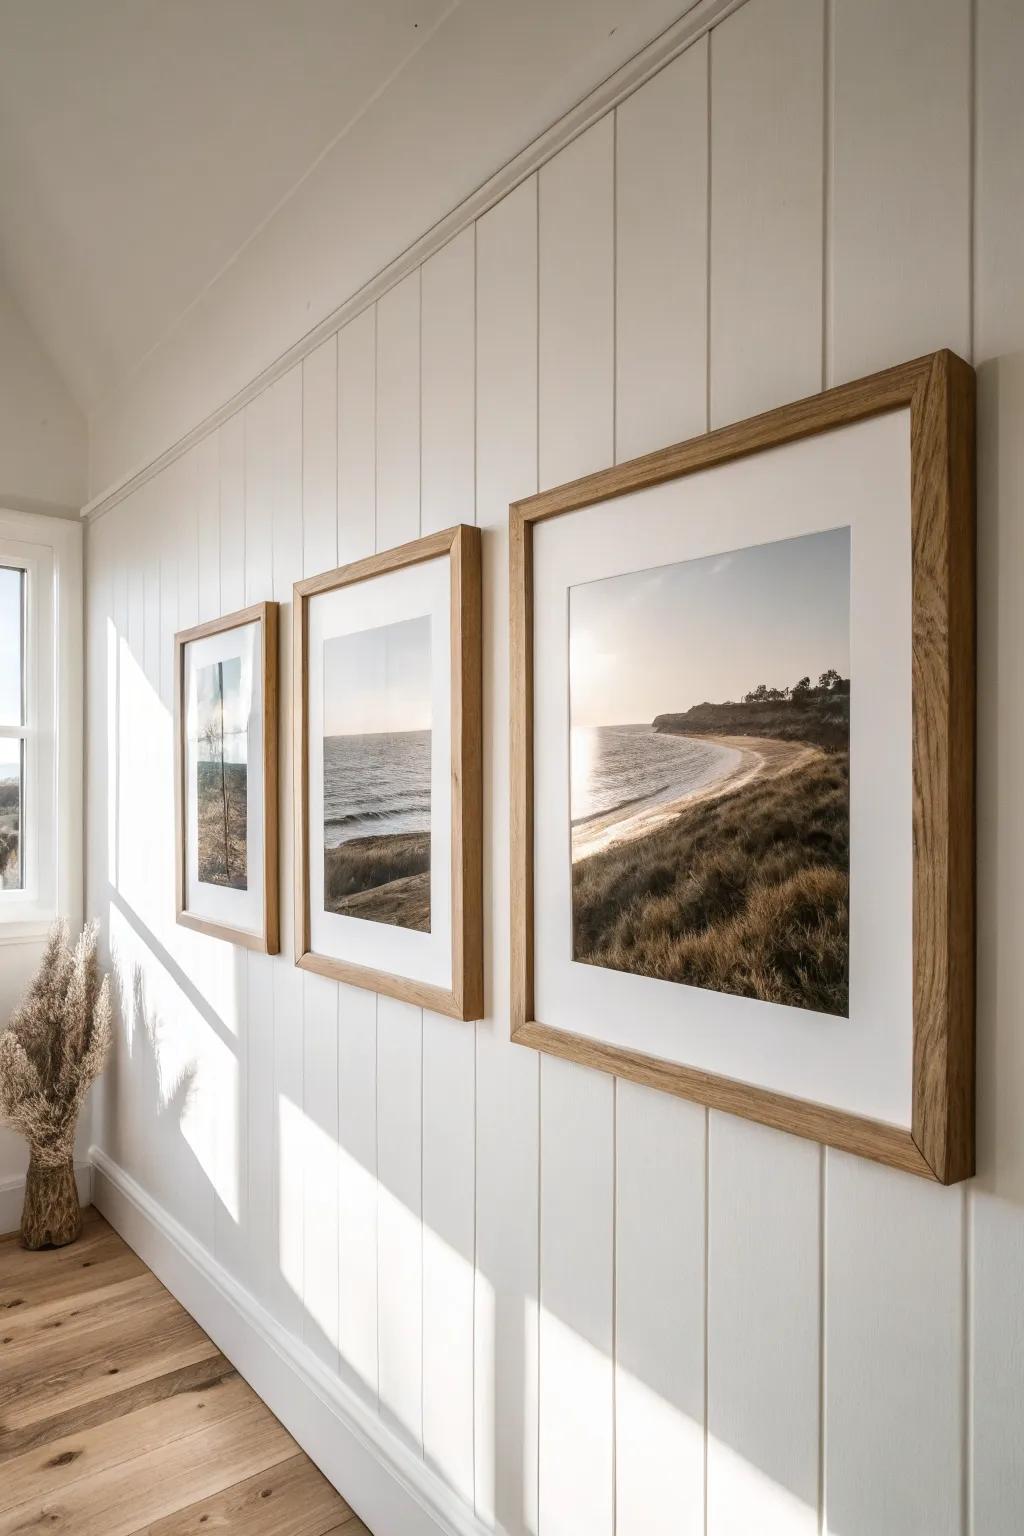
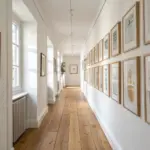
Hallway Timeline Line-Up
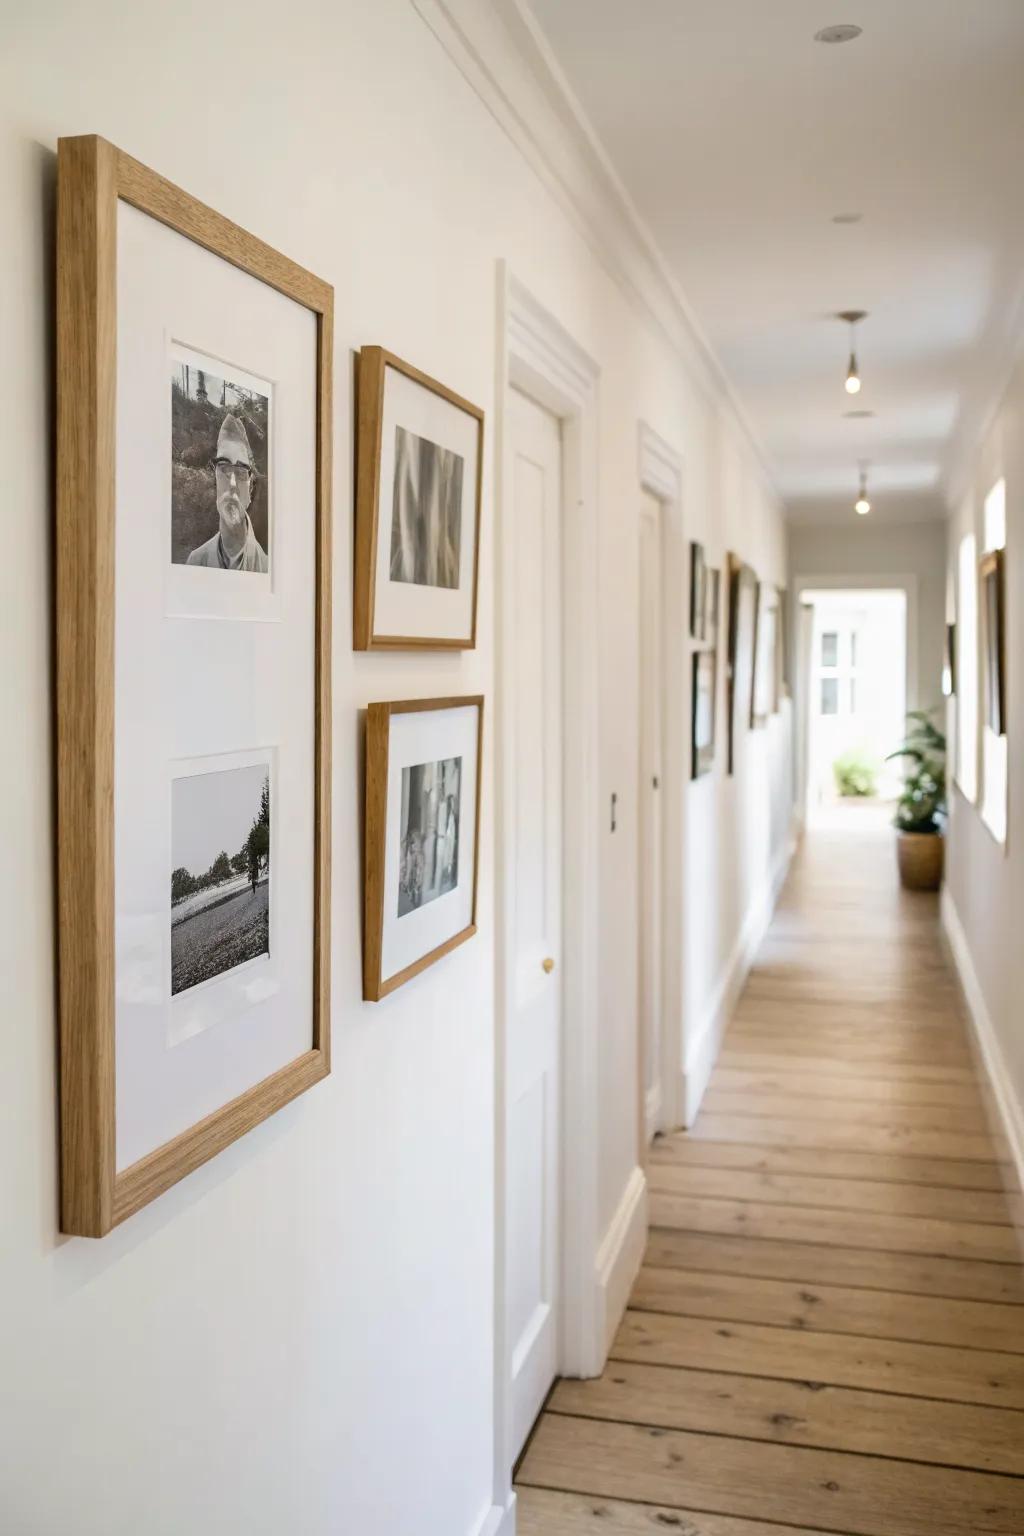
For a long skinny wall, I like hanging photo frames in a timeline—oldest at one end, newest at the other—so you get a little story as you walk by. I tried this in an entry hallway, and guests always ended up pausing to look.
May just do the trick:
- Set of Light Wood Picture Frames with Mats: Recreate this cohesive gallery wall look by choosing matching light wood frames that highlight your black-and-white photos.
- Picture Hanging Level Tool: Ensure your timeline flows perfectly straight along the hallway wall with a simple tool designed for precision spacing.
- Acid-Free Photo Archival Sleeves or Tape: Protect your precious timeline memories from yellowing over time by mounting them securely with archival-quality materials.
Corner-Wrap Frame Layout
Don’t ignore corners—hanging photo frames so they “wrap” from one wall to the next creates a cozy, immersive moment. I did a corner gallery near my reading chair, and it turned an awkward spot into my favorite little nook.
A few helpful options:
- Set of Light Oak Wood Picture Frames: Create a unified look around your corner with matching light wood frames that bring natural warmth to your walls.
- Command Picture Hanging Strips: Easily install your corner gallery without nails, allowing you to adjust placement perfectly on both adjoining walls.
- Botanical Fern Art Prints: Fill your new corner frames with serene botanical artwork to replicate the calm, organic feel of this cozy nook.
Around-the-Door Frame Surround
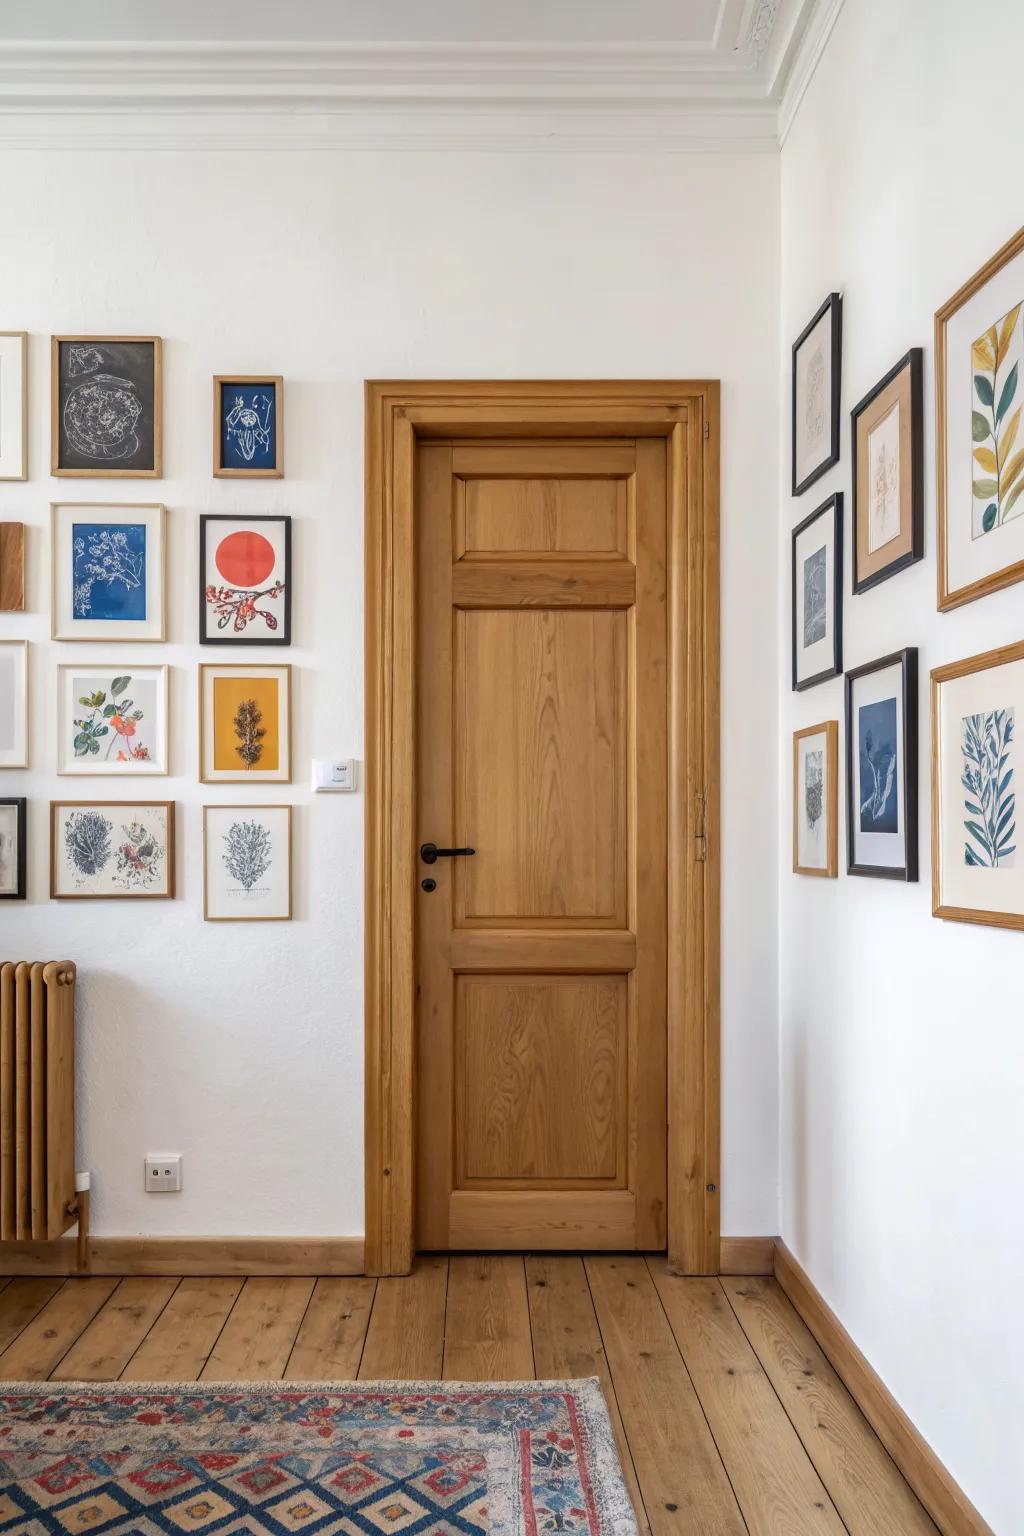
In a tight apartment, I’ve hung smaller photo frames around a doorway to use wall space that usually gets wasted. Keeping a consistent frame spacing made it feel like a deliberate border instead of random crumbs of decor.
Possibly handy products:
- Mixed-Size Wooden Picture Frame Set: Create a unified look with these varied frames that help fill awkward spaces around your doorframes beautifully.
- Damage-Free Picture Hanging Hardware: Hang your art confidently in tight rental spaces without damaging walls or worrying about tricky spacing alignments.
- Precision Laser Level Tool: Achieve that deliberate, professional border effect by keeping every frame perfectly aligned and straight around your trim.
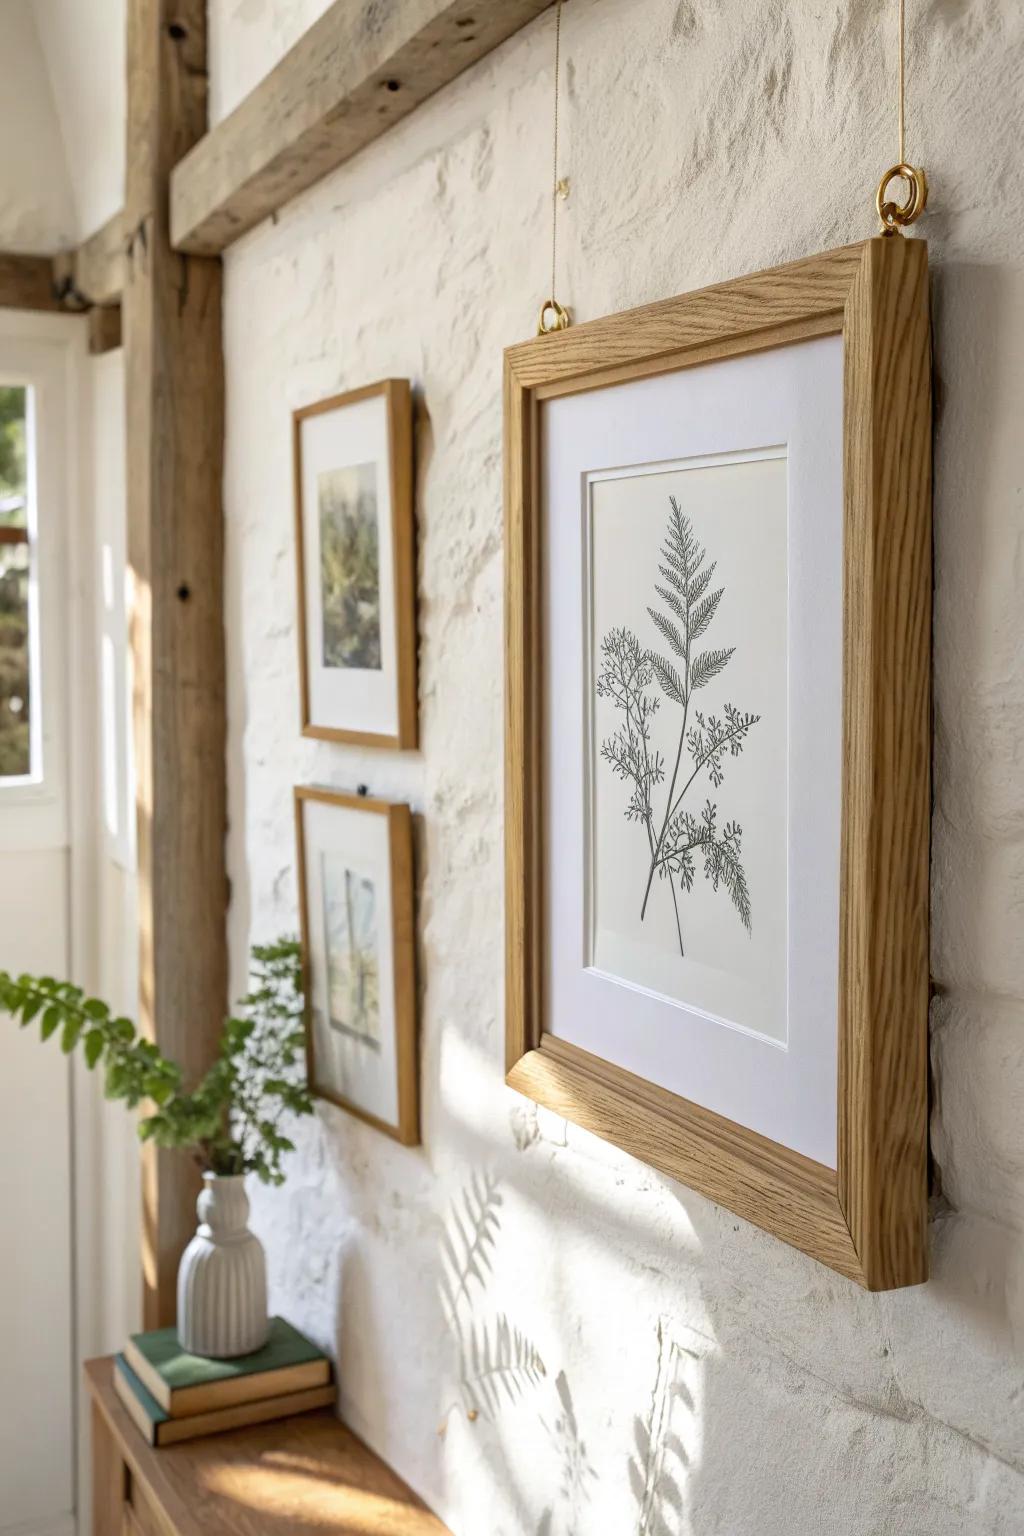
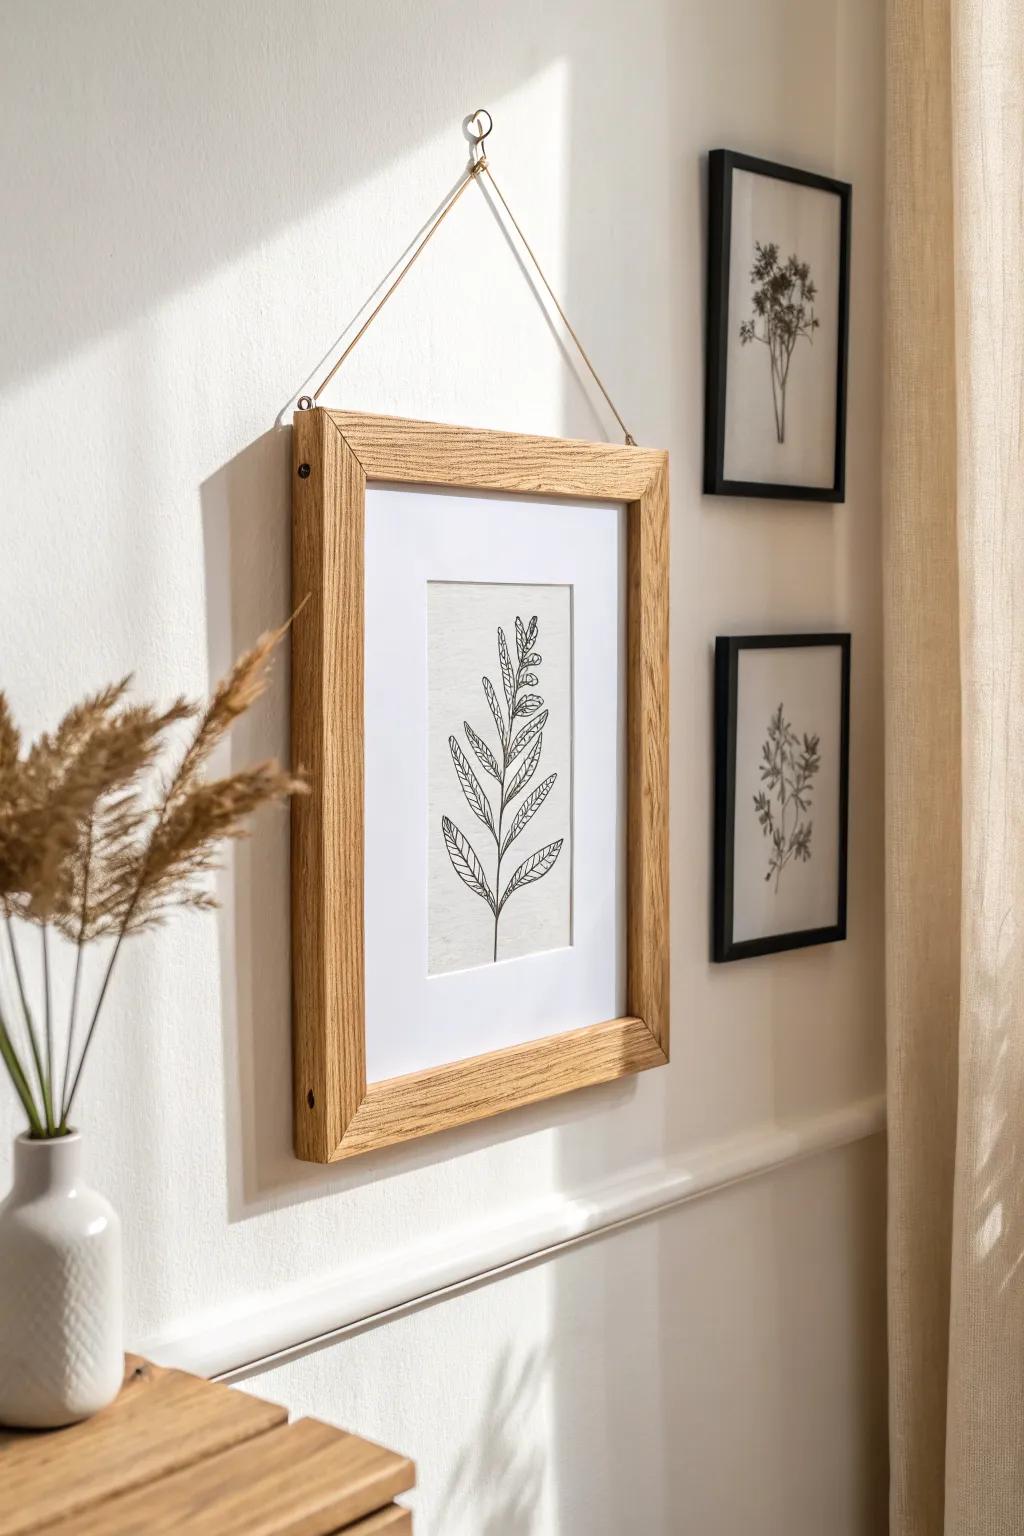
Picture Rail With Hanging Cords
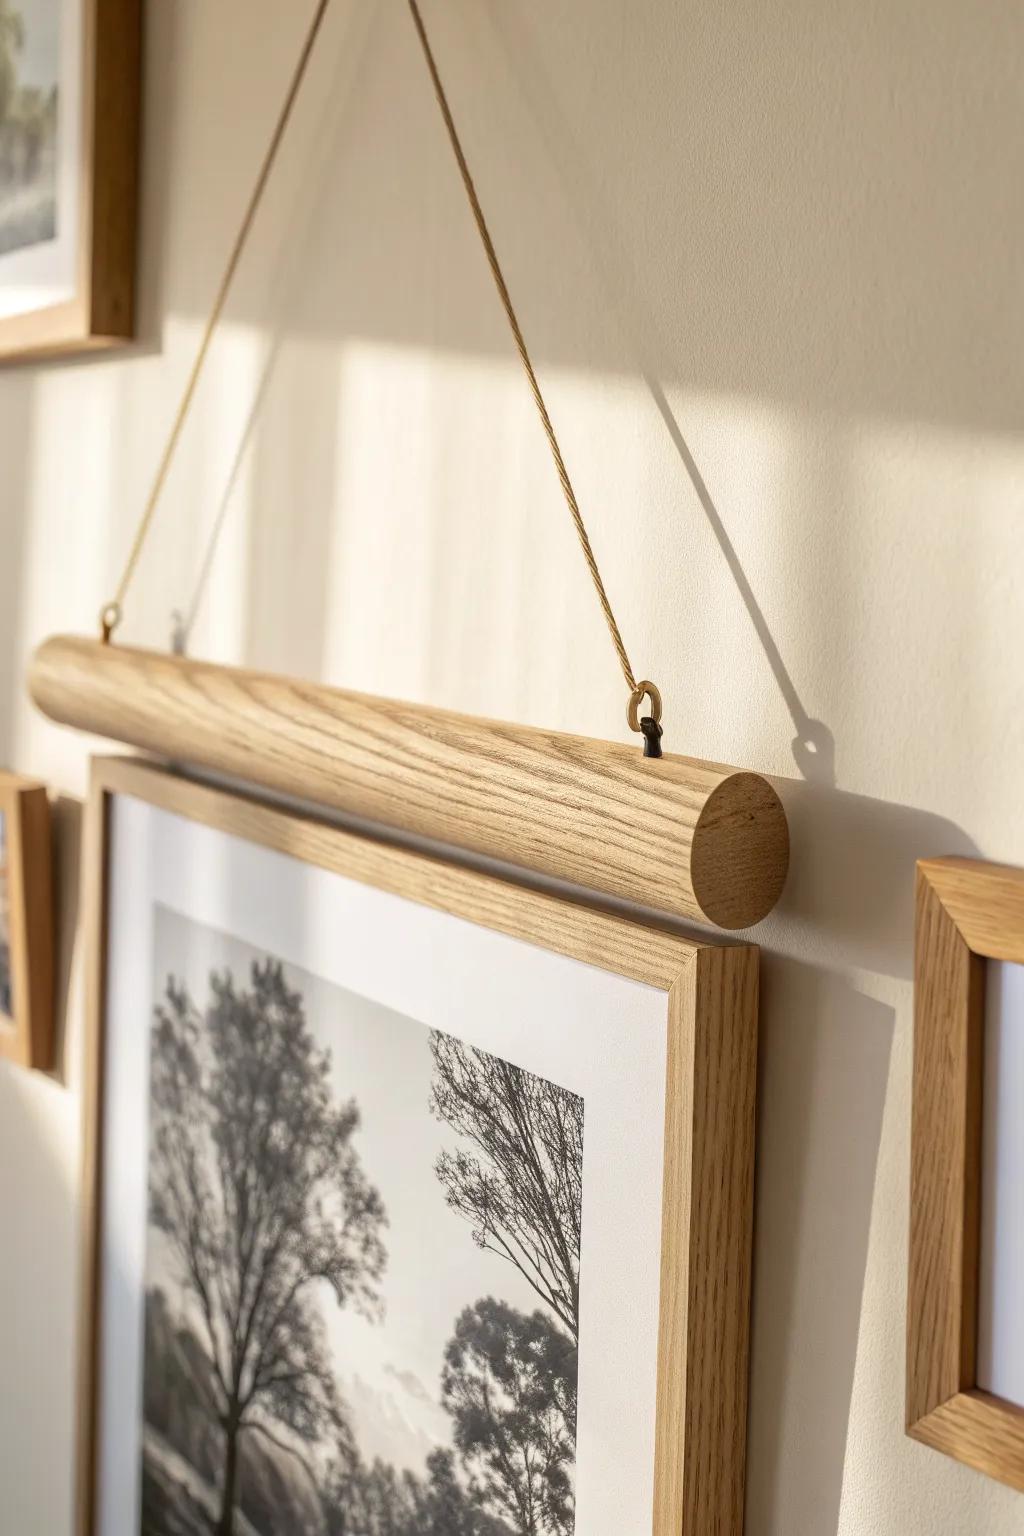
I’m obsessed with mounting a simple picture rail near the top of the wall and hanging photo frames from cords so I can rearrange without new holes. I used this in a rental and loved being able to swap frame heights whenever I got the itch.
Might be a good match:
- Wooden Dowel Poster Hanger: Instantly secure your prints between magnetic wooden strips for a minimalist, damage-free display that elevates your art.
- Wall Mounted Picture Rail: Install this sleek rail once to easily swap and rearrange hung artwork anytime without drilling new holes.
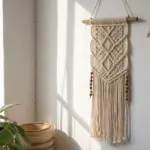
- Natural Jute or Hemp Twine: Use strong, rustic cord to hang your frames at varying heights, adding texture and warmth to your gallery wall.
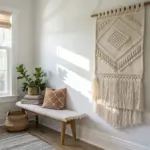
Strap-Hung Frames for Texture
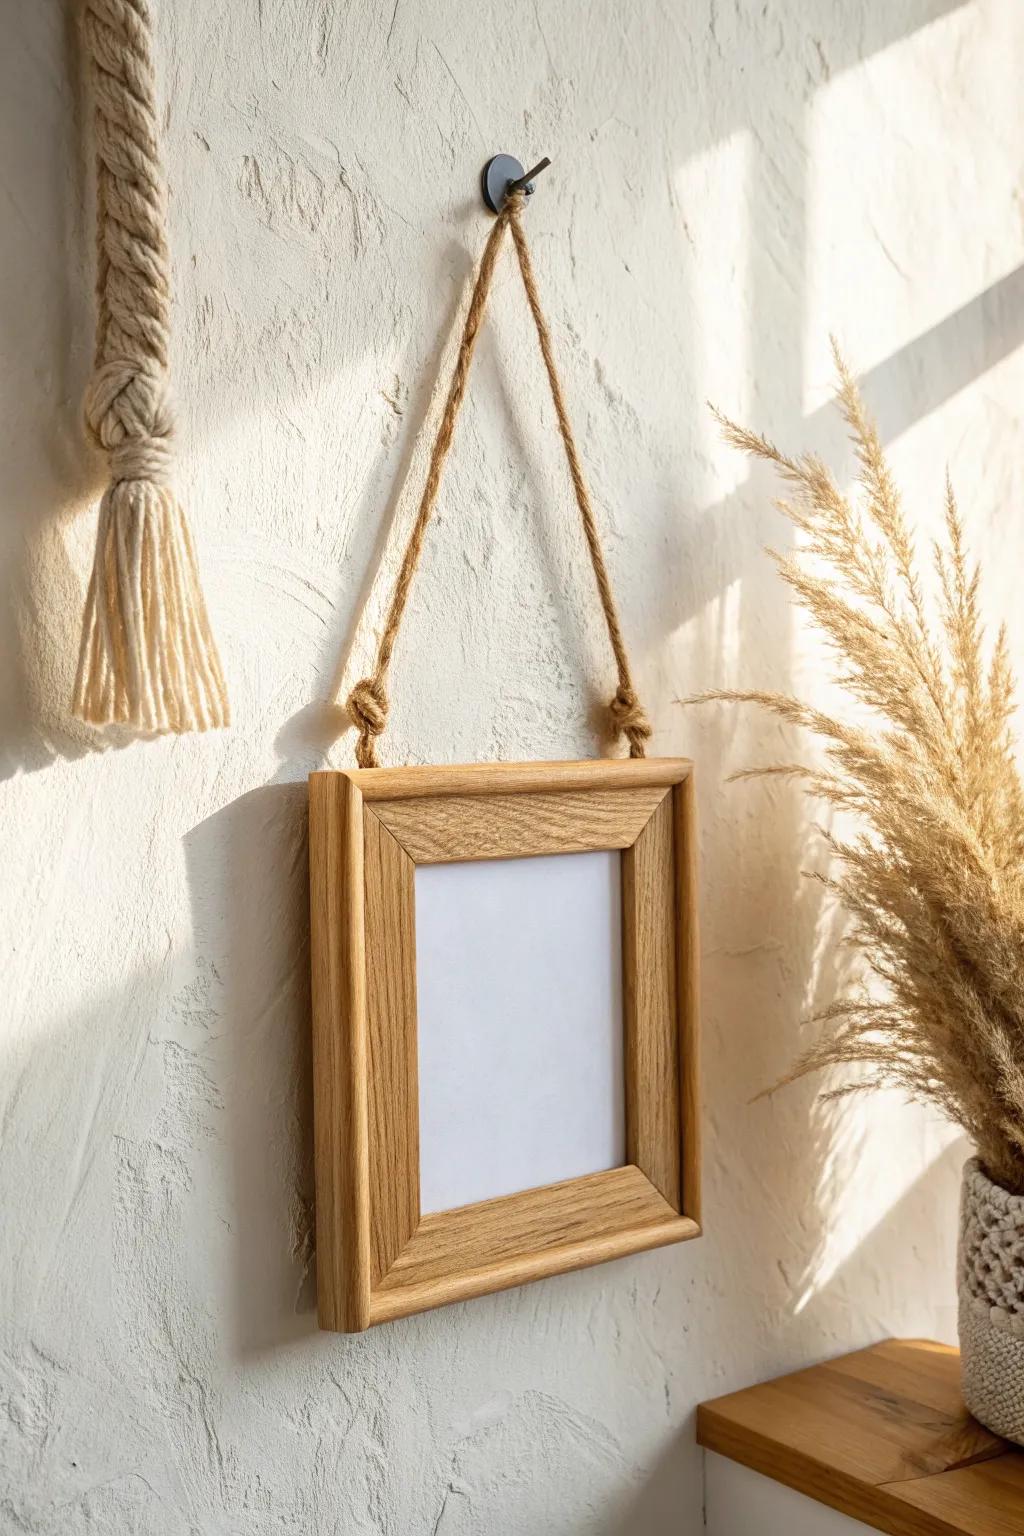
For a softer look, I’ve hung photo frames from wall hooks using simple straps, which adds texture and feels a bit more collected. I tried it above a dresser, and the hanging straps made even basic frames look styled.
These products might help:
- Natural Jute Twine or Rope: Add rustic charm by attaching sturdy jute rope to your frames for an effortless, textured hanging look.
- Minimalist Wall Hooks: Secure your hanging frames with stylish, minimalist hooks that provide a stable base without distracting from the artwork.
- Unfinished Wood Photo Frames: Choose simple wooden frames as a blank canvas, allowing the strap detail to become the main focal point.
Floating Frame “Airy” Spacing
When I want modern and light, I hang photo frames with slightly larger gaps and keep the wall mostly open—less is more in small rooms. I’ve found this airy layout makes the photos feel like art, not clutter.
You might like:
- Wooden Floating Frames: Choose natural wood frames with glass panes to create that transparent, airy look against your wall.
- Minimalist Frame Hanging Kit: Use simple, sturdy hooks or wire kits to suspend your frames cleanly without visible clutter.
- Botanical Line Art Prints: Fill your frames with simple black-and-white botanical sketches to perfectly match this calm, modern aesthetic.
Hinged “Flip-Through” Frame Column
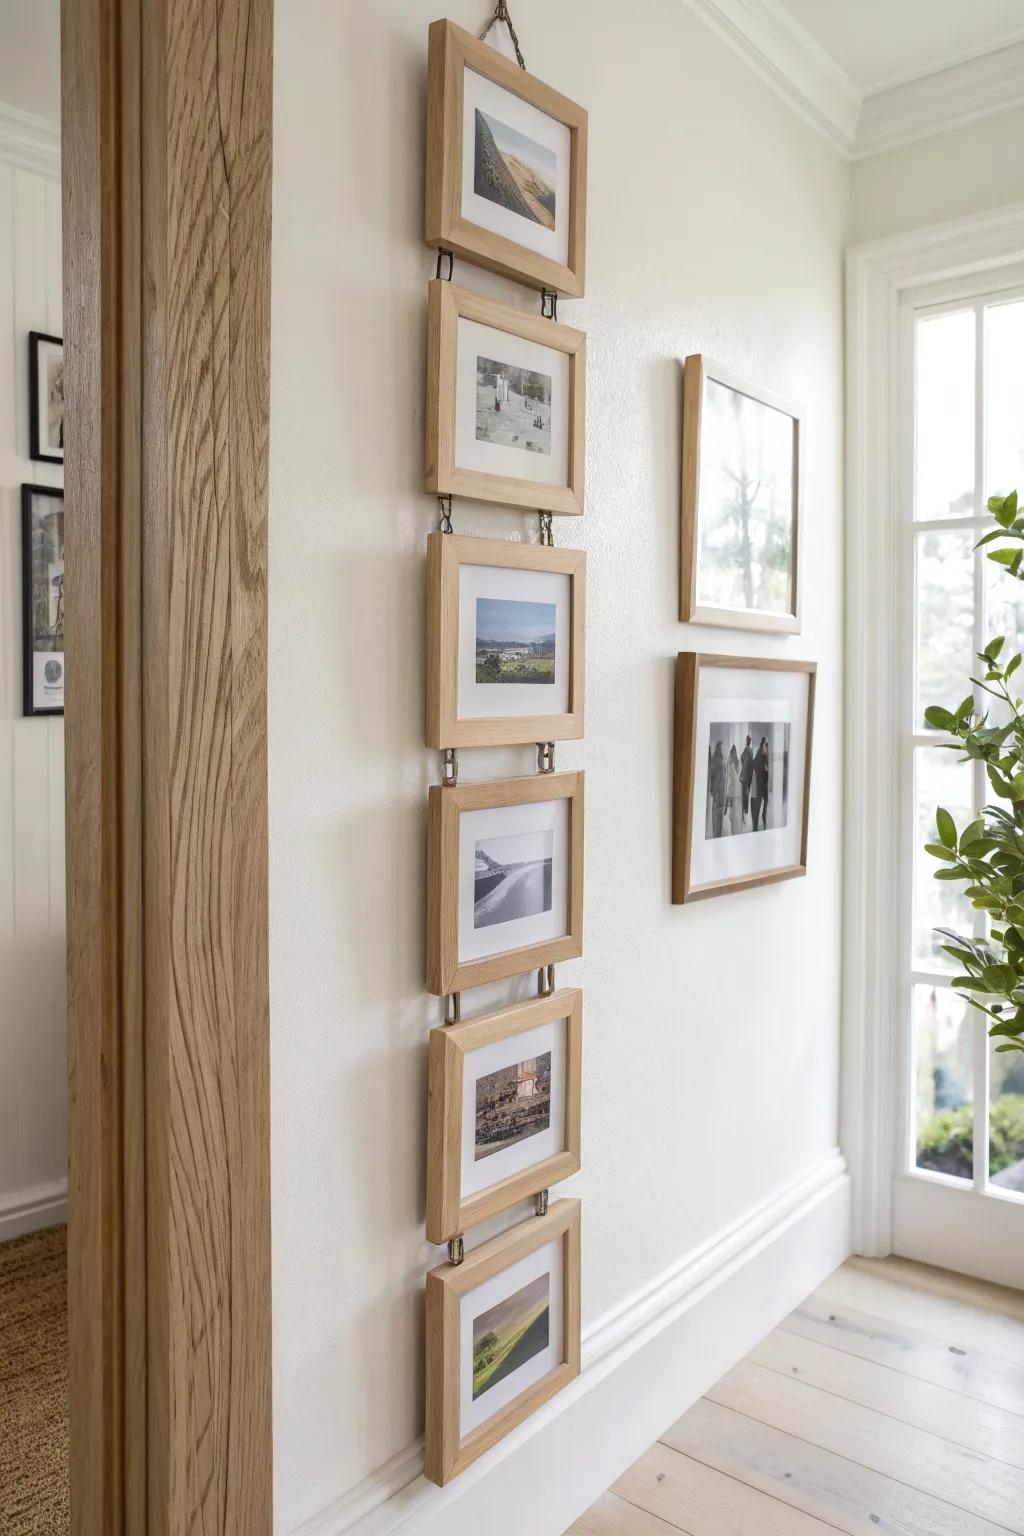
For maximum wow, I’ve hung photo frames in a vertical line and connected a few with small hinges so the front frame can swing open like a little gallery book. It’s a playful interactive frame wall that lets you display more photos without taking up more wall space.
Check these products out:
- Small Brass or Bronze Hinges: Connect frame edges securely with durable hardware to create that unique, interactive flip-book effect on your wall.
- Set of Matching Wood Picture Frames: Start with identical frames to ensure smooth movement and a cohesive look for your vertical gallery display.
- Screw Eyes and Chain Hardware: Use strong screw eyes to link frames vertically if you prefer a looser, hanging style over rigid hinges.


