Camper doors are one of those tiny surfaces that can change the whole vibe of your space fast. I’ve learned that a simple door upgrade can make a camper feel more like a real home without stealing an inch of floor space.
Fresh Paint on Camper Doors

When I want the biggest impact for the least effort, I do a door paint refresh on both the entry door and interior doors. I’ve even color-matched doors to my walls before, and it instantly made my camper feel calmer and more put-together.
Possibly handy products:
- High-Quality Interior/Exterior Paint: Transform your camper’s look easily with durable paint that adheres well to various surfaces for lasting color.
- Detailed Paint Brush Set: Achieve a smooth, professional finish on door panels and trim by using precise brushes designed for detail work.
- Painter’s Tape for Clean Lines: Protect your camper walls and hardware while painting to ensure crisp, clean edges for a professional result.
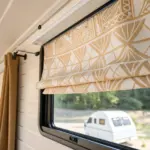
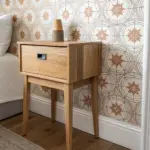
Peel-and-Stick Wallpaper Panels
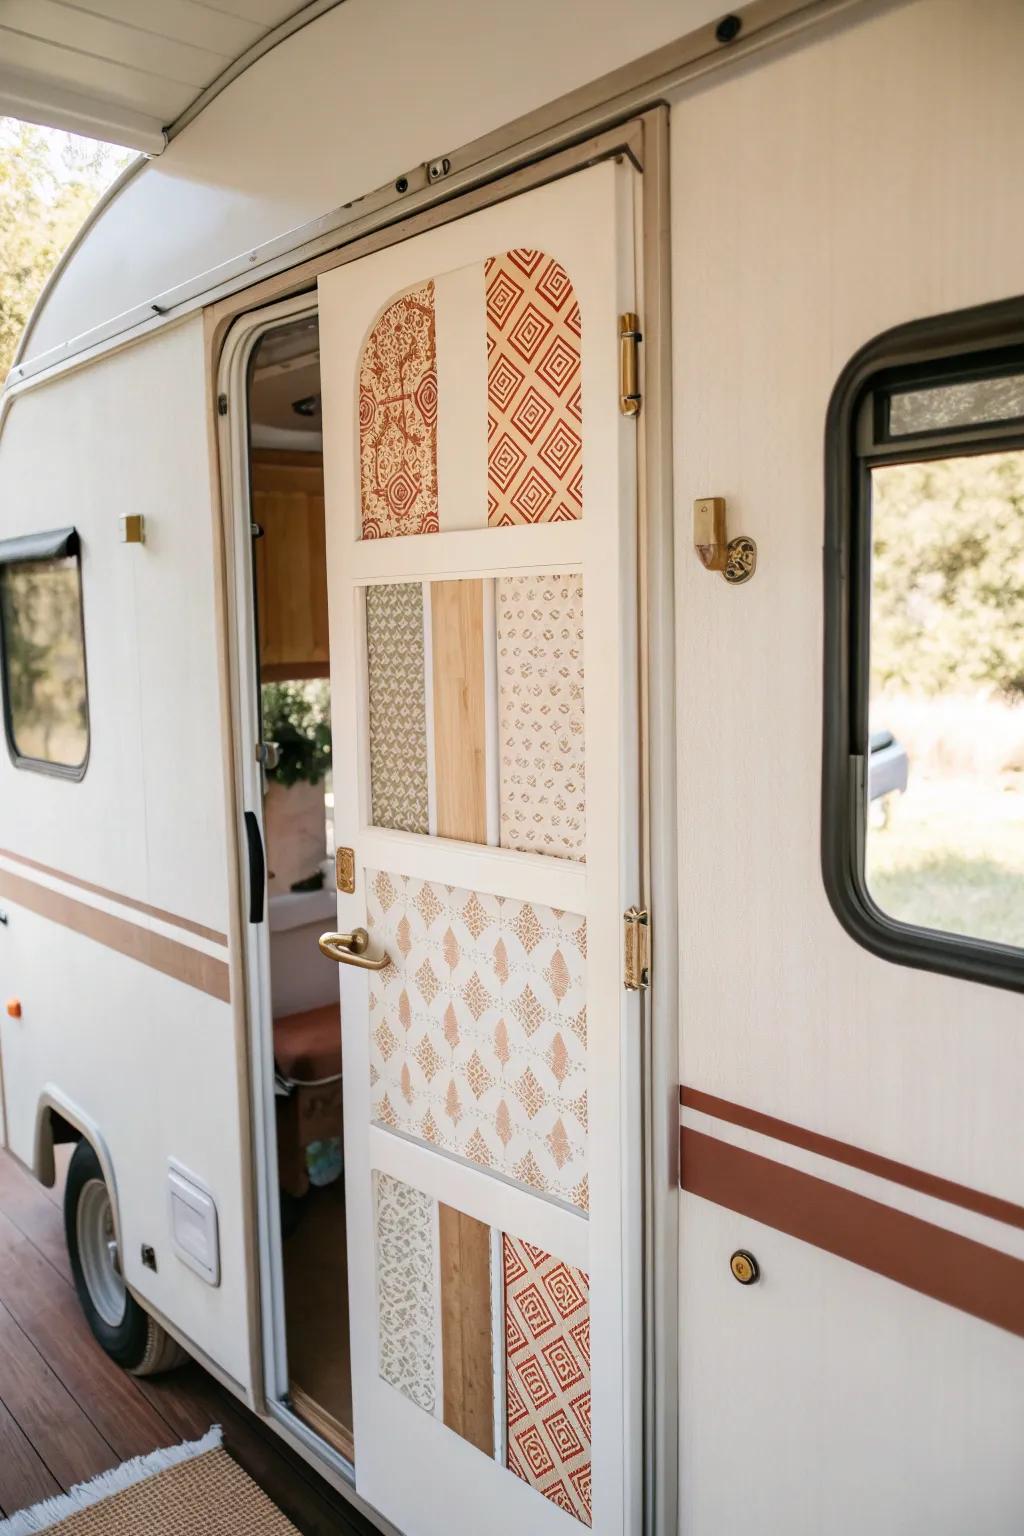
I love using peel-and-stick wallpaper on camper doors because you get pattern without the bulk of wood. I’ve done this on a bathroom door and it turned a plain, factory-looking surface into a “wait, that’s a camper?” moment.
These products might help:
- Geometric Pattern Peel-and-Stick Wallpaper: Transform your camper door panels easily by applying this removable wallpaper for an instant, stylish geometric upgrade.
- Micro-Print Floral Self-Adhesive Wallpaper: Add subtle texture to small door insets with this delicate print, perfect for contrasting against bolder patterns.
- Utility Knife and Smoothing Tool Kit: Ensure clean cuts and bubble-free application on your door panels with these essential wallpaper installation tools.
Upgraded Door Hardware
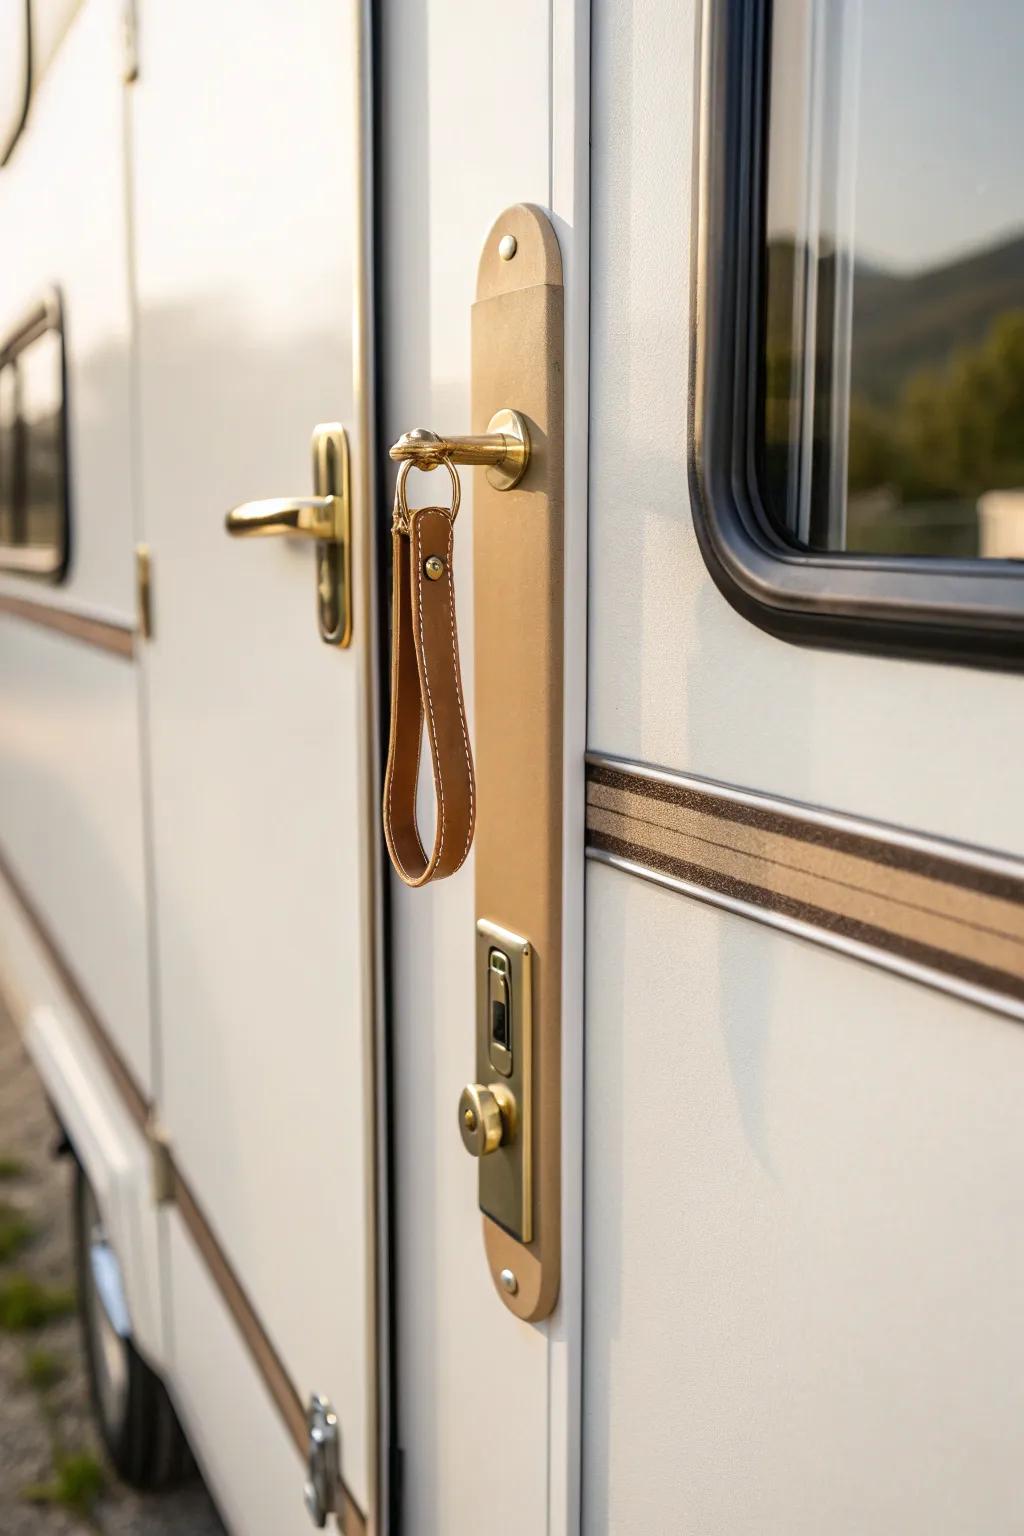
Swapping door hardware (handles, latches, hinges) is one of my favorite quick wins, especially when the original finish looks tired. I’ve done this for clients in tiny rigs, and the door instantly feels more residential and intentional.
Might be a good match:
- Brass Camper Door Latch: Upgrade your entry with a stylish brass latch that adds a touch of modern vintage flair.
- Leather Pull Strap: Add a unique tactile element by installing a durable leather pull strap for easier door handling.
- Decorative Door Push Plate: Protect your door surface while creating a cohesive, high-end look with a matching finger push plate.

Wood Slat Patterns
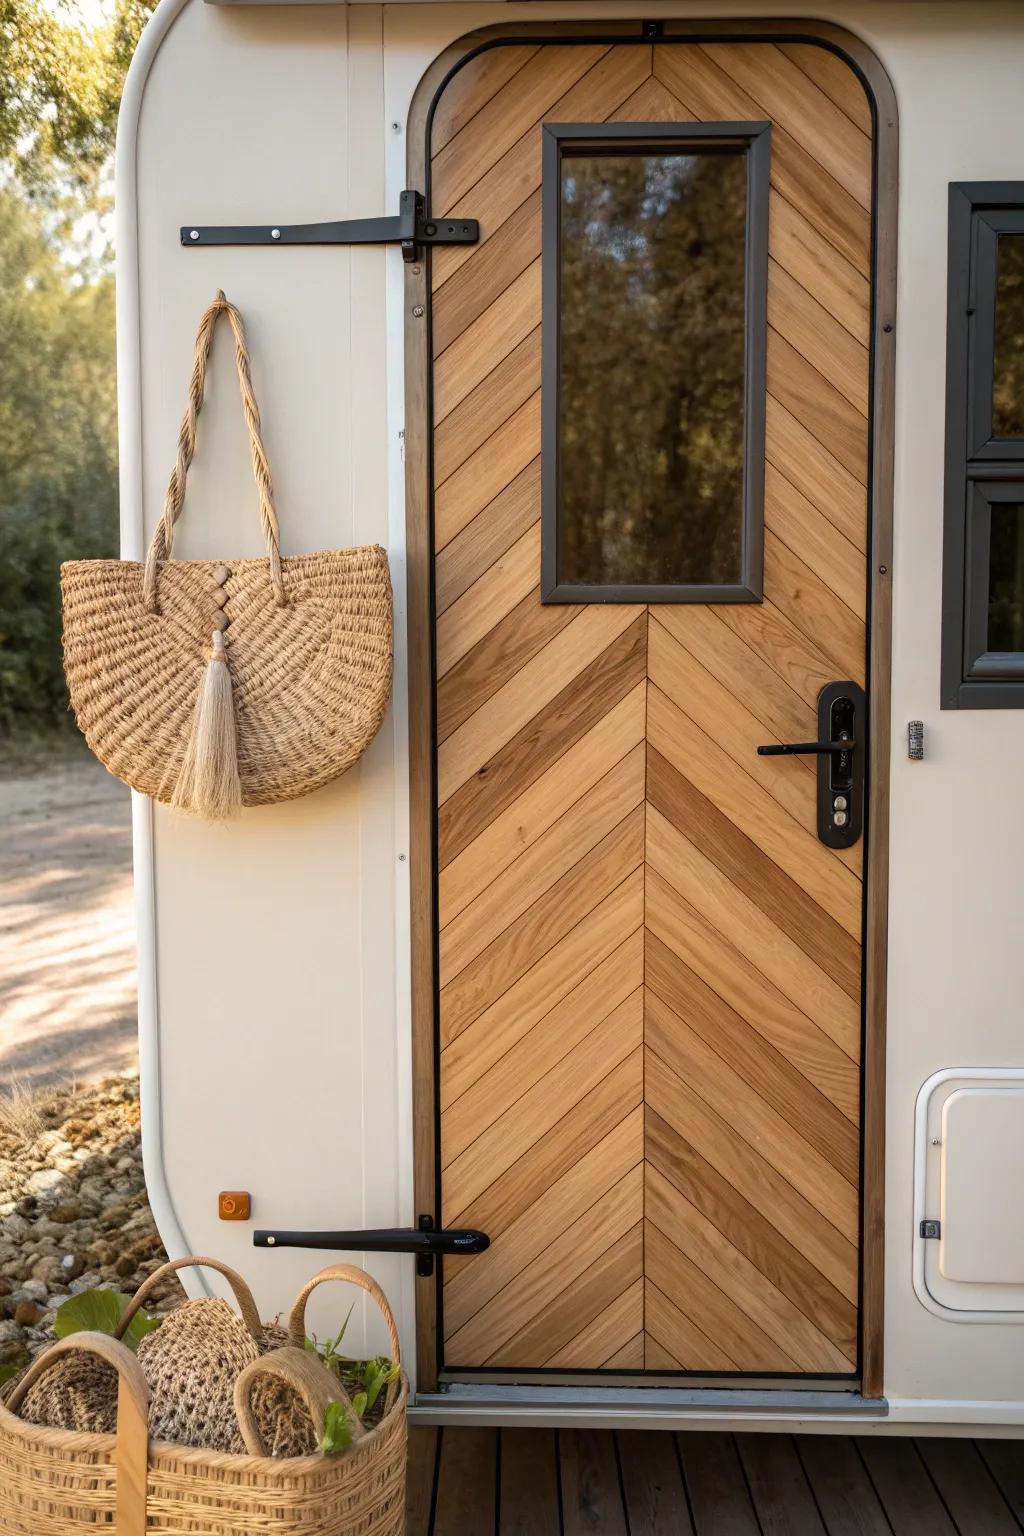
If you want that classic makeover look, I’m a big fan of thin wood slats in a chevron or X pattern right on the camper door. I did a simple herringbone once and it became the feature everyone noticed first.
Consider these options:
- Self-Adhesive Wood Wall Planks: Instantly upgrade your camper door with these peel-and-stick planks for an easy, customized wood pattern effect.
- Construction Adhesive: Secure your wood slats permanently to the door frame to ensure they withstand travel vibrations and temperature changes.
- Adjustable Miter Box and Saw: Create precise angles for your chevron or herringbone patterns with this essential tool for accurate cutting.
Faux Wood Finish for Warmth
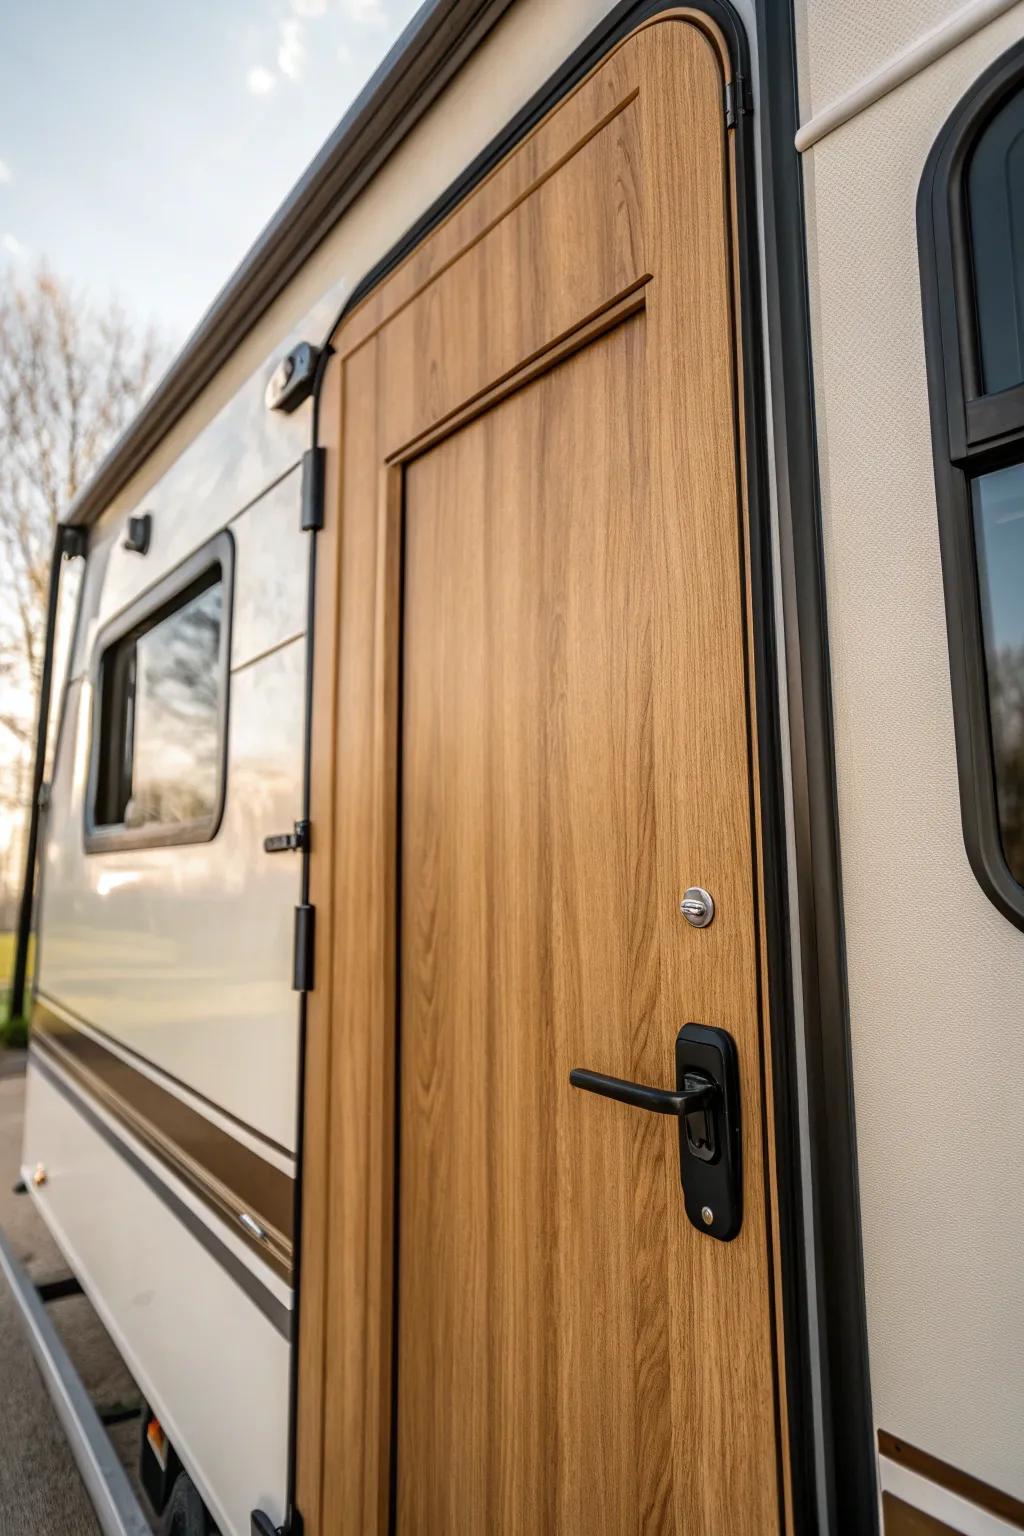
On metal or plastic camper doors, I’ve used a faux wood finish to get cozy cabin vibes without adding weight. It’s my go-to when the goal is “warm and homey,” but the door material isn’t naturally pretty.
You might give these a try:
- Wood Grain Vinyl For Furniture Wrapping: Wrap your existing door quickly with adhesive vinyl to create an instant, lightweight wood finish.
- Wood Graining Tool Set: Paint a realistic wood texture onto plastic or metal surfaces using this simple, reusable hand tool.
- Automotive Grade Wood Vinyl Wrap: Ensure durability against the elements by using a weather-resistant vinyl designed for vehicle exteriors.
Two-Tone Door Color Blocking
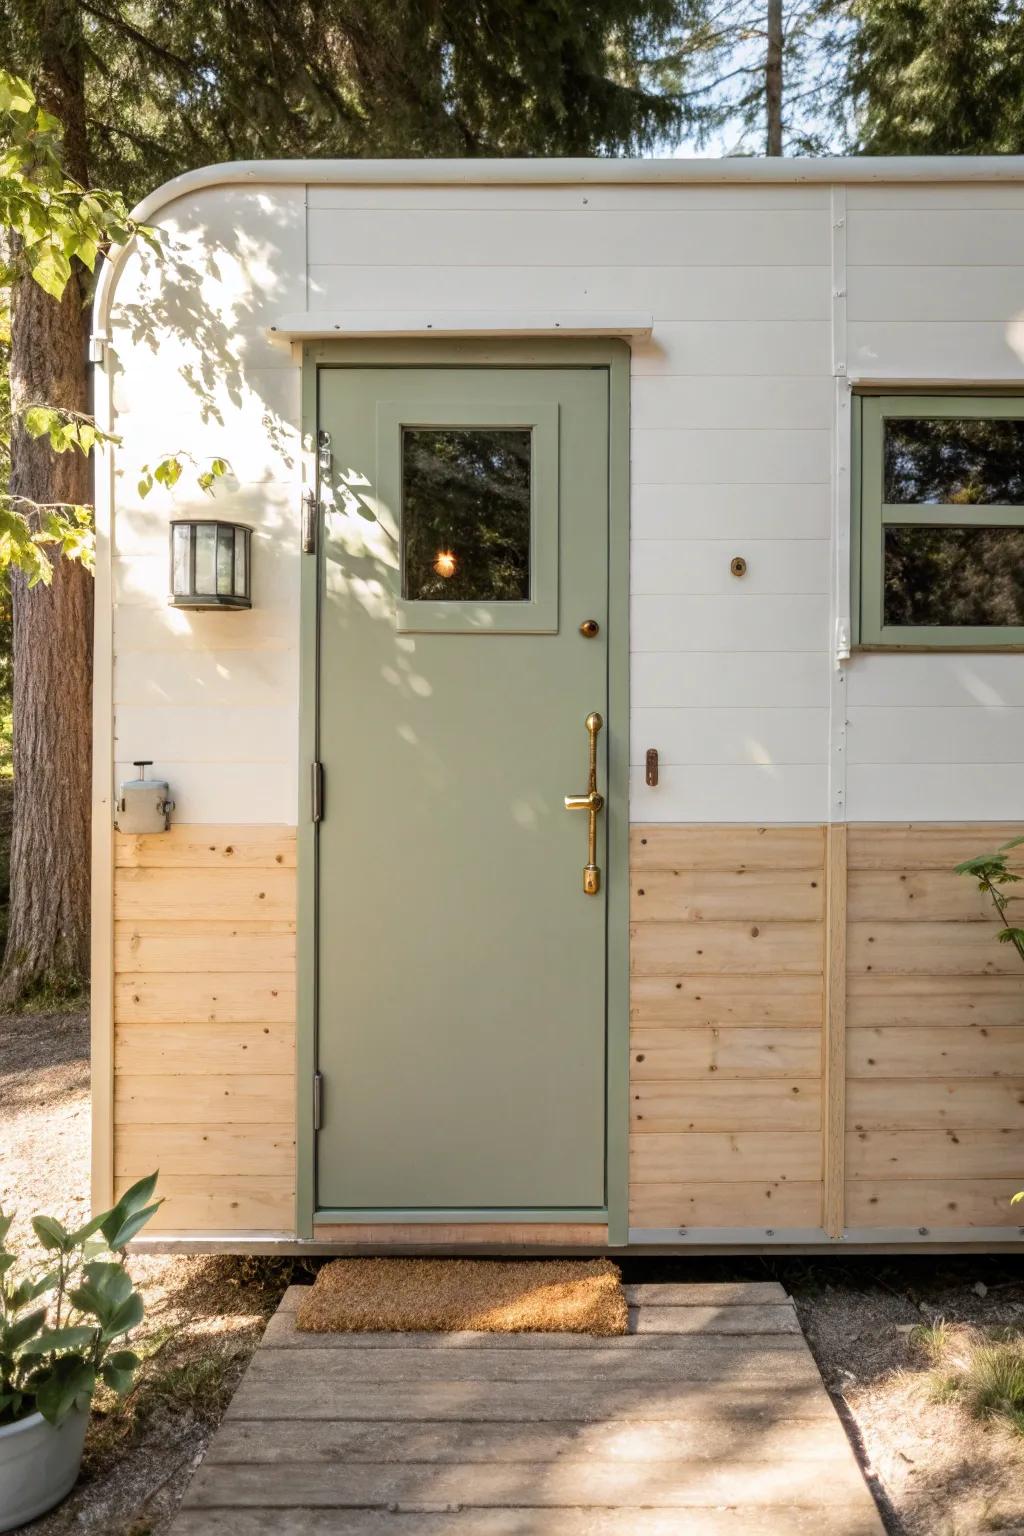
I’ve painted camper doors with two-tone color blocking (like a darker bottom and lighter top) to make the space feel taller and more styled. It’s a fun way to add personality without adding visual clutter.
A few suggestions:
- Exterior Door Paint: Choose a muted sage green or soft neutral shade to replicate this serene, nature-inspired camper aesthetic.
- Brass Door Pull Handle: Upgrade your camper’s hardware with a vintage-style brass handle to add an elegant, finished touch instantly.
- Painters Tape for Sharp Lines: Ensure crisp, professional-looking lines between your two color blocks with high-quality, multi-surface painter’s tape.

Chalkboard Message Door
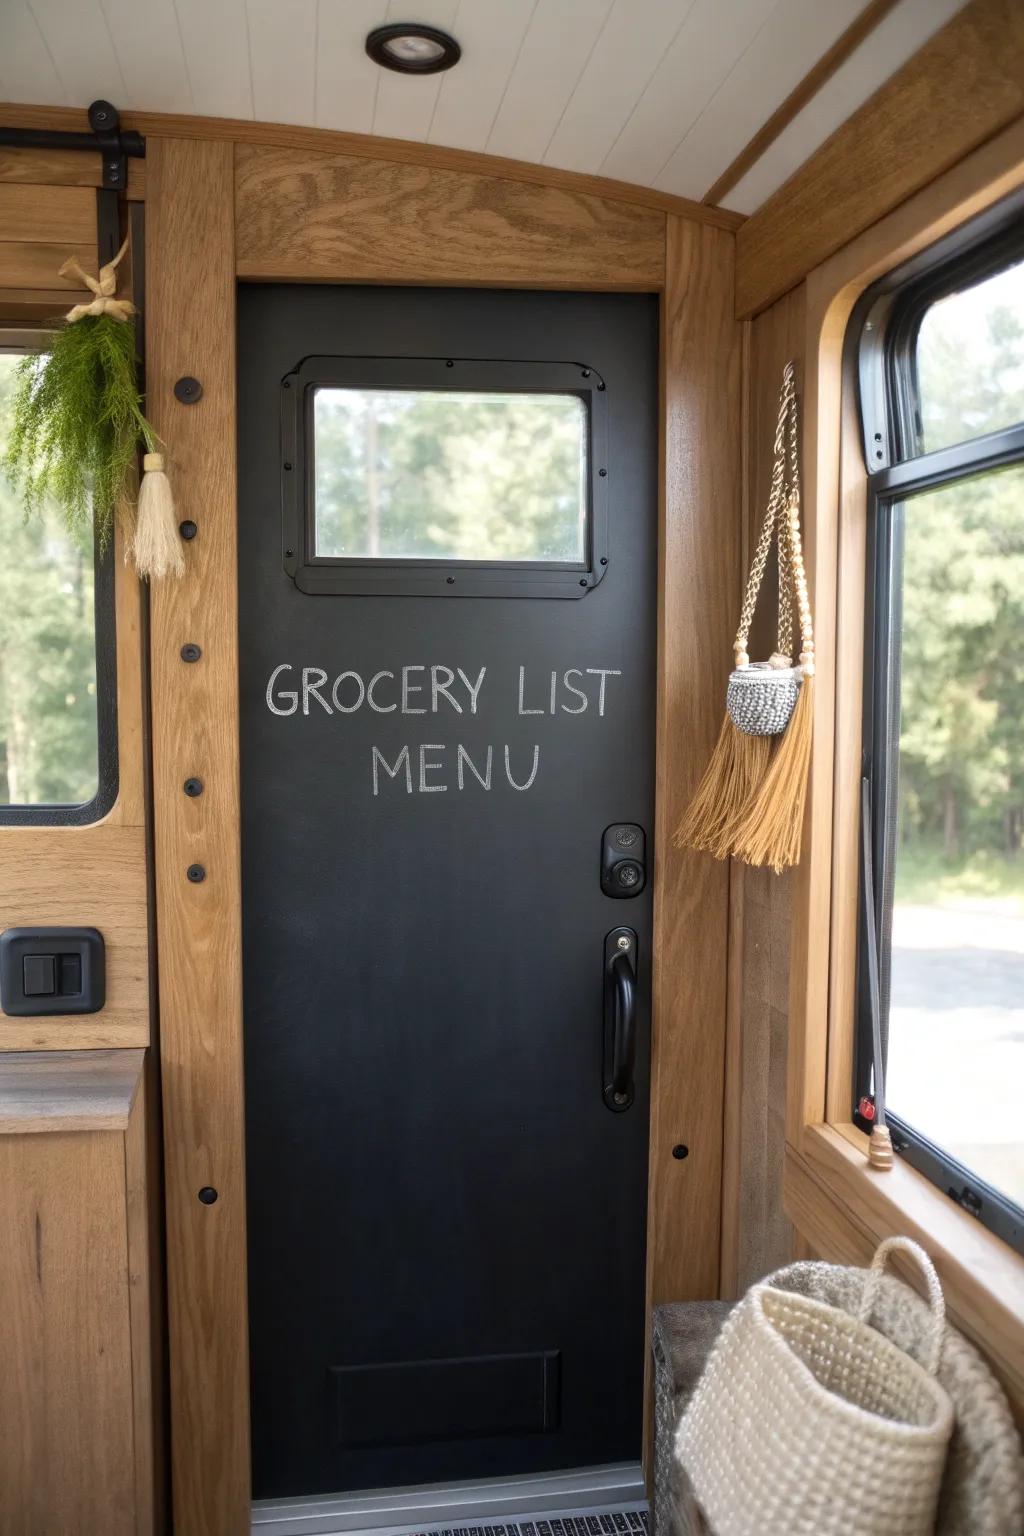
In my smallest setups, I’ve used chalkboard paint on the inside of a camper door for lists, menus, and quick notes. It’s weirdly satisfying to have a “command center” that lives on a surface you already have.
Items that may come in handy:
- Black Chalkboard Paint: Transform your door into a functional writing surface with this easy-to-apply paint perfect for lists and notes.
- Dustless Chalk Markers: Keep your camper clean while writing clear, bold lists with these vibrant, easy-to-wipe liquid chalk pens.
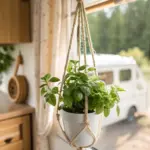
- Hanging Macrame Storage: Add boho style and extra organization next to your door with a woven hanging basket for small essentials.
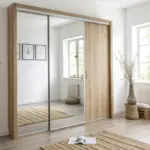
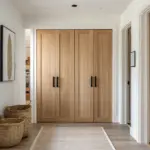
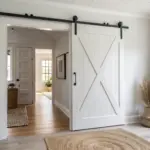
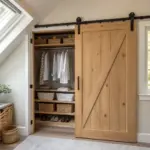
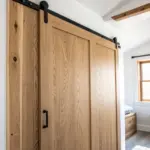
Sliding Barn Door Swap

When a swinging door eats up precious walkway space, I recommend a barn door style slider, especially for camper bathrooms. I’ve helped install one in a narrow hall, and the space instantly felt less cramped.
Useful items to consider:
- Mini Sliding Barn Door Hardware Kit: Upgrade your narrow hallway effortlessly with this compact rail system designed specifically for smaller, lighter cabinet-style doors.
- Unfinished Knotty Pine Barn Door Slab: Create a custom look by staining or painting this raw wood door to perfectly match your camper’s interior.
- Black Carbon Steel Door Handle Pull: Add a sturdy, stylish grip to your new sliding door with this rustic handle that complements black hardware hardware.
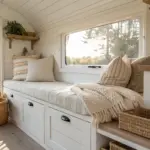
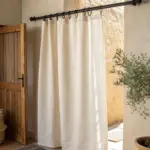
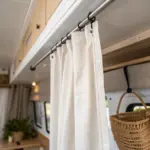
Curtain Instead of a Door
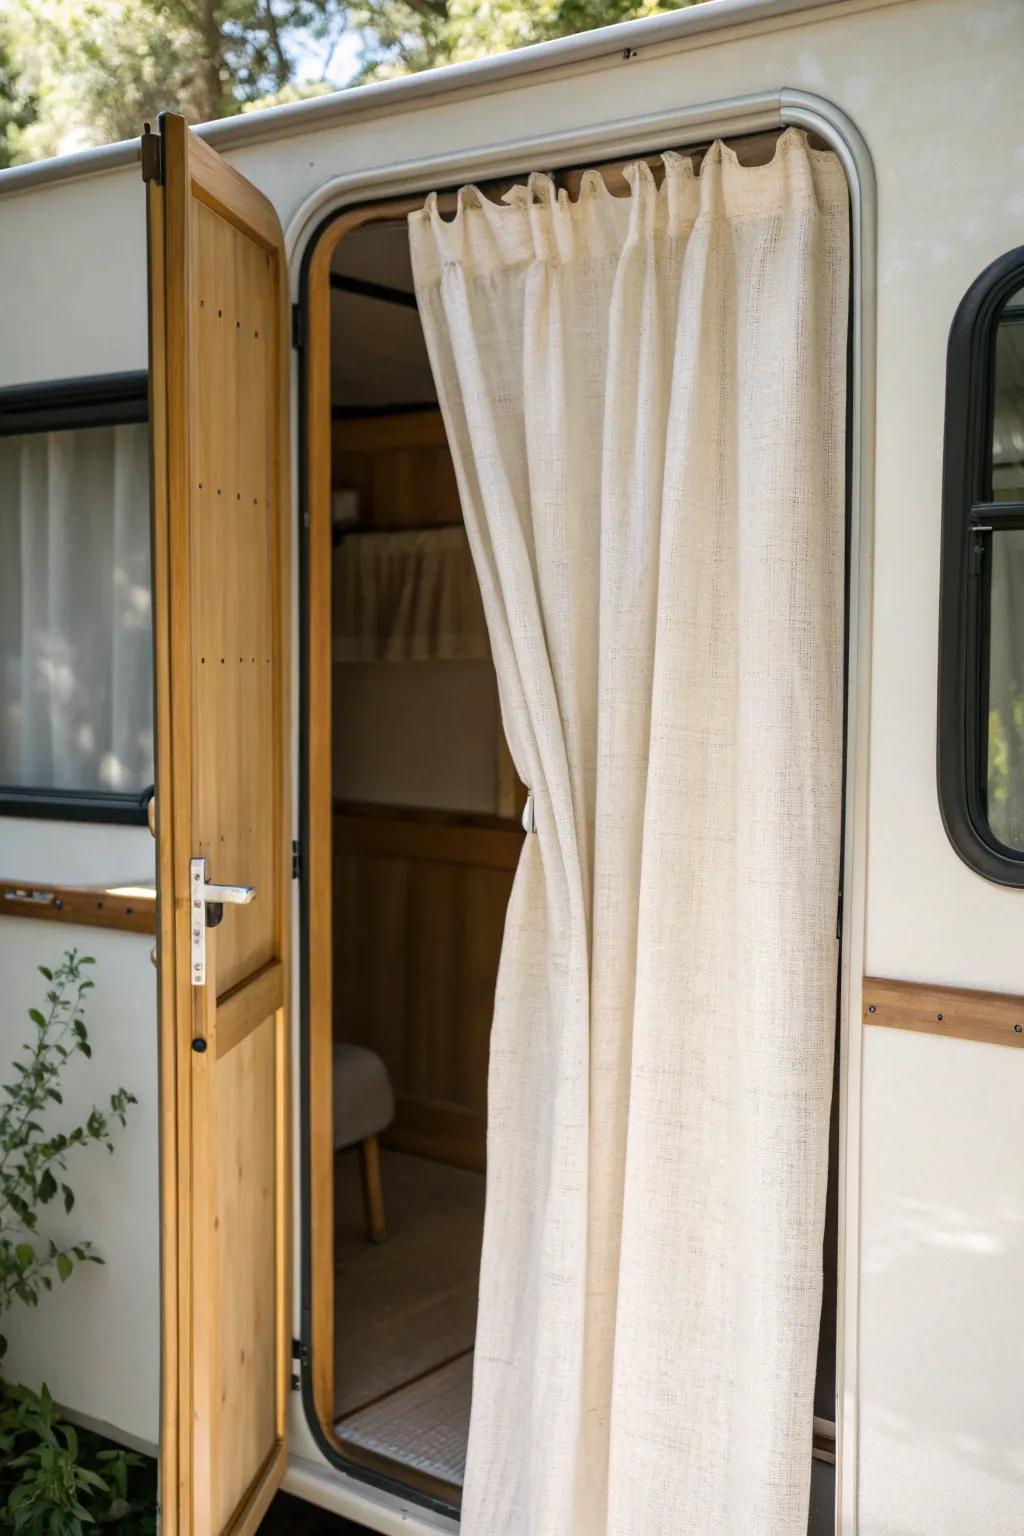
For campers with awkward clearances, I’ve replaced an interior door with a curtain doorway to keep things airy and flexible. I love how it softens the space while still giving you privacy when you need it.
Some handy options:
- Linen Texture Door Curtain: Add privacy and softness to your camper doorway with a lightweight, breathable curtain that mimics natural linen.
- Spring Tension Curtain Rod: Install your camper curtain easily without drilling holes using an adjustable tension rod for a secure fit.
- Curtain Tiebacks with Hooks: Keep your doorway open and airy during the day by securing the curtain back with a simple tieback.
Screen Door Style Upgrade
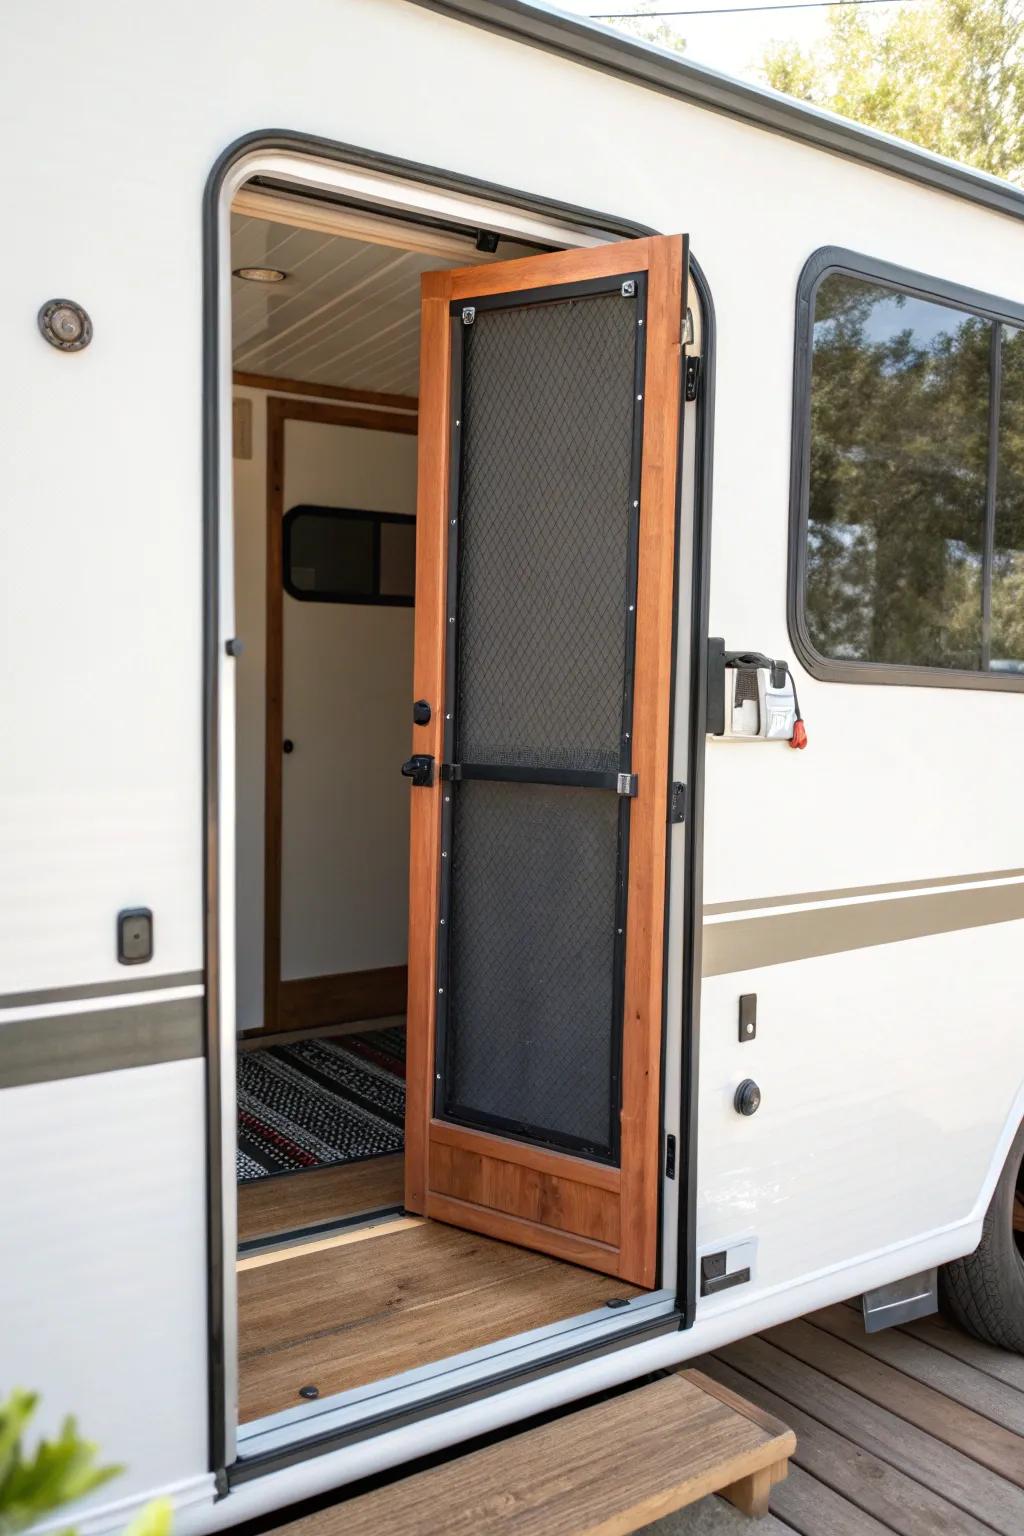
I’ve refreshed a camper screen door with sturdier mesh and a cleaner frame finish, and it made the whole entry look newer. Adding a protective kick area also helped mine hold up way better with everyday in-and-out traffic.
Check these products out:
- Heavy-Duty Pet Screen Roll: Replace flimsy standard mesh with durable, tear-resistant screening to protect your entry from pets and daily wear.
- RV Screen Door Push Bar: Install a sturdy crossbar to strengthen the door frame and provide a convenient handle for easy exit.
- Aluminum Screen Door Kick Guard: Add a protective metal grill to the bottom of your door to prevent screen damage from foot traffic.
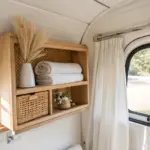
Over-the-Door Entry Storage
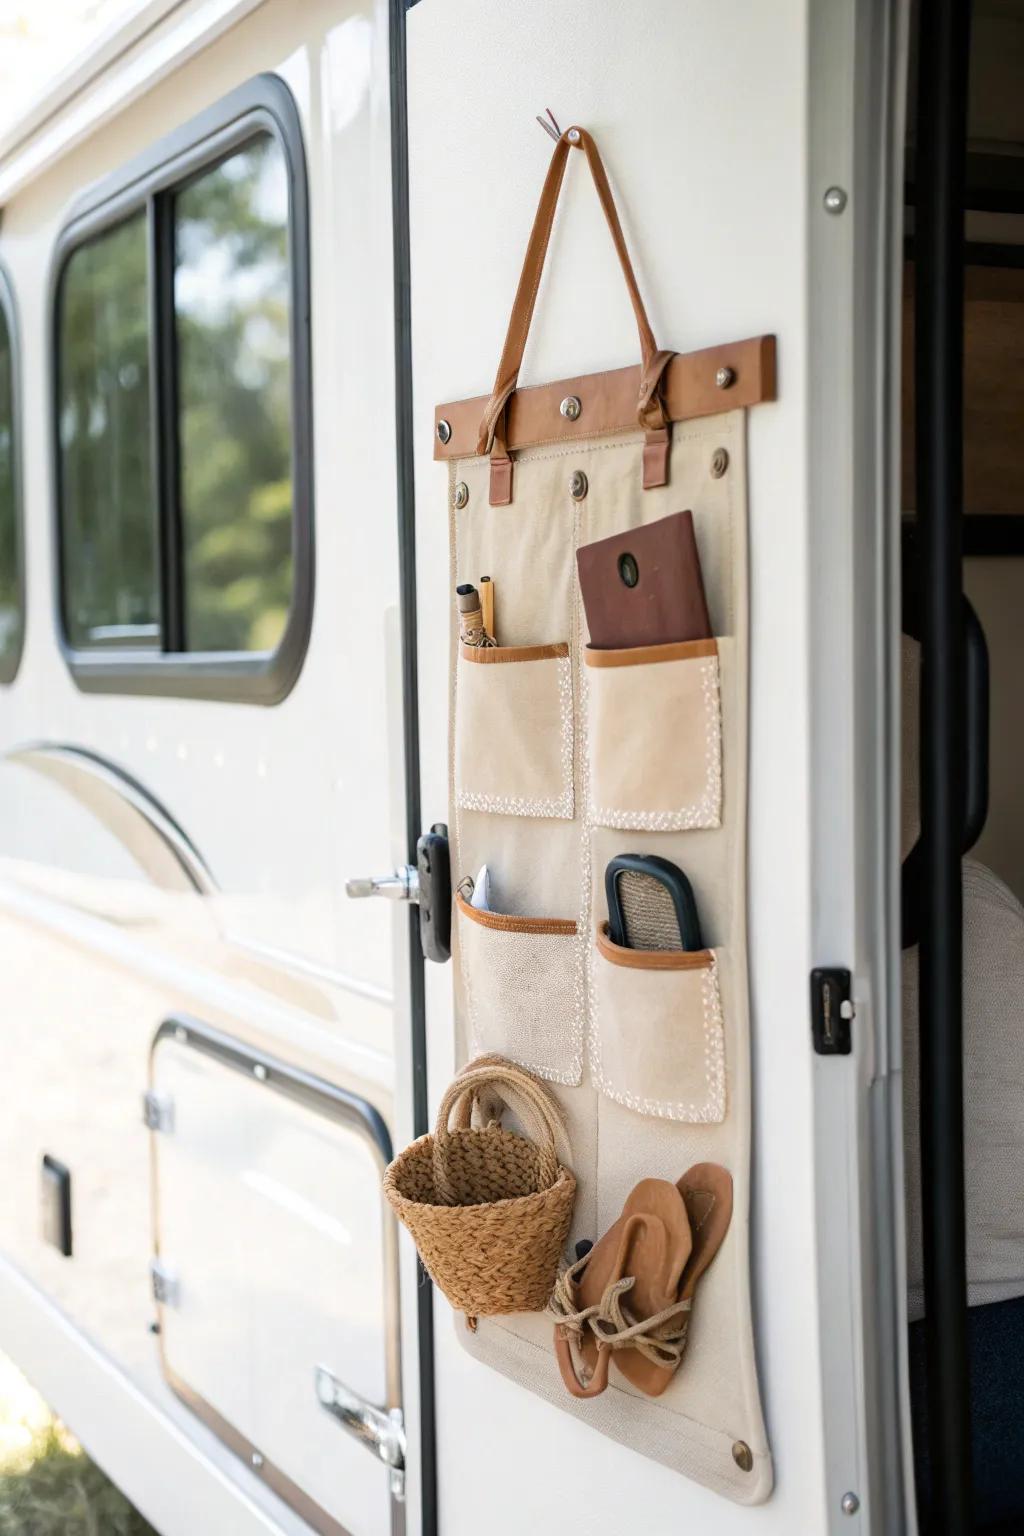
In my own camper life, an over-the-door organizer on the entry door has been a lifesaver for shoes, bug spray, and flashlights. I love that it adds storage without stealing any cabinet space.
These products might be useful:
- Canvas Hanging Wall Organizer: Store your daily essentials neatly by hanging an organizer like this on your camper entry door.
- Small Woven Hanging Basket: Add a small basket to your hook setup for quick access to keys or sunglasses.
- Adhesive Heavy Duty Wall Hooks: Secure your organizer without drilling holes by using strong, durable adhesive hooks perfect for RVs.
Mini Key and Leash Station
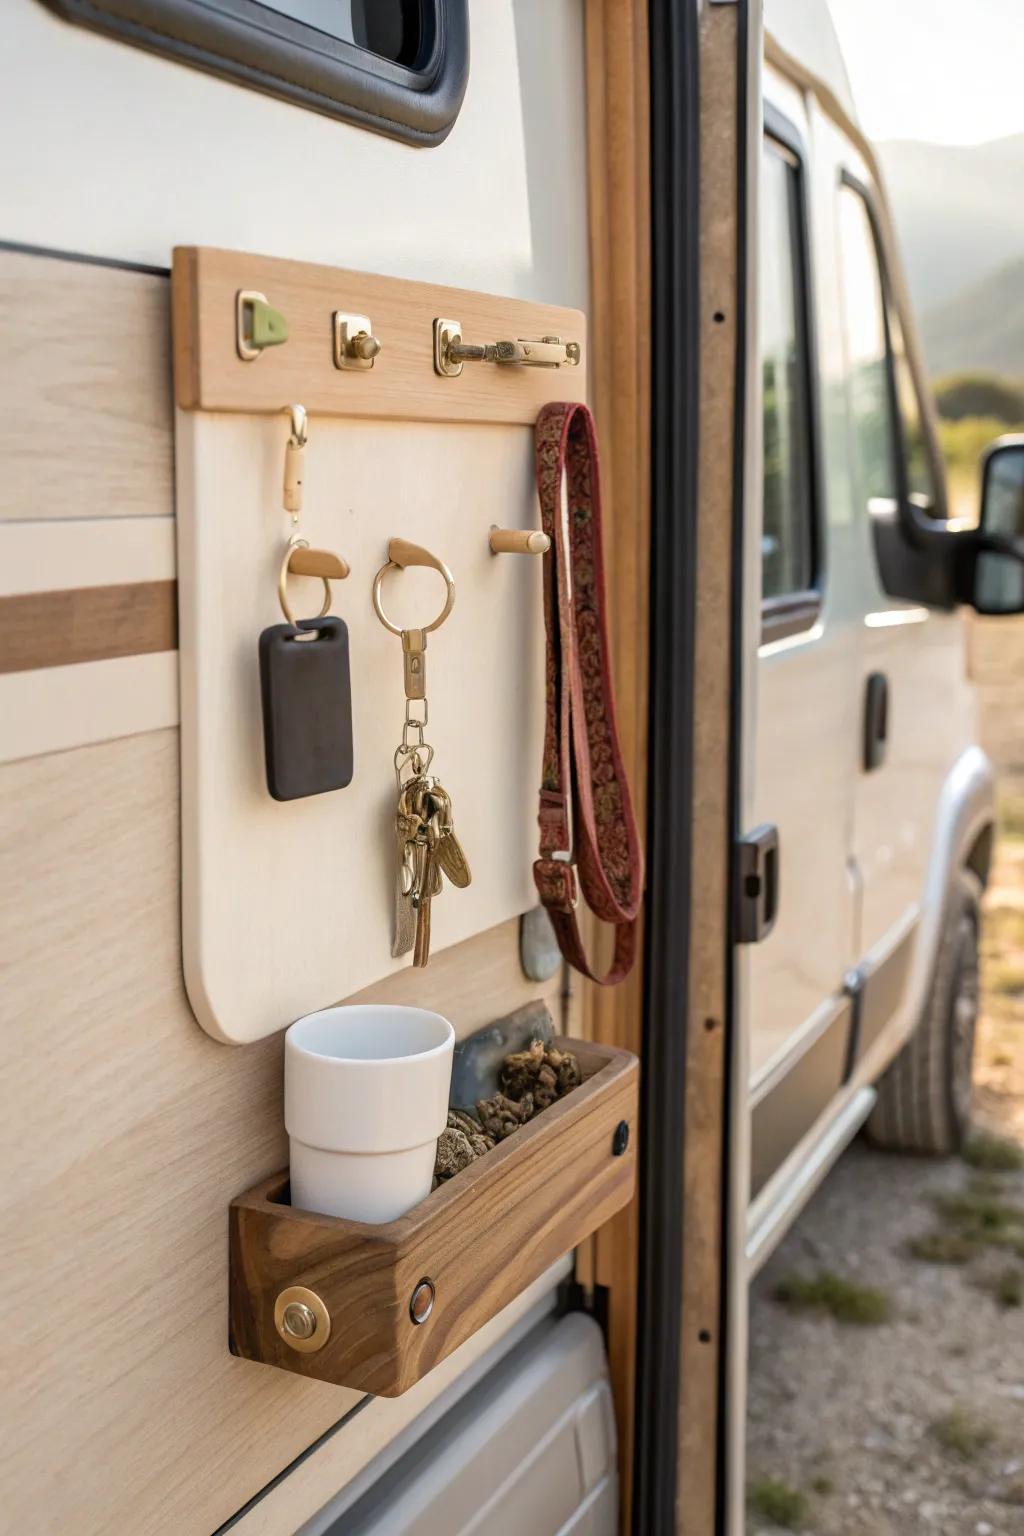
I’ve stuck slim hooks and a tiny bin right onto the inside of the camper door to create a key drop zone. It’s such a small change, but it seriously cut down the “where did I put it?” scramble in tight quarters.
Check if these fit your needs:
- Wall-Mounted Key Organizer with Hooks: Hang your keys and leashes securely by the door to keep your small camper space organized and tidy.
- Small Wooden Wall Storage Bin: Install a compact bin for holding loose items like sunglasses or snacks right where you need them most.
- Adhesive Hook Hardware Strip: Use simple adhesive or screw-in hook rails to create instant hanging storage without needing major heavy-duty tools.
Statement Door Mural Moment
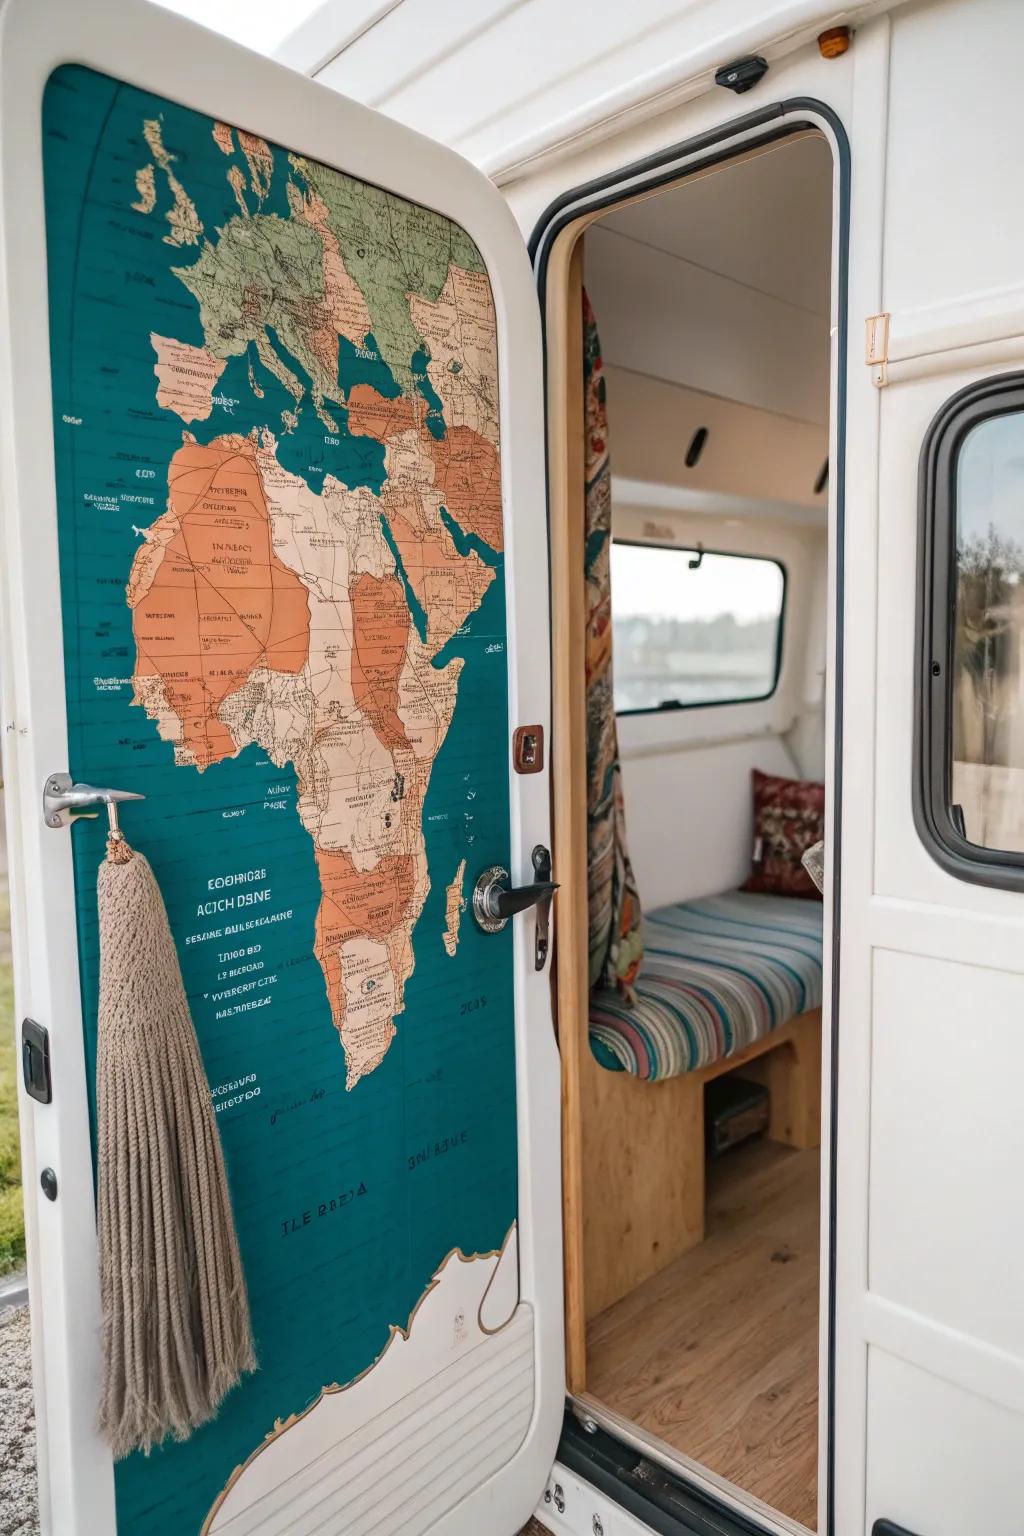
For a real wow factor, I’ve covered the inside of a camper door with a map mural (or a bold scenic print) so the door becomes art. It’s unexpected in the best way, and it makes even a basic camper door feel like part of the design.
You might like:
- Self-Adhesive Vintage Map Wallpaper: Transform your camper door into a travel log with peel-and-stick wallpaper that adds instant character and charm.
- Macrame Tassel Door Handle Decoration: Add a touch of texture and bohemian style to your door handle with a simple, decorative hanging tassel.
- Multi-Surface Smoothing Tool Kit: Ensure your door mural applies smoothly without air bubbles using this essential kit for a professional-looking finish.


