When tools don’t have a clear home, even a tiny project turns into a scavenger hunt. Over the years in my small apartments, I’ve learned that the best tool organization is simple, visual, and mostly vertical.
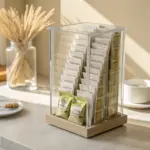
Stackable Parts Boxes by Project
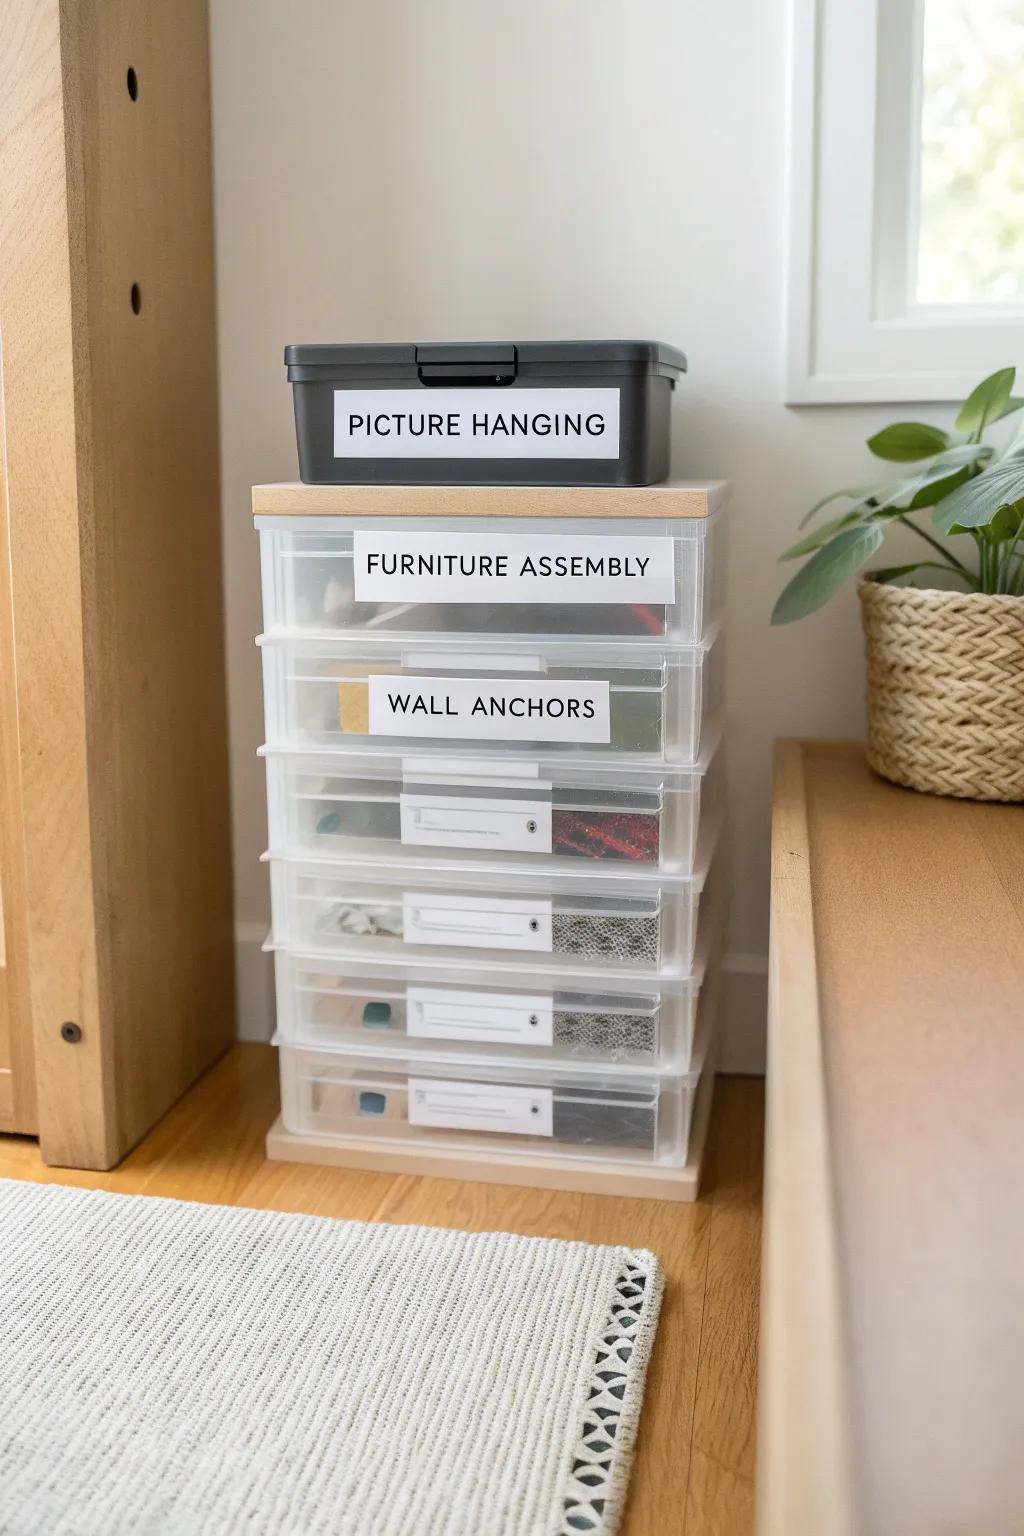
I keep stackable organizers for specific projects—like picture hanging or furniture assembly—so I’m not mixing random bits together. This saved me during a move when I needed the right fasteners fast.
A few relevant products:
- Clear Stackable Drawer Organizers: Keep small parts visible and separated by project type with these stackable units for easy access.
- Small Parts Latch Box: Secure loose items like picture hanging kits in a portable latch box that prevents accidental spills.
- Adhesive Label Printer: Create clear, legible custom labels quickly to instantly identify what project parts are inside each drawer.
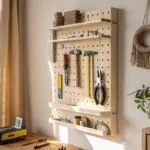
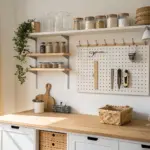
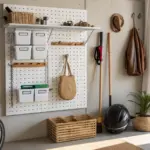
Classic Pegboard Tool Wall
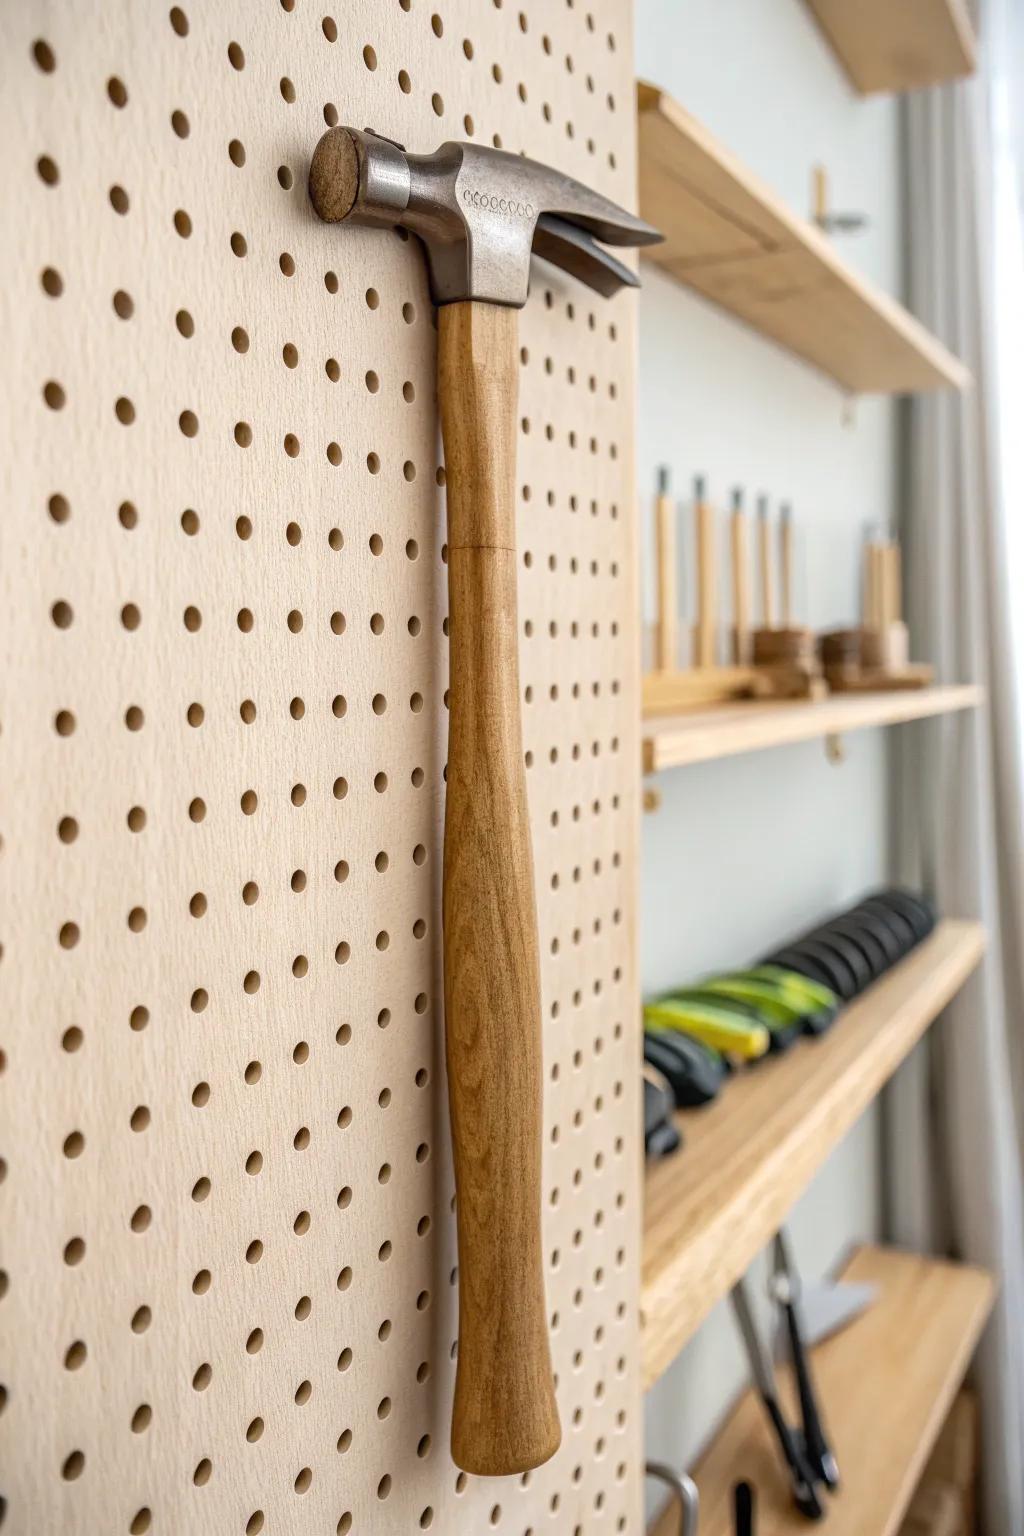
In my last studio, a pegboard wall instantly doubled my storage because every hammer, tape measure, and plier was off the floor and in sight. I keep the most-used tools at eye level so I can grab them without digging.
Check if these fit your needs:
- Wooden Pegboard Panel: Create a sturdy and aesthetic base for your tools; mount this classic panel to maximize vertical wall space.
- Wooden Peg Hooks: Secure your hammers and larger tools easily; insert these simple dowels to create custom hanging points instantly.
- Floating Wood Shelves: Expand your storage for items without handles; install these shelves alongside your pegboard for boxes and small parts.
Wall Hooks for Long-Handled Tools
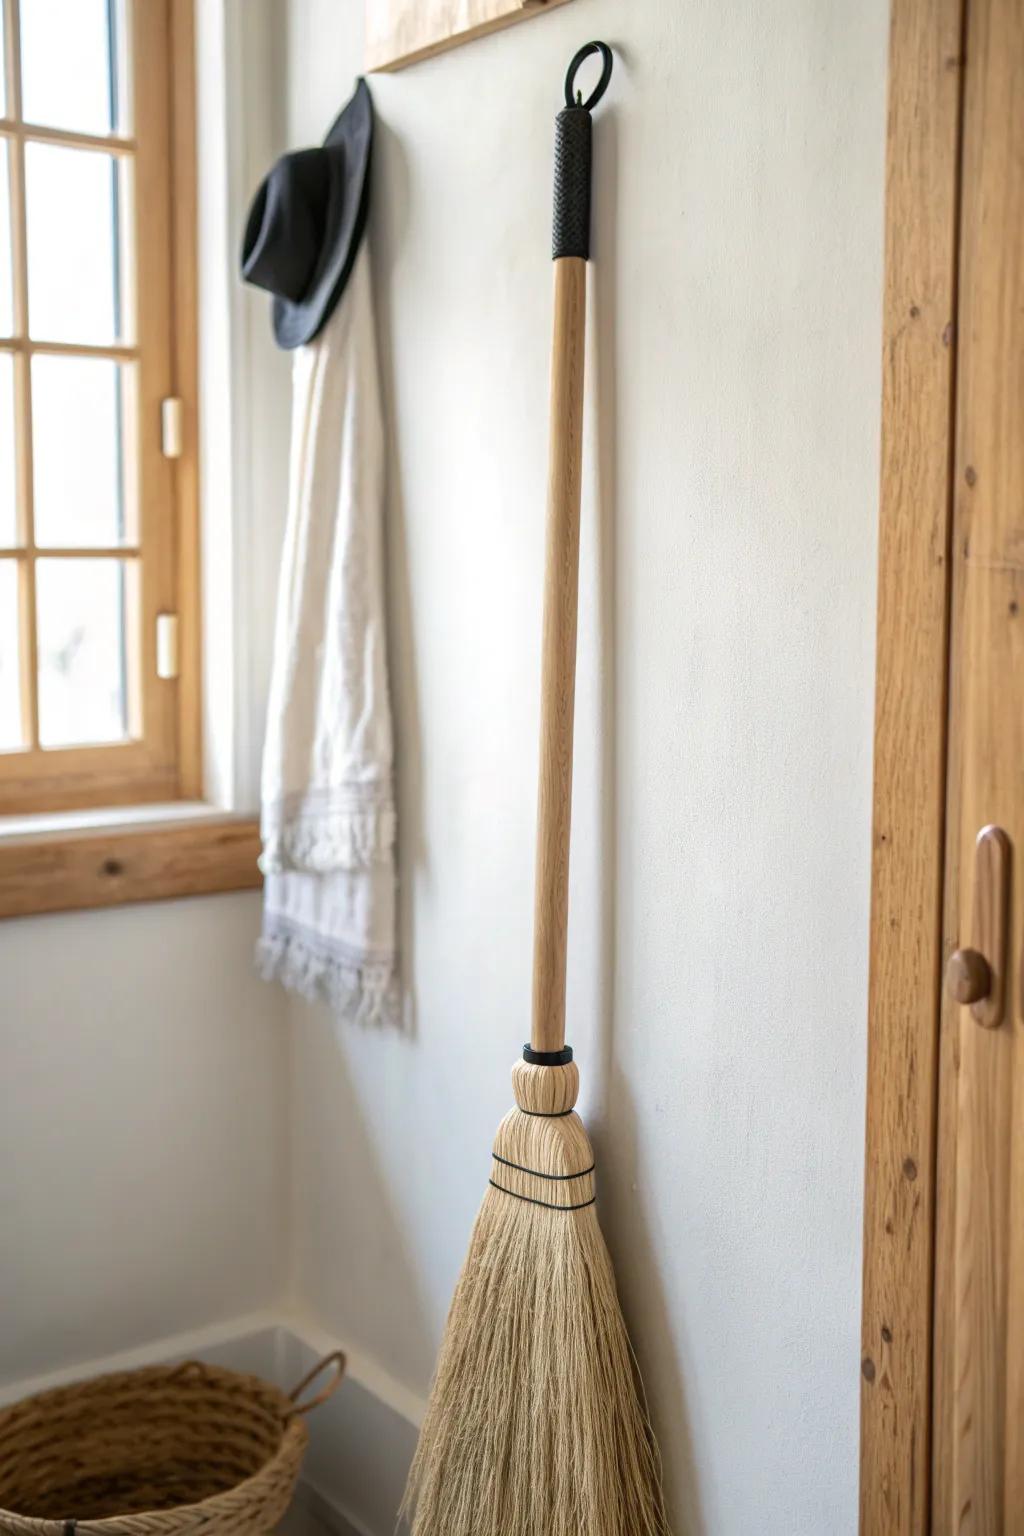
I use sturdy wall hooks to hang long-handled tools like rakes, brooms, and levels so they stop toppling into a corner. In a tight entry-storage closet, this one move made the whole space feel calmer.
Explore these options:
- Minimalist Wall Hooks: Install these simple hooks high on your wall to keep long tools secure and off the floor.
- Wall-Mounted Tool Grippers: Utilize tension grippers to instantly snap broom and rake handles into place for quick and easy access.
- Shaker Peg Rails: Add a classic wooden peg rail to hang multiple tools neatly in a row while adding style.

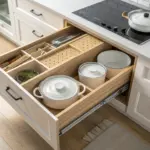
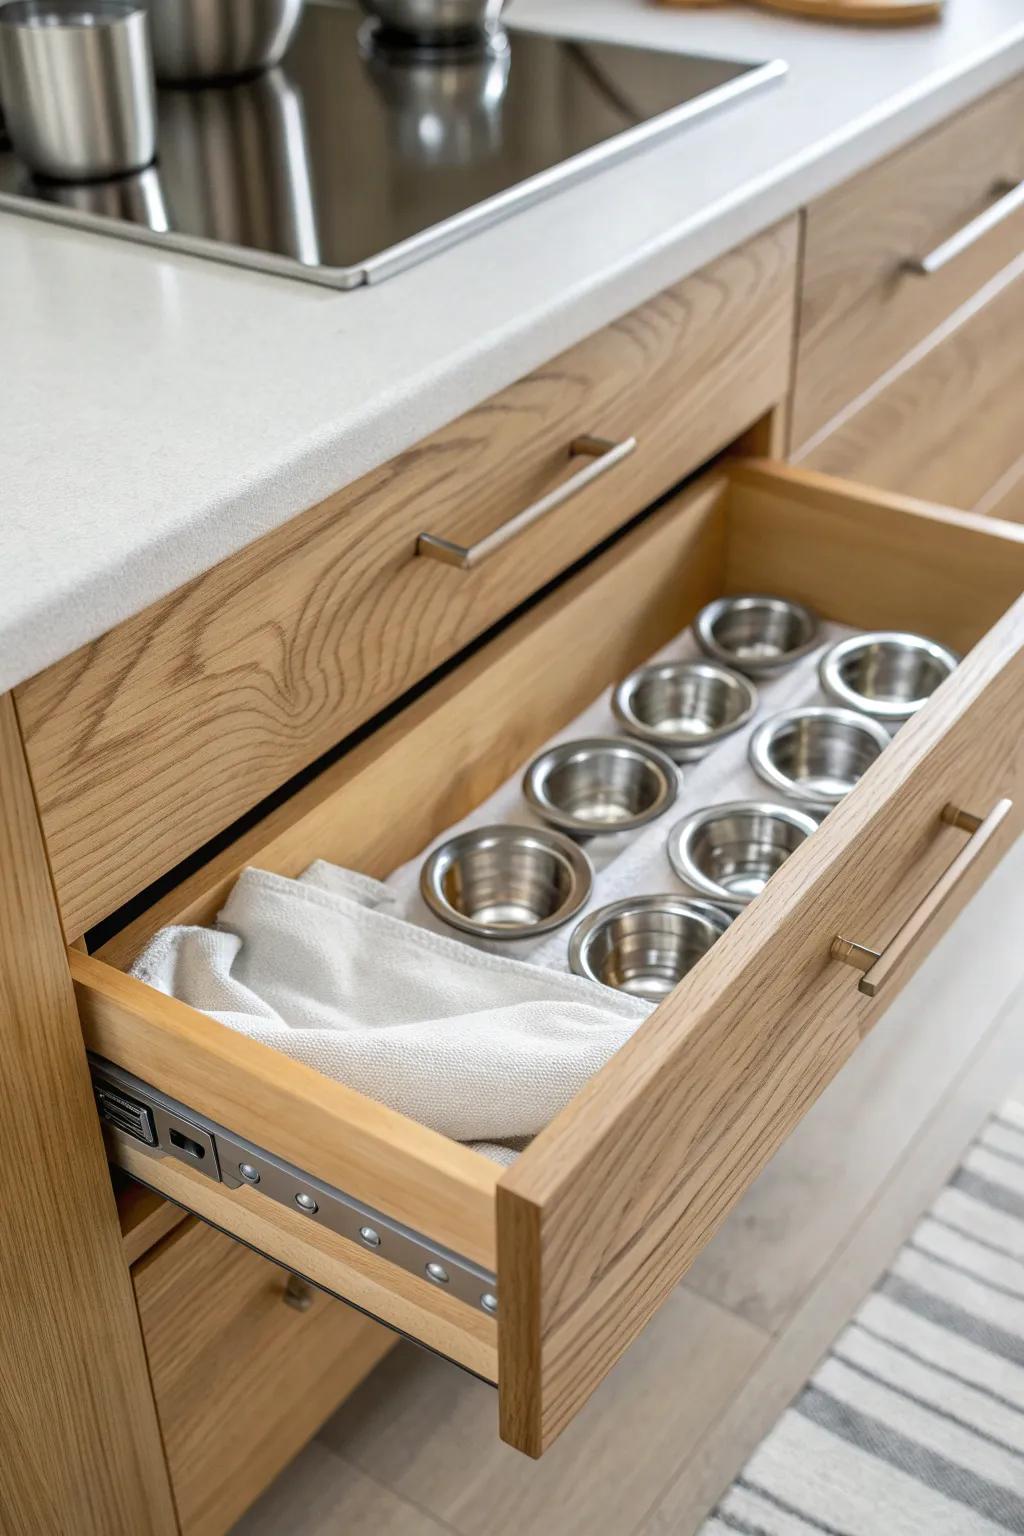
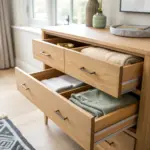
Rubber-Lined Tool Drawers
I line drawers with non-slip drawer liner so tools don’t slide and clang every time I open them. In my small space, it also kept sharp edges from scratching up the drawer bottom.
Possibly handy products:
- Non-Slip Drawer Shelf Liner: Protect your drawer surfaces and keep tools firmly in place with this easy-to-customize, grippy material.
- Felt Liner Sheets: Add a soft, protective layer to your drawers that prevents scratches and reduces noise when opening.
- Drawer Dividers or Organizers: Create defined sections within your lined drawer to separate different tool types for better organization.
Clear Bins for Hardware Sorting
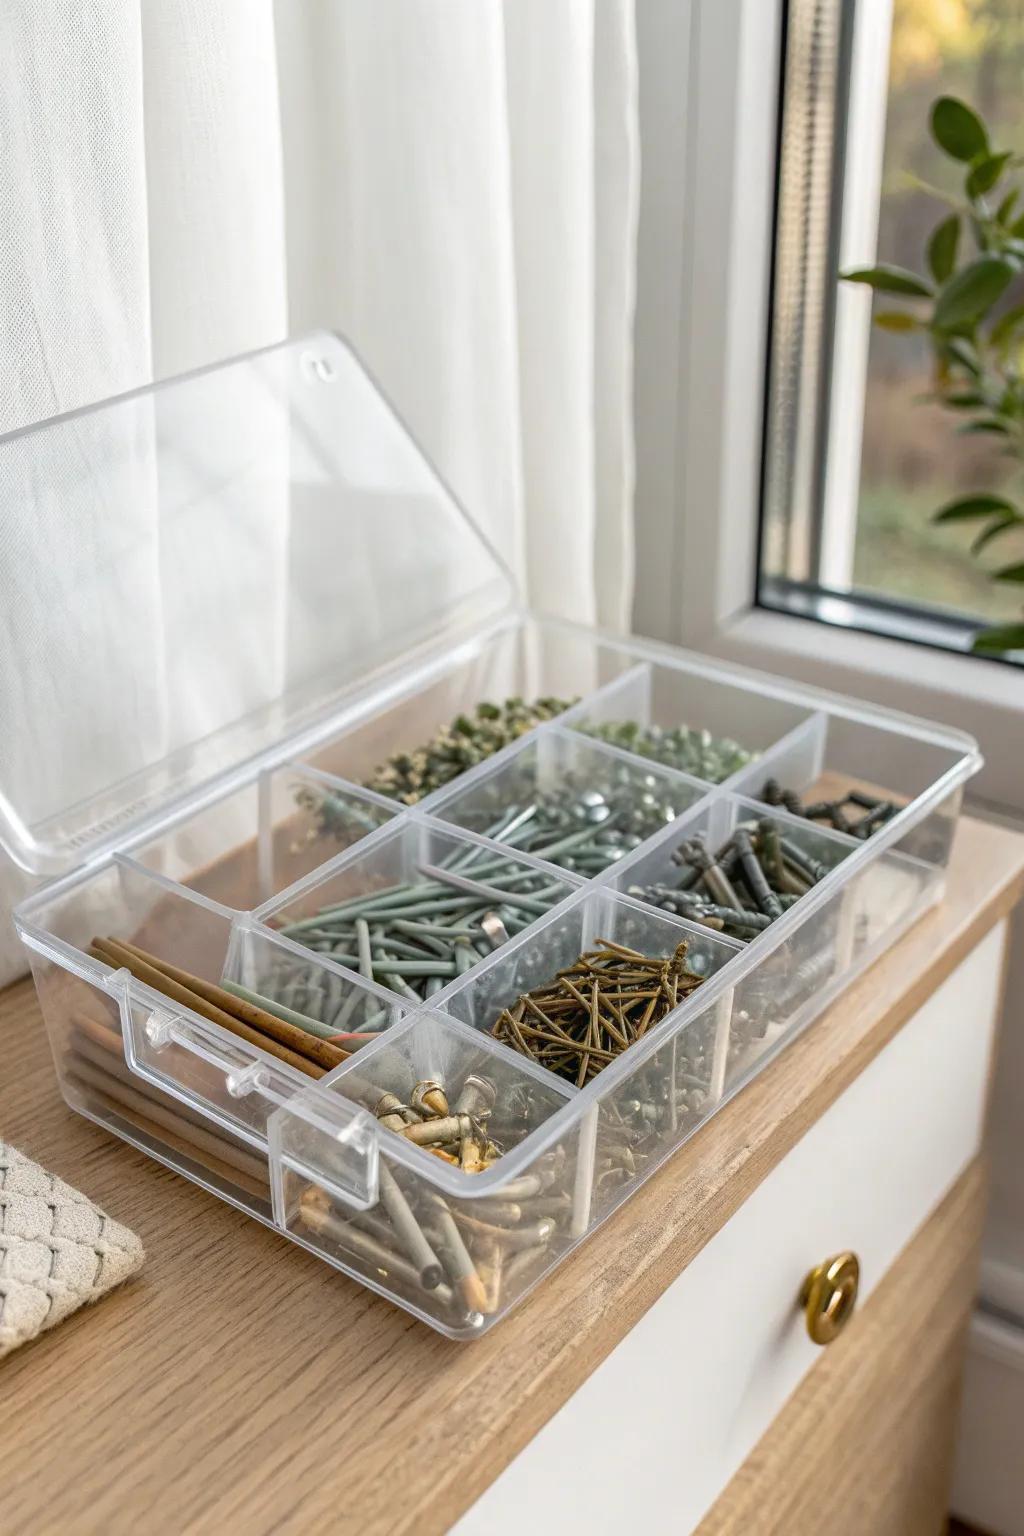
I sort screws, anchors, and nails into clear bins because I want “grab and go,” not “open five boxes.” When I switched to see-through bins, my ‘mystery hardware’ pile basically disappeared.
Try these:
- Clear Compartment Organizer Box: Keep nails and screws visible at a glance with these divided containers to speed up your projects conveniently.
- Stackable Hardware Storage Bins: Maximize your shelf space by using these modular, see-through bins perfect for sorting different sized fasteners securely.
- Multi-Grid Craft & Parts Case: Sort your smallest anchors and washers into distinct sections to prevent mixing and ensure easy access immediately.
Socket Rails for Easy Size Grabs
I store sockets on socket rails so I can see missing sizes immediately and stop buying duplicates. In my apartment, the rails tuck neatly into a shallow drawer that used to be wasted space.
These products might be useful:
- Universal Socket Organizer Tray: Keep your different socket sizes perfectly arranged and visible with these sturdy, easy-to-use organizer trays.
- Aluminum Socket Rail Set: Secure your loose sockets on durable rails to quickly identify missing tools and prevent messy drawers.
- Magnetic Socket Holder: Use magnetic holders to keep your sockets firmly in place and organized, preventing them from rolling.
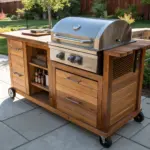
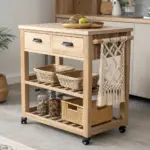
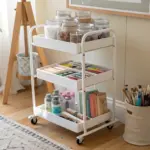
Rolling Cart Tool Station
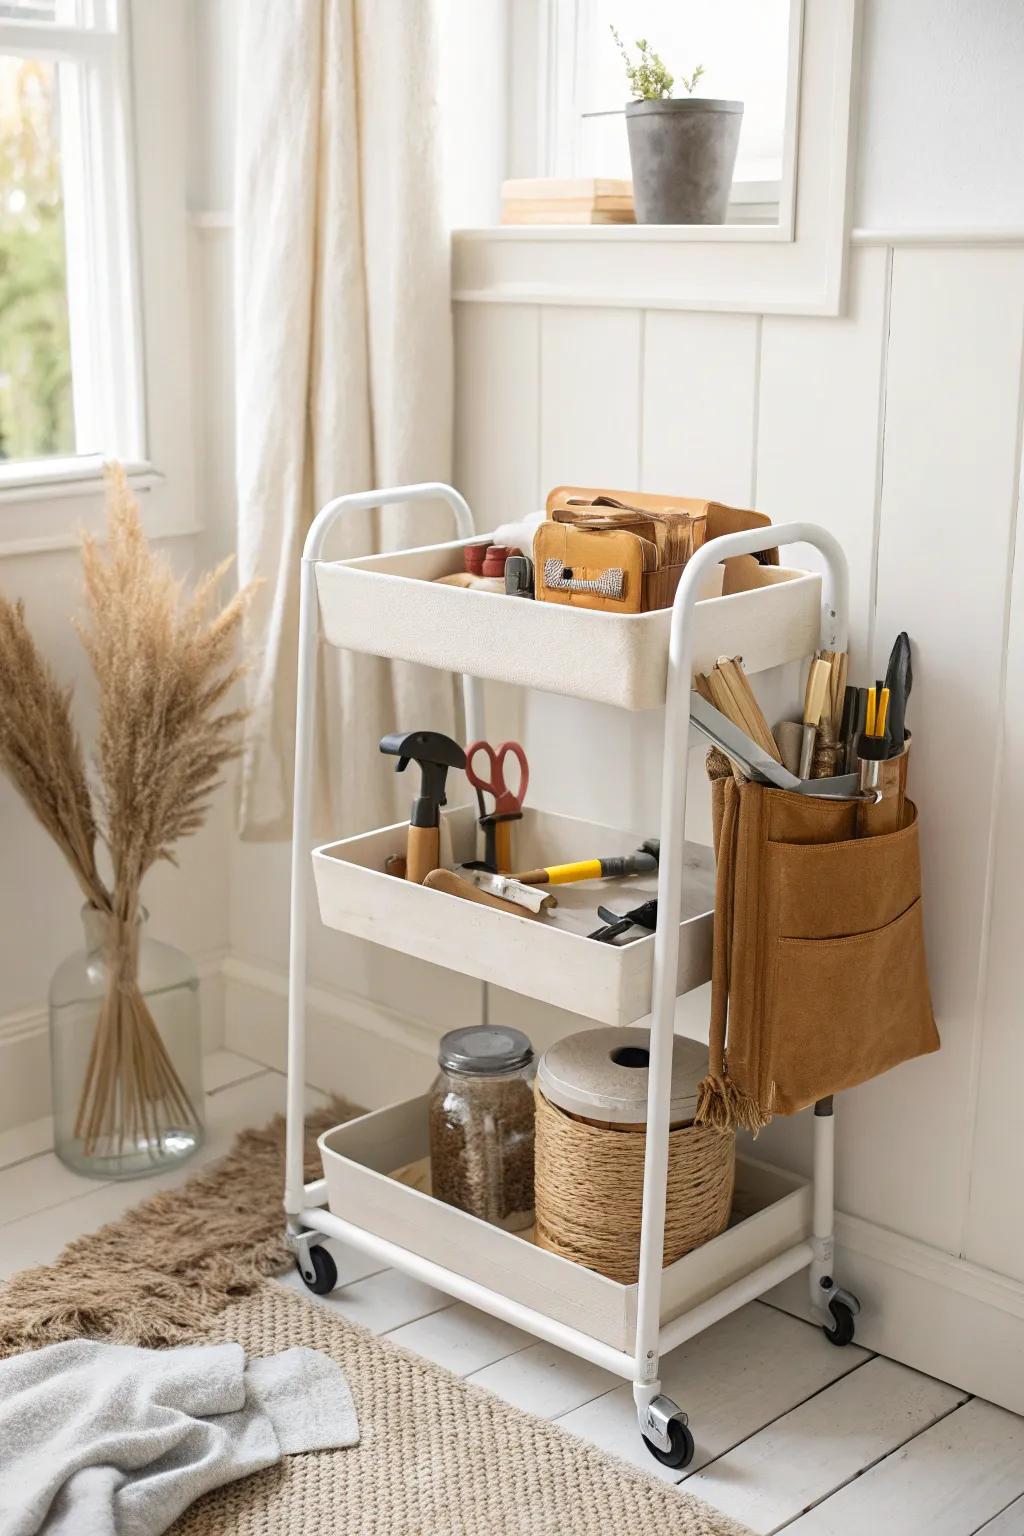
In a small home, I’m all about a rolling cart because I can wheel tools to the project and roll them back out of sight afterward. Mine lives beside a closet, and it’s basically my ‘pop-up workshop.’
Might be a good match:
- 3-Tier Metal Rolling Utility Cart: Create a mobile workshop base by organizing your supplies on this versatile cart, perfect for moving from room to room.
- Hanging Canvas Tool Organizer: Keep essential hand tools accessible by hanging a durable storage pocket on the side of your rolling cart.
- Small Compartment Storage Bins: Tidy up loose screws, nails, and small hardware securely with these conveniently sized containers for your cart shelves.
Inside-the-Door Tool Storage
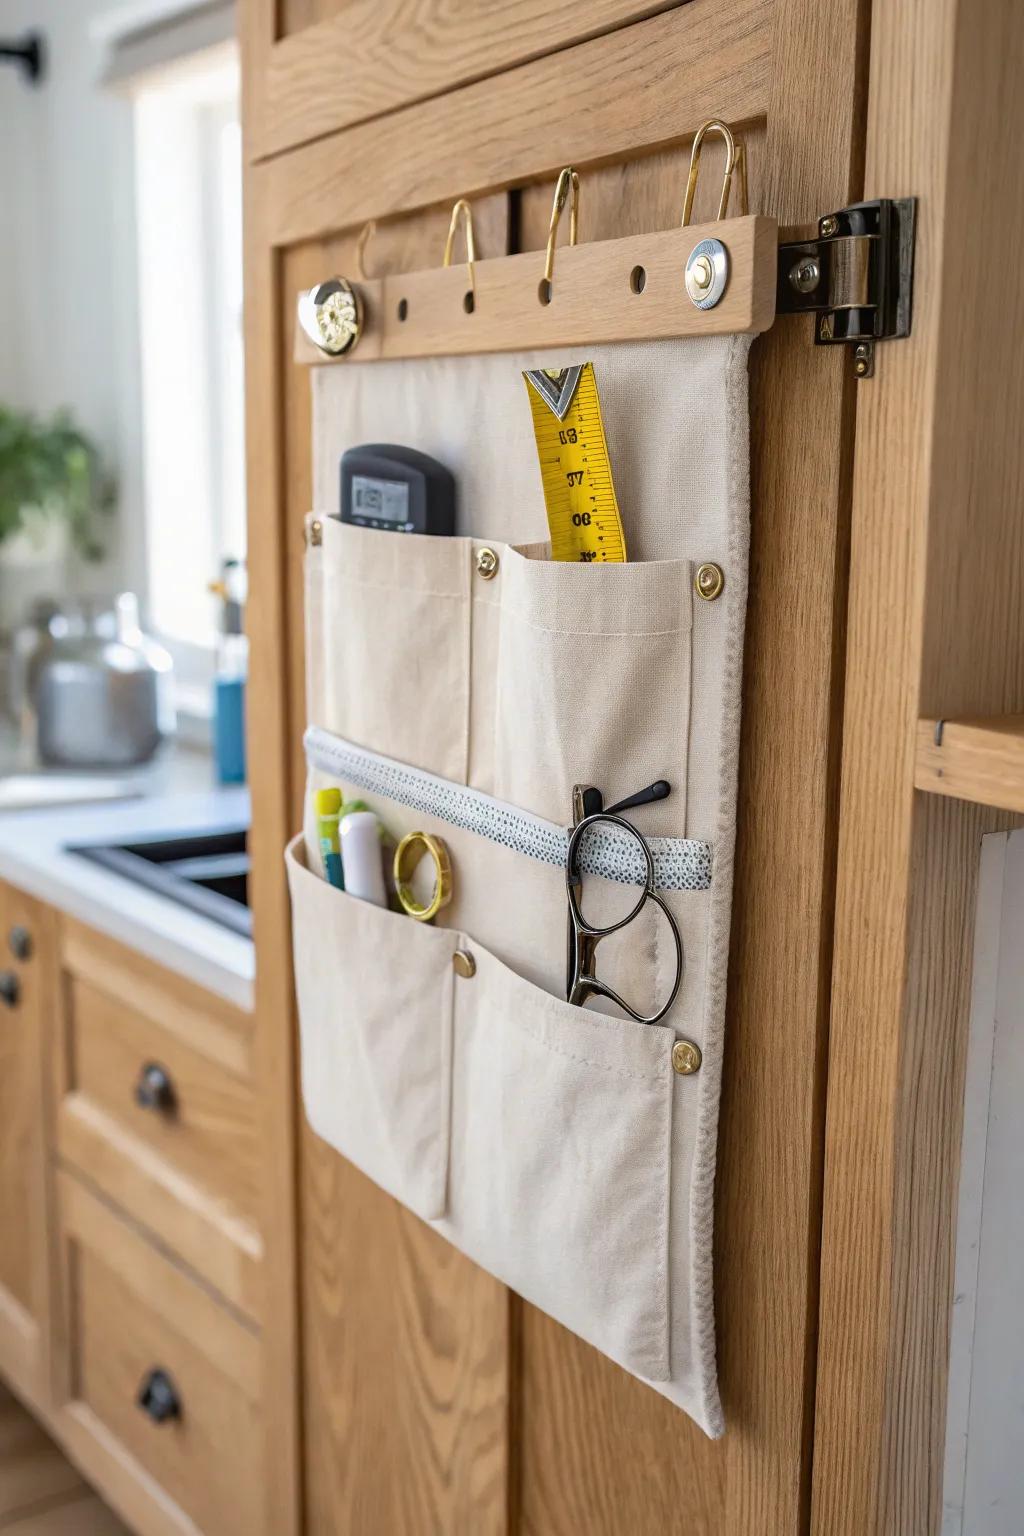
I mount slim hooks and pockets on the inside of cabinet doors for tape, small levels, and safety glasses. In my 450 sq ft place, that ‘dead space’ became my favorite hidden tool zone.
Useful items to consider:
- Wall Mounted Canvas Pocket Organizer: Hang these durable fabric pockets inside your cabinets to instantly declutter workspaces and keep small tools accessible.
- Screw-in Cup Hooks: Install these simple hooks on the wooden rail inside your door to easily hang rulers or tape.
- Small Digital Multi-Tool or Measuring Tape: Equip your new storage spot with compact essentials like a pocket measuring tape or small digital calculator.
Repurposed Can Holders for Small Tools
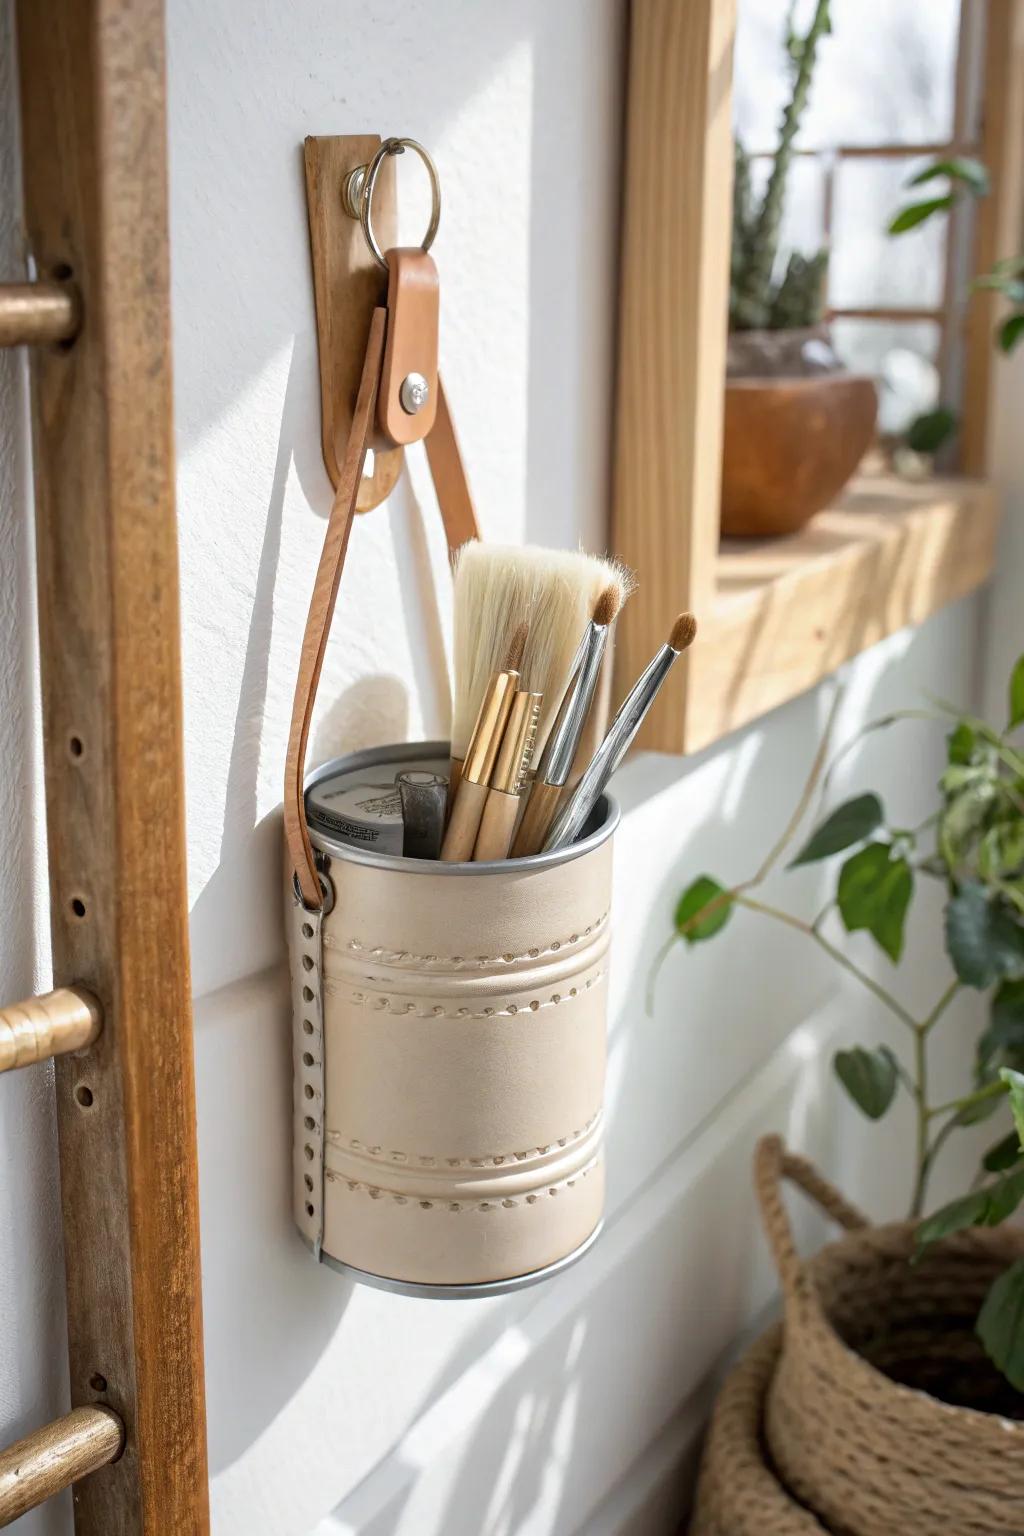
I attached a few sturdy containers to my wall to hold small tools like pencils, utility blades, and brushes, and it made my work area feel organized overnight. It’s one of those scrappy solutions I used when my budget was tight.
A few things you might like:
- Leather Scraps or Sheets: Upgrade standard metal cans by wrapping them with durable leather for a stylish, finished look.
- Wall Hooks or Hangers: Securely hang your tool containers on the wall to keep your workspace clutter-free and accessible.
- Leather Craft Hole Punch: Easily create stitching holes in leather or fabric to customize your can covers with decorative detail.


