Refinishing a coffee table is one of my favorite small-space upgrades because it changes the whole living room without adding clutter.
Bright White Painted Makeover
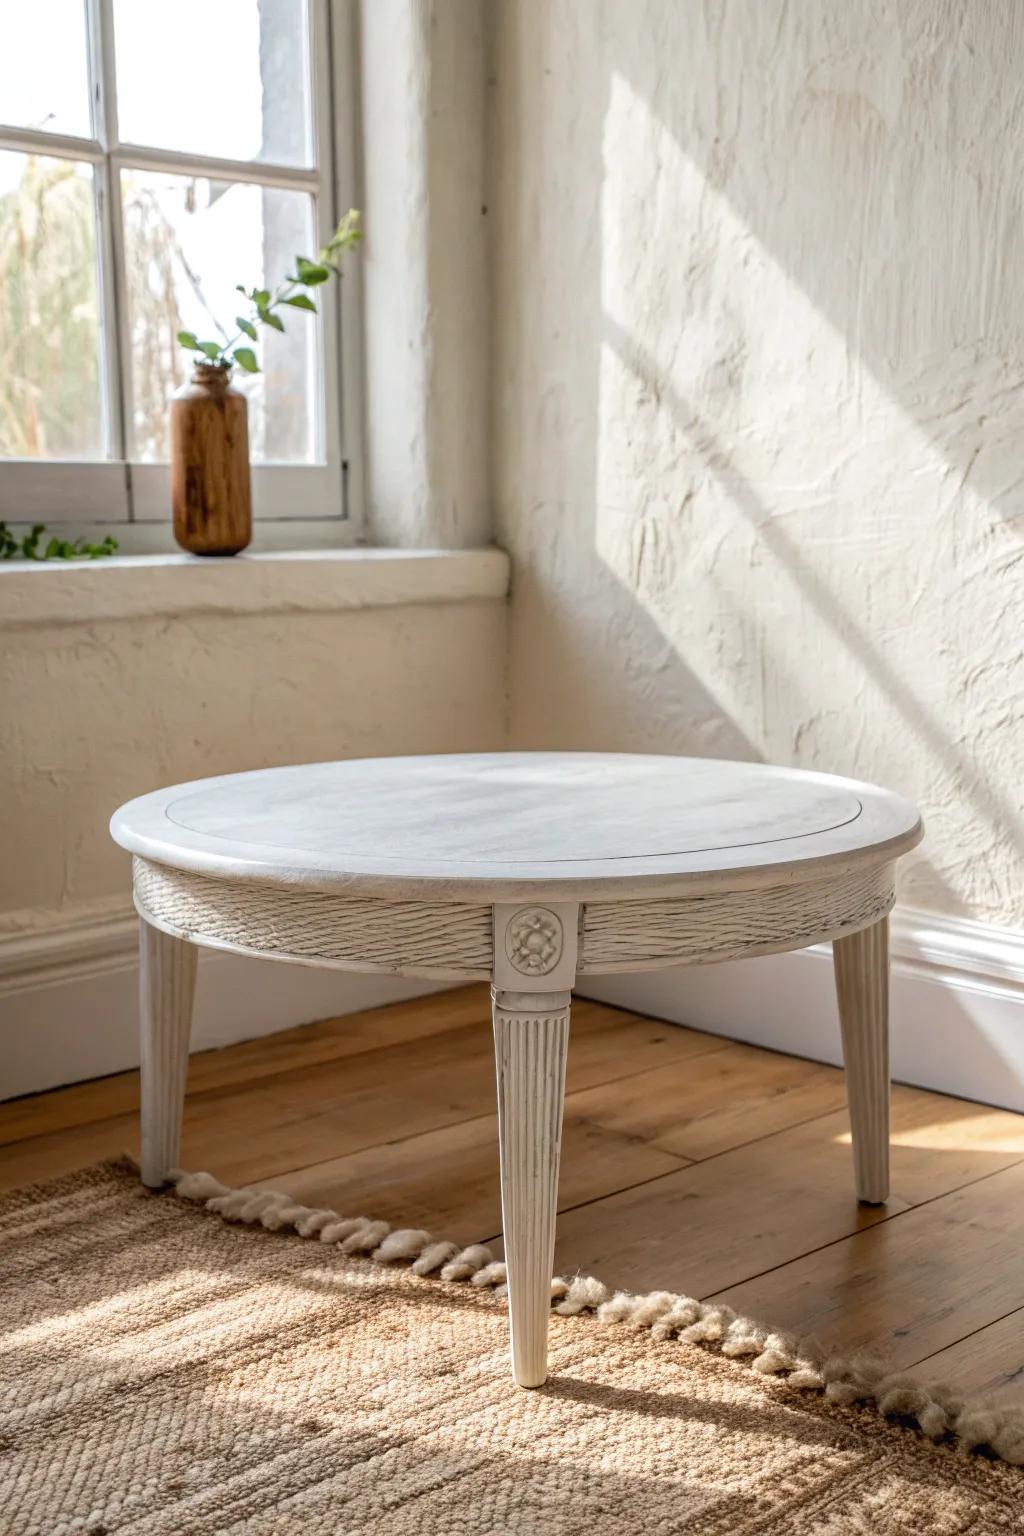
I’ve refinished a dark coffee table with matte white paint, and it made my 450 sq ft space feel noticeably lighter. I like this approach when the wood tone feels heavy or orange and I want a clean, airy vibe.
Products that could assist:
- Matte White Chalk Paint: Achieve that crisp, airy look effortlessly with paint designed to adhere beautifully without heavy sanding.
- Clear Matte Wax: Protect your newly brightened surface while preserving the flat finish essential for a modern, clean aesthetic.
- Angled Paint Brush: Reach into tricky corners and fluted leg details smoothly for a professional, streak-free finish.

Classic Sand and Restain
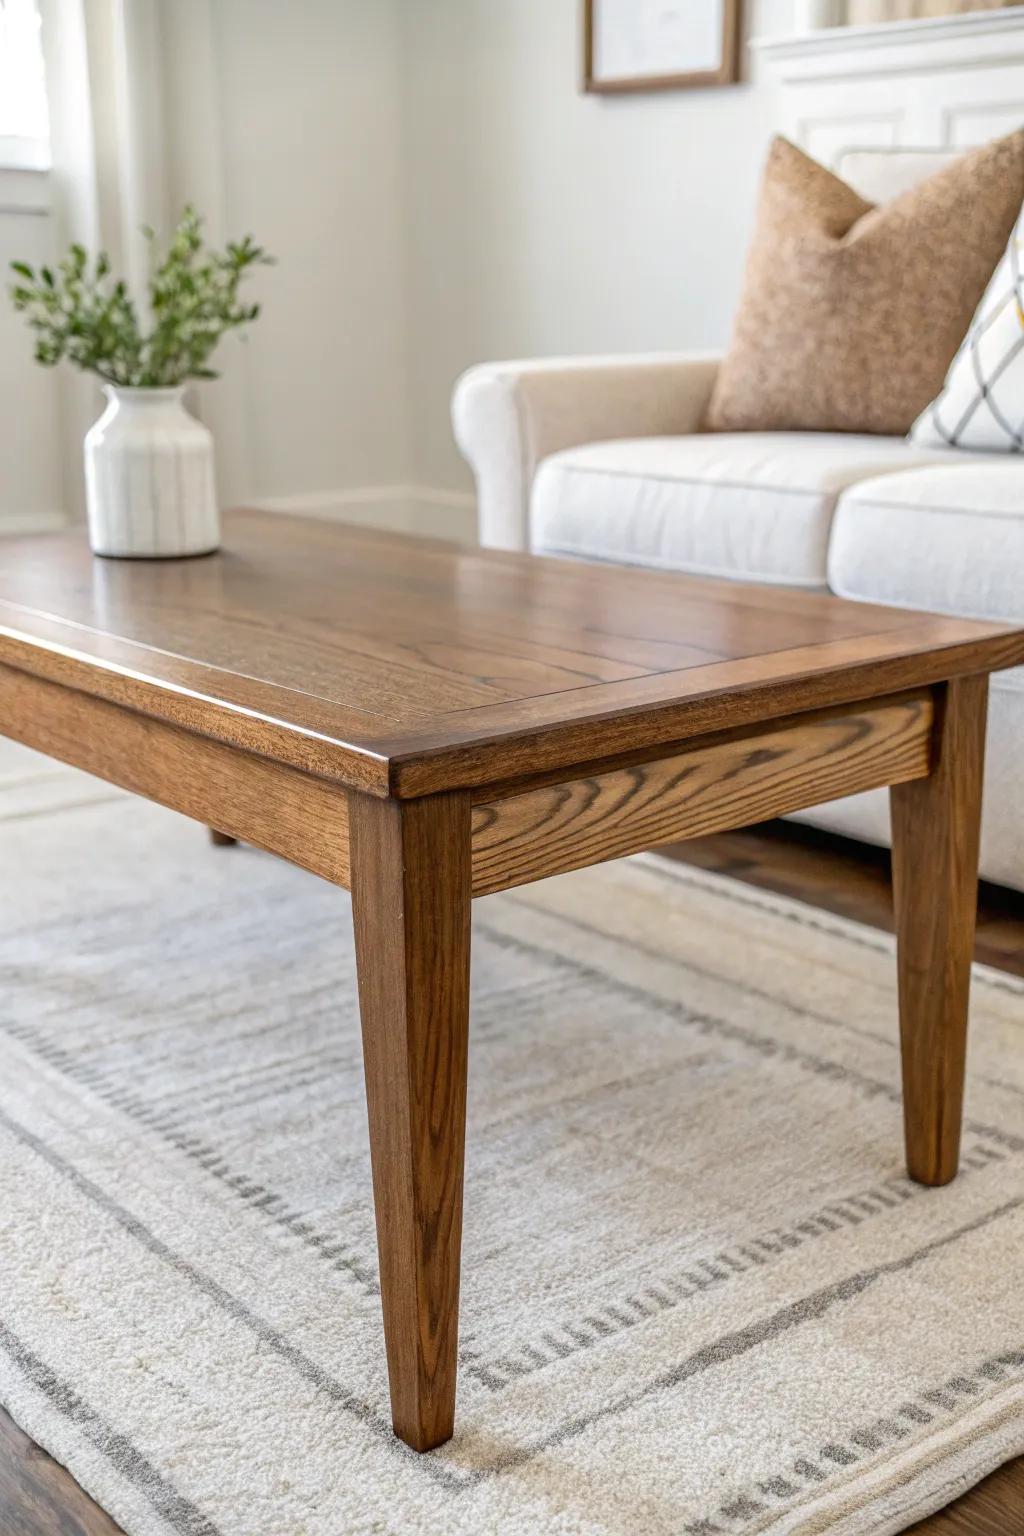
When my old coffee table top got scratched up, I did a simple sand and stain to bring back the wood grain, and it instantly looked “new” again. I always finish with a tough clear coat because my table takes daily hits from mugs, snacks, and moving it around my small living room.
You might give these a try:
- Orbital Sander: Speed up your prep work and ensure a smooth, ready-to-stain surface with an efficient power sander.
- Wood Stain: Revitalize your table’s color and highlight the natural grain with a penetrating stain in your chosen shade.
- Polyurethane Top Coat: Protect your hard work from daily wear and spills by applying a durable, clear protective finish.
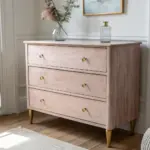
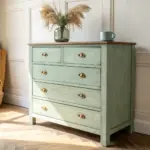
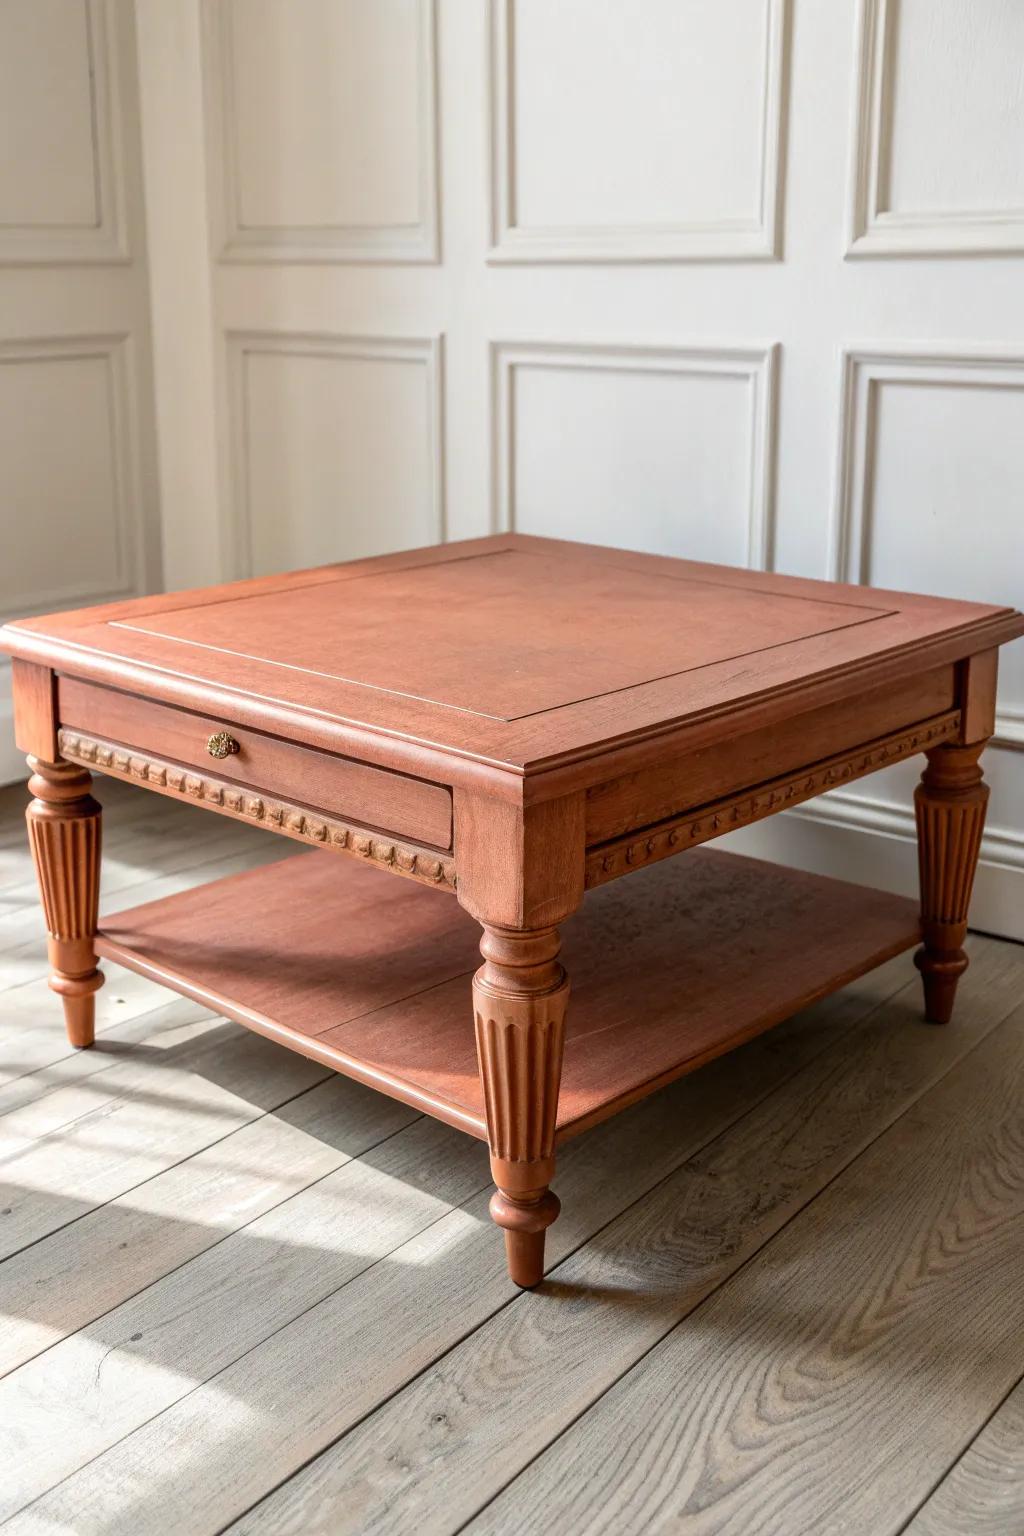
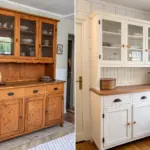
Two-Tone Base and Top
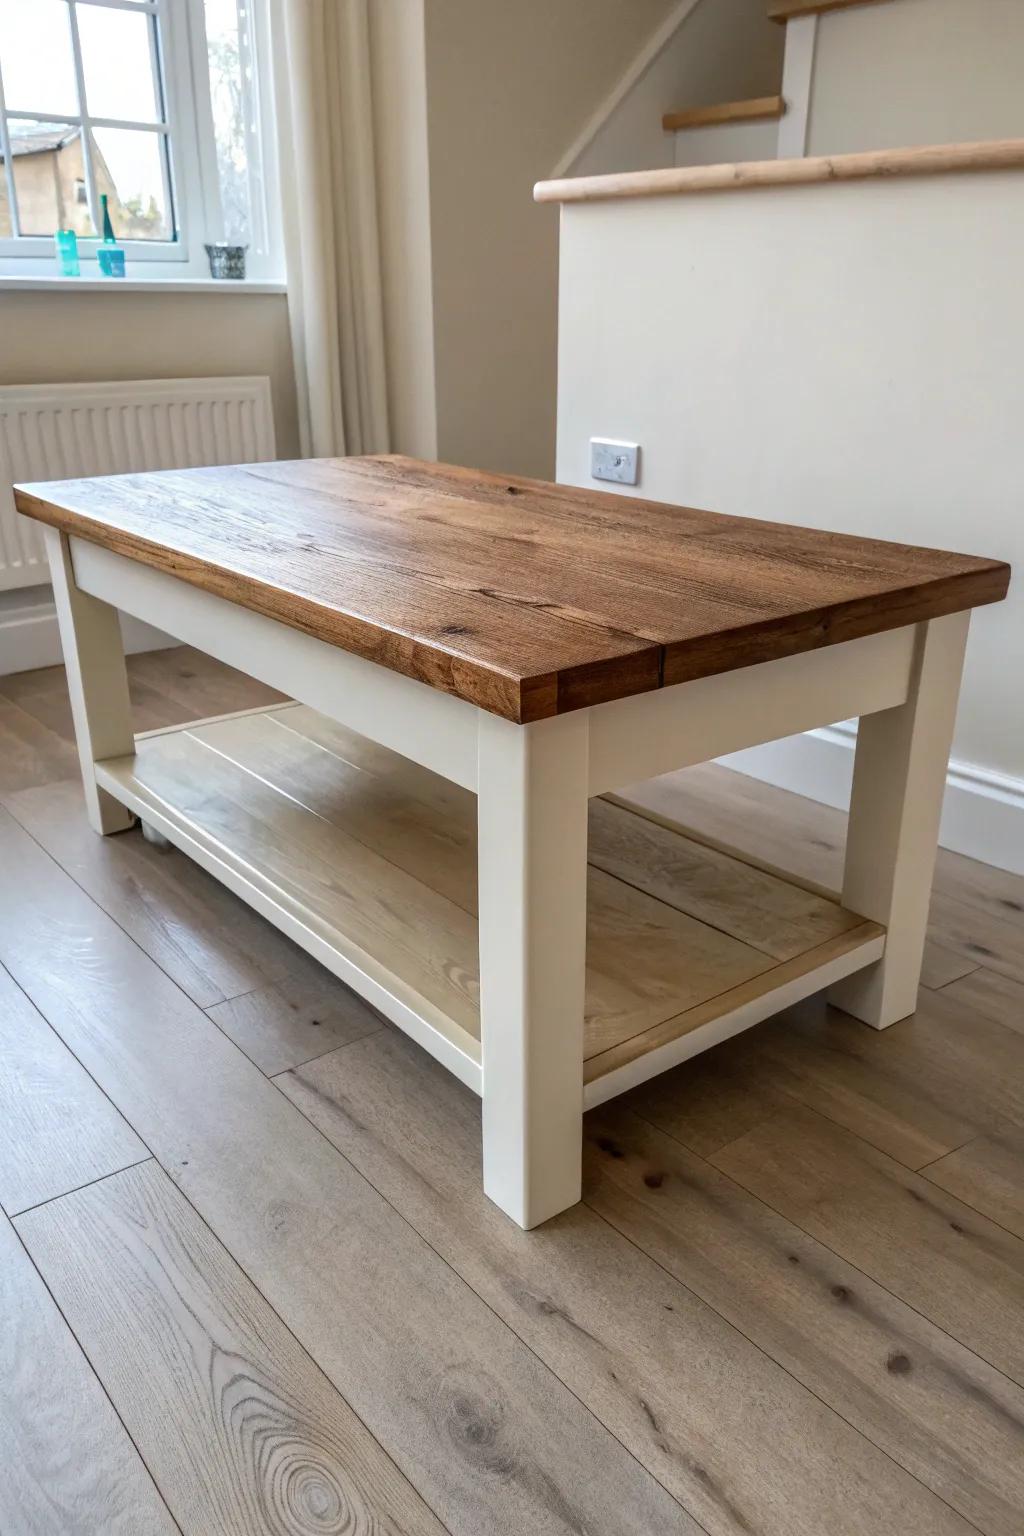
My go-to “designer” trick is two-tone refinishing—I paint the base and keep the top stained, and it looks custom without the custom price. I did this on a chunky coffee table with a shelf, and it suddenly felt way more modern and less bulky.
Possibly handy products:
- Chalk-Style Furniture Paint (Cream/White): Refresh the table base with this easy-to-use paint that typically covers wood without requiring extensive sanding or heavy prep work.
- Water-Based Wood Stain (Walnut/Oak): Bring out the natural grain on your tabletop with a rich stain that deepens color while maintaining a clean finish.
- Polyurethane Protective Topcoat: Protect your newly stained tabletop from water rings and scratches with a durable clear coat that seals the surface effectively.
Softly Distressed Edges
After refinishing a painted coffee table, I lightly sand the corners for a distressed finish that hides future dings (which, in my place, are inevitable). I learned the hard way to keep it subtle—just the edges—so it reads cozy instead of messy.
A few suggestions:
- Sanding Sponge Block Set: Use flexible sanding blocks to gently scuff just the corners and detailed edges for an authentic distressed look.
- Matte Chalk Finish Paint: Apply a coat of quality chalk style paint as your base, creating the perfect soft surface for easy distressing.
- Clear Furniture Wax: Seal your freshly distressed edges with a clear wax to protect the finish without altering the vintage aesthetic.
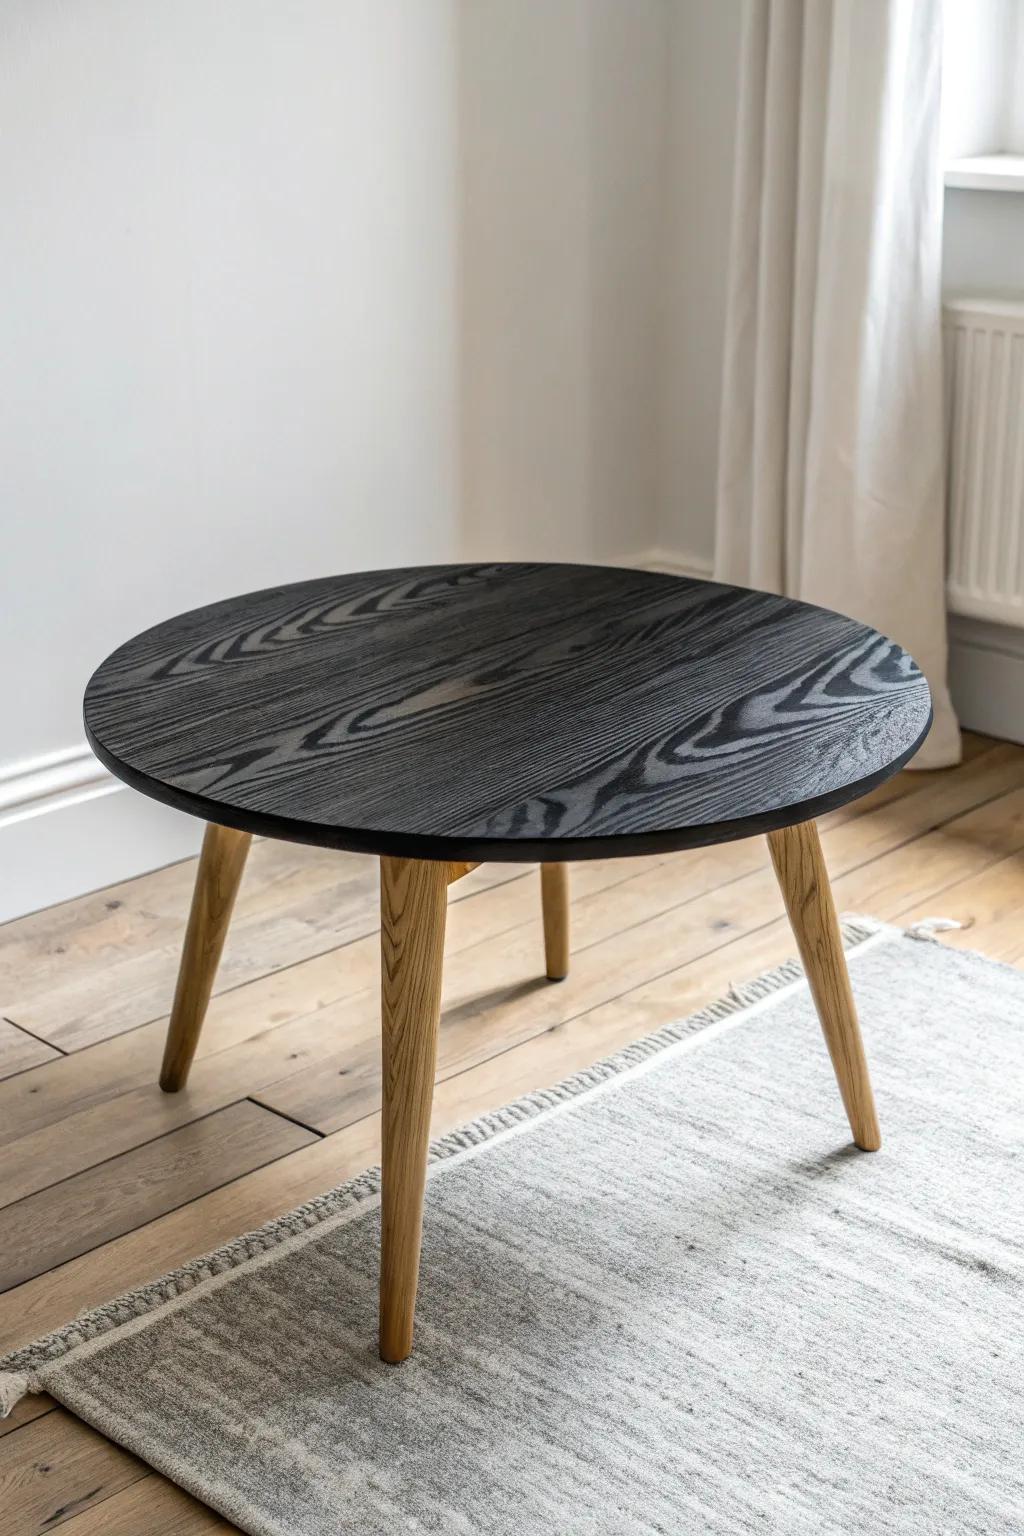
Deep Black for Modern Contrast
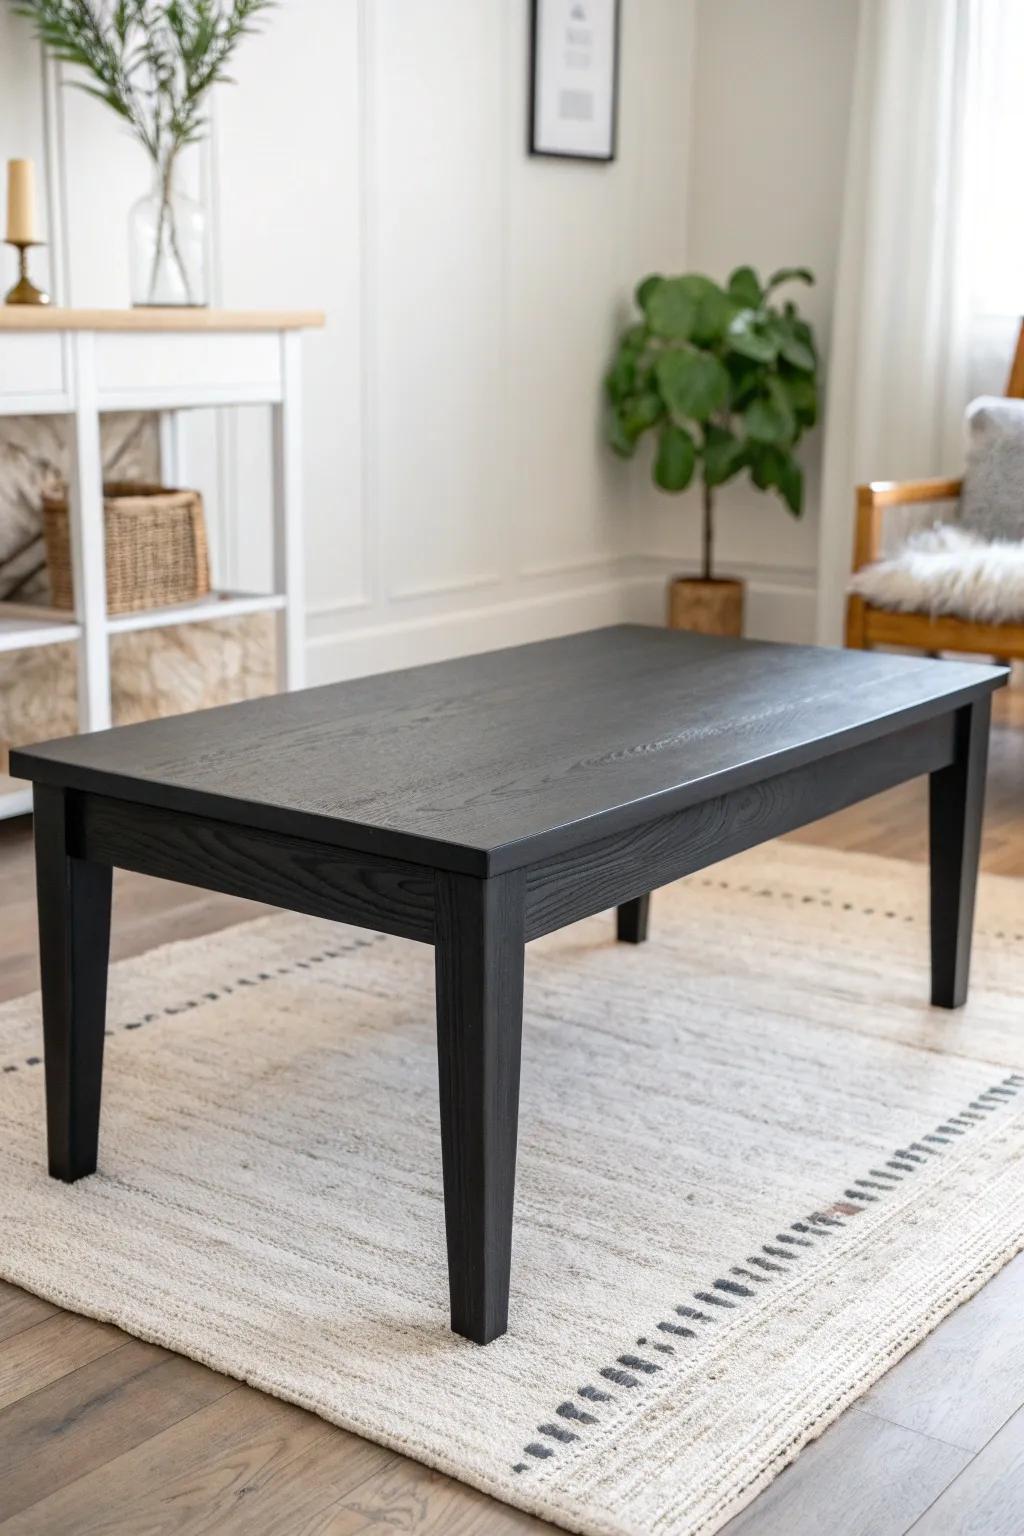
I refinished one coffee table in true matte black, and it grounded my whole seating area like an anchor. The best part is it makes thrifted pieces look expensive, especially when the shape is basic.
Consider these options:
- Matte Black Furniture Paint: Transform your furniture effortlessly with this rich paint, designed to provide a smooth, modern matte finish.
- Angled Sash Paint Brush: Achieve clean lines on legs and corners with a high-quality brush designed for precision and smooth application.
- Clear Matte Polyurethane Topcoat: Protect your new finish from scratches and spills while maintaining that sleek, non-reflective matte look.
Light Gray Wash for Airy Wood Tone
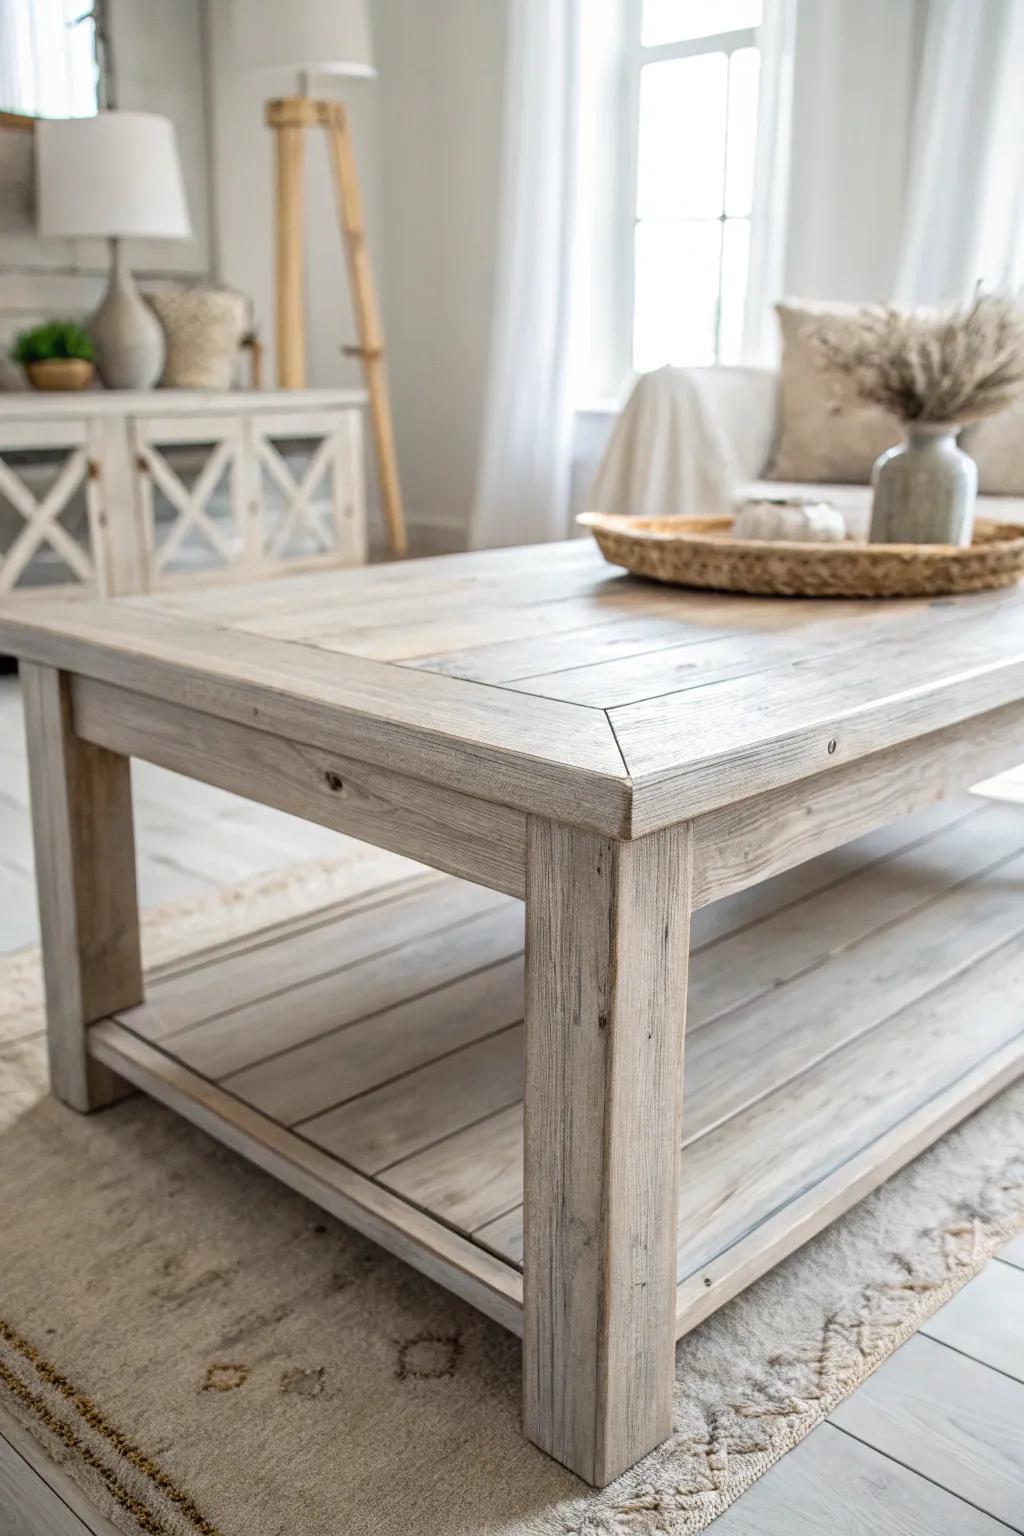
When I wanted the look of natural wood but lighter, I tried a gray wash finish on my coffee table, and it kept the grain while cooling down the color. It’s my favorite compromise when I can’t decide between stain and paint.
Check if these fit your needs:
- Gray wood stain or weathering wash: Create that driftwood look by applying a gray wash that allows the natural wood grain to show through.
- Fine grit sandpaper or sanding sponges: Prepare your surface properly to ensure an even finish and smooth out any rough patches before staining.
- Matte clear protective top coat: Seal your new finish with a matte top coat to protect against spills without adding unwanted shine.
Whitewash for Coastal Brightness
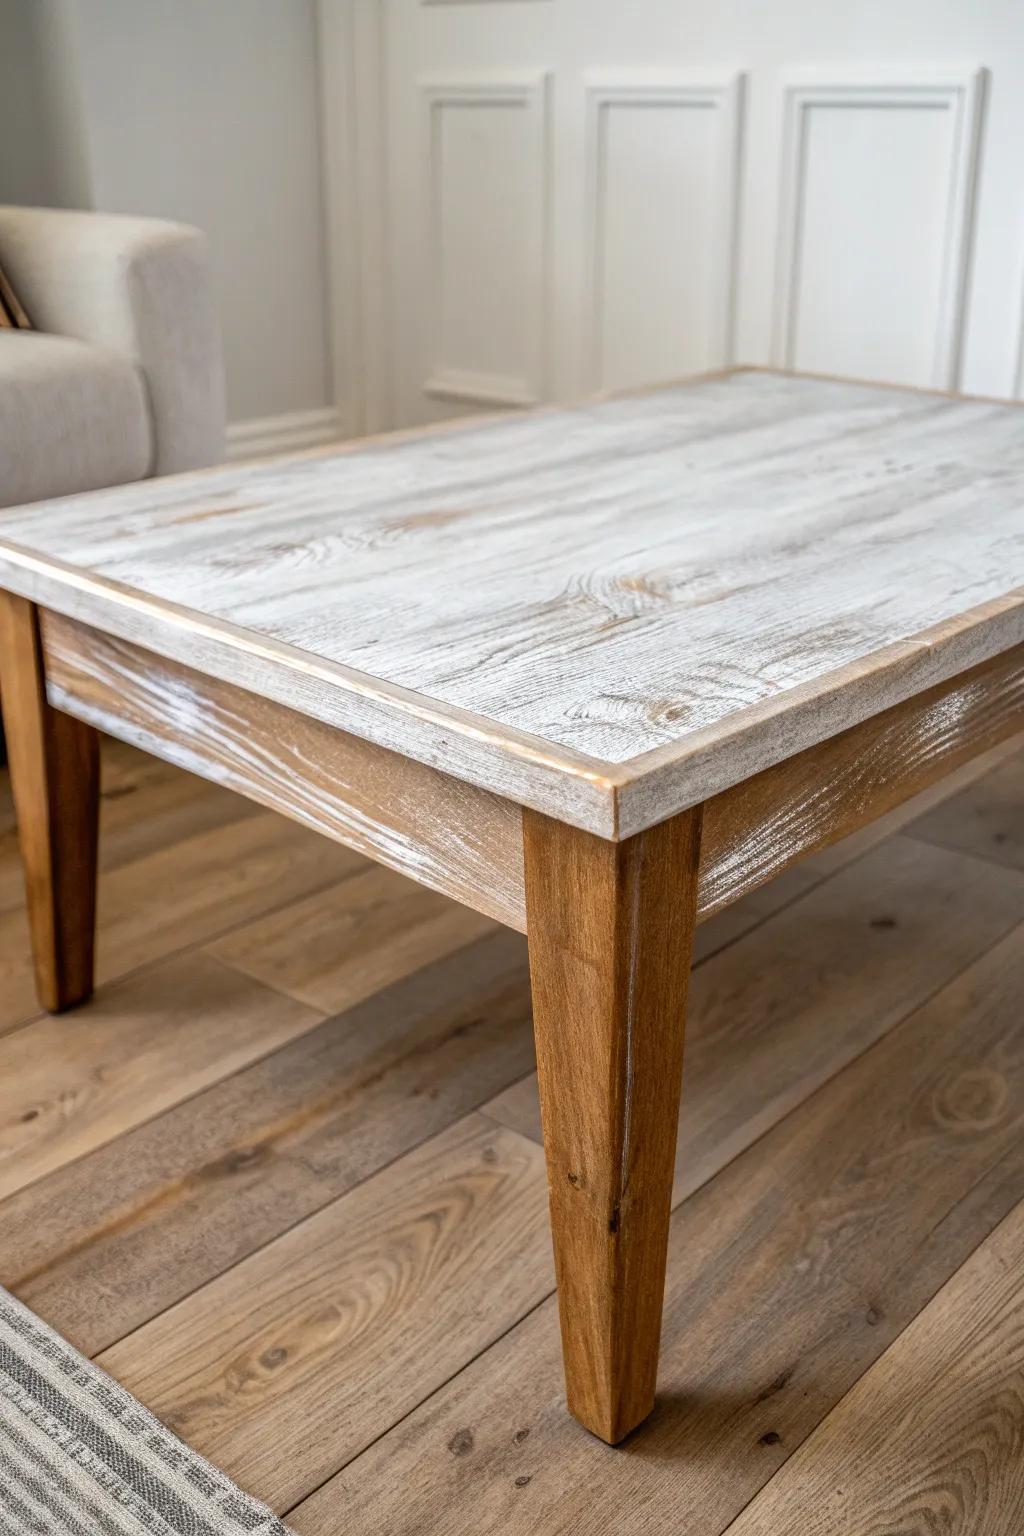
I’ve whitewashed a worn coffee table top to get that breezy, sun-faded look that makes a small room feel less boxed in. I always test on the underside first because the right amount of whitewash is all about personal taste.
Might be a good match:
- General Purpose Sandpaper Assortment: Prep your surface effectively by smoothing out imperfections and old finishes before you apply any new color.
- Water-Based White Wood Stain: Achieve that airy, sun-bleached effect by layering this stain to your desired level of brightness and opacity.
- Matte Polyurethane Top Coat: Seal your new finish with a non-yellowing protective layer that preserves the natural, rustic look of the wood.
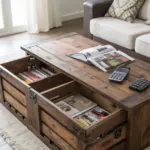
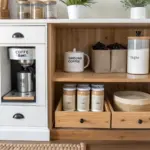
Swap Hardware and Touch Up the Finish
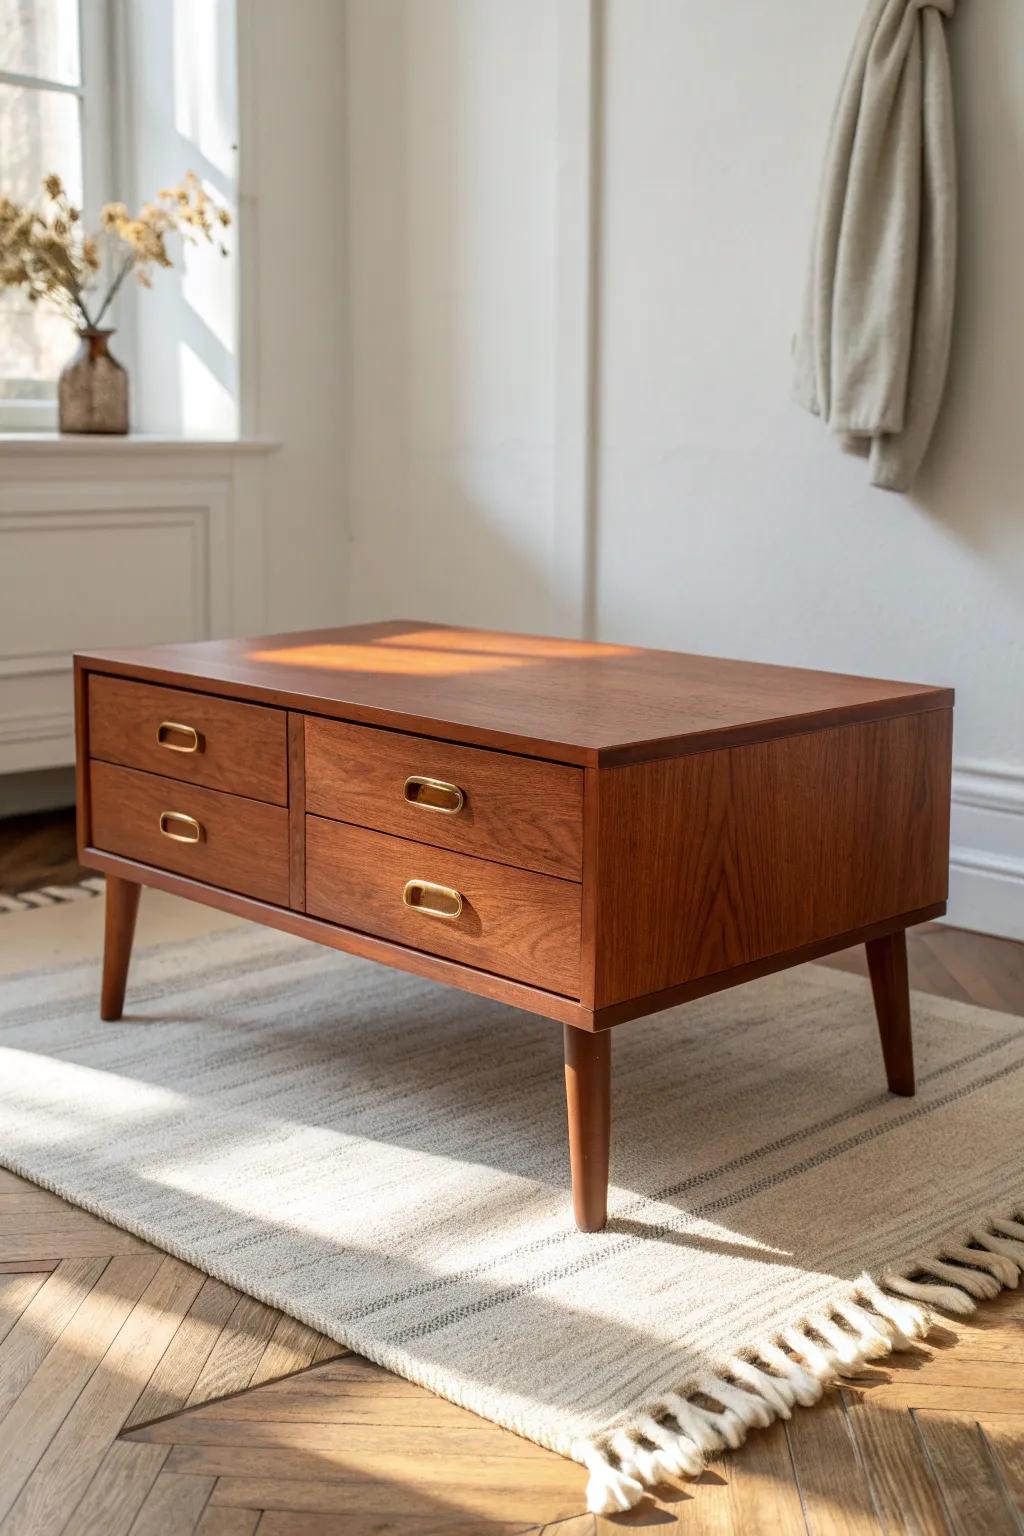
On a storage coffee table with drawers, I refinished the body and then swapped the pulls, and it looked like a totally different piece. I love this combo because new hardware is small-space-friendly—big impact, zero extra furniture.
Maybe worth checking out:
- Oval Recessed Drawer Pulls: Update your coffee table’s look with sleek, modern brass hardware that instantly refreshes older wooden furniture pieces.
- Wood Finish Restorer: Revive tired wood surfaces and blend out scratches to give your coffee table a professional, polished glow.
- Fine Grit Sanding Sponges: Prepare your furniture for refinishing or touch-ups with these easy-to-hold sponges for a smooth, even surface.
Stencil Pattern on the Top
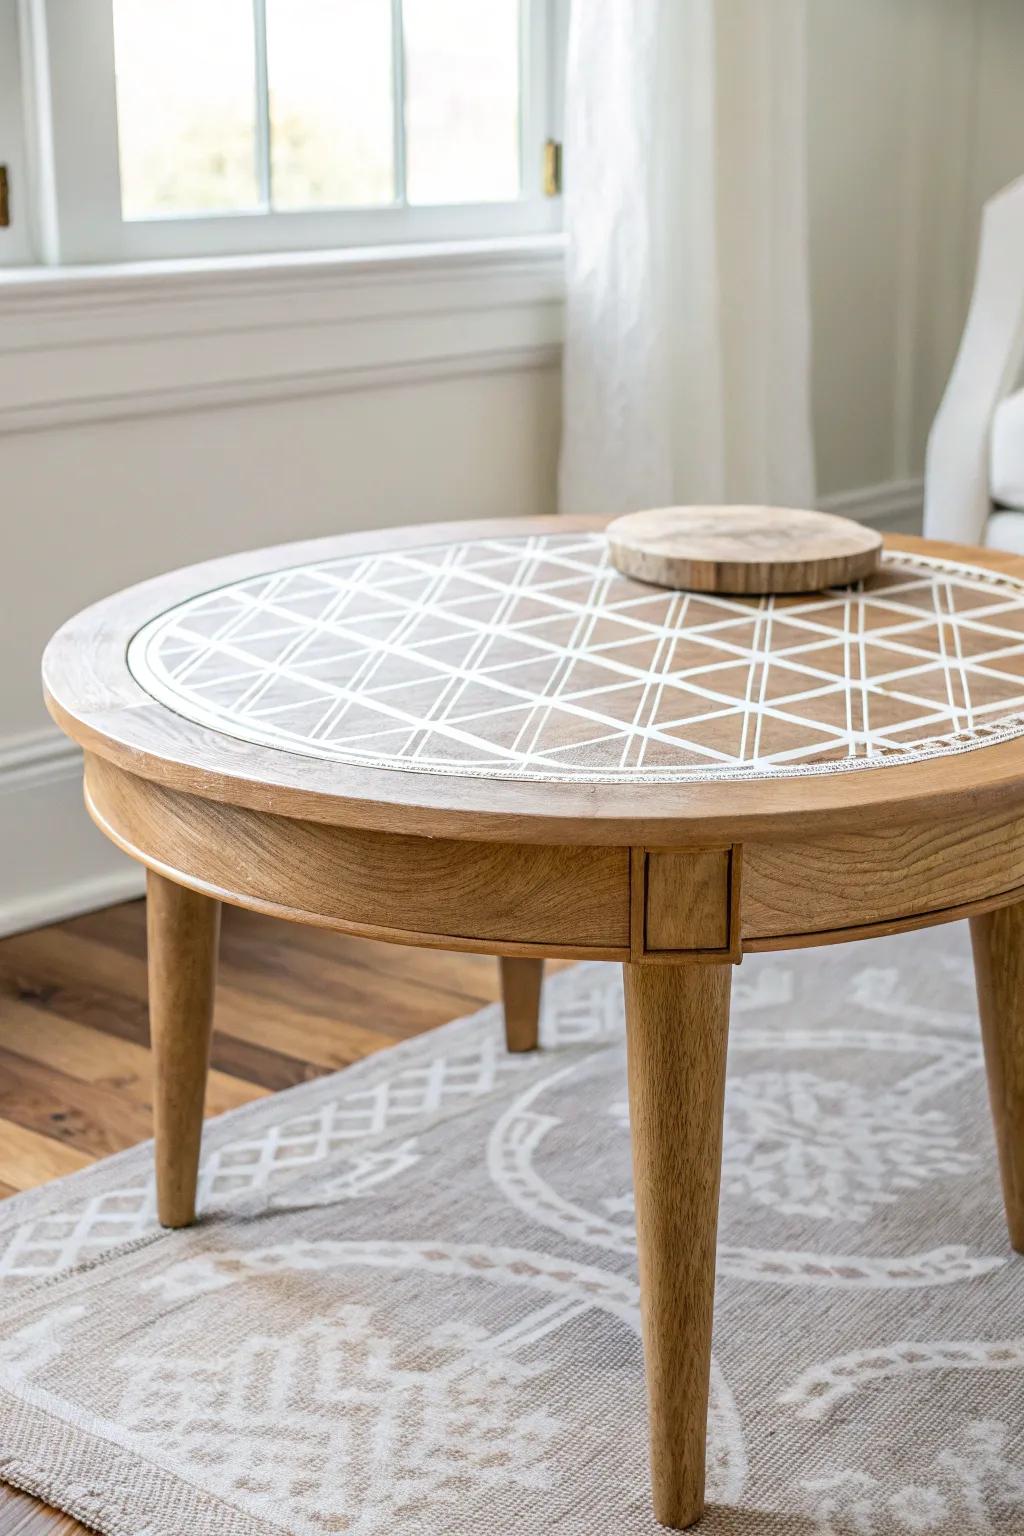
I’ve refinished a plain coffee table by adding a stenciled design on the top, and it became the “art” of the room. I keep the pattern tone-on-tone so it feels elevated, not loud, especially in tight spaces.
A few choices to try:
- Geometric Furniture Stencils: Create a stunning custom design on your tabletop by layering patterns for a unique, elevated look.
- Chalk Style Paint: Apply smooth, matte color easily with this paint, perfect for achieving that subtle tone-on-tone stenciled effect.
- Foam Stencil Rollers: Ensure crisp, clean lines without bleed-under by using high-density foam rollers for your stencil application.
Wallpaper Under a Clear Topcoat
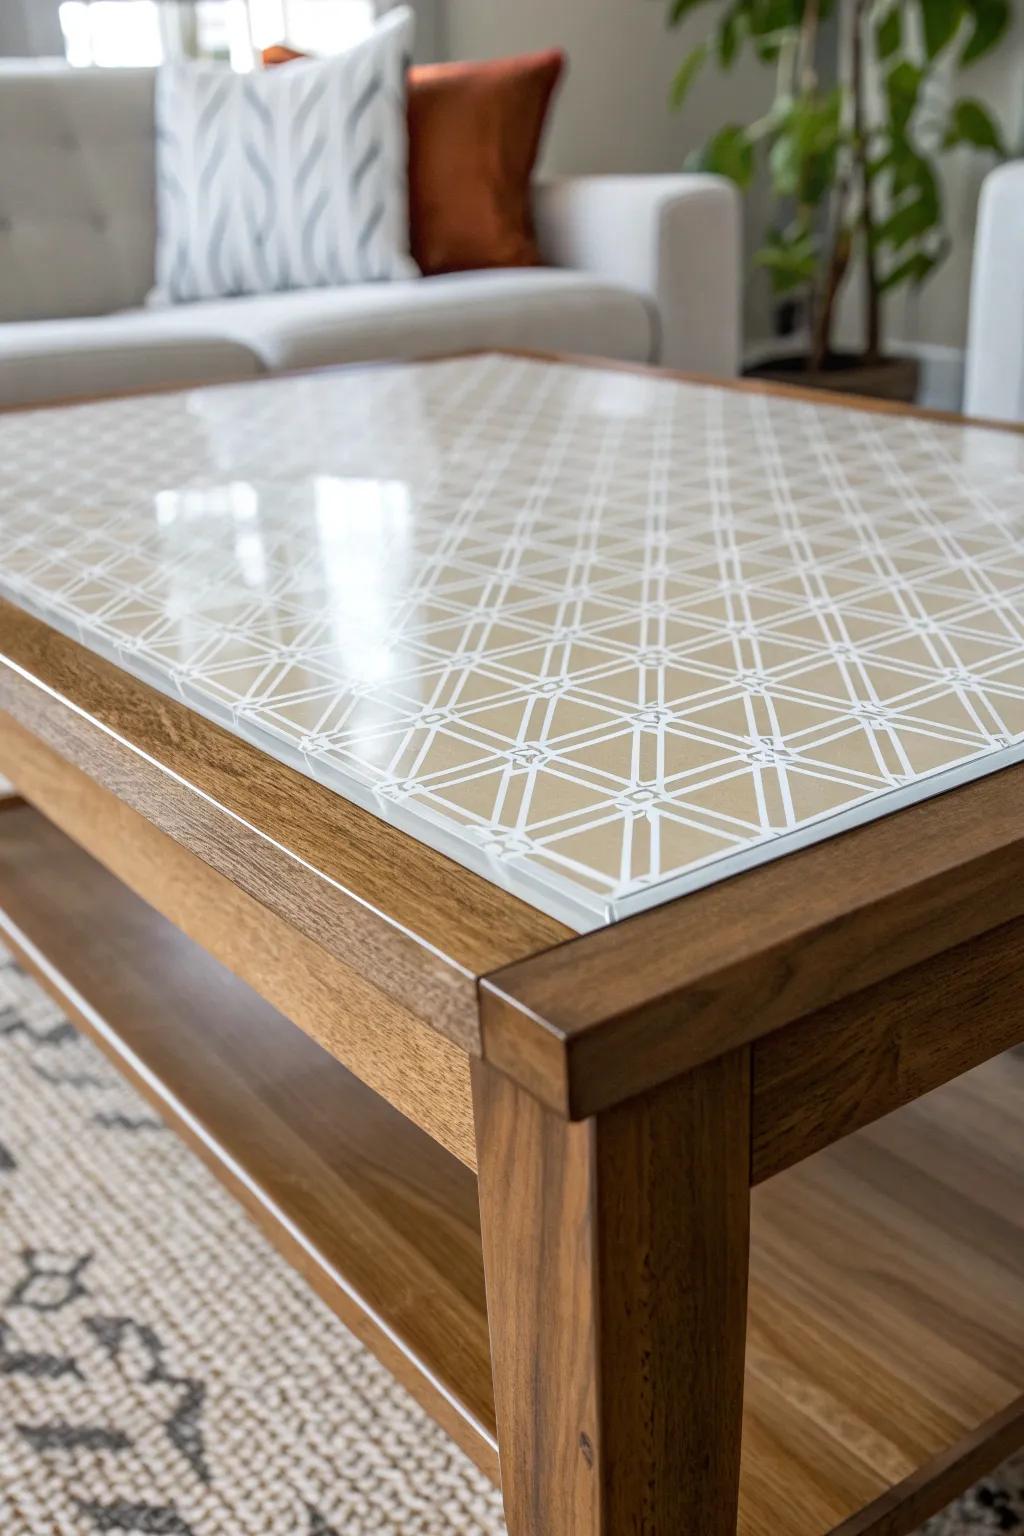
One weekend, I refinished a coffee table top by smoothing it, applying peel-and-stick wallpaper, and sealing it well, and it looked like a boutique find. I love this for renters because it’s a style upgrade without needing perfect wood underneath.
These products might be useful:
- Geometric Peel and Stick Wallpaper: Refresh your tabletop instantly with a modern geometric pattern that mimics the look of high-end tile or inlay.
- Tempered Glass Table Top: Protect your new wallpaper design and add a durable, glossy finish with this custom-sized clear glass overlay.
- Clear Polycrilic Protective Finish: Seal your wallpaper directly onto the surface for a permanent, water-resistant finish that prevents peeling over time.
Decoupage With Paper or Fabric
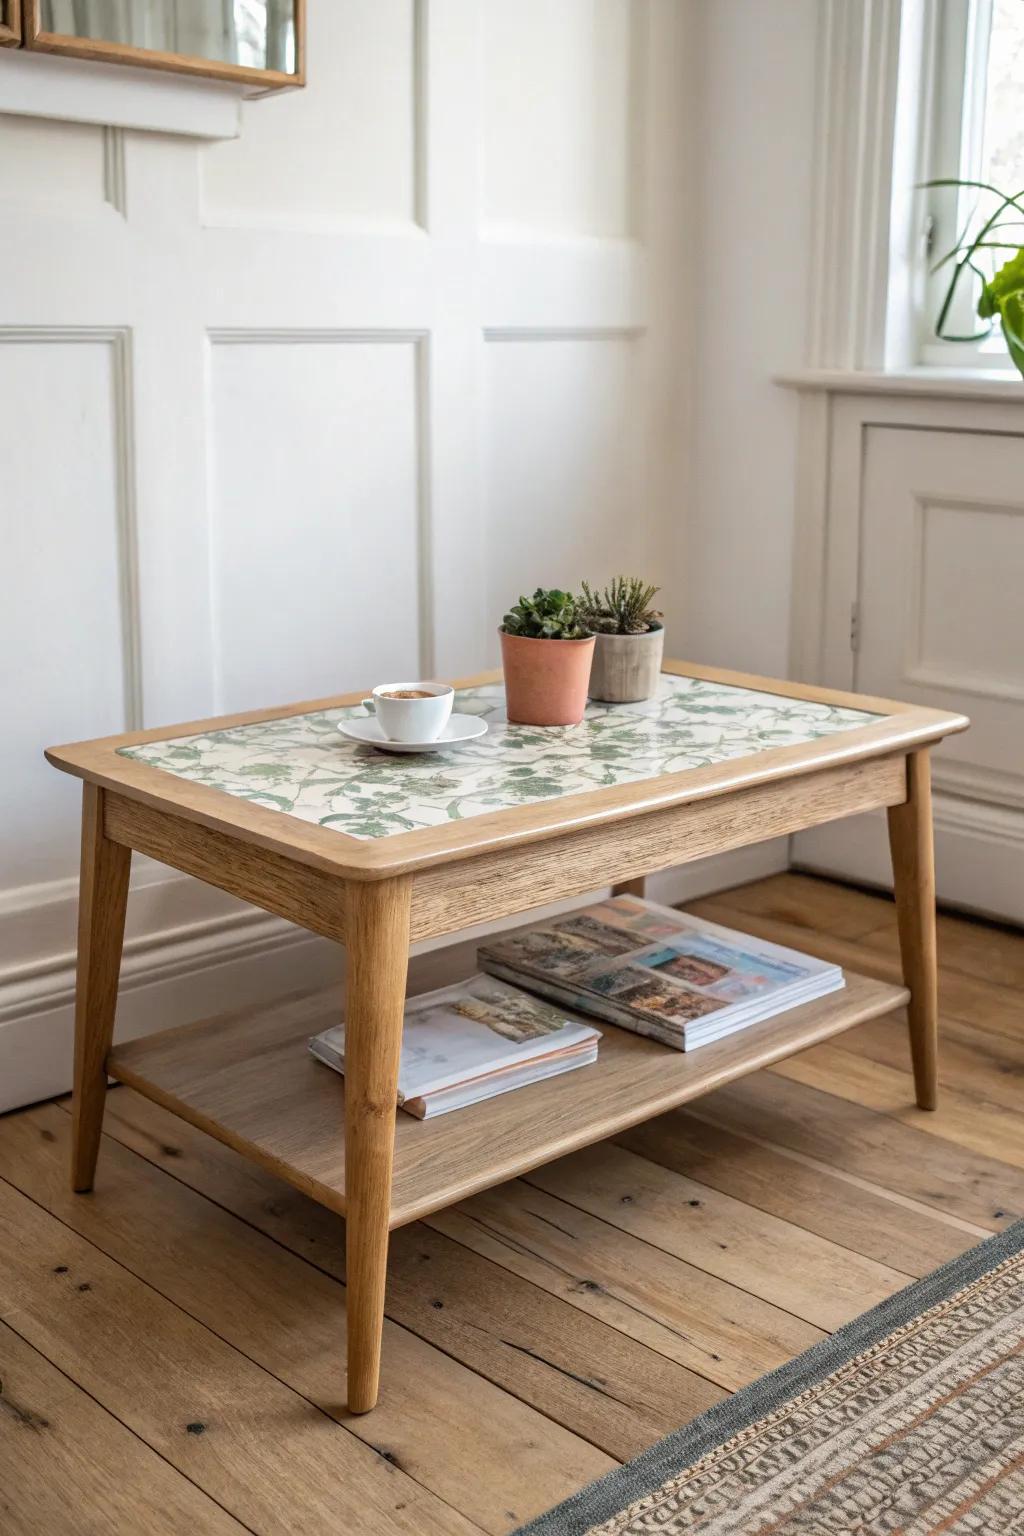
I decoupaged a tired coffee table shelf with patterned paper during a tiny-apartment phase, and it made the whole piece feel intentional. The key I learned is to use multiple thin protective coats so the refinished coffee table can handle real life.
A few helpful options:
- Decoupage Glue and Sealer: Secure your design and provide a basic protective layer by applying this essential adhesive to your tabletop.
- Green Botanical Patterned Paper: Recreate the fresh look in the photo by choosing a nature-inspired patterned paper for your table surface.
- Clear Polyurethane Top Coat: Ensure your coffee table can handle spills and daily use by finishing it with a durable clear coat.
Faux Marble Painted Top
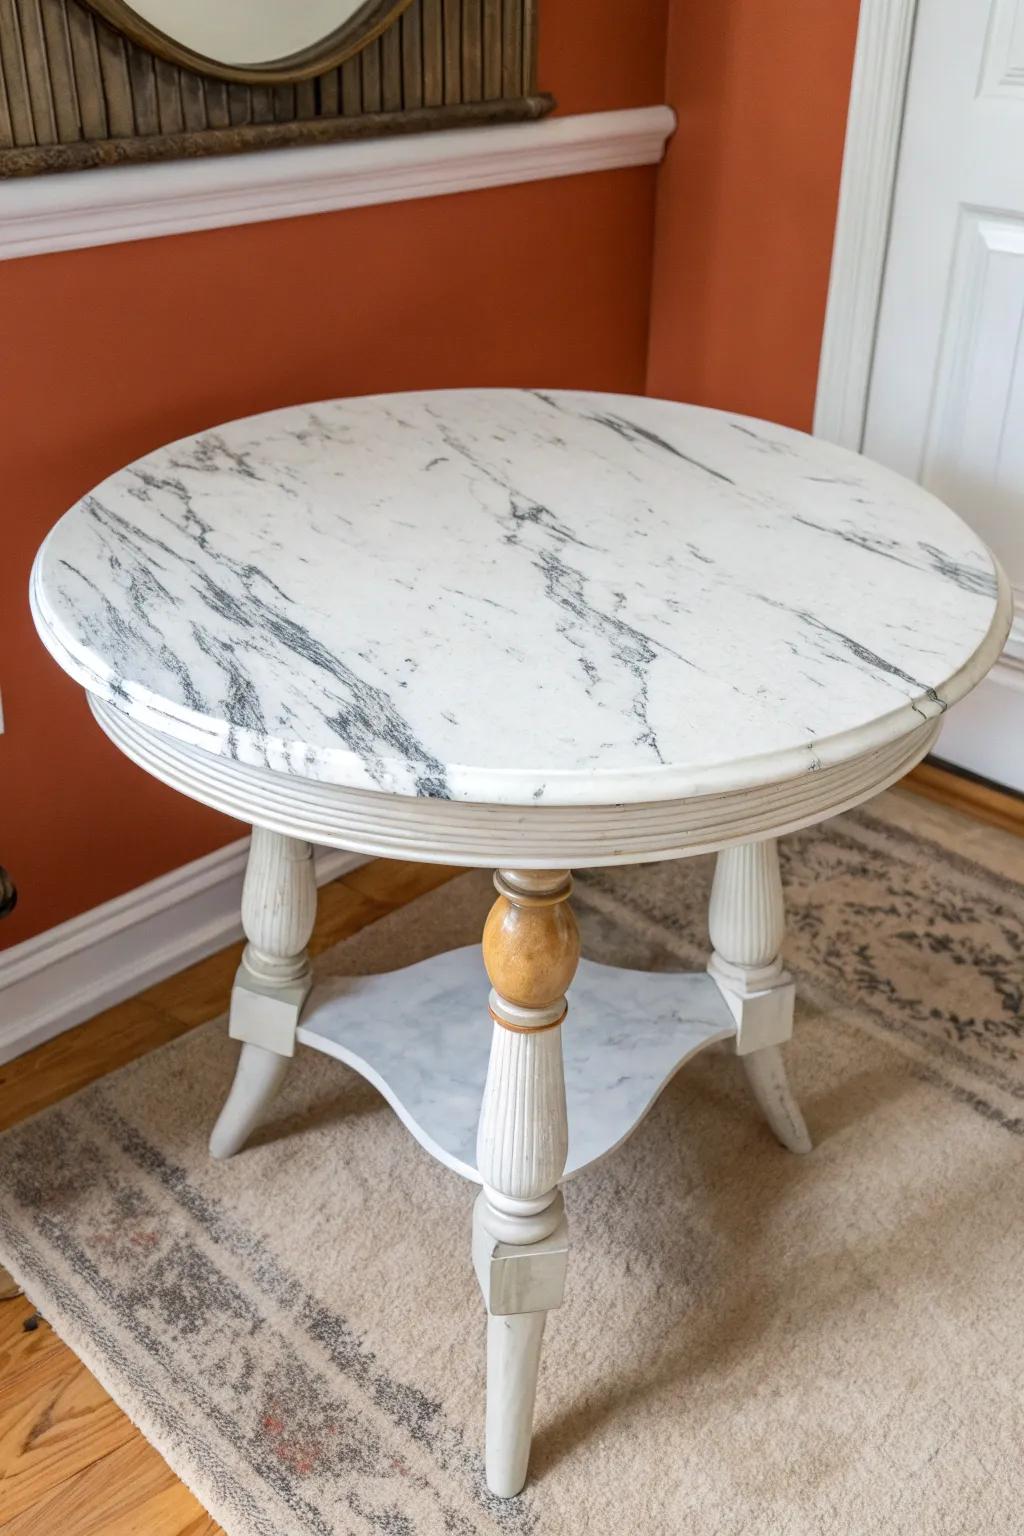
I tried a faux marble finish on a thrifted coffee table, and it gave me that polished look without the weight or cost of stone. I practiced the veining on cardboard first, which saved me from a panic moment halfway through.
You might like:
- Faux Marble Paint Kit: Achieve realistic stone effects effortlessly using this comprehensive kit designed to help you create authentic-looking marble veins.
- Fine Detail Art Brushes: Gain control over your veining work with these precise brushes, perfect for adding delicate and natural-looking lines.
- Sea Sponge for Texturing: Soften harsh paint lines and create organic, cloudy textures essential for a convincing and natural marble finish.
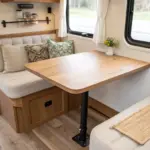
Tile-Top Refresh for Durability
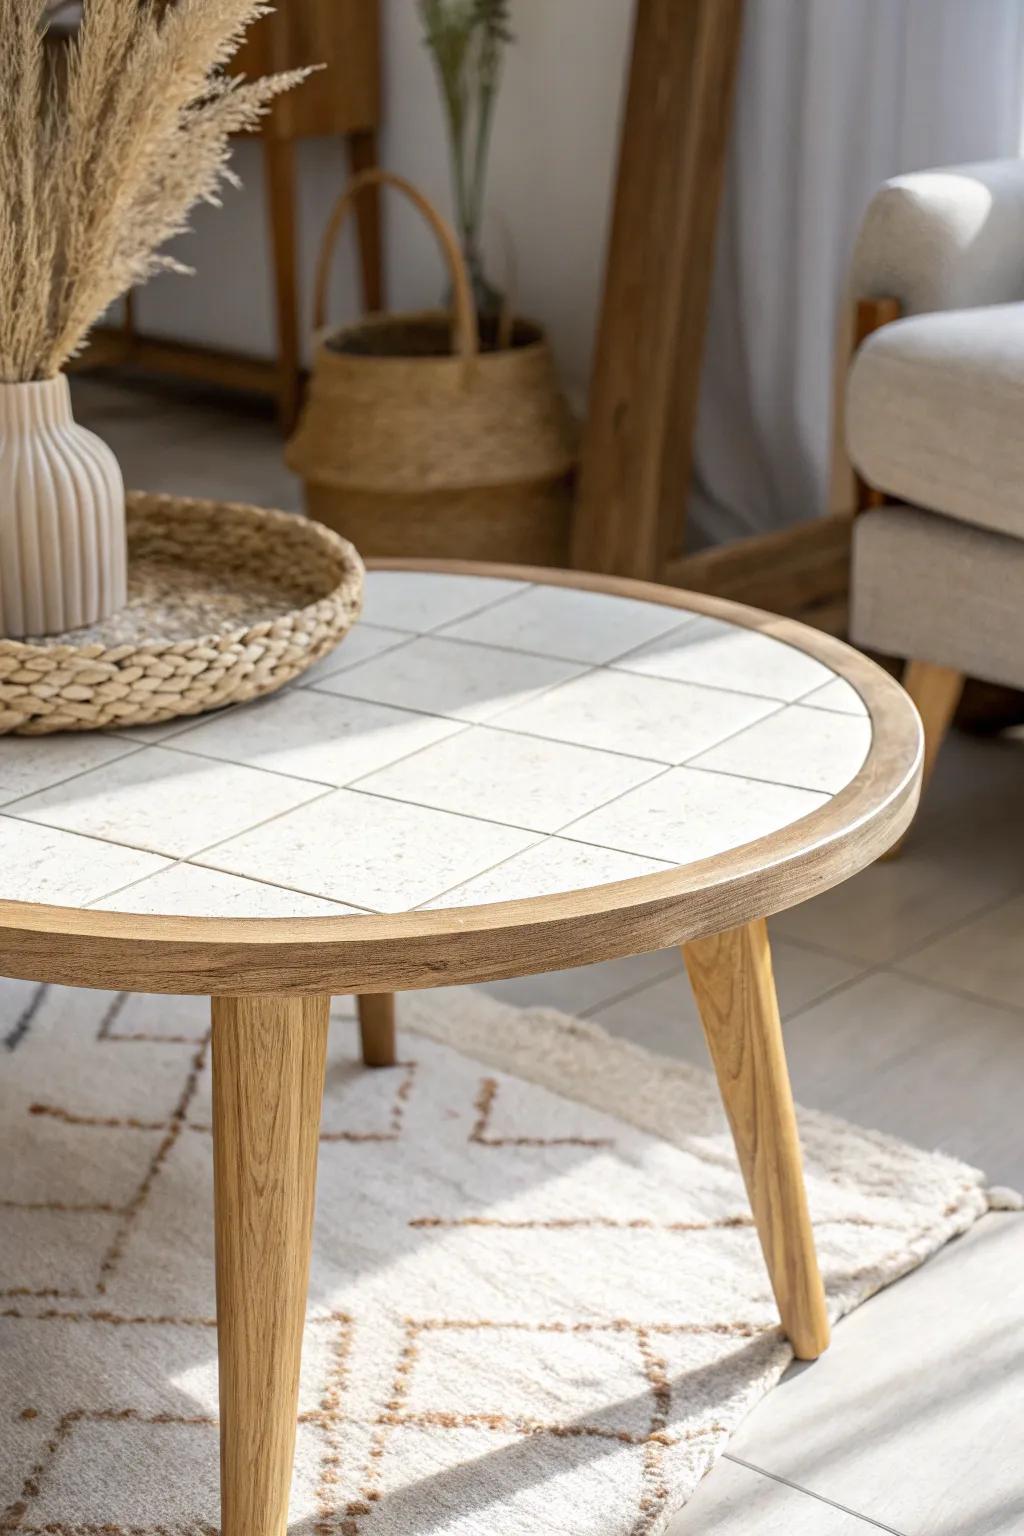
In one of my busiest client homes, we refinished a coffee table by adding a tile top, and it held up beautifully to daily use. I love tile when a table doubles as a dining spot in a small living room—no stressing over hot mugs.
Some handy options:
- Square Mosaic Wall & Floor Tiles: Create a durable, heat-resistant surface for your table by selecting neutral or patterned square ceramic tiles today.
- Pre-Mixed White Grout: Secure your new tabletop tiles and seal gaps effortlessly with ready-to-use grout for a clean, professional finish.
- V-Notch Trowel & Grout Float Kit: Get the essential tools needed to spread adhesive evenly and press grout smoothly into your new tabletop design.
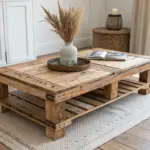
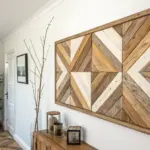
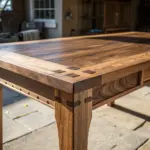
Rustic Plank-Style Wood Top

I’ve refinished a basic coffee table by attaching slim boards to the top and staining them for a planked look, and it added instant character. It’s one of my favorite tricks for making a cheap, flat top feel thicker and more high-end.
Try these:
- Dark Walnut Wood Stain: Apply a rich, dark stain to your new wood planks to achieve that warm, rustic farmhouse finish.
- Polyurethane Clear Coat: Protect your newly stained tabletop from spills and scratches with a durable, clear finish for long-lasting wear.
- White Chalk Style Paint: Paint the table base a crisp white to create stunning contrast against the dark wood plank top.
Metallic Accents on Legs or Trim
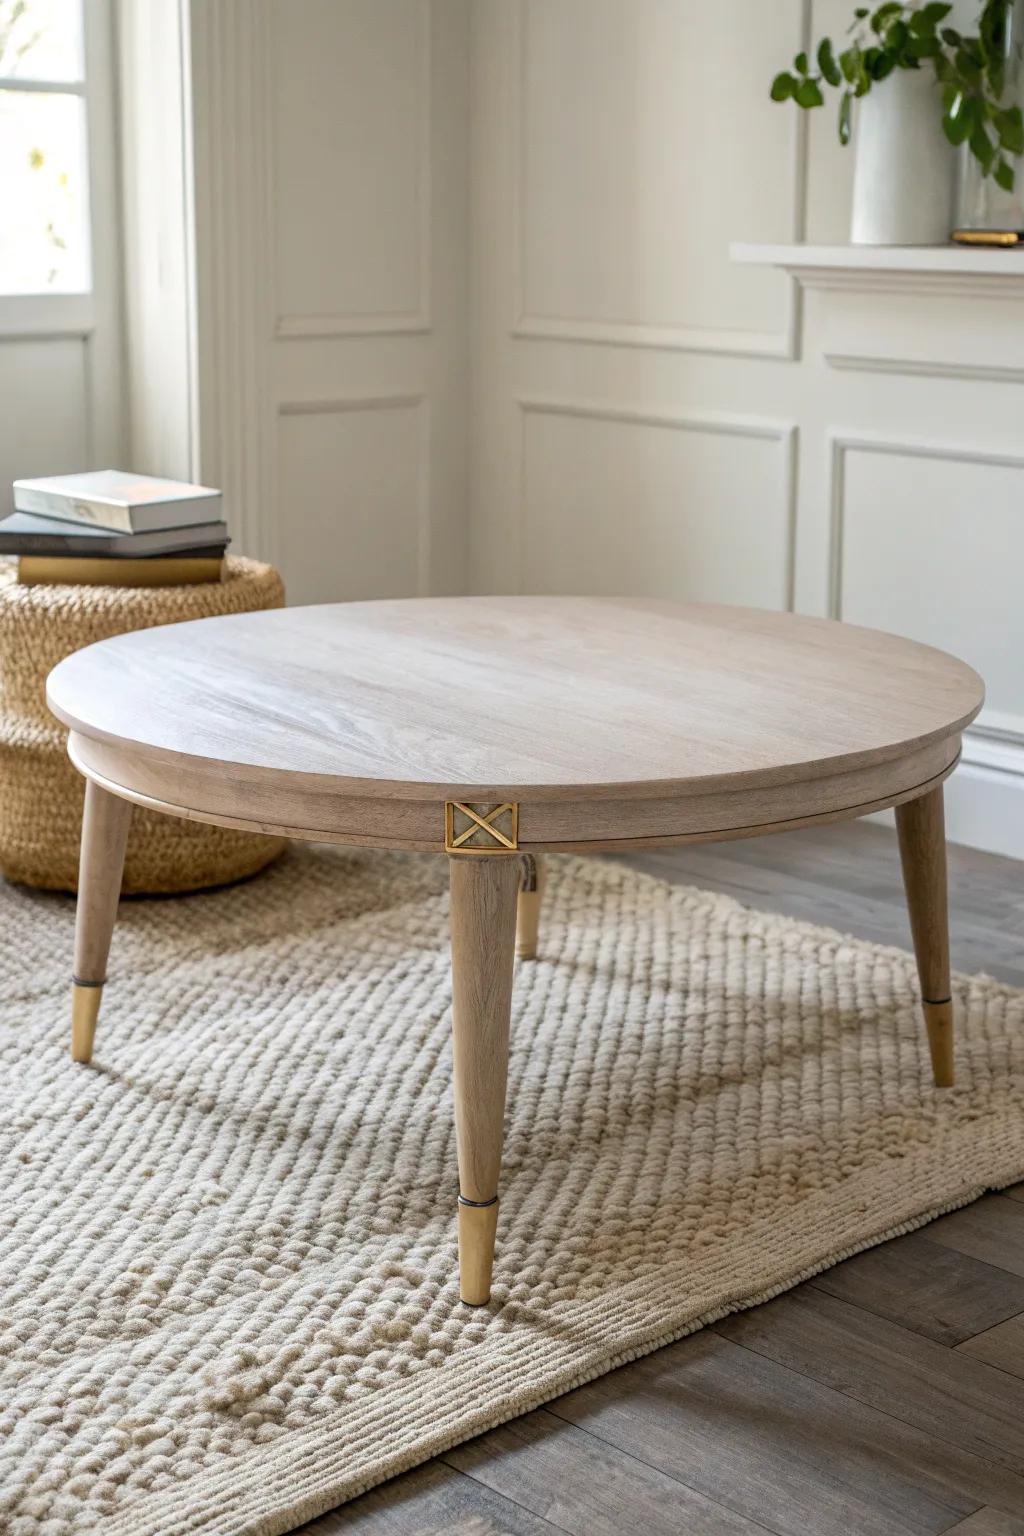
When I needed a little glam, I refinished my coffee table and added metallic accents just on the feet, and it looked surprisingly chic. I keep it minimal so it still feels calm in a small space, not flashy.
A few things you might like:
- Gold Spray Paint: Refresh worn table legs easily by masking off sections and applying a durable, metallic finish for instant elegance.
- Brass Leg Caps (Ferrules): Slip these metal caps onto wooden chair or table legs to add a sophisticated, permanent dipped-gold effect.
- Metallic Gilding Wax: Rub this wax onto carved details or trim to highlight textures with a subtle, controllable metallic shimmer.
Charred-Wood Look With a Clear Seal
For a real conversation starter, I refinished a wood coffee table top with a charred wood effect (carefully, outdoors), then brushed the grain and sealed it smooth. It sounds dramatic, but the finish is actually super cozy and hides wear like a pro.
May just do the trick:
- Propane Torch Kit: Carefully achieve that distinct charred aesthetic on your wood surface with a standard, easy-to-handle handheld torch.
- Wire Brush Set: Remove loose char and enhance naturally burnt wood textures by scrubbing the grain after torching safely.
- Clear Polyurethane Sealer: Protect your newly charred finish and create a smooth, durable surface with a high-quality clear coat.


