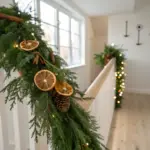
A hallway is the one space you walk through a dozen times a day, so it’s the perfect spot for a photo wall that makes you smile every time you pass.
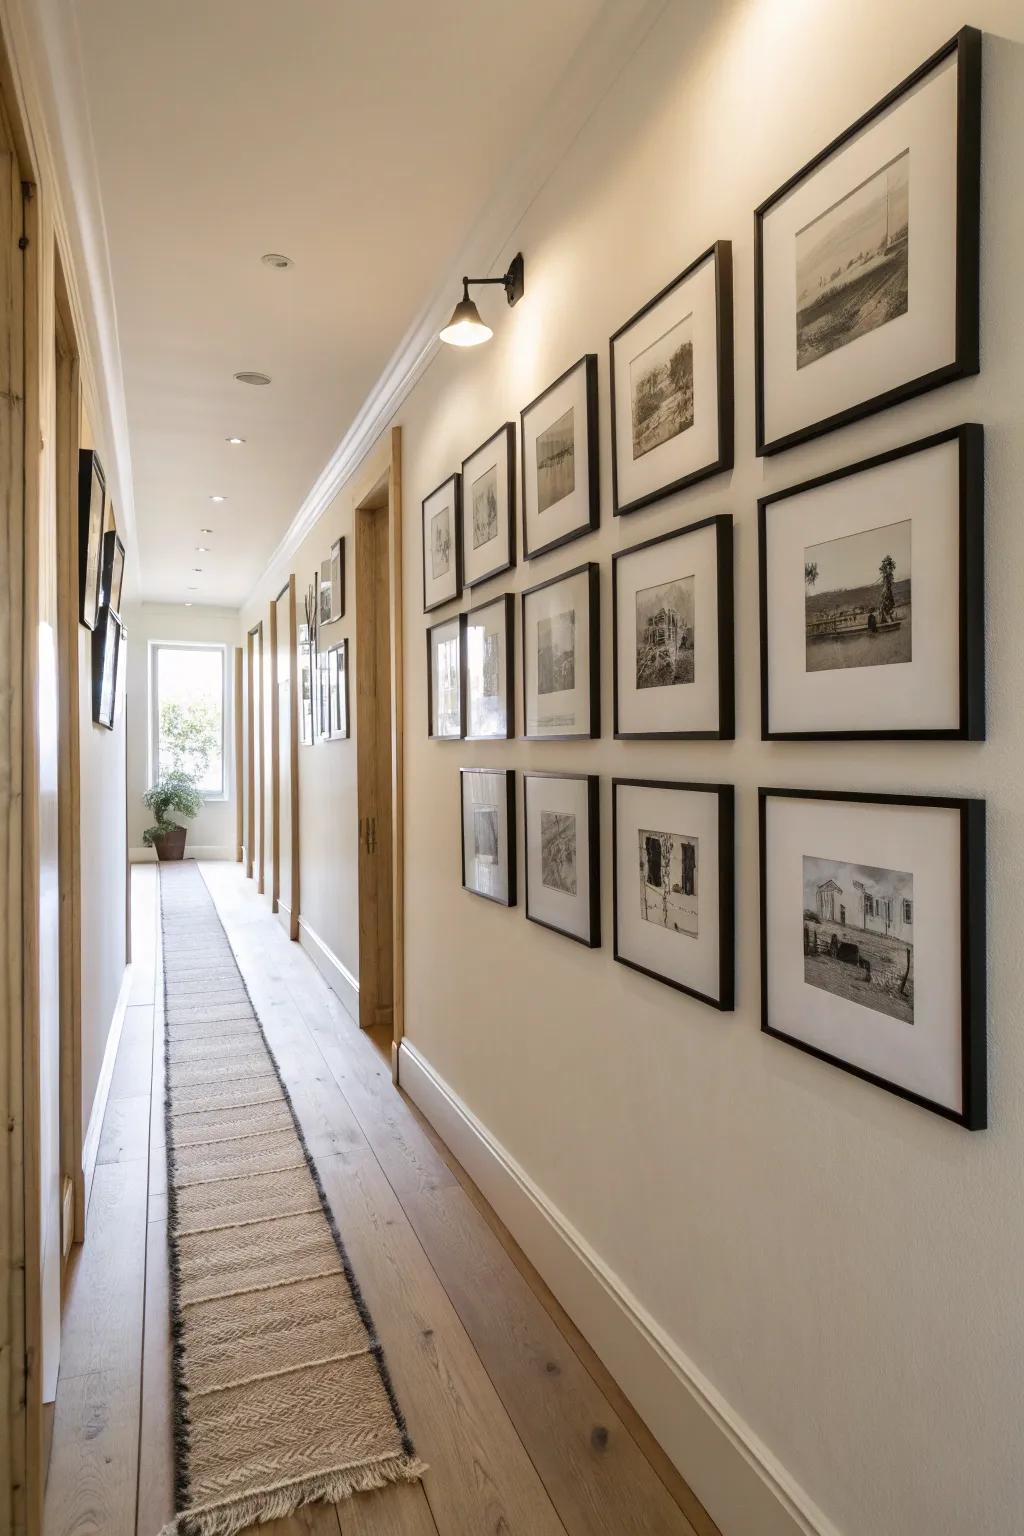
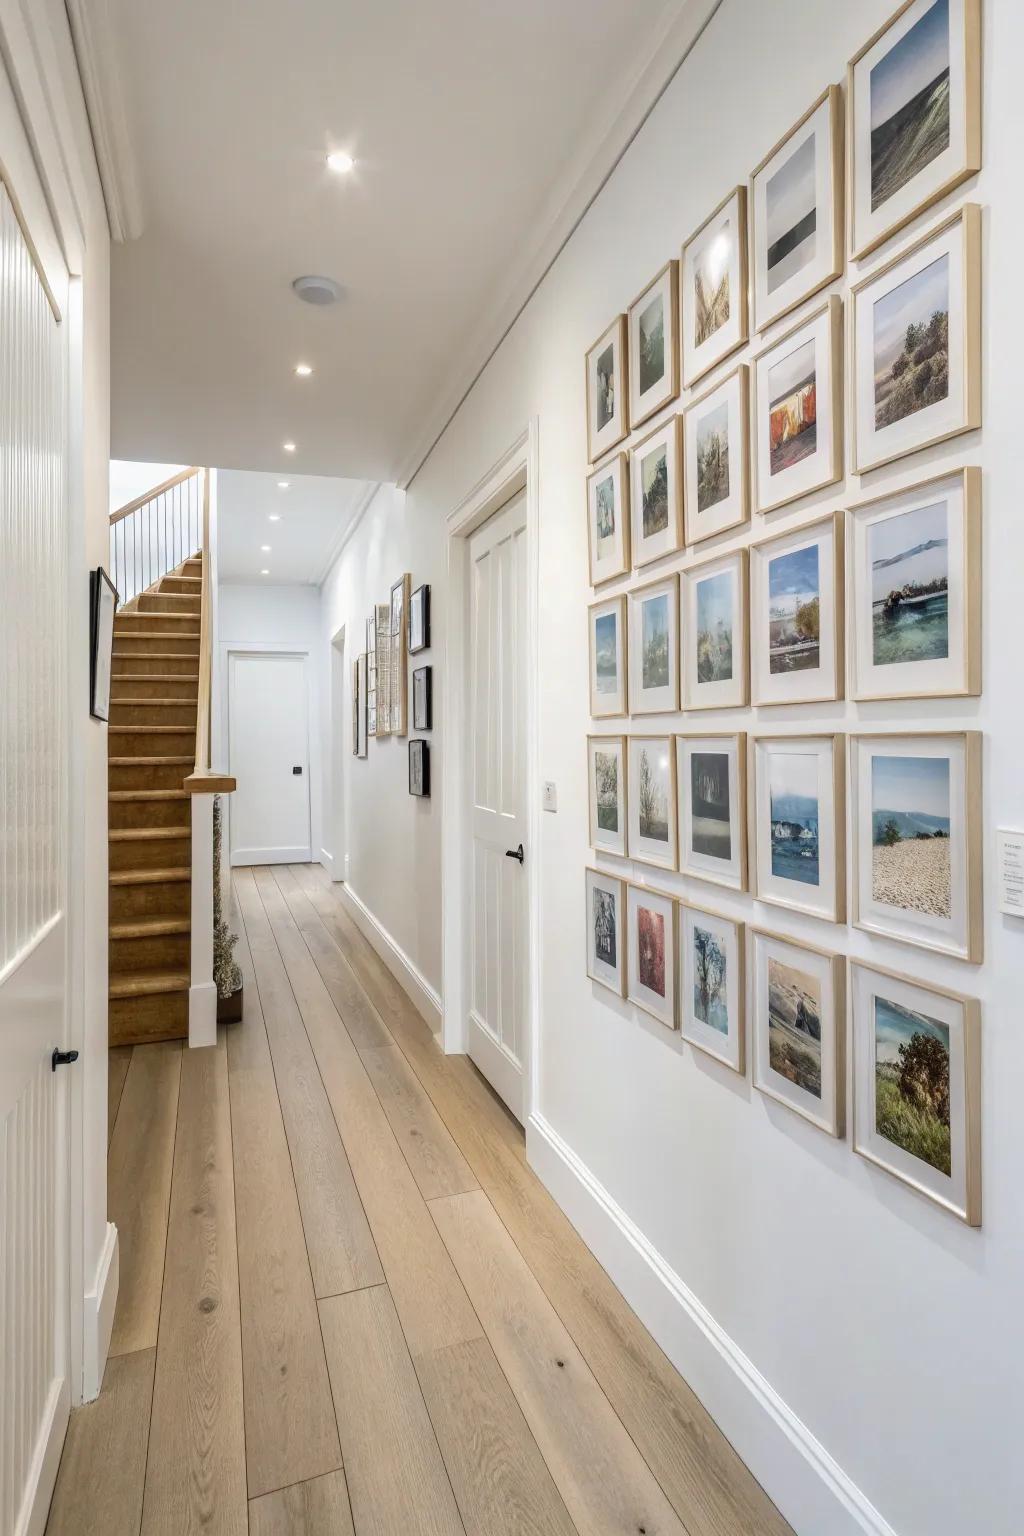
Classic Symmetrical Grid
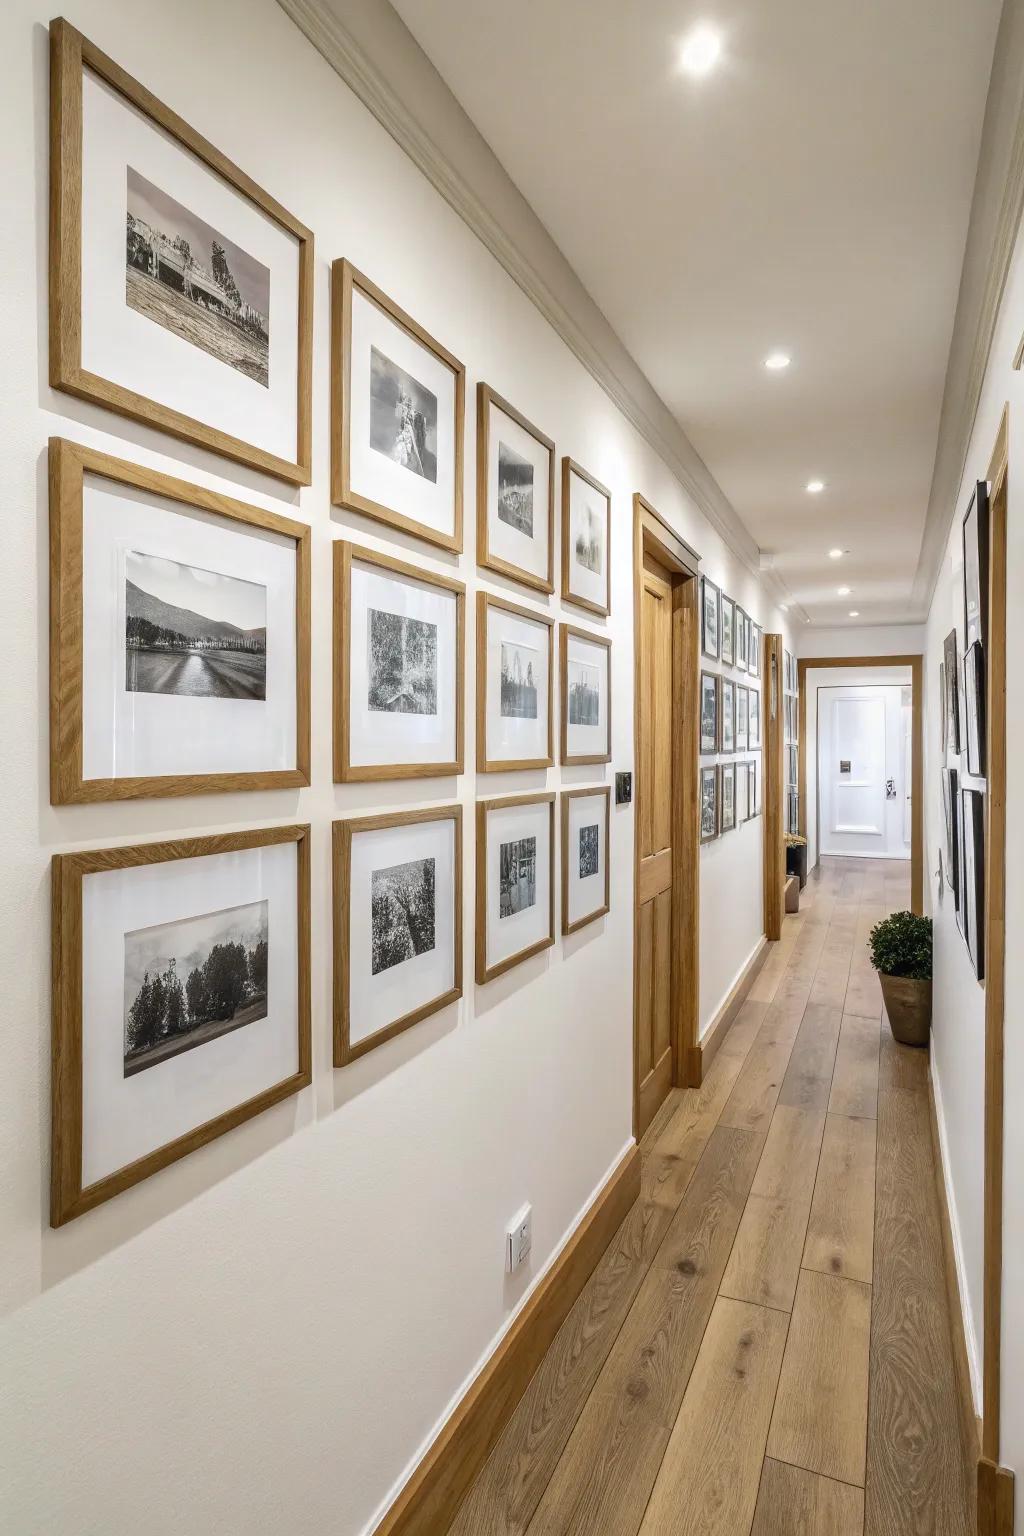
When I want a hallway photo wall to feel instantly calm and “done,” I go for a grid layout with matching frames and equal spacing. I used this in my last studio hallway, and it made the whole passage feel wider because your eye stops bouncing around.
Give these a look:
- Set of Matching Wood Frames with Mats: Create immediate visual harmony by choosing a uniform set of wooden frames that includes pre-cut white mats.
- Laser Level or Picture Hanging Tool: Ensure your grid serves its purpose by keeping every frame perfectly aligned and spaced with precision tools.
- Museum-Quality White Mat Boards: Elevate your existing frames and give prints a professional finish with crisp, acid-free white mounting boards.
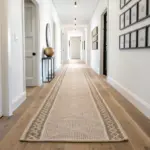
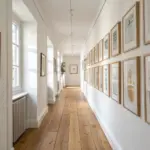
Single Straight Line Down the Hall
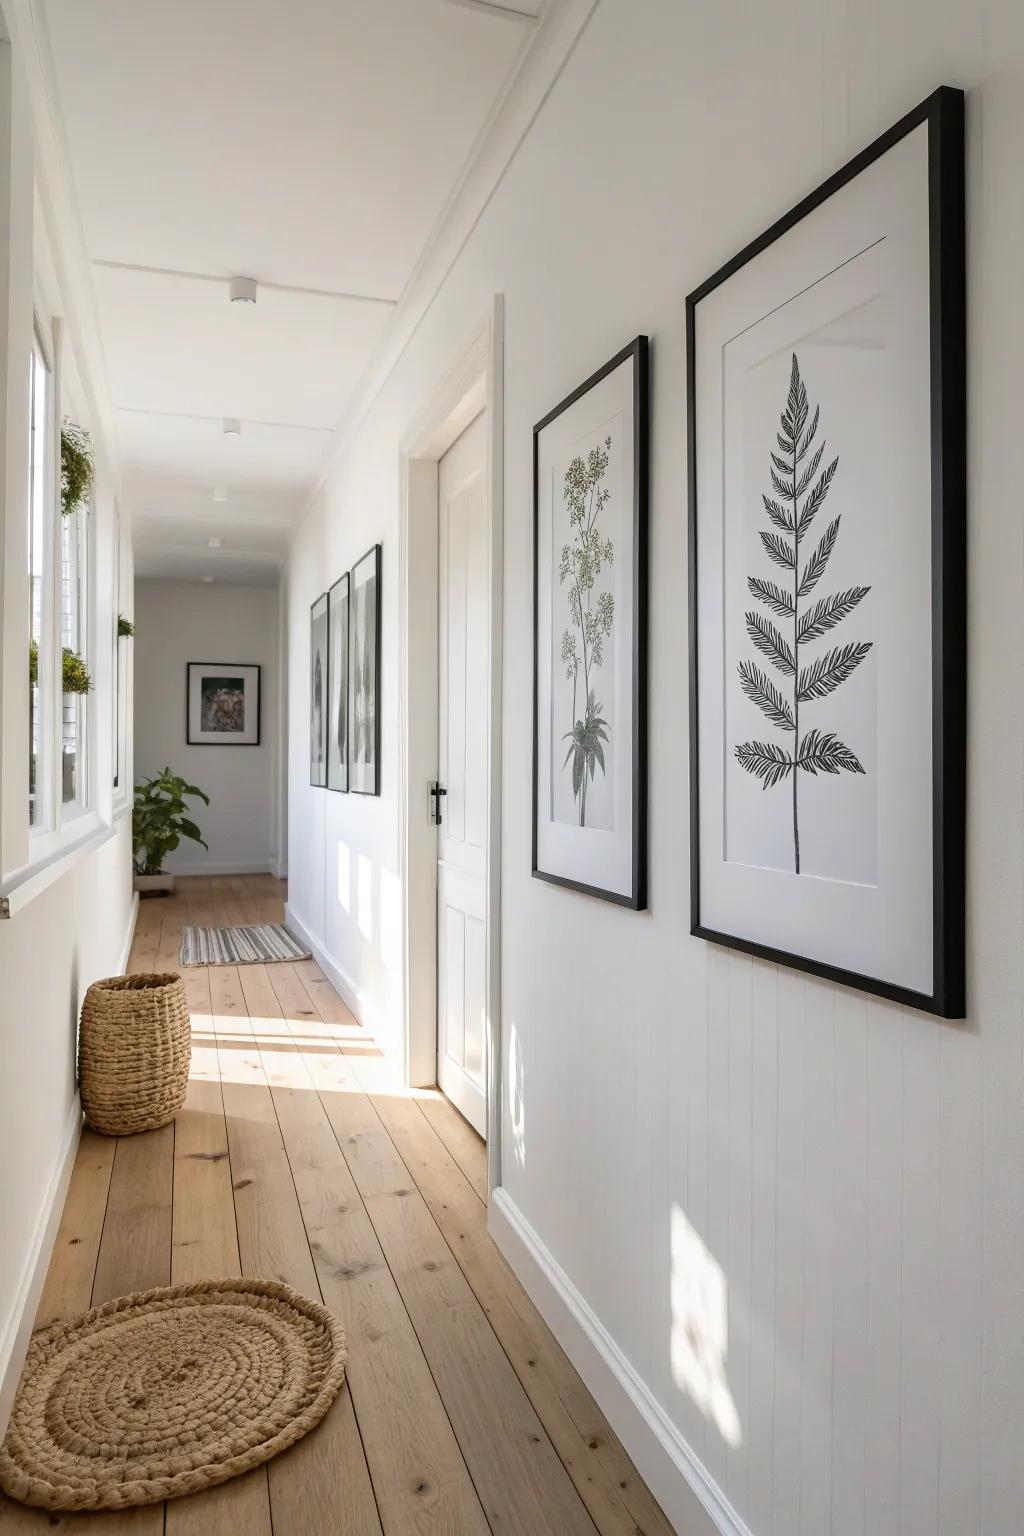
A long, narrow hallway loves a linear photo wall—same-size frames in one clean row at eye level. I’ve done this for clients with tight corridors, and it acts like a visual “rail” that pulls you forward without cluttering the space.
Possibly handy products:
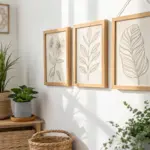
- Set of Matching Black Frames: Create a unified look by using identical frames to guide the eye down your hallway effortlessly.
- Botanical Art Print Set: Bring nature indoors with minimalist botanical prints that add texture without overwhelming narrow corridor spaces.
- Laser Level Tool: Ensure your frames hang perfectly straight and evenly spaced to achieve that professional gallery wall finish.
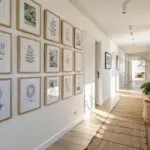
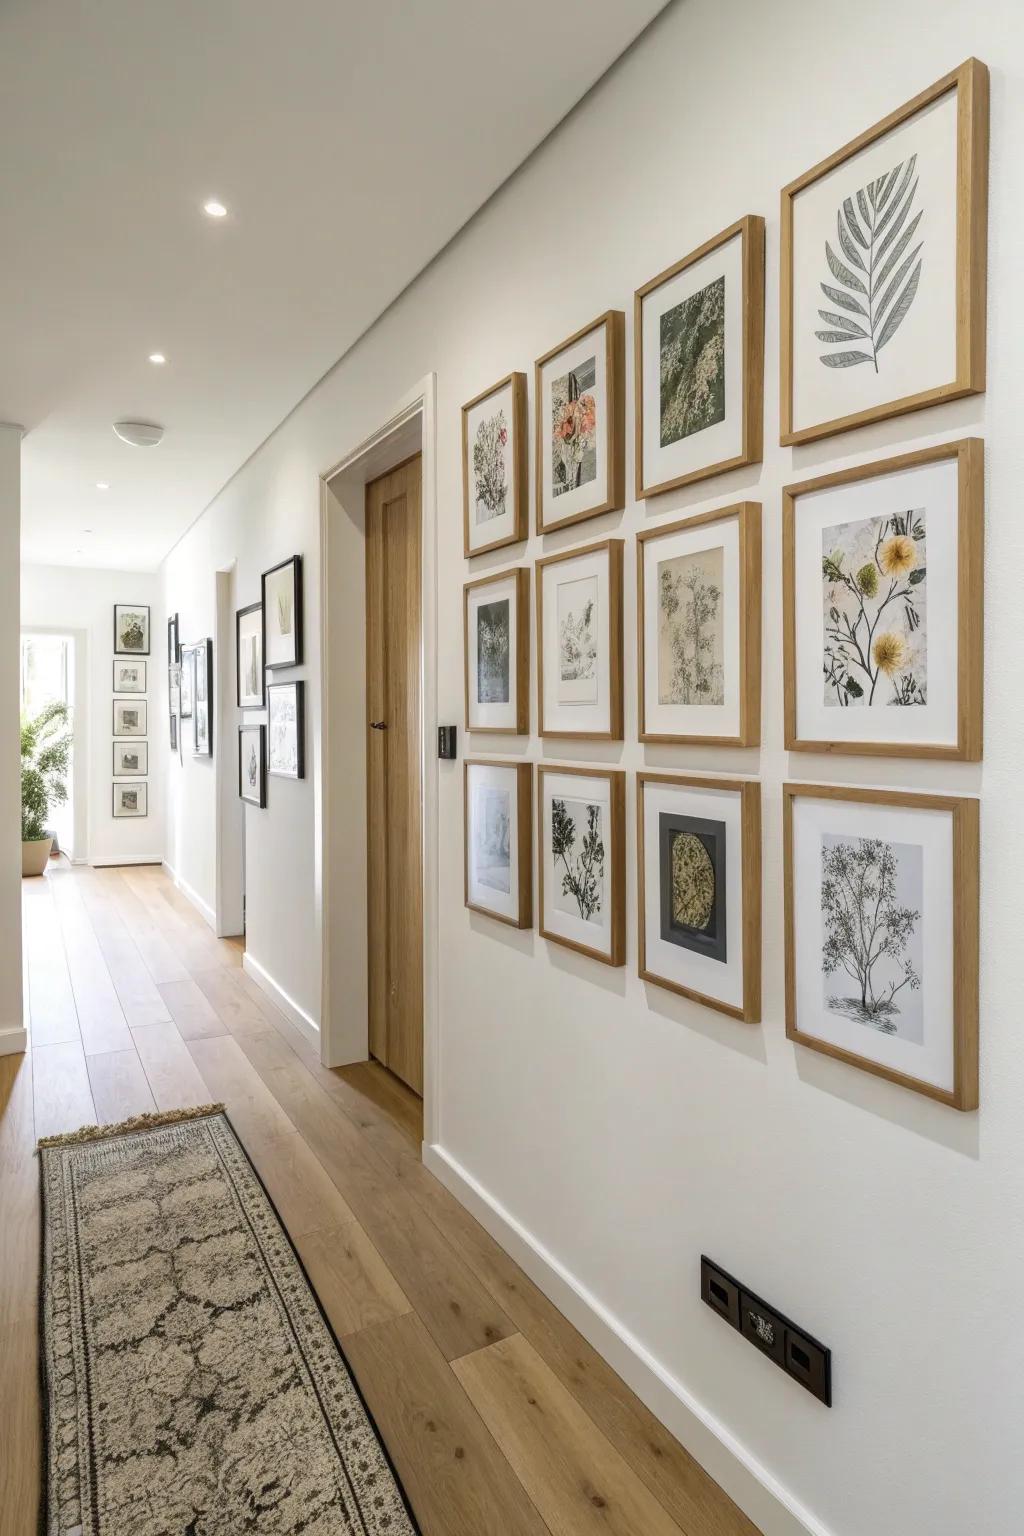
Organic Gallery Mix
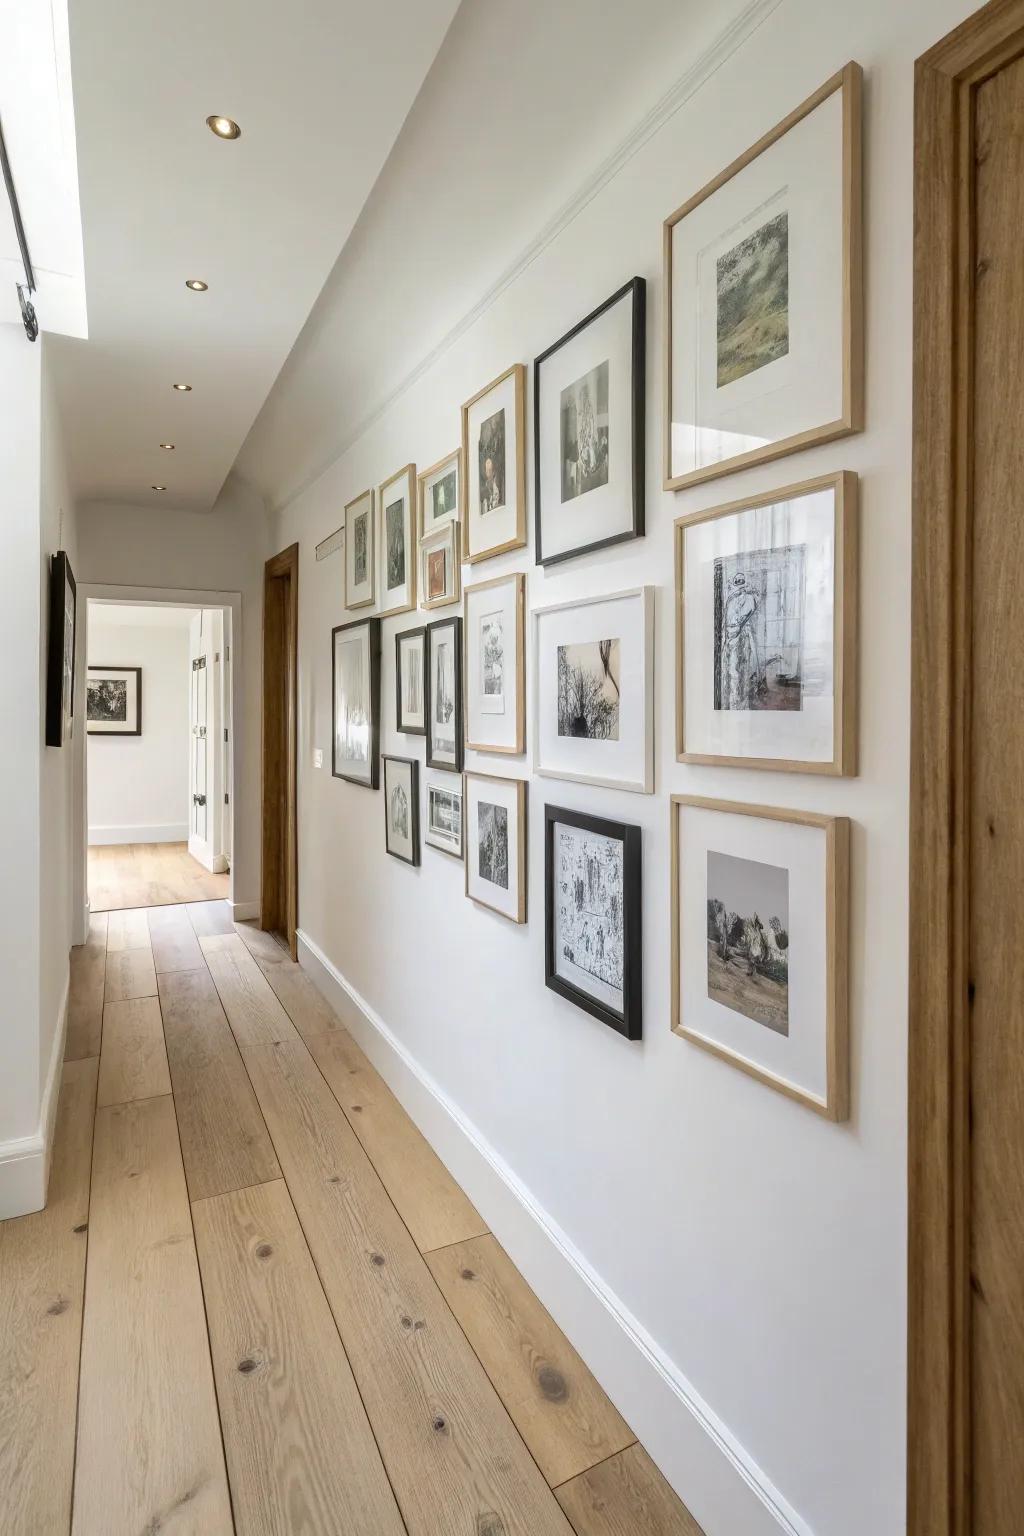
If you want your hallway photo wall to feel collected over time, mix frame sizes in a relaxed salon-style gallery. I do a quick floor layout first, and it saves me from the classic “why is that one frame weirdly floating?” moment.
Might be a good match:
- Mixed Size Picture Frame Set: Create a unified yet organic display instantly with a pre-curated set of varying frame sizes.
- Picture Hanging Tool & Level: Ensure your relaxed layout stays neat with a tool that marks exact nail placements easily.
- Pre-Cut Picture Mat Boards: Elevate simple prints and give your collection a cohesive, professional gallery look with crisp white mats.
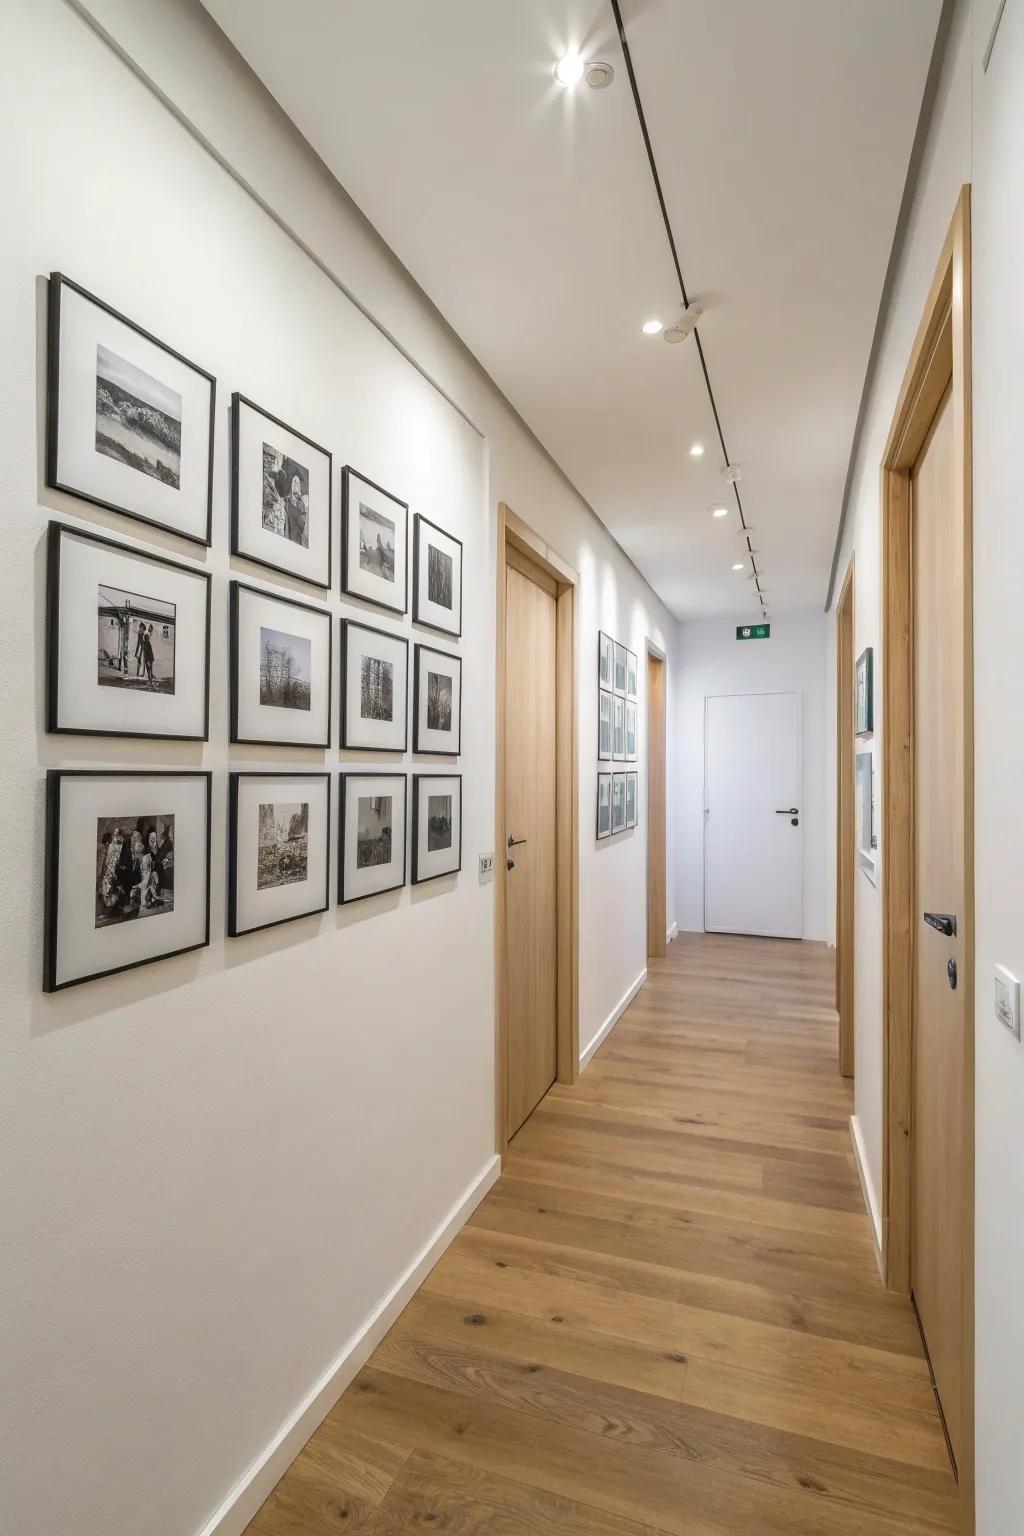
All Black-and-White Photos
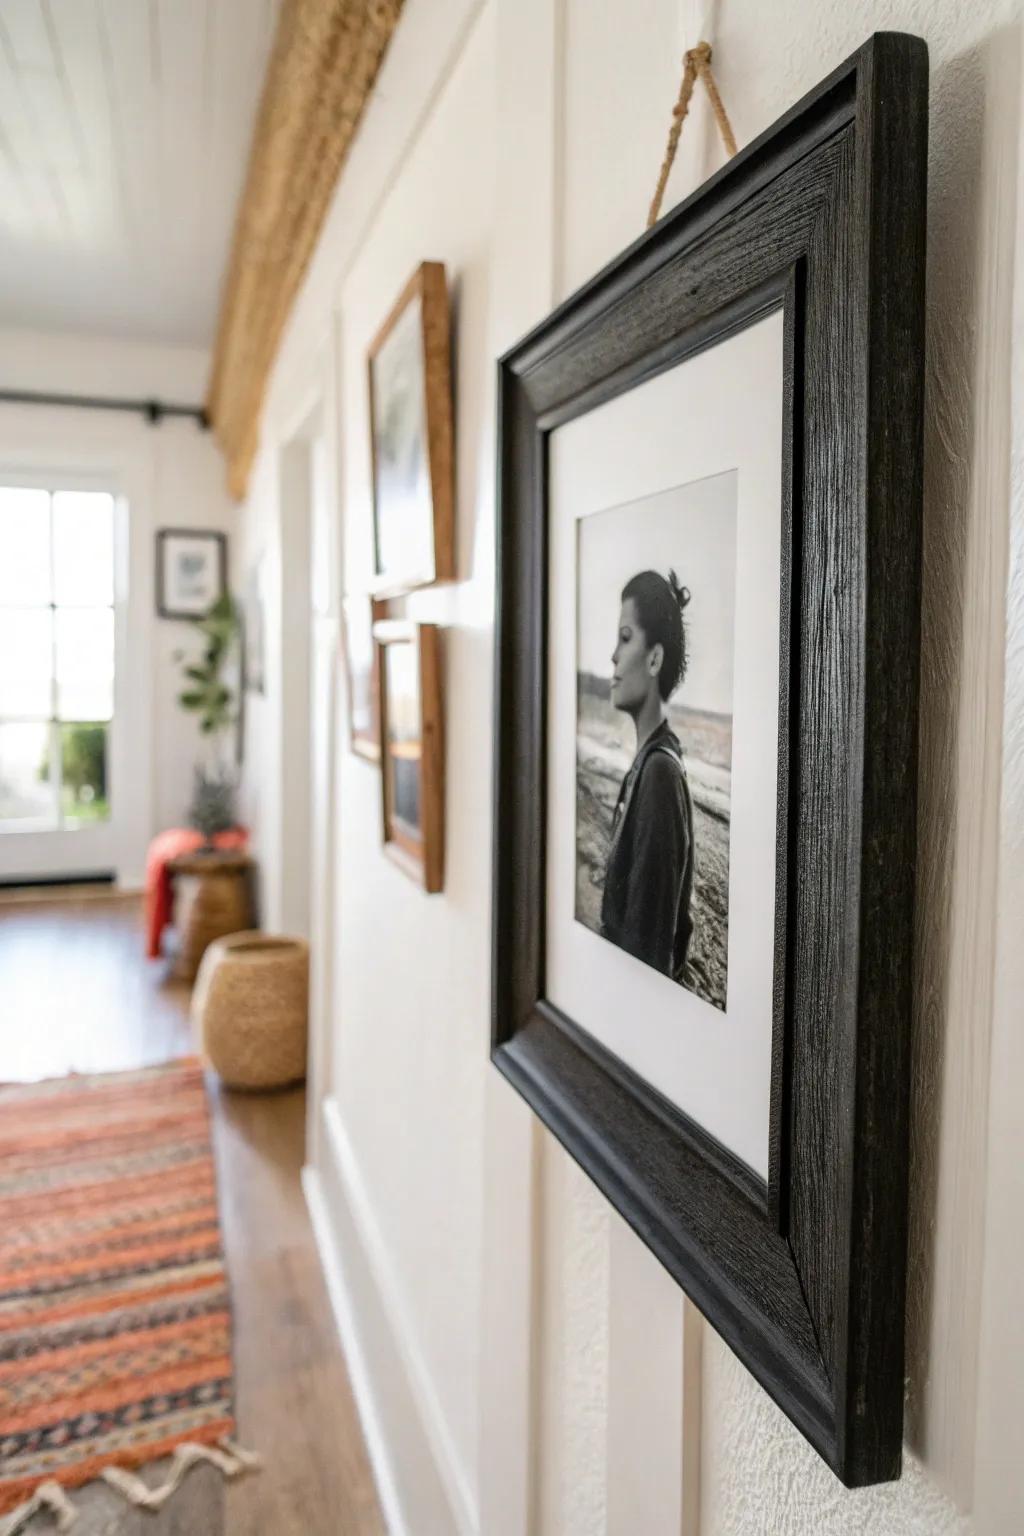
Turning everything into black-and-white photos is my easiest trick for a hallway photo wall that looks cohesive fast. I’ve used it when my images didn’t “match” at all, and suddenly they looked like a curated set.
You might like:
- Rustikaler schwarzer Holzrahmen mit Passepartout: Verleihen Sie Ihren Schwarz-Weiß-Drucken sofort mehr Tiefe mit einem strukturierten Rahmen, der perfekt zu hellen Wänden passt.
- Set für eine Galeriewand (verschiedene Größen): Erstellen Sie mühelos ein einheitliches Layout, indem Sie ein abgestimmtes Set verwenden, das ideal für Ihre Flurwand ist.
- Juteschnur zum Aufhängen: Fügen Sie einen Hauch von Vintage-Charme hinzu, indem Sie Ihre Rahmen wie auf dem Bild an einer rustikalen Kordel aufhängen.
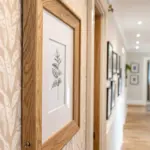
Matching Frames, Mixed Photo Sizes
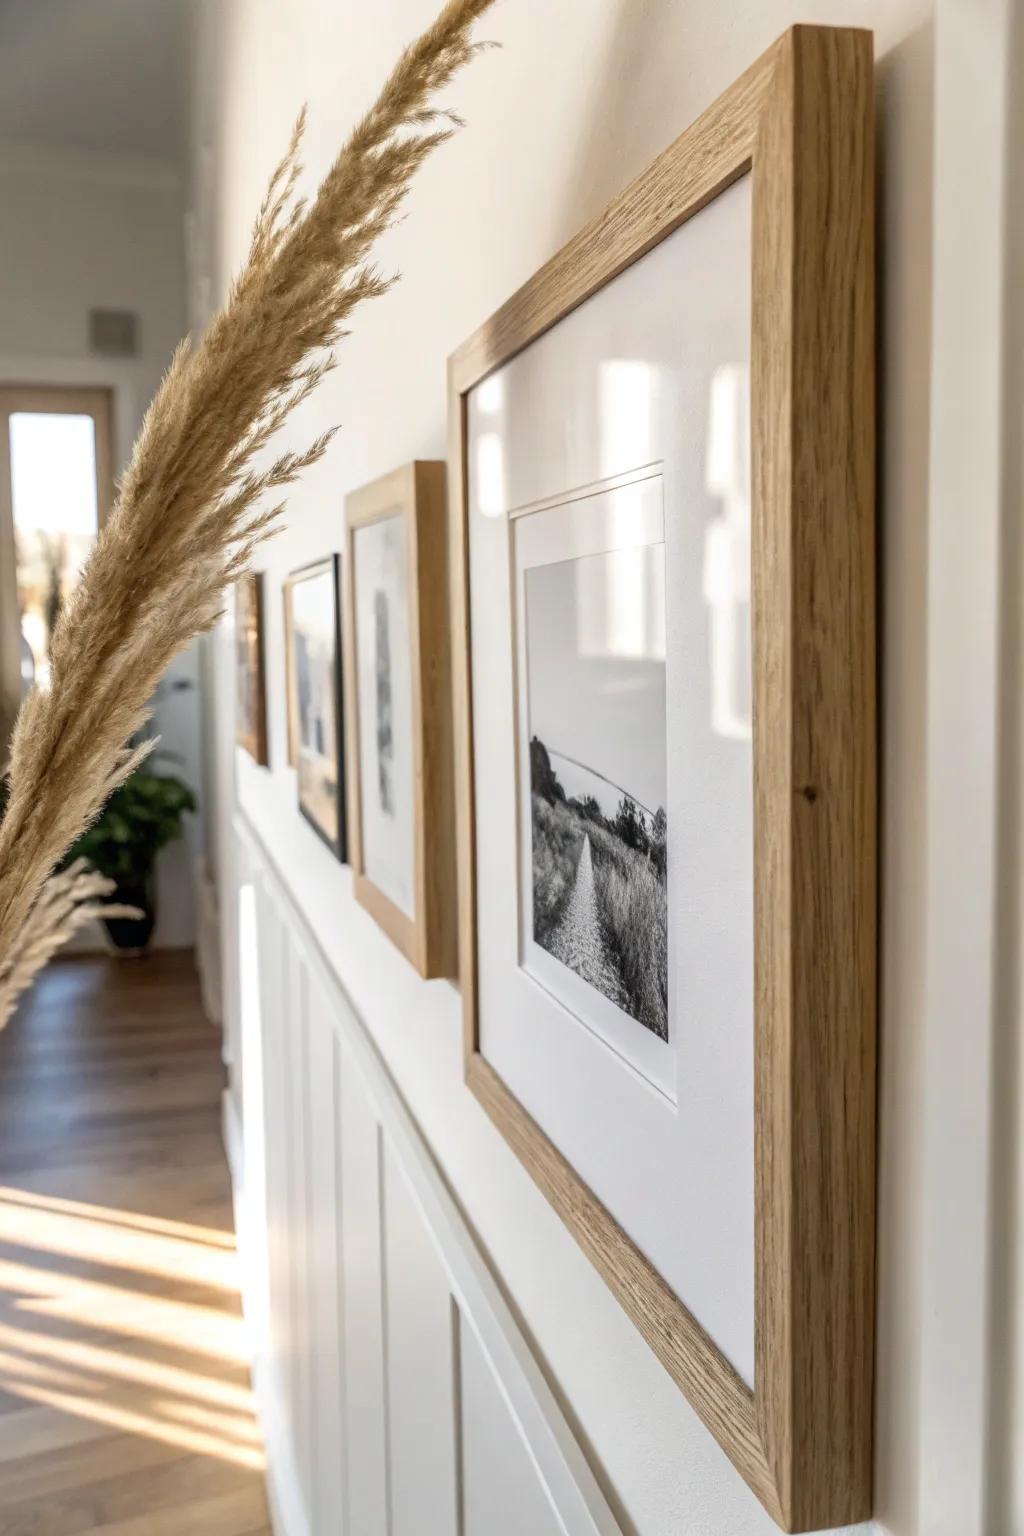
In small hallways, I like using matching frames but varying the photo scale inside the mats for subtle interest. I tried this in my own place, and it gave me that gallery vibe without the chaos of too many finishes.
Check if these fit your needs:
- Set of Matching Wood Frames: Create a cohesive gallery look by choosing matching natural wood frames that warm up your hallway space.
- Pre-Cut Picture Frame Mats: Use varied mat opening sizes to create visual interest while keeping your frame sizes uniform and tidy.
- Dried Pampas Grass Décor: Add a soft, natural texture that complements wooden frames without overwhelming your minimalist gallery wall aesthetic.
Oversized Matting for a Gallery Look
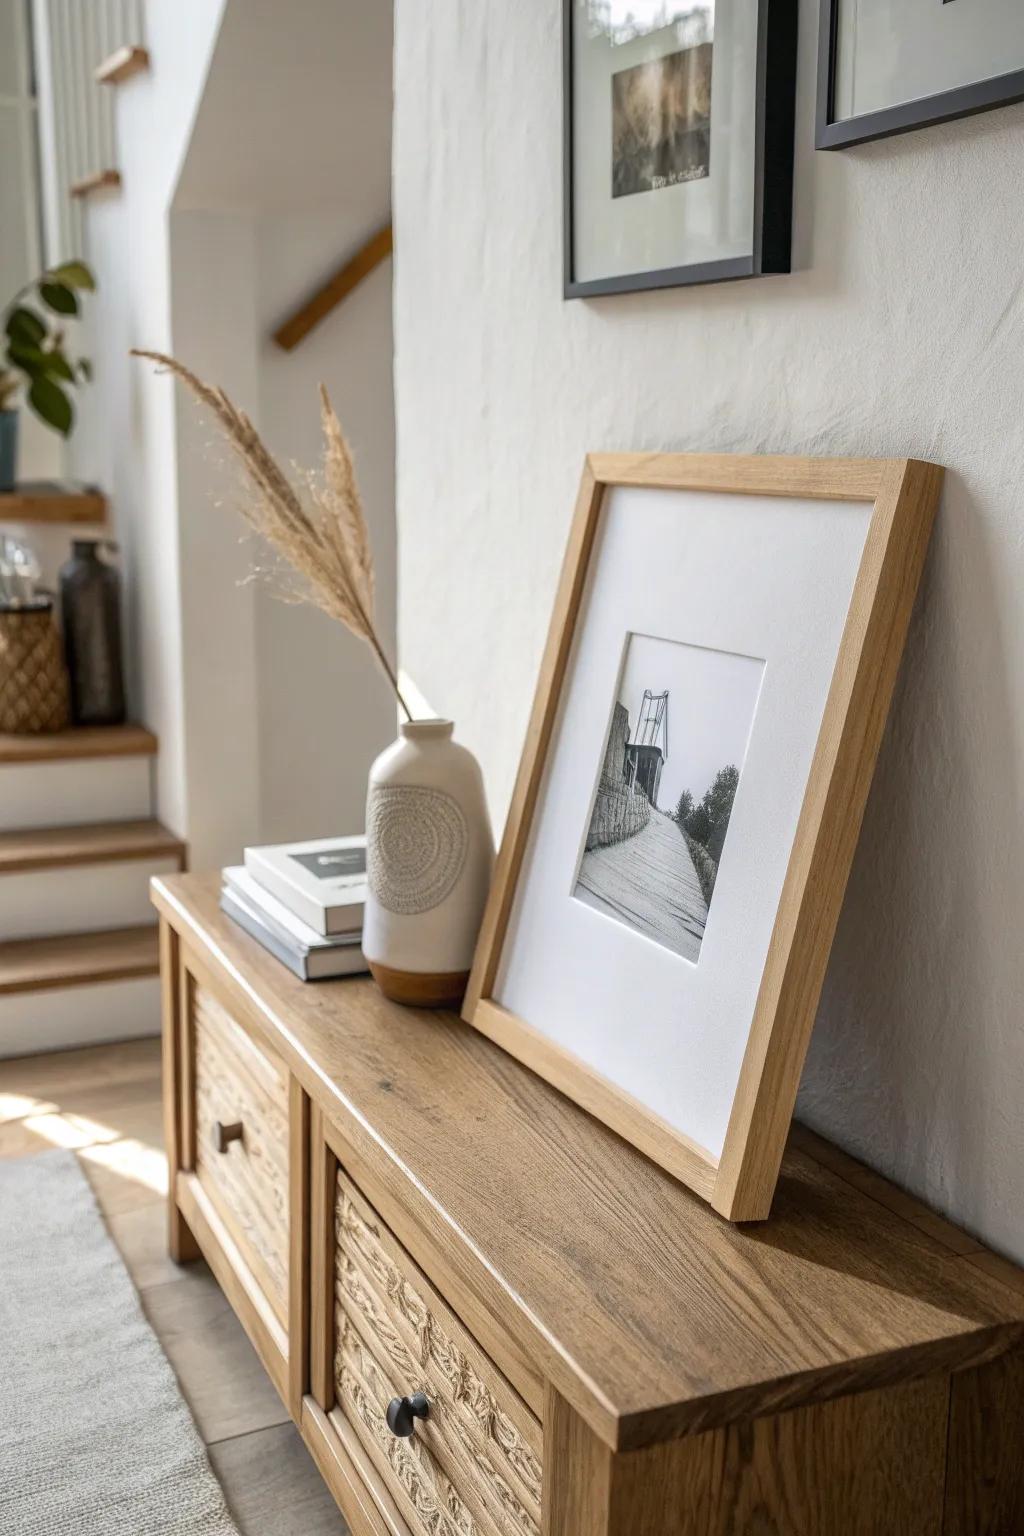
Big mats with smaller prints make a hallway photo wall feel high-end, even if the photos are simple. I’ve leaned on oversized mats when I needed “bigger art” without actually buying huge frames.
Items that may come in handy:
- Wood Picture Frame with Oversized Mat: Elevate your small prints instantly by choosing frames with wide, gallery-style white mats for a professional finish.
- Textured Ceramic Vase: Complement your photo display with a neutral, textured vase that adds warmth without distracting from the artwork.
- Natural Dried Pampas Grass: Add organic height and texture to your hallway console styling with simple, long-lasting dried floral stems.
Two-Over-Two Mini Grids
Instead of one giant hallway photo wall, I often build it from a few mini grids (like 2×2 blocks) spaced along the corridor. I did this in a rental where the hallway felt never-ending, and the little clusters made it feel more rhythmic and cozy.
Explore these options:
- Matching Wood Picture Frame Set: Create a unified look with a set of identical wooden frames for your mini-grid arrangement.
- Picture Hanging Tool Level: Ensure your grids are perfectly straight and evenly spaced with this essential hanging and leveling tool.
- Fine Art Black and White Prints: Fill your frames with cohesive black and white landscape photography to replicate this serene, minimalist aesthetic.
Stair-Step Layout for Stair Hallways
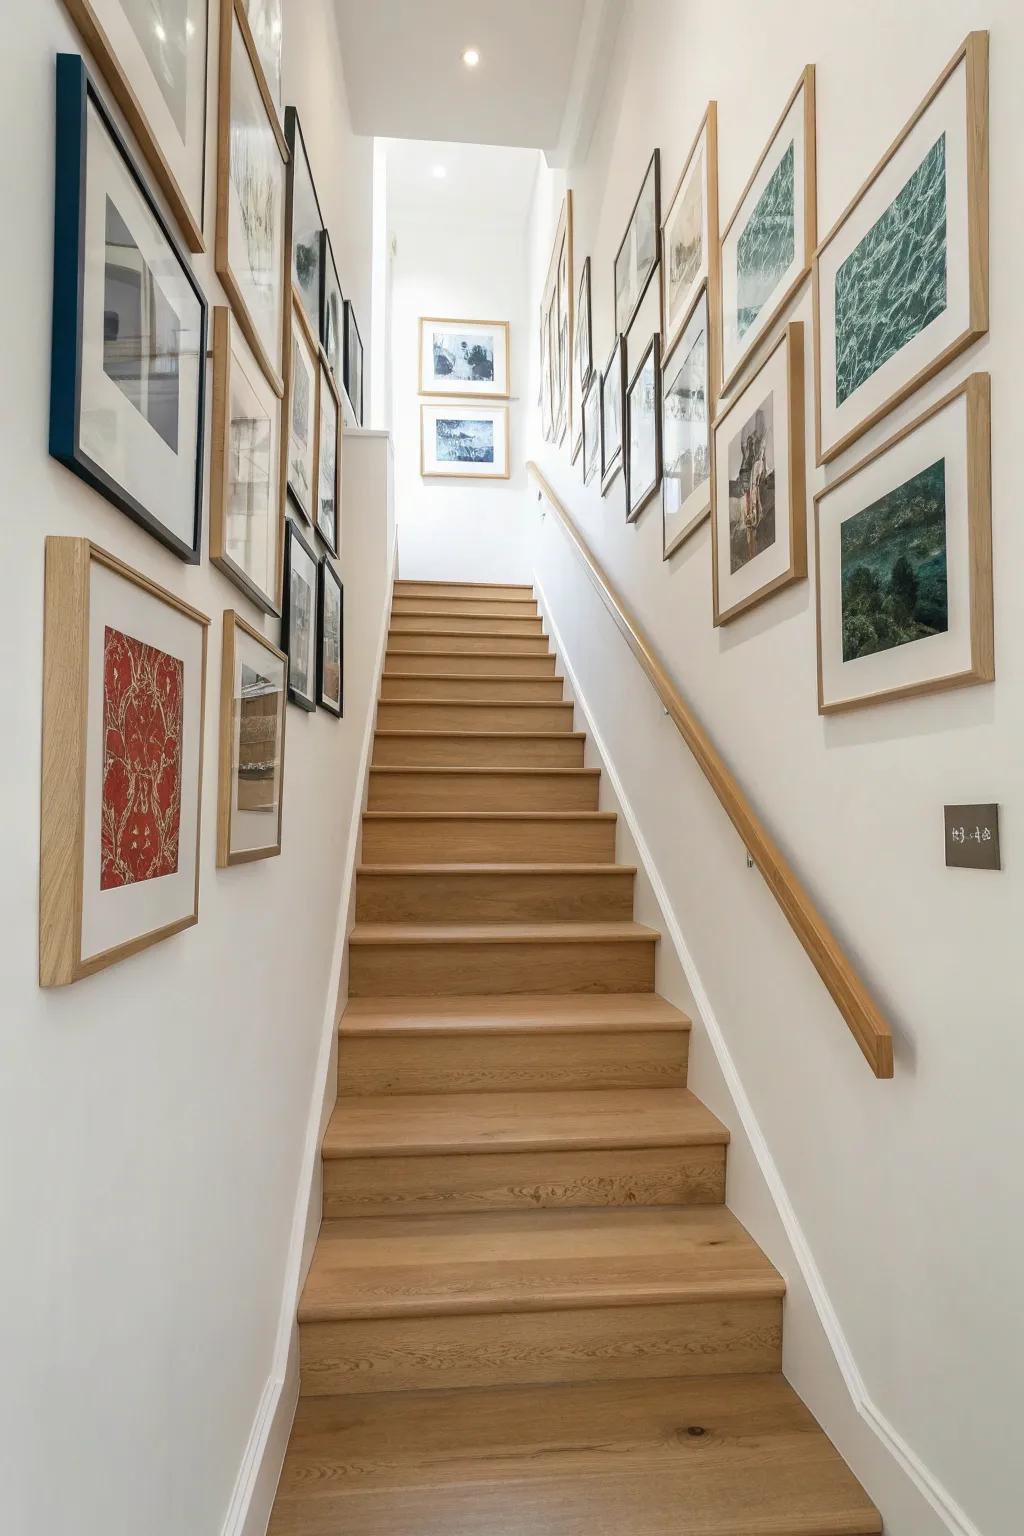
If your hallway turns into stairs, follow the slope with a stair-step photo wall so it feels natural while you walk up. I’ve mapped this with painter’s tape first, and it helped me keep the spacing consistent without over-measuring.
Possibly helpful picks:
- Set of Matching Wooden Picture Frames: Create a cohesive look along your stairway by choosing matching frames to maintain visual harmony while climbing.
- Blue Painter’s Tape: Map out your layout beforehand without damaging walls to ensure perfect spacing parallel to your stair angles.
- Picture Hanging Level Tool: Hang your artwork straight and evenly spaced with a specialized tool designed to simplify gallery wall installation.
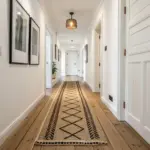
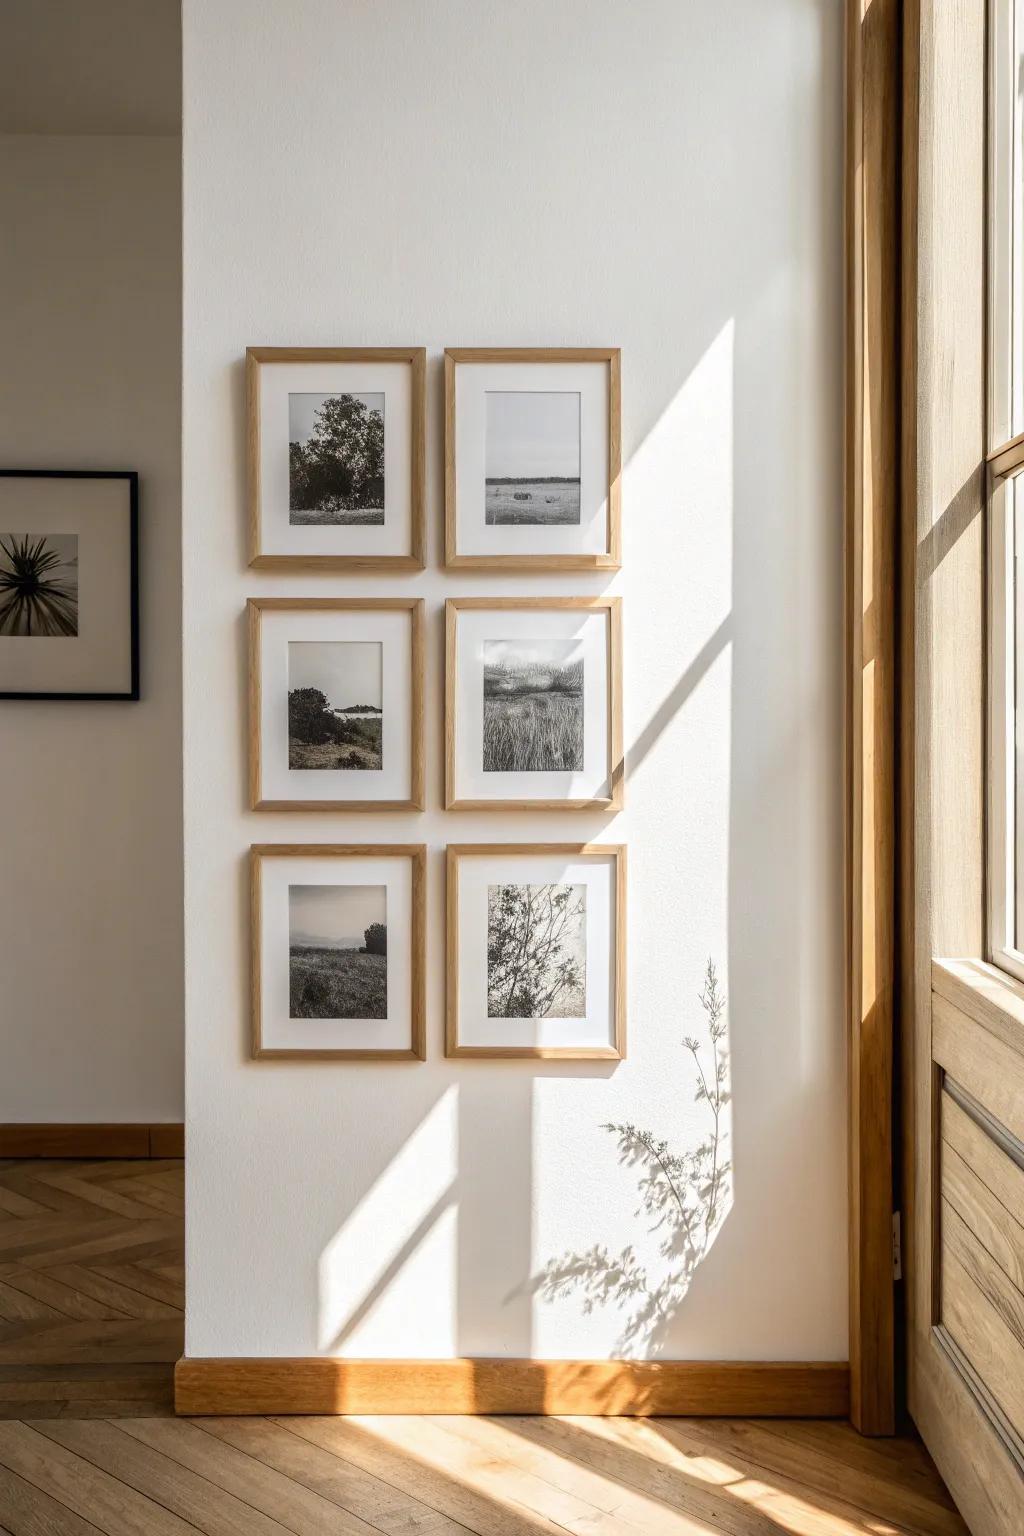
Floor-to-Ceiling Photo Wall Column
In a tight hallway, a vertical floor-to-ceiling column of frames can be a total space stretcher. I used this in a super narrow corridor once, and the height trick made the ceiling feel noticeably taller.
A few relevant products:
- Matching Gallery Frame Set: Create a unified vertical display easily with coordinating frames that draw the eye upward instantly.
- Long Narrow Hallway Runner: Elongate your corridor’s appearance and protect floors with a textured runner that guides movement forward.
- Picture Hanging Level Tool: Ensure your vertical column is perfectly straight and spaced evenly to maximize the height-stretching effect.
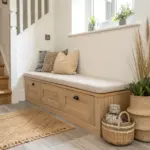
Photo Wall Above a Slim Bench
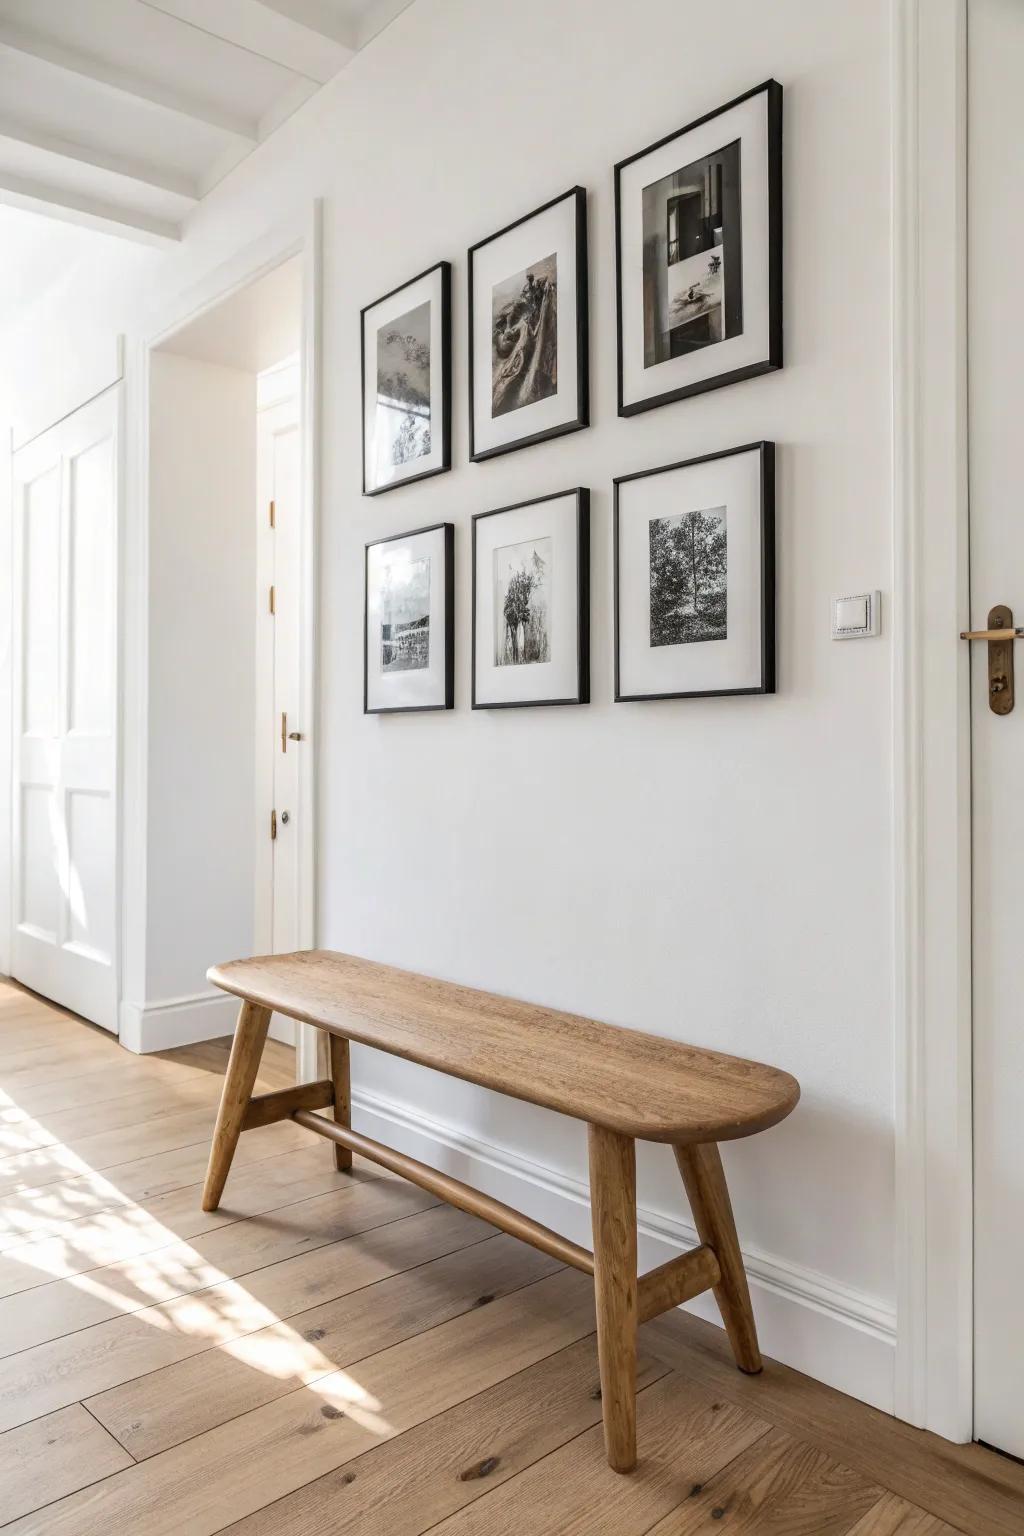
Pairing a hallway photo wall with a narrow bench anchors everything so it doesn’t feel like “frames floating in space.” I’ve styled this combo in tiny entry hallways, and that little landing spot makes the wall feel more intentional.
Some handy options:
- Set of Black Picture Frames (6-pack): Create a cohesive gallery wall quickly with uniformity; organize your favorite memories above your bench for maximum impact.
- Narrow Wooden Entryway Bench: Anchor your hallway space with comfortable seating that offers functionality without overwhelming the walking area.
- Black and White Art Prints Set: Instantly elevate your walls with curated, high-contrast imagery that compliments neutral paint colors perfectly.
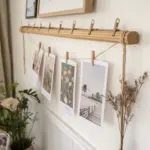
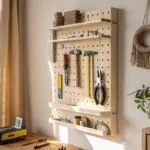
Picture Ledge Layering
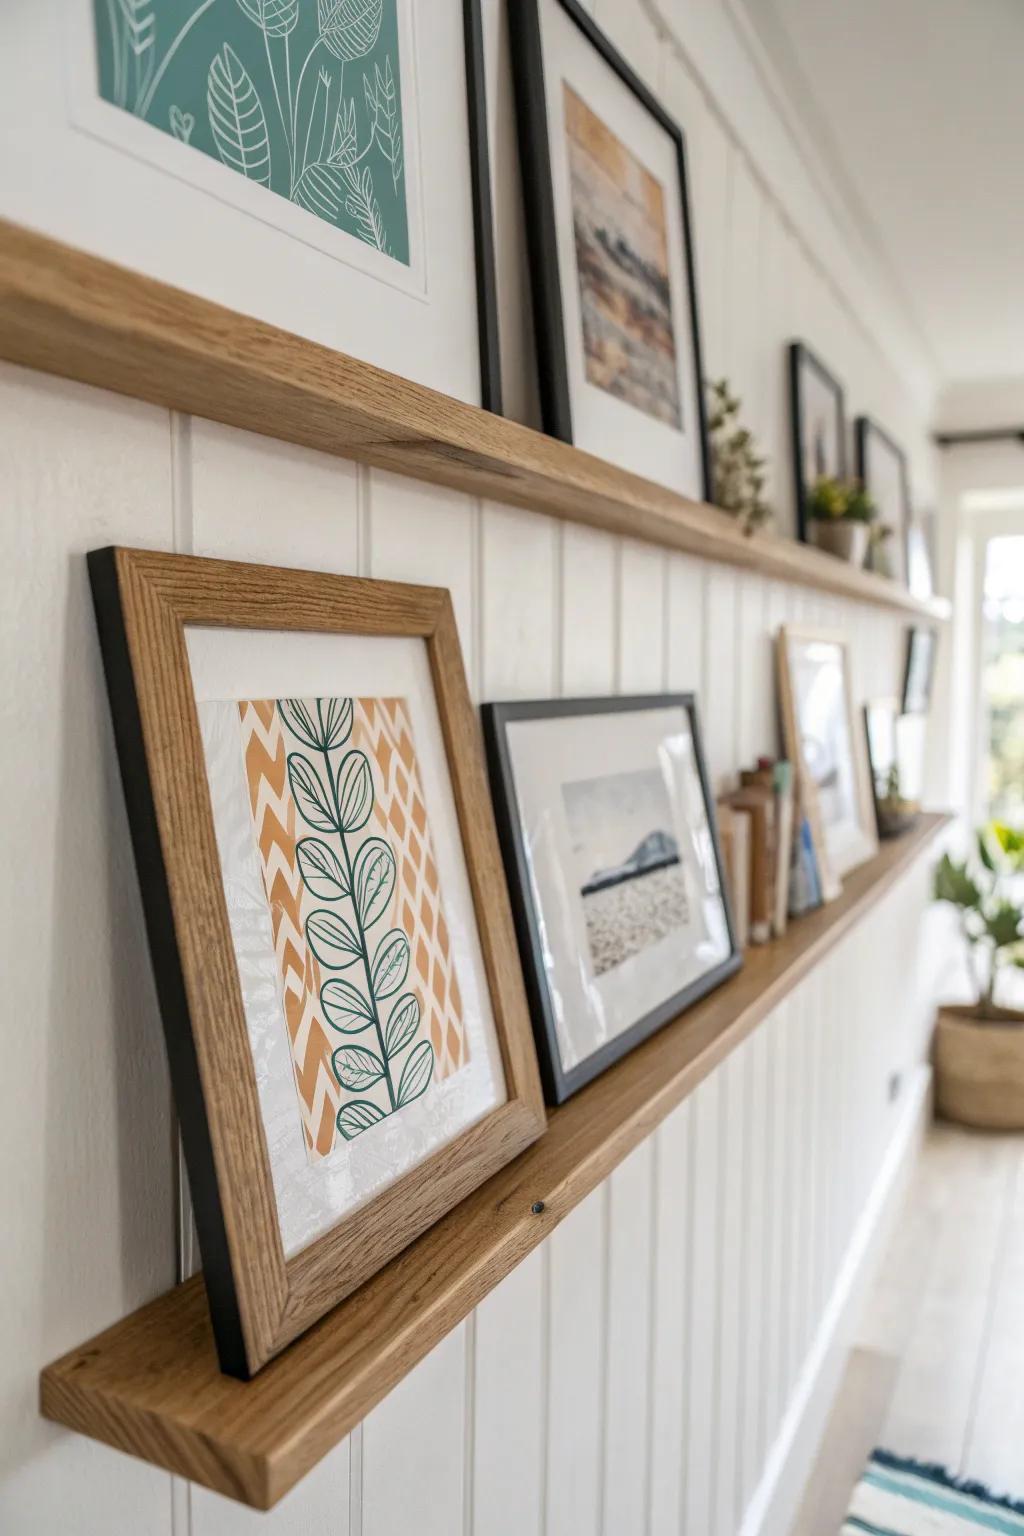
For renters, a picture ledge makes a hallway photo wall feel styled but flexible because you can overlap frames and change them anytime. I used ledges in my last apartment hallway, and it let me keep experimenting without committing to a permanent layout.
Maybe worth checking out:
- Wooden Floating Picture Ledge: Create a flexible gallery base with these slim wooden shelves that let you easily rearrange art without new holes.
- Assorted Wood & Black Picture Frames: Mix and match finishes like oak and black to replicate the layered, textural look shown in this hallway styling.
- Modern Botanical Wall Art Prints: Fill your frames with fresh botanical illustrations or abstract patterns to add immediate personality and color to your ledge.
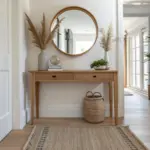
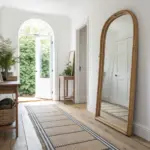
Mix Photos With One Mirror

Adding one mirror inside a hallway photo wall breaks up all the rectangles and bounces light around. I’ve tucked a small mirror into photo clusters in darker hallways, and it instantly made the space feel brighter and less tunnel-like.
Products that could assist:
- Oval Wooden Wall Mirror: Break up straight lines on your gallery wall and add warmth with this classic, natural oval mirror.
- Black Gallery Wall Frame Set: Create a clean, cohesive look around your center mirror using this versatile set of matching black frames.
- Dried Pampas Grass Decor: Soften the edges of your photo display and add texture by placing natural dried grasses nearby.
Wrap the Photo Wall Around a Corner
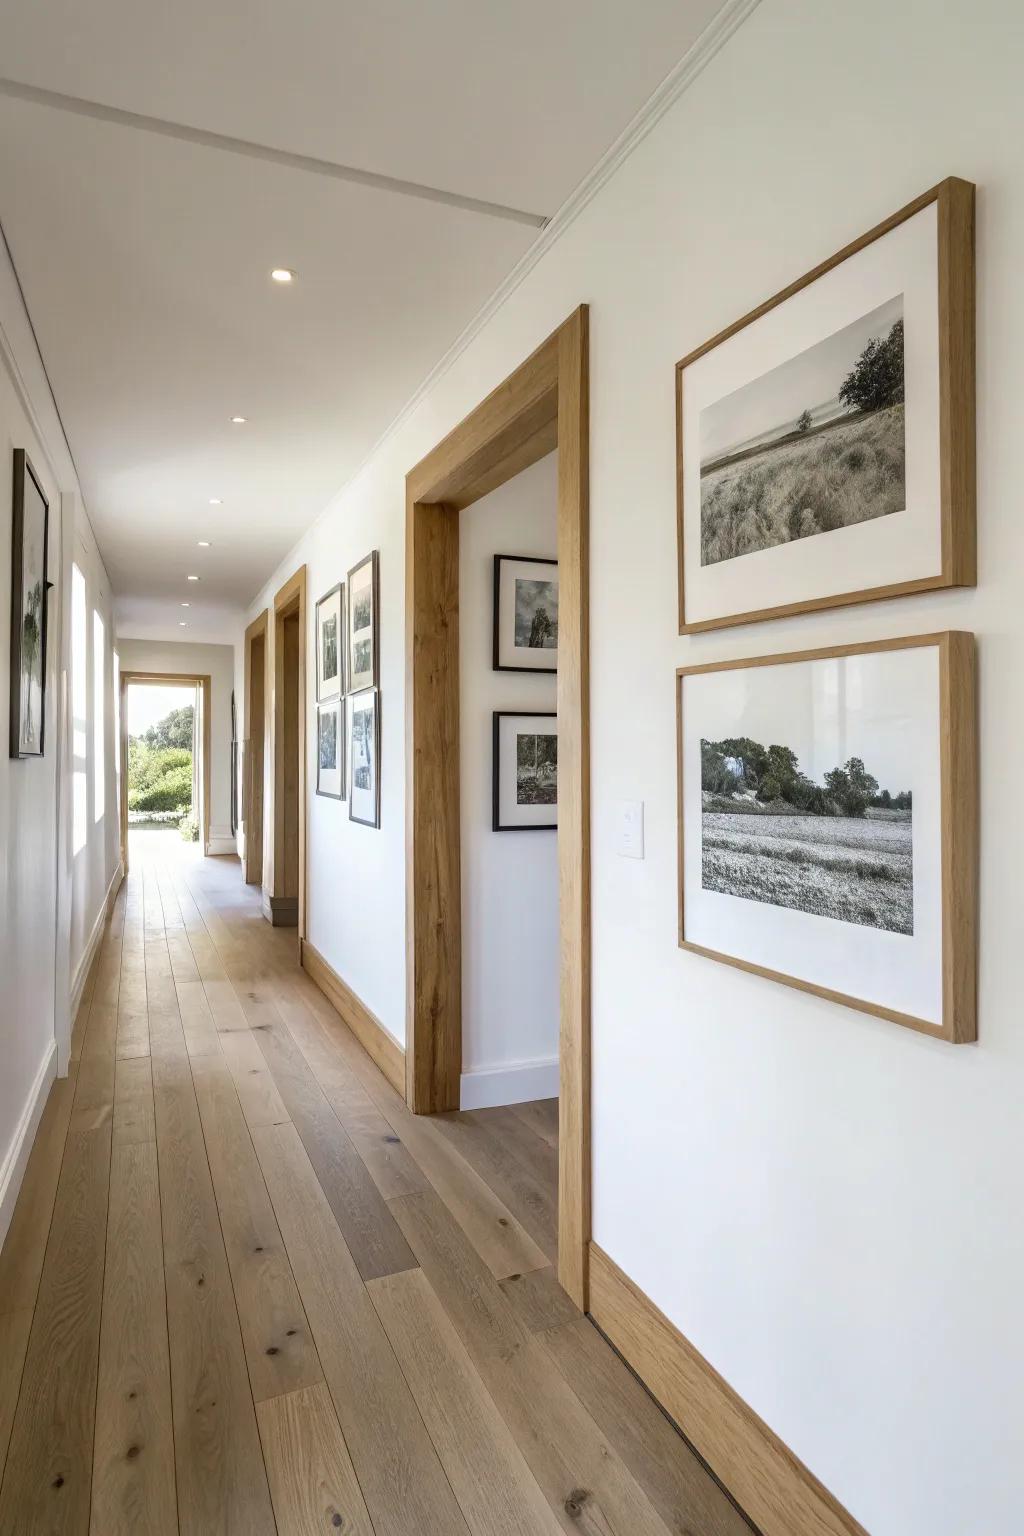
At hallway turns, I love continuing the photo wall around the corner so it feels like the story keeps going. I tried this in a L-shaped corridor and it made the transition feel designed, not like the frames just “stopped.”
May just do the trick:
- Gallery Wall Frame Set: Create a unified look around corners with matching frames that seamlessly carry your visual story forward.
- Laser Level Tool: Ensure your frames align perfectly across different walls and corners for a professionally designed transition.
- Picture Hanging Command Strips: Experiment with your corner layout without damaging walls, allowing easy adjustments for the perfect flow.
Hide the Thermostat With a Cluster
If you’ve got an awkward thermostat or panel in the hallway, build a photo wall cluster around it so it blends into the visual noise. I’ve done this exact trick in my own hallway, and it seriously made that little wall bump disappear.
A few helpful options:
- Set of Light Wood Picture Frames: Recreate this airy look by grouping matching light wood frames around your wall fixtures to distract the eye.
- Self-Adhesive Wire Hiders: Ensure a clean finish by concealing any distracting cords or wires running to your thermostat or control panels.
- Vintage Botanical Print Set: Fill your frames with cohesive nature-inspired art to create a beautiful focal point that overshadows functional wall elements.
A Tiny-Frame Micro Mosaic
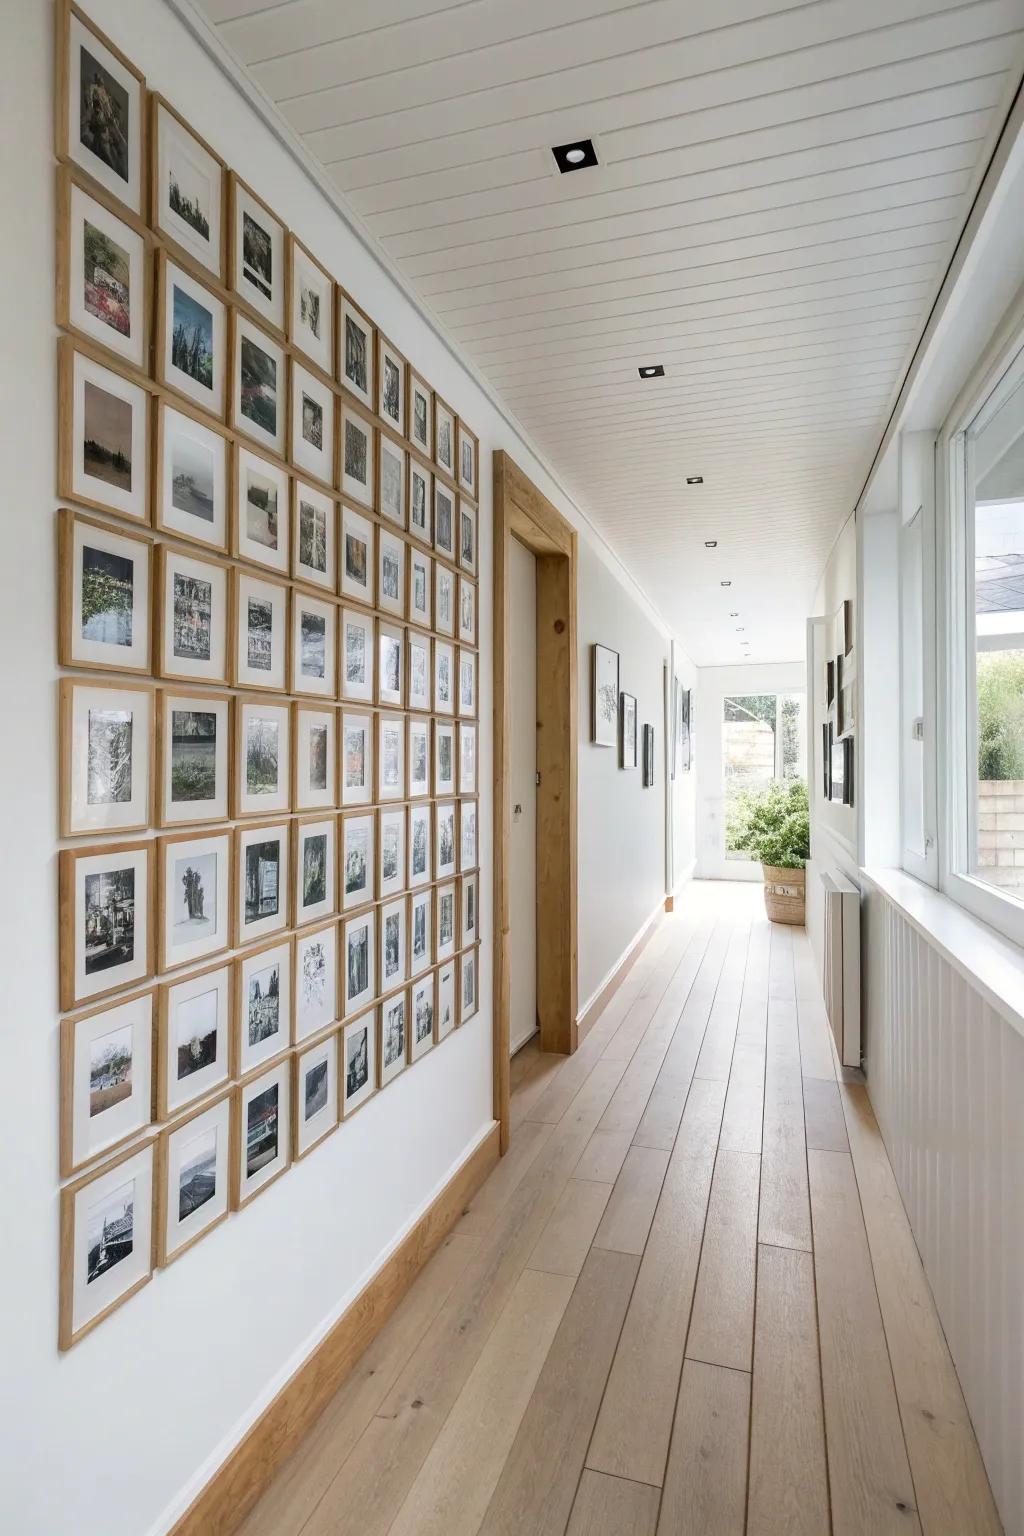
For a big wow in a small hallway, try a photo wall made of lots of tiny frames packed closely like a micro gallery. I once helped a client use mostly wallet-size photos, and it became the most-talked-about spot in their home.
A few choices to try:
- Bulk Square Wood Picture Frame Set: Create a unified grid effortlessly by purchasing matching frames in bulk to start your massive hallway display.
- Removable Picture Hanging Strips: Keep your grid perfectly aligned without damaging walls; these strips allow for easy adjustments and secure holding.
- Laser Level Tool: Ensure your micro mosaic looks professional and straight by projecting a precise guide line for every row.
Color-Gradient Photo Wall
Arrange your hallway photo wall so the images shift from light to dark (or warm to cool) like a color gradient. I tested this with travel photos in a narrow corridor, and it looked surprisingly “designer” while still being totally personal.
These products might help:
- Set of Matching Wood Frames: Create a unified look for your gradient display with these consistent frames that keep the focus on color.
- Laser Level Tool: Ensure your grid looks professional and perfectly straight by using this handy tool for precise alignment during installation.
- Command Strips for Picture Hanging: Re-arrange your gradient easily without damaging walls by using these sturdy, damage-free adhesive hanging strips.
Ceiling-Line Photo Strip Surprise
This is my favorite unexpected one: run a slim row of small frames right under the ceiling as a photo strip, then keep the main wall mostly open. I did it in a hallway that felt claustrophobic, and keeping the photos up high made the space feel taller and a little magical.
Try these:
- Set of Small Square Picture Frames: Use uniform, lightweight frames to create a clean, modern border right along the ceiling line.
- Command Picture Hanging Strips: Hang your photo strip high up without damaging walls or needing tools for installation.
- Adjustable Track Lighting Kit: Illuminate your high-up gallery strip to draw the eye upward and brighten the hallway.


