An old hutch can feel like a bulky brown block in a small space, but it’s honestly one of the easiest pieces to turn into a total showstopper. I’ve redone more than one in my tiny apartments, and the right tweaks can make it look lighter, cleaner, and way more useful.
Create an Entryway Drop Zone Hutch
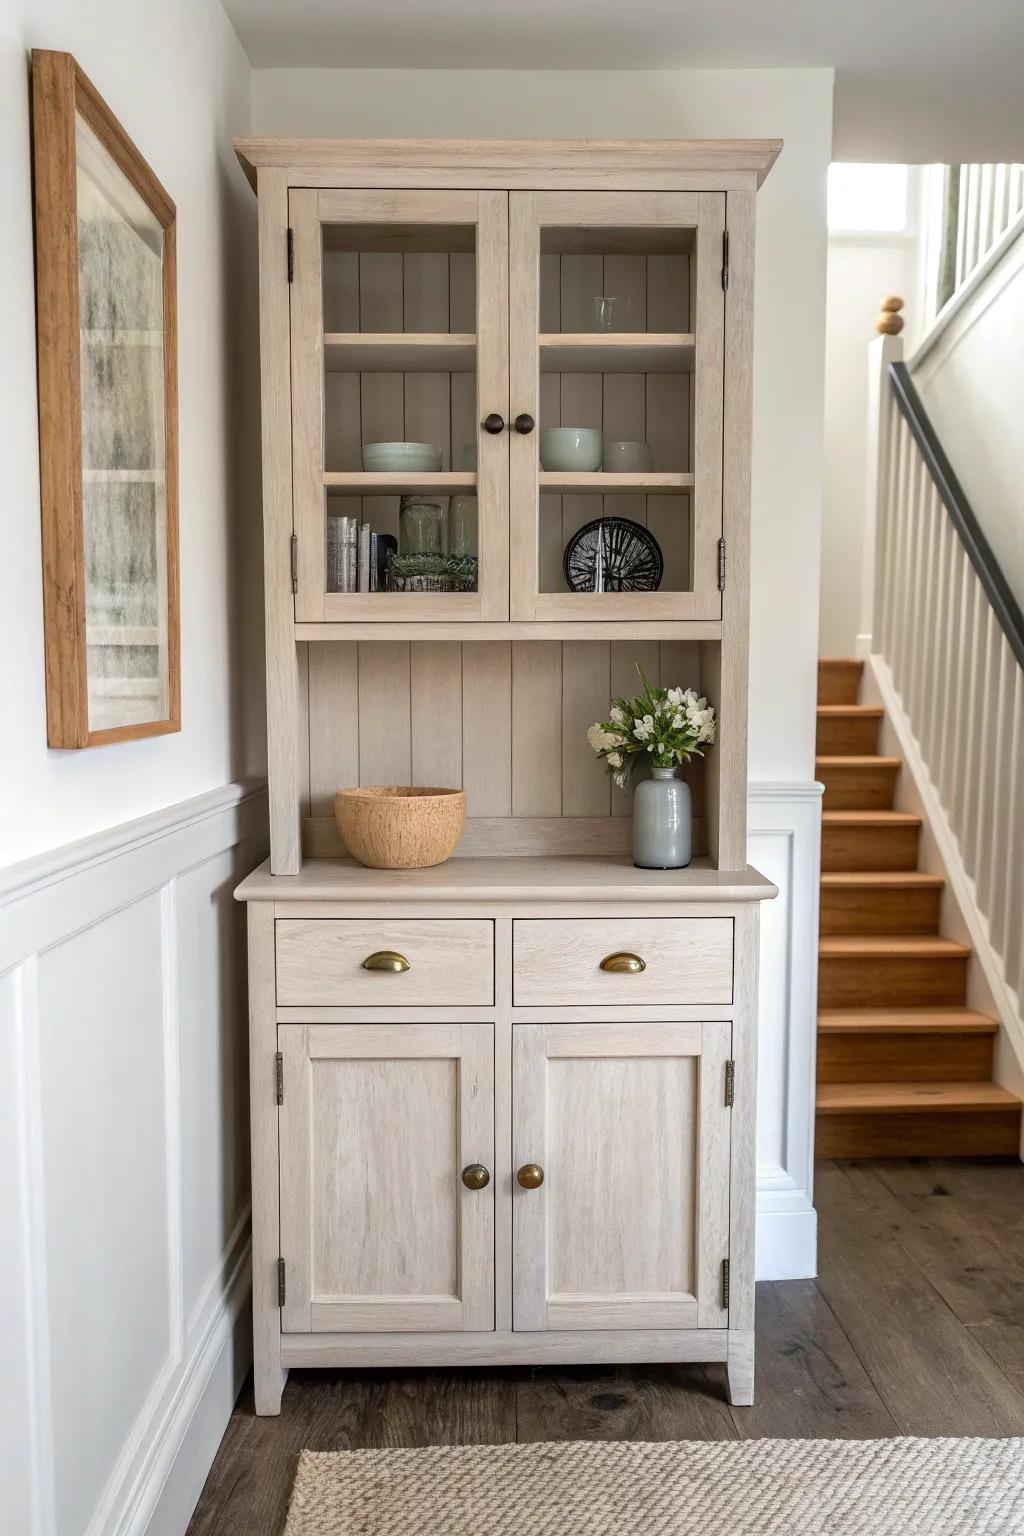
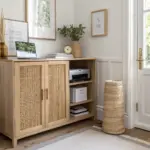
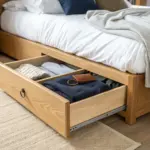
Redoing an old hutch for the entry is a lifesaver: I use the top for everyday items and the bottom for hidden storage like bags and bins. I’ve set this up for myself and clients, and it instantly cuts down the “where are my keys?” panic.
A few helpful options:
- Woven storage basket or bowl: Use a stylish woven bowl on the counter to catch keys, sunglasses, and mail for tidy organization.
- Decorative ceramic vase: Add a touch of elegance with a simple ceramic vase for fresh or faux flowers to welcome guests.
- Cabinet door knobs: Update the look instantly by swapping old hardware for classic antique brass knobs on drawers and doors.
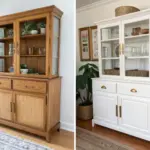
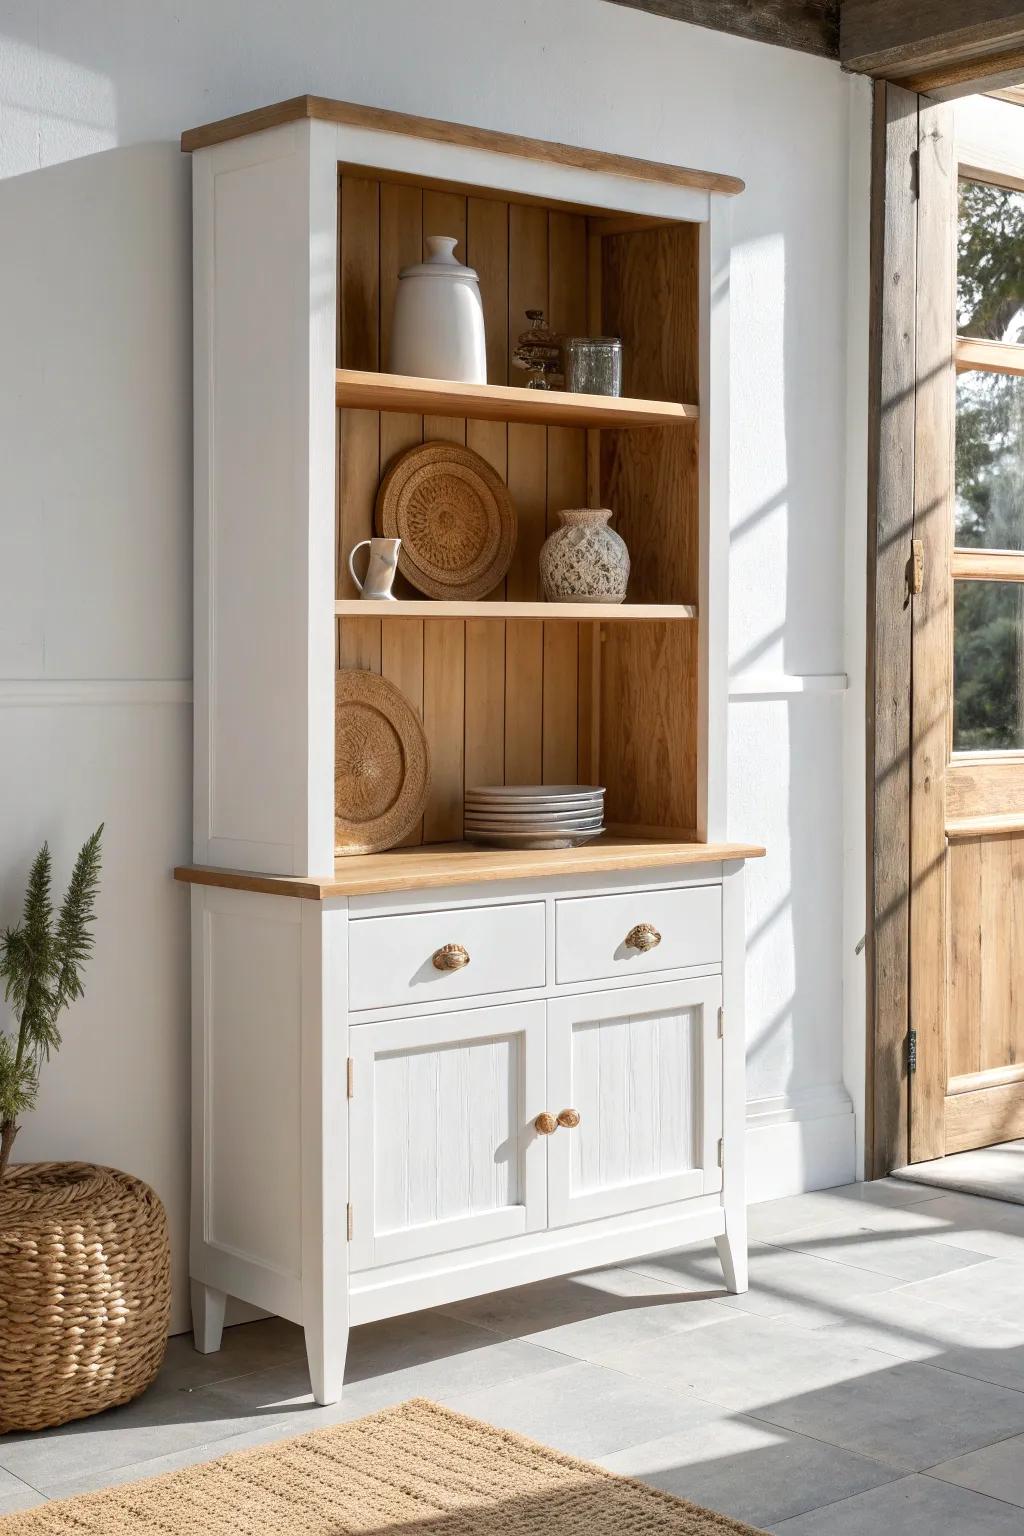
Paint It Crisp White
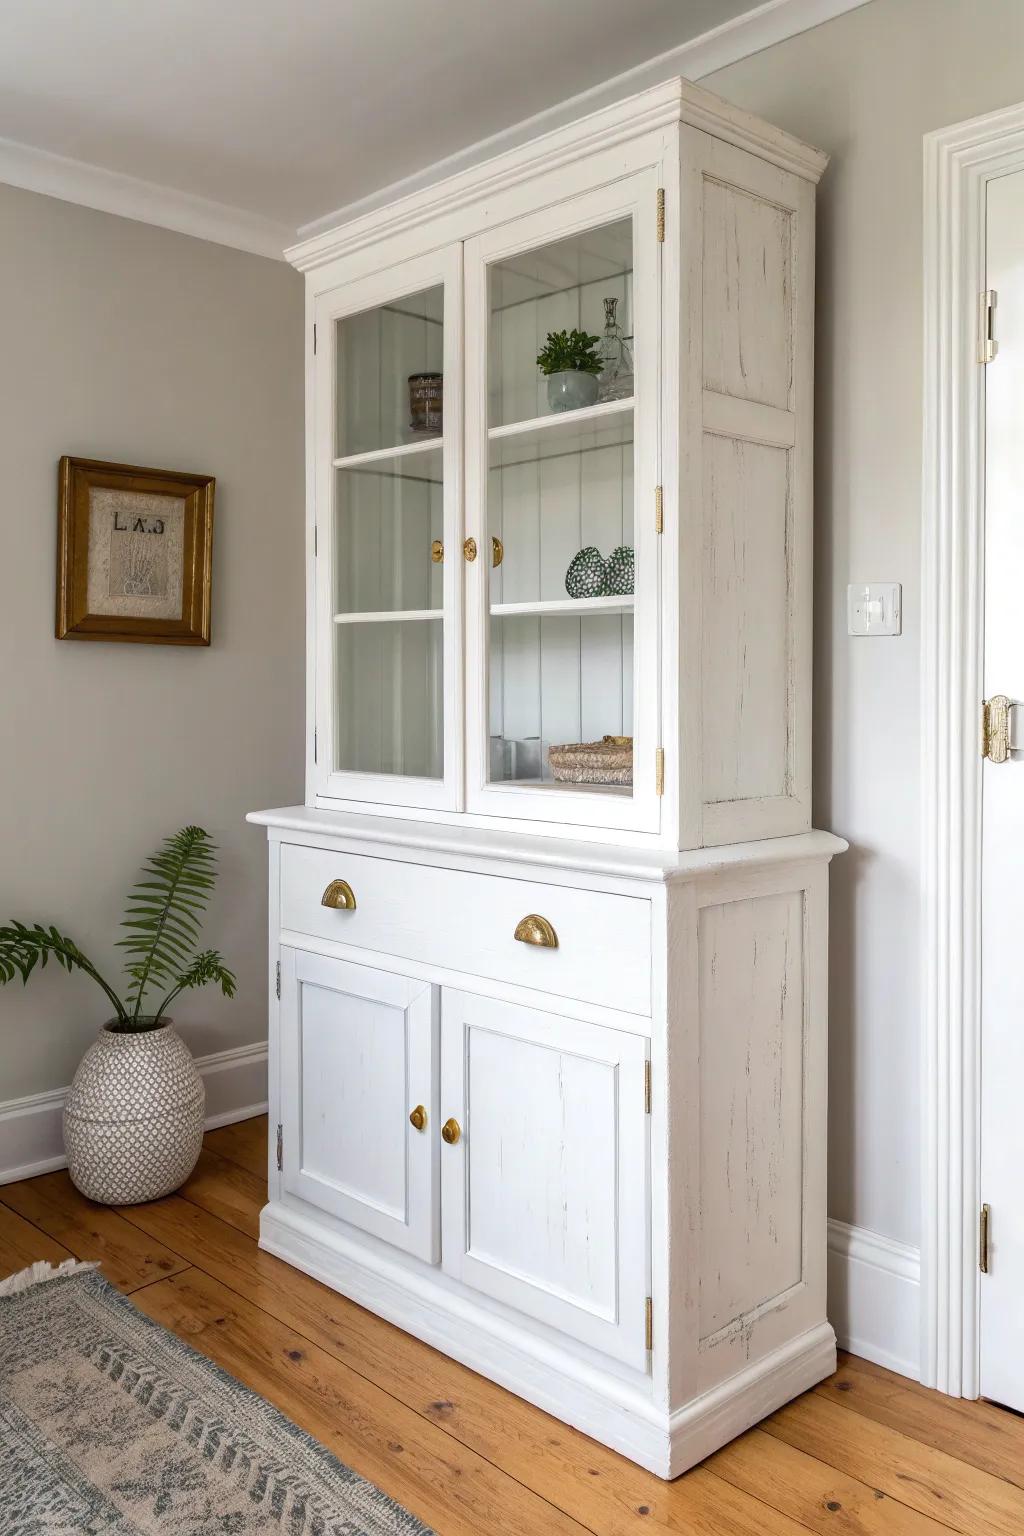
When I redo an old hutch, my most reliable move is crisp white paint because it instantly makes the whole piece feel lighter in a small room. In my 450 sq ft apartment, that one change made the hutch look half as heavy and twice as “fresh.”
A few choices to try:
- Furniture Paint (White): Choose a high-quality chalk or mineral paint to easily achieve that clean, crisp white finish you desire.
- Gold Cabinet Hardware: Update the look instantly by swapping old handles for classic gold pulls or knobs that pop against white.
- Sanding Blocks or Paper: Prep your surface properly or gently distress the edges after painting to add character and vintage charm.
Go Dark and Moody
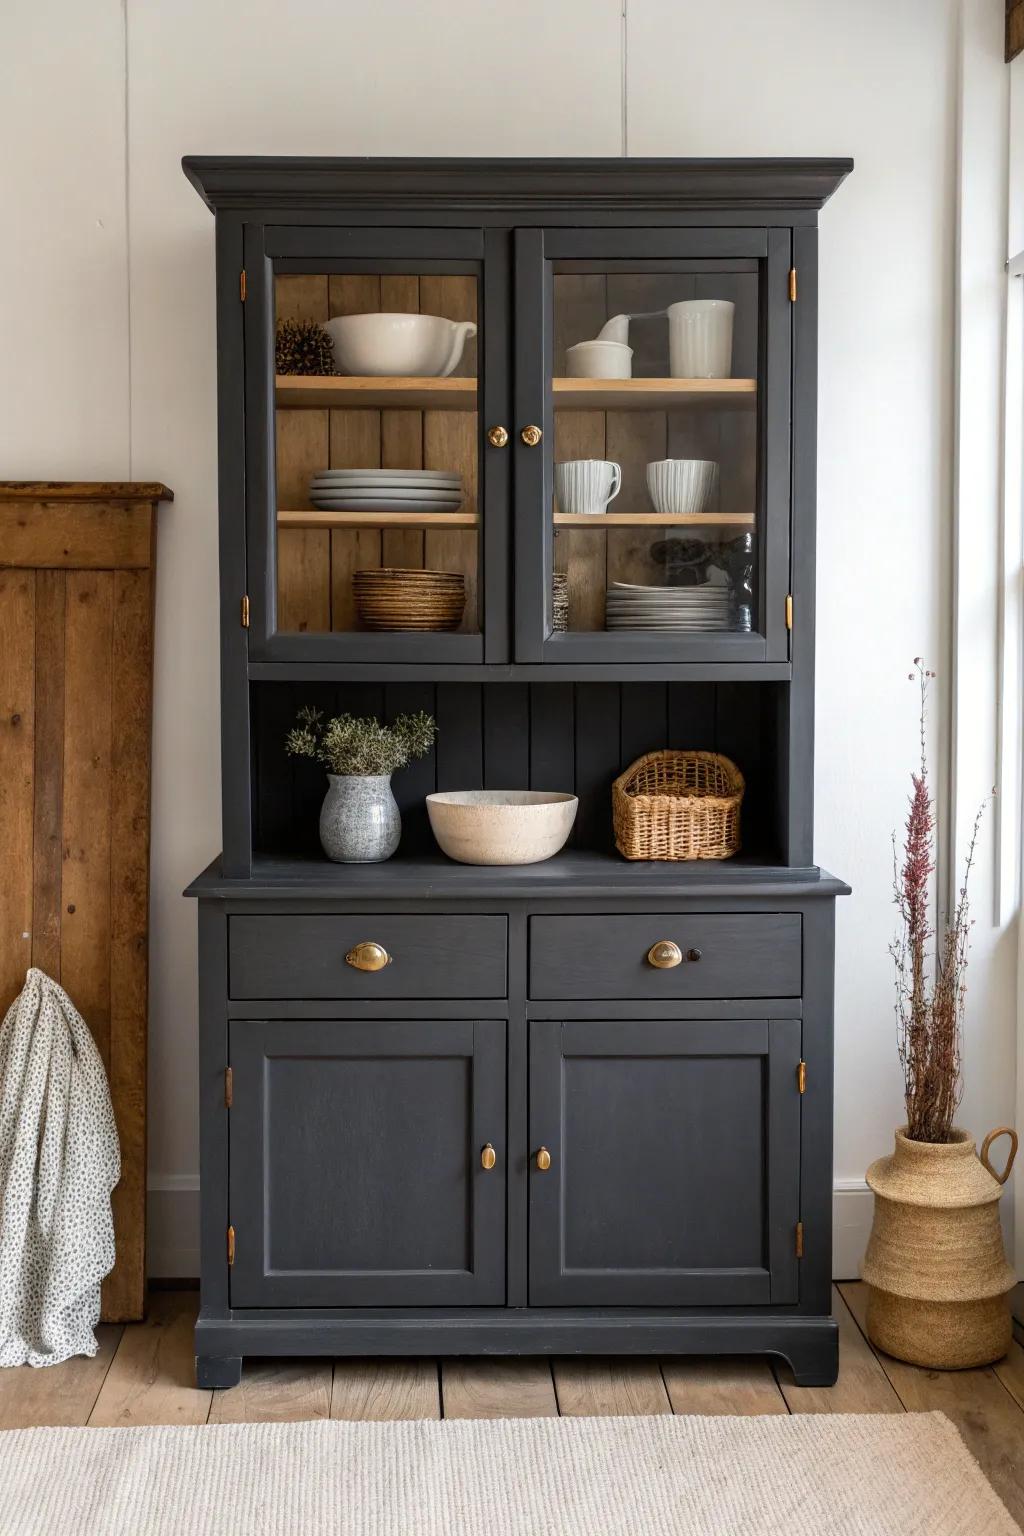
If you want drama without adding clutter, I love repainting an old hutch in matte black or deep charcoal and letting it anchor the space. I did this in a studio and it looked like a custom built-in once I styled it with simple, light-toned dishes.
Useful items to consider:
- Matte Charcoal Chalk Style Paint: Transform your furniture easily with this ultra-matte finish paint that requires minimal prep work for a professional look.
- Antique Gold Cabinet Knobs: Update the hardware to create a stunning contrast against the dark background and add a touch of elegance.
- Cream Stoneware Pitcher: Style your open shelves with simple, light-toned ceramics like this pitcher to pop against the moody paint application.
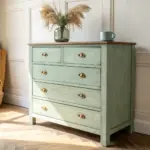
Try a Muted Green Refresh
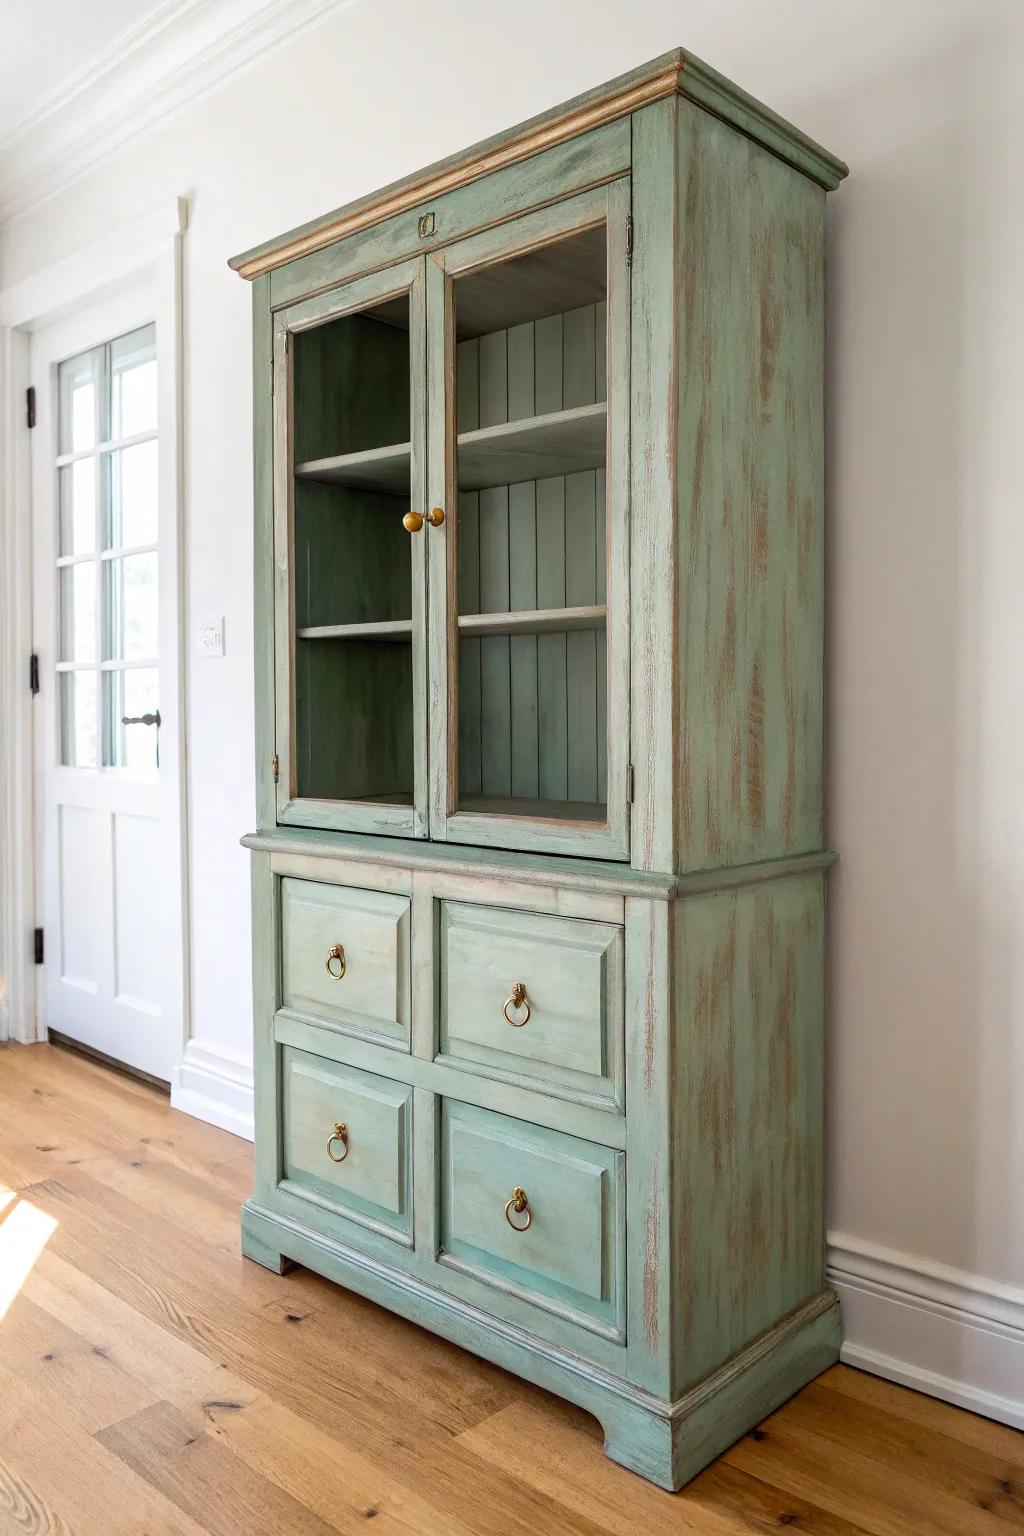
A soft muted green on an old hutch gives you that cozy, lived-in vibe without feeling too “theme-y.” I used an earthy green on one redo and it blended perfectly with my neutral apartment while still looking special.
Consider these options:
- Chalk Style Paint: Achieve that matte, vintage finish effortlessly; this paint helps you get the perfect muted green look.
- Antique Brass Pulls: Update existing hardware with these classic pulls to instantly add warmth and complement the green tones.
- Distressing Wax: Apply a dark or clear wax to seal your paint and create that authentic, aged patina.
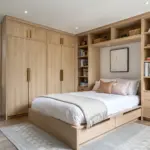
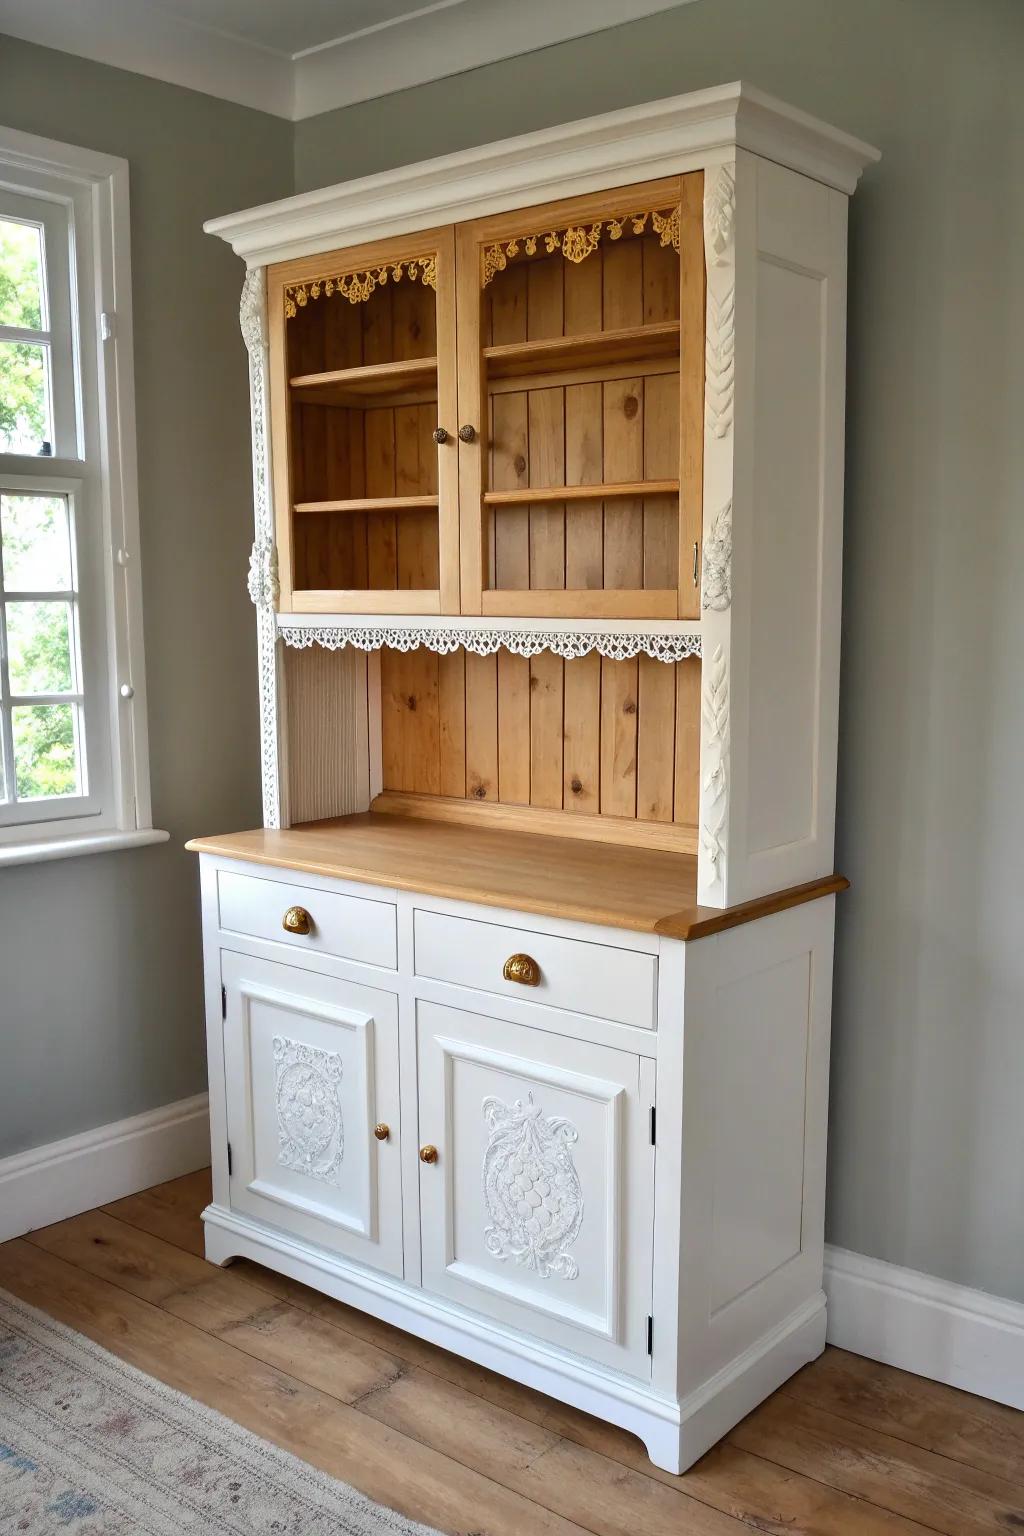
Do a Two-Tone Finish
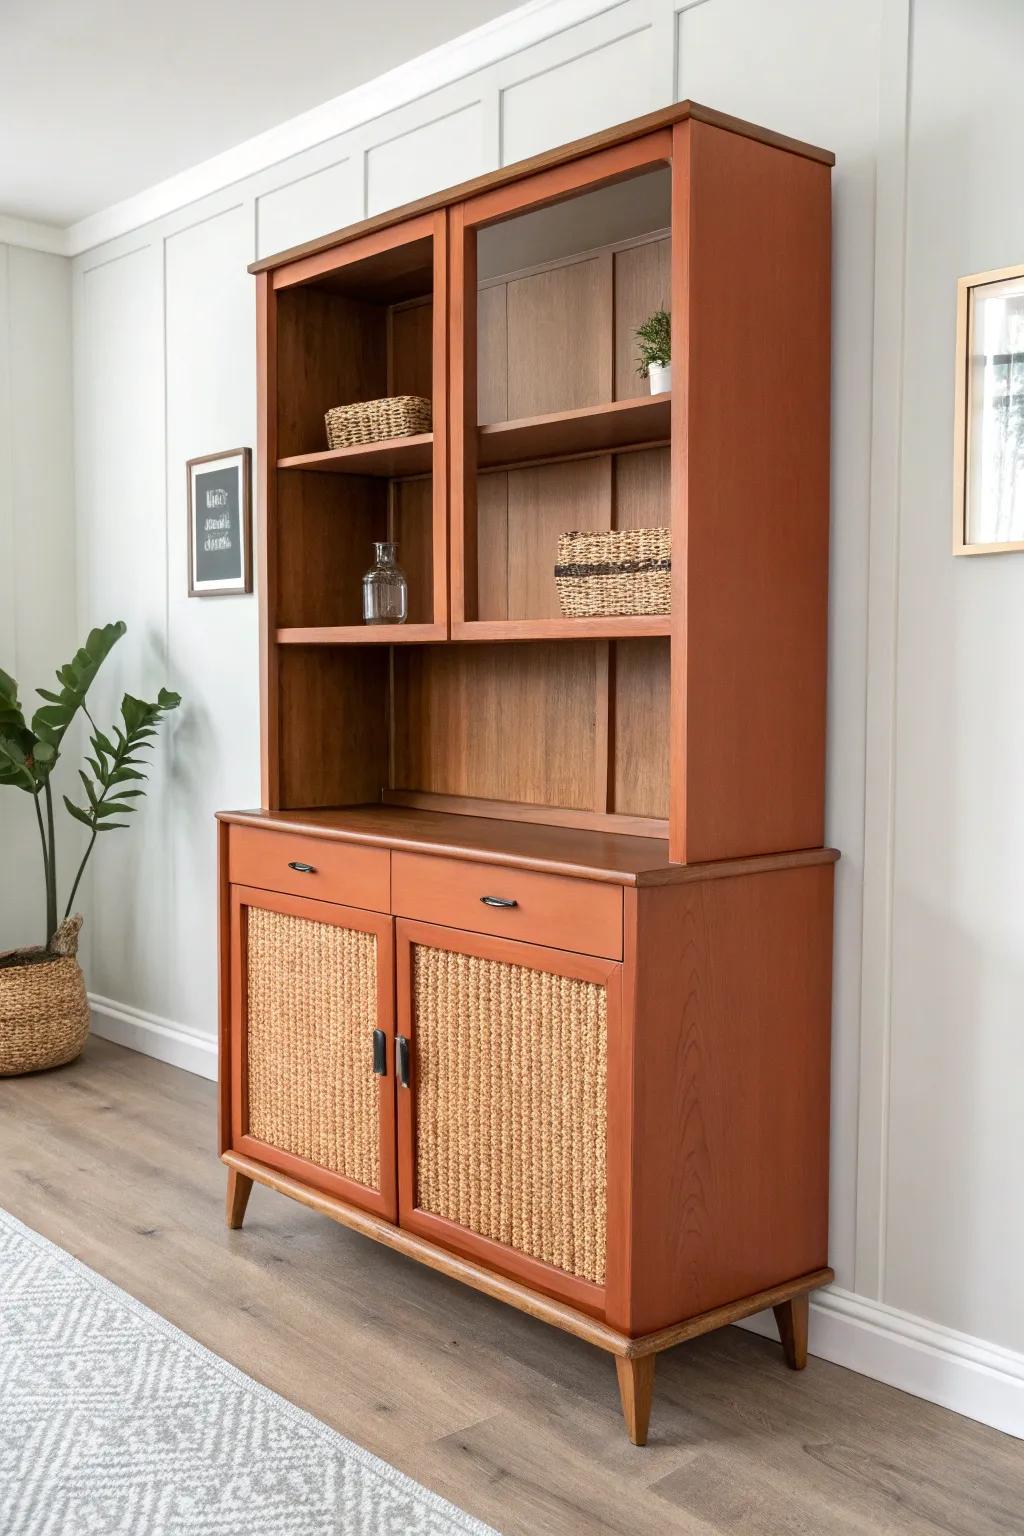
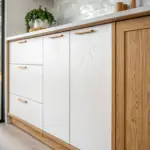
My favorite way to redo an old hutch is a two-tone finish—paint the exterior and leave the shelves or interior wood-toned for warmth. I tried this when I couldn’t decide between modern and cozy, and it gave me both without extra effort.
Try these:
- Chalk Style Furniture Paint: Transform your hutch’s exterior with a matte, velvety finish that requires minimal sanding or priming.
- Rattan Webbing Roll: Replace old glass or wood panels with woven webbing to recreate the trendy textured look shown here.
- Painter’s Tape Multi-Pack: Ensure crisp, professional lines between your painted exterior and natural wood interior with high-quality masking tape.
Swap the Hardware
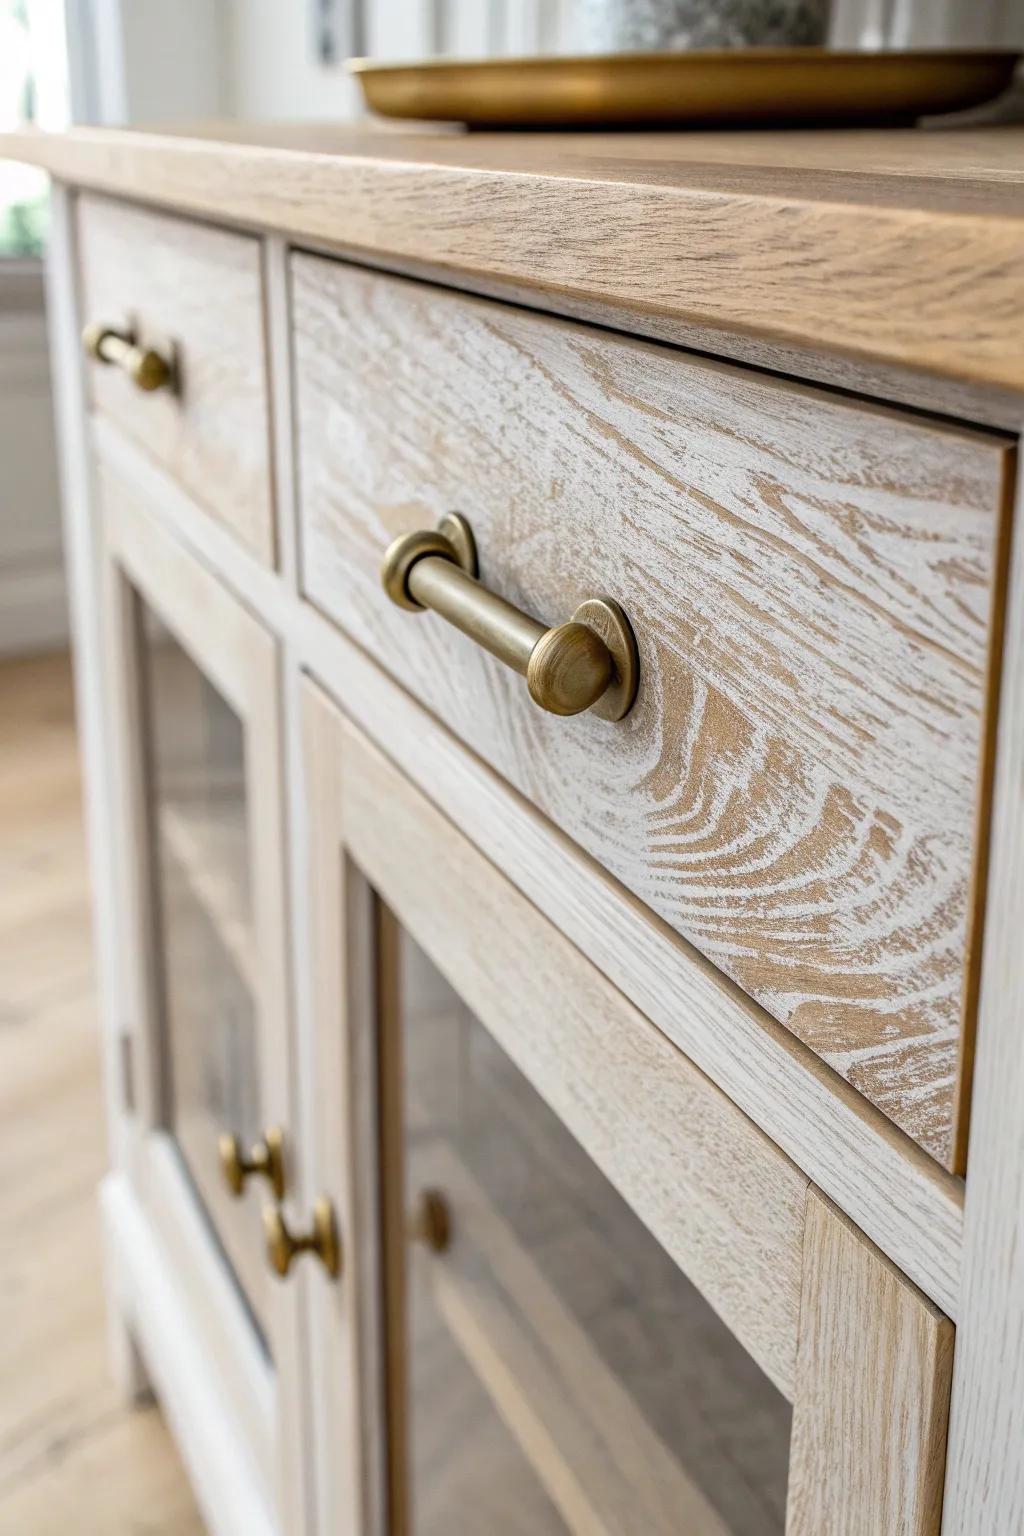
New hardware update can make an old hutch look surprisingly current even before you paint. I’ve had projects where switching pulls was the moment it stopped looking “grandma furniture” and started looking intentional.
Give these a look:
- Antique Brass Drawer Pulls: Upgrade your drawers with these classic pulls to add warmth and a timeless aesthetic to your hutch.
- Small Brass Cabinet Knobs: Refresh cabinet doors easily with these subtle brass knobs that perfectly complement larger drawer hardware.
- Whitewash Wood Stain: Achieve that textured, driftwood finish on your wood surfaces to make your new hardware truly pop.
Paint the Inside a Contrast Color
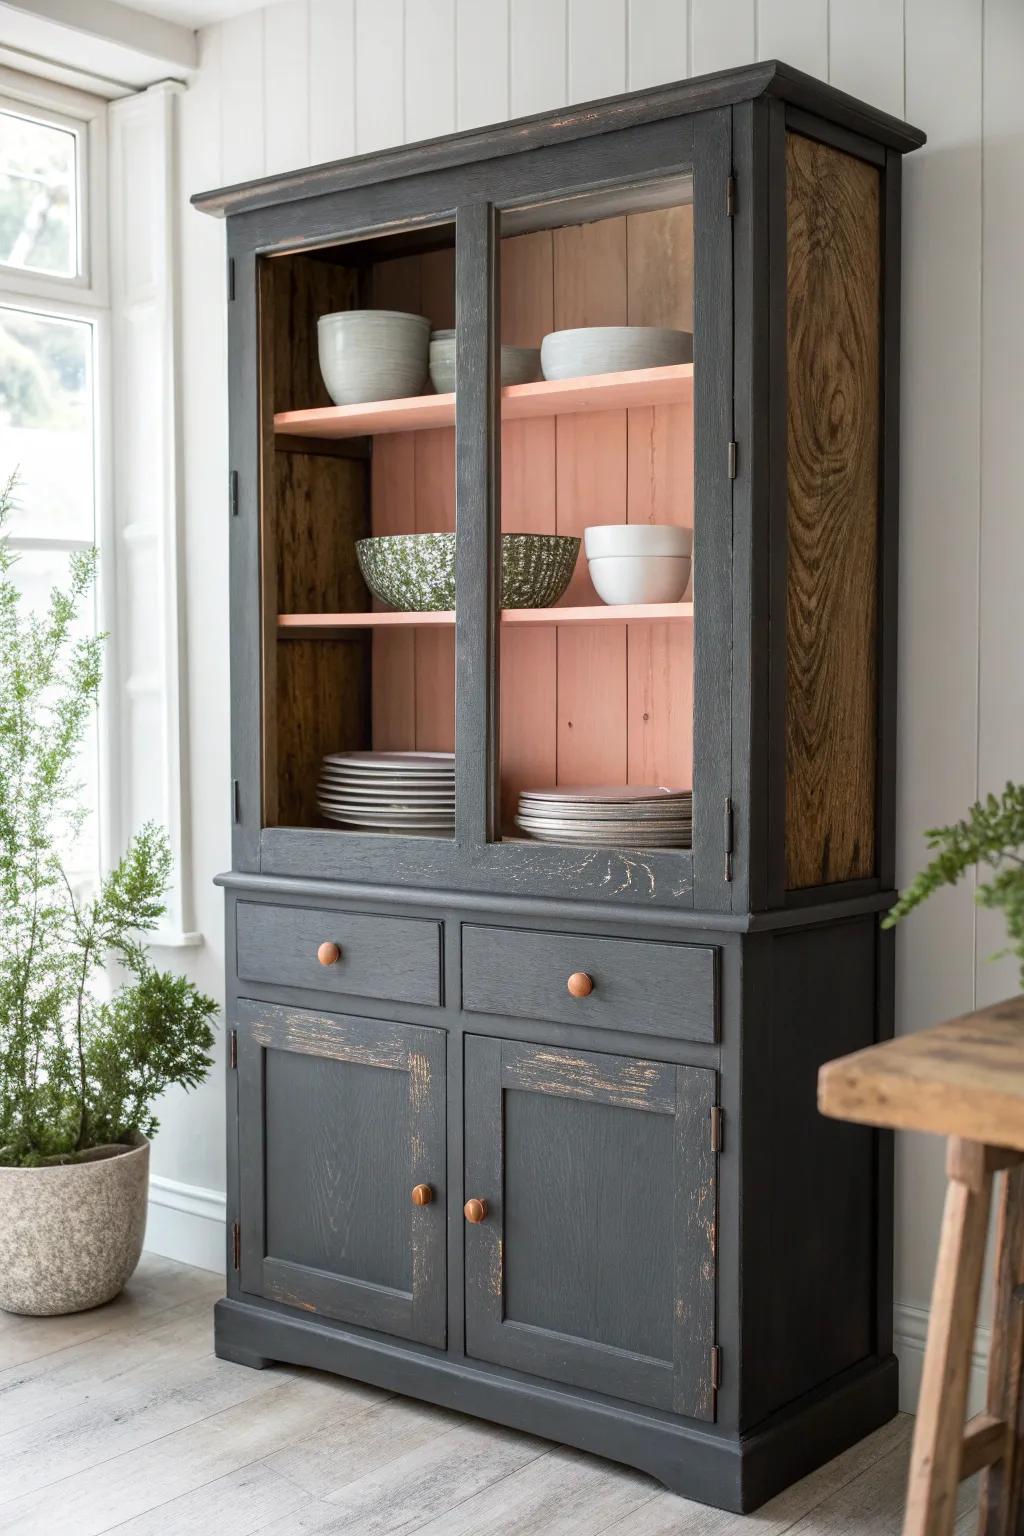
Redoing an old hutch gets extra satisfying when you paint the back panel a contrast color so everything you display pops. I did a pale interior against a darker body once, and it made my plain white dishes look like decor.
You might give these a try:
- Matte Interior Furniture Paint: Choose a soft, contrasting shade to brighten the interior and make your dishes stand out beautifully.
- Angled Sash Paint Brush: Reach into tight corners and edges inside the hutch easily with an angled brush designed for precision.
- Automotive Sanding Paper Assortment: Prep the interior surface properly before painting to ensure a smooth, long-lasting finish on your project.
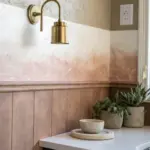
Add Peel-and-Stick to the Back Panel

For an easy glow-up, I’ll redo an old hutch by lining the back with peel-and-stick wallpaper or even a pretty paper. I used this trick in a rental and it gave me that “designer detail” look with zero commitment.
These products might be useful:
- Peel-and-Stick Patterned Wallpaper: Transform your hutch easily with removable wallpaper. Choose a warm, intricate pattern to recreate this vintage-inspired look perfectly.
- Wallpaper Smoothing Tool Kit: Ensure a seamless application without bubbles. Use a smoothing kit to achieve a professional, smooth finish on your hutch.
- Self-Adhesive Shelf Liner: Line your shelves for extra protection and style. This simpler alternative works great for adding subtle accents inside cabinets.
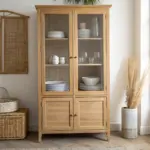
Strip It for a Raw Wood Look
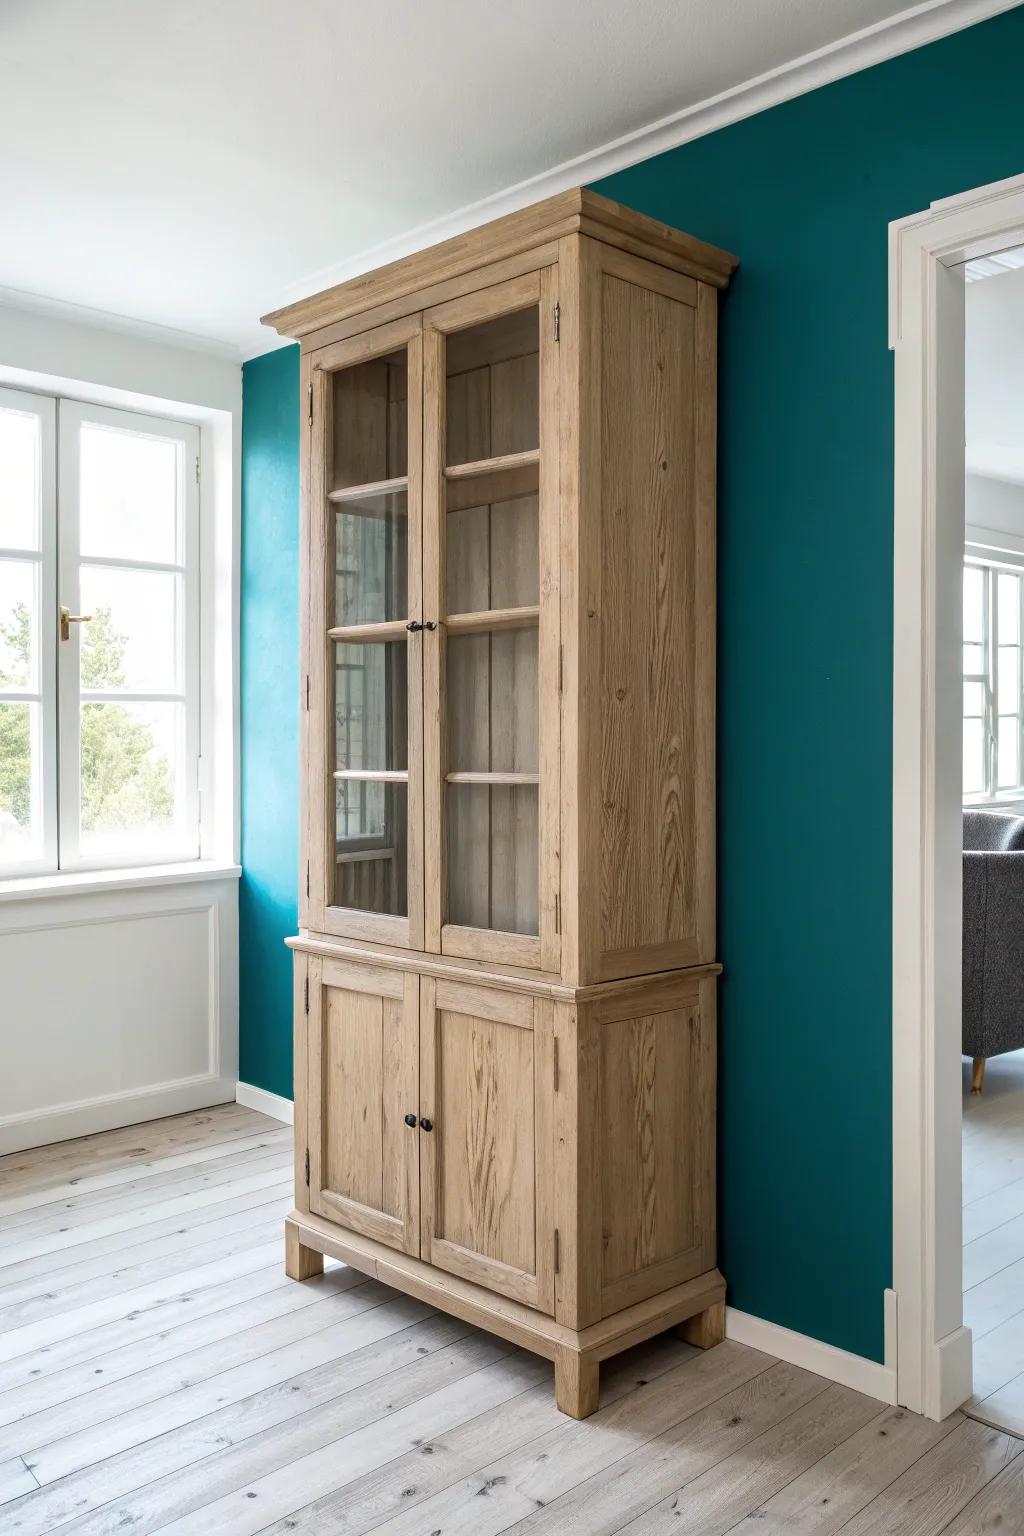
If your old hutch has good grain under the dark finish, stripping and lightly sanding can give you that natural wood vibe that feels airy. I did this once on a super-orange piece, and the calmer wood tone instantly modernized it.
Explore these options:
- Chemical Paint Stripper: Remove old varnish effectively to reveal the natural grain underneath, preparing your hutch for a fresh start.
- Detail Sander Kit: Smooth out surfaces and reach tricky corners easily to ensure an even, professional-looking raw wood finish.
- Matte Protective Wood Finish: Seal and protect the raw wood without darkening it, keeping that airy, natural look you want.
Remove the Fussy Top Trim
One of the biggest “before and after” moves when redoing an old hutch is popping off that ornate top piece for clean lines. I’ve done this with a simple pry-and-patch approach, and it immediately made the silhouette feel updated.
A few suggestions:
- Pry Bar or Trim Puller Tool: Safely remove decorative molding without damaging the main wood structure using a dedicated trim puller tool.
- Claw Hammer: Leverage decorative pieces off the hutch and easily remove leftover nails for a smooth surface.
- Wood Filler Putty: Fill nail holes and gaps left behind after removal to create a seamless, paint-ready finish.
Add Simple Feet for Lift
To keep an old hutch from looking like it’s squatting on the floor, I love adding furniture feet so it feels lighter and more modern. I did this in a tight dining nook, and the little bit of air underneath made the whole corner feel less crowded.
These products might help:
- Tapered Wooden Furniture Legs: Instantly modernize your hutch by attaching simple wooden legs that add height and visual lightness easily.
- Heavy Duty Mounting Plates: Ensure your new furniture legs are secure and stable with these essential, easy-to-install attachment plates.
- White Bun Feet for Furniture: Choose classic round bun feet to complement a farmhouse style hutch while raising it slightly off the floor.
Install Easy Interior Lighting

Redo an old hutch into a real focal point by adding interior lighting—it’s such a small upgrade with huge payoff at night. I added simple lights inside mine and suddenly it felt like a cozy display cabinet instead of a dark storage box.
Check these products out:
- Battery-Operated Puck Lights with Remote: Easily adhere these wireless lights under shelves to illuminate your display without drilling or complicated wiring.
- Motion Sensor LED Light Strips: Add convenient, automatic illumination that turns on whenever you open the cabinet doors to grab items.
- Dimmable Under Cabinet LED Bar: Install sleek light bars for uniform brightness that can be adjusted to create the perfect evening ambiance.
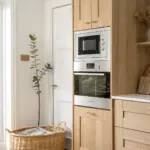
Turn It Into a Coffee and Tea Hutch
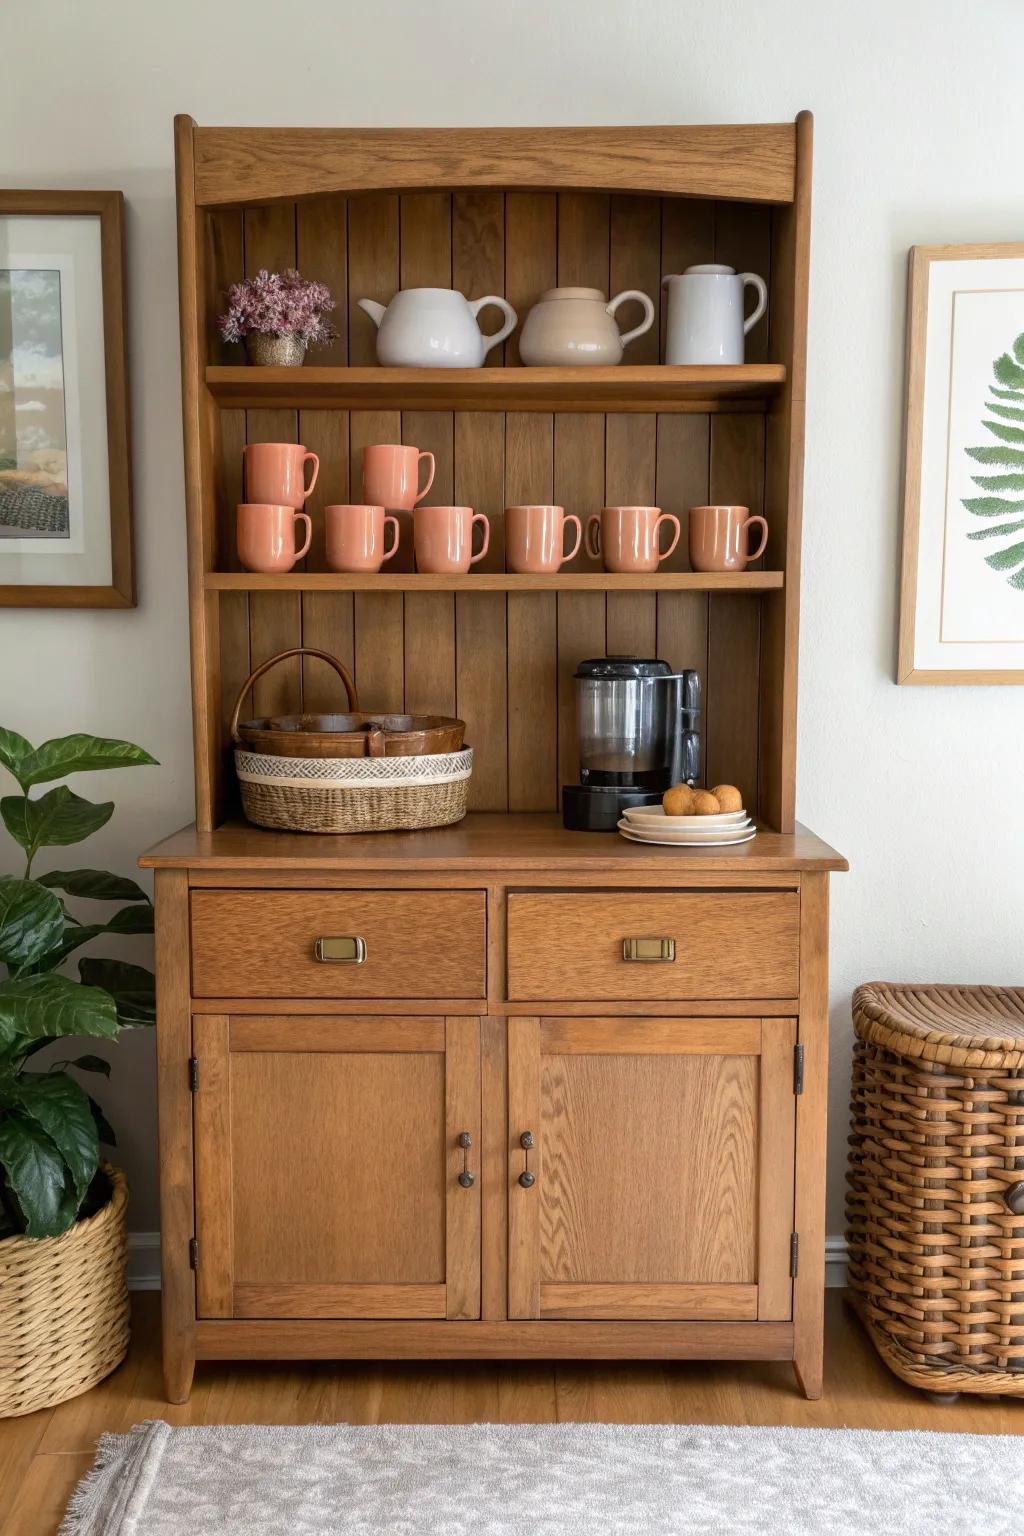
In small kitchens, I like redoing an old hutch into a coffee station so the counters can breathe again. I set mine up with mugs up top and supplies down below, and it made my morning routine feel organized instead of chaotic.
You might like:
- Compact Coffee Maker: Brew your morning cup effortlessly while saving valuable counter space inside your newly organized hutch station.
- Ceramic Mug Set: Display uniform, stylish mugs on open shelves to create an inviting and cohesive coffee bar aesthetic.
- Woven Storage Basket: Keep coffee pods, tea bags, and napkins tidy and hidden away with a textured natural basket.
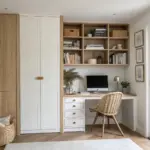
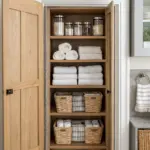
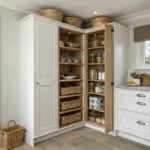
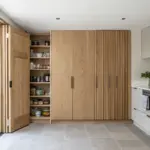
Make a Mini Pantry Hutch
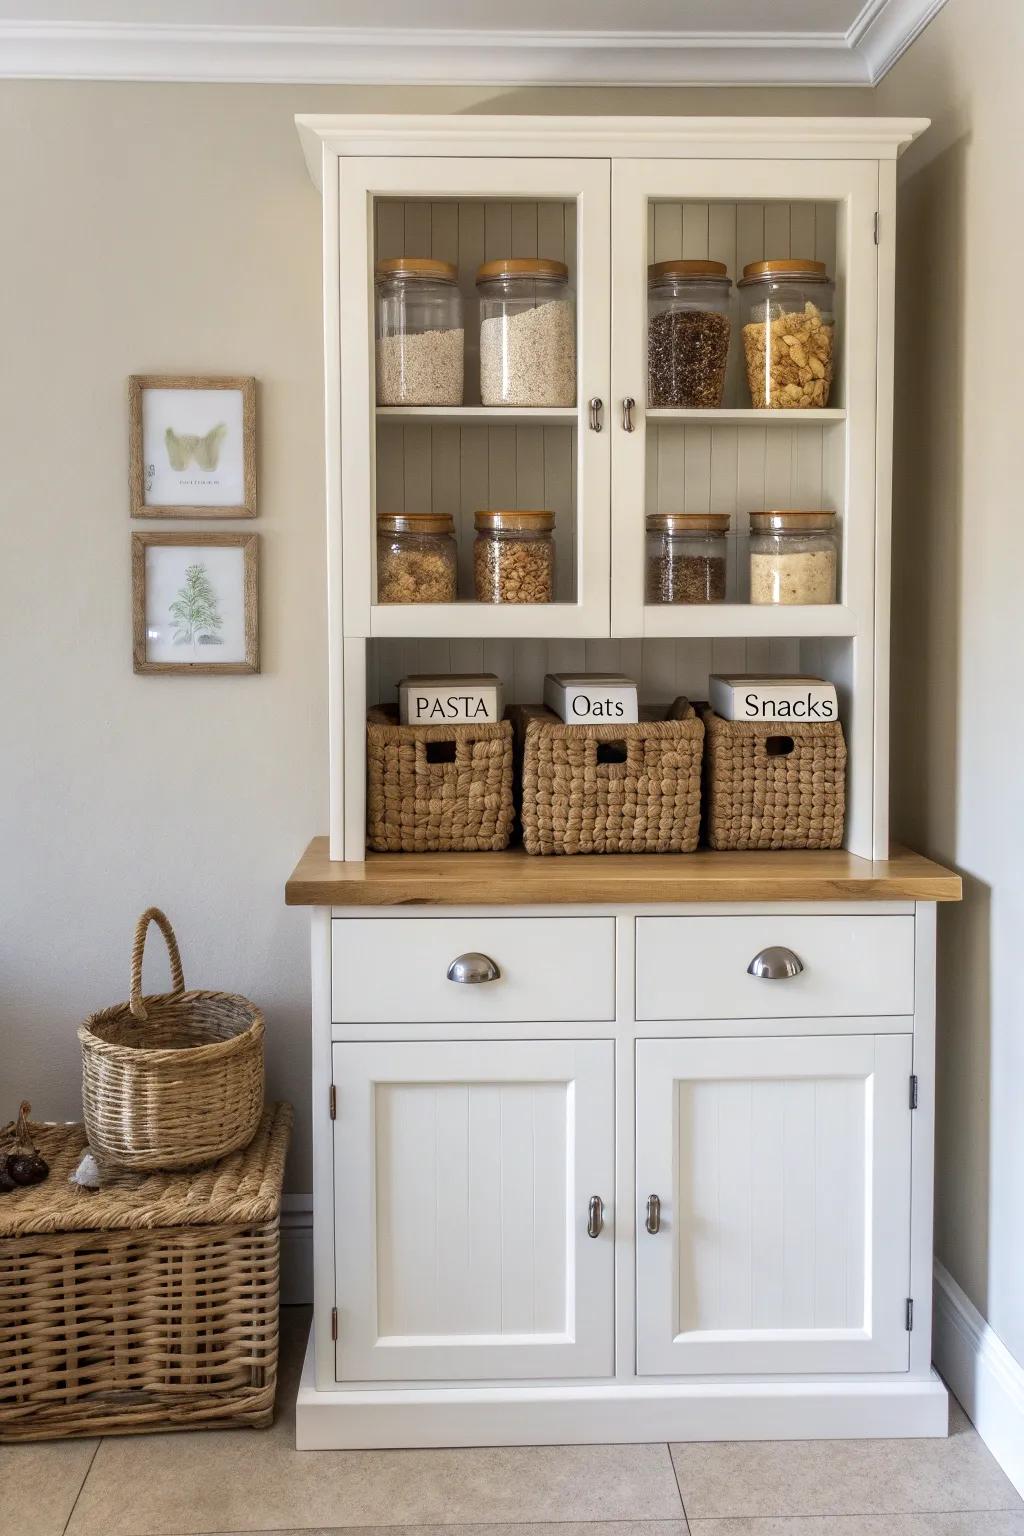
If your cabinets are bursting, redo an old hutch into a mini pantry with baskets and clear containers for snacks and staples. I used this in a tiny apartment kitchen and it basically acted like an extra wall of storage without remodeling.
Products that could assist:
- Glass Jars with Wooden Lids: Store dry goods in these airtight containers to keep ingredients fresh while adding a cohesive, organized look to shelves.
- Woven Storage Baskets: Corral loose snacks or visually cluttered items in these textured bins to maintain a neat and rustic aesthetic.
- Pantry Labels or Clips: Identify basket contents easily with clip-on labels that help organize your pantry staples and streamline your kitchen routine.
Build a Pet Station in the Hutch
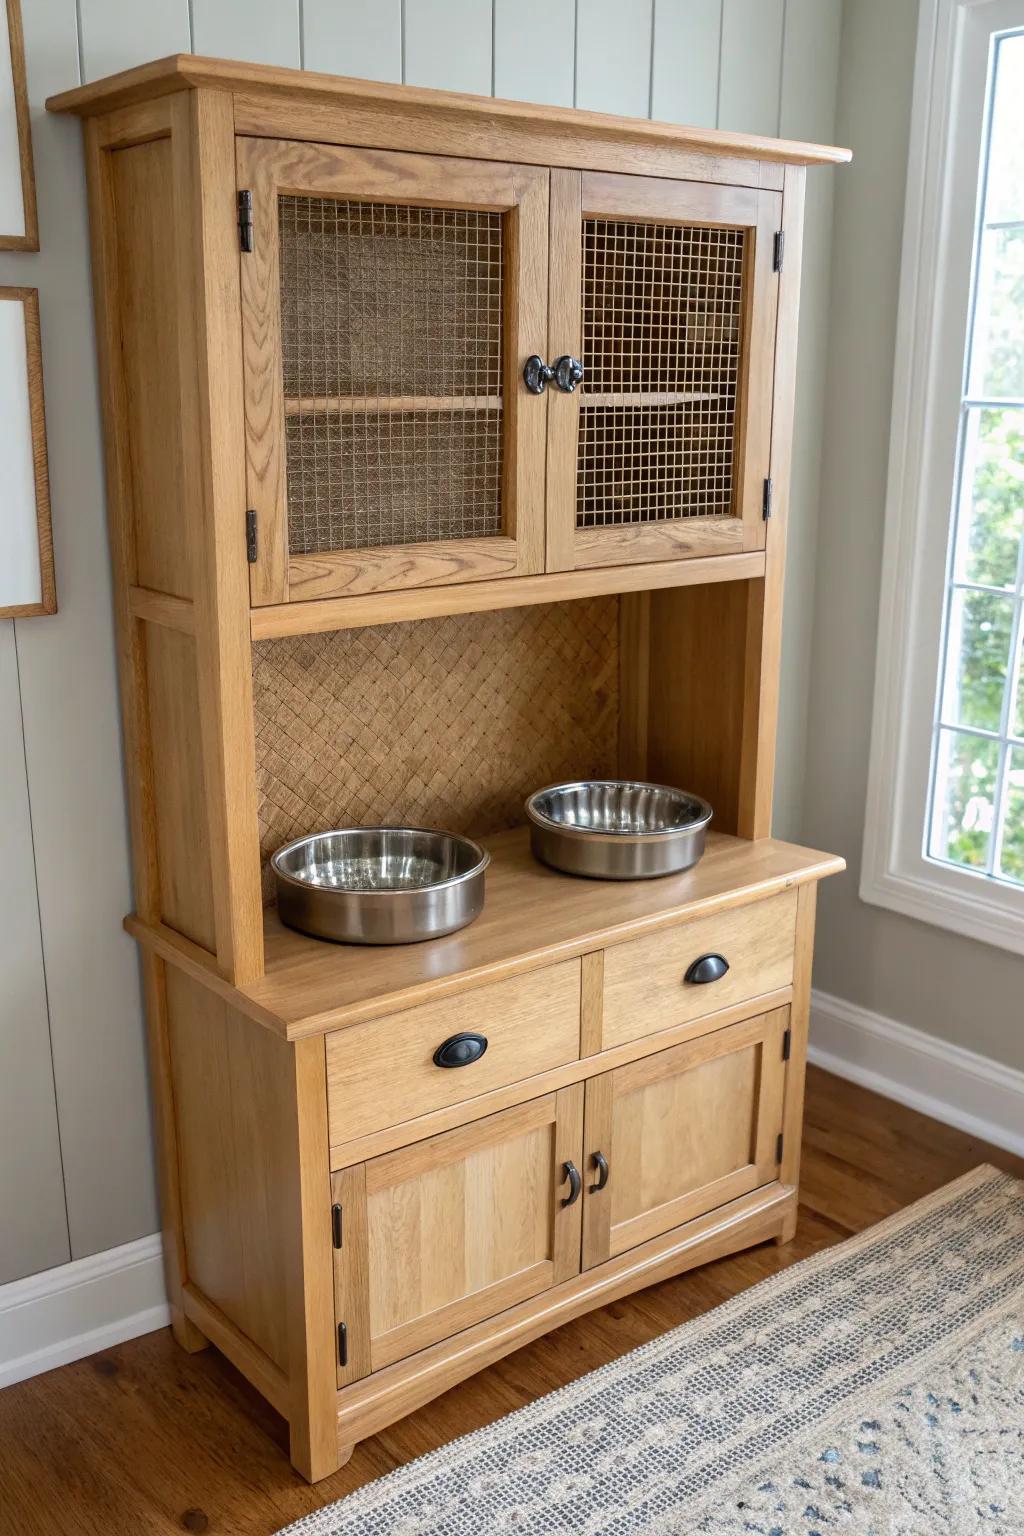
This one surprises people, but you can redo an old hutch into a pet feeding station with food bins below and leashes or treats up top. I helped a client do this in a small apartment, and it cleaned up the pet clutter in one afternoon.
Possibly handy products:
- Stainless Steel Pet Bowls: Upgrade your hutch feeding station with high-quality stainless steel bowls that are durable and easy to clean.
- Airtight Pet Food Container: Keep kibble fresh and organized inside the lower cabinets with these airtight storage bins designed for pet food.
- Peel and Stick Backsplash Tile: Protect the feeding area from splashes and add a decorative touch with easy-to-install, wipeable backsplash tiles.
Turn It Into an Indoor Plant Cabinet
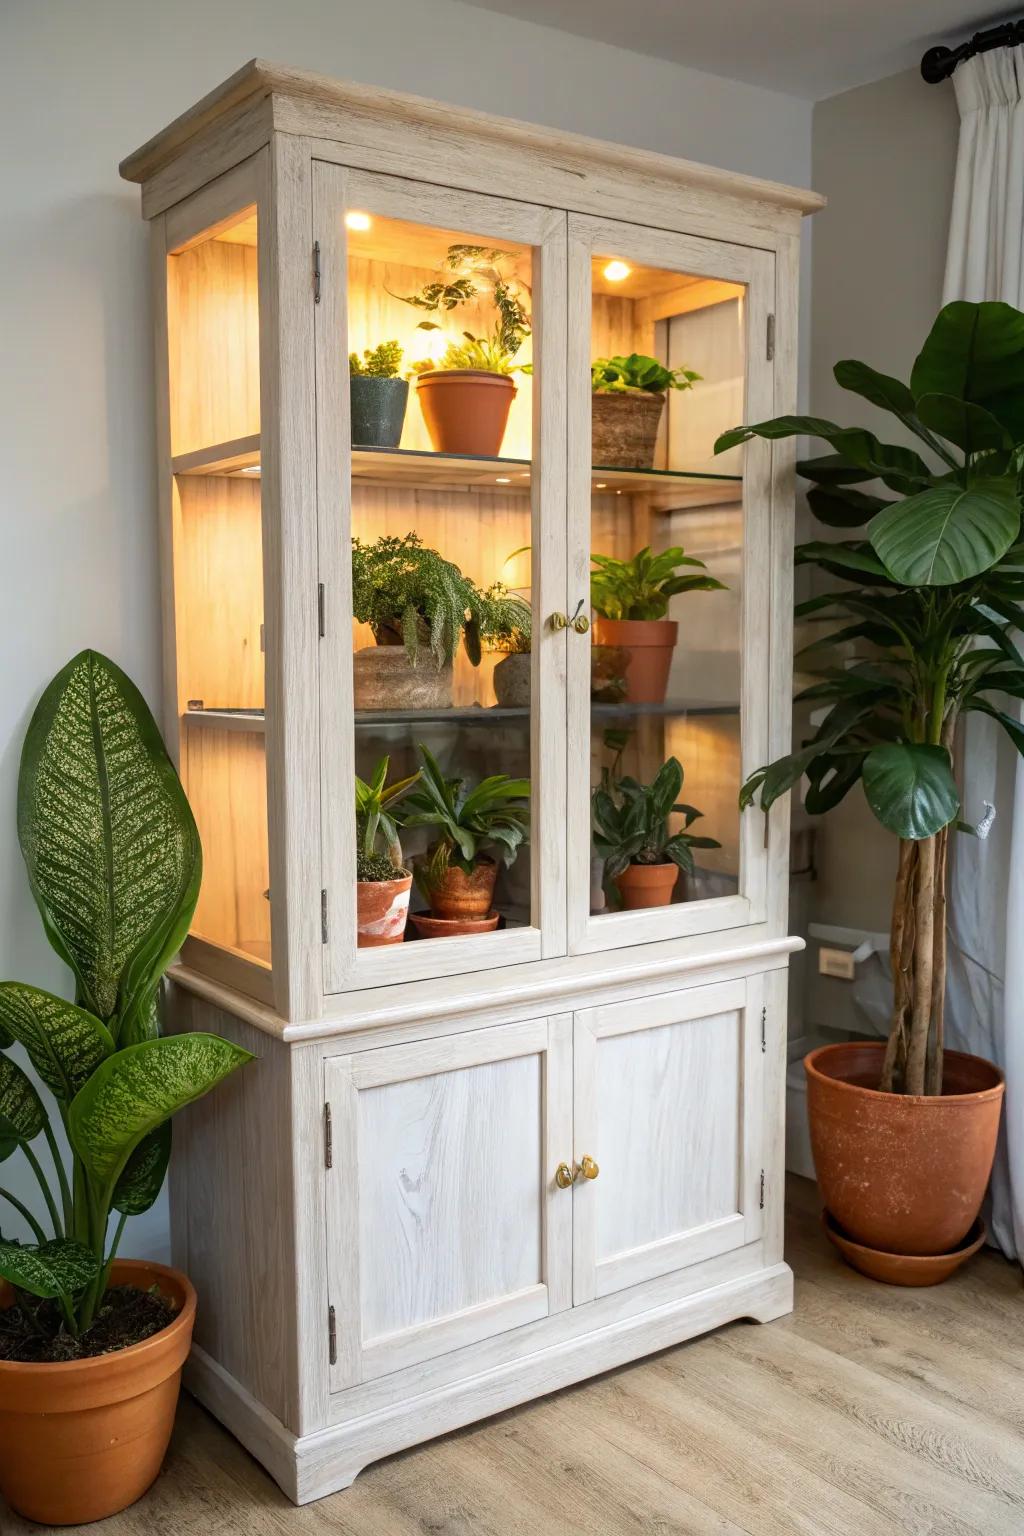
For a total wow redo, I’ve transformed an old hutch into an indoor plant cabinet by sealing the interior, adding lights, and styling it like a little greenhouse. I tried this in a low-light studio and it became the most commented-on piece in my whole place.
A few things you might like:
- Grow Light Strips: Ensure your plants thrive by installing these discreet lights, simulating natural sunlight even in dark corners.
- Humidifier or Misting System: Create the perfect tropical environment inside your cabinet by maintaining consistent moisture levels for your greenery.
- Waterproof Cabinet Liner: Protect your wood furniture from water damage and soil spills with these easy-to-clean, durable shelf mats.


