If you’ve got that awkward gap between your upper cabinets and the ceiling, you’re sitting on prime storage (and a dust magnet). These kitchen cabinet extension ideas are the exact tricks I’ve used in tiny apartments to get a built-in look and squeeze out every vertical inch.
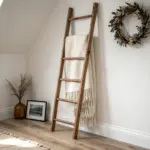
Install a Slim Library Ladder Rail

If you’re going full ceiling-height cabinets, adding a slim rolling ladder rail can be both practical and a total statement. I helped a client do this, and reaching the extension row went from “ugh” to actually kind of fun.
Try these:
- Library Ladder Hardware Kit: Install a complete sliding rail system to safely and stylishly access your high storage cabinets.
- Unfinished Wooden Ladder: Customize your kitchen look with a sturdy, stainable wooden ladder designed for rolling rail systems.
- Gold Cabinet Pulls: Match the ladder hardware aesthetic by upgrading your cabinet handles to sleek, modern gold or brass creates.
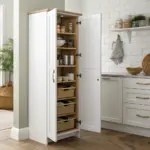
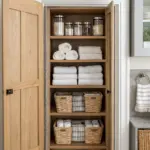
Stack a Second Row of Cabinets
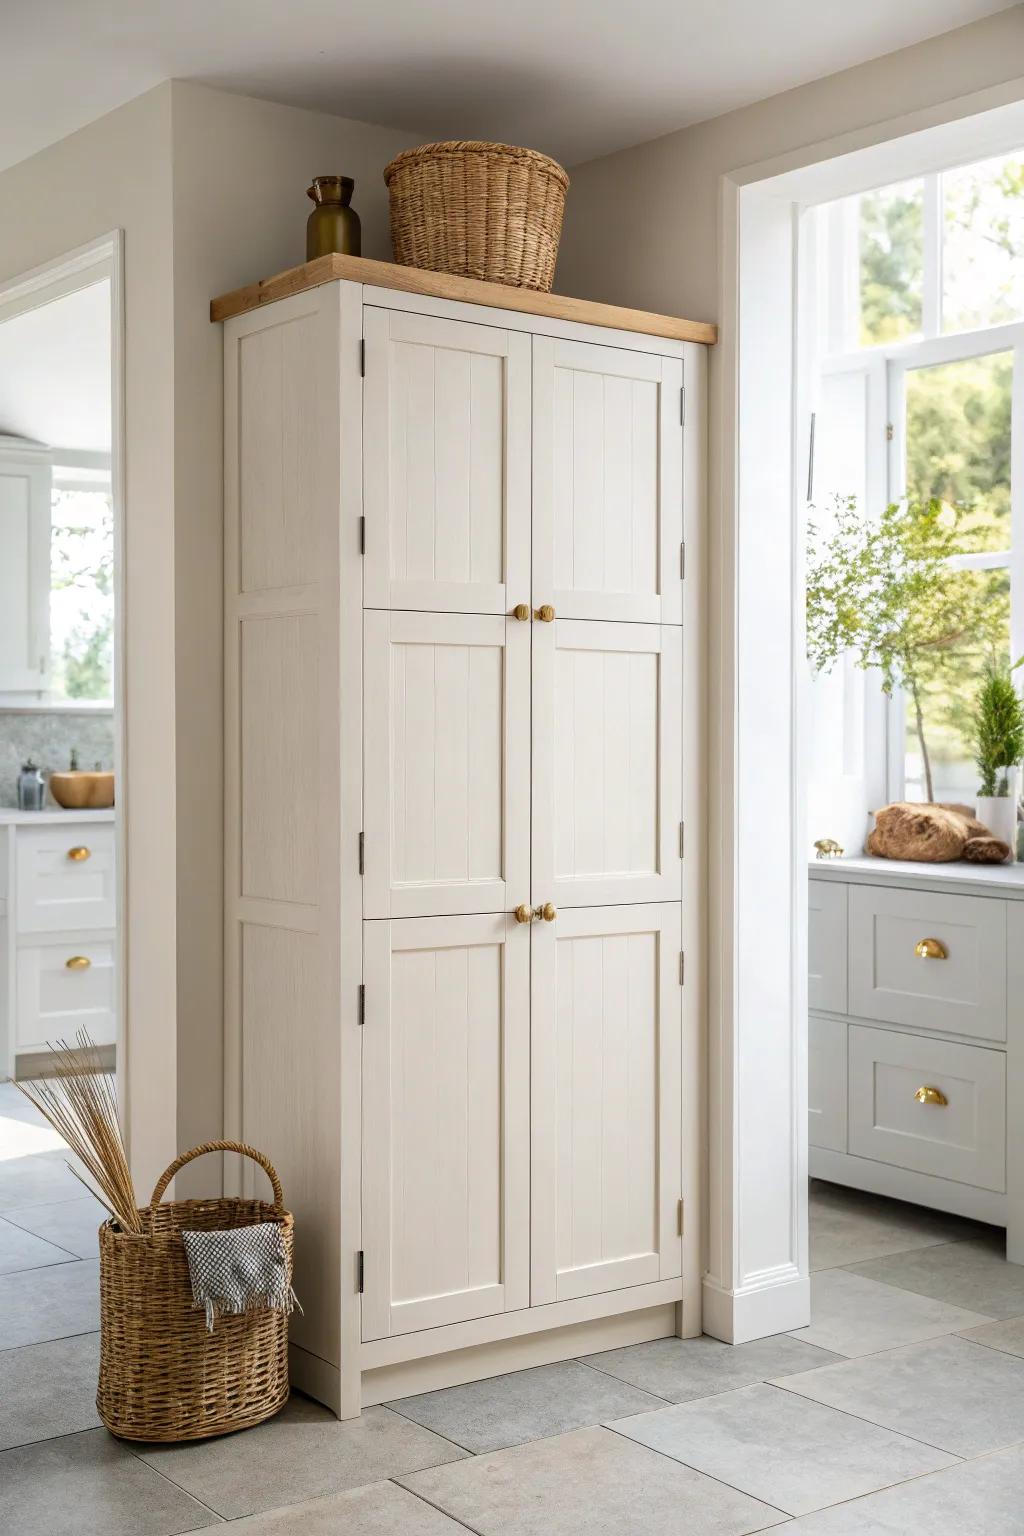
The most classic move is stacked cabinets—I’ve added a second row right on top of existing uppers to get that clean to-the-ceiling look. In my small kitchens, the new top row became the perfect home for stuff I only need once in a while.
These products might be useful:
- Wall storage cabinets: Maximize vertical space by mounting these units above existing cupboards to store seasonal or rarely used items.
- Woven storage baskets: Keep your new upper storage tidy and organized with natural textures that match a rustic kitchen aesthetic.
- Brass cabinet knobs: Unify your stacked look by replacing old hardware with classic brass knobs for a cohesive, seamless appearance.
Add DIY Extension Boxes With Doors
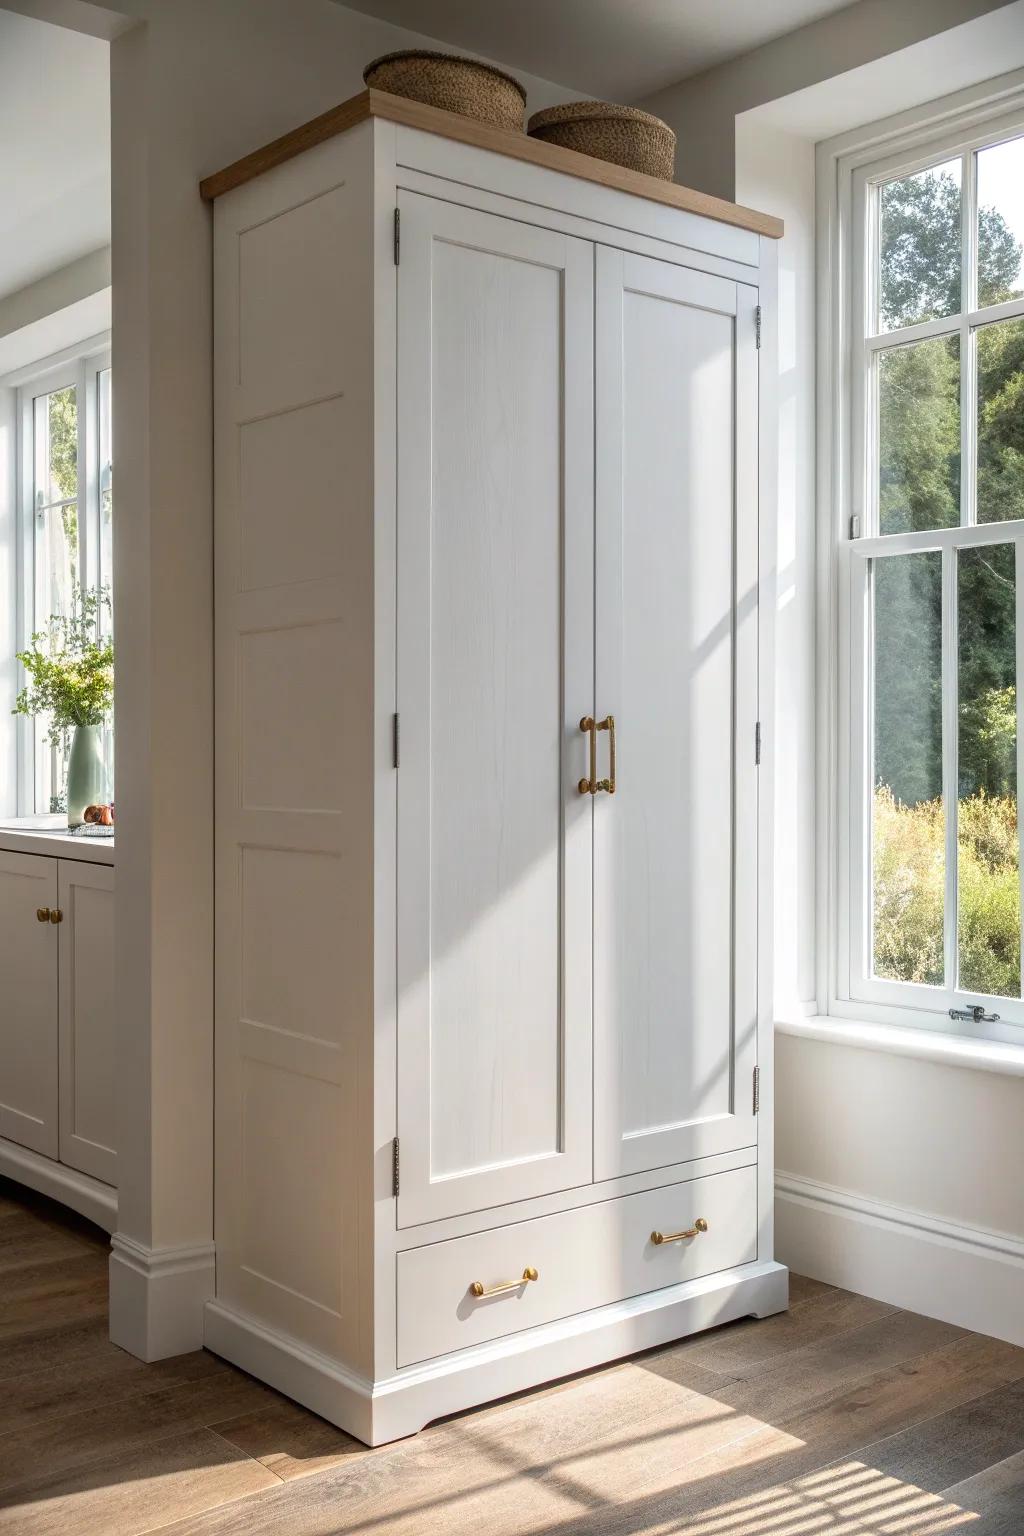
When I wanted the look without full replacement, I built simple cabinet extension boxes and finished them with matching doors so everything read as one tall unit. It’s my favorite budget-friendly way to turn builder-basic uppers into full-height cabinets.
Might be a good match:
- Shaker Style Cabinet Doors: Order unfinished or pre-painted shaker doors to flawlessly match new extension boxes to your existing cabinetry style.
- Brass Bar Cabinet Pulls: Update all your hardware with gold or brass pulls to create a cohesive look between old and new units.
- Woven Storage Baskets: Top off your newly extended height cabinets with natural texture using woven baskets for attractive, hidden storage.
Build Open Shelf Risers Above Uppers
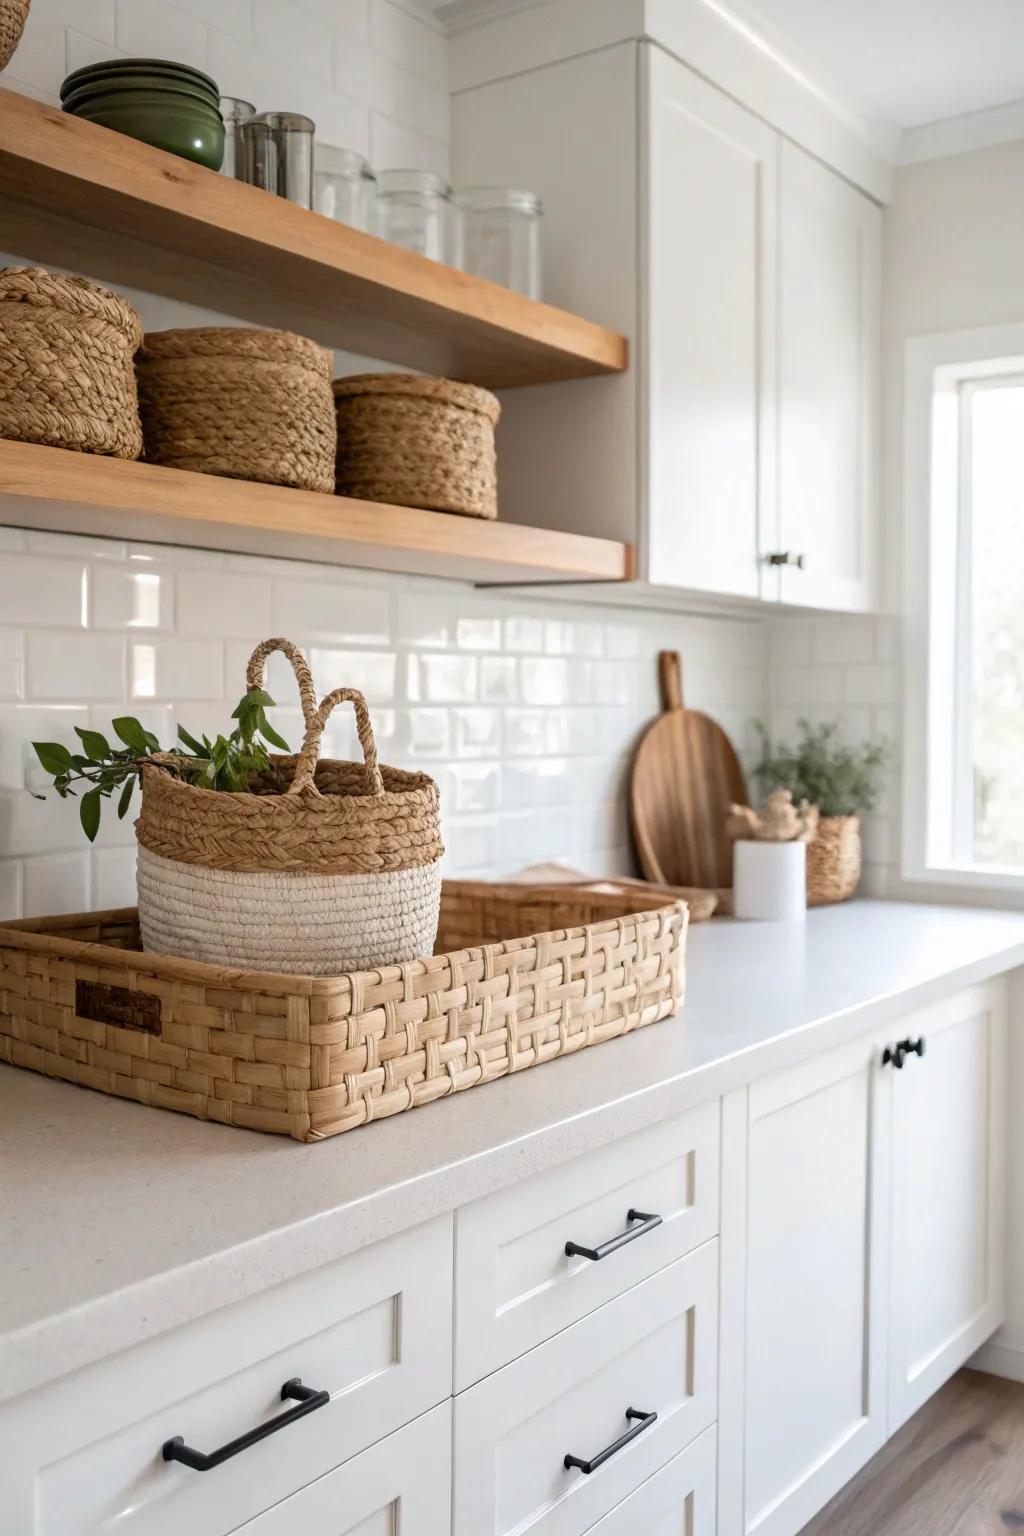
For a lighter look, I’ve extended cabinets with open shelf boxes on top, which fills the height without adding a big, closed wall. I keep it styled with a few baskets so it still counts as storage, just prettier.
A few helpful options:
- Wooden Floating Shelves: Instantly add vertical storage and display space to your kitchen walls with these easy-to-install wooden floating shelves.
- Woven Storage Baskets: Hide clutter elegantly and add texture to your open shelves using these durable, stylish woven storage baskets.
- Glass Storage Jars: Keep pantry staples organized and visible on your new riser shelves with these clear, airtight glass canisters.
Go Two-Tone on the Extension Row
One of my go-to styling tricks is making the extension row two-tone cabinets, so the add-on looks intentional instead of “tacked on.” I did this in my 450 sq ft place and it instantly gave that designer stacked look.
Maybe worth checking out:
- Self-Adhesive White Wood Grain Wallpaper: Refresh your upper cabinets easily by applying this textured contact paper for a contrasting, two-tone finish.
- Modern Wooden Cabinet Pulls: Swap out hardware on your new extension row to match the lower cabinets, tying the look together.
- Chalk Style Paint for Cabinets: Paint your extension row in a crisp shade to create that deliberate, designer-style stacked aesthetic.
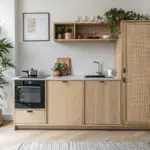
Use Glass-Front Extension Cabinets
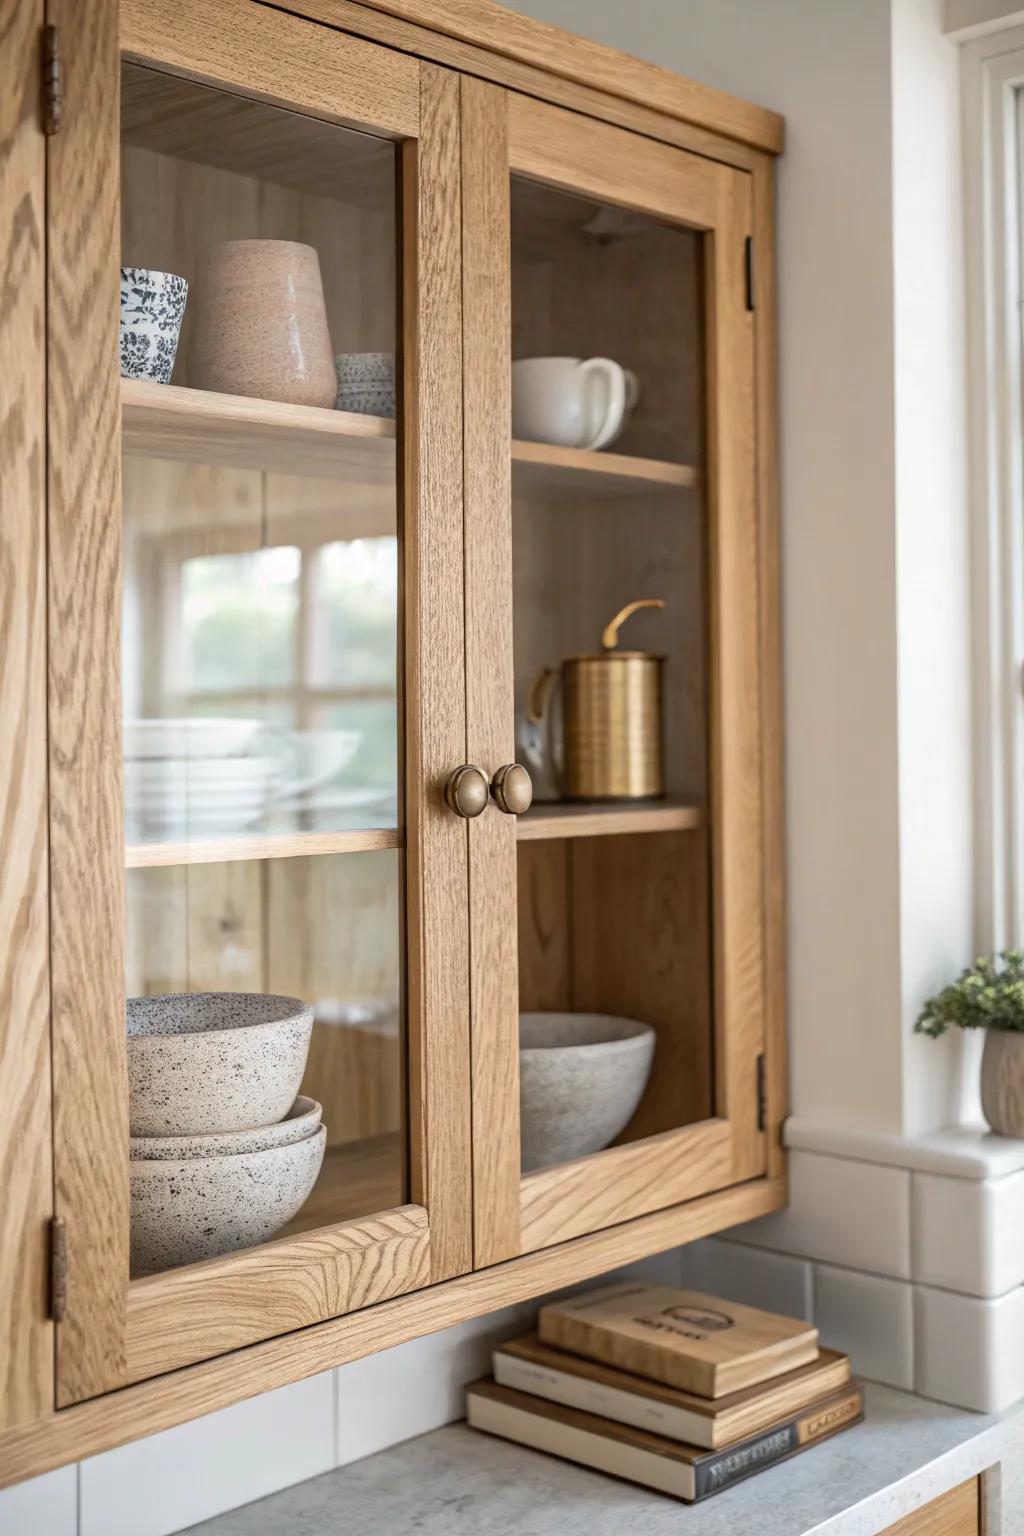
If you want height without visual bulk, try glass-front uppers just for the extension row—I’ve done this to keep things airy in tight kitchens. It also forced me to store only the “pretty” stuff up high, which I honestly loved.
A few relevant products:
- Wall-Mounted Glass Cabinet: Add elegant storage to your kitchen by installing a glass-front cabinet ideal for displaying curated dishware.
- Decorative Ceramic Bowls: Style your visible shelves with textured ceramic bowls that bring warmth and character to your clear displays.
- Brass Cabinet Knobs: Refresh your existing or new cabinetry with round antique brass knobs for a classic, sophisticated finish.
Carry Extensions Through the Corner
Corners are where cabinet extensions can look awkward, so I always plan a corner transition—either matching stacked boxes or a clean filler panel. In my last L-shaped kitchen, keeping the corner consistent made the whole extension look professionally planned.
Some ideas to consider:
- Wood Veneer Sheets for Cabinet Fillers: Create seamless corner filler panels that perfectly match your existing cabinet trim for a custom, professional finish.
- Corner Cabinet Lazy Susan Organizer: Maximize utility in that tricky transition space by installing smooth-spinning shelves to access deep corner storage easily.
- Wooden Cabinet Pulls and Handles: Ensure visual continuity through your corner extension by upgrading all hardware to matching, modern wooden finger pulls.
Add Lighting Under the Extension Row
One surprisingly high-end trick I’ve used is adding a soft glow under the new top row so the cabinet extension feels architectural, not chunky. At night, that little uplighting makes a small kitchen look bigger and more layered.
Possibly handy products:
- LED Strip Light Kit: Create that architectural glow easily by installing these flexible strips directly underneath your new cabinet extension.
- Diffuser Channel for LED Strips: Soften the light output and hide the LED dots for a professional, finished look in your kitchen.
- Hardwire LED Driver: Power your new lighting system cleanly by connecting it directly to your home’s electrical switch setup.
Choose Lift-Up Doors for the Top Cabinets
For super-tall extensions, I like lift-up cabinet doors because they open without swinging into your face (been there in tiny kitchens). I’ve found they make the highest storage feel way less annoying to use.
A few suggestions:
- Gas Strut Lift Support: Install these smooth-operating struts to help your high cabinet doors lift upward easily and stay open securely.
- Lift-Up Cabinet Hinge Mechanism: Upgrade your overhead storage with specialized hinges designed specifically to lift doors vertically and save valuable space.
- Minimalist Cabinet Edge Pulls: Add sleek, bottom-mounted pulls to your new lift-up doors for easy access without visually cluttering the cabinet face.


