A well-organized sewing room isn’t about having more space—it’s about making every tool and fabric cut easy to see, grab, and put back. I’ve organized sewing corners in tiny apartments and full rooms alike, and the right systems instantly make you feel more creative (and less overwhelmed).
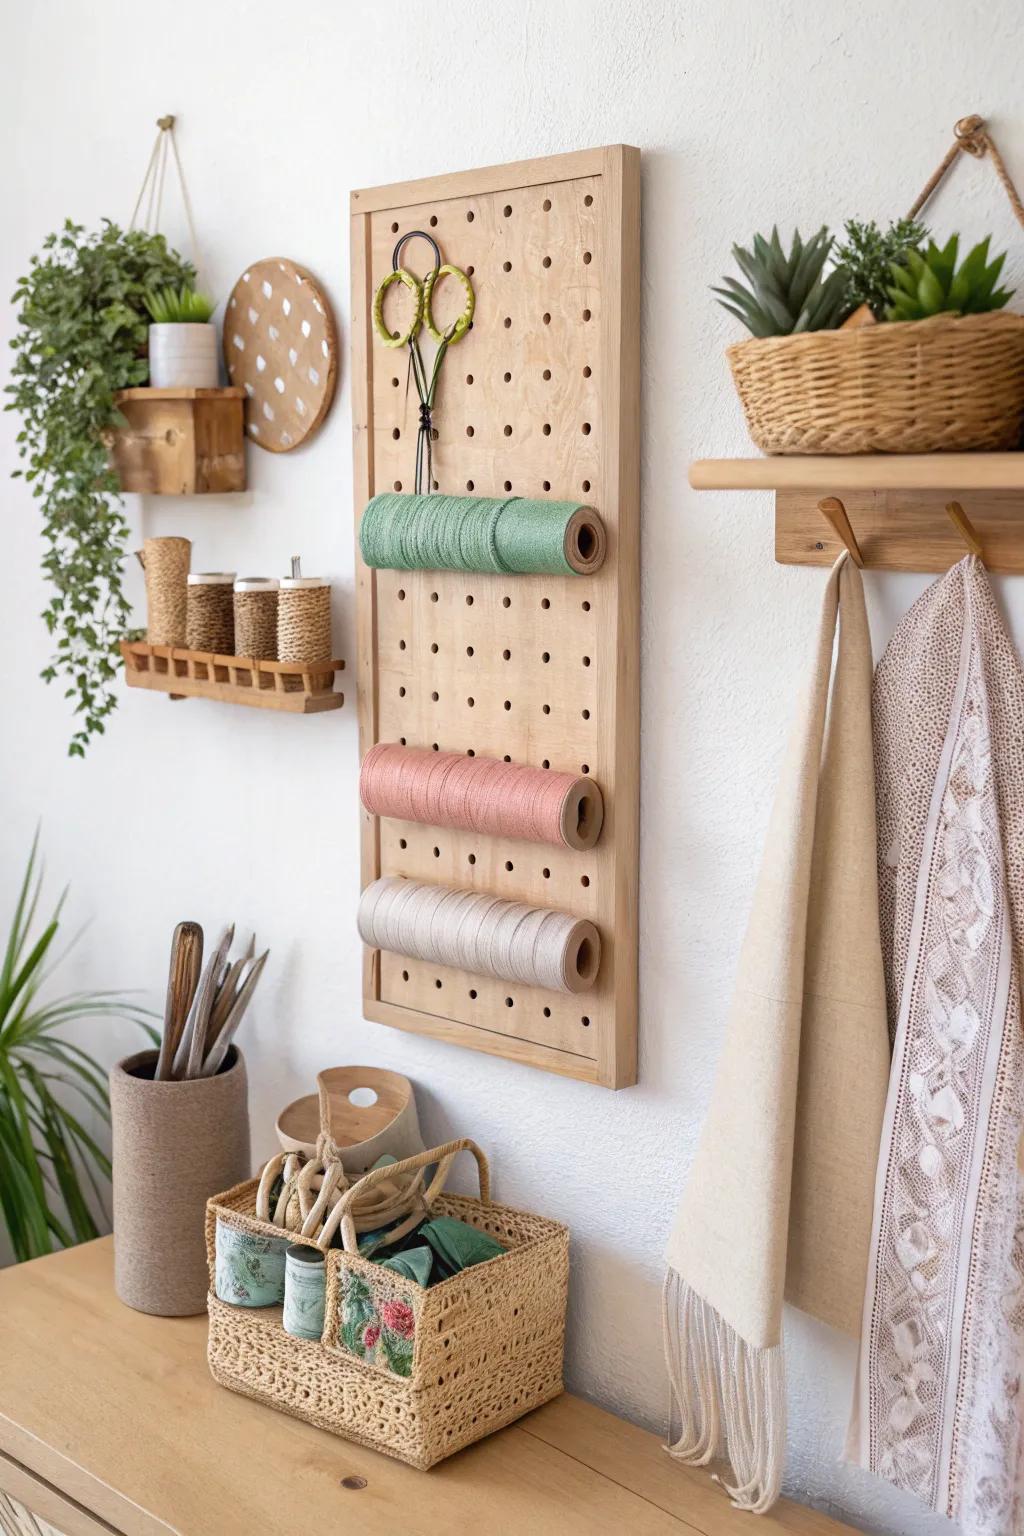
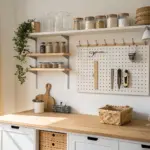
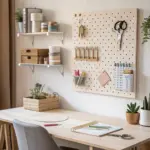
Hang Tools on a Pegboard
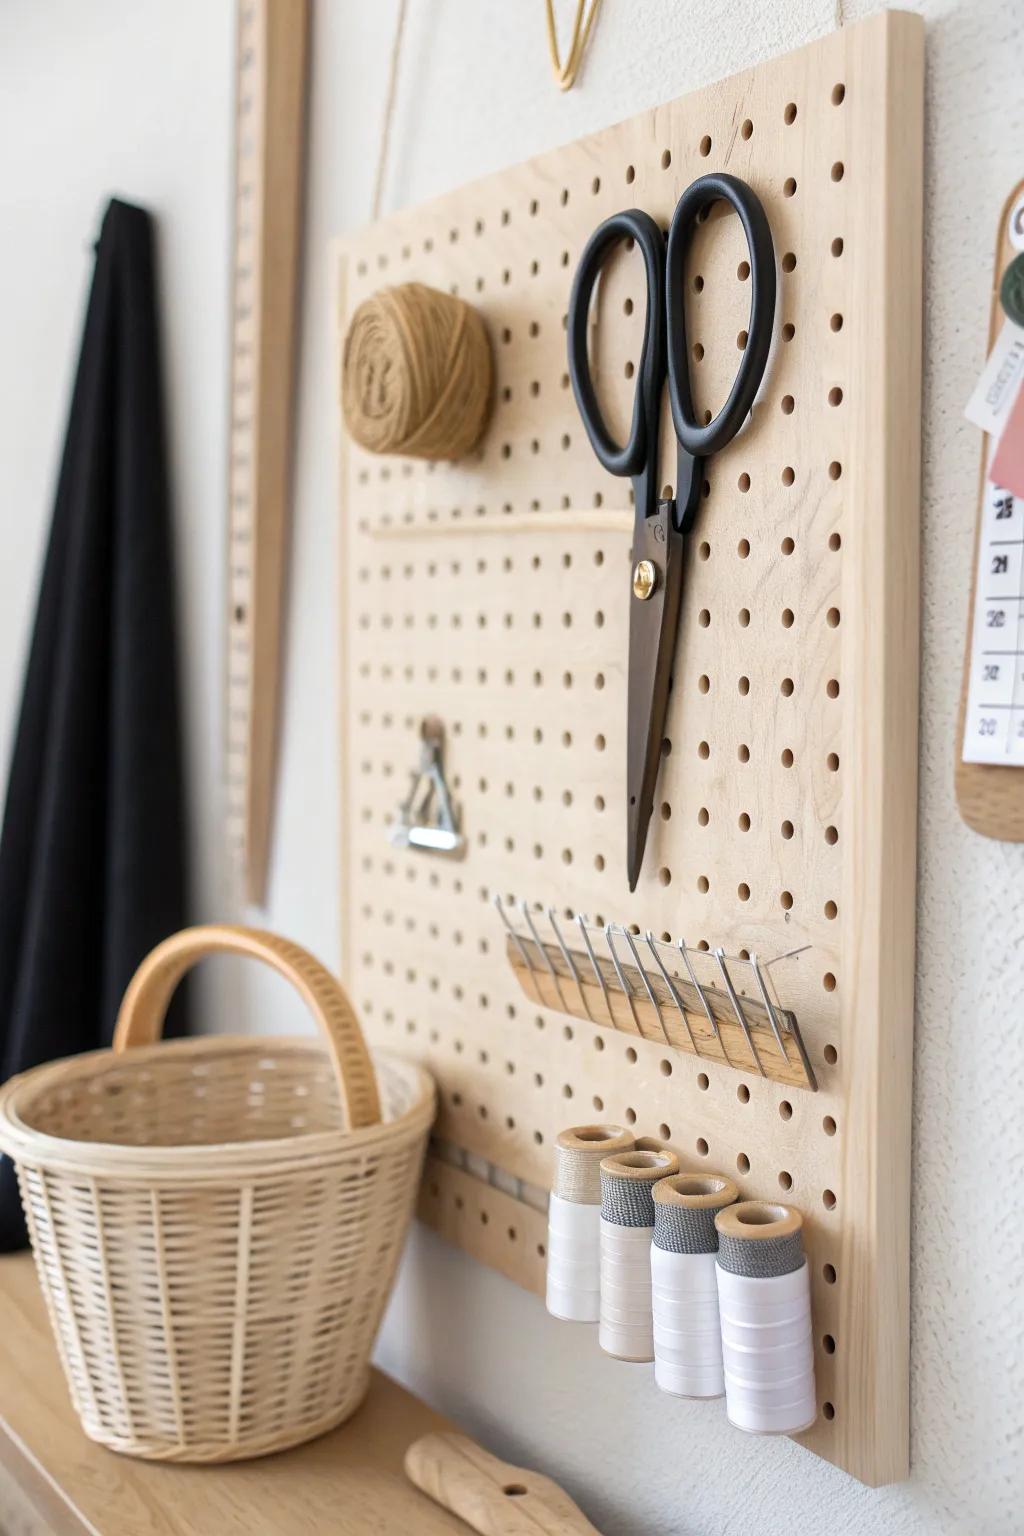
I swear by a pegboard wall because my scissors, rotary cutter, and rulers stop disappearing the moment they have a “home.” I arrange mine like a little tool display, which makes cleanup feel more like styling than chores.
A few things you might like:
- Wooden Pegboard Panel: Create a versatile and stylish storage wall for your essential sewing tools with a customizable wooden panel.
- Pegboard Hook Assortment: Keep scissors, rulers, and crafting supplies securely in place by adding a variety of sturdy hooks.
- Pegboard Spool Holders: Organize your thread collection neatly and visibly by attaching specialized dowels or racks to your board.

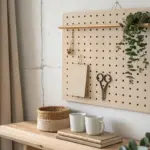
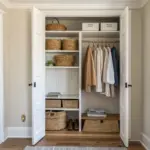
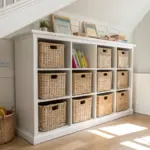
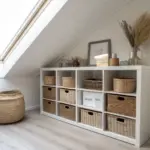
Use Vertical Wall Storage
When I lived in a small apartment, going up the wall with vertical storage saved my floor space instantly and made the room feel calmer. I hang the stuff I grab daily at eye level and stash the “sometimes” tools higher up.
Possibly handy products:
- Wooden Pegboard Organizer: Display your thread and scissors neatly on the wall to keep essentials visible and accessible.
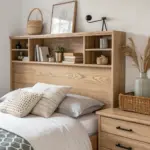
- Wall-Mounted Shelf with Hooks: Utilize hanging space for fabric or baskets while keeping a sturdy shelf available above for decor.
- Woven Hanging Basket: Add texture and storage for smaller scraps or plants by hanging natural baskets at varying heights.
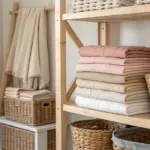
Sort Fabric by Color
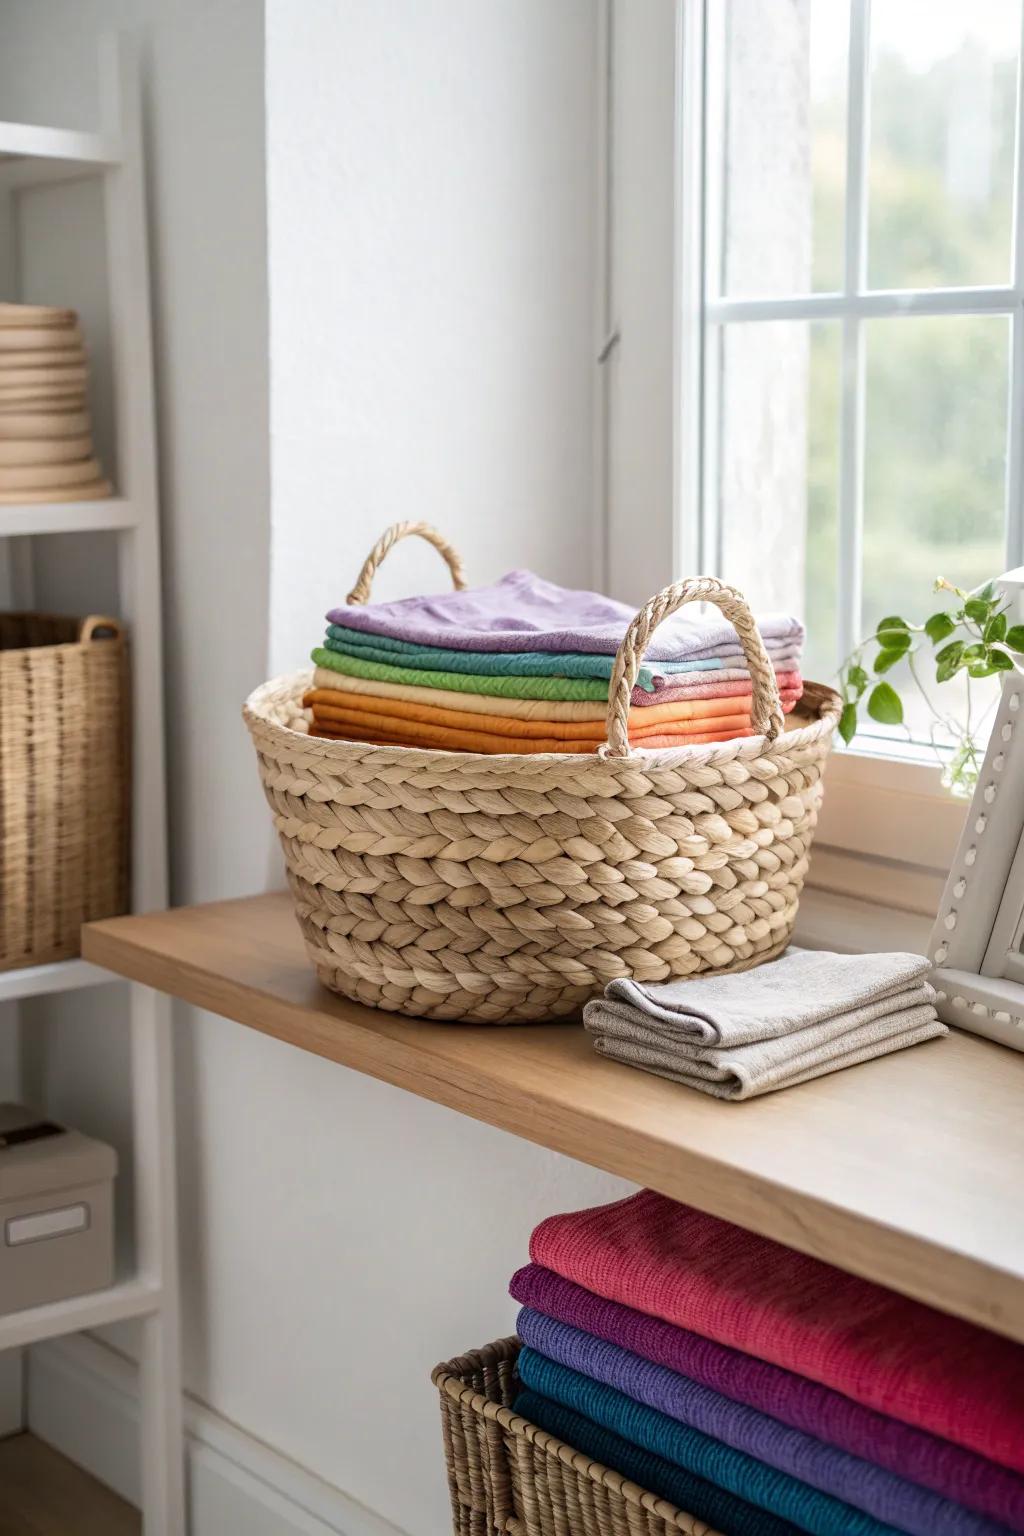
I organize my fabric stash in color order because it’s faster to pull a palette together when everything reads like a rainbow. It also makes the whole sewing room look intentional, even on days when my cutting table is a mess.
Explore these options:
- Woven Storage Basket: Organize your folded fabric visually in these classic woven baskets to create accessible and beautiful storage displays.
- Fabric Folding Boards: Create perfectly uniform stacks of colorful fabric by wrapping your cuts around these handy folding guides.
- Wooden Wall Shelf: Display your color-sorted fabric stash as wall decor while keeping your workspace clear and clutter-free.
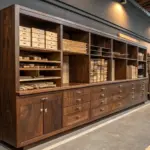
Fold Fabric on Mini-Bolts

One of the biggest upgrades I ever did was wrapping fabric around mini-bolt boards so every piece stands up neatly and stays visible. It made my shelves look like a fabric shop, and I stopped buying duplicates because I could actually see what I had.
Maybe worth checking out:
- Archival Fabric Storage Boards: Create uniform mini-bolts for your stash to keep every yard organized, visible, and neatly displayed upright.
- Cotton Twine or Ribbon: Secure your folded fabric bundles gently with soft twine to keep them tidy without damaging delicate fibers.
- Wooden Display Rack or Shelf: Showcase your newly folded mini-bolts on a sturdy wooden rack to keep them accessible and beautifully arranged.
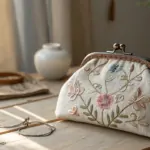
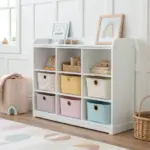
Choose Matching Bins for Notions
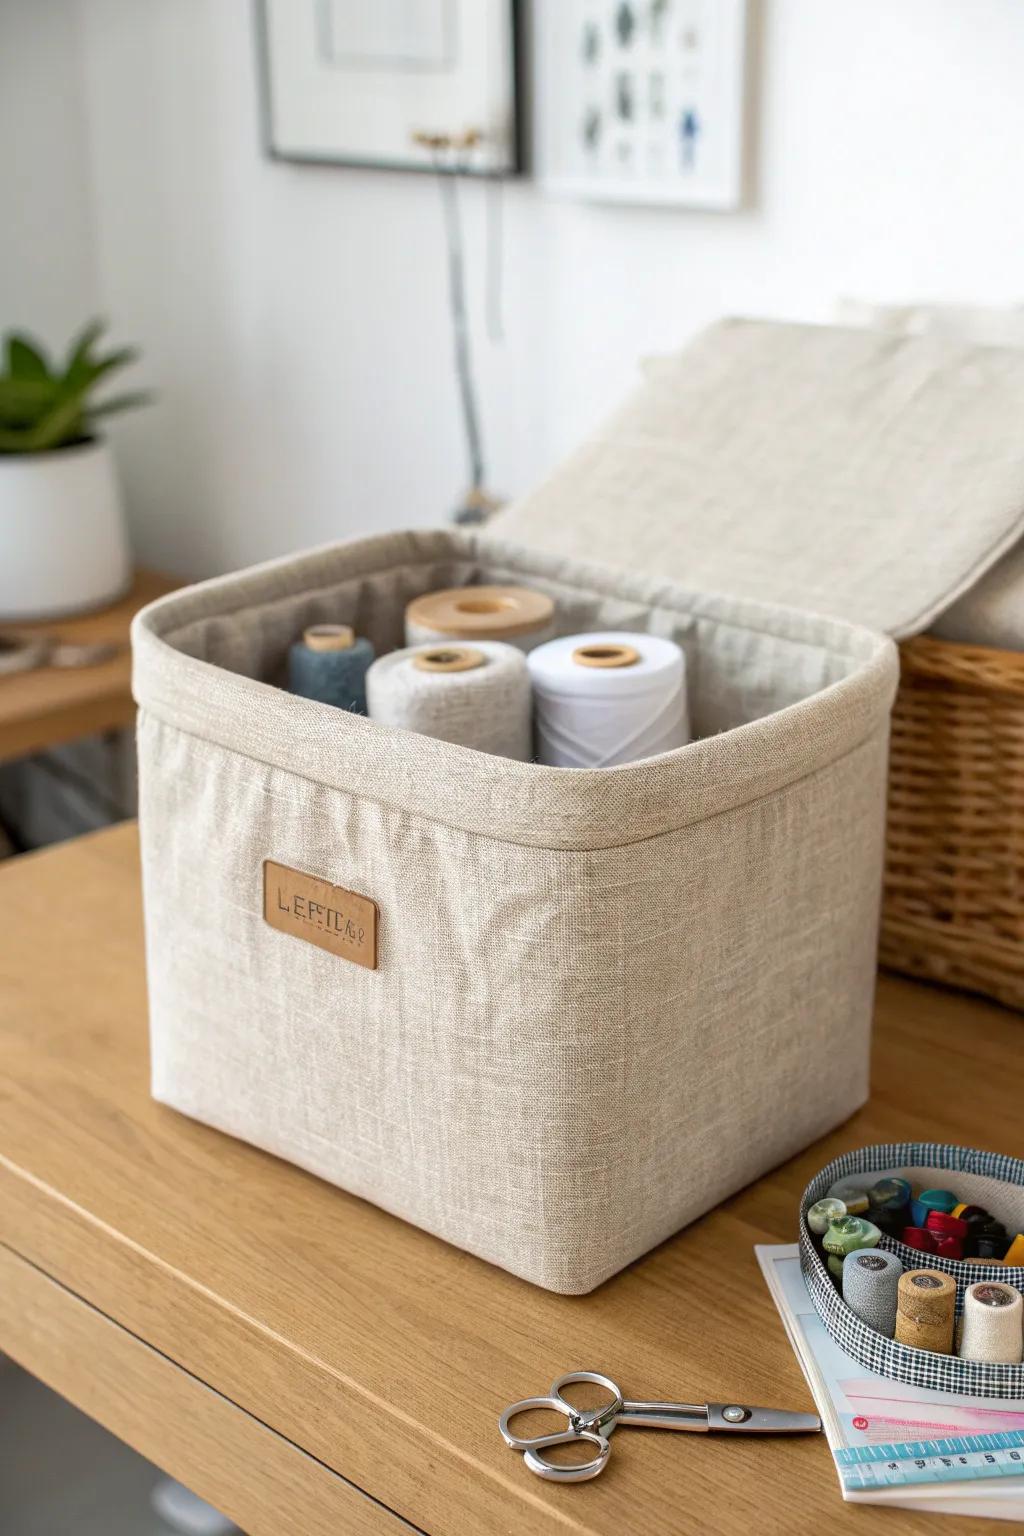
I learned the hard way that mixed containers make my brain feel like the room is messier than it is, so I stick with uniform bins for notions. When everything looks consistent, I can spot what’s out of place in seconds.
You might give these a try:
- Collapsible Linen Storage Cubes with Lids: Create a calm, uniform look on your shelves by storing loose notions inside these matching fabric boxes.
- Small Dividers for Fabric Bins: Keep smaller spools and tools tidy inside your larger bins using these simple, modular drawer organizers.
- Customizable Leather Labels: Add a polished finish and easily identify contents by attaching these stylish tags to your storage bins.
Use Clear Bins for Scraps
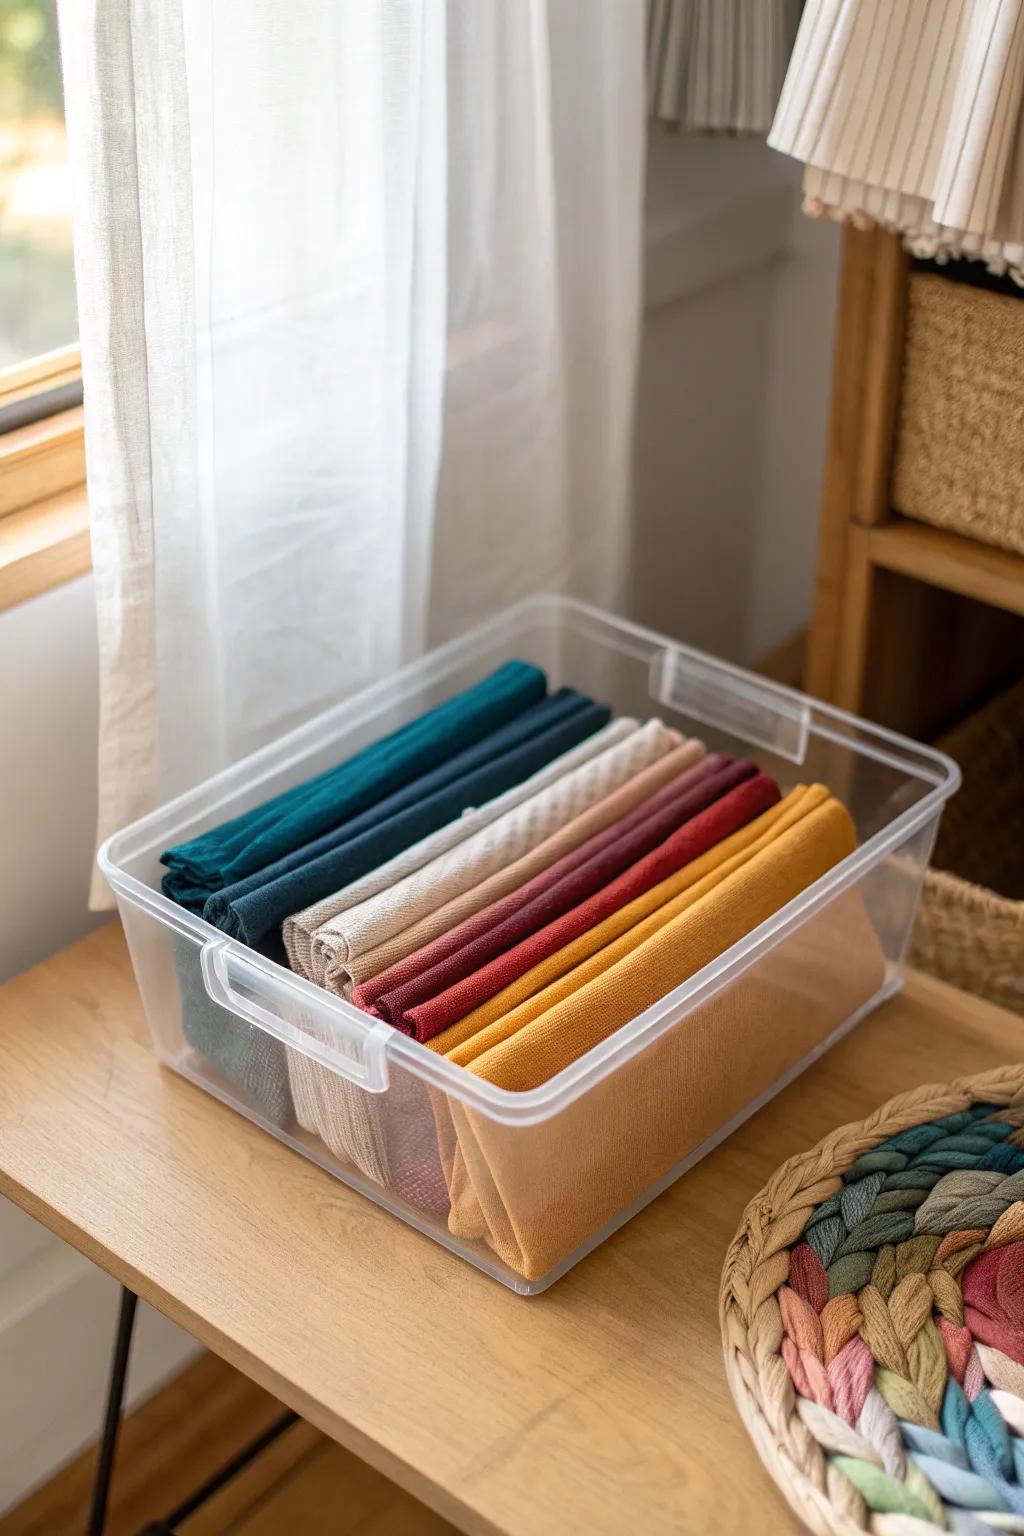
I like clear containers for scraps because I can check my options without dumping a pile on the floor (which is what I used to do constantly). When I’m tired, seeing the scraps is the only thing that keeps me from shoving them into a random bag.
Products that could assist:
- Clear Plastic Storage Bin with Handles: Keep fabric scraps visible and tidy with these transparent bins, making color selection effortless without any digging.
- Stackable Acrylic Organizer Trays: Use these sleek, durable trays to neatly file your smaller fabric pieces vertically for quick, easy access.
- Rectangular Pantry Organizer Bins: Maximize your shelf space with these deep rectangular containers, perfect for sorting folded fat quarters or remnants.
Sort Scraps by Size and Color
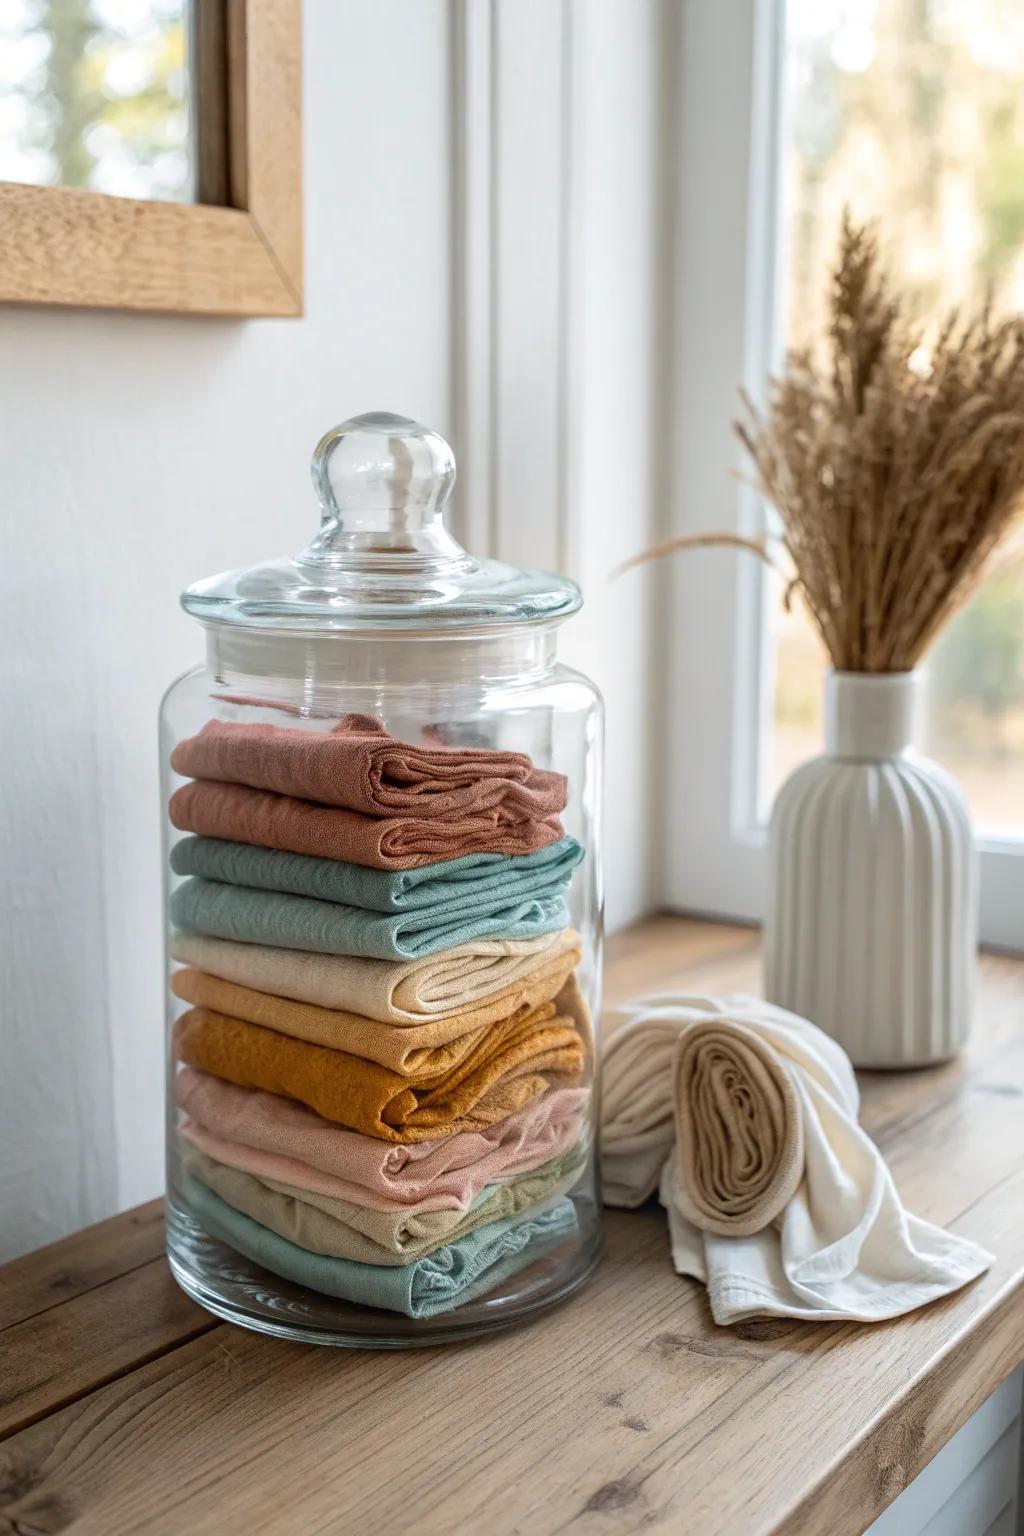
In my experience, scraps get out of control fast unless you pick a system, so I do color bins for tiny bits and size stacks for anything usable. It’s made scrap projects way more fun because I can grab what I need without digging.
Some handy options:
- Large Glass Apothecary Jar with Lid: Store and showcase your colorful fabric scraps visibly by keeping them neatly stacked inside this classic container.
- Clear Plastic Storage Bin Set: Sort your smaller stray fabric bits by color into different bins to keep drawers tidy and accessible.
- White Ceramic Vase: Complete your sewing room’s aesthetic by styling dried flowers or holding tools in this minimalist ribbed vase.
Store Projects in Grab-and-Go Boxes
I keep each WIP in its own project box with the pattern, fabric, and notes together, and it’s saved me from the “where did I put that binding?” spiral. When I only have 20 minutes to sew, I can start instantly instead of hunting.
These products might help:
- Woven Storage Basket with Lid: Keep your current sewing projects neatly hidden away and dust-free with these functional, decorative lidded storage baskets.
- Natural Jute Twine for Organization: Bundle loose fat quarters or tie up pattern pieces securely using this simple, rustic twine for tidy storage.
- Clear Plastic Project Containers: Option for maximum visibility; easily stack your work-in-progress kits and spot exactly which project is inside immediately.
Organize Thread by Type and Color
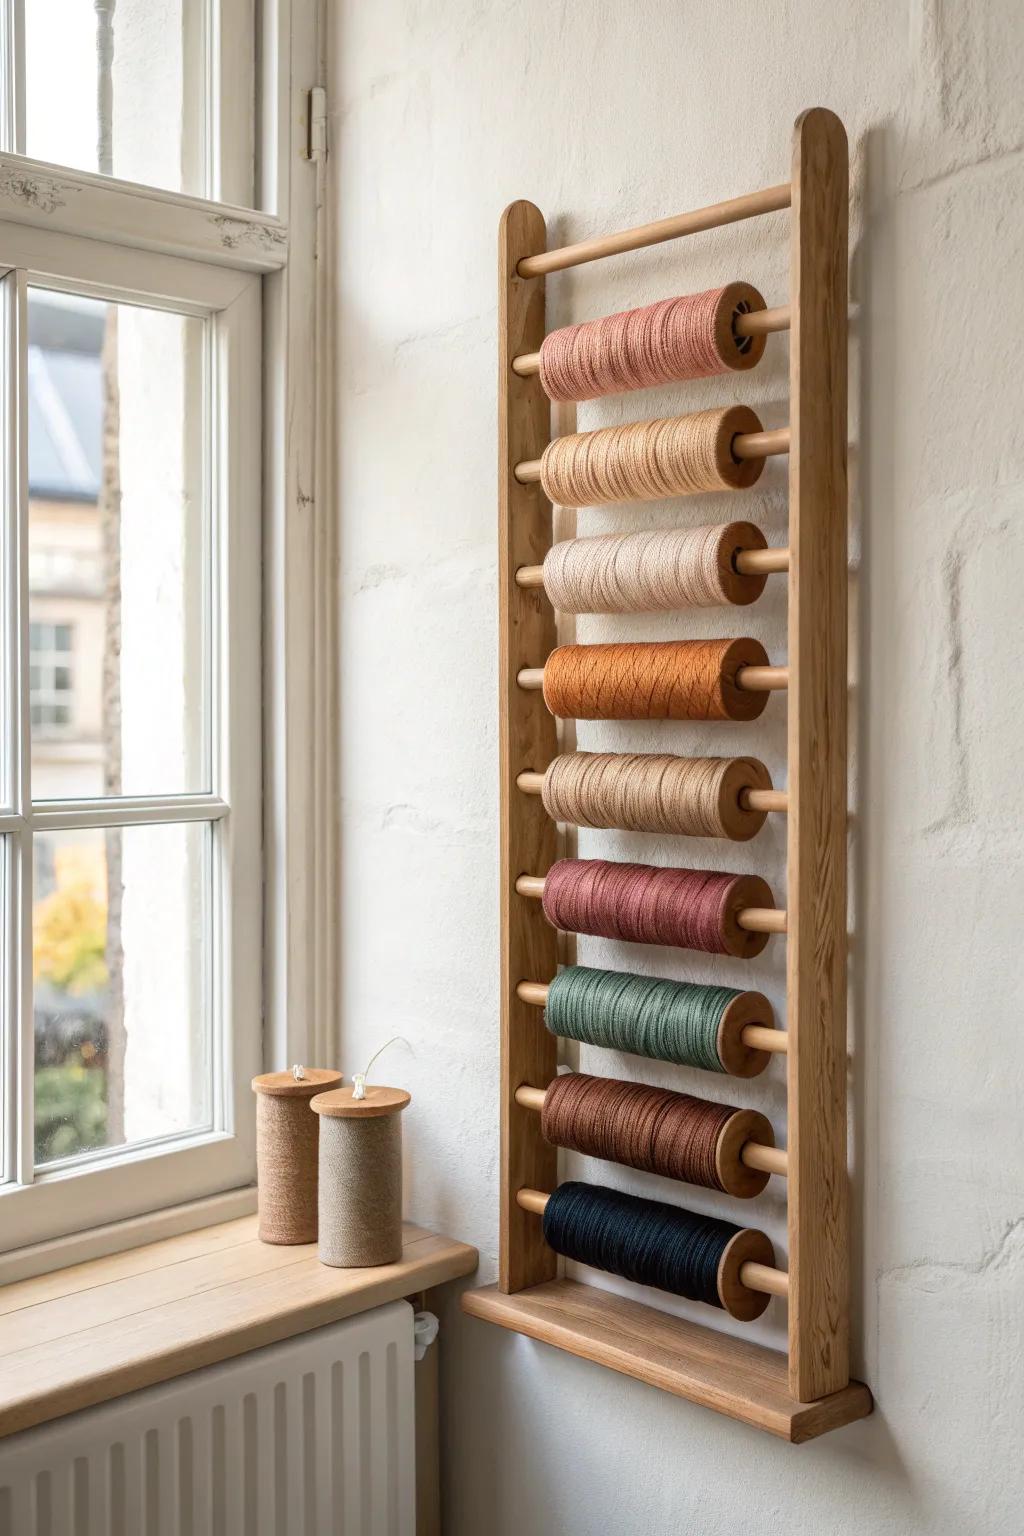
I used to toss all my spools together, and it made every project feel harder, so now I separate machine thread, hand thread, and specialty thread first. Then I group by color families, which makes matching ridiculously quick.
Check if these fit your needs:
- Wall-Mounted Wooden Thread Rack: Display your colorful collection vertically to save desk space and quickly find the perfect shade for your project.
- Large Spool Holder Stand: Keep larger cones or specialty threads distinct from smaller spools with these sturdy, dedicated stands for organization.
- Wooden Spool Stand for Desk: Sort your most-used daily threads on a tabletop rack to keep essential colors within immediate reach while sewing.
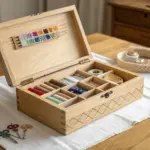
Add Drawer Dividers for Tiny Notions
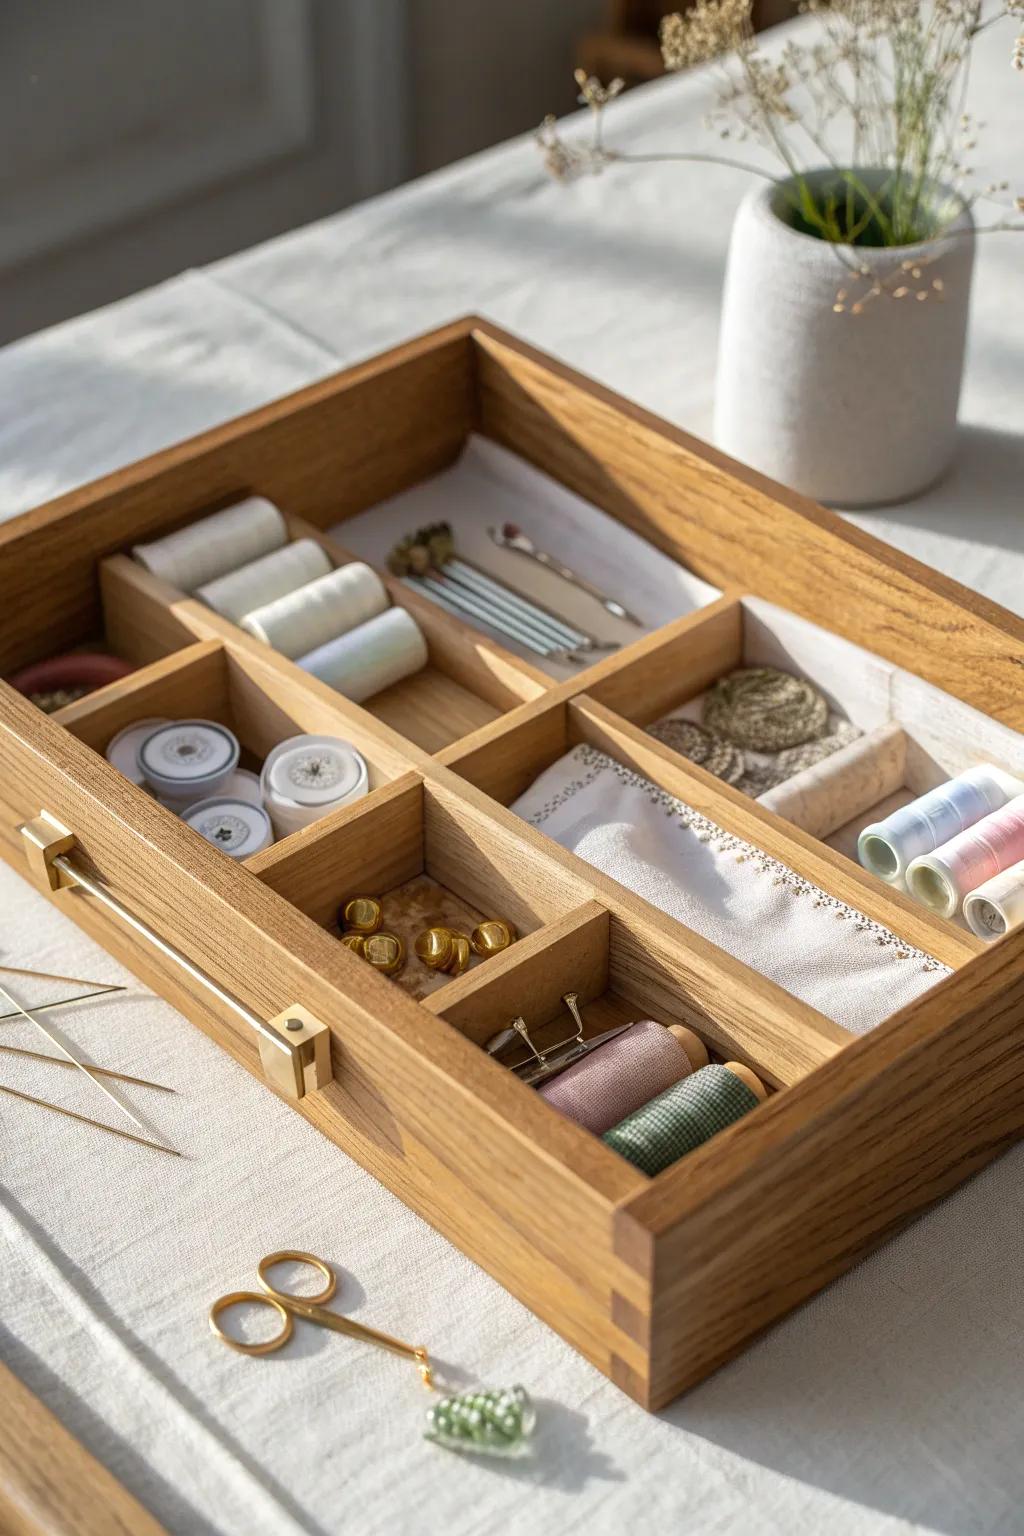
The moment I added drawer dividers, my bobbins, needles, clips, and presser feet stopped becoming a tangled junk drawer situation. I’ve found that shallow, separated sections make it easy to put things back even when I’m rushing.
Some ideas to consider:
- Bamboo Drawer Organizer Set: Create designated spots for every notion with these modular organizers that bring instant order to messy drawers.
- Wooden Sewing Box / Tray: Store your essentials in style with a dedicated wooden tray featuring compartments for thread, pins, and accessories.
- Small Gold Sewing Scissors: Keep a pair of sharp, precision heavy snips handy within your new organizer for quick thread trimming.
Use a Rolling Cart for Daily Tools
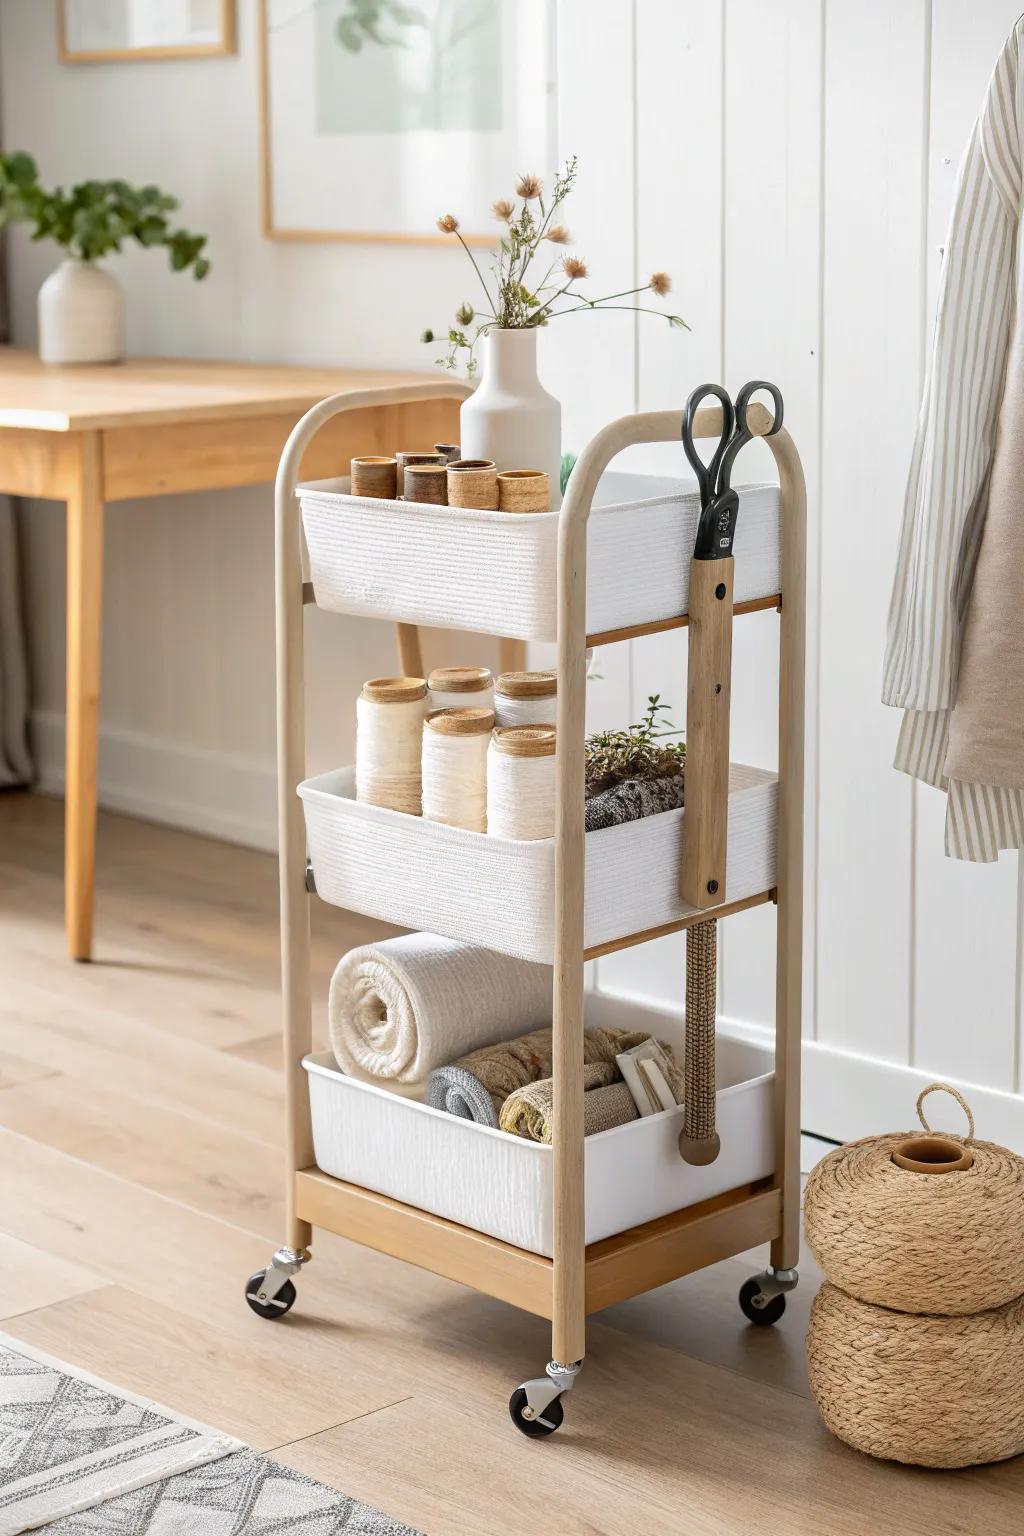
When I worked in a tight studio space, a rolling cart let me keep my everyday sewing supplies close without crowding my tabletop. I wheel it beside my machine while sewing, then tuck it away when I need the room to feel open.
Might be a good match:
- 3-Tier Rolling Storage Cart: Keep sewing essentials within arm’s reach and mobile, easily rolling your supplies exactly where you need them.
- Woven Storage Baskets: Organize smaller tools and fabric scraps neatly inside your cart while adding a touch of texture to your space.
- Ceramic Flower Vase: Add a personal, decorative touch to your workspace by displaying fresh or dried flowers on your storage cart.
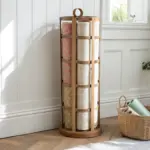
Hang Quilts and Yardage on a Ladder Rail
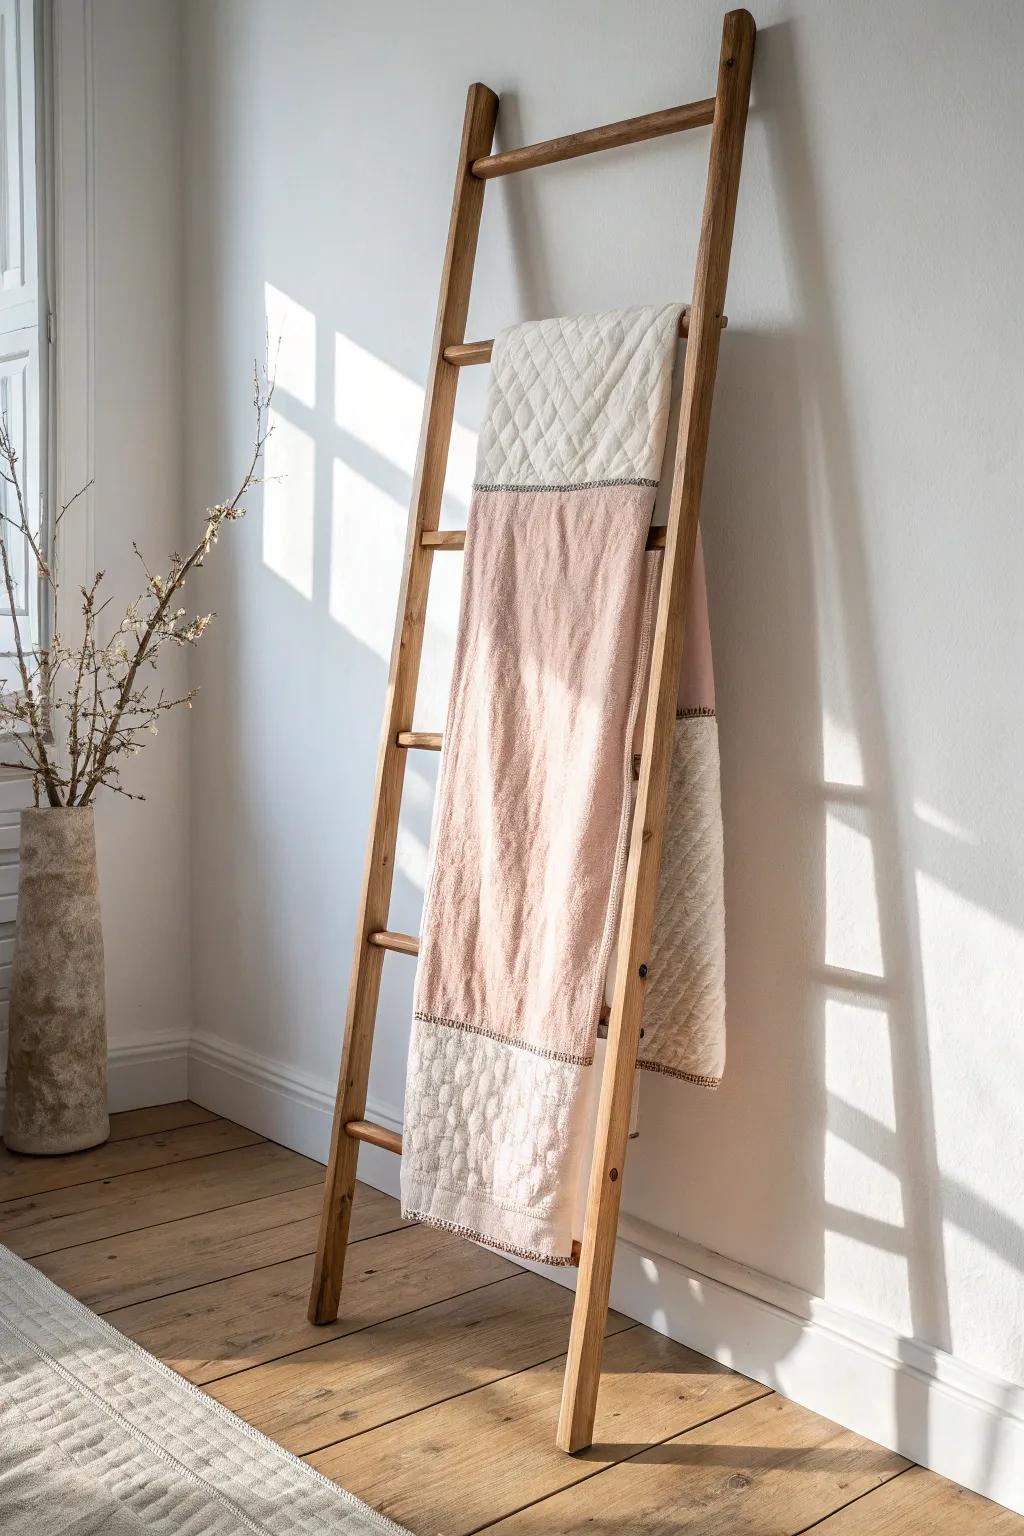
One unexpectedly gorgeous trick I’ve used is leaning a simple ladder-style rail to hang quilts in progress and larger cuts of fabric so they don’t wrinkle in piles. It turns active projects into decor, and I’m way more likely to keep sewing when I can see them.
Check these products out:
- Wooden Blanket Ladder: Display your quilts vertically to save space and keep fabrics wrinkle-free while adding rustic charm to your studio.
- Non-Slip Furniture Pads: Secure the base of your ladder to protect your flooring and ensure your heavy fabric displays stay stable.
- Large Quilting Clips: Use these gentle clamps to hold multiple layers of fabric yardage securely on the ladder rungs without slipping.
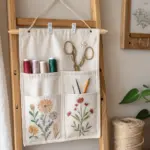
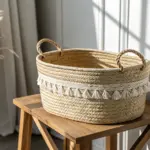
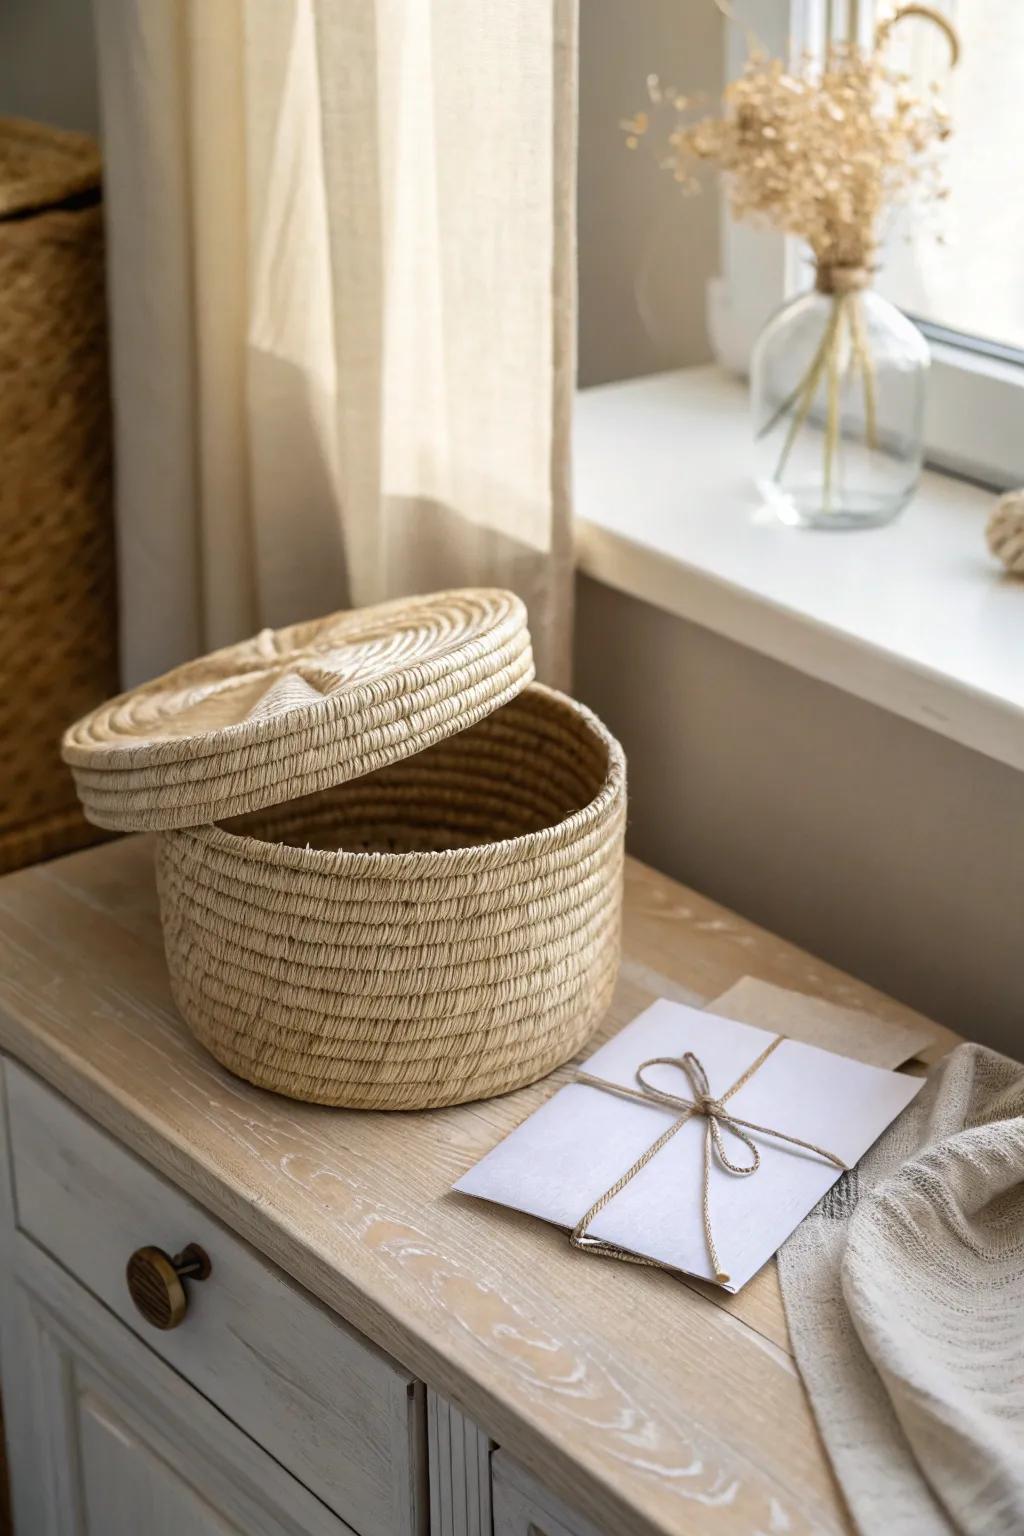
Create a “One-Minute Reset” Basket
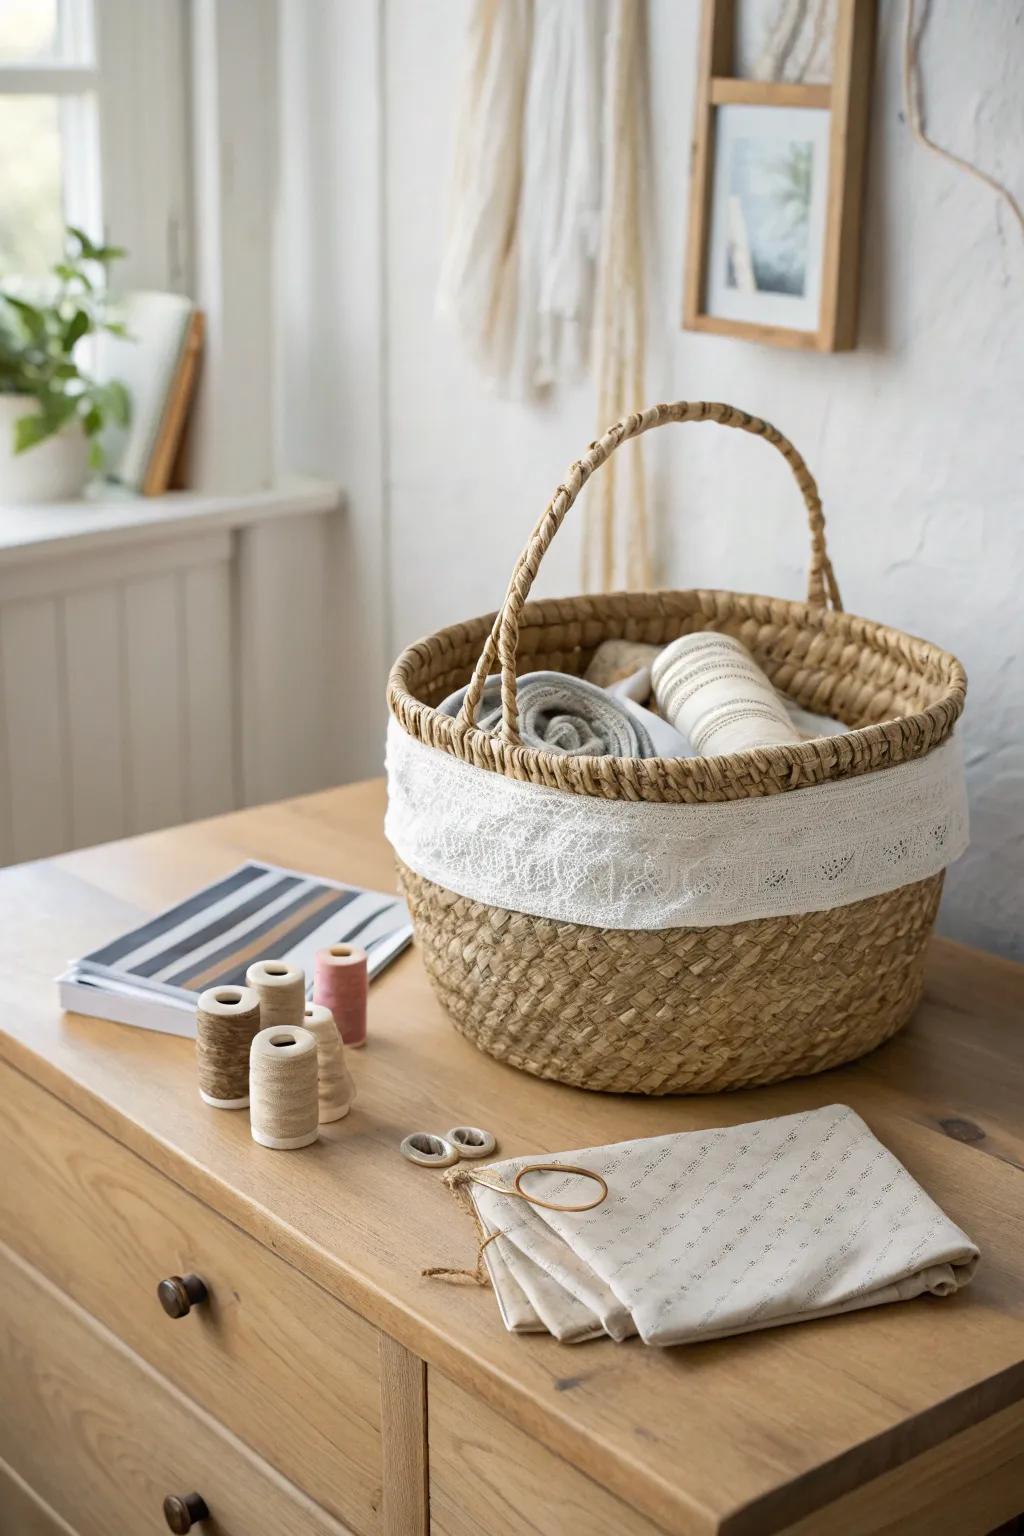
My most sanity-saving sewing room organization idea is a cute reset basket where I toss the random bits that appear during sewing—loose notions, thread tails, packaging, whatever. At the end of the day, I do a one-minute sweep, and later I sort it properly when I have the patience.
May just do the trick:
- Woven Seagrass Basket with Handle: Use a sturdy, natural woven basket to easily collect stray notions and fabric scraps for quick cleanup sessions.
- Wooden Spools for Sewing Thread: Organize your leftover thread or ribbon on simple wooden spools to keep your reset basket tidy and aesthetic.
- Vintage Style Sewing Scissors: Keep a small, dedicated pair of snips near your basket to quickly trim loose threads and packaging materials.


