A plain box can go from “junk drawer energy” to adorable decor with just a few simple touches.
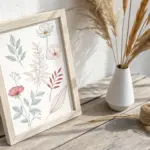
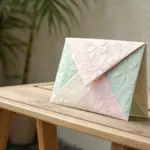
Pressed Flowers Under a Clear Seal
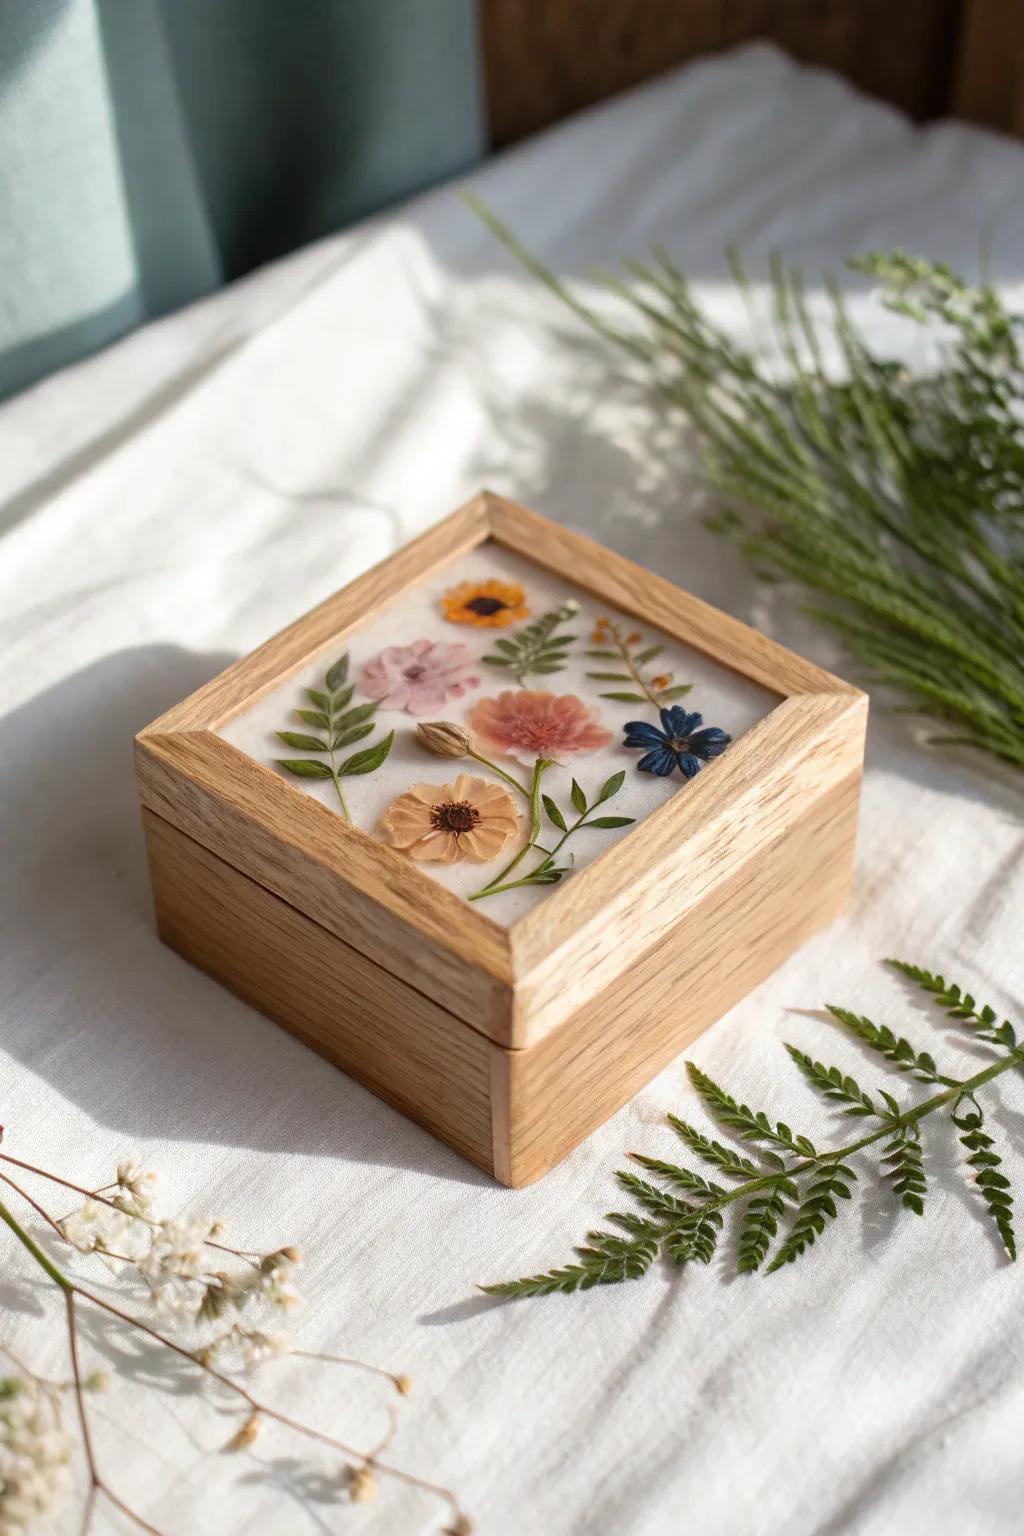
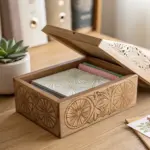
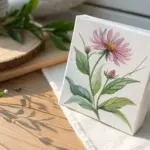
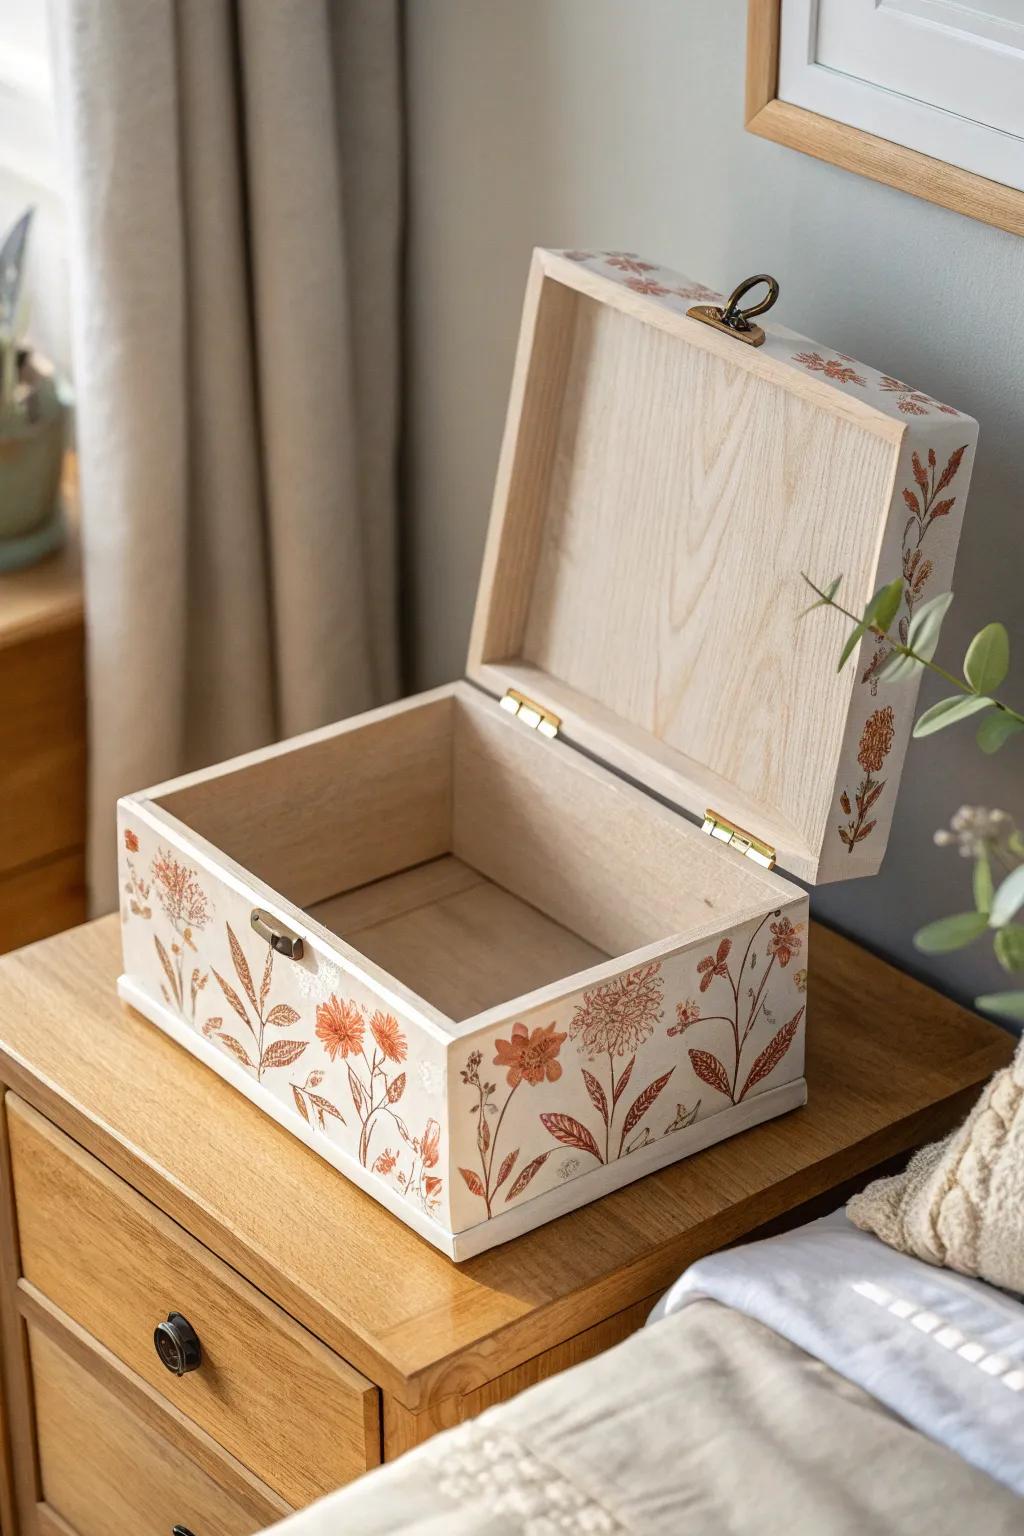
Pressed petals on the lid with a clear protective seal looks delicate and fancy, but it’s surprisingly doable. I tried it on a small wooden trinket box, and it turned into the prettiest little bedside catch-all.
A few helpful options:
- Unfinished Wooden Box with Lid: Choose a smooth, unfinished wooden box as your base canvas to create a custom floral masterpiece.
- Real Dried Pressed Flowers: Select a variety of colorful pressed flowers and ferns to arrange a beautiful, natural design.
- Clear Epoxy Resin Kit: Use clear casting resin to permanently seal your flowers and create a glossy, professional-looking glass finish.

Pastel Color-Block Paint
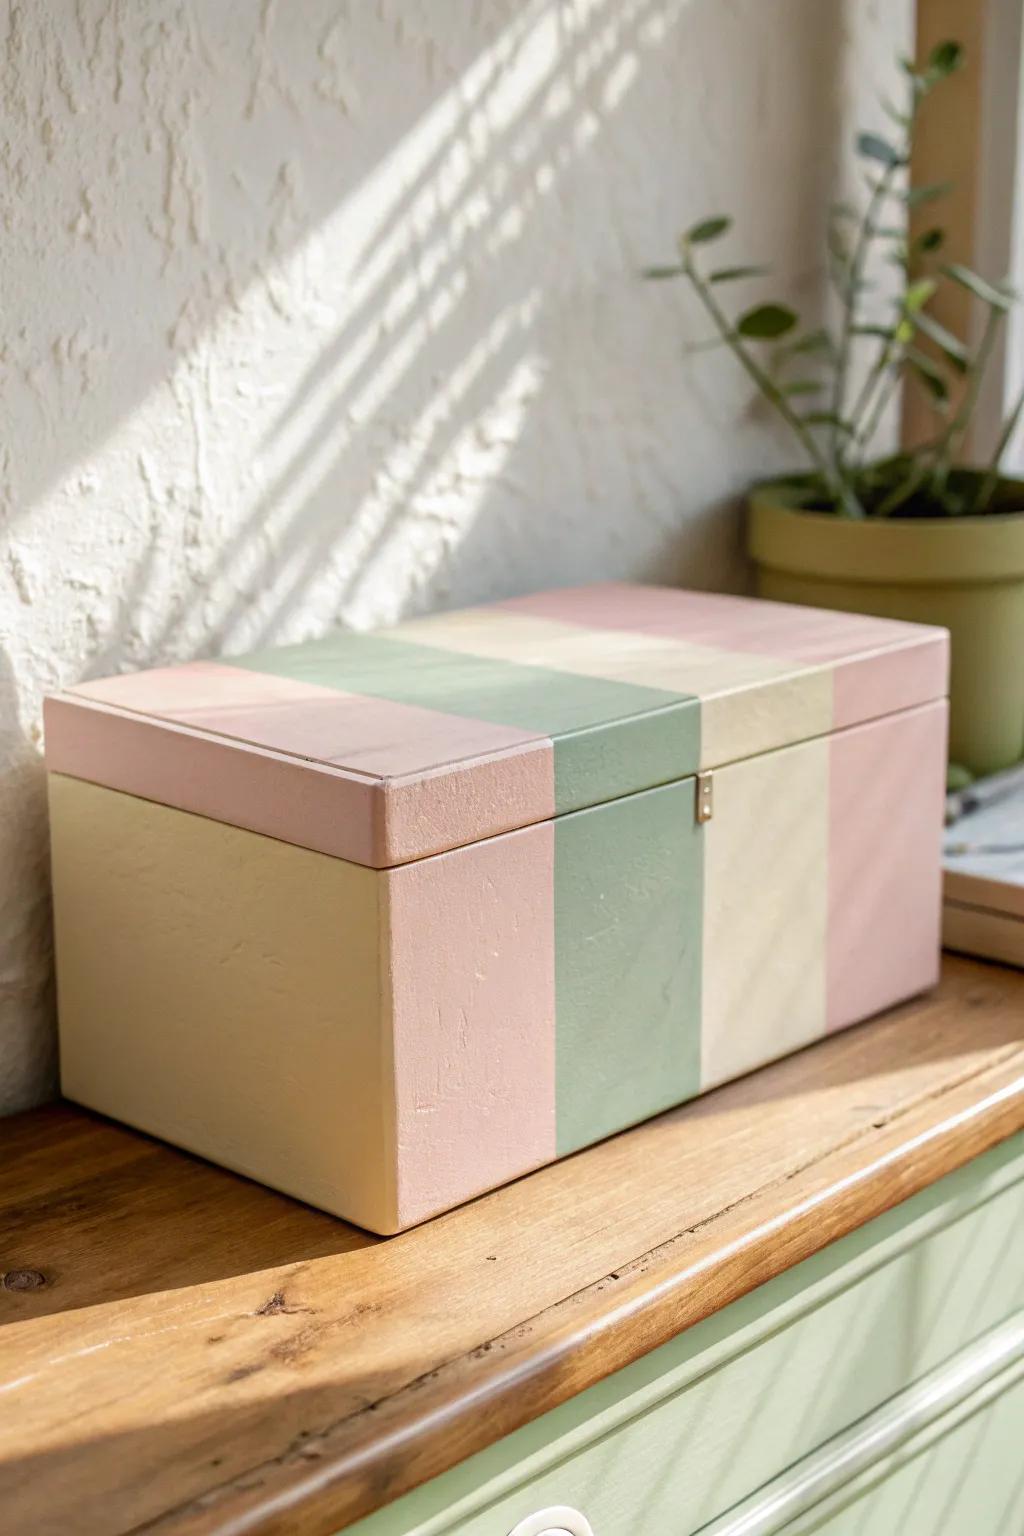
When I want instant cute, I paint a plain box in two or three blocks of pastel color (even just the lid looks great). In my 450 sq ft place, it makes my shelf storage look styled instead of stuffed.
Items that may come in handy:
- Acrylic Paint Set (Pastel Colors): Choose a set of soft, matte acrylic paints to create dreamy, muted stripes on your storage box.
- Painter’s Tape (Multi-Pack): Use high-quality masking tape to achieve those crisp, clean lines between your different color blocks.
- Unfinished Wooden Box: Start with a simple, unfinished wooden keepsake box as the perfect blank canvas for your color-blocking project.
Chalky Matte With Distressed Edges
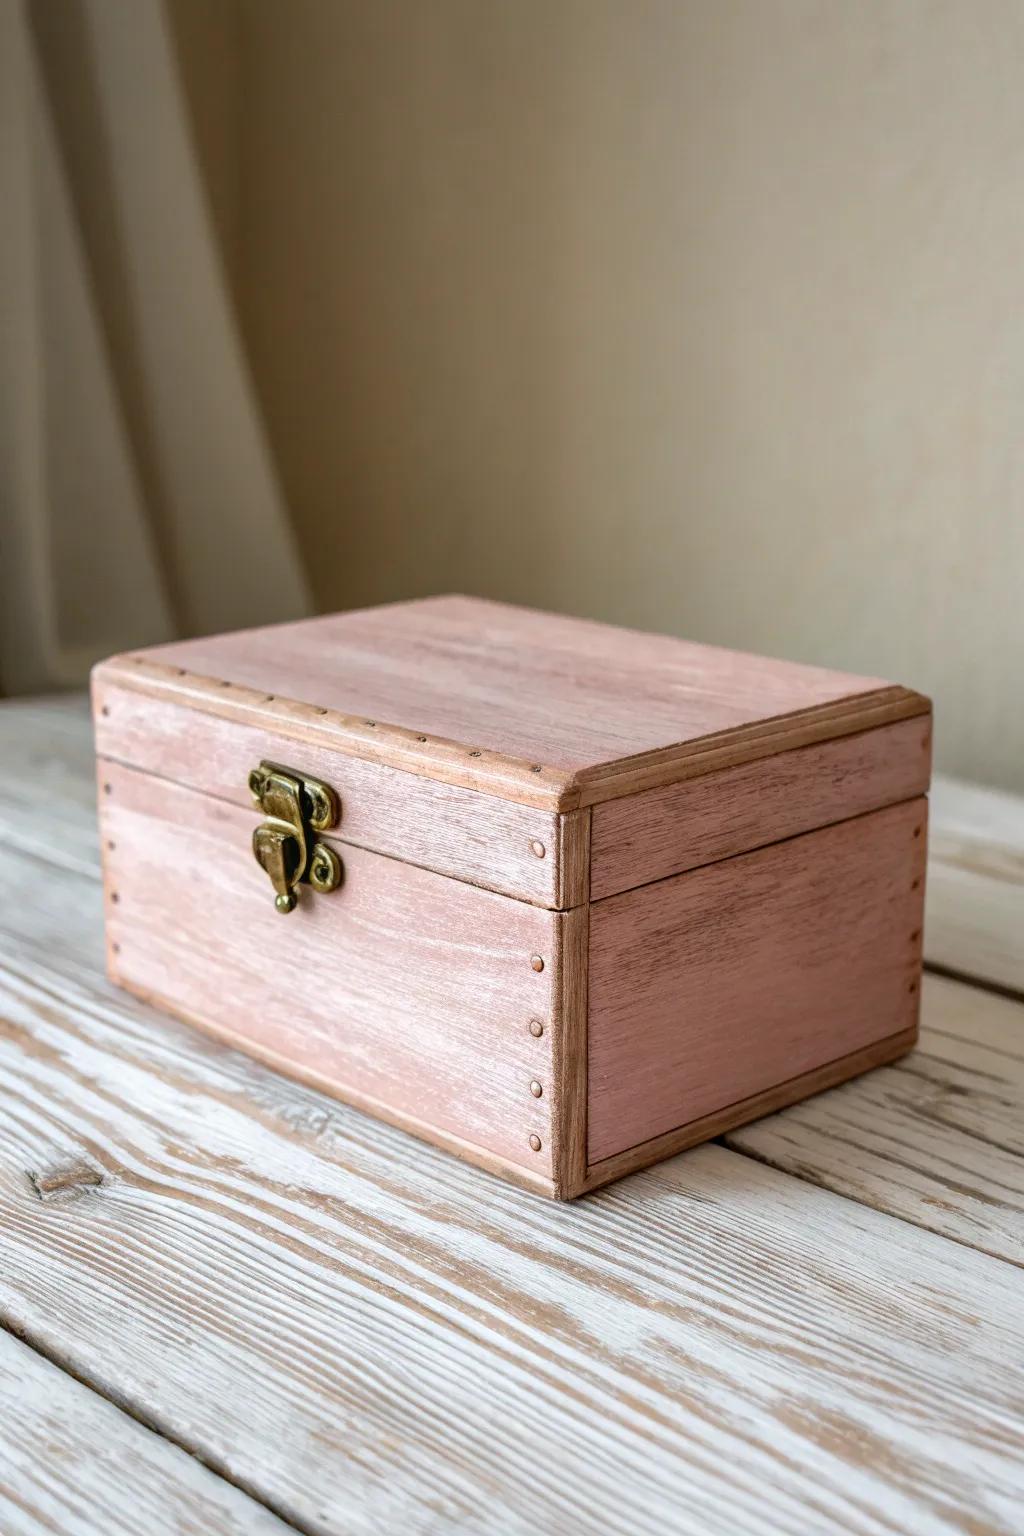
I love a cozy vintage vibe, so I use chalky matte paint and lightly sand the corners for distressed edges. I did this on a little keepsake box by my entry table, and it instantly looked like decor.
A few things you might like:
- Blush Pink Chalk Finish Paint: Achieve that dreamy, matte vintage look easily; apply this paint for a soft, velvety finish on your box.
- Fine Grit Sanding Sponges: Create authentic distressed edges gently; use these sponges to rub away paint on corners and high points.
- Unfinished Wooden Storage Box: Start your project with the perfect canvas; grab a simple raw wood box ready for your creative touch.

Easy Stenciled Pattern
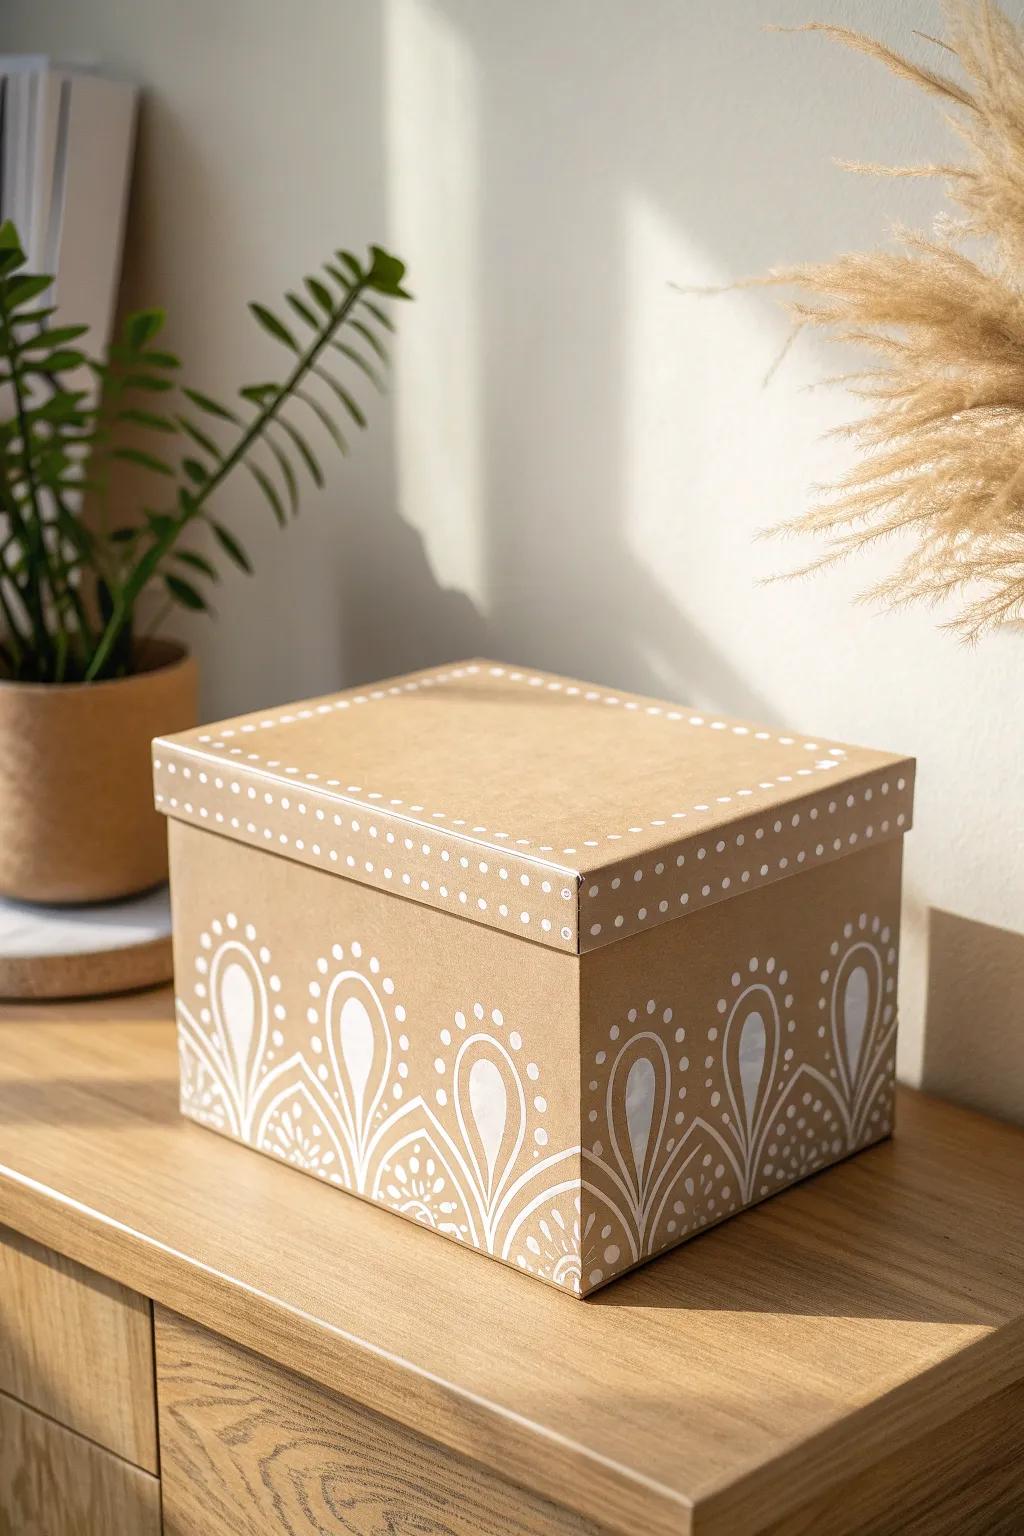
A simple stencil pattern (dots, arches, or tiny florals) turns any box into something you’d actually leave out. I’ve used this trick on cardboard boxes for my closet shelves, and it makes organizing feel oddly satisfying.
A few choices to try:
- Mandala or Geometric Stencils: Use these flexible templates to easily trace uniform arches and patterns onto your storage boxes for professional results.
- White Fine-Tip Paint Pens: Achieve crisp, bright lines and dots on cardboard surfaces with these easy-to-control markers perfect for detailed work.
- Kraft Cardboard Gift Boxes: Start fresh with these sturdy, neutral bases that are perfect for painting and organizing your shelf space beautifully.
Scrapbook Paper Decoupage
Covering a box with scrapbook paper and decoupage medium is my go-to when the surface is scratched or ugly. I’ve done it on shoeboxes for mail and cords, and the pattern hides the chaos beautifully.
Might be a good match:
- Decorative Scrapbook Paper Pad 12×12: Choose vibrant patterned paper to transform your plain boxes into stylish storage pieces that brighten up any room.
- All-in-One Decoupage Glue & Finish: Secure your paper and add a durable protective seal with this essential crafting adhesive for a smooth finish.
- Foam Paint Brush Set: Apply your glue evenly and smoothly without brush strokes using these handy foam applicators perfect for beginner crafters.
Fabric-Wrapped Lid
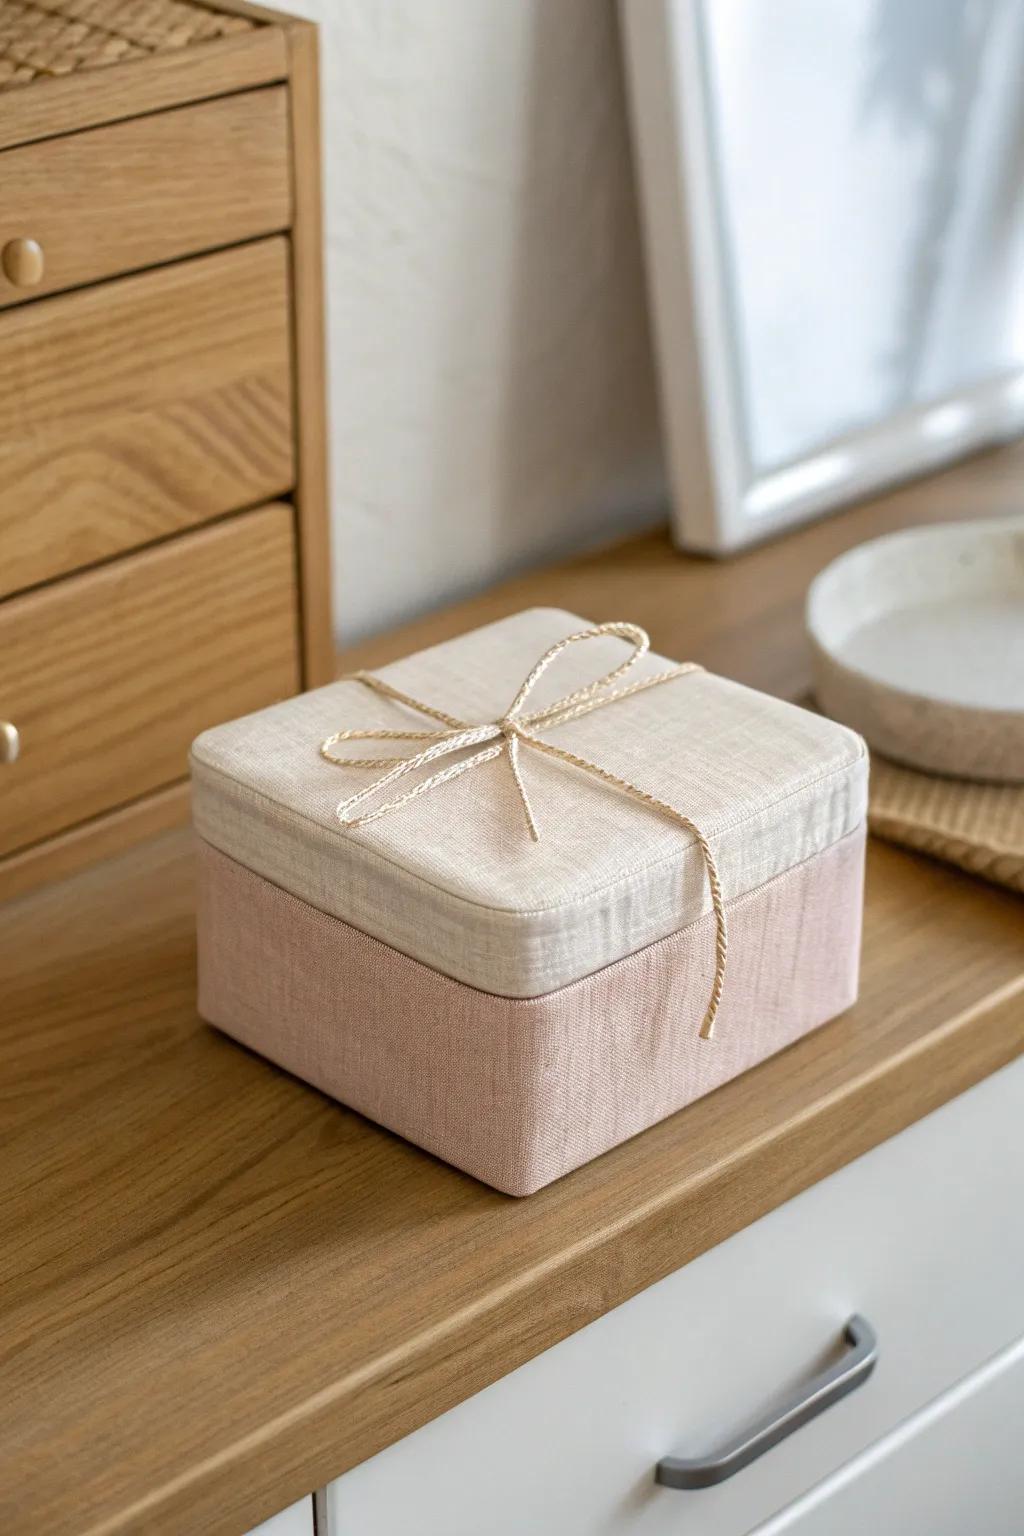
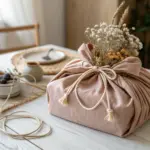
Wrapping just the lid in pretty fabric gives that boutique look without a ton of work. I used leftover linen on a small jewelry box, and it made my dresser top feel instantly more pulled together.
Consider these options:
- Linen Fabric Scraps or Fat Quarters: Choose neutral or pastel linen swatches to easily achieve that soft, textured boutique aesthetic for your box lid.
- Spray Adhesive for Fabric: Secure your fabric smoothly to the box lid without wrinkles or mess using a reliable spray adhesive.
- Natural Jute Twine or Cotton Cord: Finish the look by tying a simple bow with natural cord to add a charming, rustic touch.
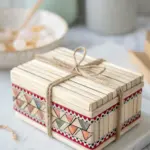
Burlap and Lace Layers
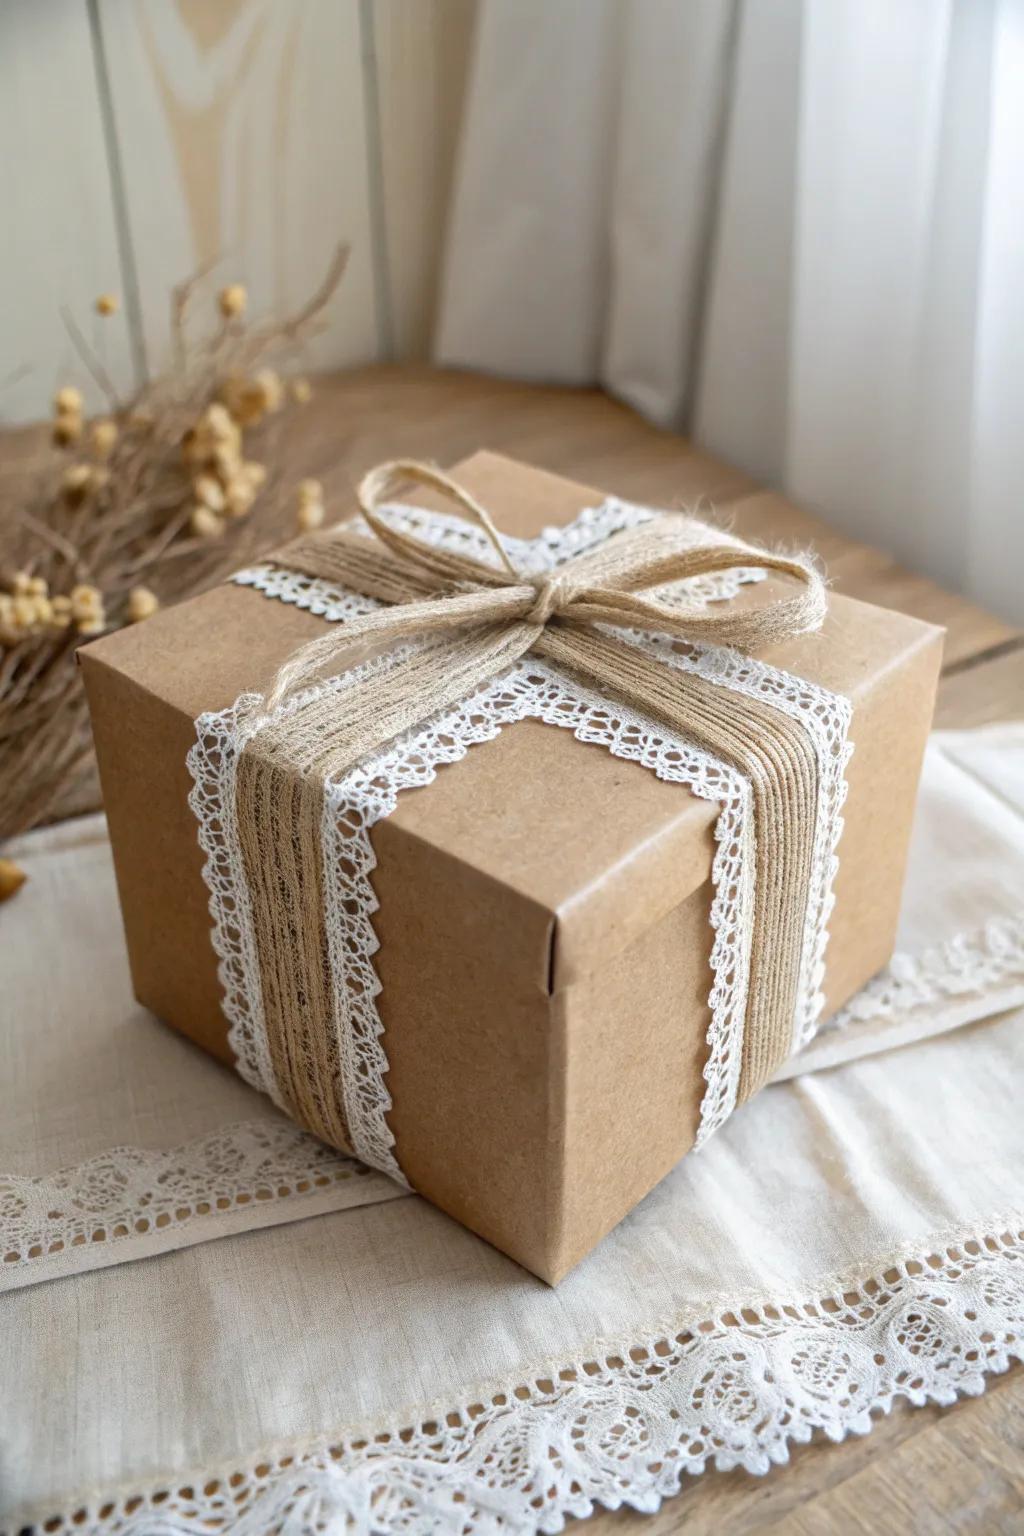
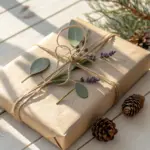
For a soft rustic look, I layer burlap ribbon with a strip of lace trim around the box. I’ve used this on gift boxes I wanted people to reuse, and everyone always keeps them.
Explore these options:
- Burlap Ribbon with Lace Trim: Achieve that rustic charm effortlessly by wrapping your gifts in this durable, vintage-inspired ribbon combination.
- Kraft Paper Gift Boxes: Start with a sturdy, neutral canvas perfect for embellishing with ribbons, twine, and personal creative touches.
- Natural Jute Twine: Complete your packaging with a simple, secure bow that adds texture and complements the rustic aesthetic.
Ribbon Wrap With a Big Bow
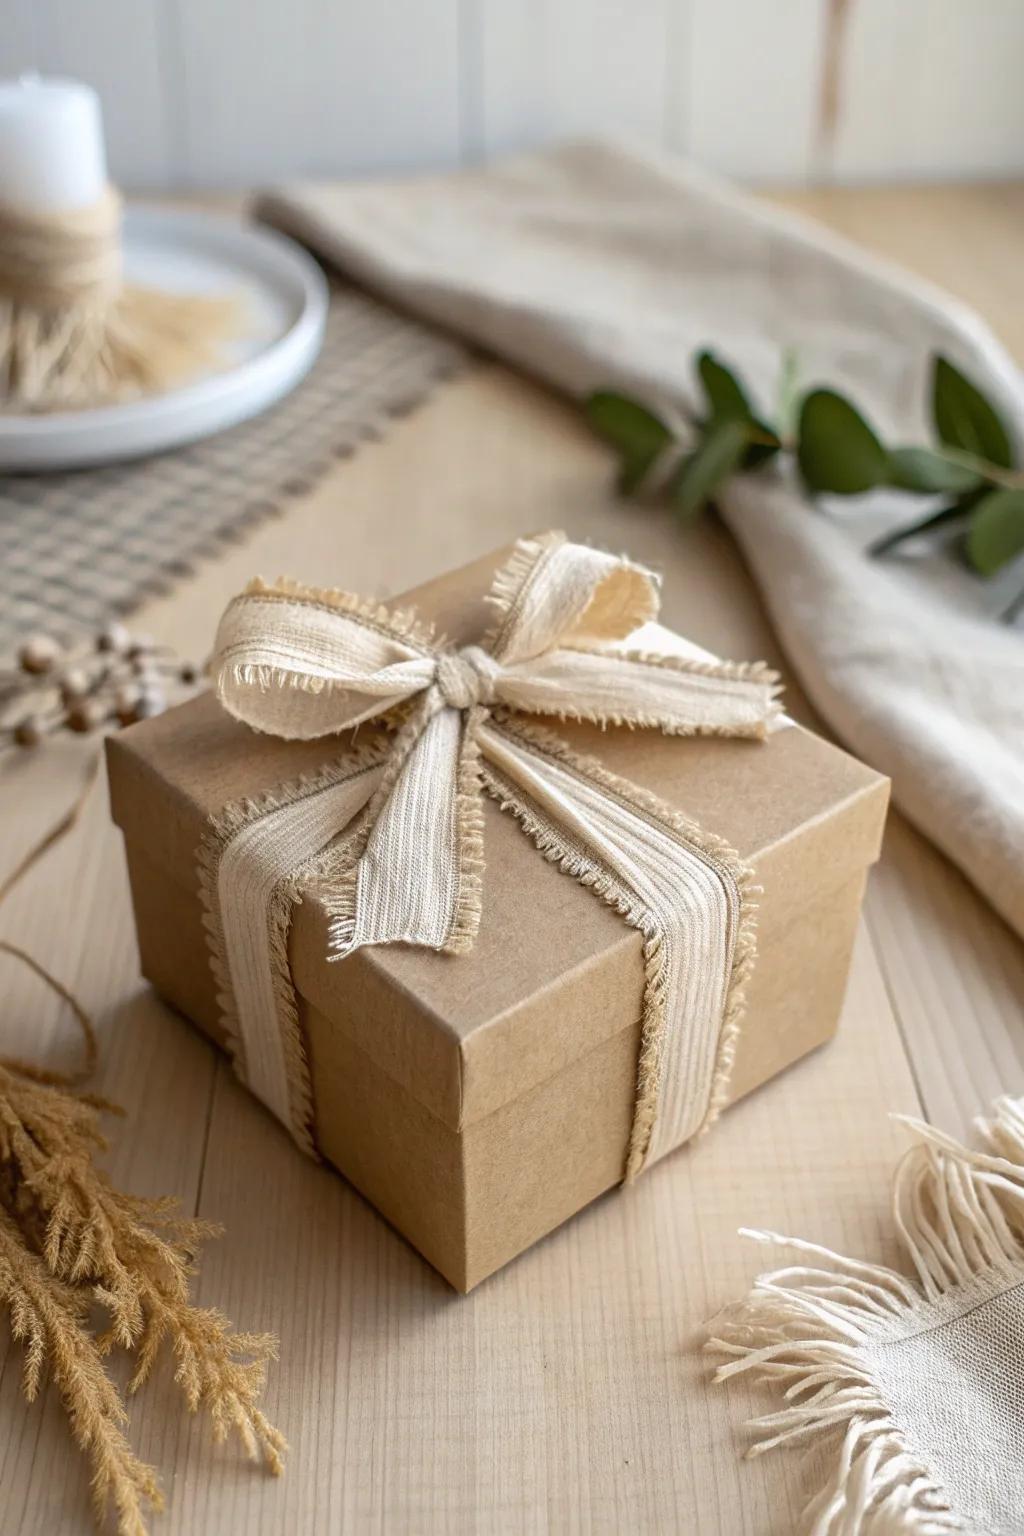
A full ribbon wrap (crossed on top) makes even a basic box look like a keepsake. I do this when I’m reusing shipping boxes for gifting, and it’s the fastest cute upgrade I know.
A few suggestions:
- Frayed Edge Cotton Ribbon: Achieve that rustic, handmade charm by tying your gifts with a soft, textured ribbon featuring decorative frayed edges.
- Brown Kraft Gift Boxes: Start with a clean slate using these sturdy neutral boxes, providing the perfect canvas for your beautiful ribbon decorations.
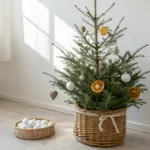
- Natural Dried Flowers: Tuck a few sprigs of dried pampas grass or wheat under your bow for an extra touch of nature.
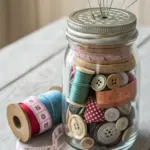
Twine and a Handwritten Tag
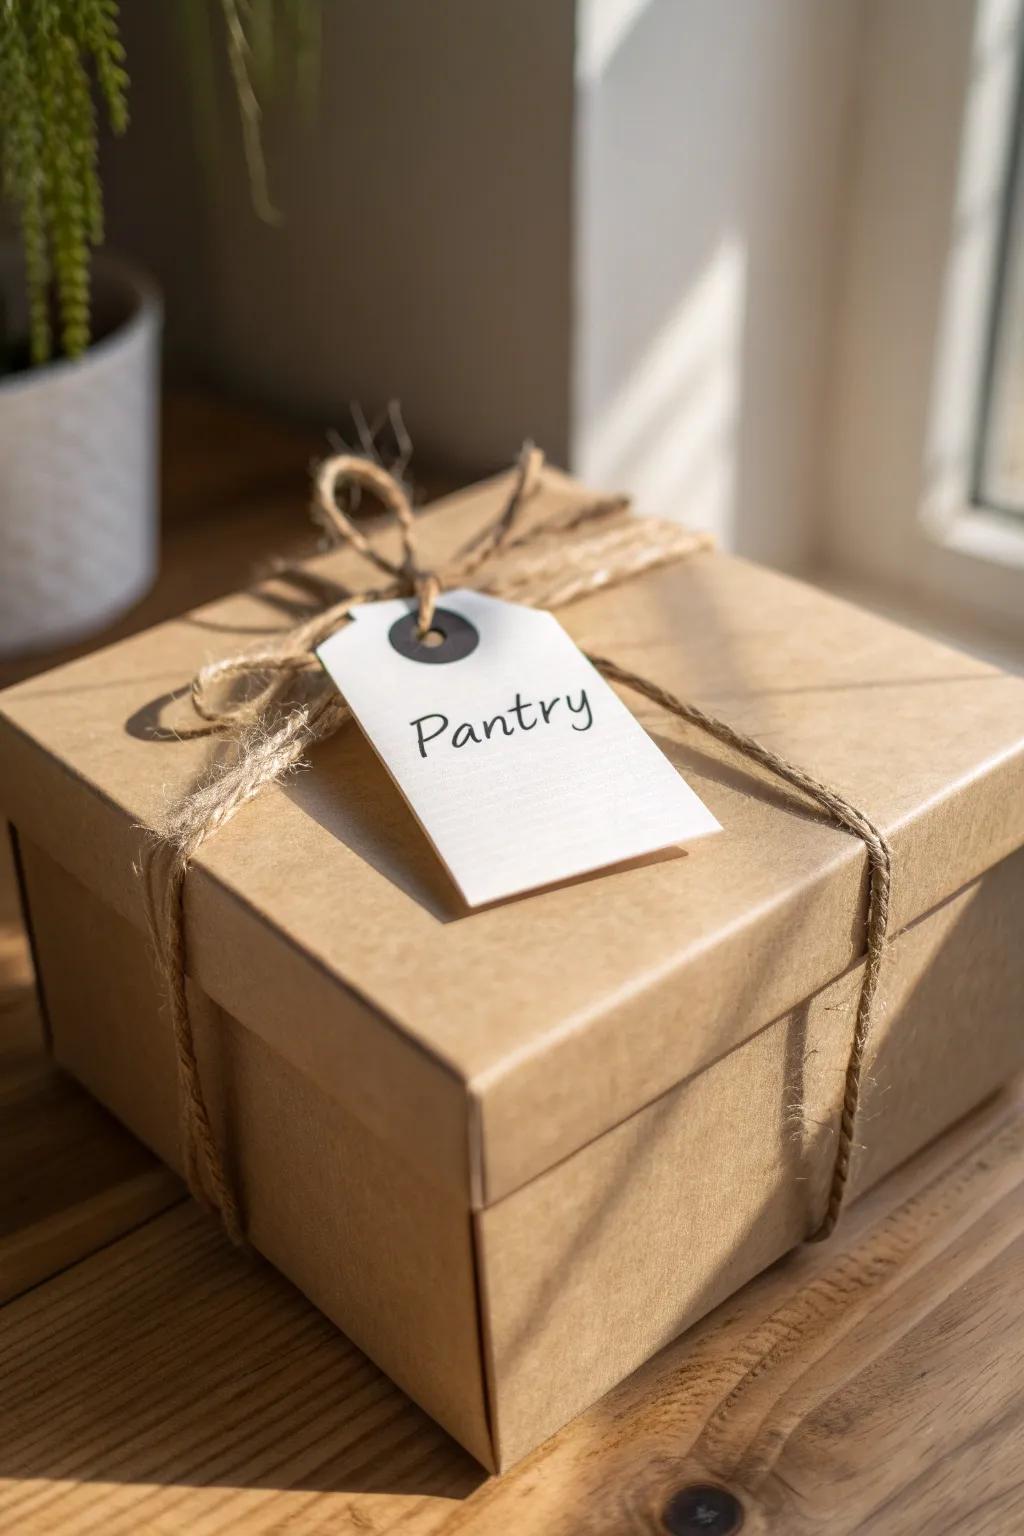
I tie on twine and add a little handwritten tag so the box feels personal and organized at the same time. I use this for pantry and office boxes in my small space, and it keeps everything looking calm.
Try these:
- Natural Jute Twine: Secure your boxes with this rustic cord to instantly add natural texture and charm to your storage setup.
- Blank Paper Tags with Reinforced Holes: Label your organizers clearly using these classic tags that offer a clean, personalized surface for your handwriting.
- Fine Tip Black Permanent Marker: Create bold, legible labels on your tags that won’t smudge, keeping your organization system looking neat.
Mini Label Frames on the Front
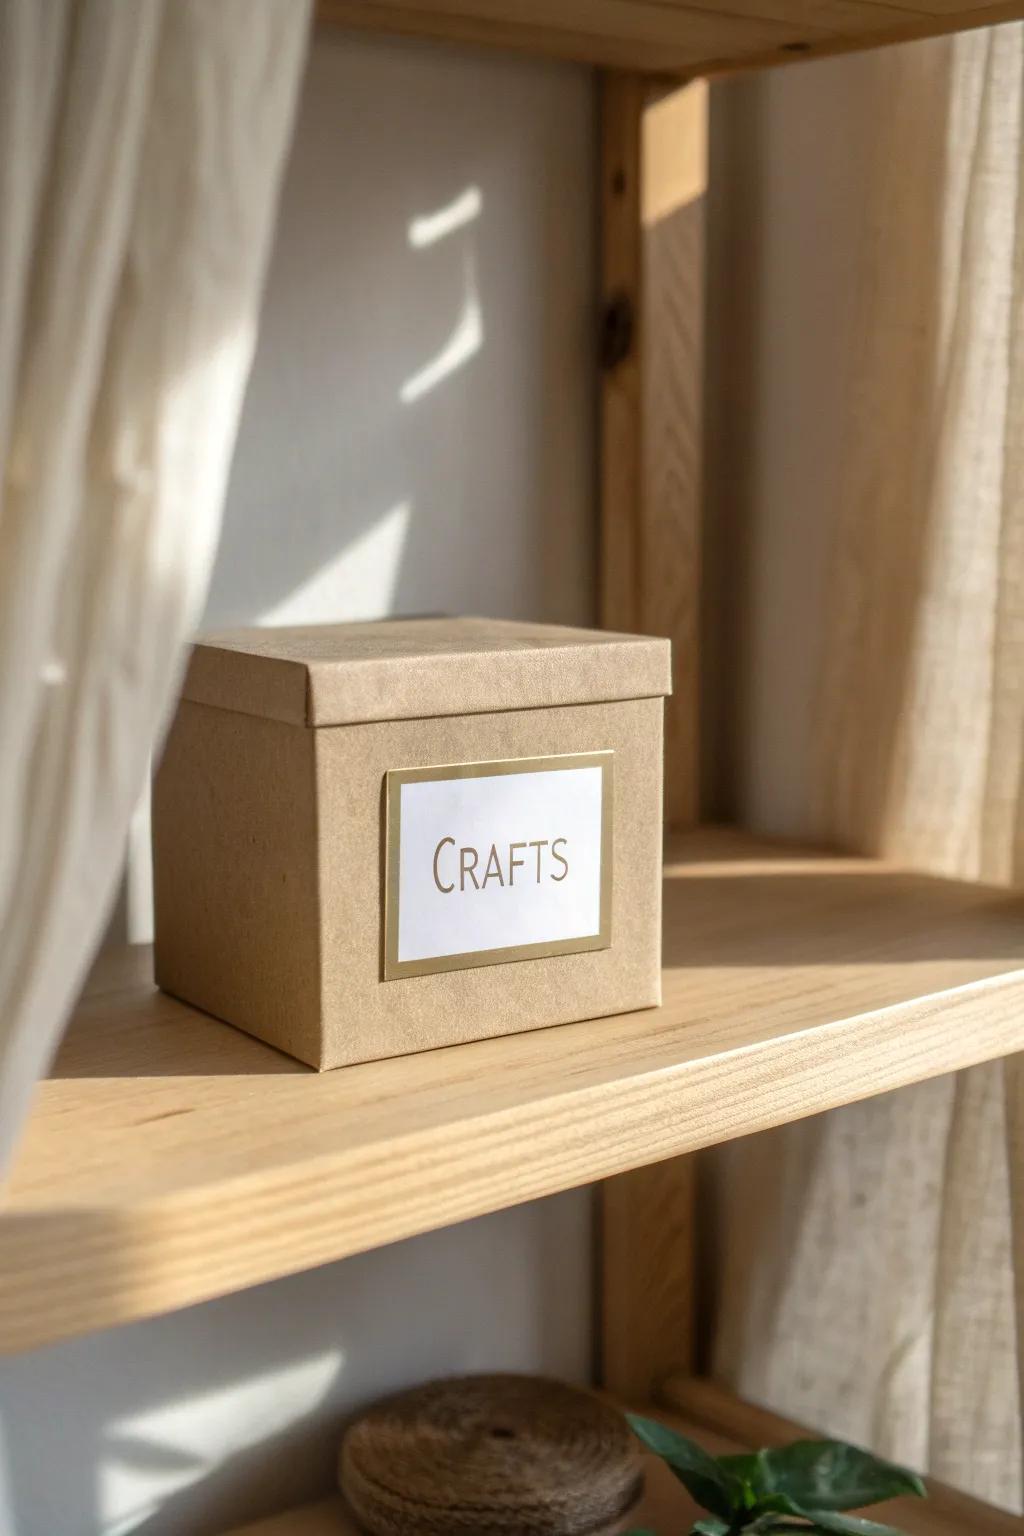
Gluing on tiny label frames (even cut from sturdy paper) instantly makes a box feel like custom storage. I did this for my craft-supply boxes, and now I can grab what I need without digging.
May just do the trick:
- Self-Adhesive Card Label Holders: Organize your boxes instantly with these holders; simply peel, stick, and slide in your handwritten labels.
- Brass Metal Label Frames: Add a vintage touch to your storage; attach these metal frames for a classic, sophisticated look.
- Cardstock Gold Border Labels: Create elegant tags quickly; use these preious bordered cards to label your containers with style.
Vintage Letter and Map Wrap
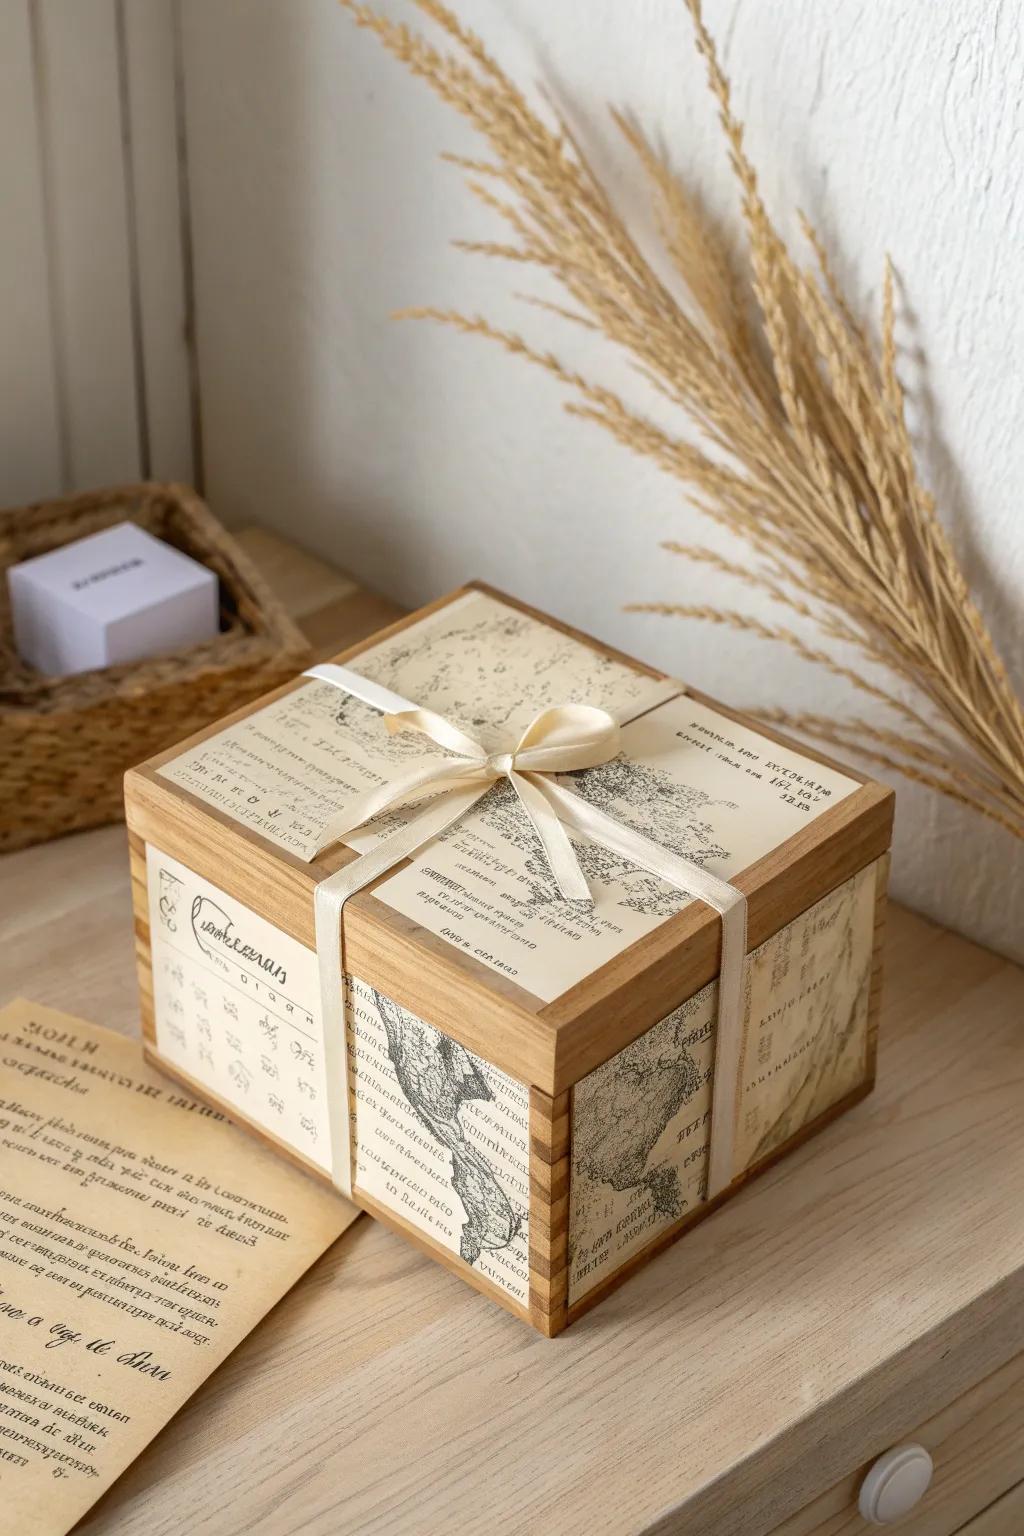
I love covering a box with old-letter prints or a map collage for that collected-over-time look. I did this on a recipe box, and it somehow made the whole kitchen corner feel warmer.
Maybe worth checking out:
- Vintage Scrapbook Paper Pack: Create a nostalgic look by covering your box surfaces with these aged, antique-style map and letter designs.
- Mod Podge Decoupage Glue: Seal and adhere your vintage papers smoothly to the wood for a durable, professional-looking matte finish.
- Cream Double Satin Ribbon: Complete the gift-box aesthetic by tying a simple, elegant bow that contrasts beautifully with rustic wood tones.
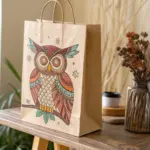
Coloring-Page Patchwork
I’ve decoupaged a box using cut-up coloring pages, and the result is playful and totally one-of-a-kind. It became my “random cables” box, and somehow the cute pattern makes the mess feel less annoying.
Some ideas to consider:
- Medium-Sized Unfinished Wooden Box: Start your patchwork project with a sturdy blank canvas that’s ready for paint, paper, and personalization.
- Matte Decoupage Glue and Sealer: Secure your paper cutouts and protect your finished design with this essential all-in-one adhesive and sealant.
- Adult Coloring Book with Patterned Designs: Find beautiful, intricate floral or geometric patterns to color in and cut up for your unique patchwork look.
Glitter-Dipped Corners
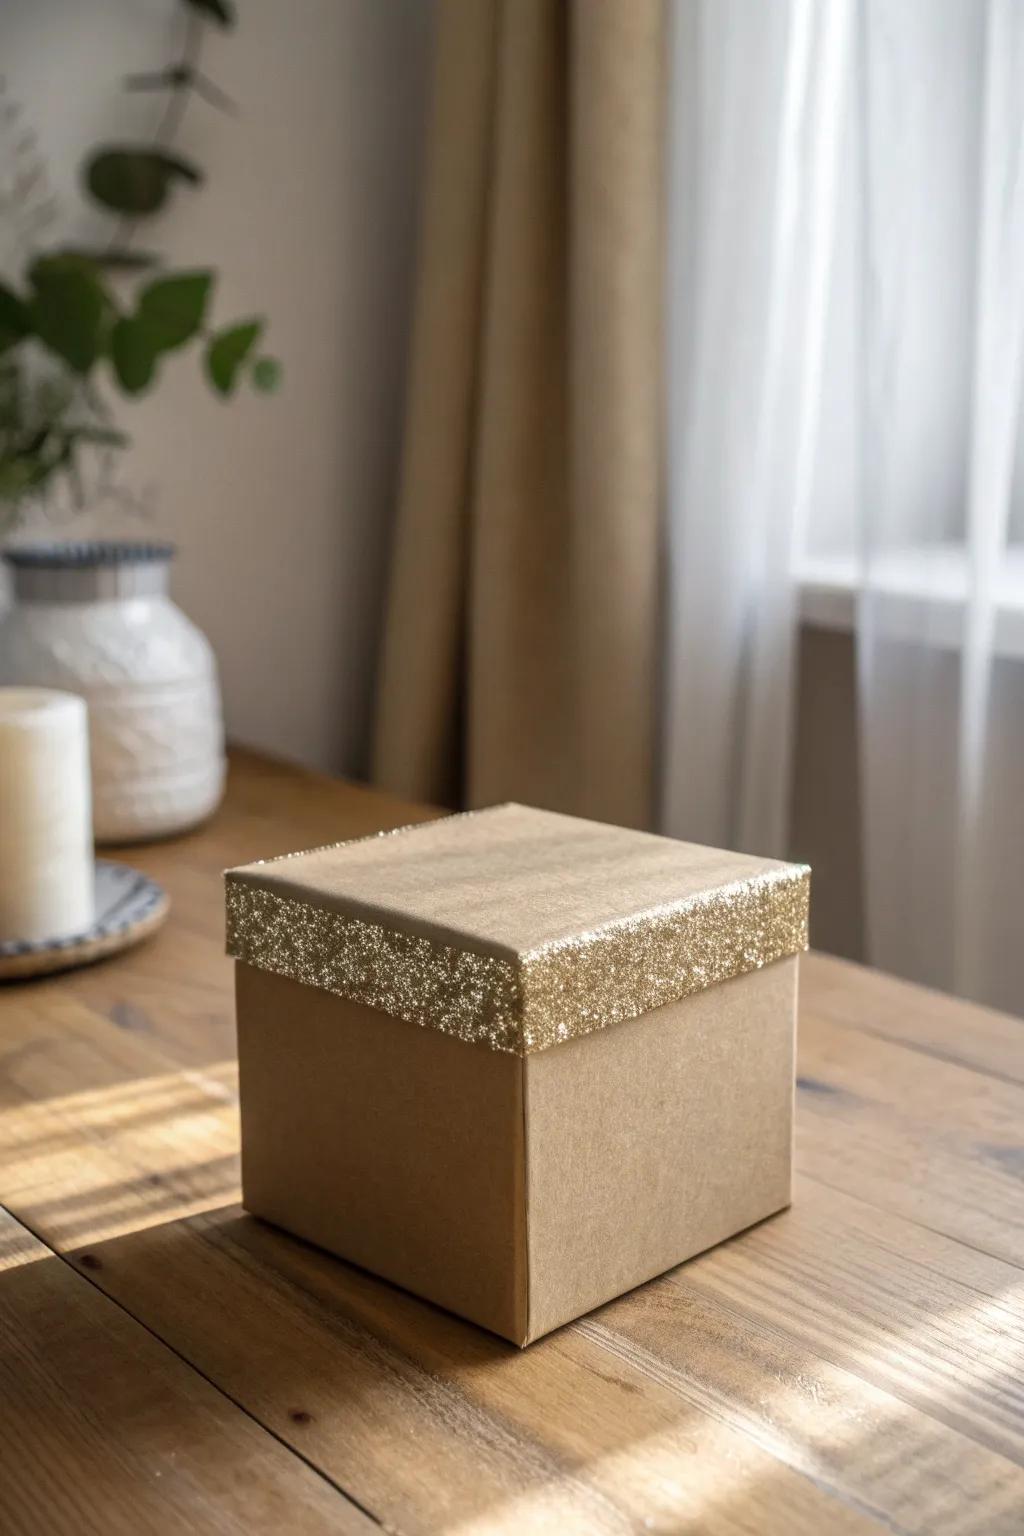
If you want cute without going full sparkle explosion, do glitter-dipped corners or just a glittery lid edge. I used this on a gift box once, and it looked like fancy packaging with almost zero effort.
You might give these a try:
- Gold Glitter Tape: Instantly add a sparkling edge to any box lid without the mess of loose glitter.
- Kraft Gift Boxes: Start with a sturdy, neutral canvas to ensure your glitter accents truly pop and shine.
- Mod Podge & Loose Glitter: Create a custom dipped look by applying adhesive and your choice of fine glitter powder.
Raised Texture With a Pattern
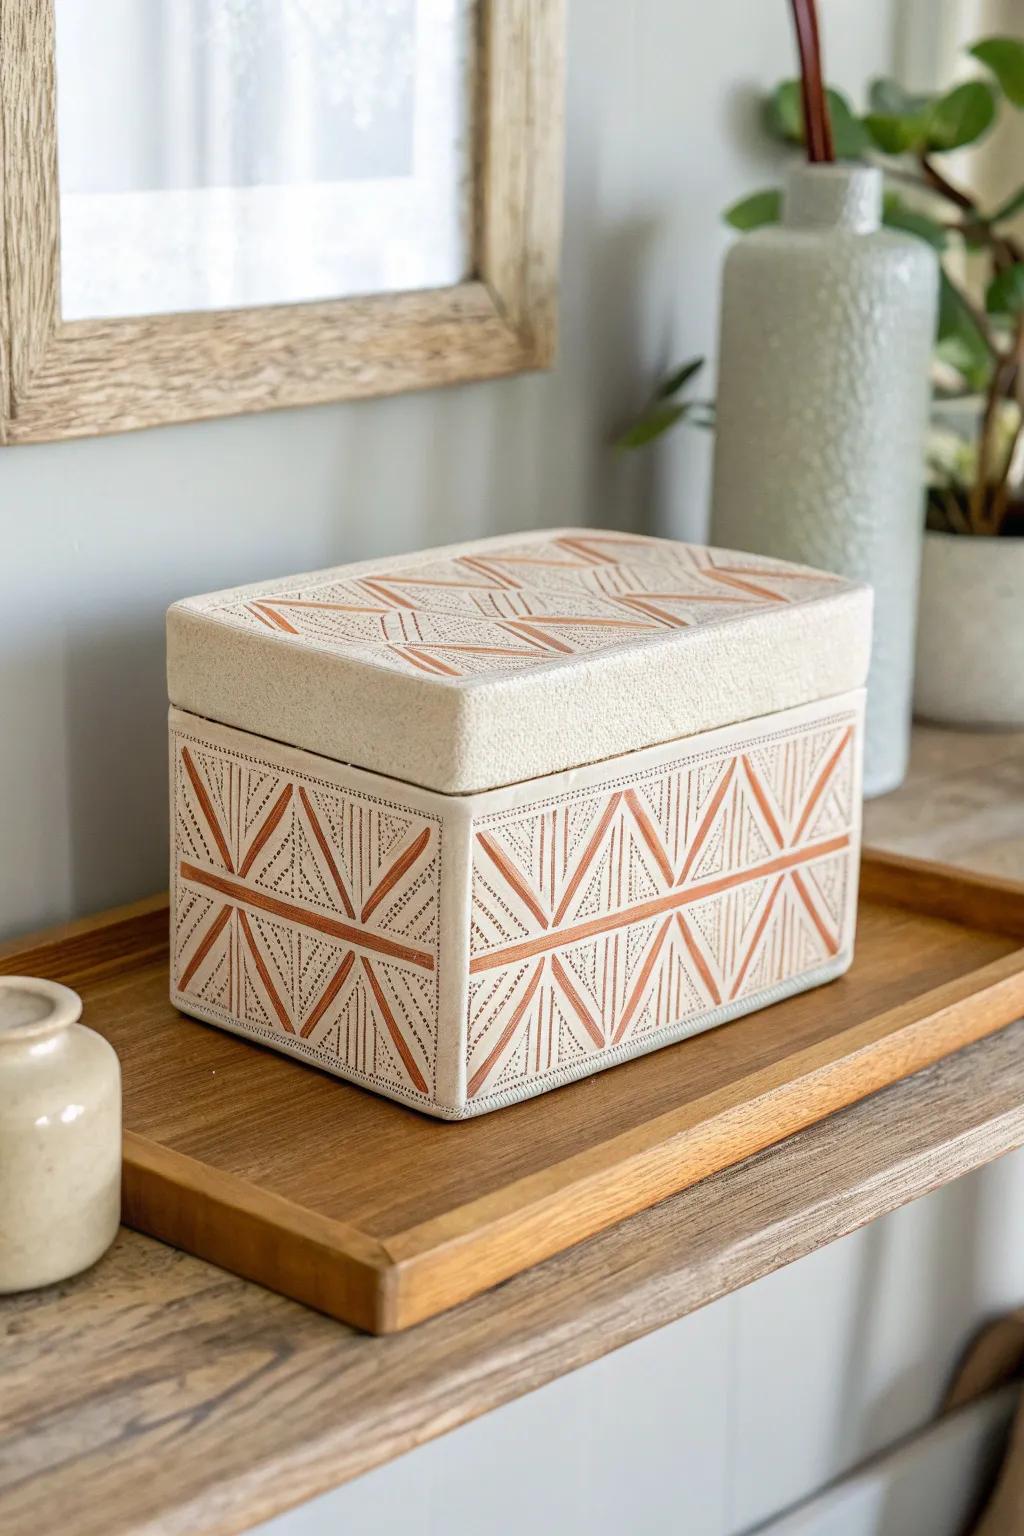
I’ve used a simple raised texture (like a dabbed-on pattern) and painted over it for a subtle 3D look. It made a plain box feel high-end on my open shelves, especially in soft neutral tones.
These products might help:
- Textured Puff Paint: Create raised, three-dimensional lines and dots on your box to mimic unique geometric patterns or detailed carvings.
- Geometric Stencils: Use these stencils as a guide for your textured paste to easily achieve crisp, consistent design motives.
- Acrylic Texture Paste: Apply this thick medium through stencils or freehand to build durable, raised structures ready for painting.
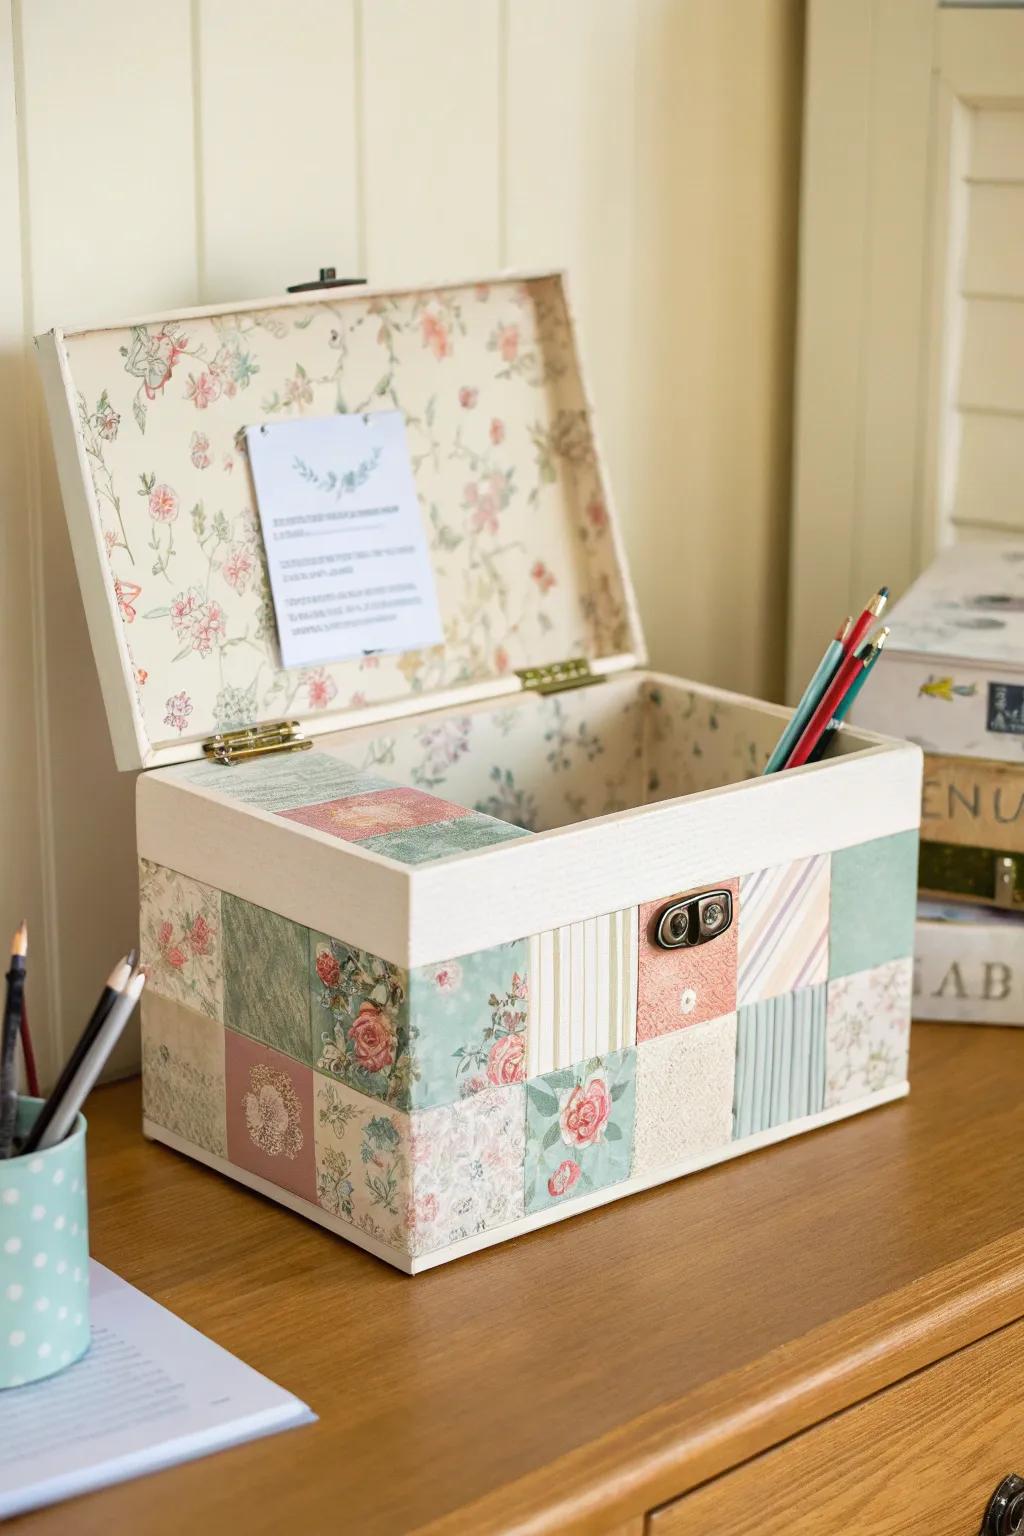
Surprise Wallpapered Interior
Lining the inside with pretty paper is my favorite “secret cute” trick because you get a little pop every time you open the box. I did this on a bedside box for skincare minis, and it feels like a tiny present to myself.
Some handy options:
- Floral Peel and Stick Wallpaper: Choose a small pattern to line your box interior for an easy, mess-free pop of color.
- Decorative Scrapbook Paper Pad: Pick vintage-inspired sheets to glue inside your box for a charming, customized secret design element.
- All-Purpose Craft Spray Adhesive: Use this to secure your paper smoothly without wrinkles, ensuring a professional-looking finish for your project.
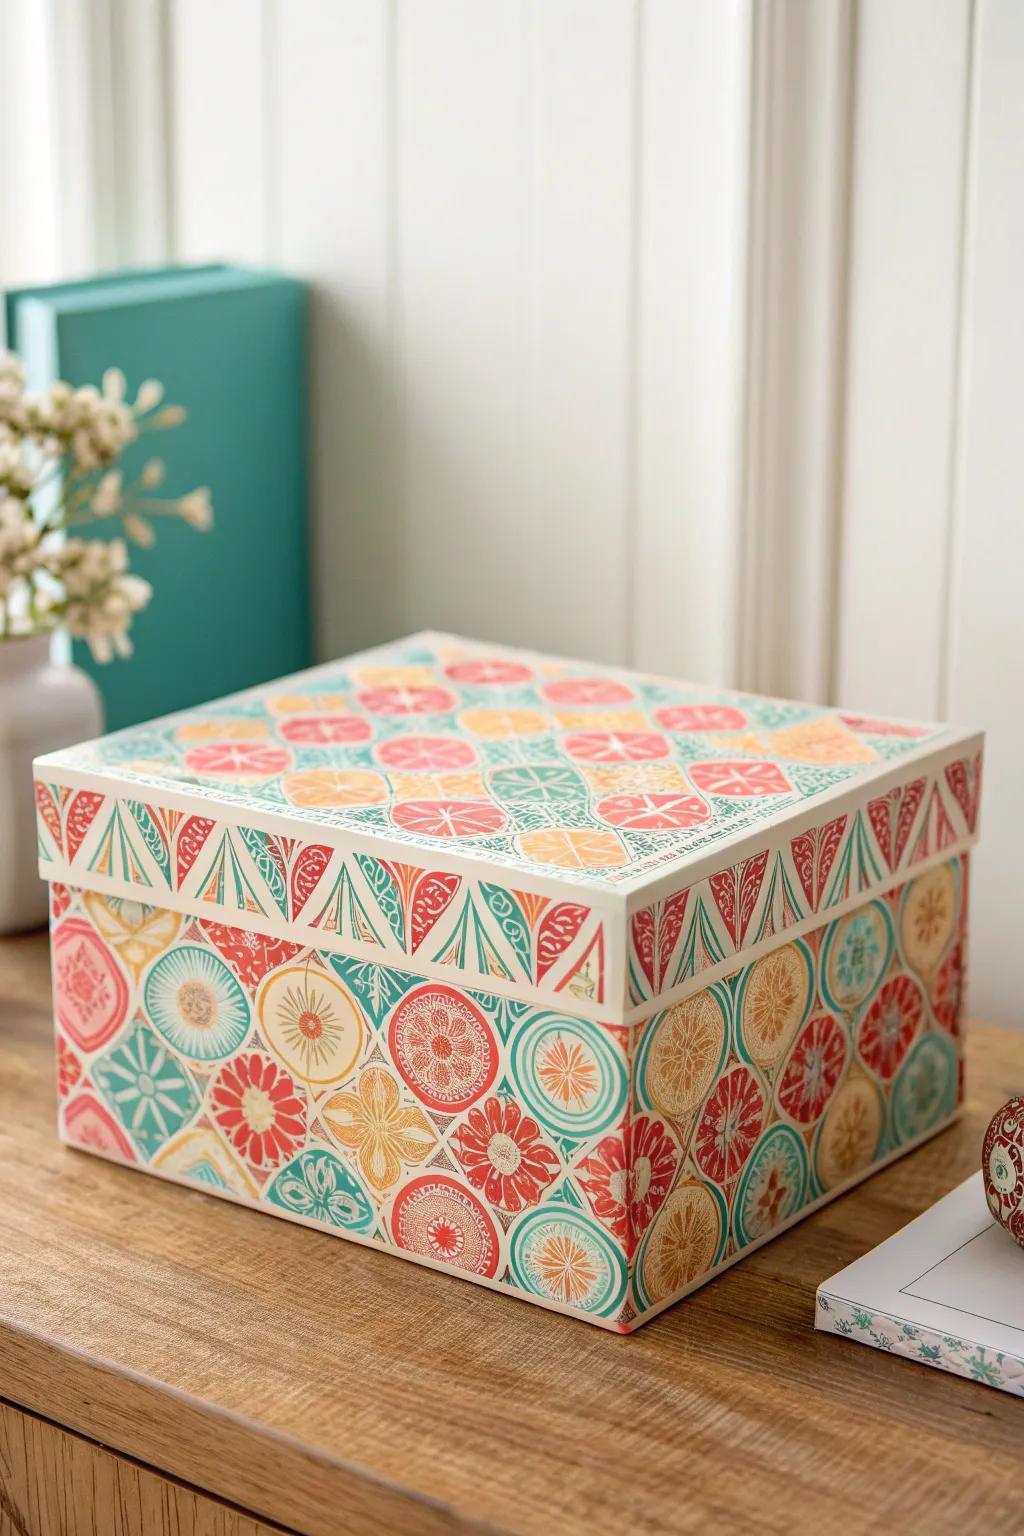
Faux Tile Mosaic Statement Box
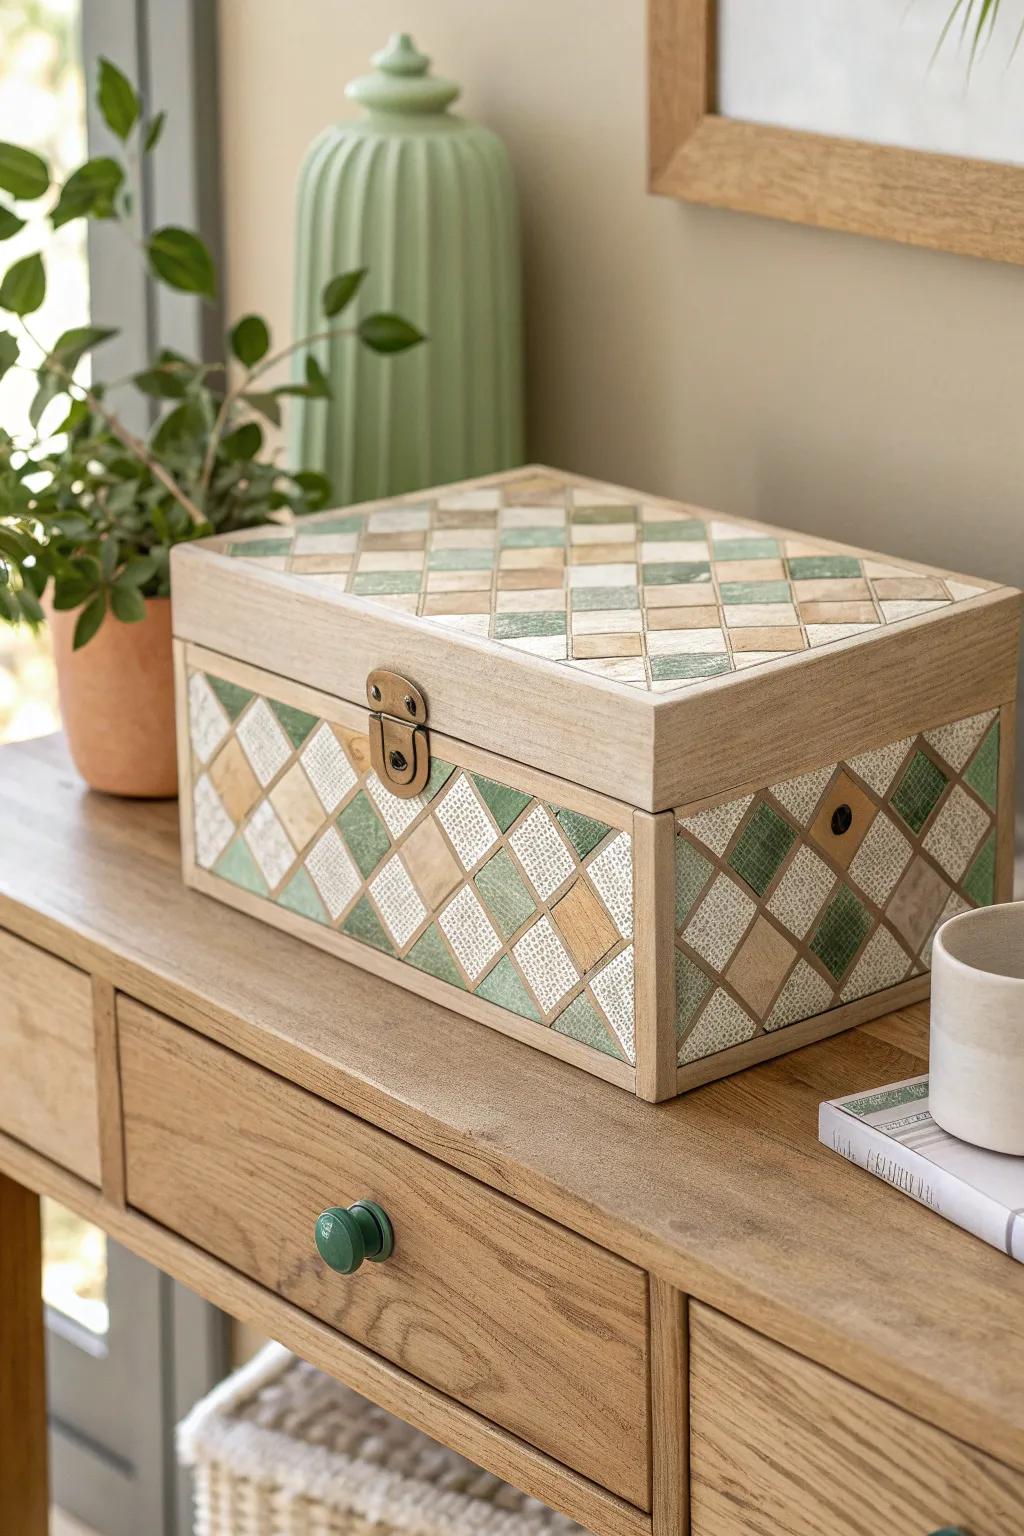
For a total wow moment, I create a faux tile mosaic look using small paper squares or thin cardboard pieces, then paint and seal it. I tried it on a basic storage box in my entryway, and guests always ask where I bought it.
Possibly helpful picks:
- Plain Wooden Box: Start your project with a sturdy, unfinished wooden box that serves as the perfect blank canvas.
- Acrylic Paint Set: Use muted greens, whites, and earth tones to paint your faux tiles for that custom patterned look.
- Mod Podge Sealer: Protect your beautiful mosaic design and add a durable, professional finish with a quality craft sealer.


