A container rock garden is my favorite way to get that rugged, alpine look without needing a yard or a backbreaking weekend project.
Shallow Bowl Mini Alpine Scene
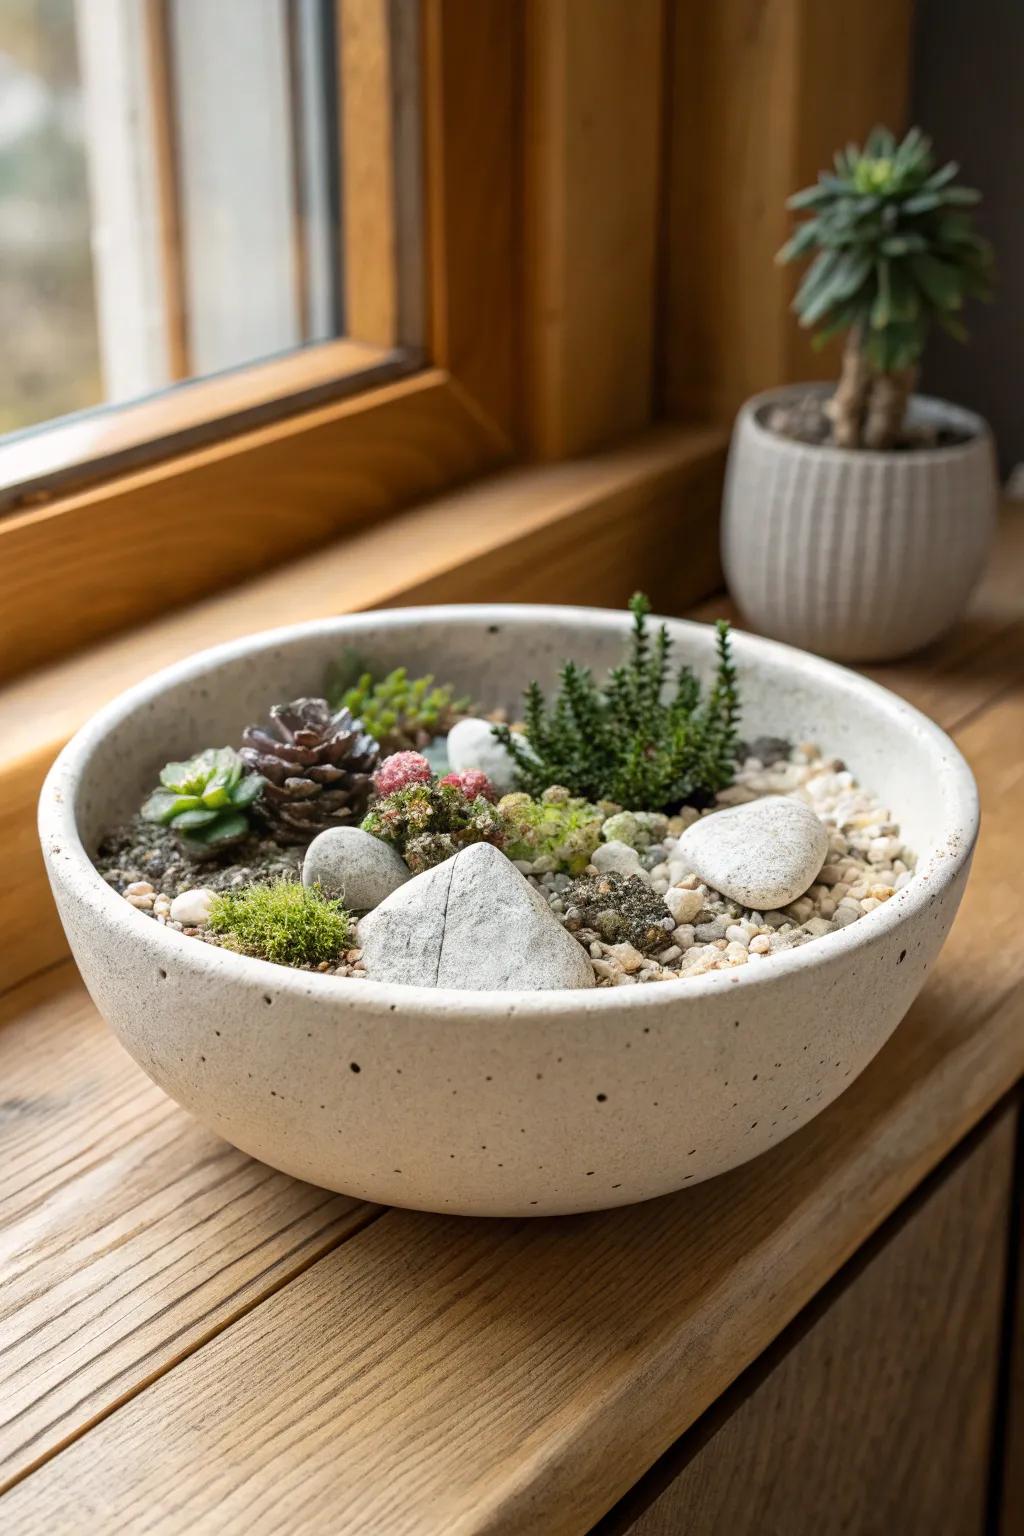
When I first tried a container rock garden in a wide, shallow bowl, it instantly looked like a tiny mountainside instead of just “a pot of plants.” I keep the rocks larger than you think you need, then tuck mini alpines into the gaps for that natural, cliffy vibe.
A few relevant products:
- Shallow Concrete Planter Bowl: Choose a wide, low-profile bowl like this to create the perfect foundation for your miniature mountain landscape.
- Decorative Garden Rocks: Use varied sizes of natural river stones or jagged rocks to mimic a rugged, cliff-like terrain effect.
- Miniature Succulent Tool Kit: Easily tuck tiny alpines and moss into tight crevices between rocks with these specialized precision planting tools.


Trough-Style Rocky Landscape

I love using a long, trough-like container because it lets me build a little rock ridge on one end and a lower “valley” on the other. In my small-space setups, that simple slope makes the whole container rock garden feel bigger and more like a real scene.
You might give these a try:
- Long Rectangular Concrete Planter: Choose a long, shallow container like this to provide the perfect foundation for your sprawling rocky landscape.
- Decorative Dragon Stone or Slate Rocks: Build your scenic ridge using these textured stones to create height and visual interest in your design.
- Small Pebble Top Dressing: Finish your valley floor with fine gravel to secure plants and give the garden a polished look.
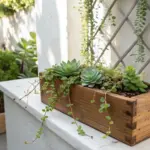
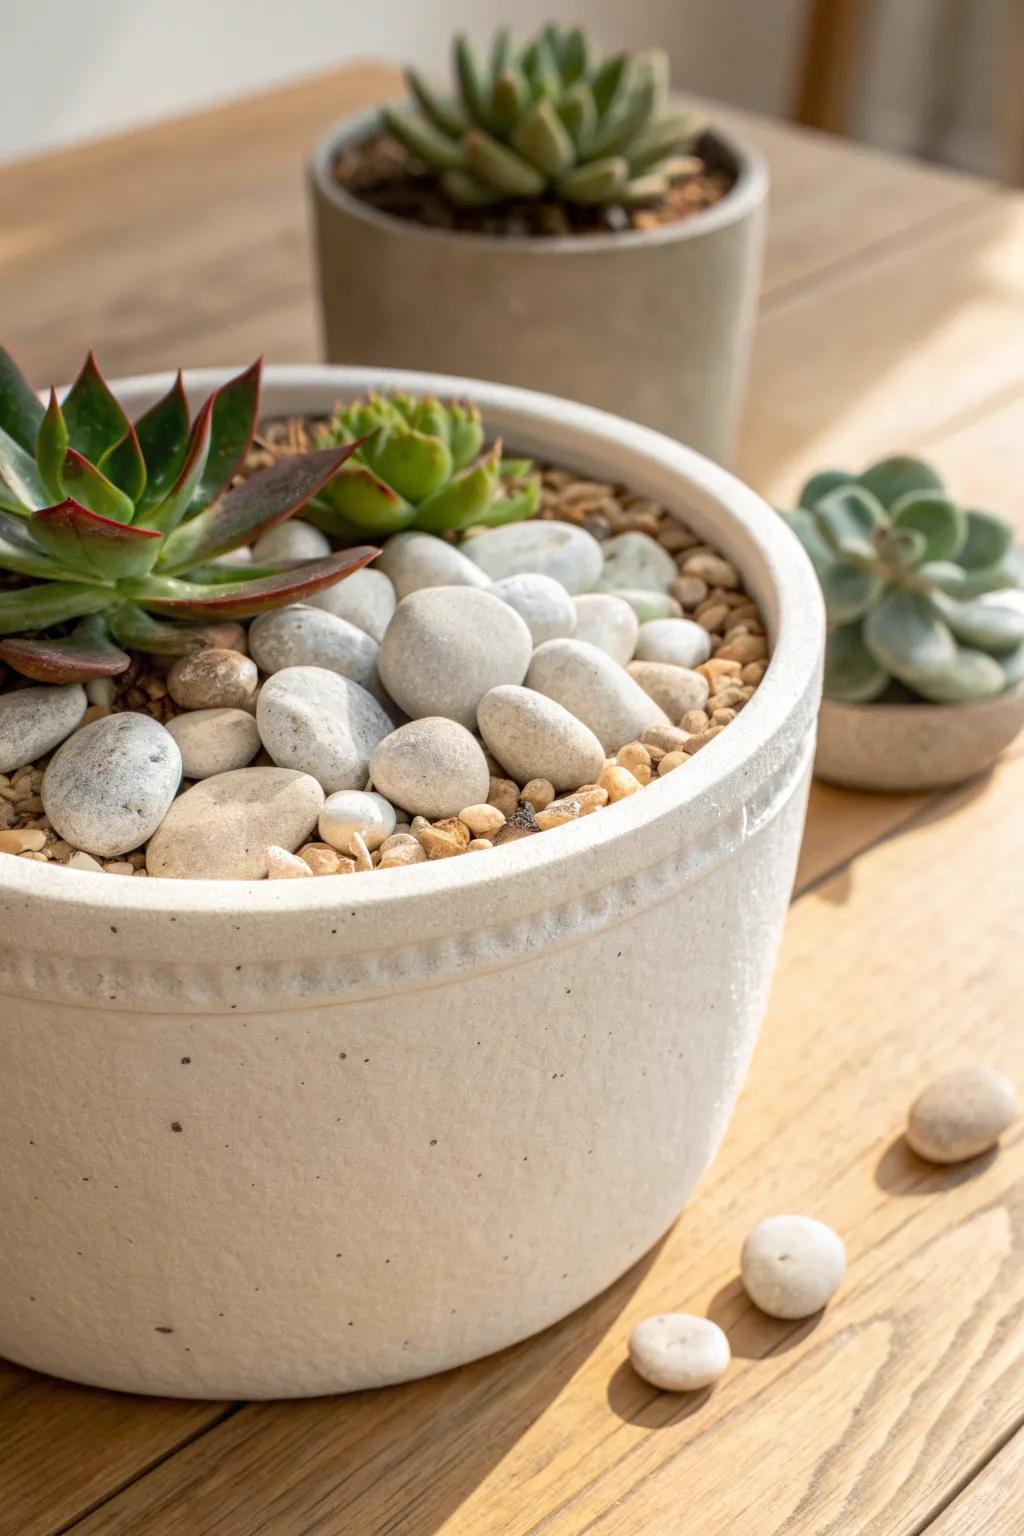
Classic Terracotta With Gravel Top-Dress
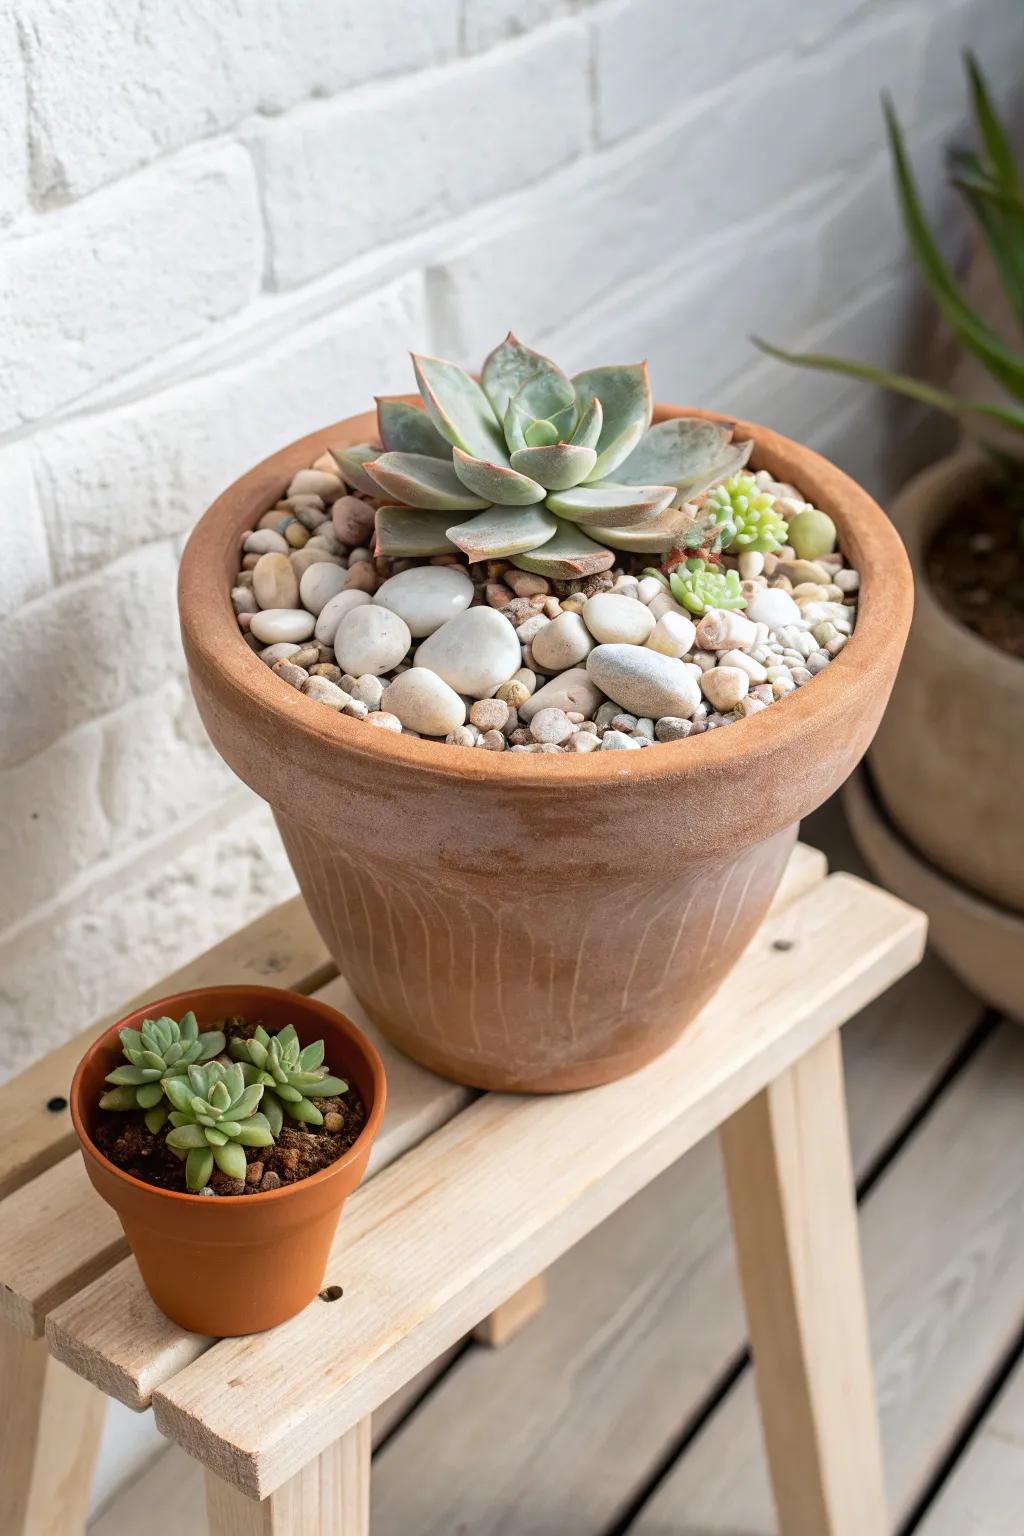
I’ve built so many container rock gardens in plain terracotta, and they always look cozy and timeless, especially once they age a bit. A thick layer of gravel mulch on top is my trick for a cleaner look and fewer fungus-gnat drama moments indoors.
Items that may come in handy:
- Classic Terracotta Pot with Saucer: Choose a breathable, timeless clay planter to regulate moisture and provide a sturdy base for your rock garden.
- Decorative Polished River Rocks: Add these smooth, white stones as a top dressing to retain moisture and create a clean, finished aesthetic.
- Succulent & Cactus Potting Mix: Use this fast-draining soil blend to prevent root rot and ensure healthy growth for your desert plants.

Crevice Garden With Vertical Stones
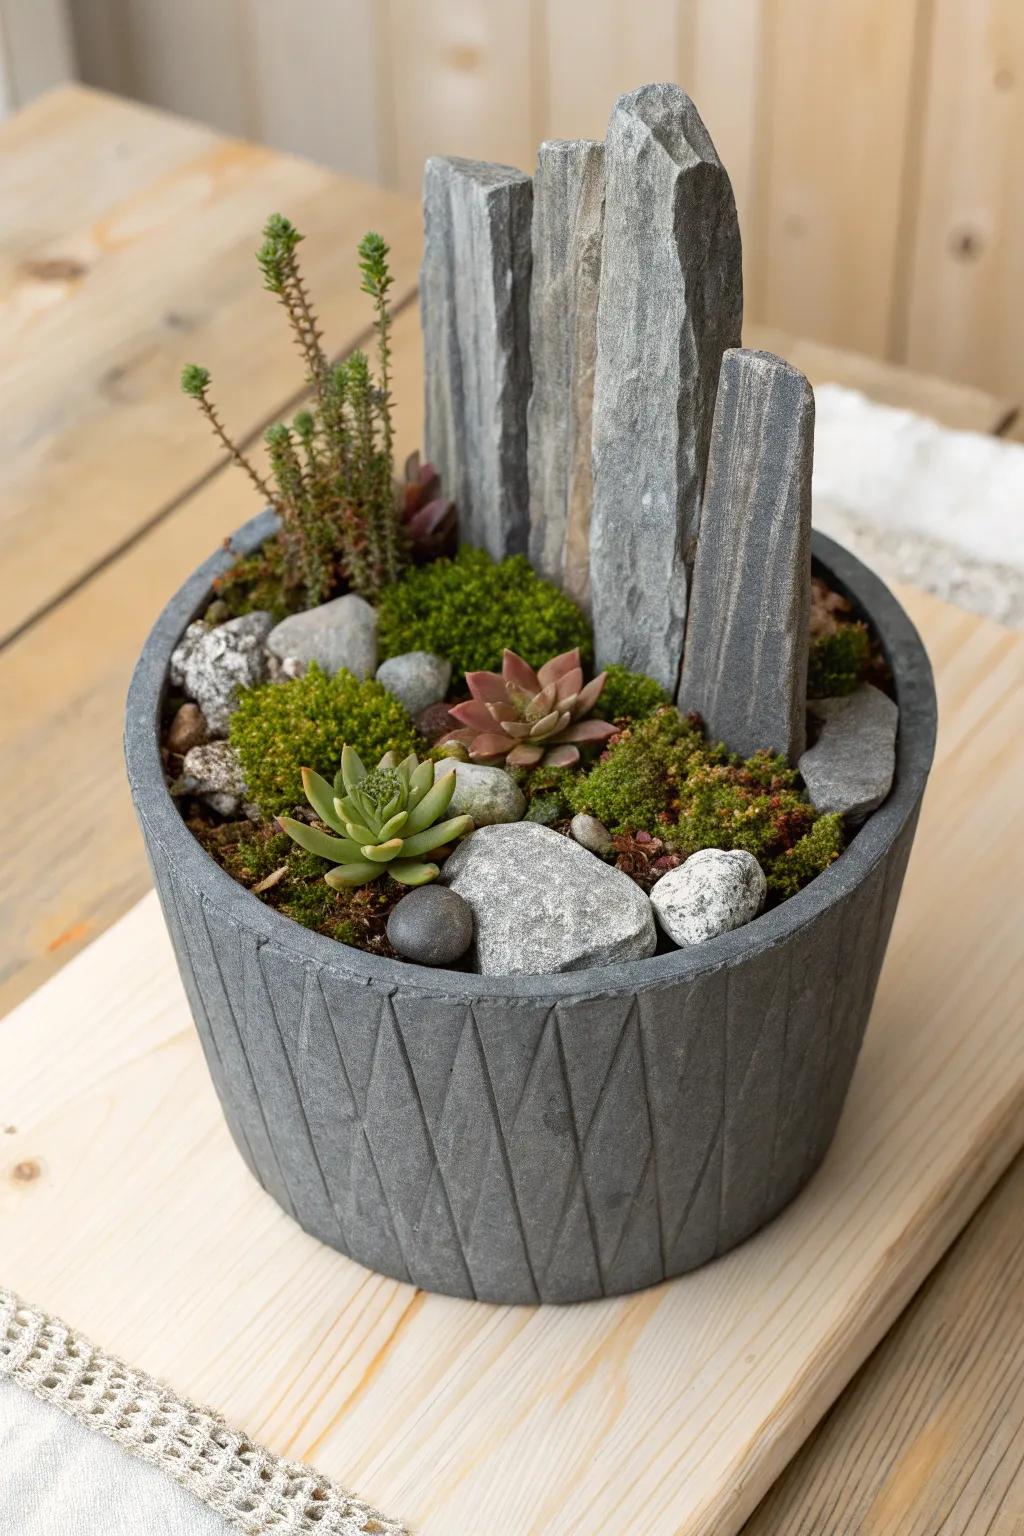
I’m obsessed with crevice planting—I stand flat stones almost vertically, then pack gritty soil between them like natural rock seams. In a container rock garden, those tight crevices keep things looking wild and also help me fit more plants into a tiny footprint.
Try these:
- Thin Flat Slate Stones: Use these flat, stackable slate pieces to create the vertical crevices and natural structure for your design.
- Low Bowl Planter: Choose a shallow, durable bowl pot to provide a sturdy base without overwhelming your delicate rock arrangement.
- Gritty Alpine Soil Mix: Ensure excellent drainage for your crevice plants with a specialized gritty soil mix containing pumice or lava.
One Statement Boulder, Many Small Plants
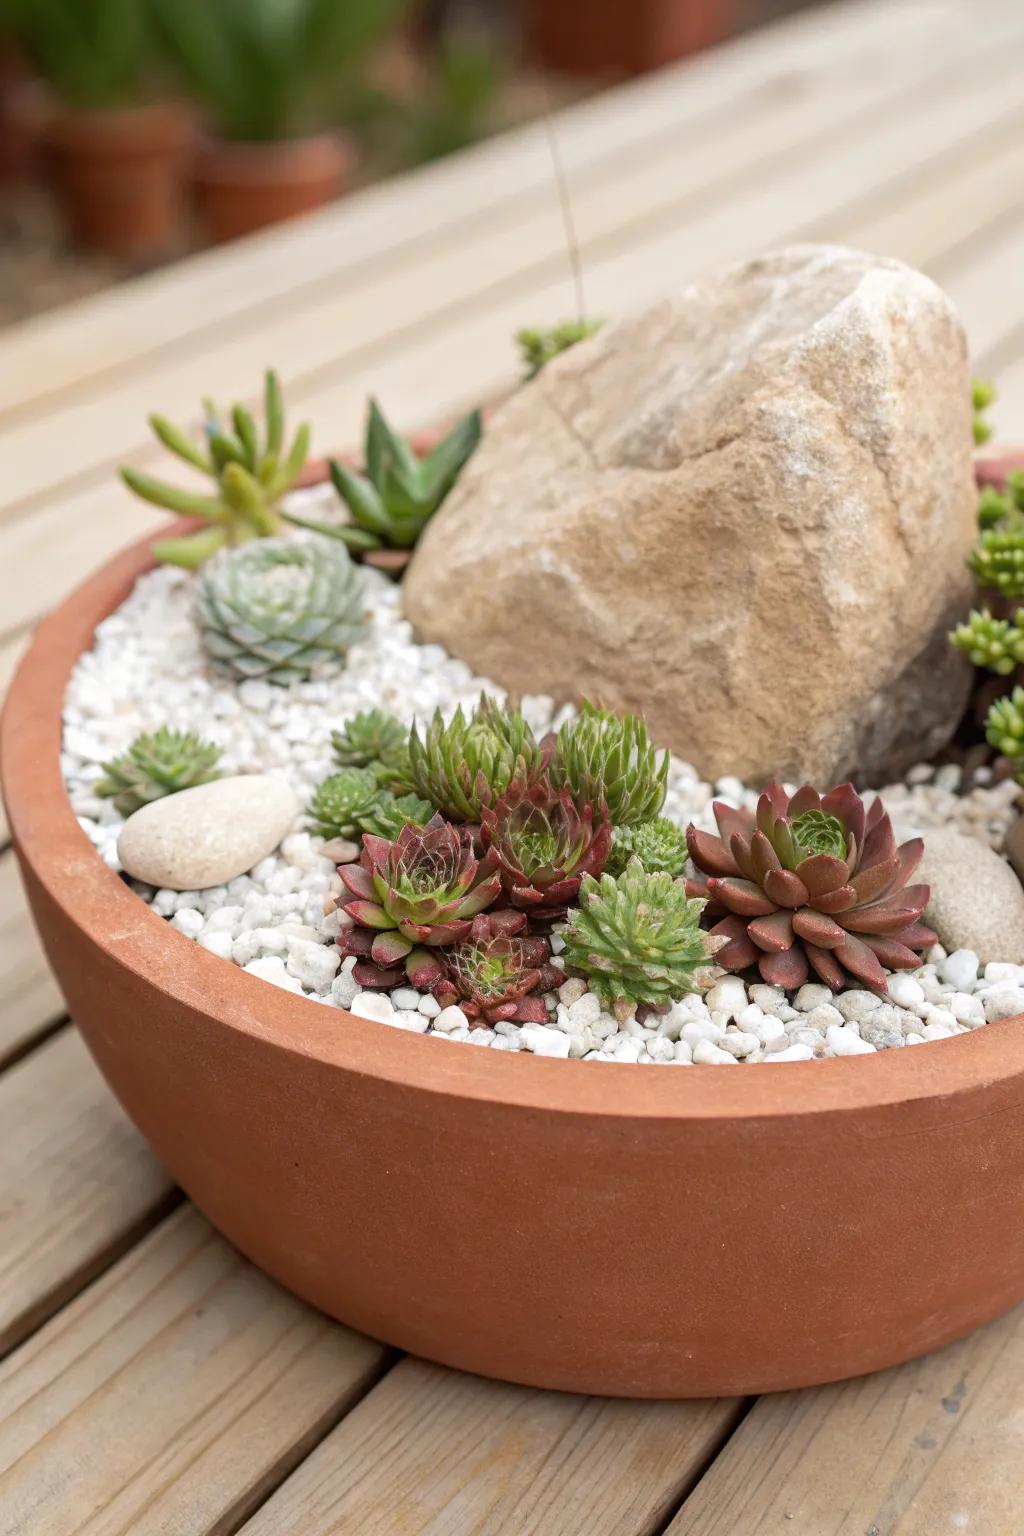
Whenever I want a quick win, I start my container rock garden with one big, craggy rock as the anchor. Then I circle it with hens and chicks and small sedums, and it magically reads like a mini outcrop instead of random plants.
Check these products out:
- Shallow Terracotta Bowl Planter: Choose a wide, low profile container to perfectly frame your rock garden without overshadowing the statement boulder.
- Decorative White Gravel Top Dressing: Finish your design with bright white pebbles to create high contrast against the dark soil and greenery.
- Live Sempervivum (Hens & Chicks) Collection: Fill the gaps around your anchor rock with these hardy, rosette-forming succulents for instant texture and color.
Pebble Border for a Clean Finish
In my apartment days, I loved a tidy look, so I’d edge my container rock garden with a neat band of river pebbles. It frames the design like a little picture and keeps soil from splashing onto the rim when I water.
Useful items to consider:
- White River Rocks: Create a polished border instantly with these smooth stones, perfect for adding a tidy contrast to greenery.
- Shallow Ceramic Planter Bowl: Showcase your rock garden layout in a wide, shallow vessel designed to hold succulents and decorative stones.
- Succulent Plant Variety Pack: Start your arrangement with diverse textures and colors that pop beautifully against a clean pebble background.
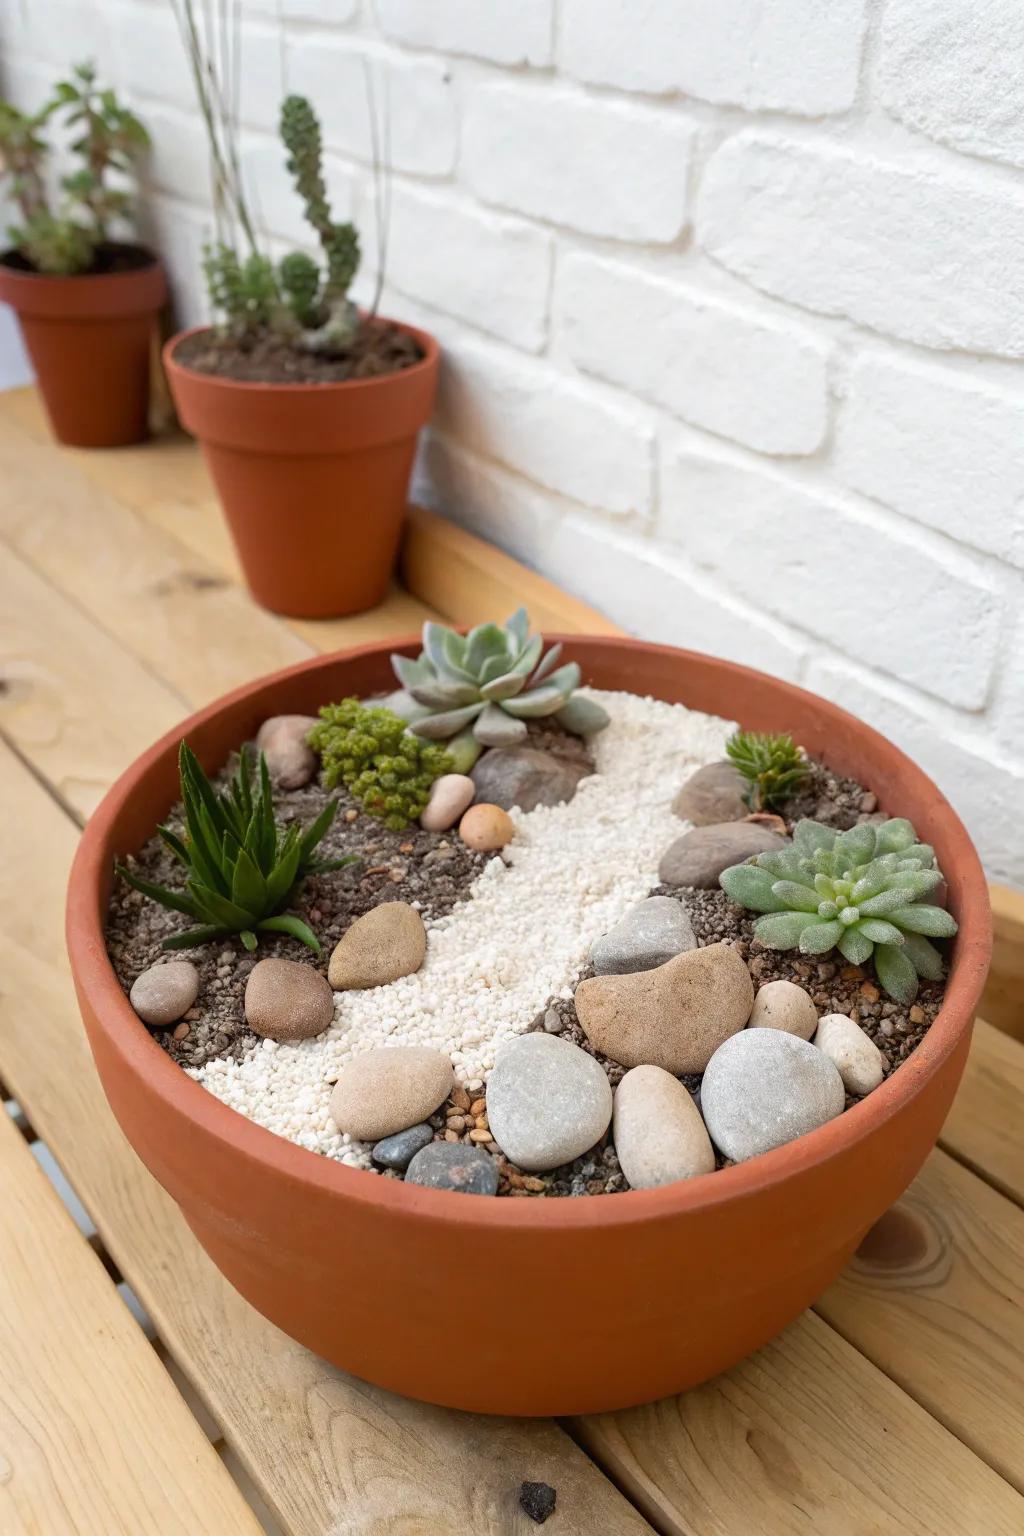
Color-Blocked Succulent Rock Garden
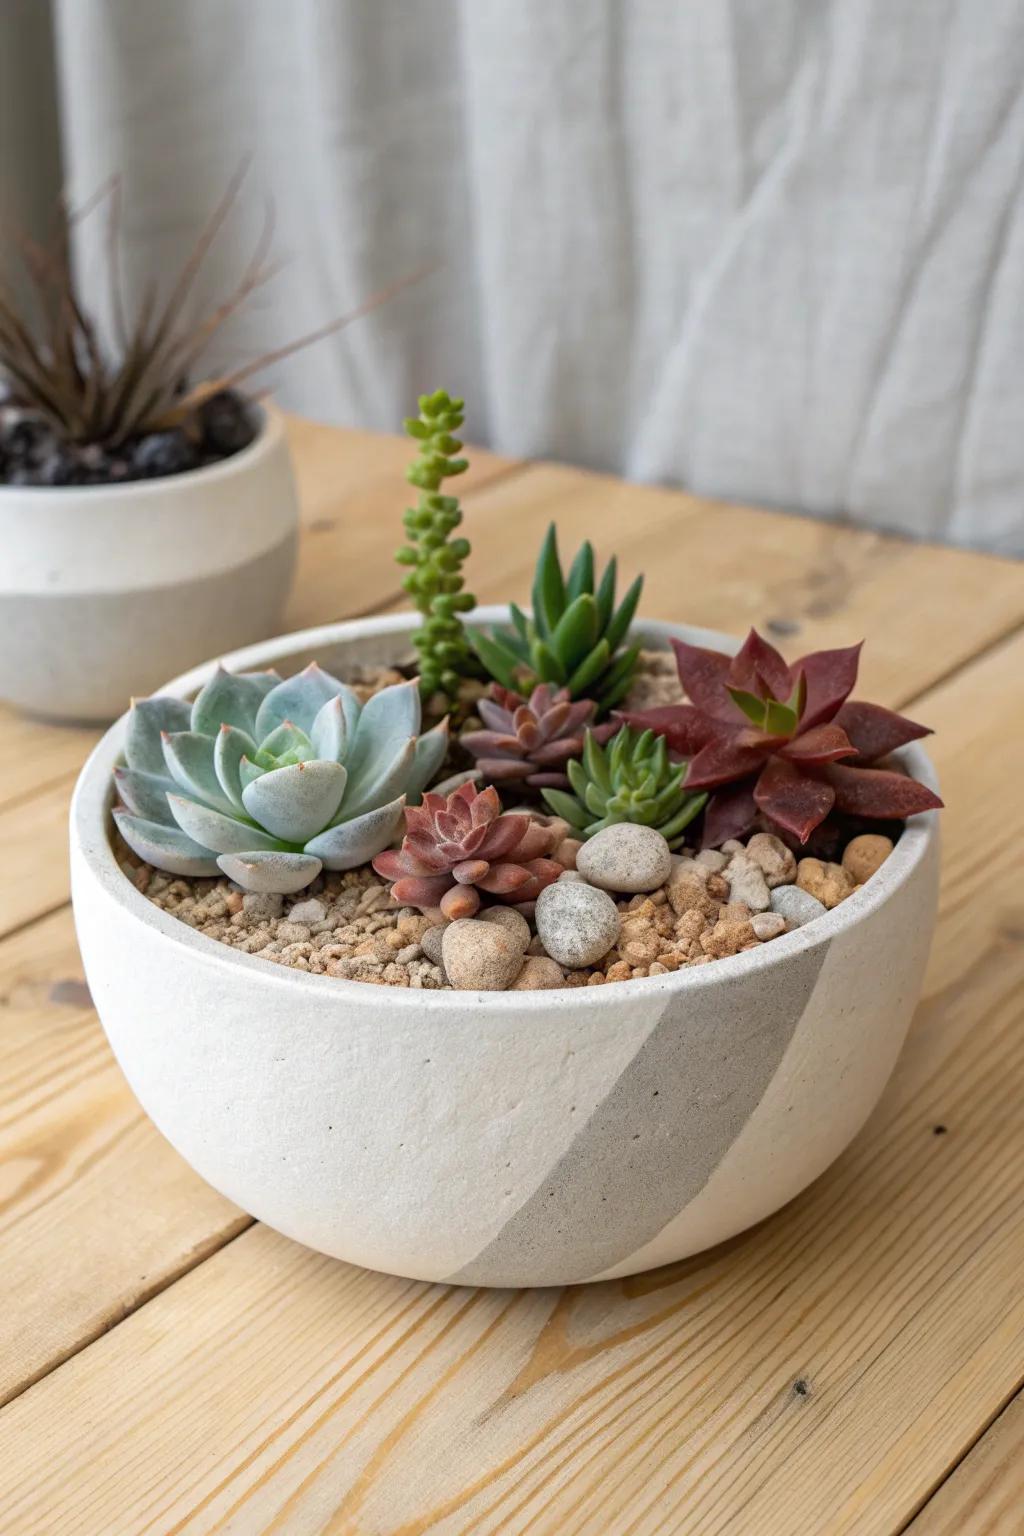
I’ve done a container rock garden where I grouped succulents by color—cool tones on one side, warm tones on the other—and it looked way more “styled” without extra effort. A sprinkle of mixed stone chips between groups helps the colors pop and keeps it from feeling messy.
A few suggestions:
- Wide, shallow concrete planter bowl: Choose a wide, low-profile bowl to provide ample surface area for arranging your color-blocked succulent design.
- Mixed variety succulent live plant pack: Get a diverse assortment of live succulents to easily create distinct warm and cool-toned color groupings.
- Decorative gravel or river rock top dressing: Finish your arrangement with natural stone chips to stabilize plants, retain moisture, and enhance the visual contrast.
Mini Dry Creek Bed in a Container
One of my go-to “wow” layouts is a container rock garden with a winding “creek” made from pale pebbles cutting through darker gravel. I learned to curve the line gently and add two or three larger rocks like “banks,” and suddenly it tells a whole story.
A few helpful options:
- Shallow Ceramic Planter Bowl: Choose a wide, shallow bowl to provide ample surface area for arranging your winding creek bed design.
- Polished River Pebbles: Use these smooth, pale stones to create the flowing water effect or to act as structural banks.
- Dark Horticultural Grit: Layer this dark gravel around your plants to create high contrast against the lighter creek bed stones.
Zen Raked Sand Rock Garden Pot
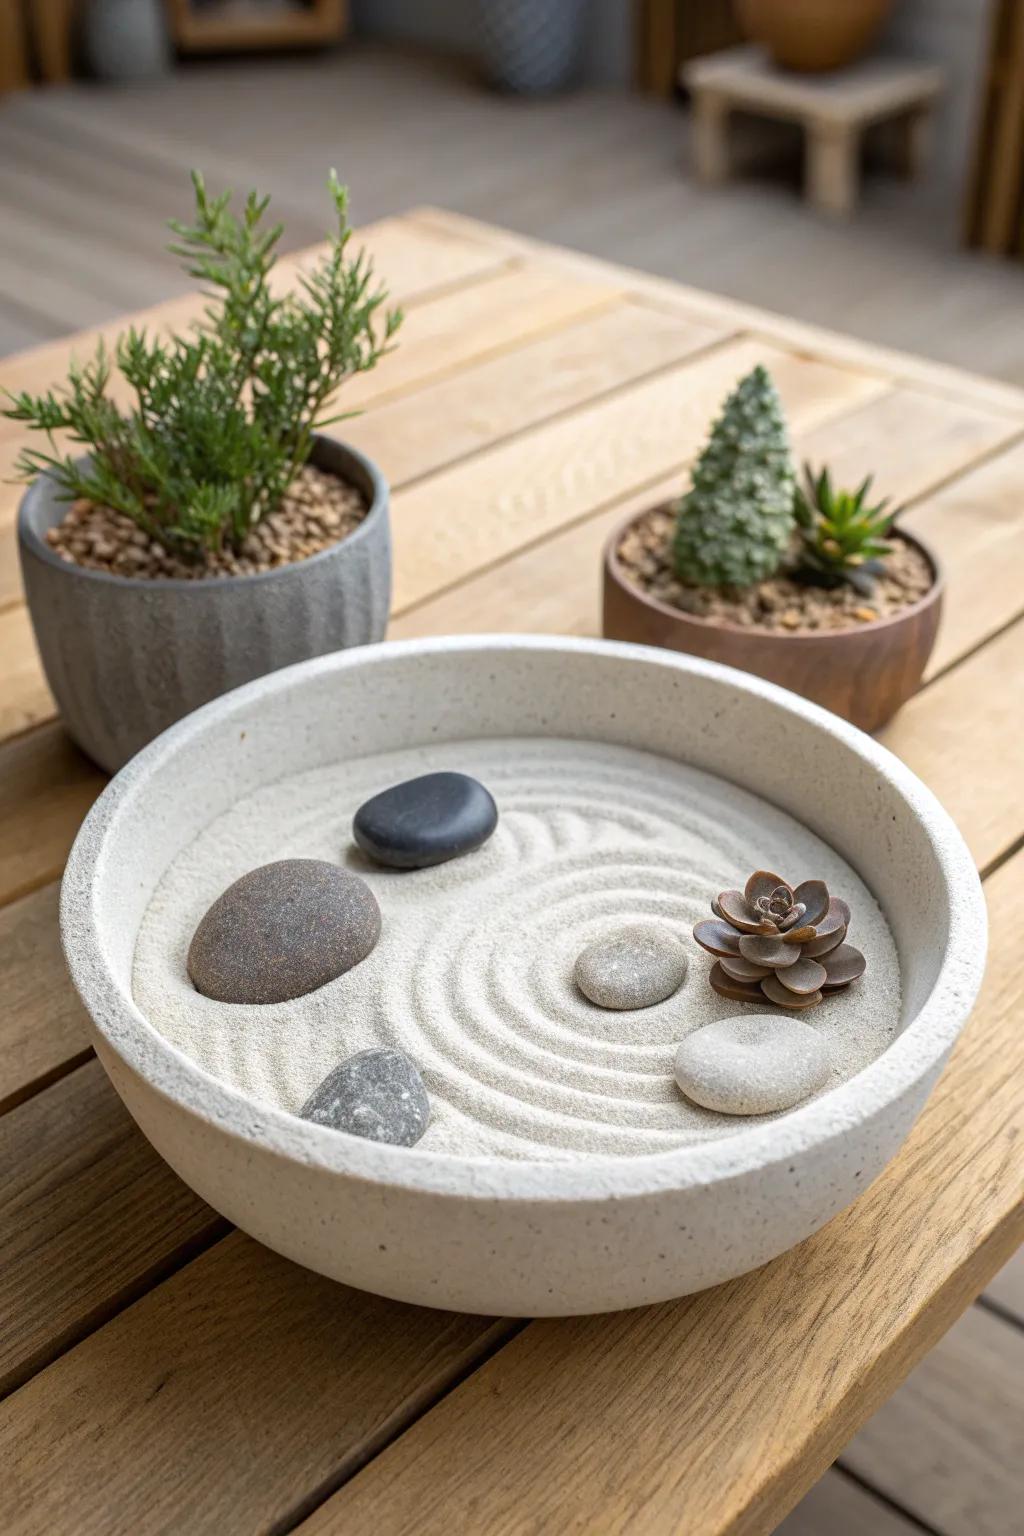
When I need calm on a chaotic week, I make a minimalist container rock garden with fine gravel or sand that I can gently rake into simple lines. I keep just a few bold stones and one low plant, and it feels like a tiny reset button on my patio table.
Maybe worth checking out:
- Shallow Round Concrete Planter: Choose a wide, low-profile bowl like this to perfectly frame your minimalist raked sand and stone arrangement.
- Fine White Decor Sand: Create a smooth, calming base for your garden with fine-grain sand that holds raked patterns beautifully.
- Miniature Zen Garden Rake: Use these specialized small tools to create intricate, soothing ripple patterns in the sand for instant relaxation.
Herb Tucked Rock Garden Planter
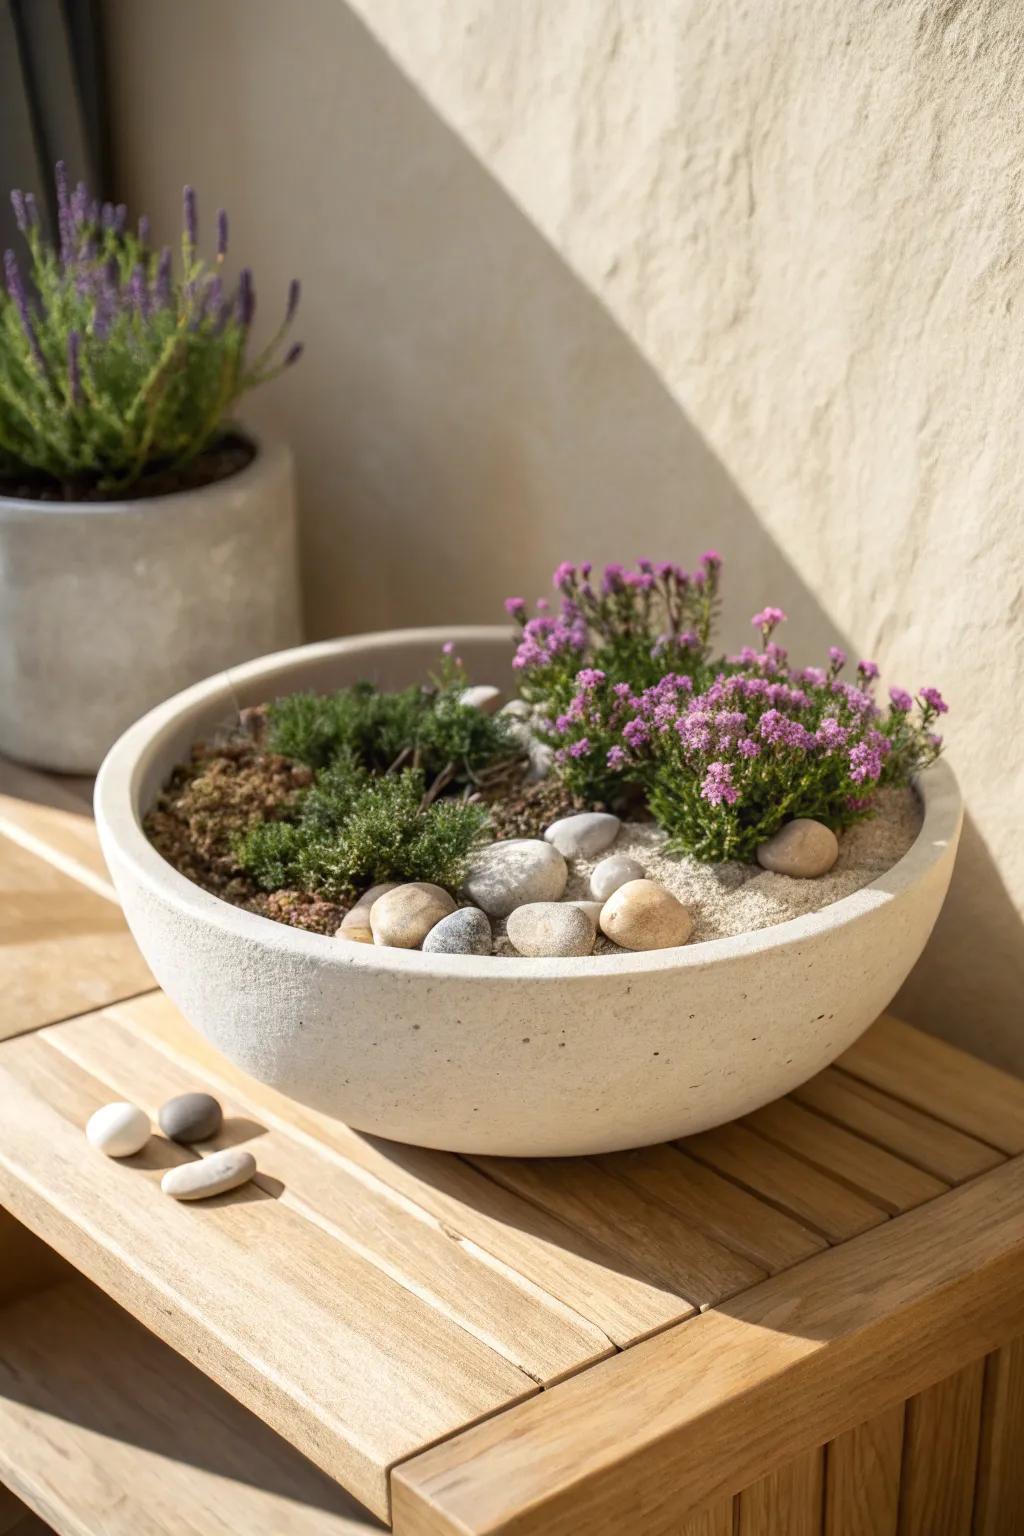
I once added creeping herbs to a container rock garden, and brushing past it smelled amazing every single time. Tucking thyme (or other low growers) between stones gives you the rockery look plus that “I actually use this” satisfaction.
Possibly helpful picks:
- Shallow Bowl Planter: Choose a wide, low-profile concrete or stone-style bowl to provide the perfect foundation for your miniature landscape.
- Creeping Thyme Seeds: Start growing fragrant ground cover from seed to fill the gaps between stones with lush, aromatic greenery.
- Decorative River Rocks: Scatter these smooth, creating natural stones around your plants to complete the authentic rock garden aesthetic effortlessly.
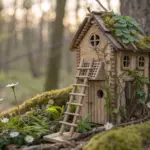
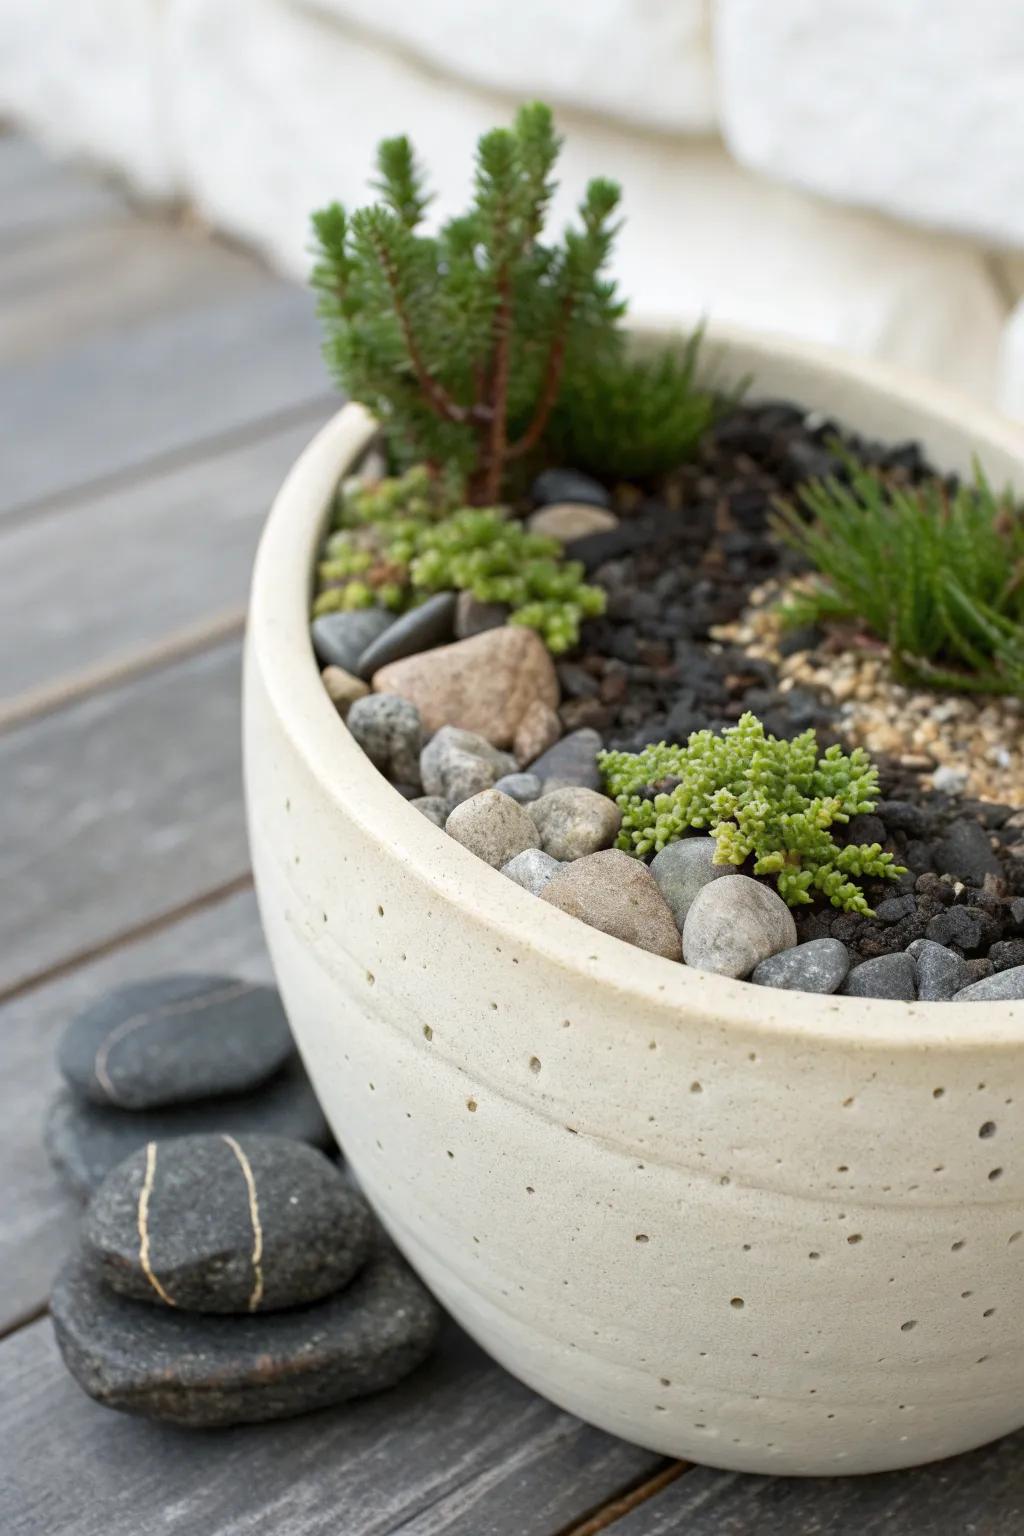
Shade-Loving Mossy Mountain Container
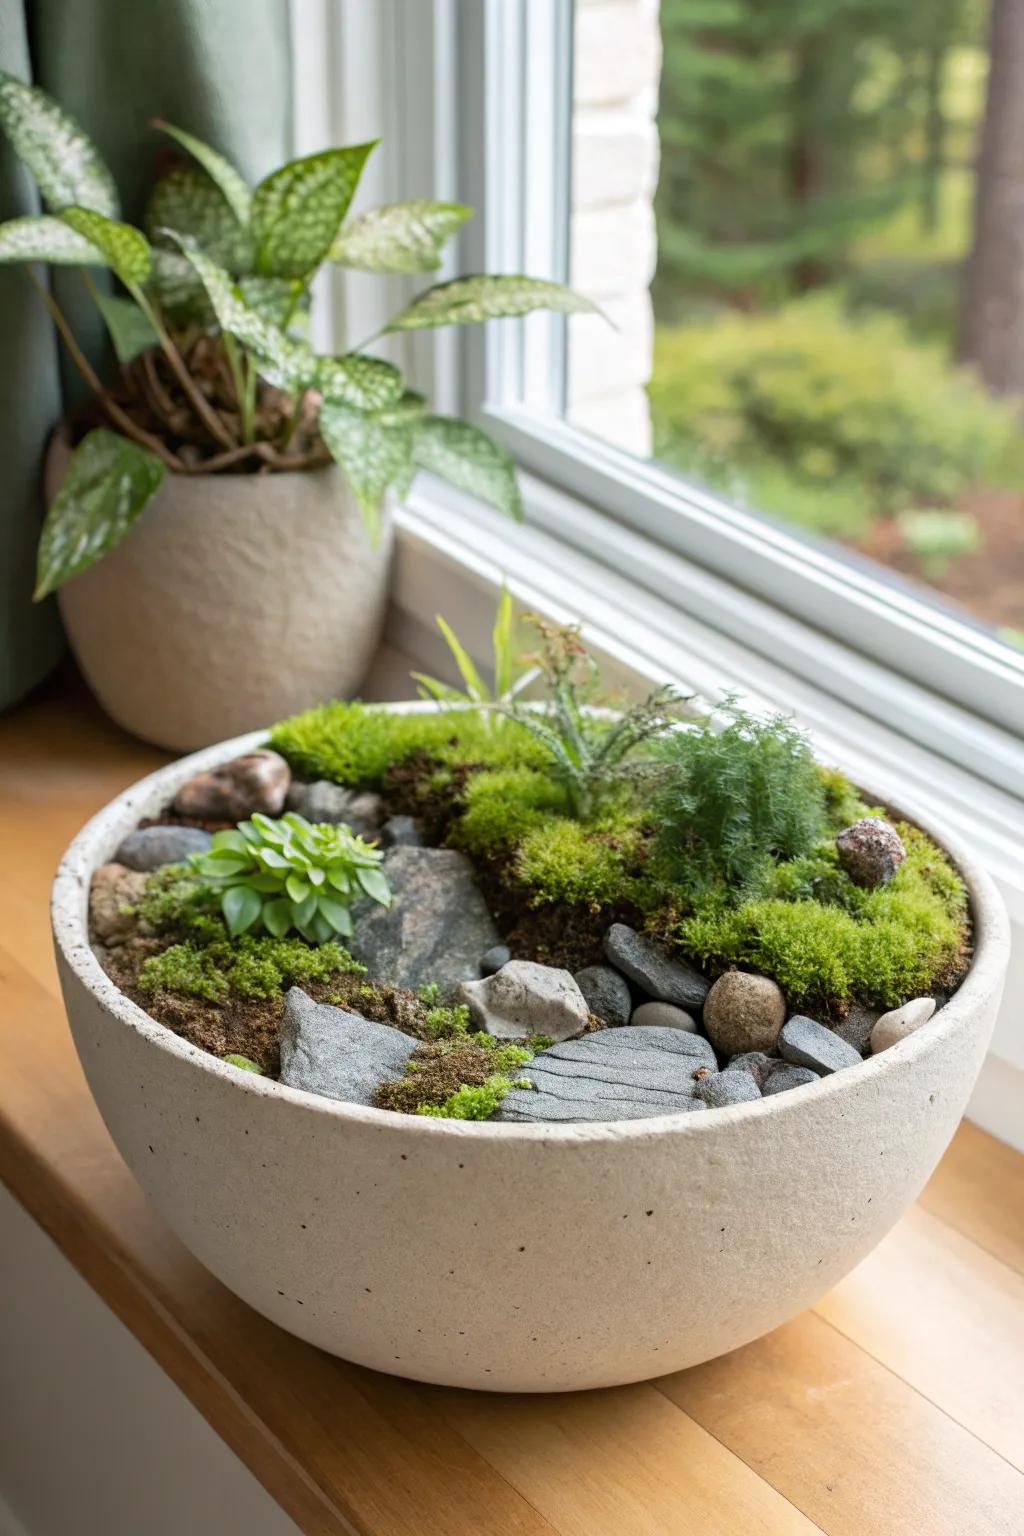
Not every container rock garden has to be desert-dry—mine on a shady ledge leans into a woodland feel with stones, moss, and a couple compact shade plants. I like wedging moss into rock gaps because it softens harsh edges and makes everything look instantly established.
These products might be useful:
- Concrete Bowl Planter: Choose a wide, shallow bowl similar to this to provide the perfect foundation for your miniature landscape.
- Living Sheet Moss: Instantly create a lush, woodland carpet effect by tucking living sheet moss around your decorative stones.
- Decorative River Stones: Select varied sizes of natural river rocks to build structure and mimic a rocky mountainside terrain.
Mini Steps and Pathway in a Pot
I’ve made a container rock garden with a little stepping-stone path using flat pebbles, and it’s weirdly charming even without mini figurines. The trick I learned is to angle the “steps” slightly and vary sizes so it feels natural, not like a tiled floor.
Check if these fit your needs:
- Shallow Terracotta Bowl Planter: Choose a wide, low-profile bowl like this to give you enough horizontal surface area for your miniature landscape layout.
- Assorted River Stones & Pebbles: Pick up a bag of mixed natural stones to create your winding pathway and steeping stones for authentic texture.
- White Decorative Sand or Grit: Use fine white sand or grit to create the contrasting lighter path that makes your darker stones really pop.
Dark Lava Rock Contrast Planter
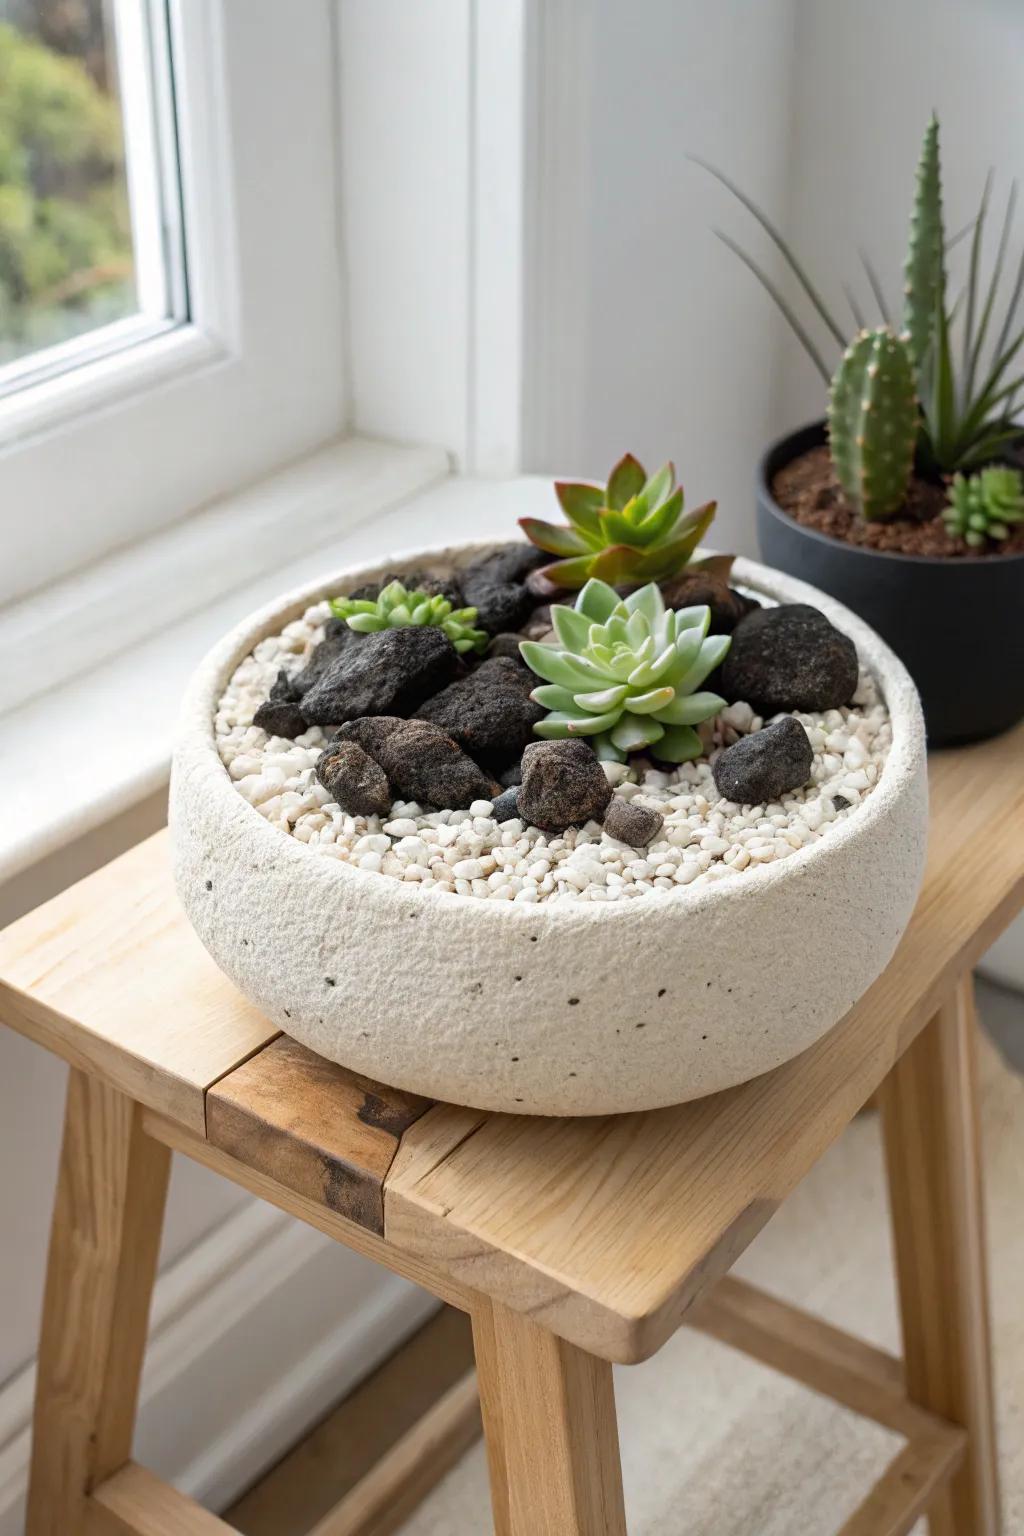
Using lava rock in a container rock garden gave me the boldest texture upgrade, especially next to pale gravel and silvery plants. I love how the porous stones hold a bit of moisture in their nooks, which helped my smaller plants settle in faster.
These products might help:
- Black Lava Rock Landscaping Stones: Create striking contrast in your planters by adding these porous stones to anchor your succulents securely.
- Shallow Round Concrete Planter Bowl: Showcase your rock garden arrangement perfectly with a shallow, wide-brimmed bowl that mimics natural stone textures.
- White Decorative Gravel: Brighten your display and highlight dark lava rocks by layering this fine white gravel as a top dressing.


