An RV can go from dark and dated to bright and homey with a handful of smart, small-space upgrades. These RV remodel ideas are my go-tos when I want that clean, cozy “tiny apartment on wheels” vibe without wasting an inch.
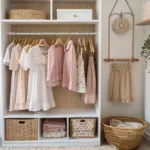
Build Storage Under the Banquette
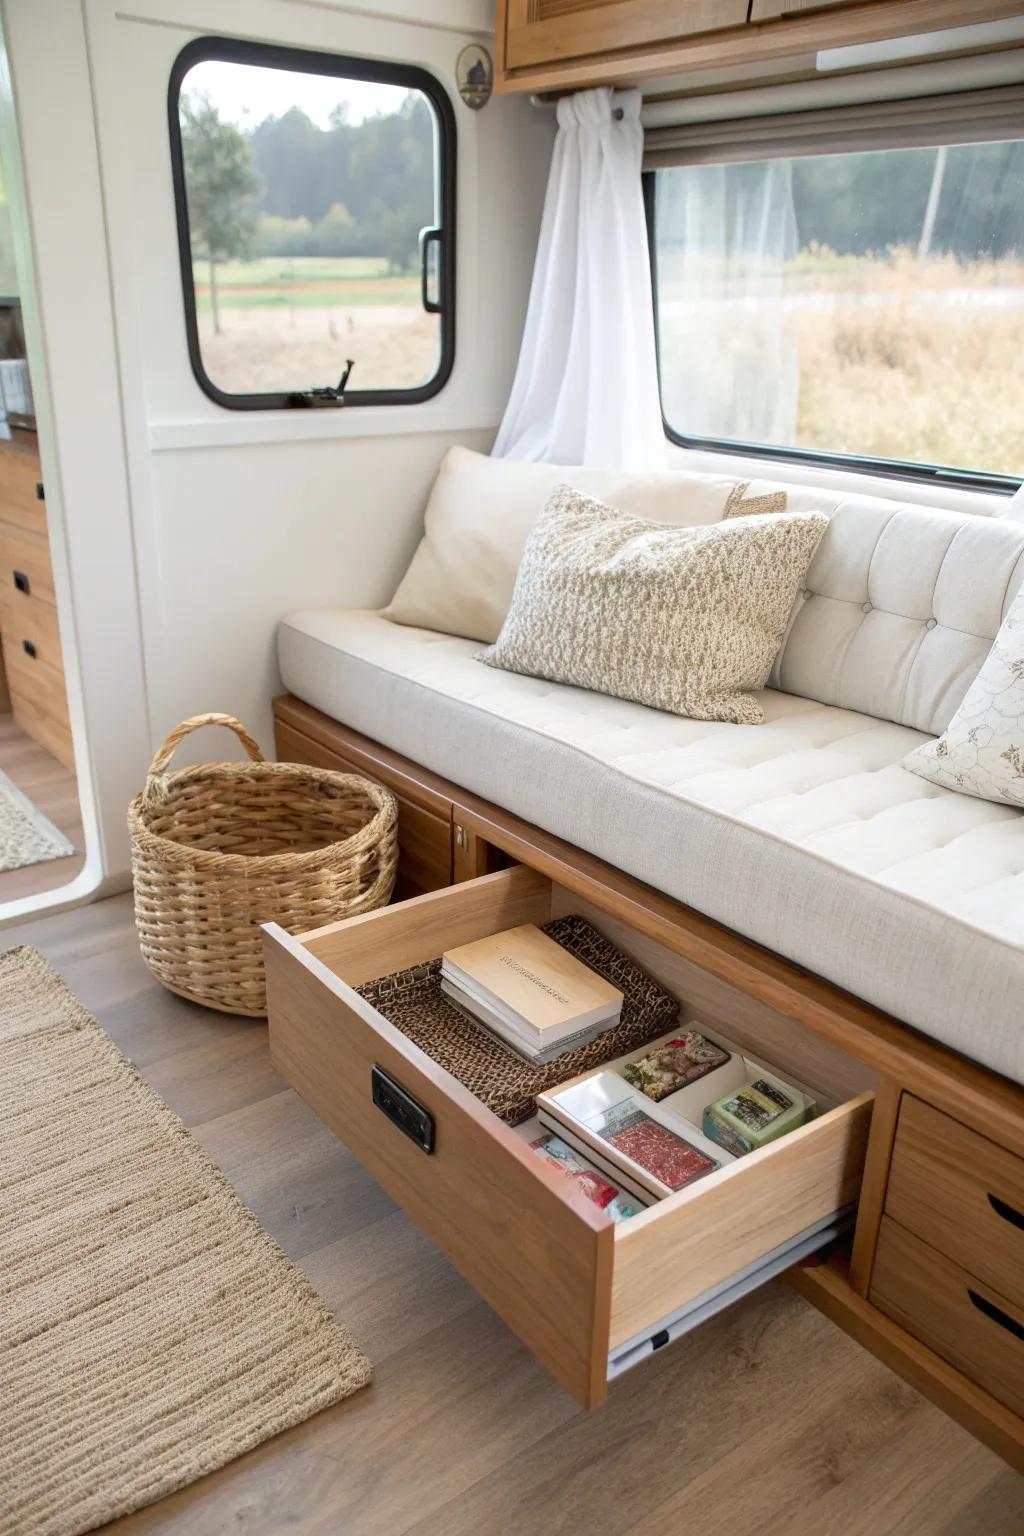
In a small RV remodel, I treat the dinette base like gold because it’s perfect for hidden storage. I’ve tucked pantry overflow, games, and extra linens under bench seats and it saved my sanity on longer trips.
Products that could assist:
- Heavy-Duty Full Extension Drawer Slides: Install sturdy slides to ensure your large under-bench drawers open smoothly and hold heavy items securely.
- Drawer Organizer Bins: Keep smaller items like games or pantry goods tidy within large drawers using these sectional organizers.
- Recessed Pull Handles: Choose flush mount handles to maintain a sleek look and prevent snagging in tight RV walkways.
Paint Walls and Cabinets a Light Neutral
The biggest glow-up in my own RV remodel was switching the heavy, warm tones to a soft light neutral—it instantly made everything feel bigger. I’ve learned that even a simple cabinet refresh can change the whole mood before you touch anything else.
You might give these a try:
- All-in-One Cabinet & Furniture Paint: Transform your dark RV interior instantly with durable, self-priming paint that brightens small spaces effectively.
- Gold Cabinet Hardware Pulls: Swap out dated handles for these elegant pulls to perfectly complement your freshly painted neutral cabinets.
- High-Density Foam Paint Roller Set: Achieve a smooth, professional finish on your RV walls and cabinets with these specialized foam applicators.
Swap Out Cabinet Hardware
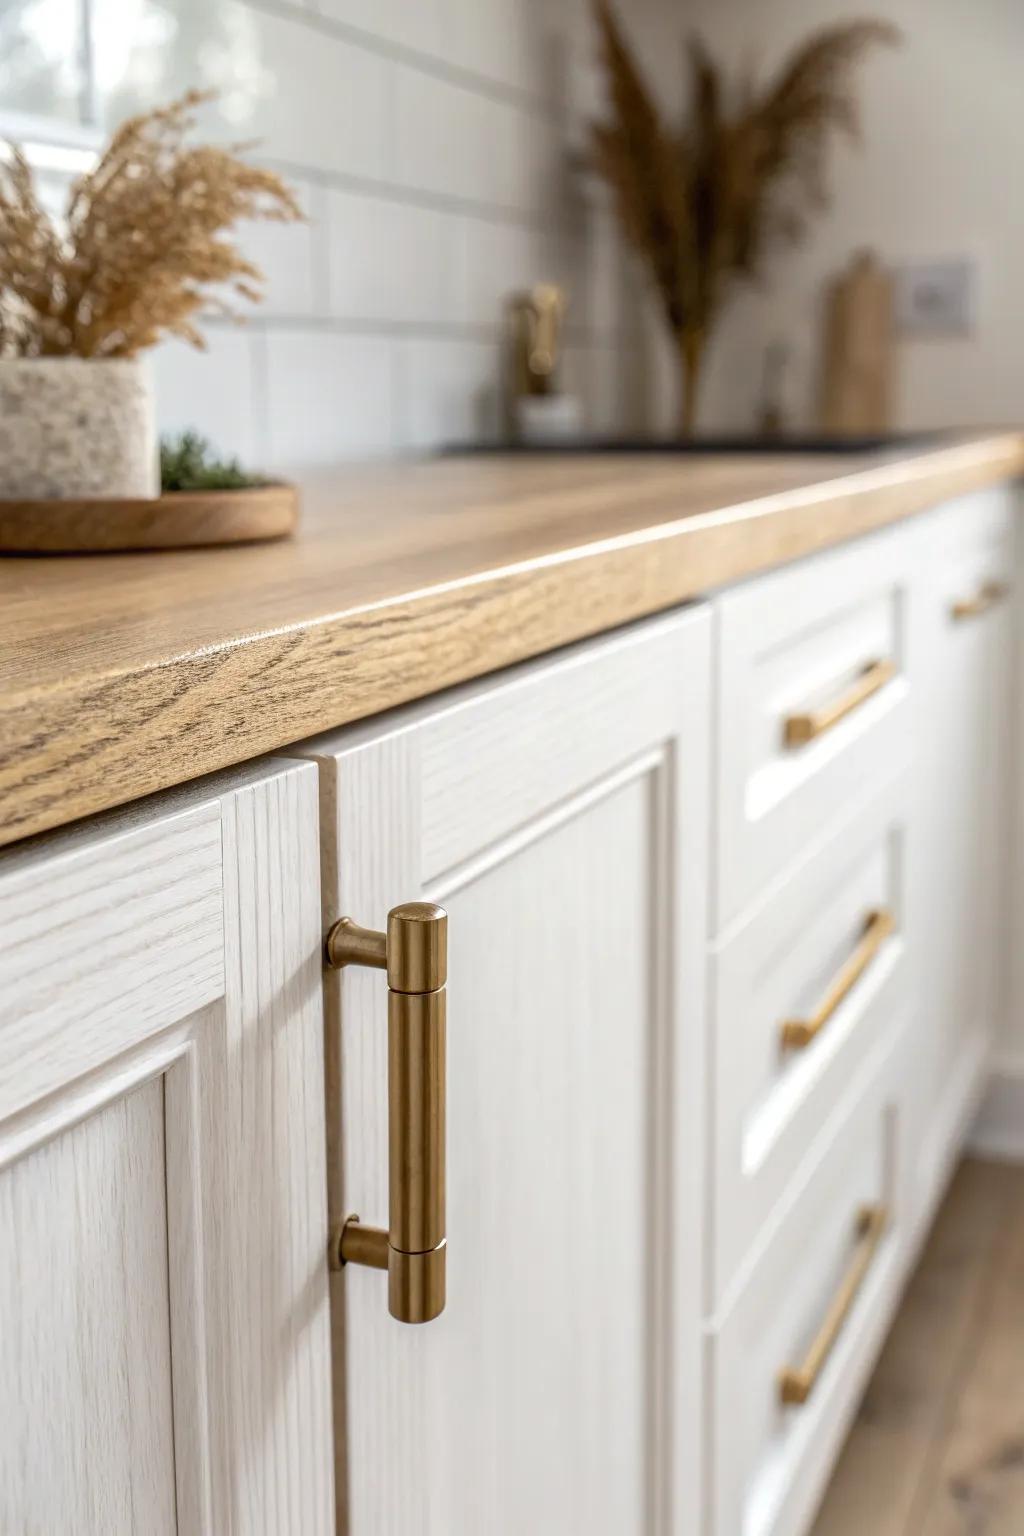
In every RV remodel I’ve helped with, changing the pulls and knobs gives you that “new kitchen” feeling in an afternoon. I like it because it’s one of the cheapest upgrades I’ve done that still looks high-impact.
A few choices to try:
- Brushed Gold Cabinet Pulls: Instantly modernize your RV cabinetry with these sleek handles that add warmth and a polished, contemporary look.
- Hardware Installation Template Jig: Ensure your new handles are perfectly aligned and level with this simple tool designed for quick, accurate drilling.
- Peel and Stick Wood Contact Paper: Refresh worn countertops to match your new hardware with durable, easy-to-apply vinyl that mimics natural wood grain.
Upgrade to Wood-Look Plank Flooring

When I replaced worn flooring in an RV remodel, the whole rig suddenly felt more like a real home and less like a campsite rental. I always pick durable flooring that can handle grit, wet shoes, and constant traffic.
Check these products out:
- Self-Adhesive Vinyl Floor Planks: Transform your camper easily with these peel-and-stick planks that offer a realistic wood finish without complex tools.
- Interlocking Luxury Vinyl Tile (LVT): Choose these durable, click-lock tiles for a waterproof floating floor that withstands daily RV wear and tear.
- Vinyl Flooring Installation Kit: Ensure a professional finish for your new RV floors with this essential set of spacers and tapping blocks.
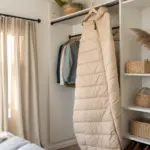
Remove Bulky Window Valances
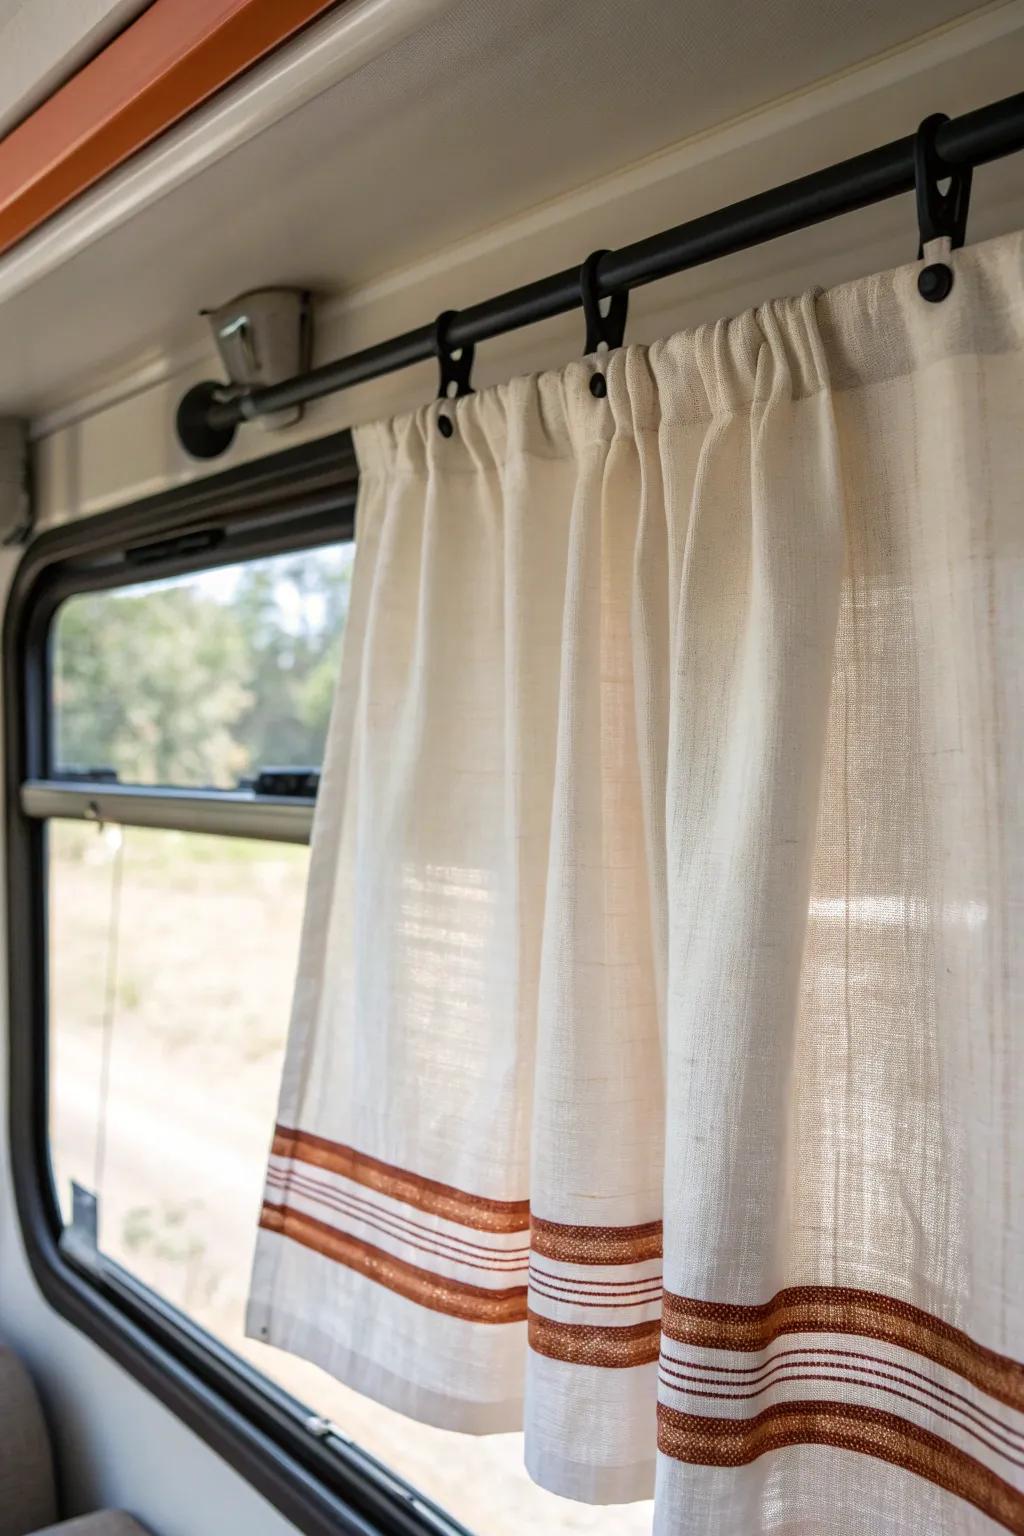
One of my favorite RV remodel ideas is taking down those chunky valances because you immediately gain visual space and more light. I did this in my own setup and was shocked at how much taller the windows felt.
Might be a good match:
- Matte Black Curtain Rods: Upgrade your window hardware with simple, sturdy rods that create a sleek, modern look instantly.
- Linen Textured Grommet or Tab Curtains: Soften the light and add privacy with lightweight, textured fabric panels that slide easily open.
- Clip-On Curtain Rings: Attach any fabric panel securely and allow for smooth gliding movement along your new rods.
Add Simple Curtains or Roller Shades
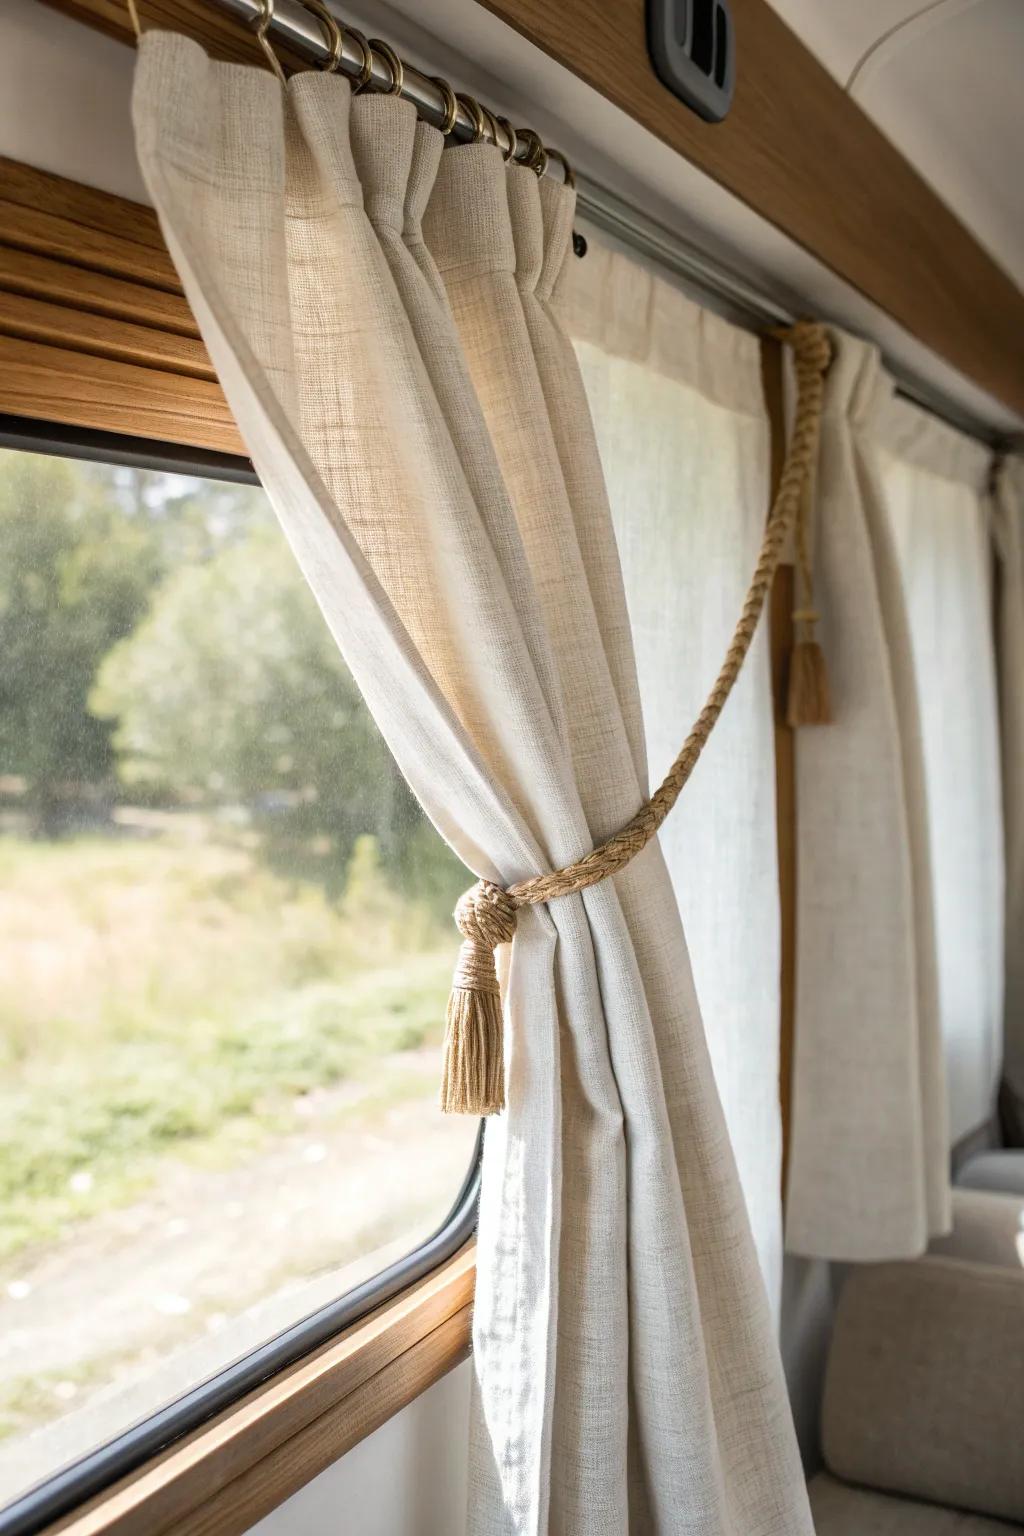
After my first RV remodel, I realized window treatments are what make it feel finished, not fussy. I’ve had the best results layering privacy shades with lightweight curtains so it’s cozy at night but bright during the day.
Possibly handy products:
- Linen Texture Sheer Curtains: Soften harsh sunlight while maintaining privacy by hanging these lightweight, textured panels in your living space.
- Decorative Rope Curtain Tiebacks: Keep curtains neatly styled and secure while driving with these rustic, easy-to-use woven rope holders.
- Compact Curtain Tension Rods: Install window treatments easily without drilling holes by using these adjustable, sturdy spring-loaded tension rods.

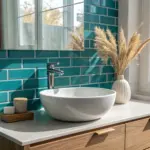
Install Peel-and-Stick Backsplash
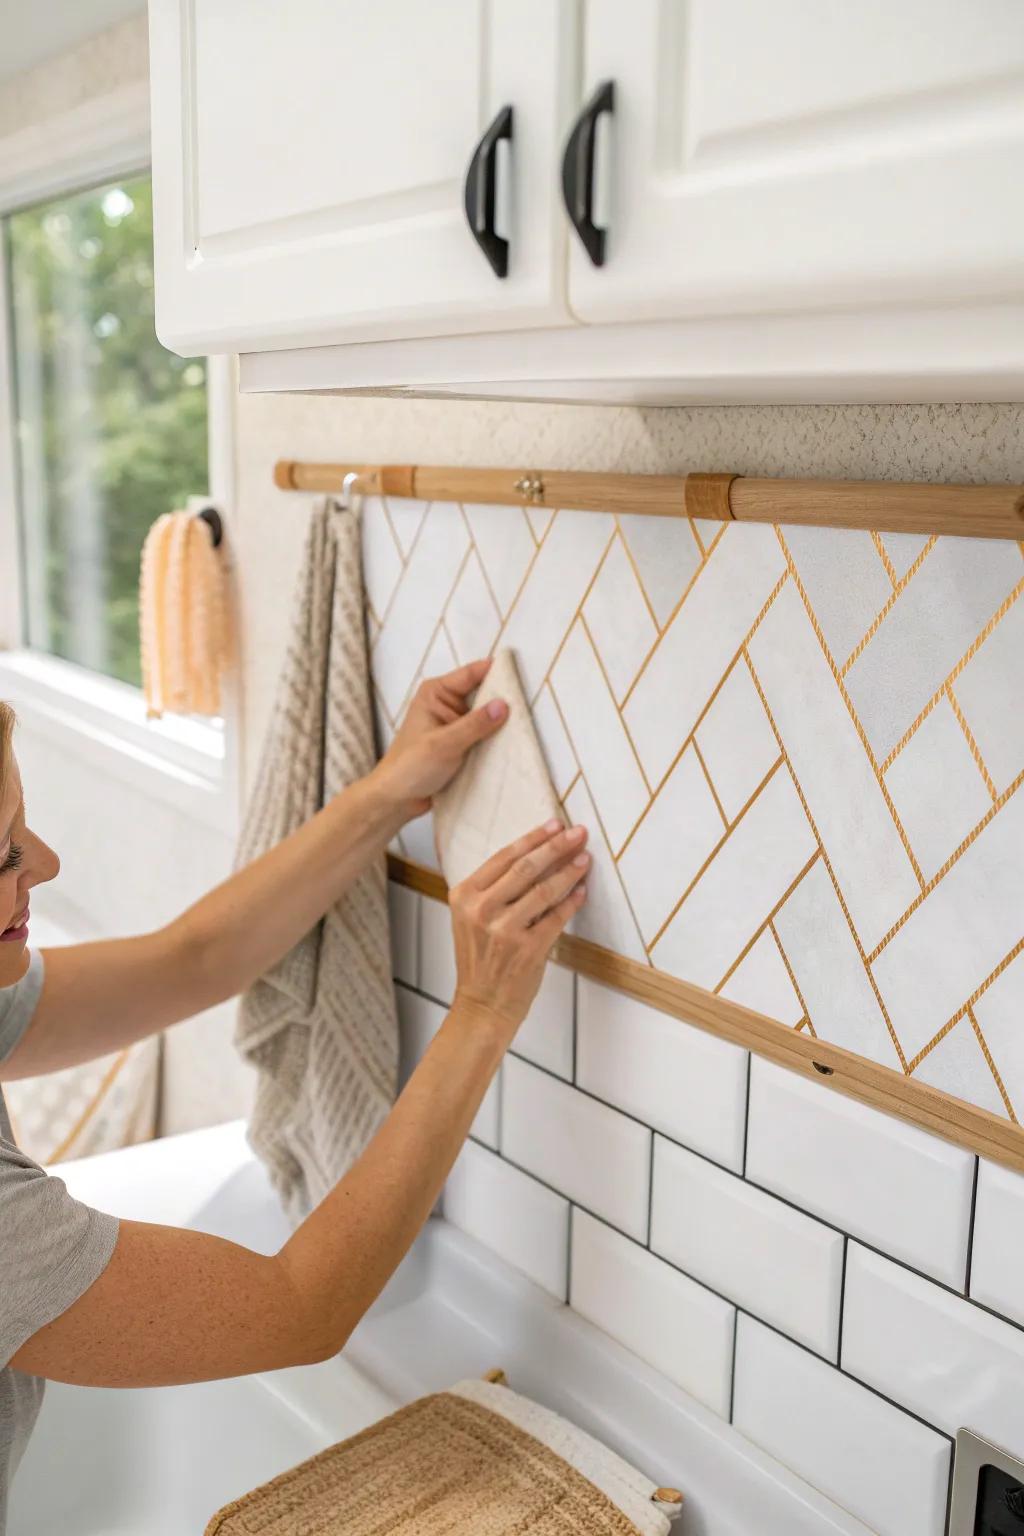
A peel-and-stick backsplash is my secret weapon for a quick RV kitchen remodel because it adds texture without major tools. I’ve used it to distract from tired walls and it made my tiny cooking zone look intentionally styled.
Maybe worth checking out:
- Geometric Peel and Stick Backsplash Tiles: Refresh your RV kitchen instantly with these self-adhesive tiles that mimic modern patterns and require zero grout.
- Utility Knife / Box Cutter: Ensure clean, professional edges by trimming your new backsplash tiles precisely around outlets and tight corners.
- Adhesive Primer for Peel and Stick Tile: Help your new backsplash stick securely to uneven RV walls by prepping the surface with this primer.
Refresh Countertops With Adhesive Covering
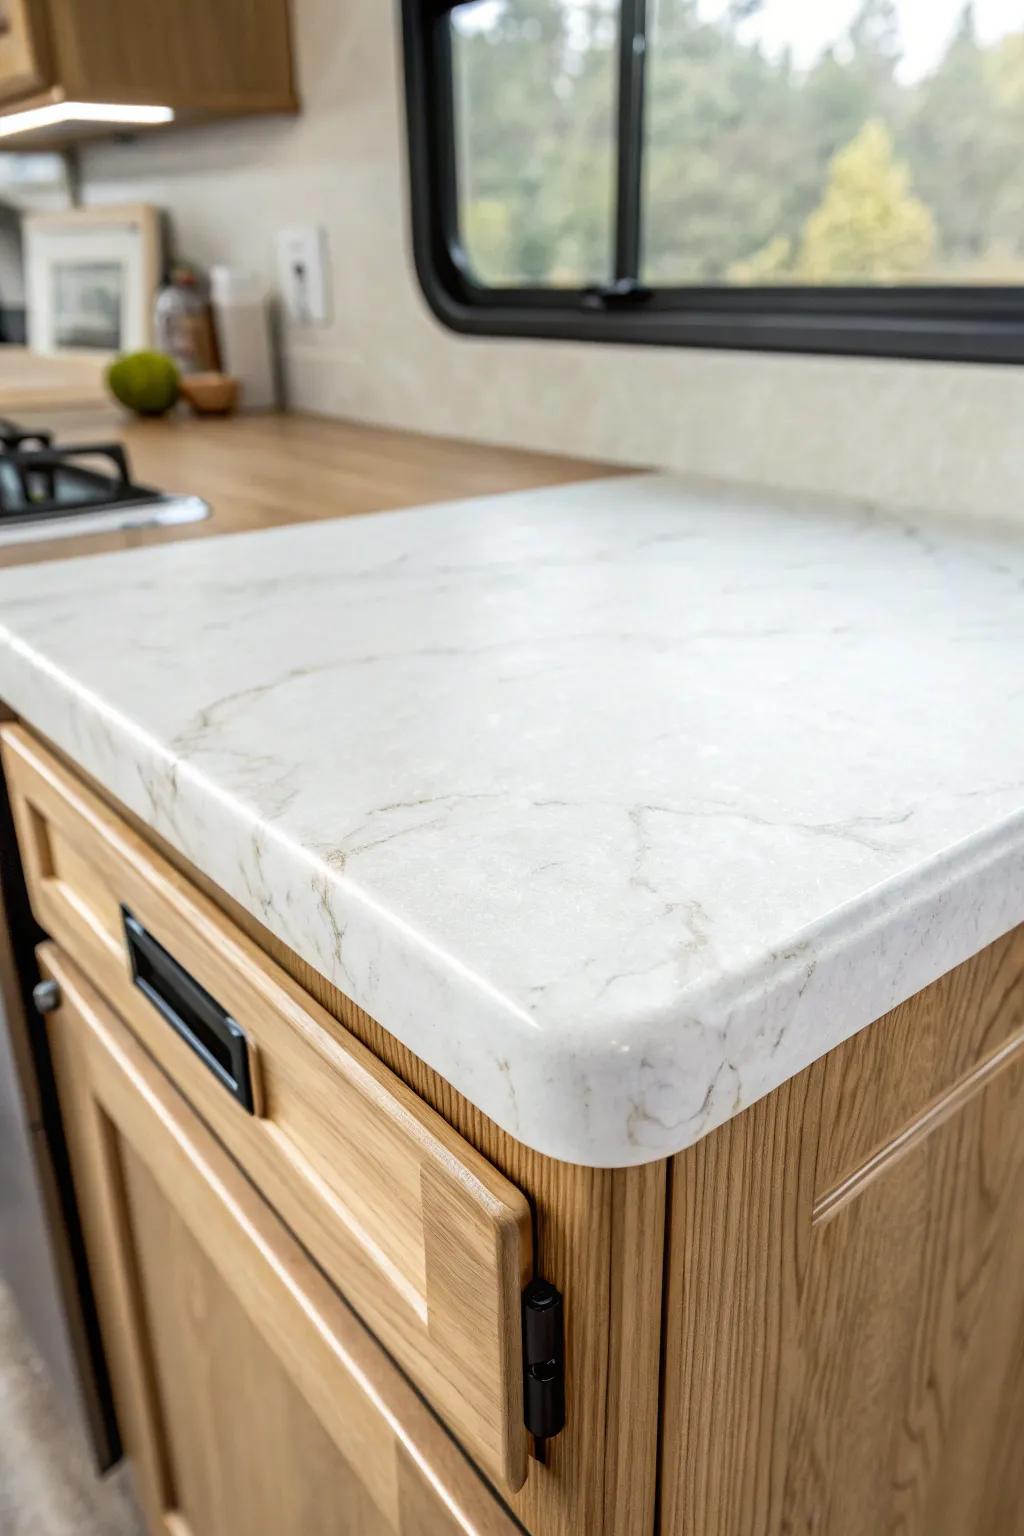
In my own RV remodel, covering the counters gave me the “fresh remodel” vibe without the cost or weight of replacement materials. I always take my time on corners and edges because clean lines are what sell the look.
A few helpful options:
- Marble-Effect Contact Paper: Transform dated surfaces instantly with peel-and-stick film that mimics the elegant look of real stone.
- Smoothing Tool Kit: Achieve professional, bubble-free results on your corners and edges using a handy squeegee and cutter set.
- Heat Gun: Ensure your adhesive vinyl stretches perfectly around curved edges and seals tightly for a long-lasting finish.
Replace or Refinish the Dinette Tabletop
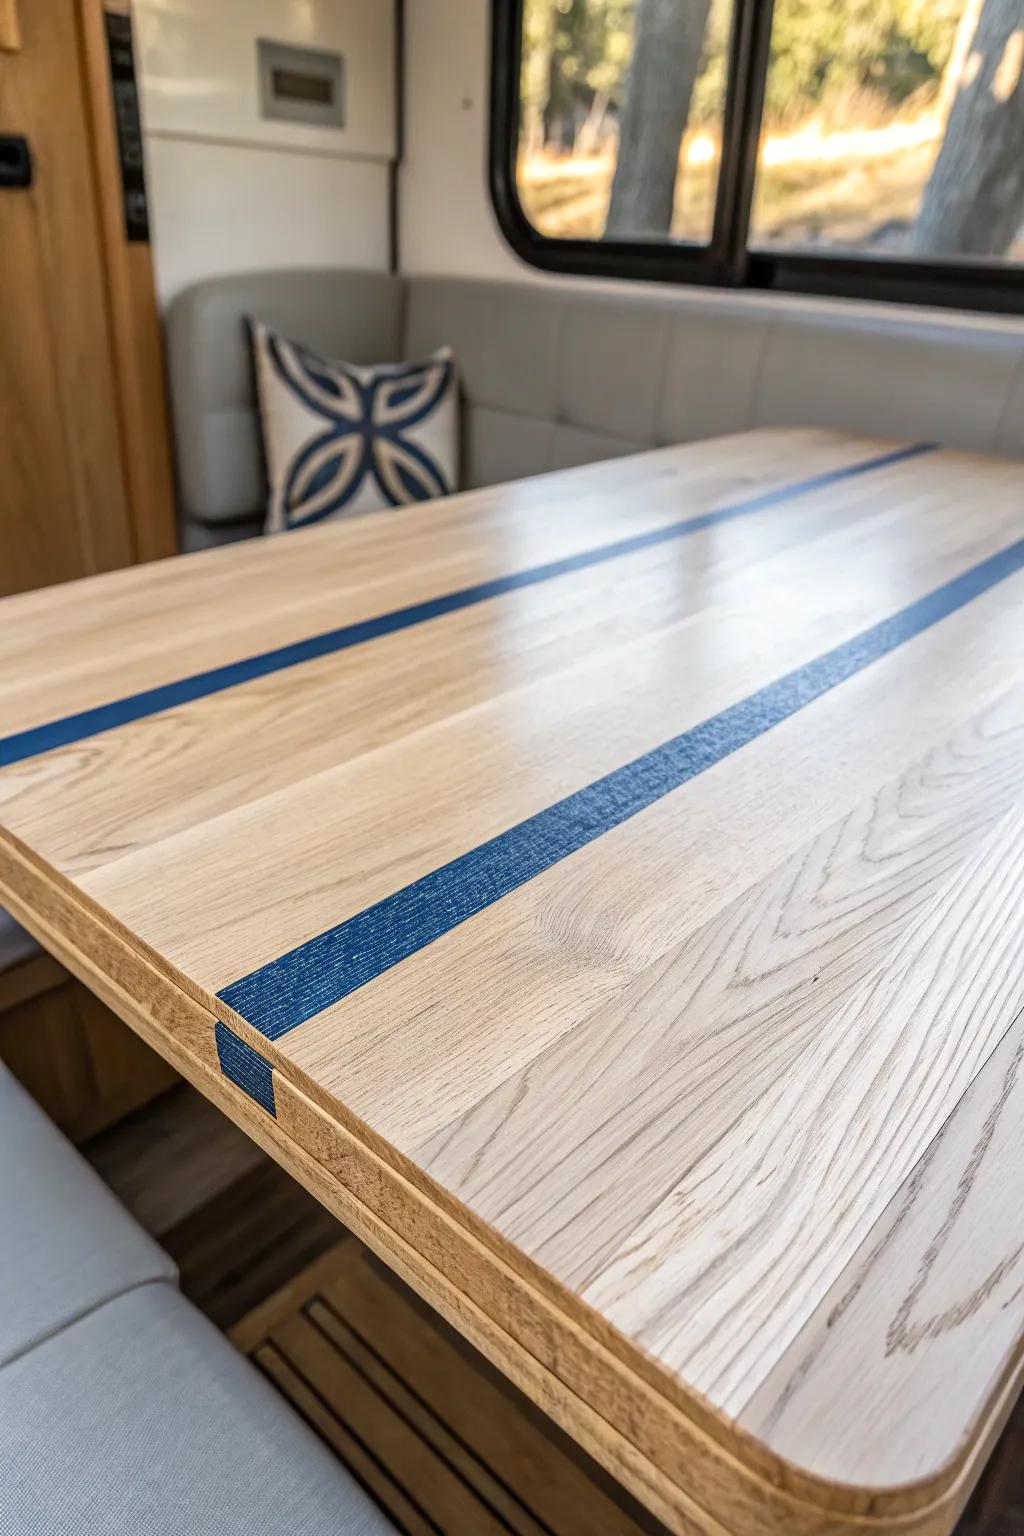
The dinette is the heart of a lot of RV remodels, so I love giving the tabletop a makeover to make it feel like a real breakfast nook. I’ve done both a fresh finish and a durable cover, and either one instantly modernizes the whole area.
Items that may come in handy:
- Butcher Block Table Top: Create a stunning custom dinette with this solid wood surface, ready for your unique finishing touches.
- Epoxy Resin Kit: Use clear or colored resin to fill wood voids or create durable, stylish inlays like these stripes.
- Wood Stain and Sealer: Protect your new table and enhance the wood grain with a durable, water-resistant finish.
Reupholster or Slipcover Seating
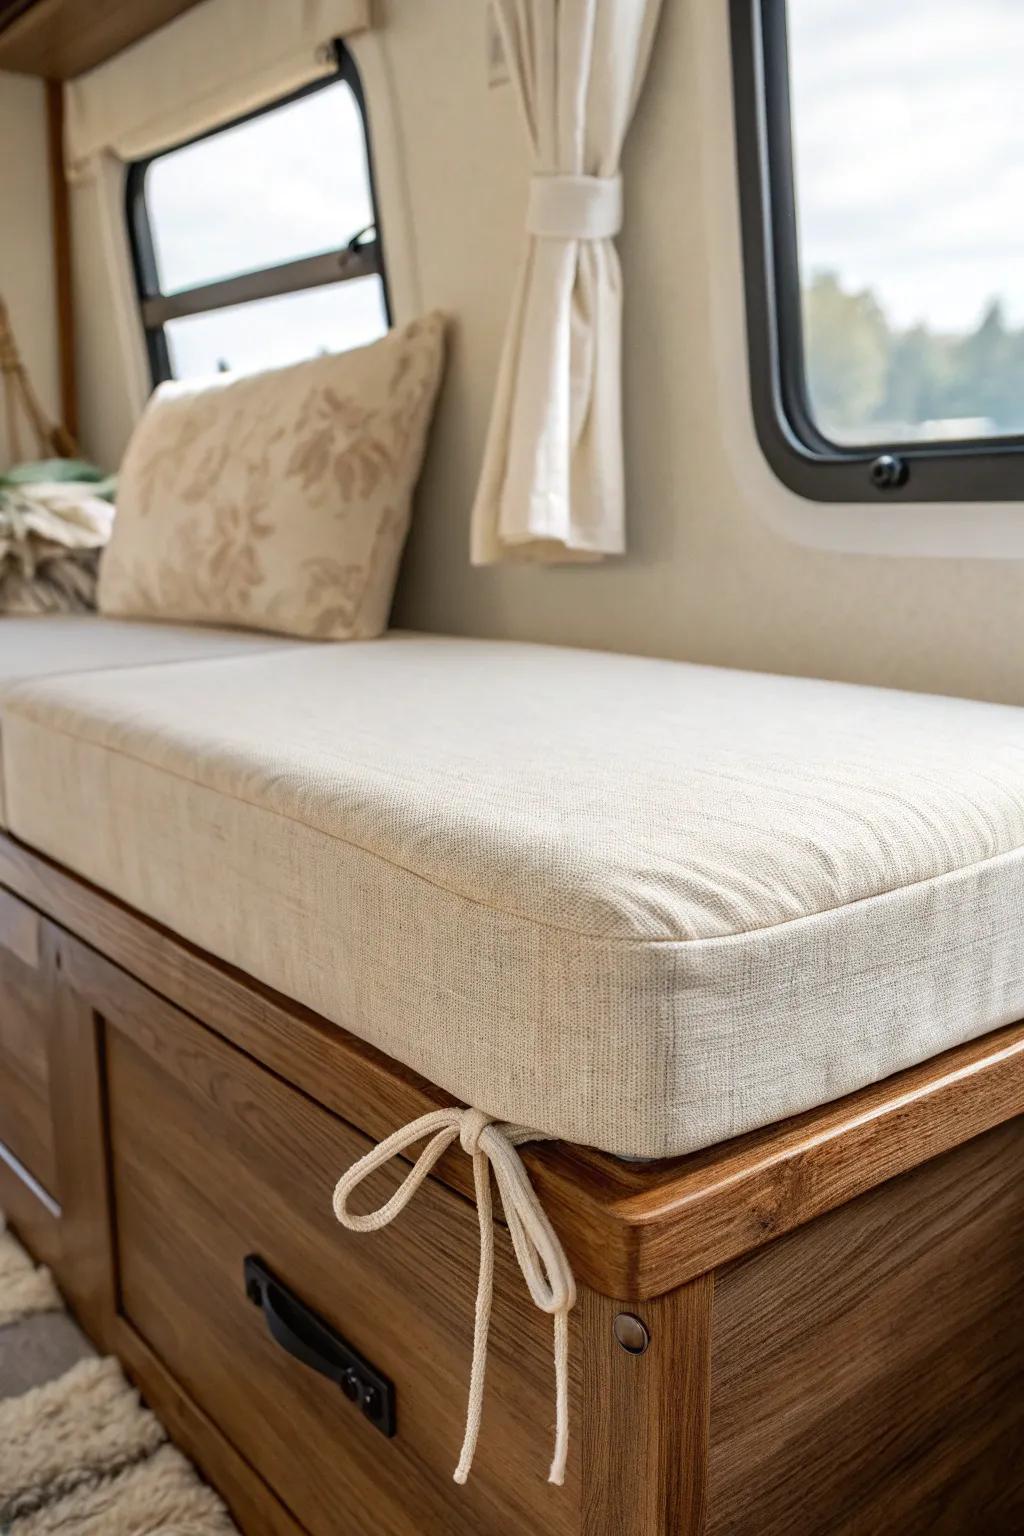
I’ve battled more scratchy, loud patterns than I can count during RV remodel projects, and a simple slipcover is the fastest fix. When I did this myself, it made the space feel calm and pulled-together, like a tiny living room.
Try these:
- Stretch Bench Seat Slipcovers: Refresh your RV dinette quickly with stretchy covers that protect against wear and hide outdated fabric patterns effectively.
- Heavy Duty Upholstery Fabric: Choose durable, neutral fabric to sew custom covers that withstand travel while creating a modern, cohesive look.
- Cotton Piping Cord: Add custom details like decorative ties or piping to your cushions for a professional, secure tailored finish.
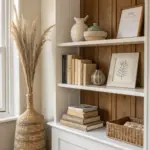
Add Open Shelving With Travel-Safe Rails

Open shelves can look gorgeous in an RV remodel, but I’ve learned the hard way you need a little rail or lip to keep items from shifting. I like styling them with lighter decor pieces so it feels airy and still practical.
Useful items to consider:
- Brass Gallery Railing: Install sleek brass rails on existing shelves to secure your decor items stylishly during travel days.
- Ceramic Bud Vase: Choose a sturdy, weighted ceramic vase perfect for holding dried grasses and adding texture to small spaces.
- Dried Pampas Grass: Add natural warmth and height to your shelves with fluffy, maintenance-free dried grass that won’t wilt.
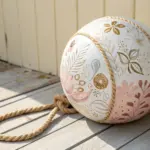
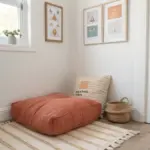
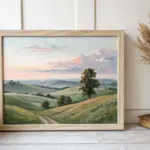
Create a Bedroom Feature Wall
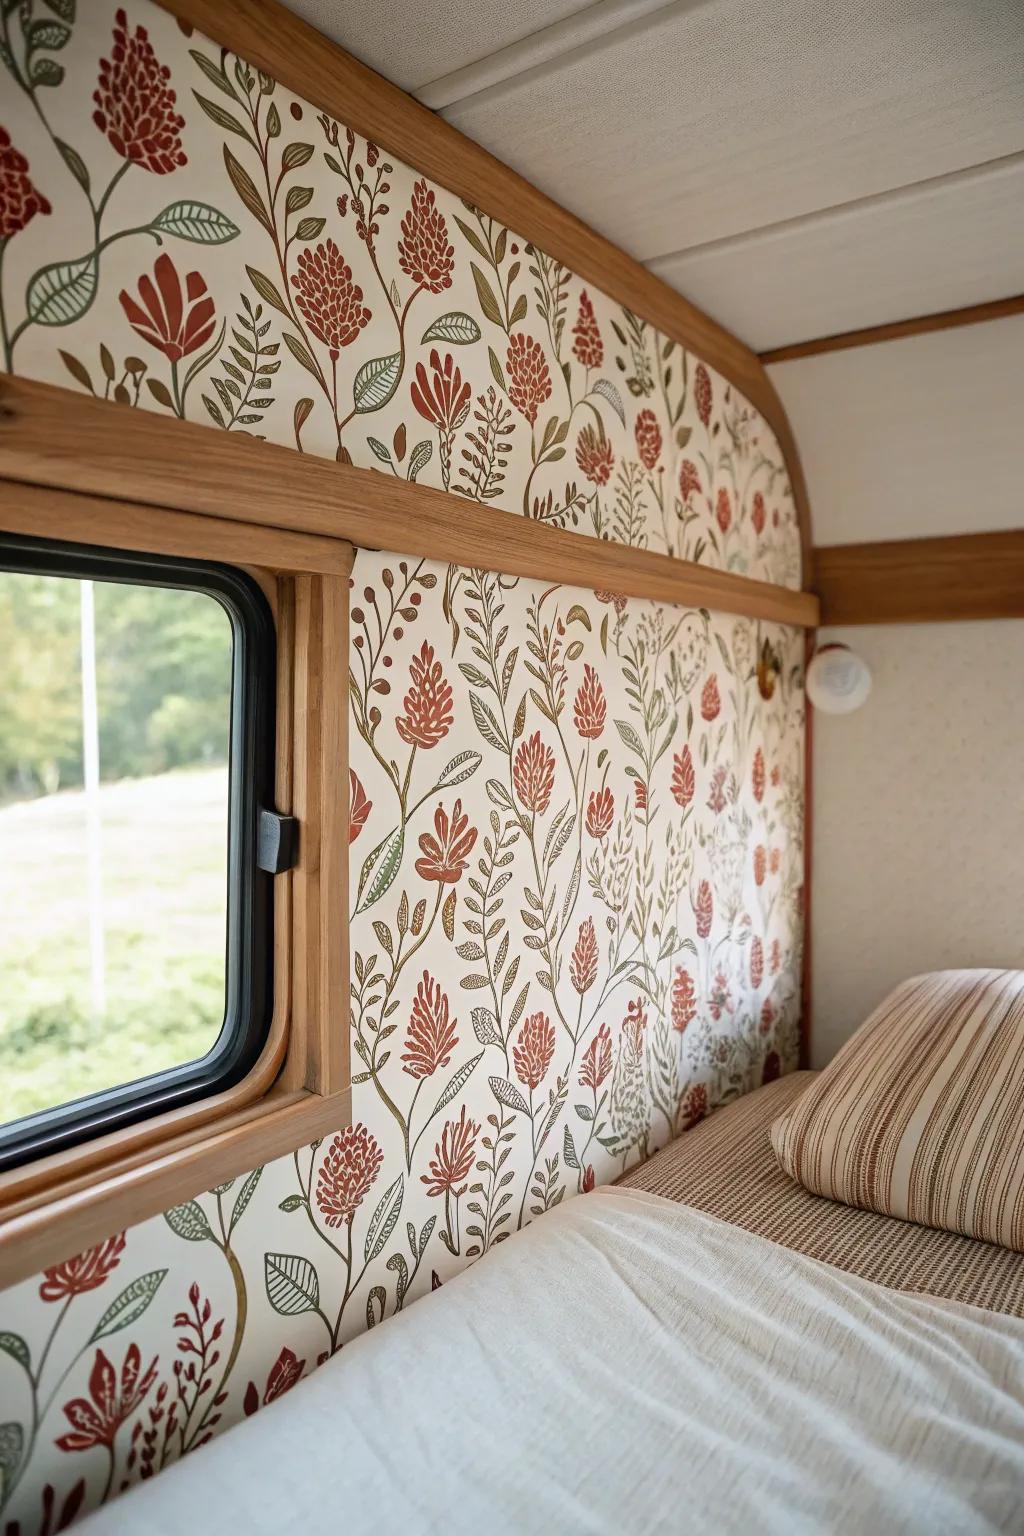
A small accent wall is one of my most-requested RV remodel ideas because it adds personality without overwhelming the space. I’ve used peel-and-stick wallpaper in sleeping nooks and it instantly makes the area feel designed, not improvised.
A few things you might like:
- Botanical Peel-and-Stick Wallpaper: Instantly transform your sleeping nook with this self-adhesive solution, adding a touch of nature-inspired warmth to walls.
- Striped Linen Bedding: Complement your feature wall with cozy, textured bedding that enhances the rustic, comfortable feel of your space.
- Wall-Mounted Reading Lights: Add functional ambiance to your new accent wall with compact lighting perfect for tight RV sleeping quarters.
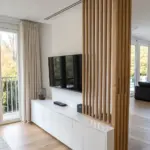
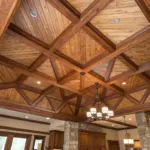
Add Faux Shiplap or Planked Panels
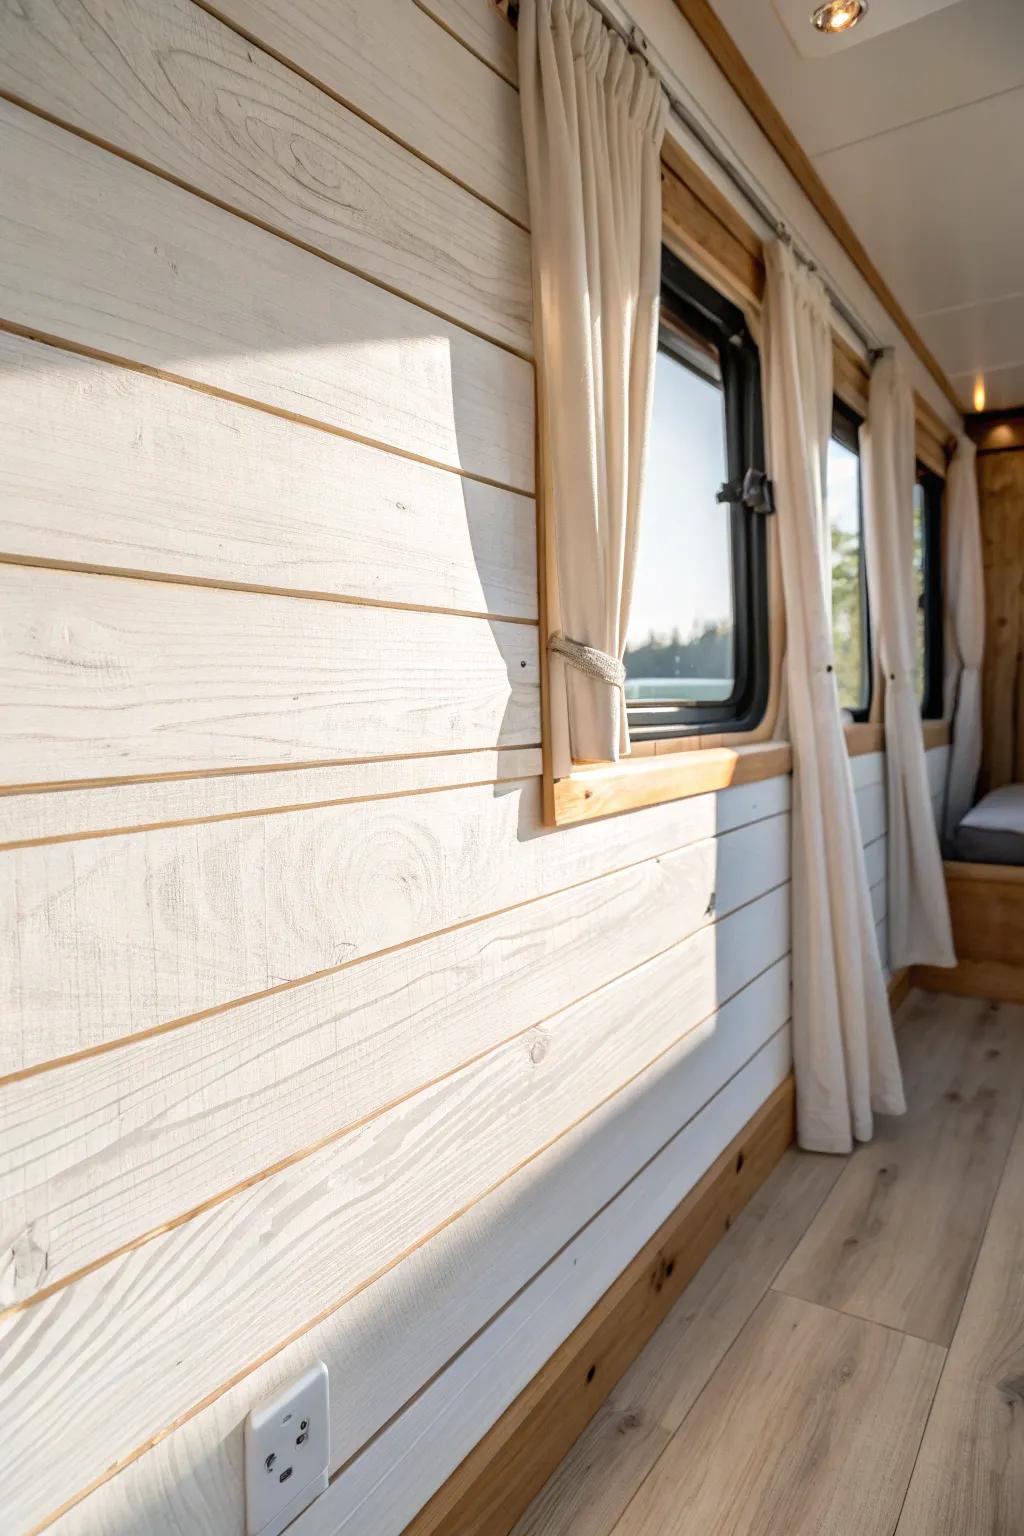
In my own RV remodel, planked walls gave that cozy cabin vibe while still staying bright and clean. I love using lightweight paneling methods because RV walls aren’t always perfectly straight, and flexibility really matters.
A few relevant products:
- Peel and Stick Wood Paneling: Instantly create that cozy shiplap look without power tools; simply peel, stick, and enjoy your upgraded walls.
- Heavy-Duty Construction Adhesive: Secure your lightweight panels firmly to uneven RV walls for a long-lasting, durable hold during travel.
- White Wood Contact Paper: Achieve the textured plank aesthetic on a budget with this lightweight, easy-to-apply vinyl covering solution.
Update Lighting for a Softer Glow
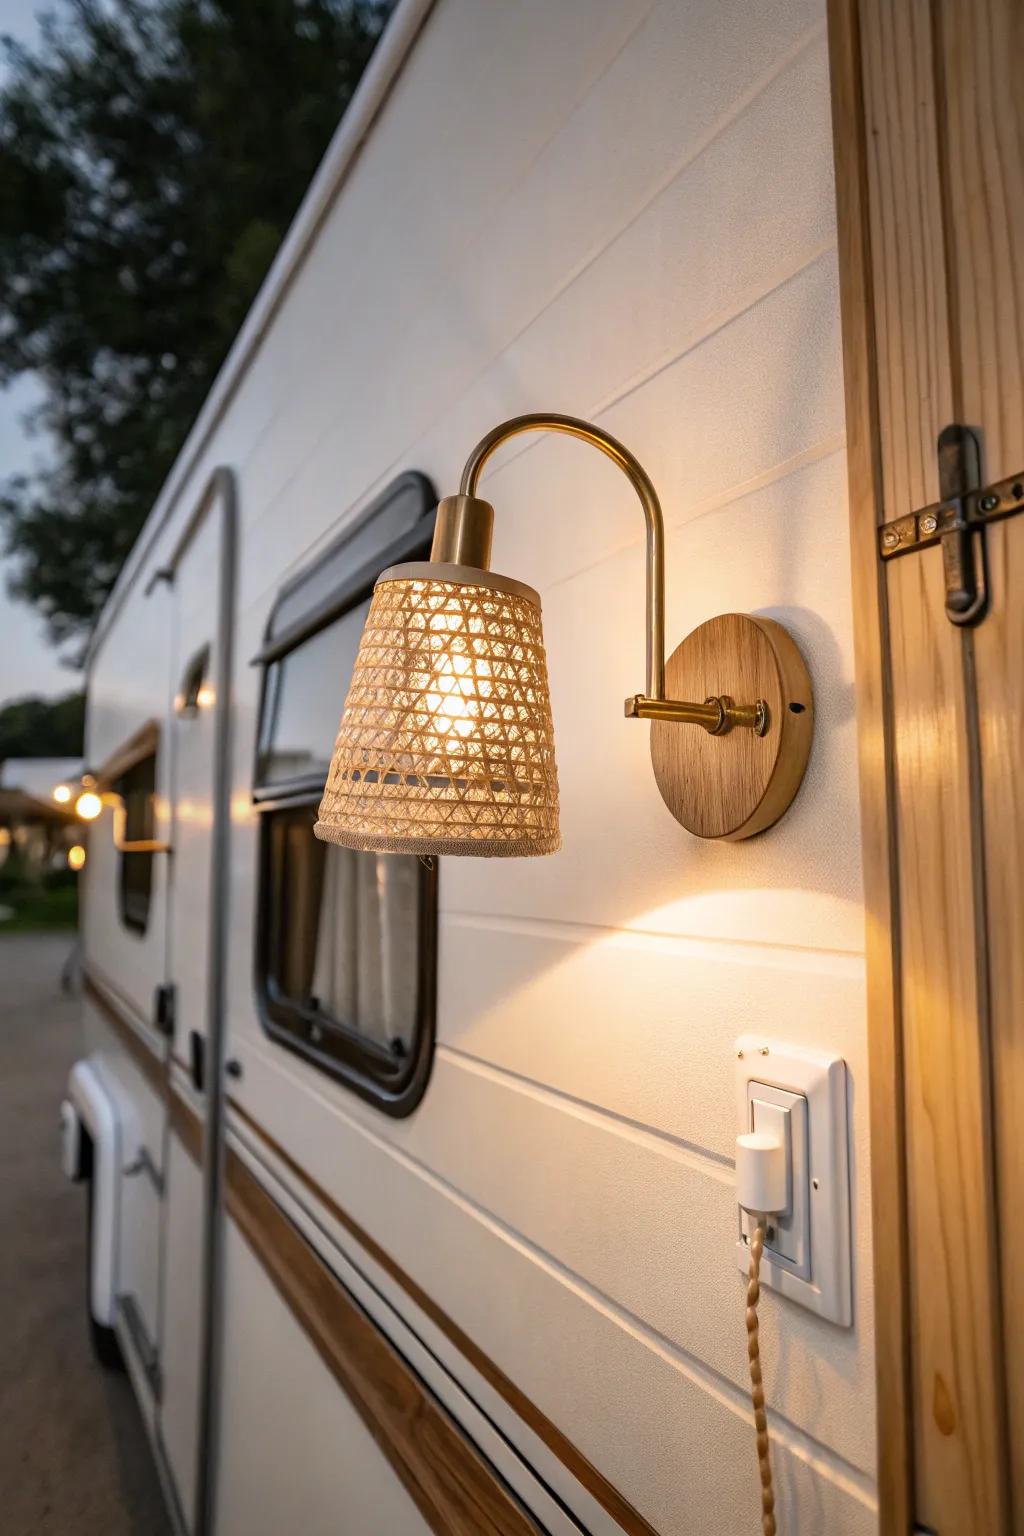
Harsh lighting can make even a pretty RV remodel feel cold, so I always swap to warm lighting wherever I can. When I did this, the whole space felt more like an apartment at night—cozy, not clinical.
A few suggestions:
- Woven Wall Sconces: Add texture and warm tones to your RV walls with these stylish, battery-operated or plug-in lighting fixtures.
- Warm White LED Bulbs: Instantly soften your RV’s atmosphere by swapping harsh factory bulbs for these cozy, inviting warm white alternatives.
- Vintage-Style Plug-In Dimmer: Gain control over brightness levels easily without hardwiring, perfect for setting a relaxed mood in small spaces.
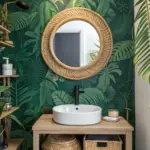
Swap the Mirror and Add a Slim Vanity Shelf
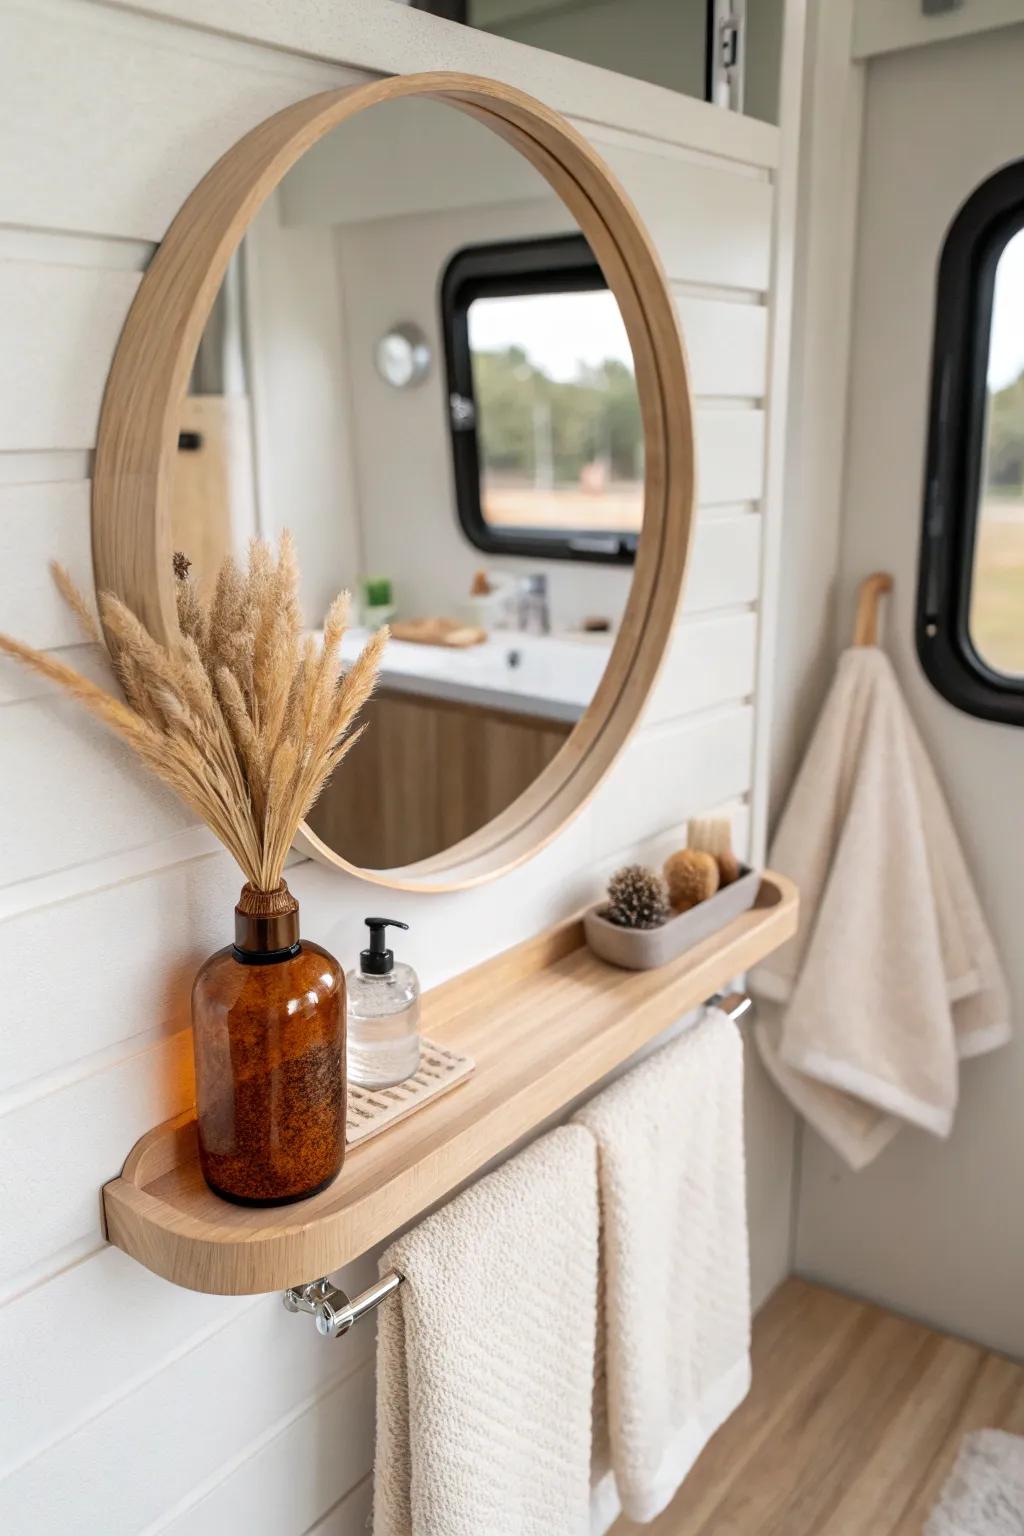
For an RV bathroom remodel, I’ve seen a new mirror and a narrow shelf do more than a full teardown. I tried this in a tiny bathroom and suddenly had a spot for everyday essentials without cluttering the sink.
May just do the trick:
- Round Wooden Bathroom Mirror: Refresh your space by hanging a simple round mirror that creates visual depth and brightens small interiors.
- Floating Wood Shelf with Towel Bar: Instantly create storage for toiletries and hang towels neatly with a slim, wall-mounted wooden floating shelf.
- Amber Glass Soap Dispenser Bottle: Upgrade your countertop aesthetic by decanting soaps or lotions into these reusable, vintage-style amber glass bottles.
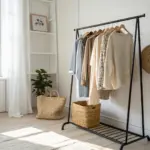
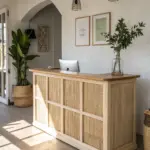
Turn the Entry Into a Mini Mudroom
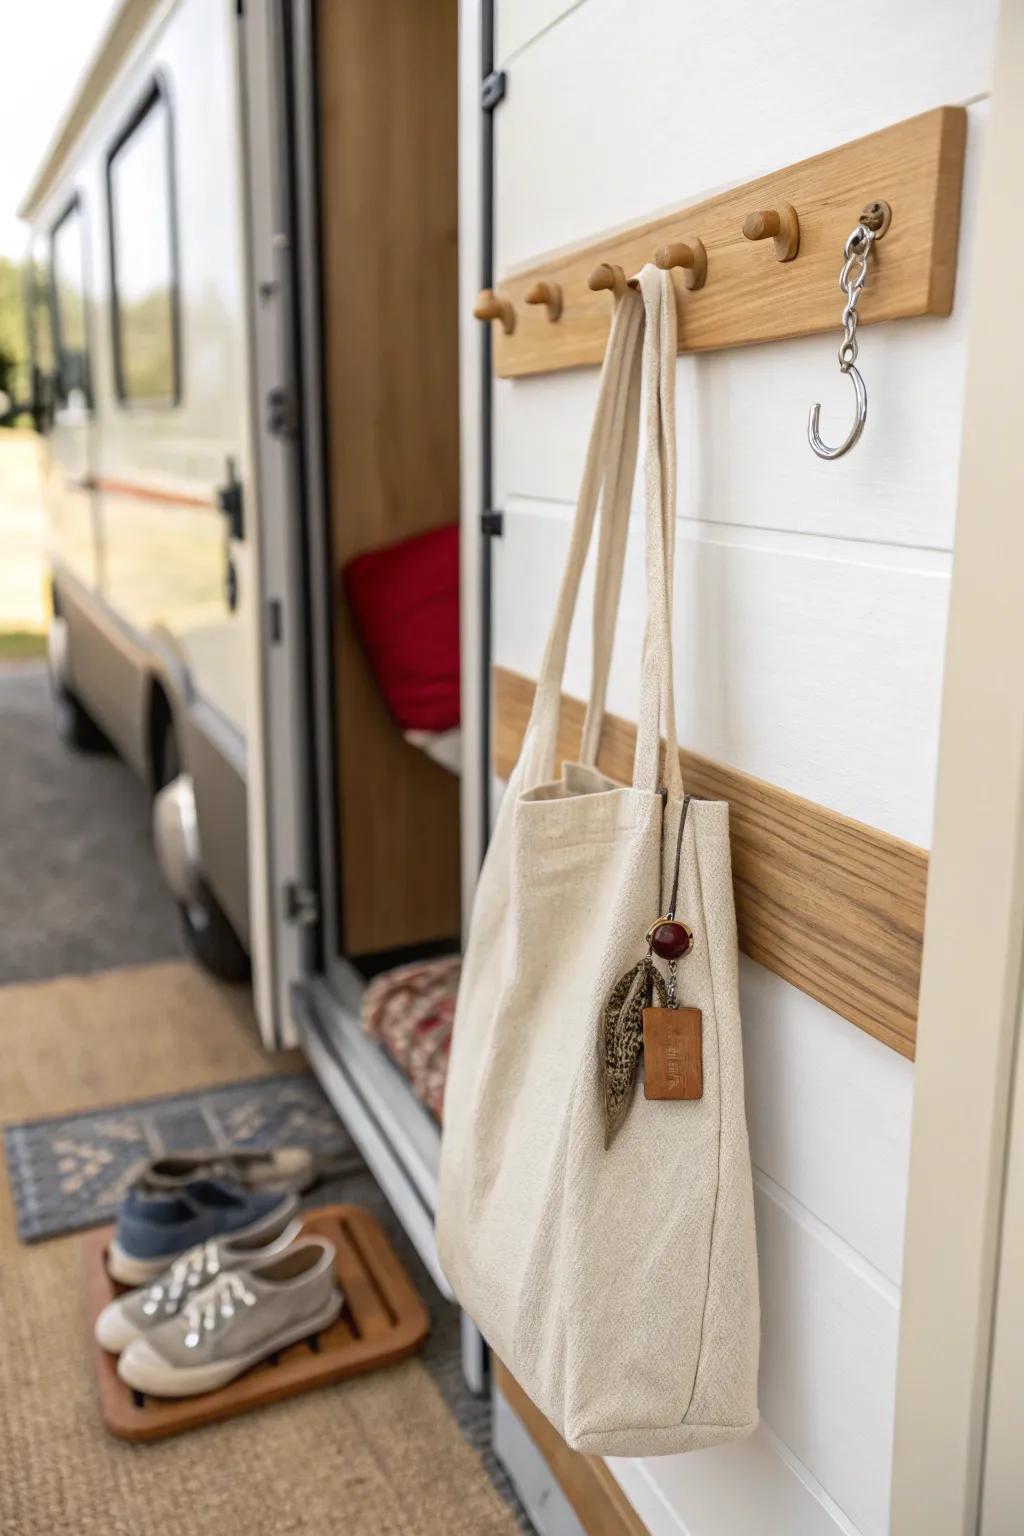
One of my most practical RV remodel ideas is adding command-style hooks and a shoe zone right at the door because it stops mess from spreading. I’ve done this in multiple small spaces, and in an RV it feels like gaining a whole extra closet.
Some ideas to consider:
- Wall-Mounted Wooden Peg Rail: Maximize vertical storage by hanging bags and jackets right at the entrance to keep your floor clutter-free.
- Slatted Wooden Shoe Mat: Designate a spot for dirty footwear with a durable, easy-to-clean mat that protects your RV flooring.
- Large Canvas Tote Bag: Keep essentials organized and ready to grab by hanging a sturdy, spacious canvas tote near the door.
Add a Flip-Down Desk for Work Nights
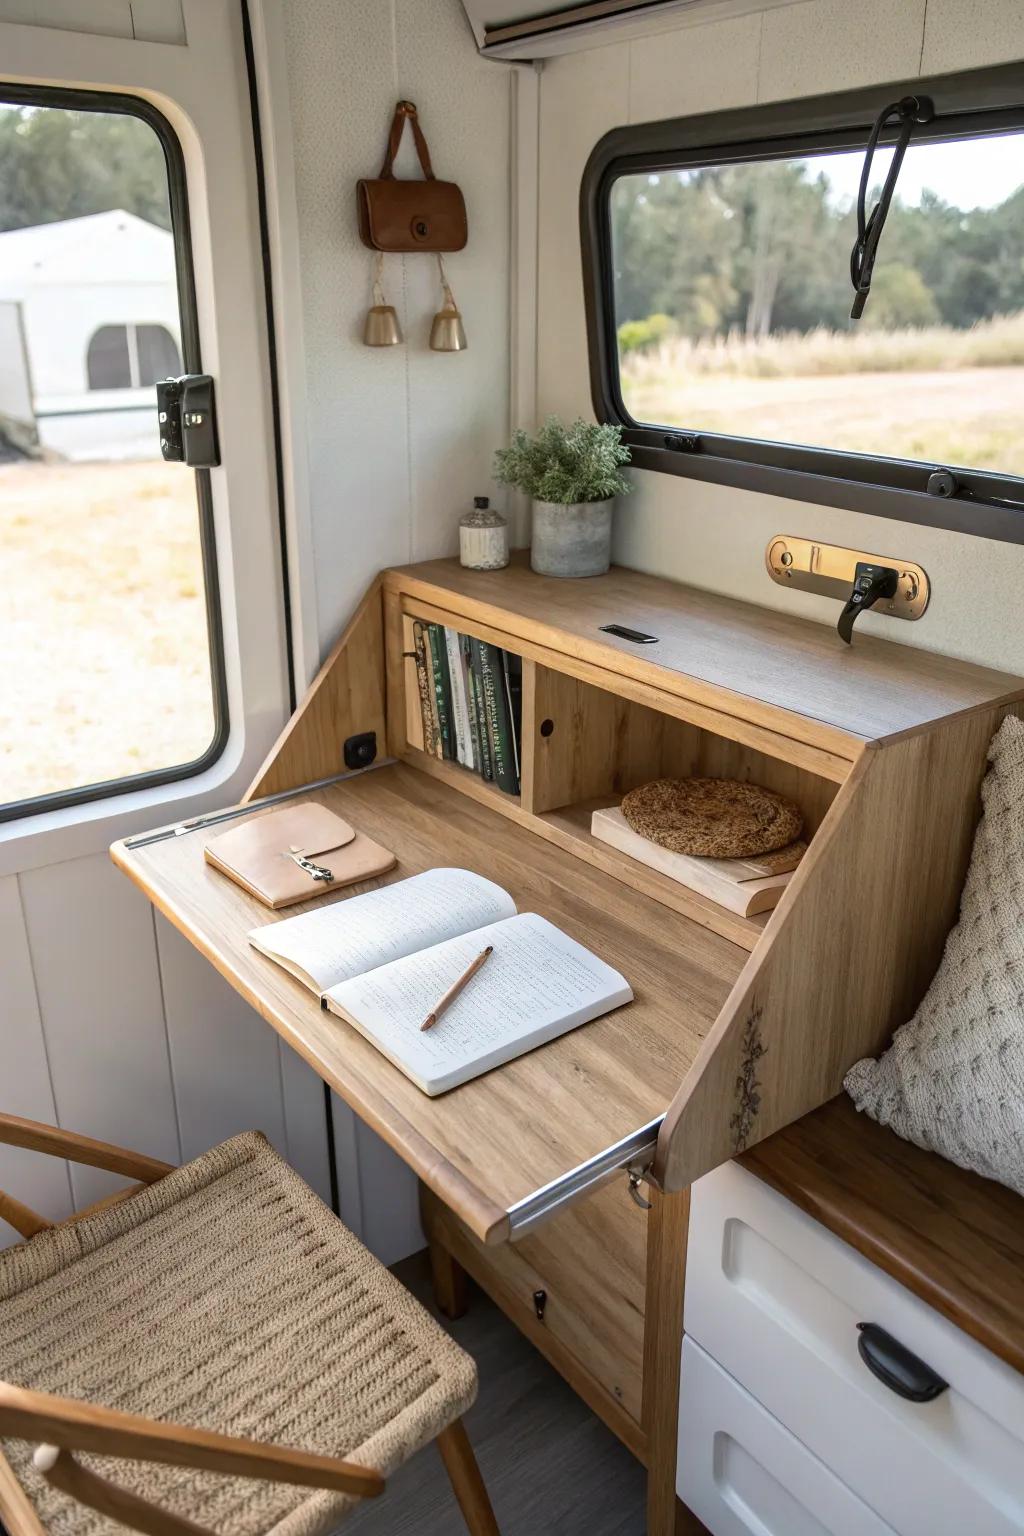
In a functional RV remodel, I love a fold-down desk because it gives you a real workspace without sacrificing floor space. I set one up in a narrow wall area once, and it became my favorite spot for planning routes and tackling emails.
Possibly helpful picks:
- Wall-Mounted Drop-Leaf Table: Create an instant workspace anywhere in your RV by installing a sturdy, space-saving drop-leaf table mechanism.
- Heavy Duty Folding Shelf Brackets: Build your own custom desk surface using these collapsible brackets that lock securely and fold down flat.
- Small Artificial Potted Plant: Add a touch of greenery to your compact office setup with low-maintenance faux plants that stay fresh.
Create a Hidden Pet Nook in a Cabinet Base
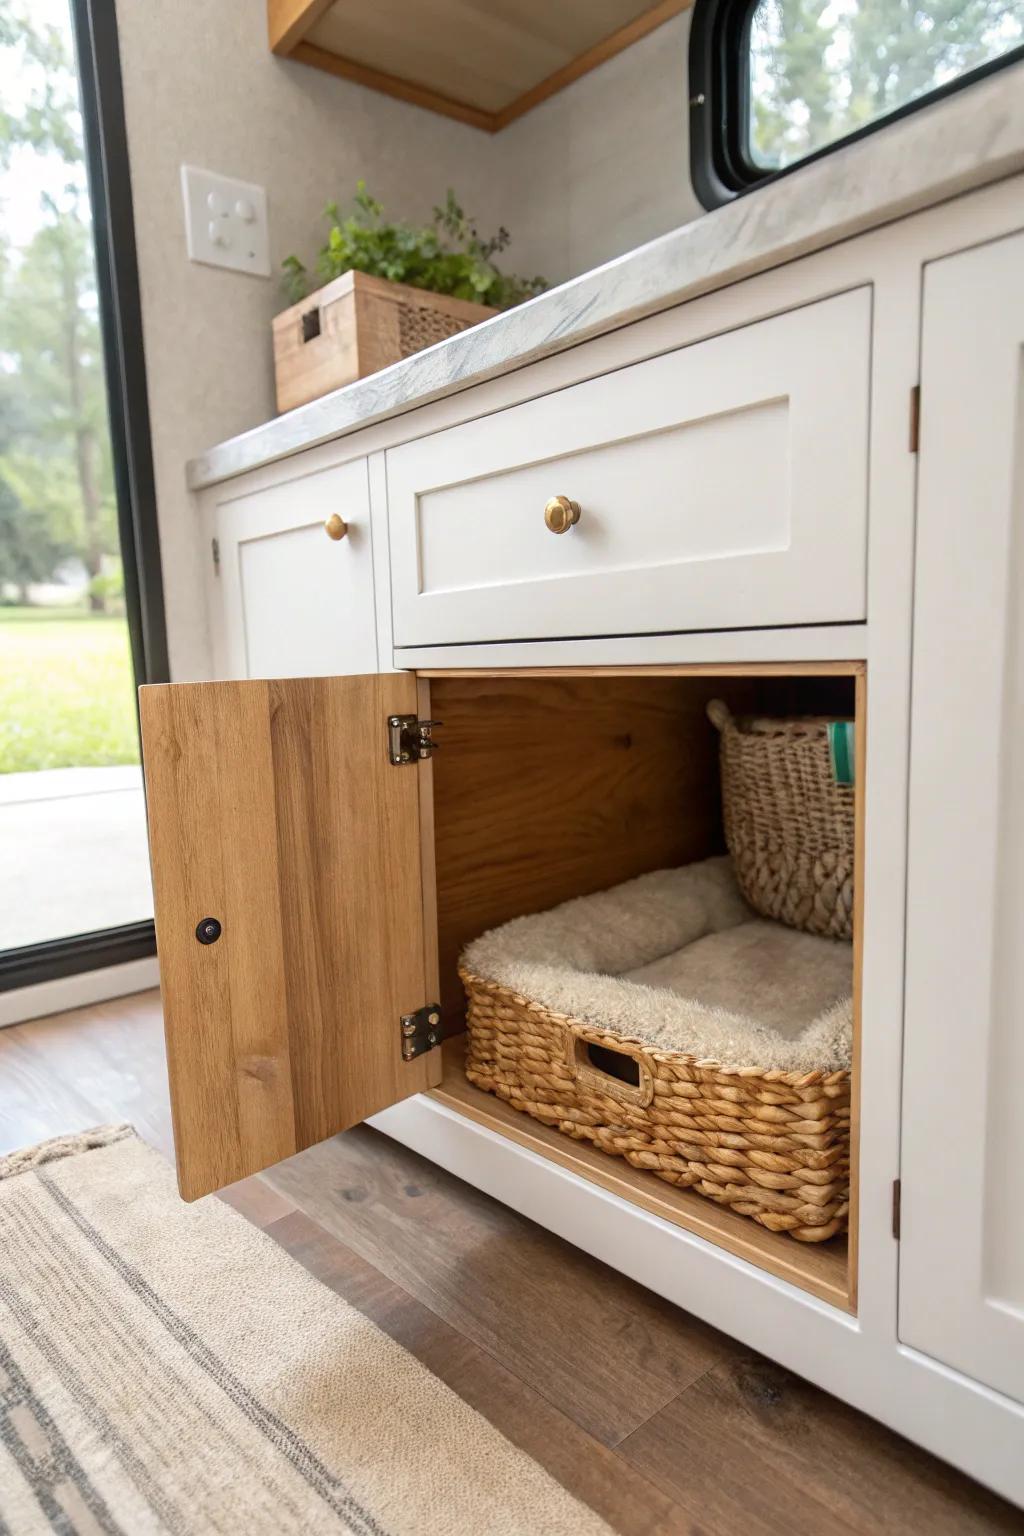
This is my favorite “wow” RV remodel idea: I helped rework a lower cabinet area into a pet nook with a tucked-away bed and organized supplies. I love it because it makes the RV feel custom-built for real life, not just for looks.
Some handy options:
- Woven Storage Basket for Beds: Choose a sturdy, low-profile basket to keep the pet bed contained and add natural texture to your space.
- Plush Pet Bed Insert: Add a soft, washable cushion or blanket inside the basket to ensure your pet has a cozy retreat.
- Soft-Close Cabinet Hinges: Upgrade your cabinet hardware with soft-close hinges to keep the nook accessible and quiet for your sleeping pet.


